 Time for a quick recap! What have I done so far? I’ve designed, drafted, muslined, fitted my pattern. Then made a trial dress. Spend hours on making a couture corset, which I ended up not wearing, sigh. Again, spend hours on hand-embroidering my bodice. All preparations done. Check.
Finally, it’s time to have a look at the construction of the dress. Grab a cup of tea or coffee, this post is picture-heavy!
After all these teaser pics and showing you details (as I will do again in this post), here’s a quick reminder of the actual design of the dress. It’s based on Jenny Packham’s Esme dress, changed to my needs:
 (This is a sketch of when I thought I had to go without the embroidery)
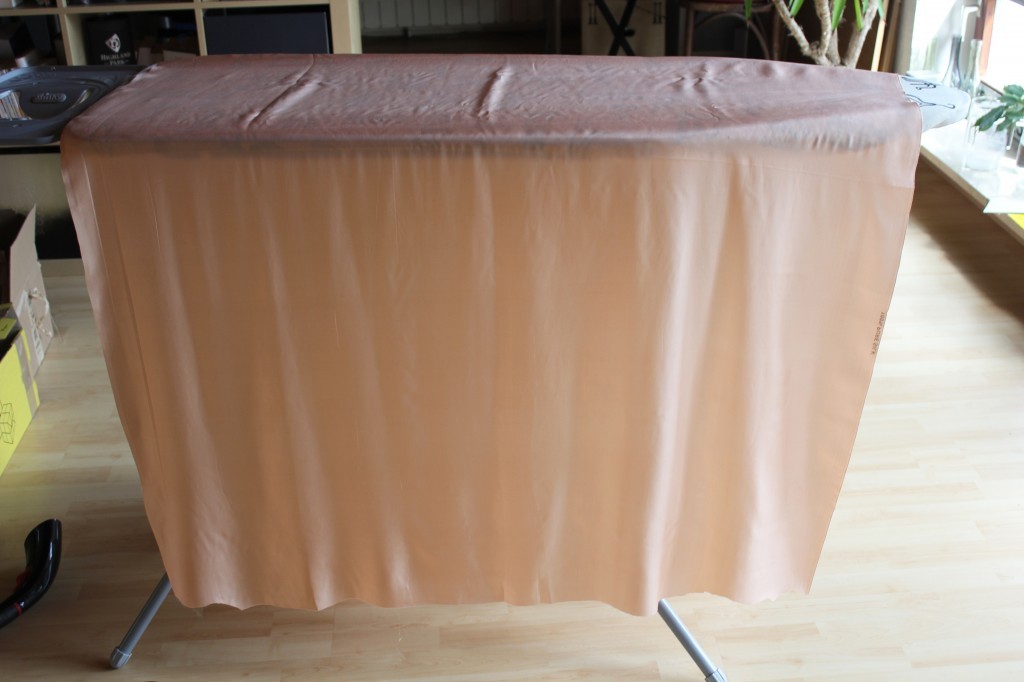
So what do we do first? Well, yes we pre-wash our fabrics. I actually skipped that part. I didn’t want to take any chances as all my fabrics were 100% pure silk and you don’t want to mess with expensive fabrics. I wasn’t planning on washing my wedding dress anyway, so it wasn’t that important.
So my first step was to iron metres and metres of fabrics. Why am I telling you this? Well, it’s simply part of the process. As I mentioned before, wedding dress sewing isn’t romantic. At all. It’s nerve-wracking and most of all, it’s work. A lot of work. And some of it is acutally pretty boring. So here is me ironing 6 metres of my silk lining fabric: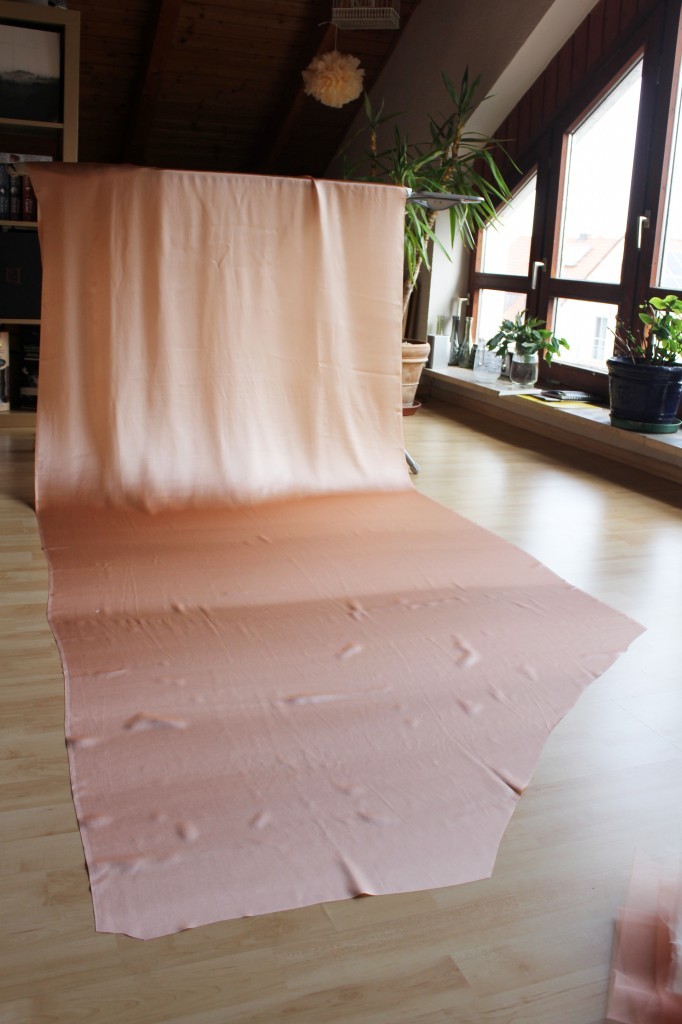 I started sewing all four (!) skirt layers first, starting with my lining. It was my first time working with silk, so I thought starting with a layer you wouldn’t see was pretty clever. And I practised on some fabric scraps as well. I noticed pretty quickly that the knack with silks is simply using millions of pins. I didn’t use any gelantine or starch to prepare my silk for sewing and it still worked pretty well. Sometimes laziness pays off.
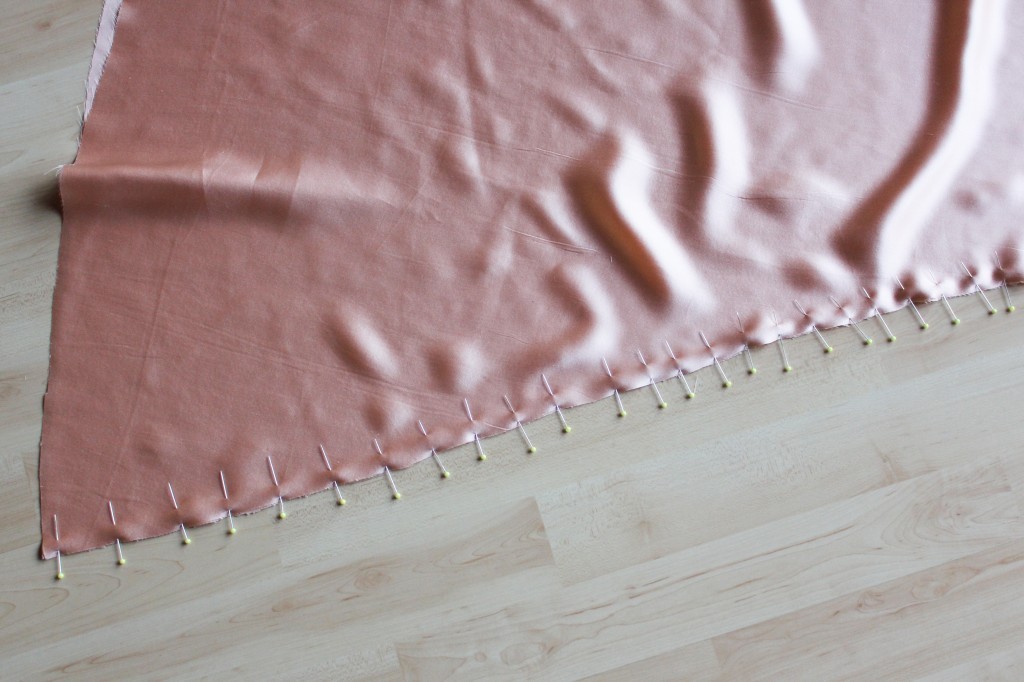
Trickier than the silk itself were all the bias seams at the skirt panels. Most seams of the dress are french seams, so I had to be extra careful. The lining seams got a bit stretched, but they’re pretty much invisible anyway.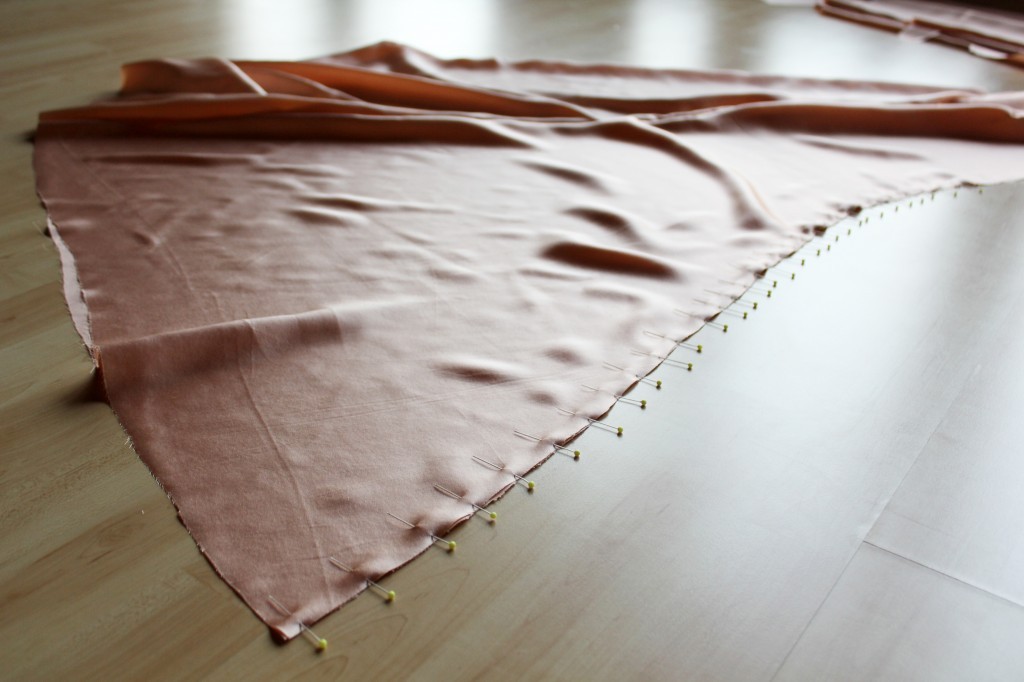
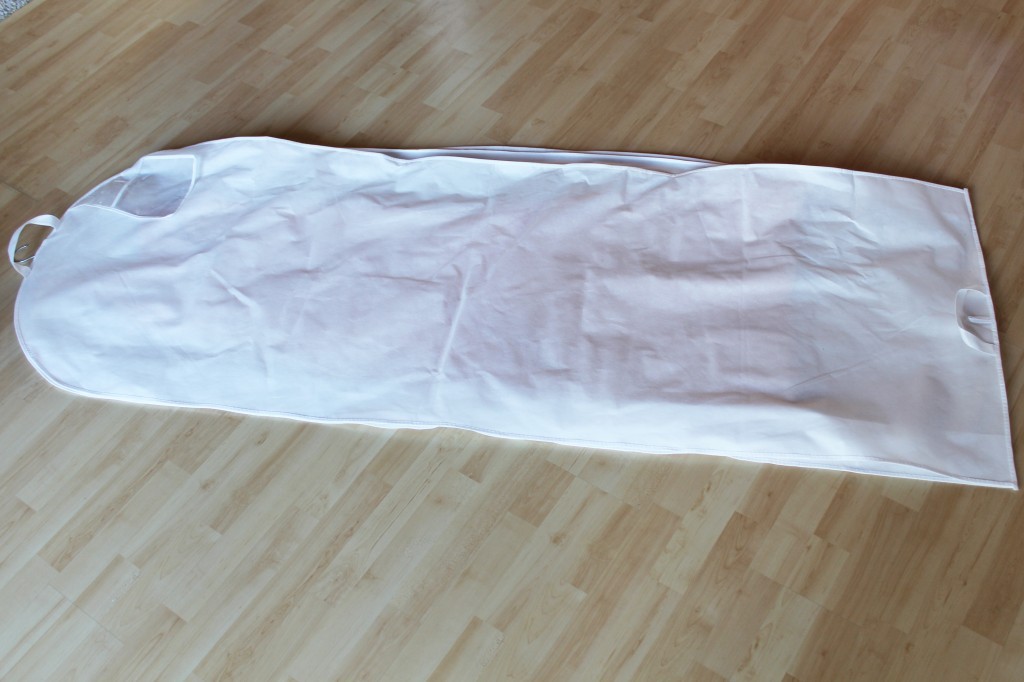
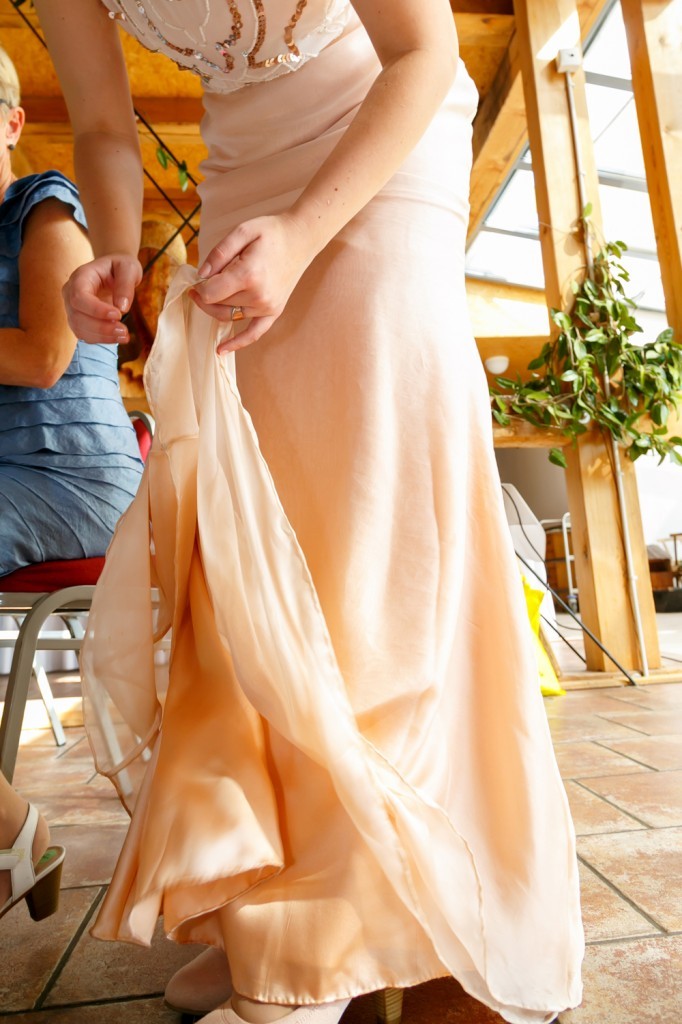
As you can see, I chose a blush pink/salmon coloured silk for my main lining. It’s a very drapey, soft silk and although it’s not transparent, it was slightly see-through. For that reason, and as a ‘reflecting’ layer to create more luminosity I lined the lining, because why not. The lining lining is a cream poly satin that I used as a lining for my trial dress. Here’s a picture in which you can see the actual shape of the skirt panels pretty well. This right here is one of the two back panels (on the right) and the foldes front panel:
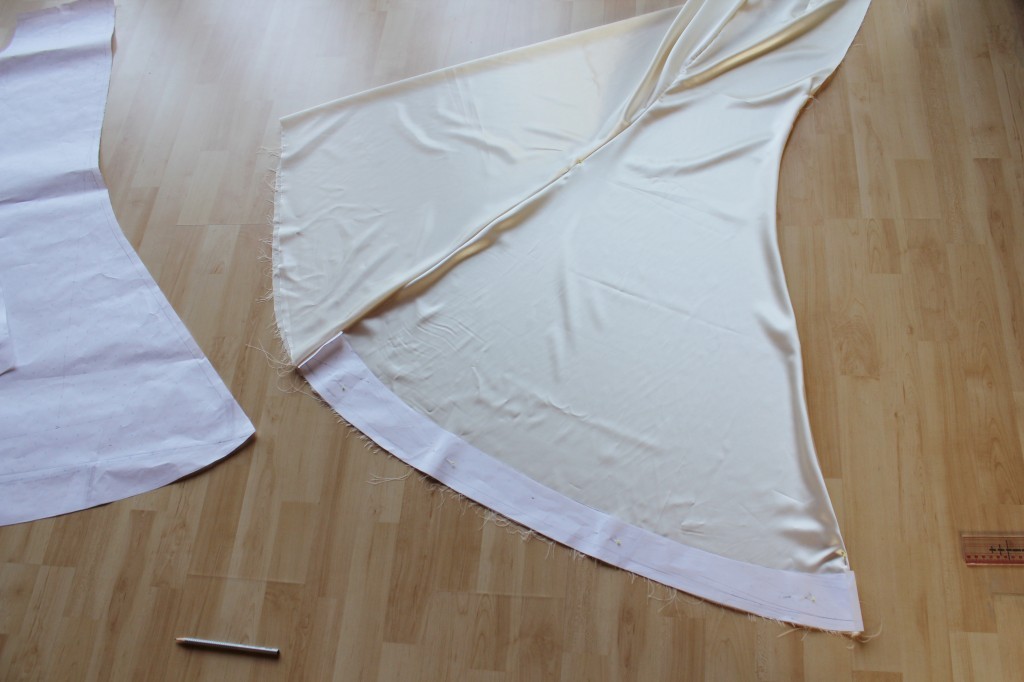
The skirt is basically the Sew Over It Ultimate Pencil Skirt, lengthened and flared to about 3m of hemline.
Now you all want to know what fabric I used as fashion fabric/top fabric, right? Well, here we go!
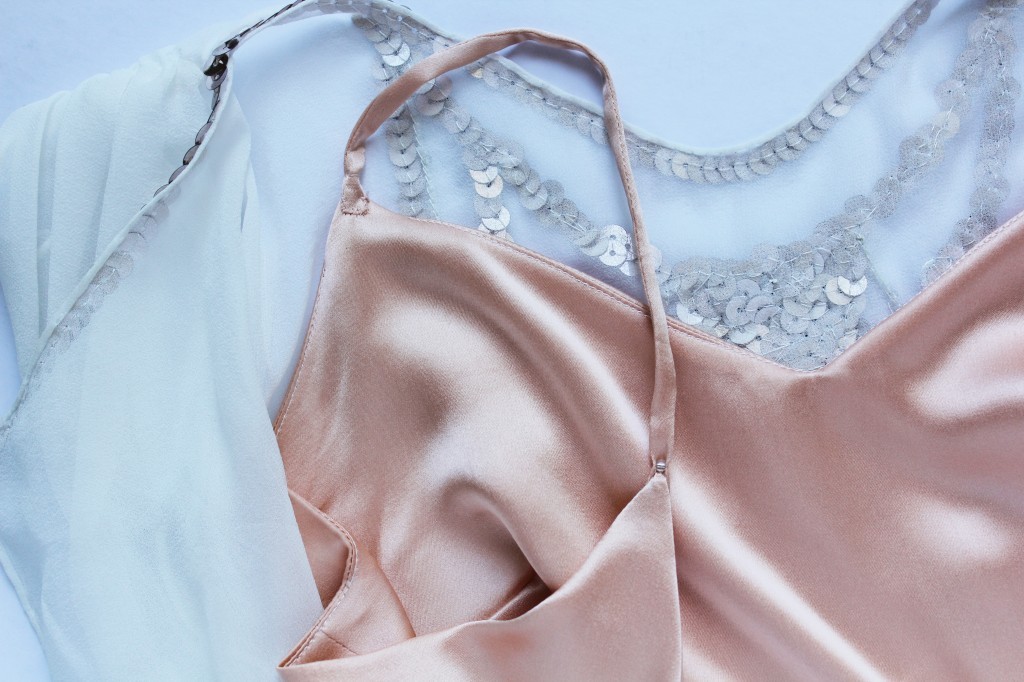
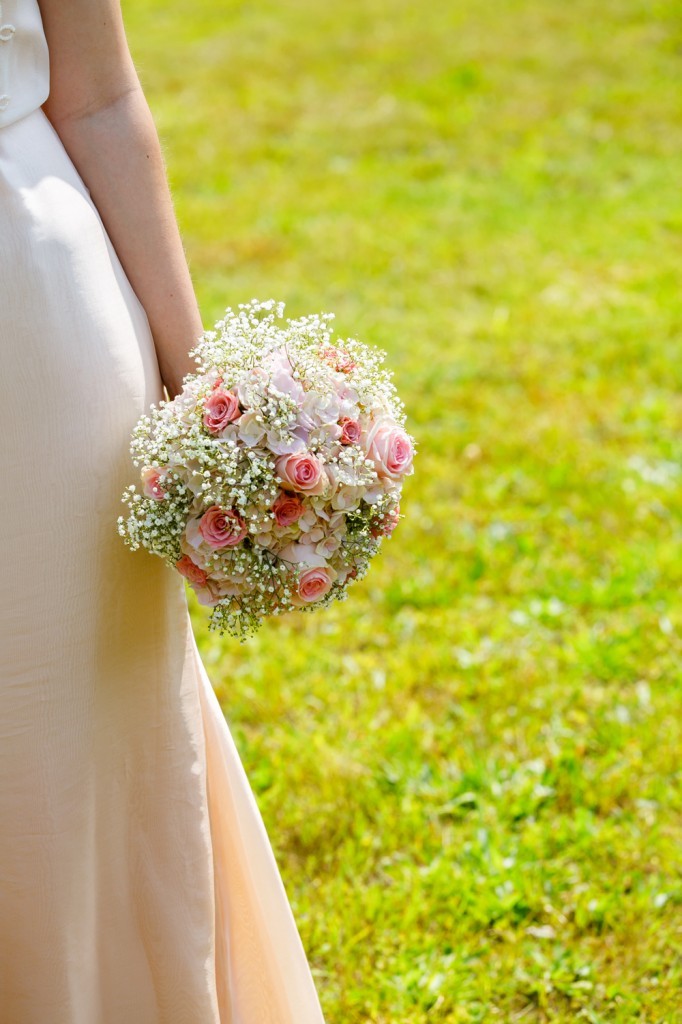
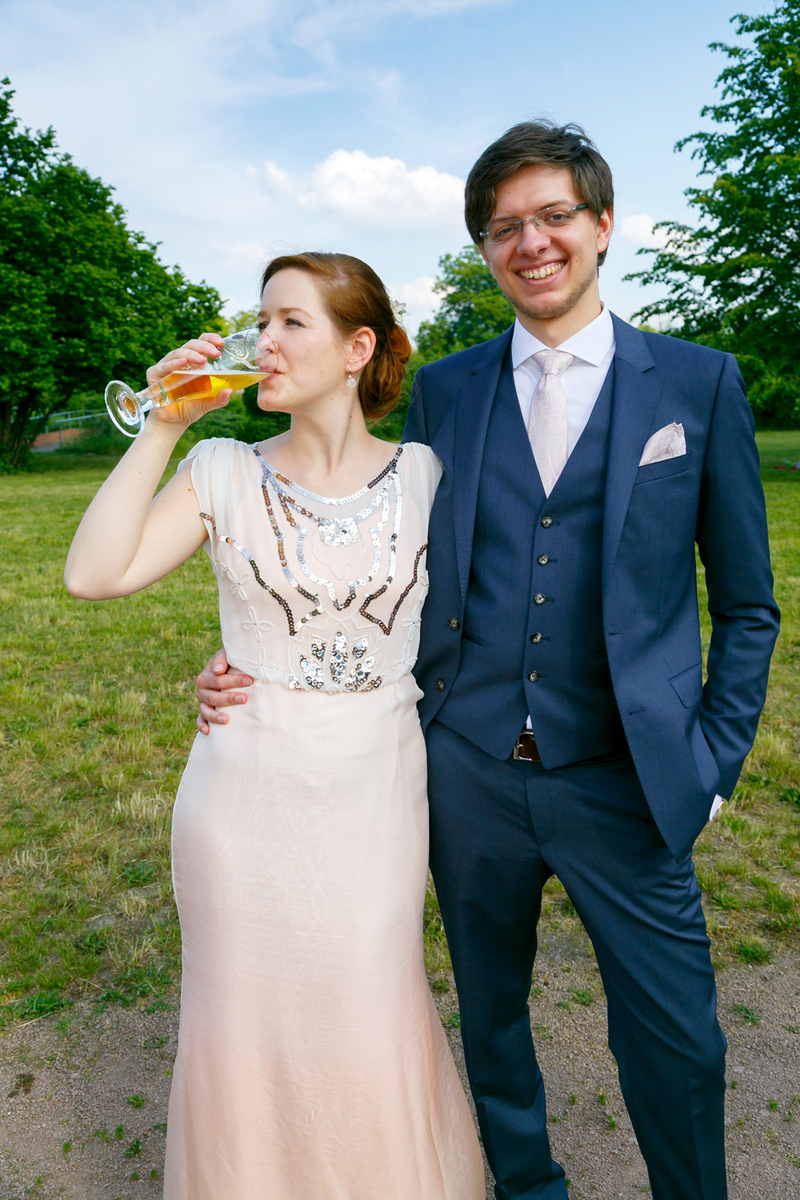
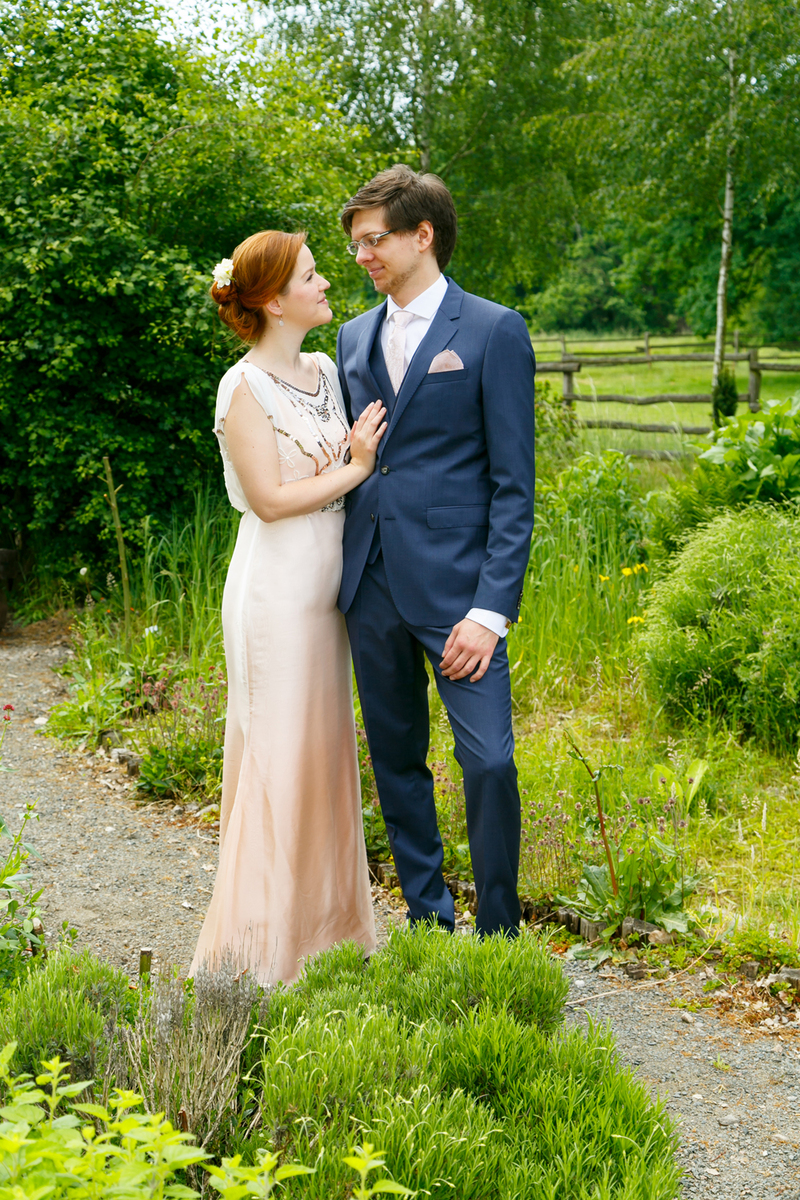
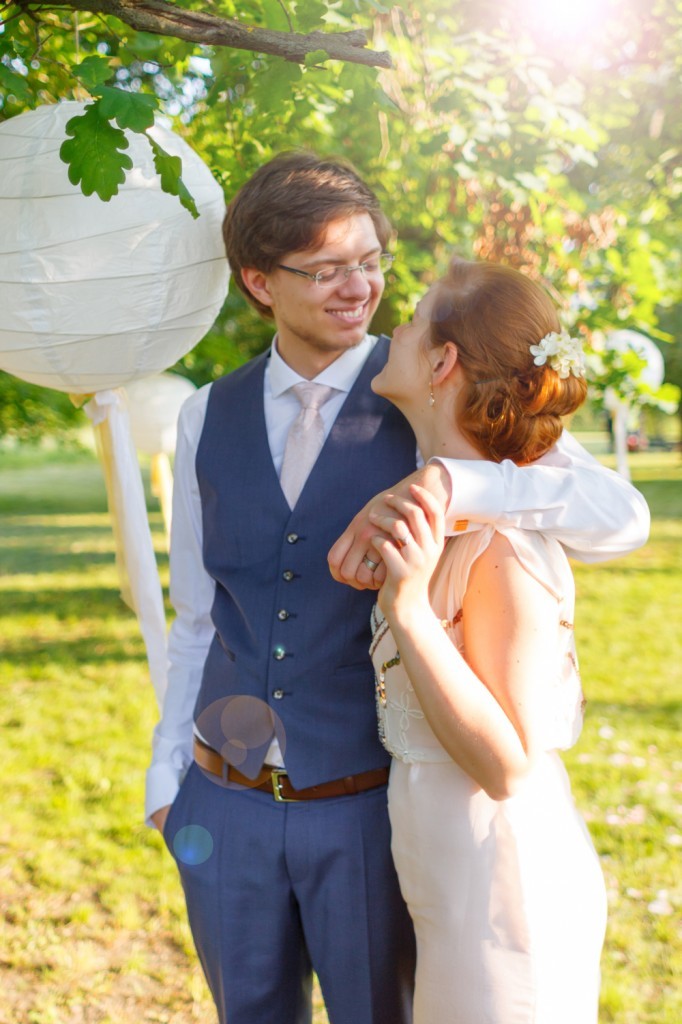
From the beginning I knew I probably wouldn’t end up with a white dress. I didn’t want anything too out there or, for instance, a bright red dress. I wanted it to be a pretty blush tone, champagne or dove grey. It took me ages to find the perfect fabric and I finally found it on Goldhawk Road: it’s a 100% Pure Silk chiffon (I say organza) fabric for 22£/pm with an ombre effect: it’s ivory blending into a really lush, blush pink from one border to the other: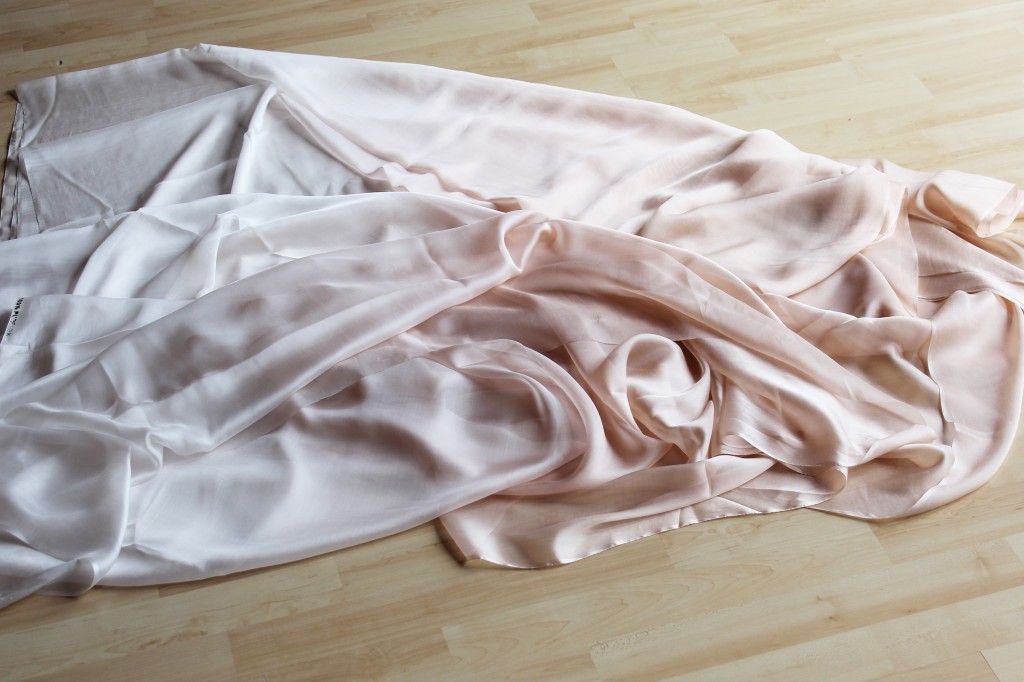
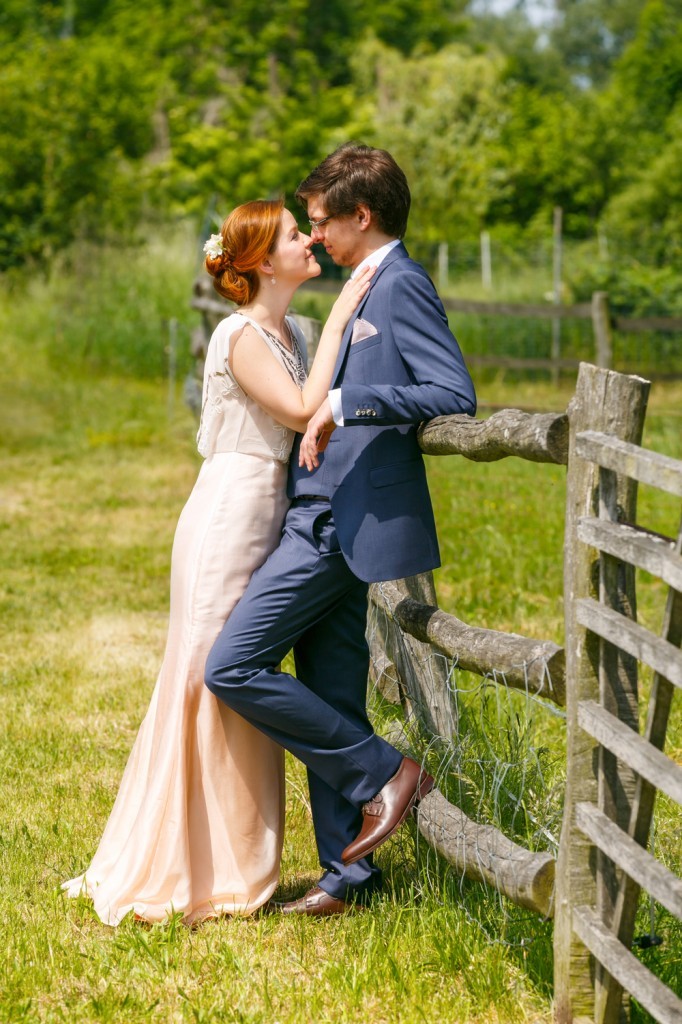
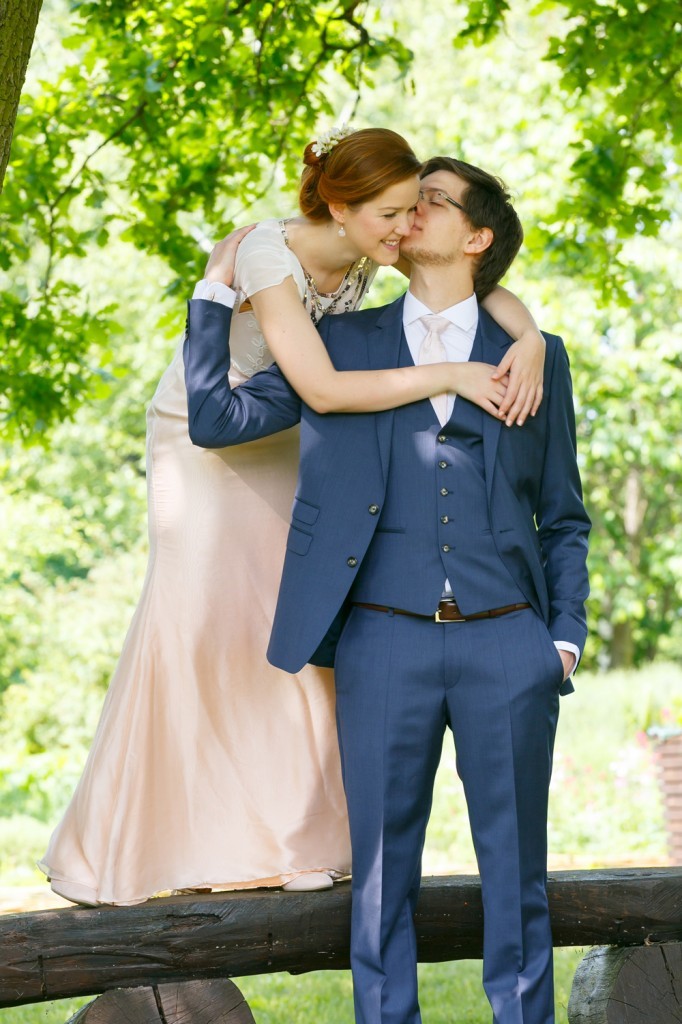
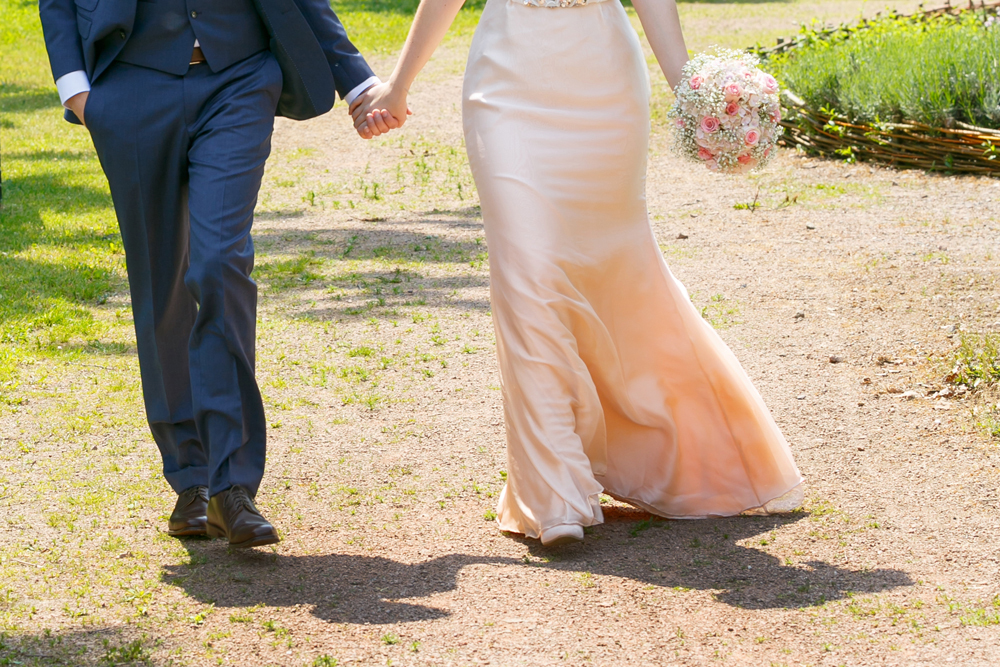
Although in retrospect I’d say it’s not the ideal fabric for a fitted, slightly mermaid shaped dress, it was simply perfect. I got a lot of compliments just because of it’s subtle and pretty colour. Our wedding was pastel themed anyway, so all the pieces came together in the end.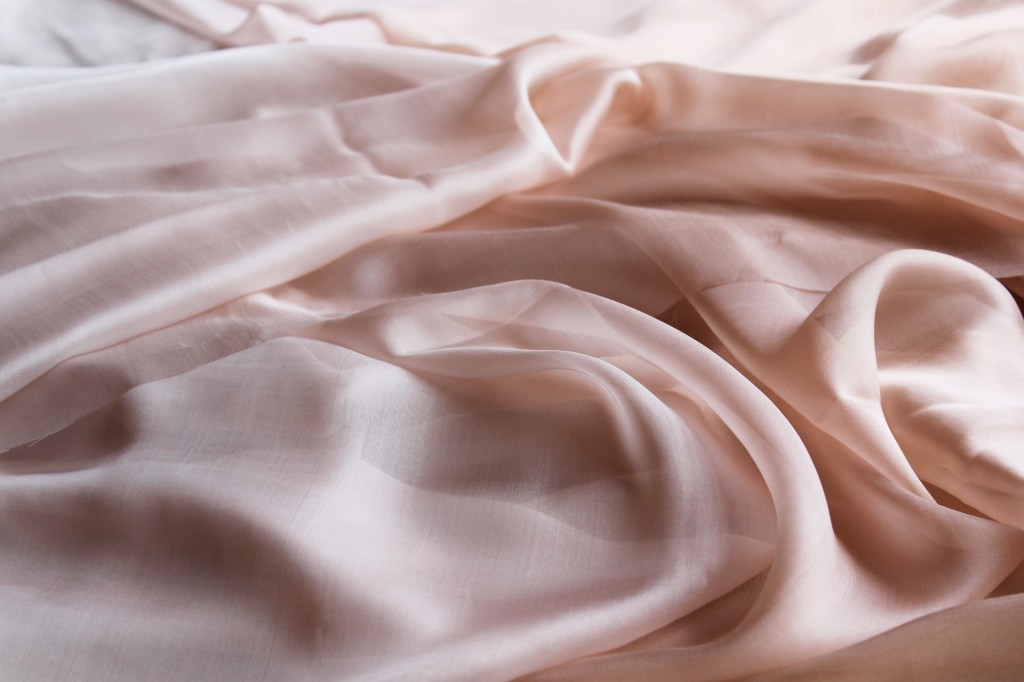 Isn’t it simply georgeous? It’s almost like liquid rose-gold.
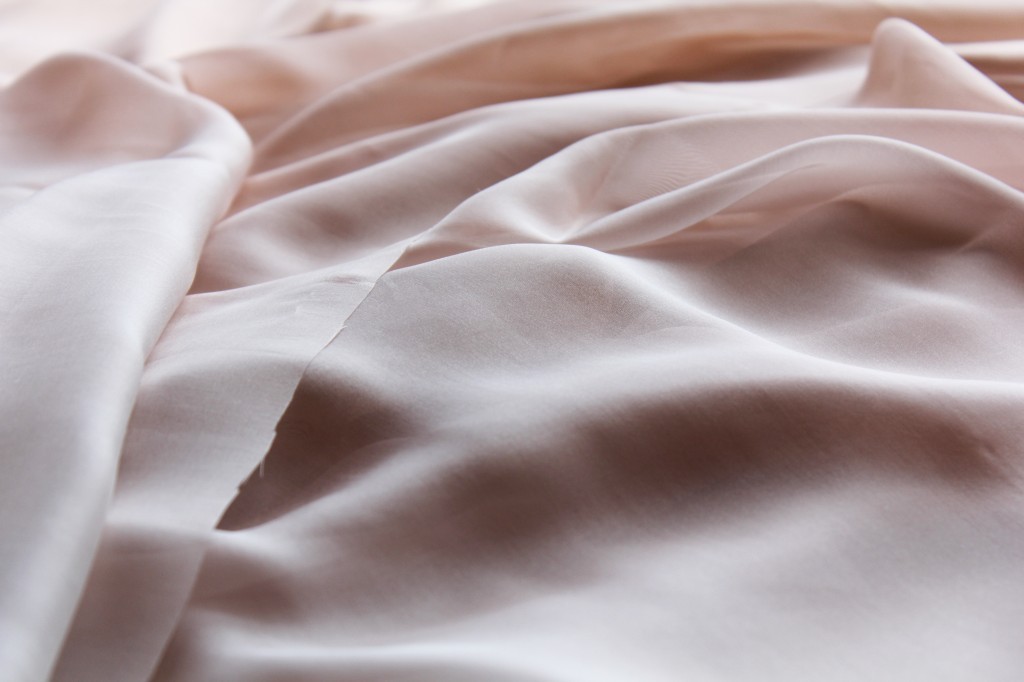
So here’s a rough coloured version of the sketch:
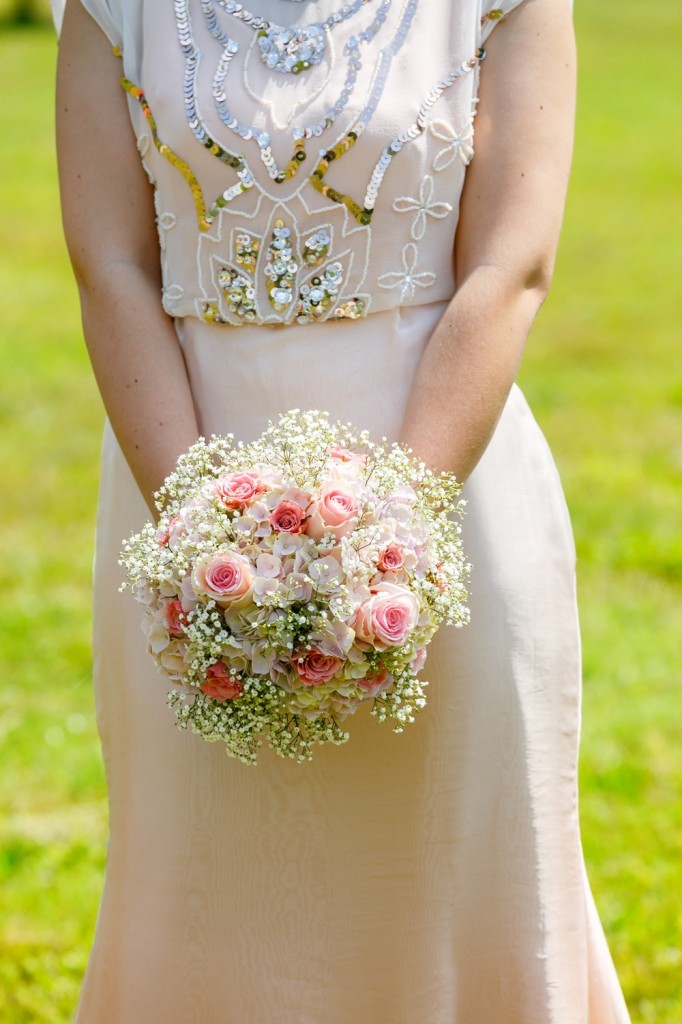
As you can see I wanted the blush pink lining to peak through the sheer ivory top layer of the bodice. The skirt would also be lined in blush pink, with a double ivory/blush pink top layer, so the ombre effect would be subtle but still pretty visible on the dress as a whole with the brightest colour at the top, blending into a darker salmon pink tone at the botton.
The plan was to create a unconventional wedding dress that would still let me look like a bride. So bridal at the top, individualism at the bottom.
After embroidering the bodice fabric, I cut out the bodice pieces, sewed front and back panels together and finished the seams. I created the lining bodice, a spaghetti top which is lined and basted top layer and lining together at the waist seams. I didn’t attach the spaghetti straps until after having constructed the dress as a whole with an added waiststay. Only after that step I knew exactly where the top would sit and how long I needed the straps to be.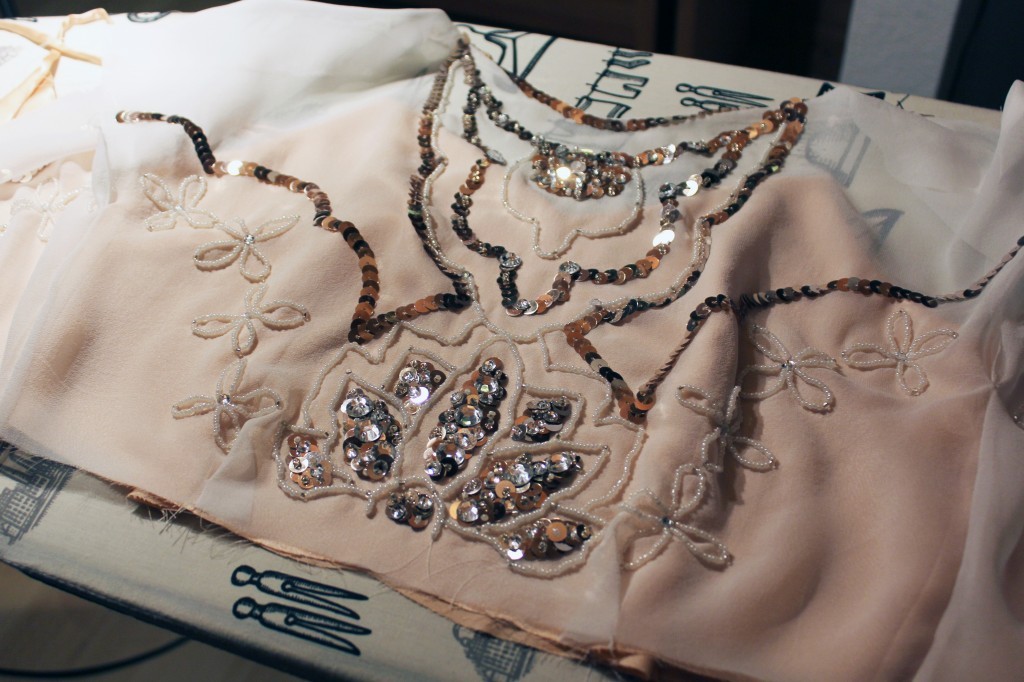
Apart from the french seams on the sides of the bodice and skirt panels, most seams were hand-sewn. I finished the neckline and armhole edges on the sheer bodice with a hand-rolled hem, the go-to technique when finishing silk fabrics.
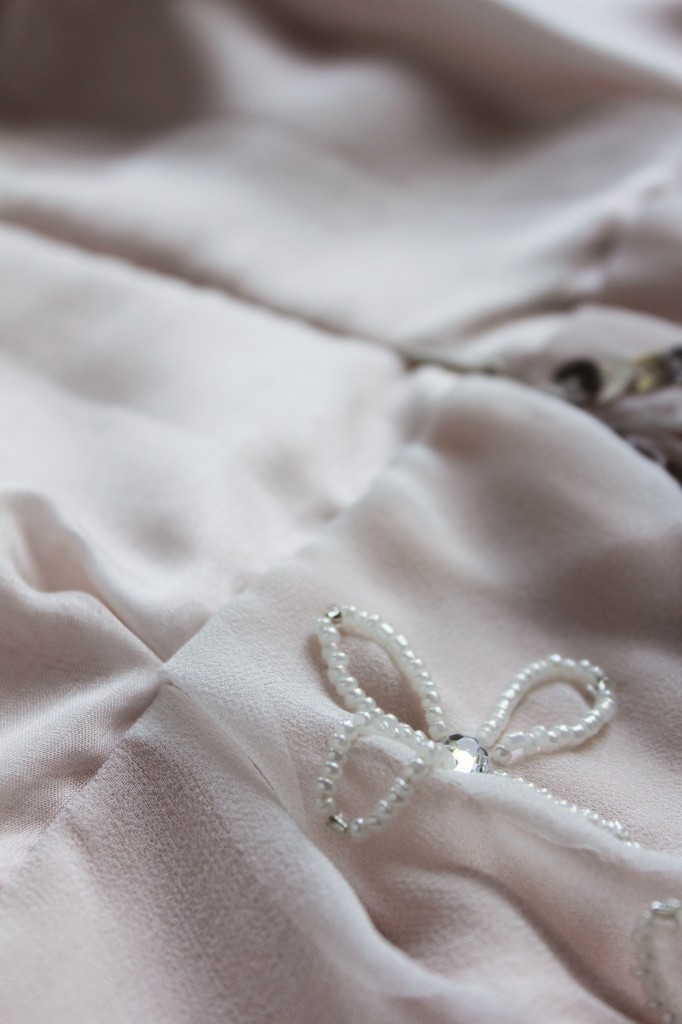
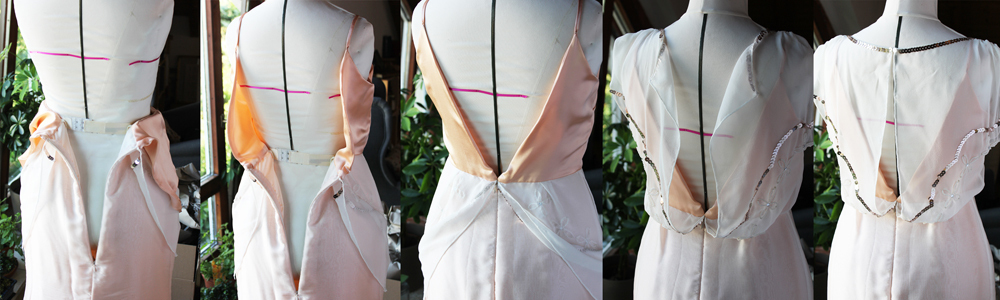
I decided to add a pretty detail on the front and back when I attached the lining straps: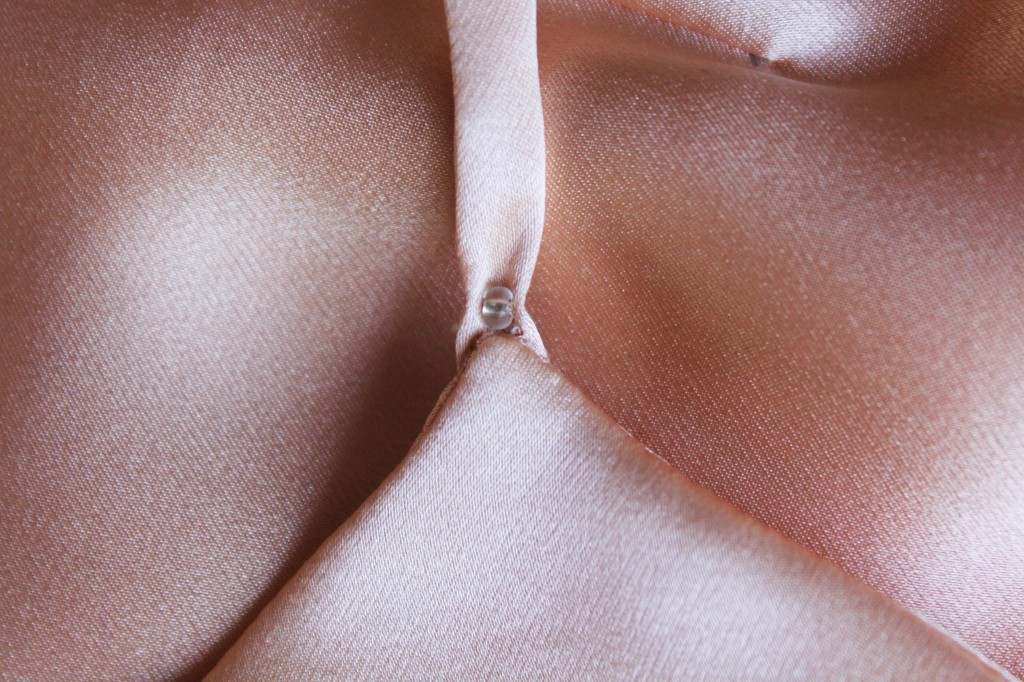
Here you can see the understitching on the lining’s lining and where I handsewed the straps onto the lining bodice.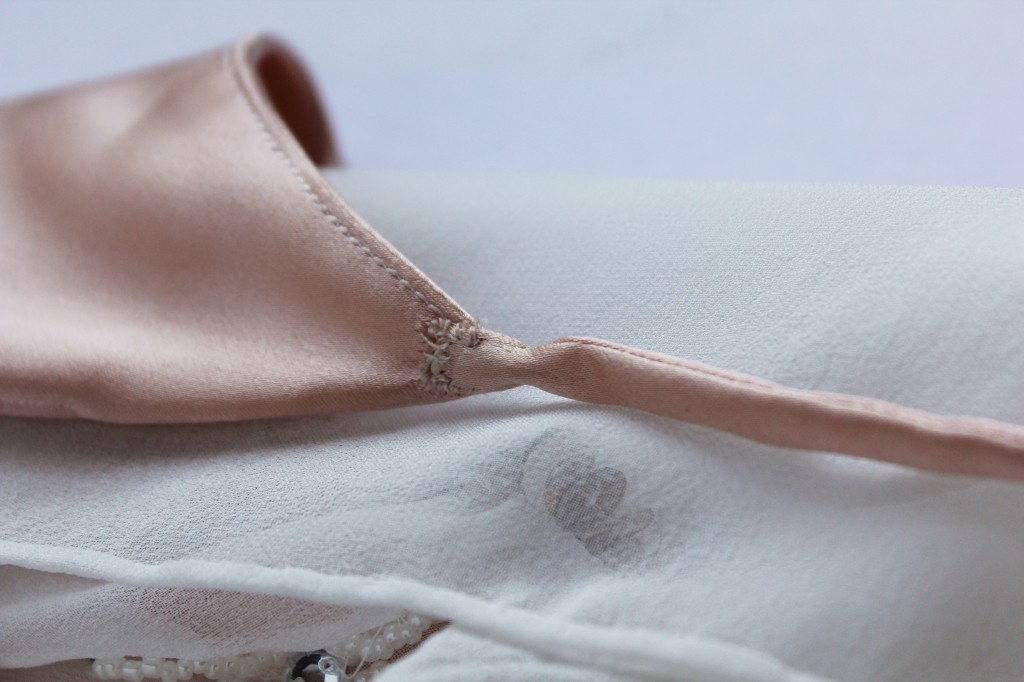
A very fine hand-rolled hem at the neckline with just enough edge standing over to keep the sequins from my skin (scratchy!)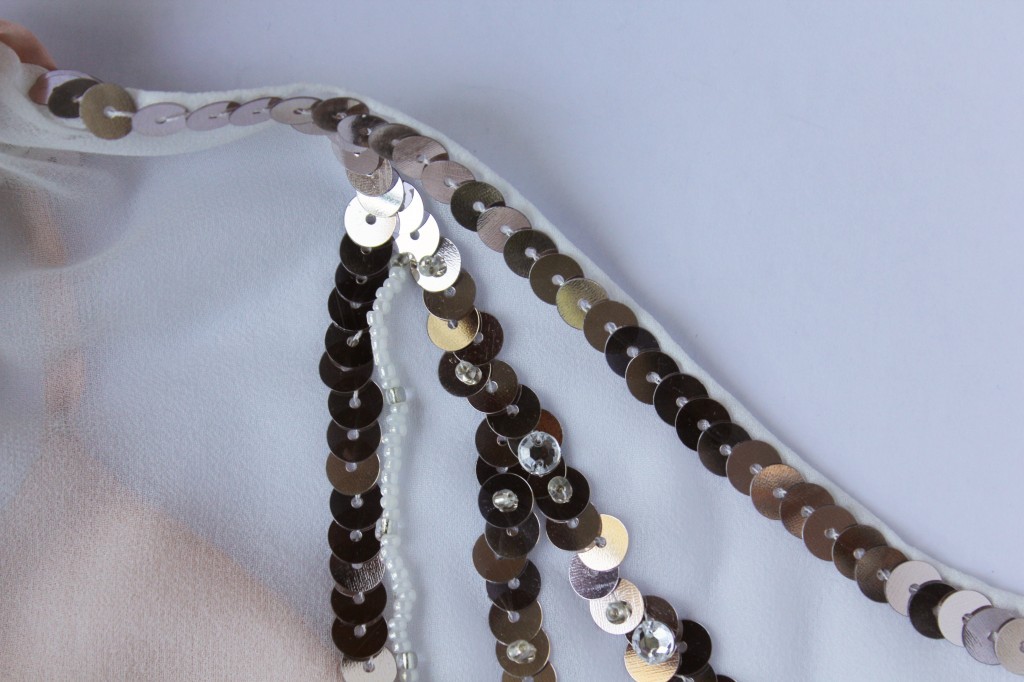
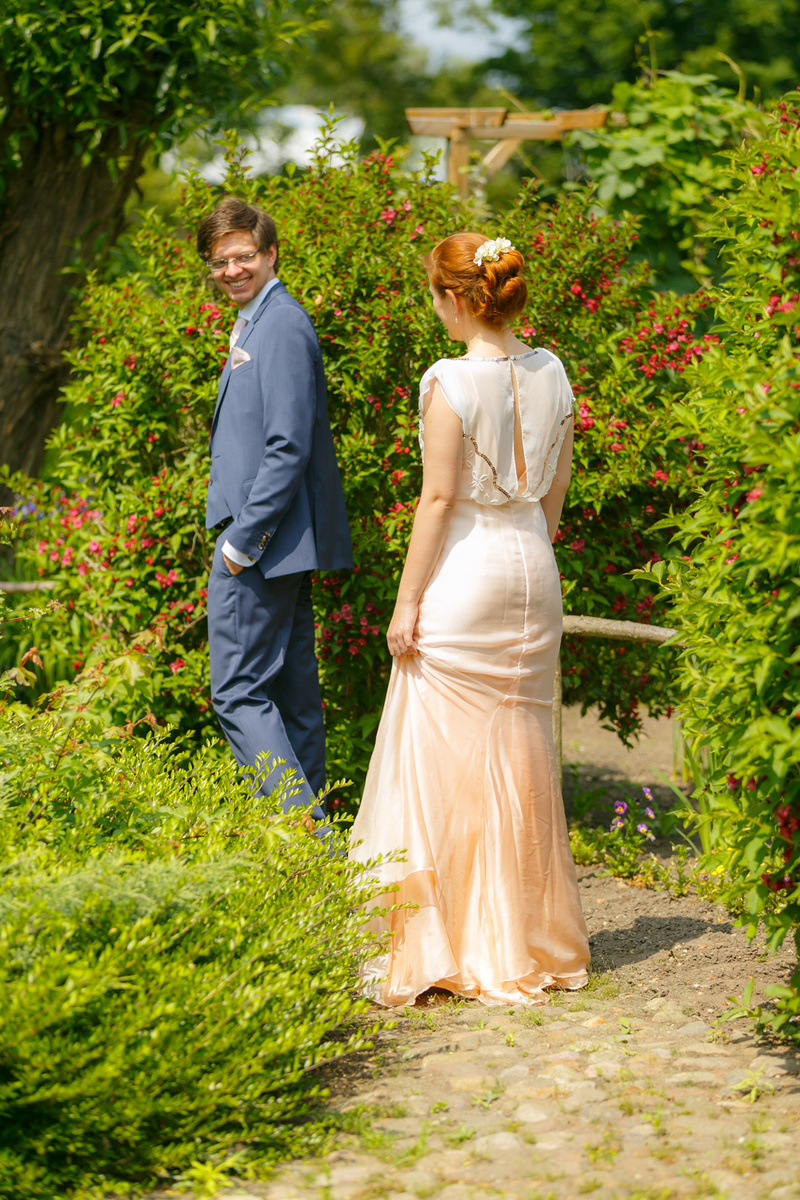
The back opening is finished with a hand-rolled hem as well. (I spend a lot of hours doing this while watching Homeland non-stop). The button is vintage, a single one I found in my collection.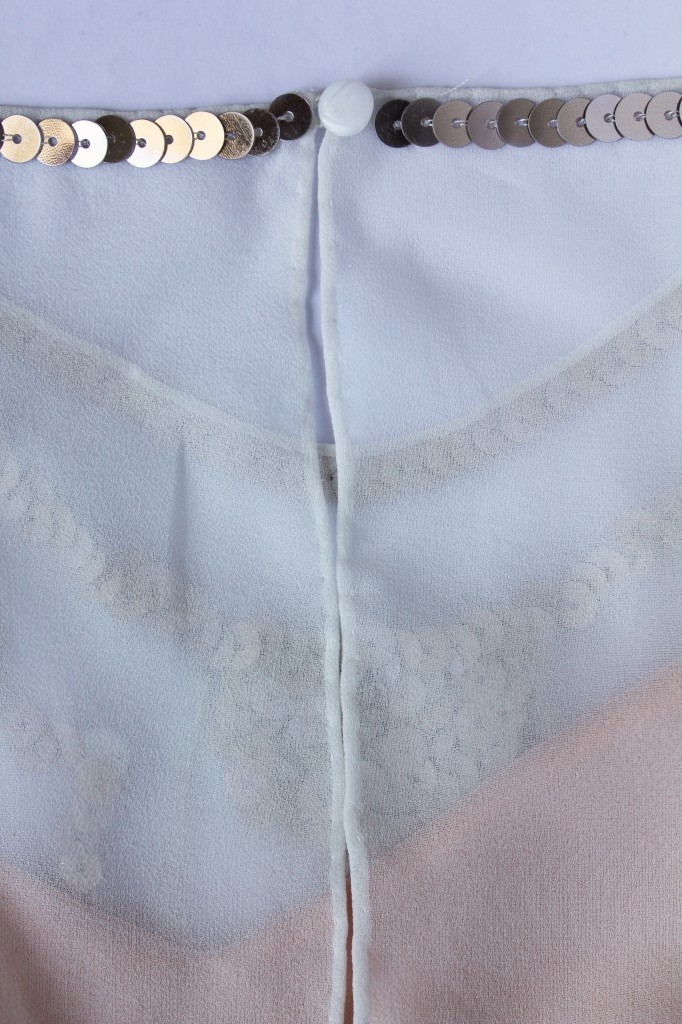
Here’s the loop I created for the button. If you look closely, you can see a tiny piece of white cotton fabric in the corner, to stabilise the silk georgette from the strain of the button fastening.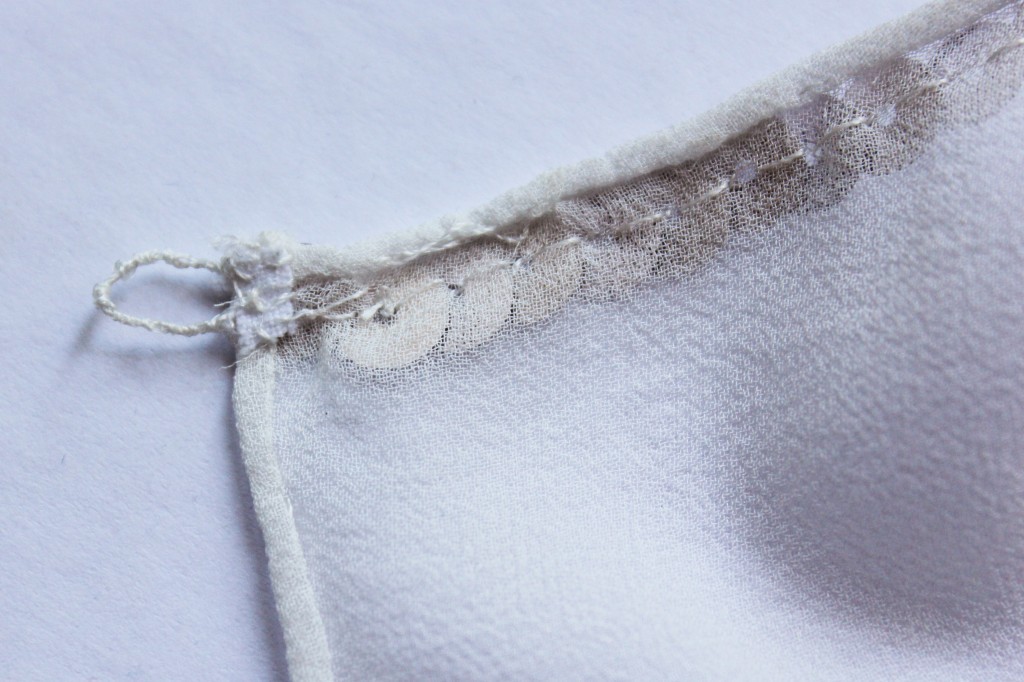
The ruched shoulder seams…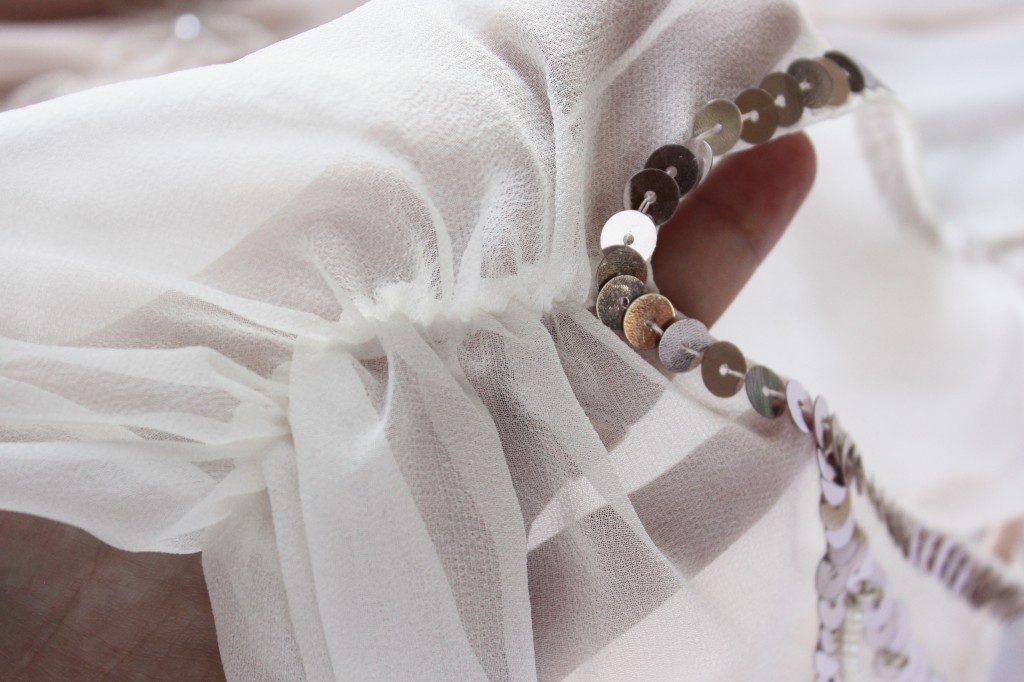
…also with the edges finished with a hand-rolled hem. I actually didn’t sew the row of sequins up to the seamline. I left a tiny gap of about 1,5cm on each shoulder piece and added single sequins after sewing both pieces together.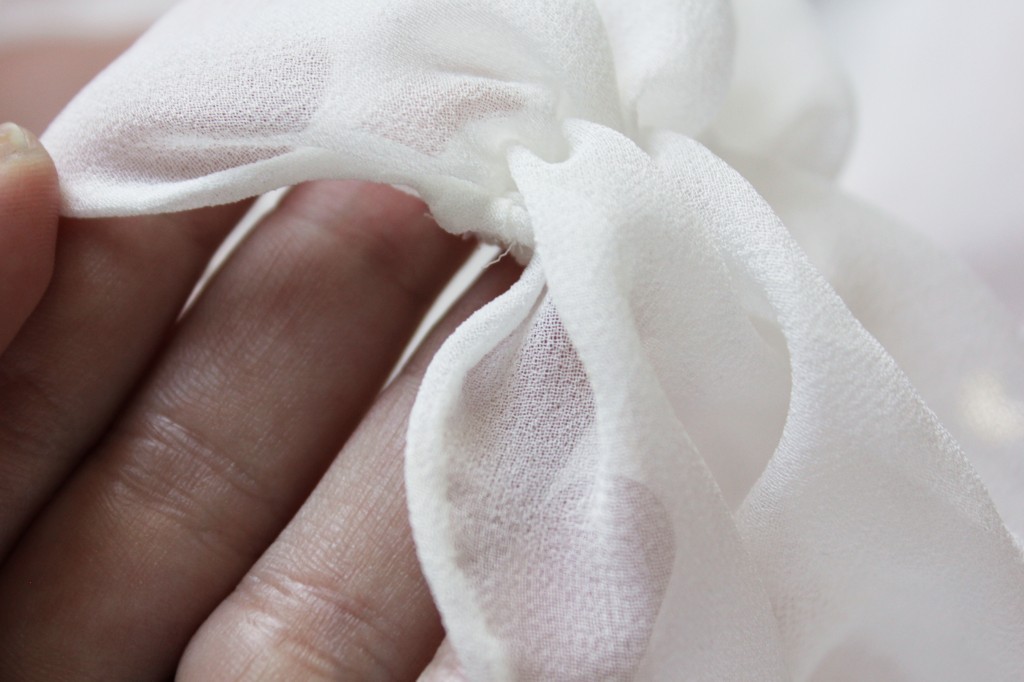
Now to the skirt:
First of all, I had to deal with three layers of silk fabric plus one slippery layer of poly satin. So yes, there was basting involved. First, I finished all seams on the skirt (except for the hem) and then basted all four layers together at the open centre back before the zip went in.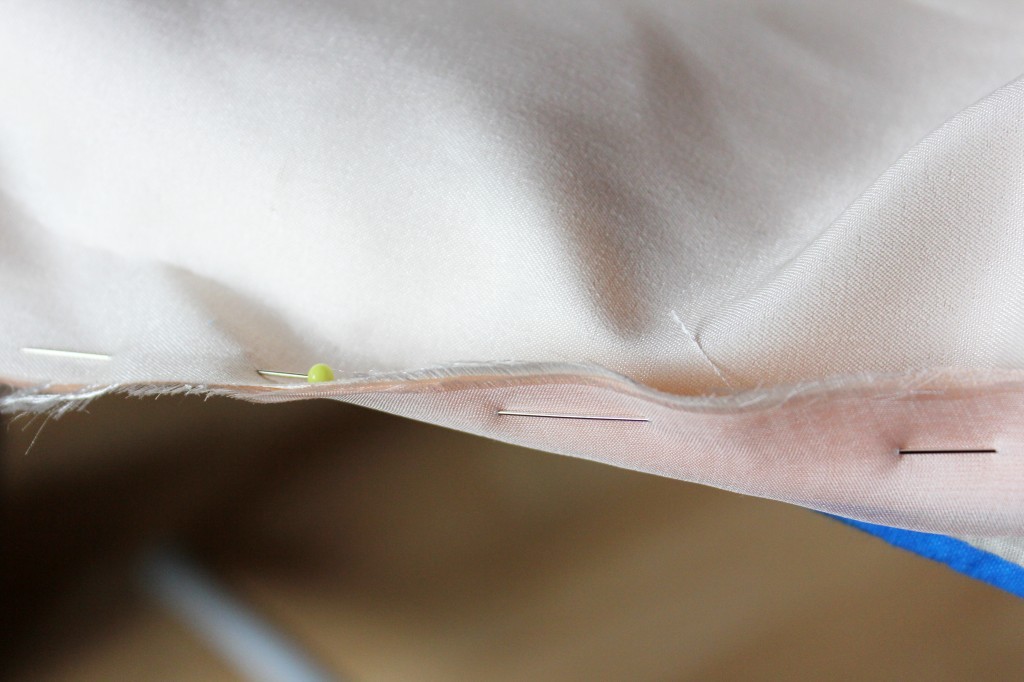
One last fitting before sewing in the zip along the newly marked seamline. I sewed the zip in by hand and I might have added a row of machine stitching afterwards, but I can’t actually remember.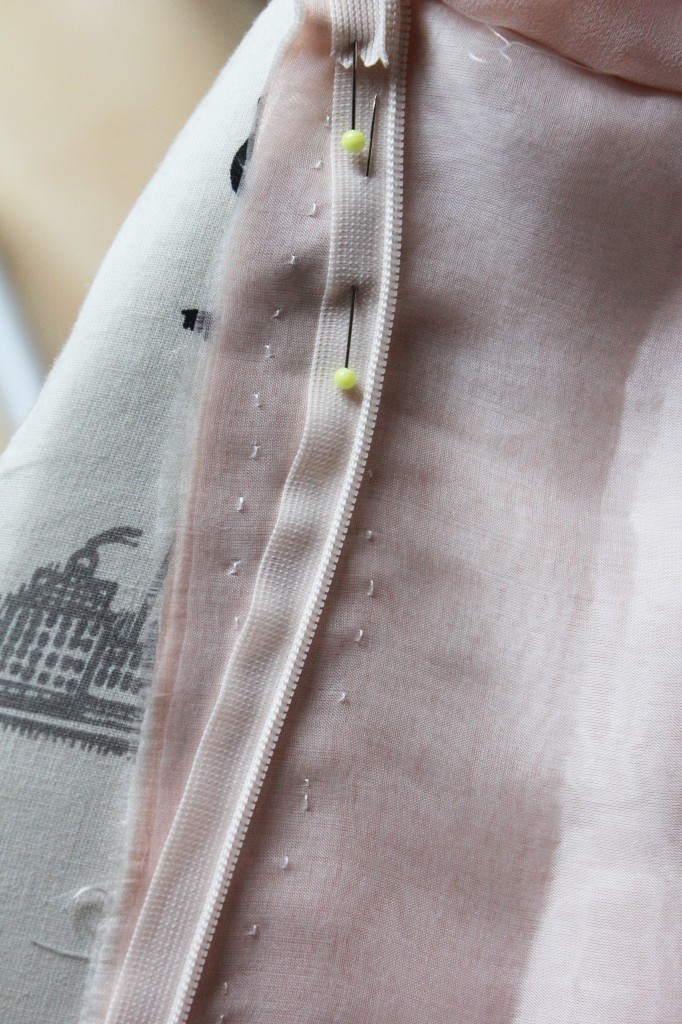
Here’s a photo of the finished zip and waistline with sewn-in waist-stay: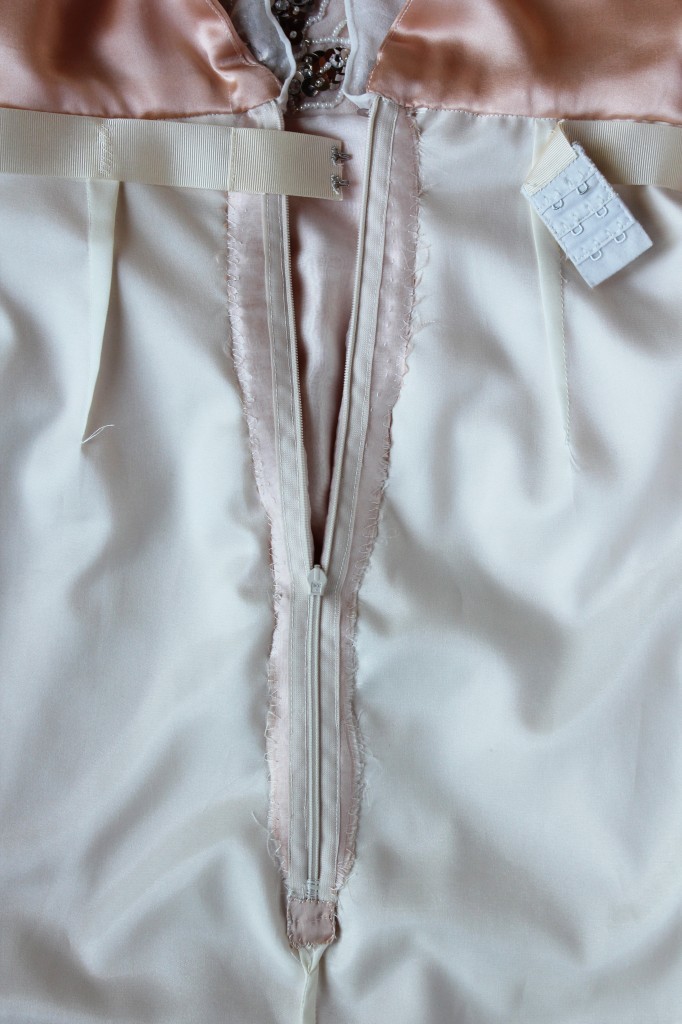
The raw edges are sewn onto the lining, thus finished. I added a small tap at the bottom of the zip to prevent any raw edges from itching (especially since I had to shorten my zip by cutting off the lower half). The centre back seam then blends into a french seam below the zip: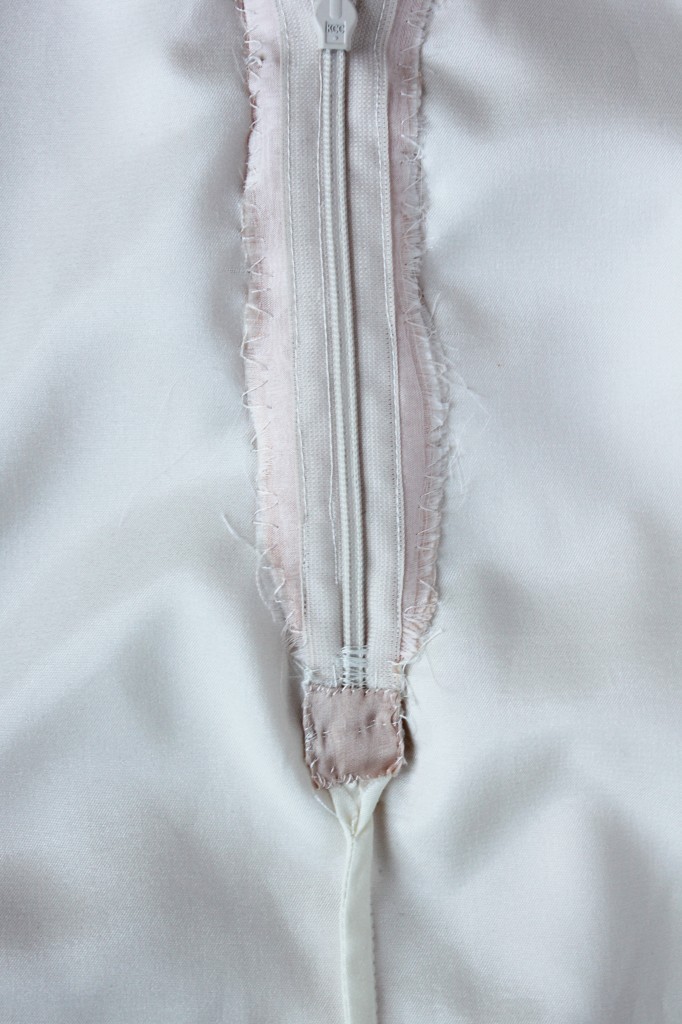
I’m pretty happy with the result. None of the delicate silk fabrics got caught in the zip during all these numerous fittings, which is pretty awesome. 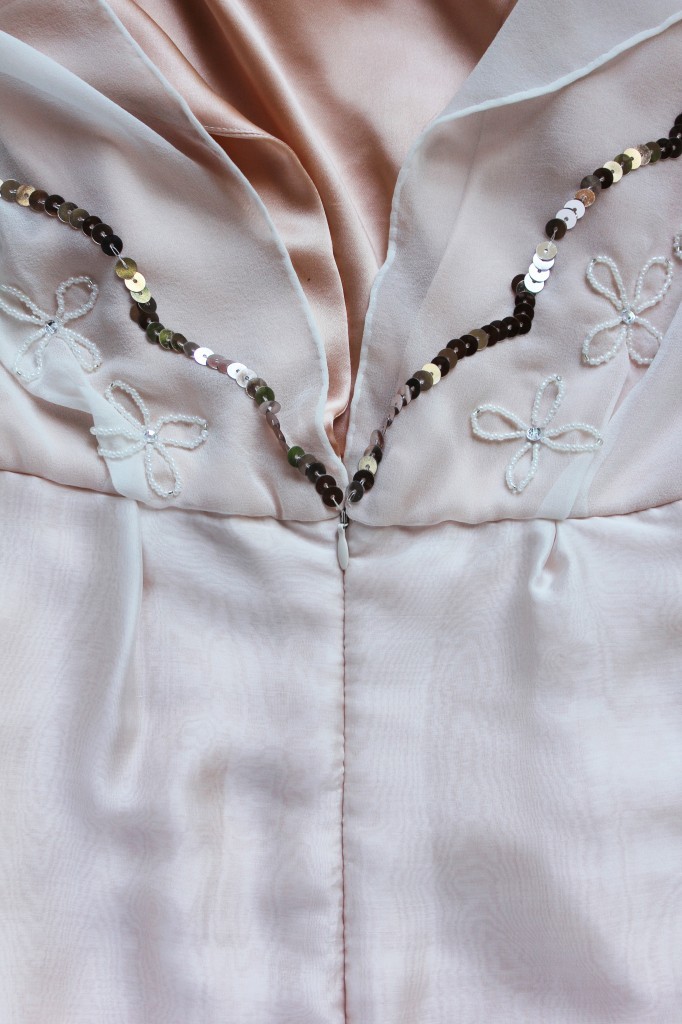
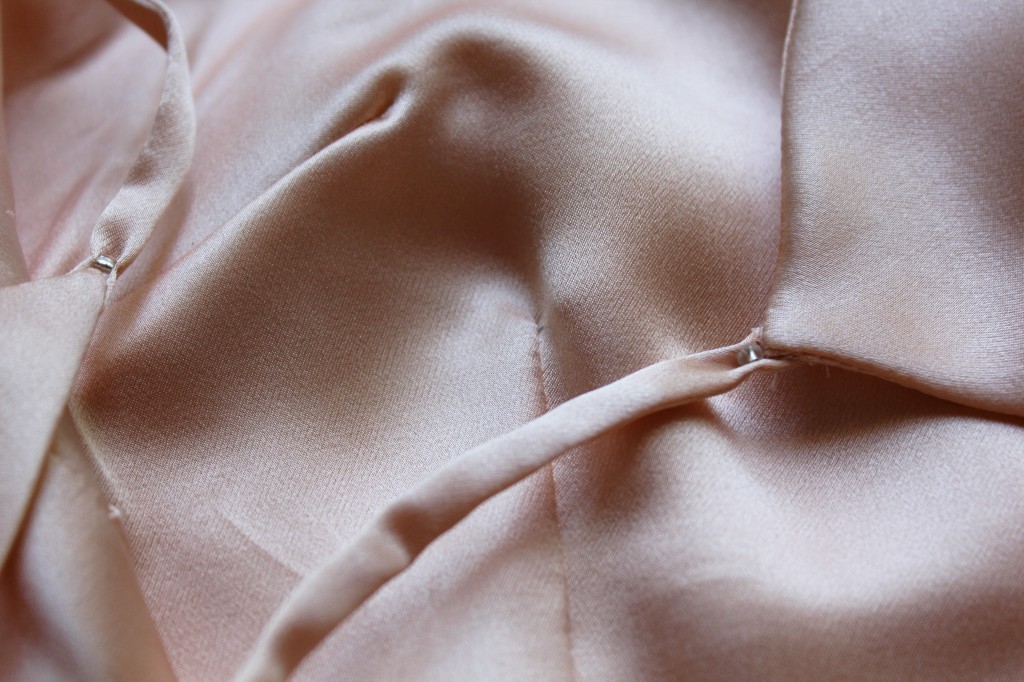
You can also see that I created tucks and pleats instead of darts of the top layers of bodice and skirt. The lining pieces all have darts. This is to have a bit of give in the delicate, non-stretch silks to prevent them from ripping, e.g. when sitting down.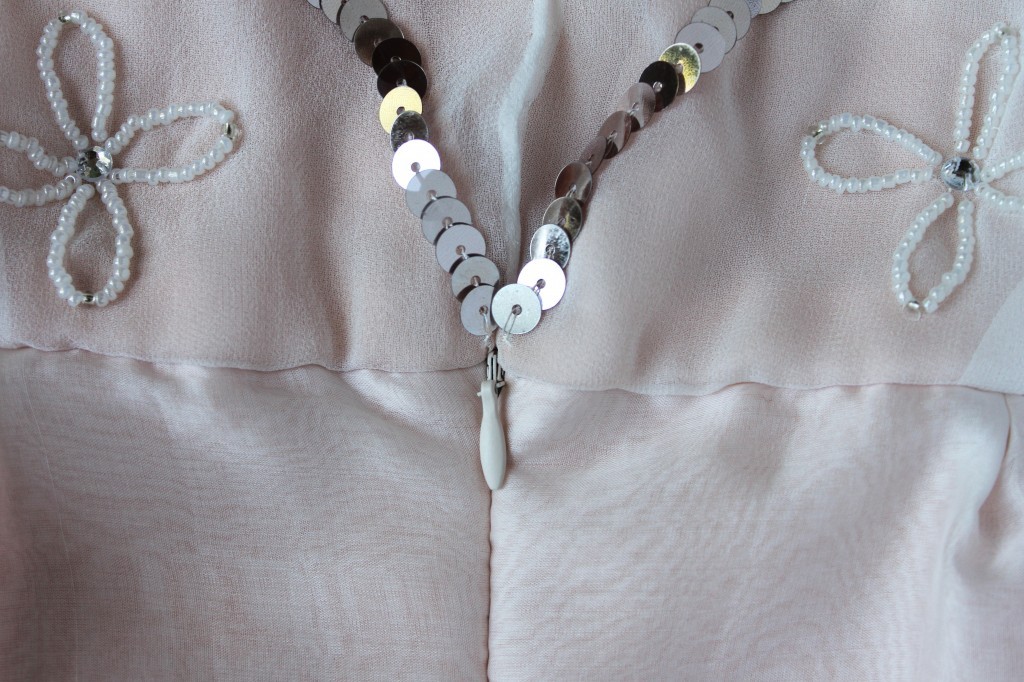
End of the zip blending into the waistseam and finished seams of the open back: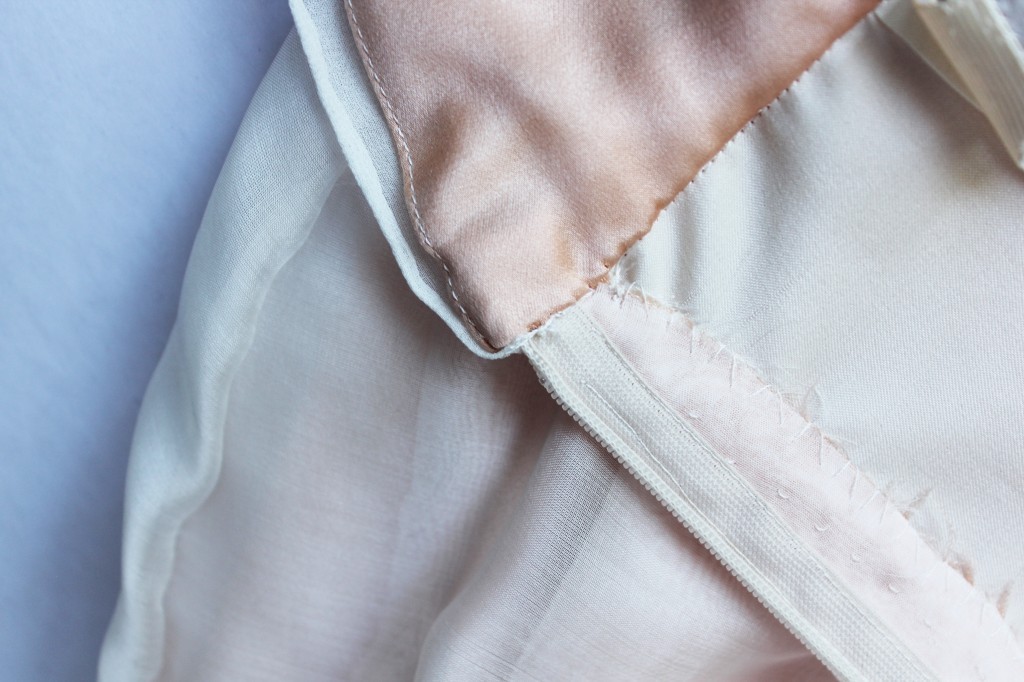
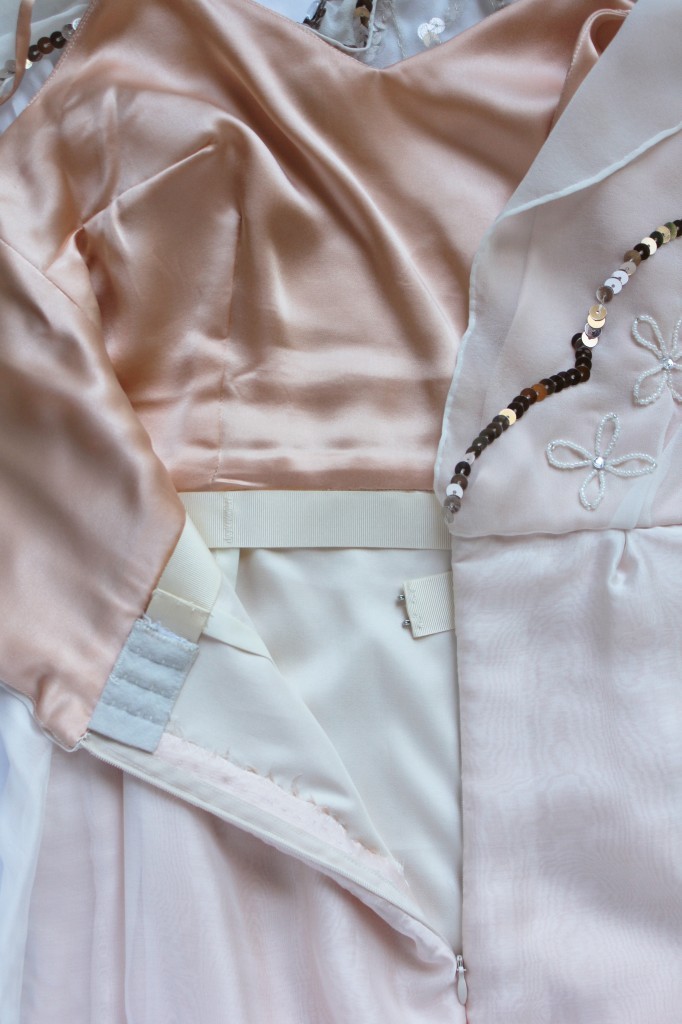
I recycled an old bra for the waiststay closure: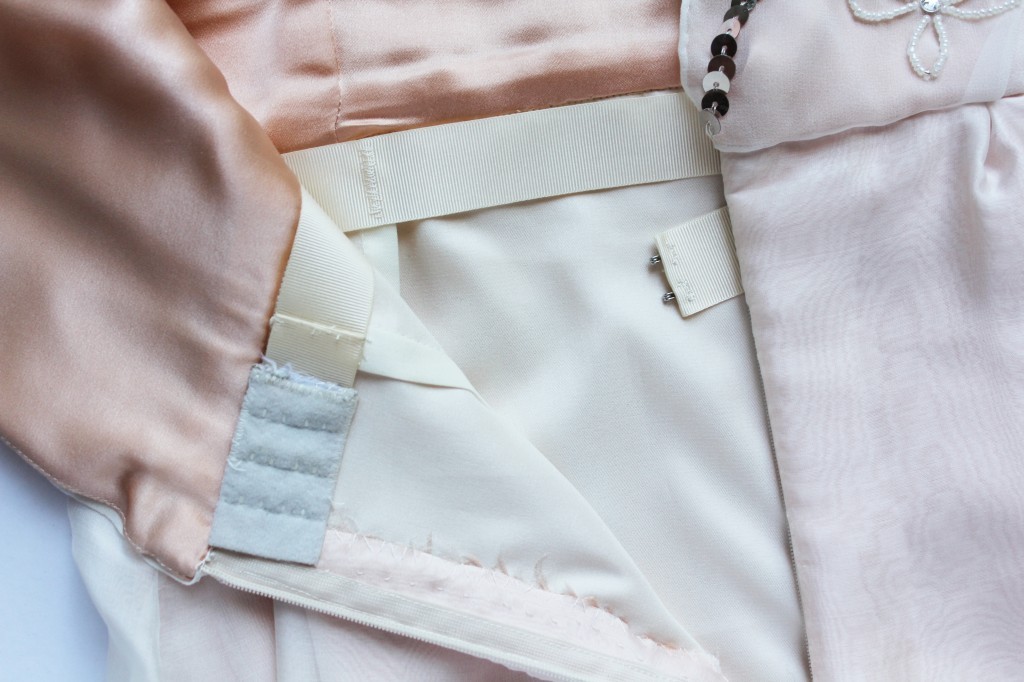
The waiststay is attached to the waistseam at the darts and side seams, invisible from the outside: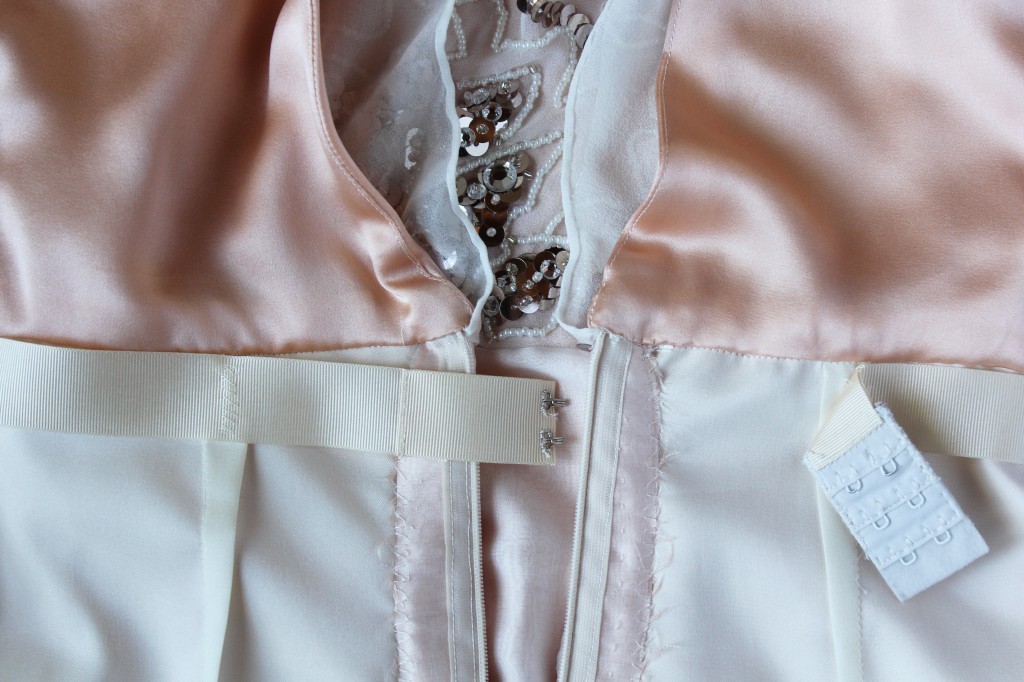


Here’s the well-enough matched-up french side seams of bodice and skirt. (You can see the subtle difference between the georgette at the top and the organza at the bottom)
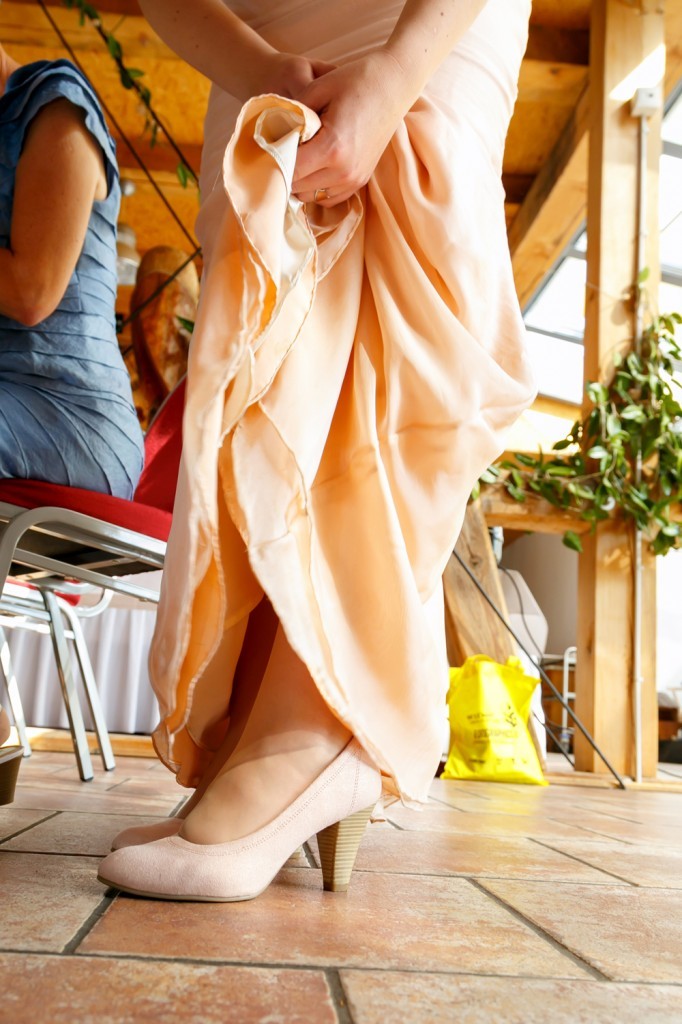
The colour scheme top to bottom: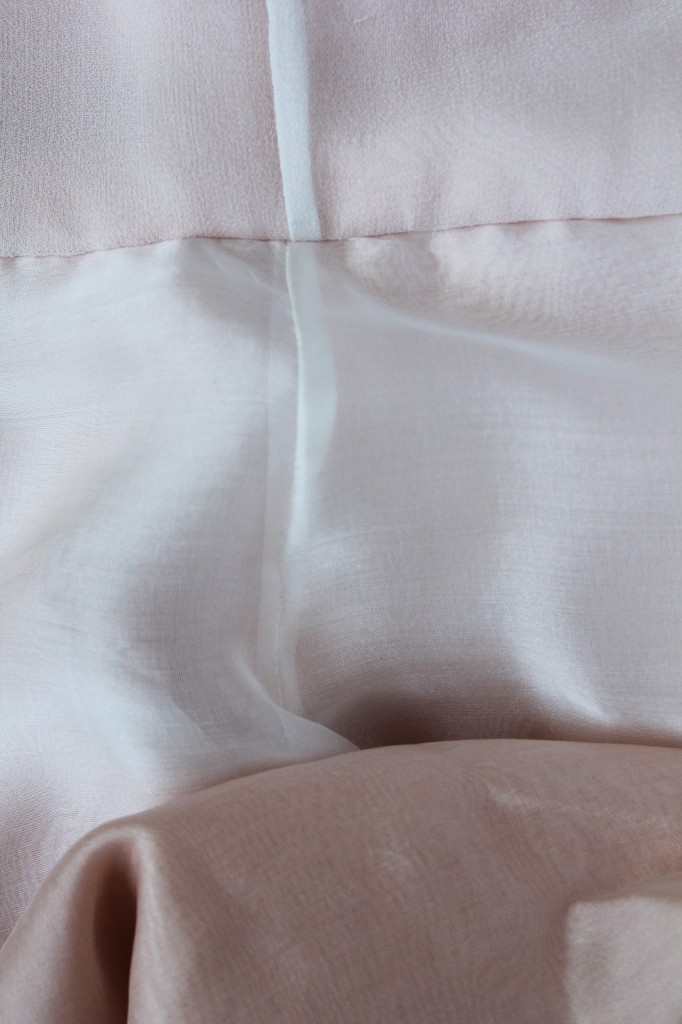
All four layers (roughly 12m hemline), three of them hand-finished. This pic was taken after the wedding, so please excuse the frayed seams and dirty fabrics.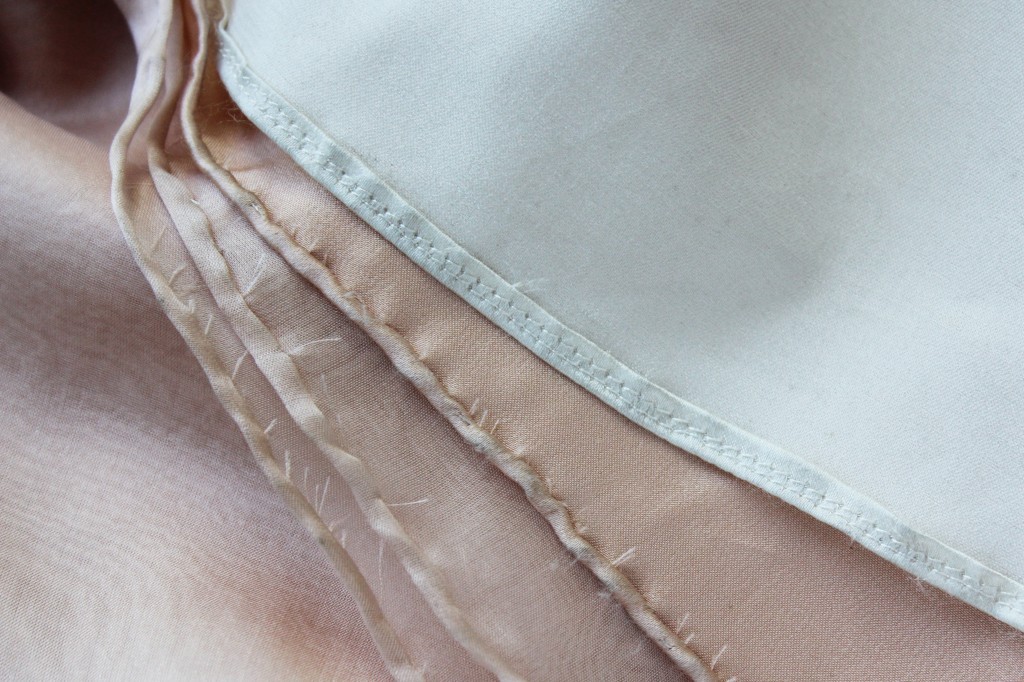
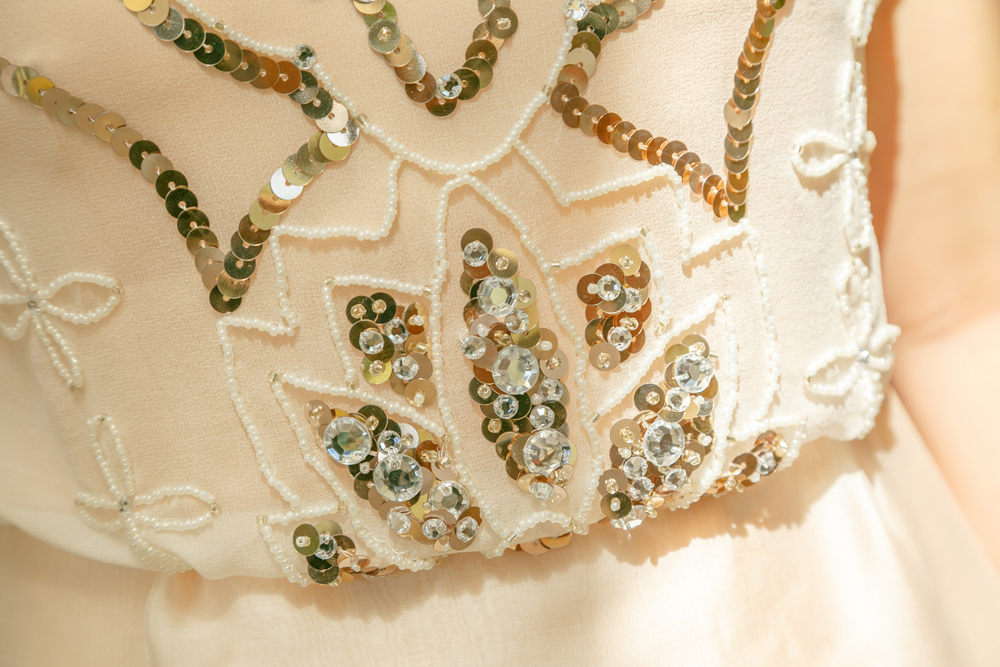
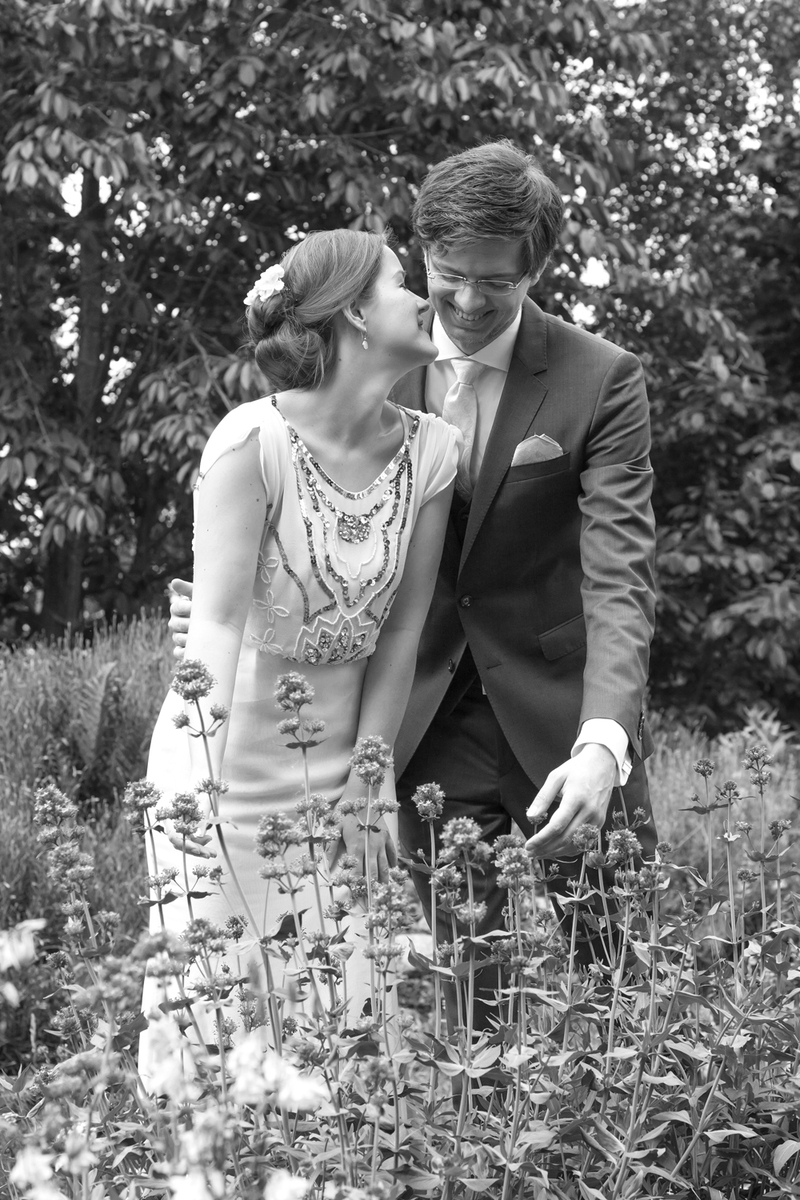
Here you can compare the texture of the embroidered georgette to the delicate silk organza: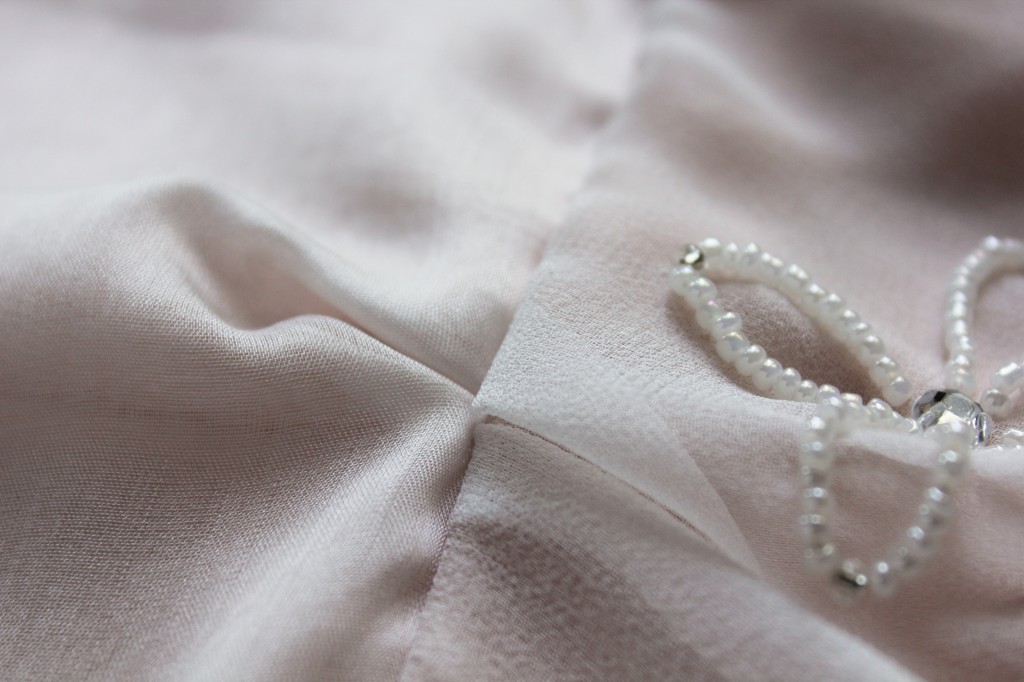
Well, and that was it. Apart from the more-than-average-priced fabrics and a lot of hours of fitting and handsewing, I simply have sewn a dress I wore to a special occaision. There was no wedding dress magic involved. So if you are thinking about making your wedding dress yourself, do it! All you need is time and a lot of nerves.
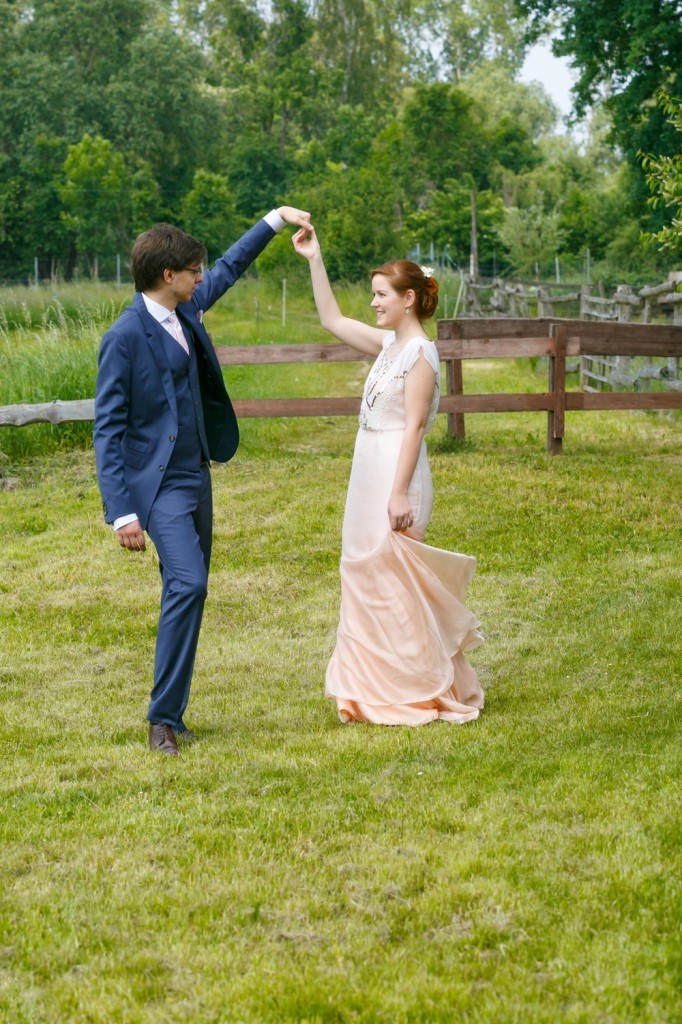
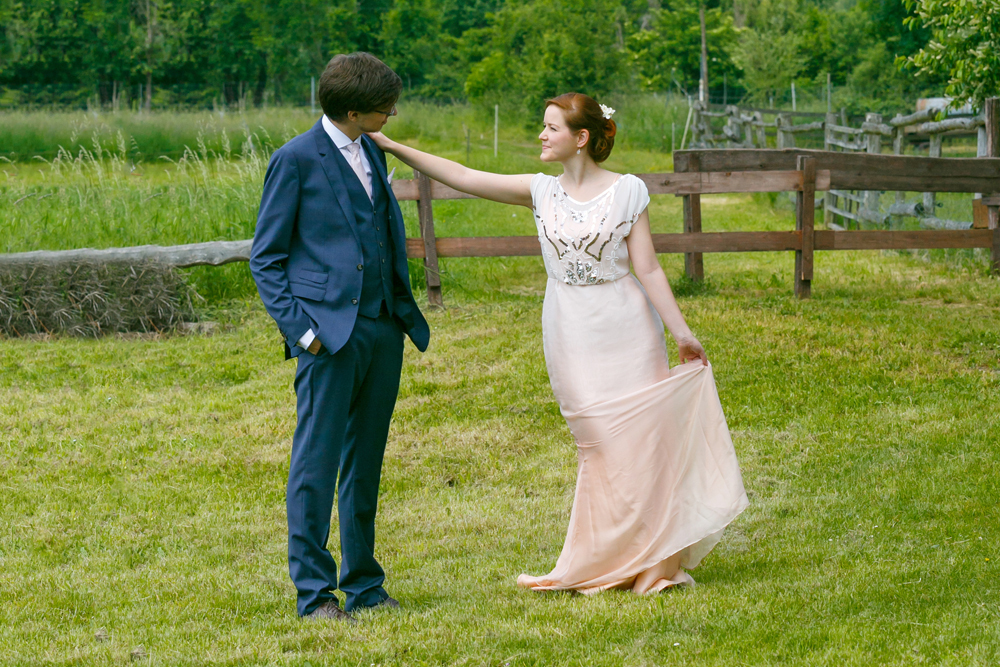
So you want to see the finished dress? Here it is:
Just kidding. That was enough pictures for one post. Make sure to keep your eyes peeled for the final post in this series: The big reveal! (Although you probably have a pretty detailed picture of the dress in mind by now. It might not be very huge surprise tbh.)
So there will be wedding pictures soon! And, if you don’t mind, I’ll share some other wedding DIYs after that, as well. Let me know when you get tired of all this wedding stuff! I’m sure not done yet.
If you missed out on any of the other making of posts, just click on the wedding dress tag below or choose the DIY Wedding category on the right to find your way to the other posts in this series.
xx
Charlie
Happy sewing!
♥
facebook/bloglovin/pinterest
twitter/instagram
Stay in touch!

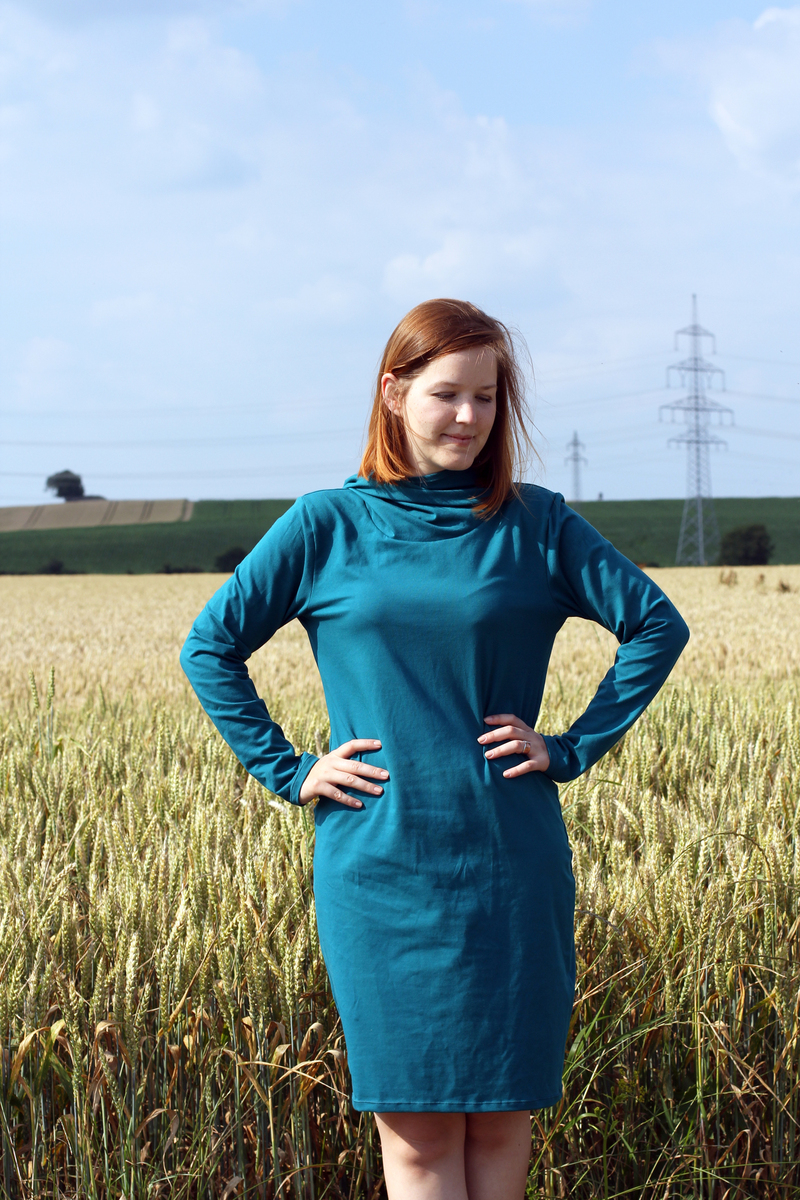
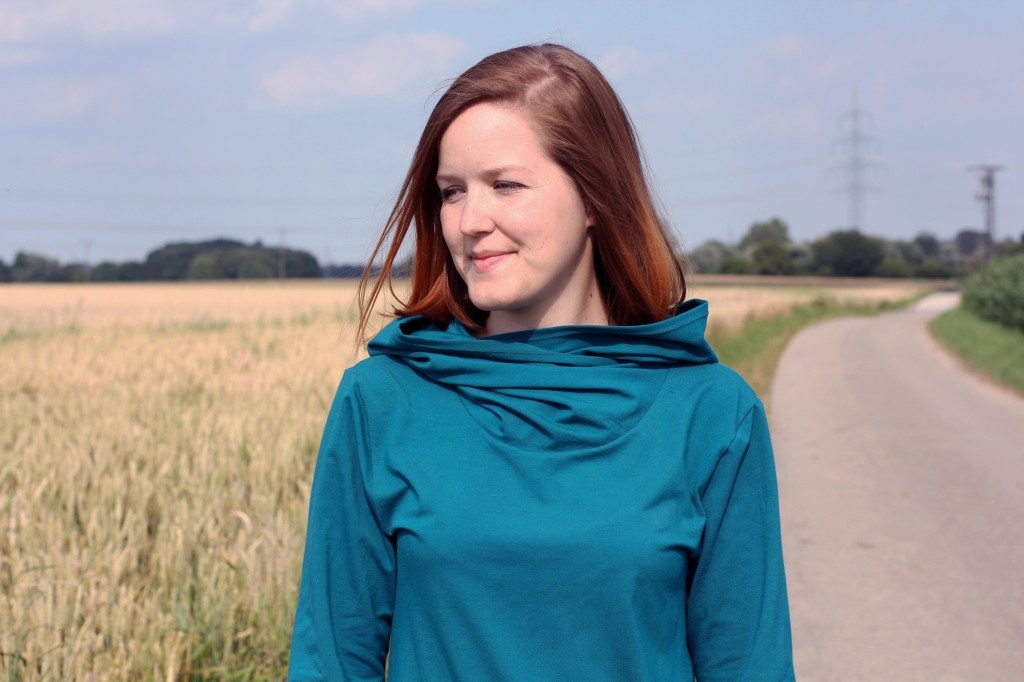

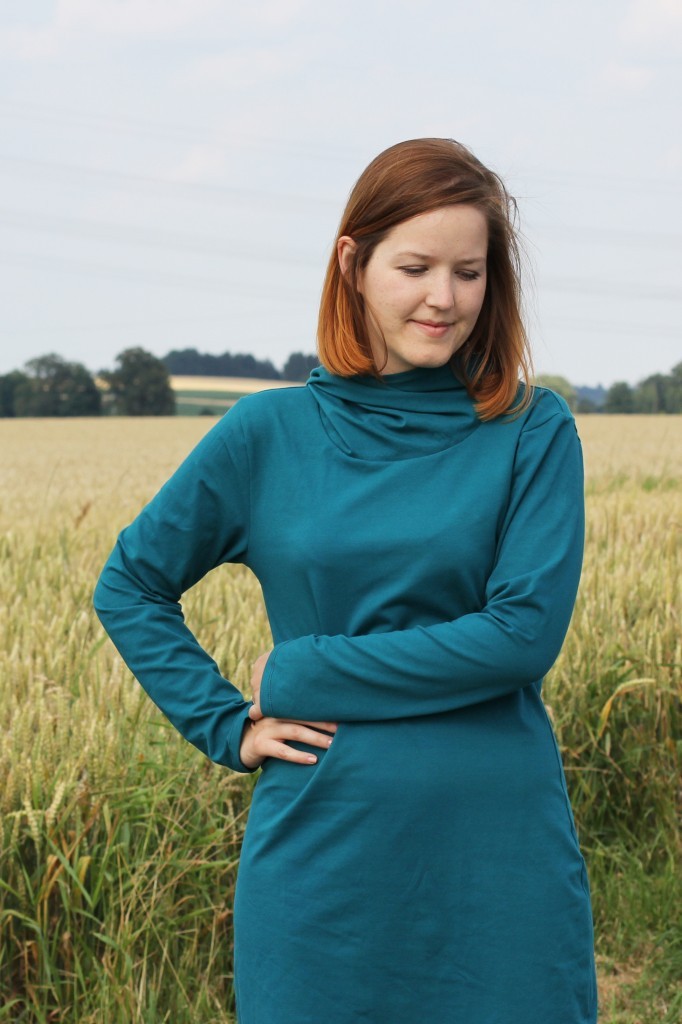
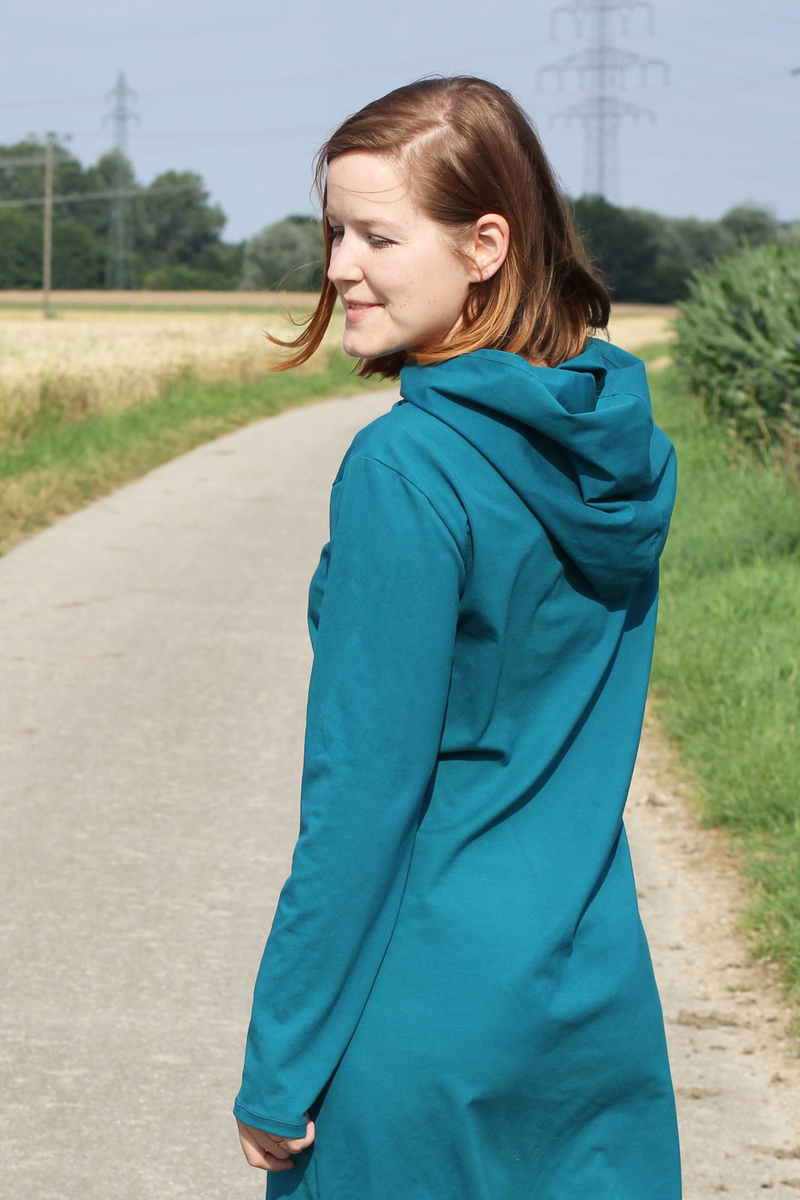

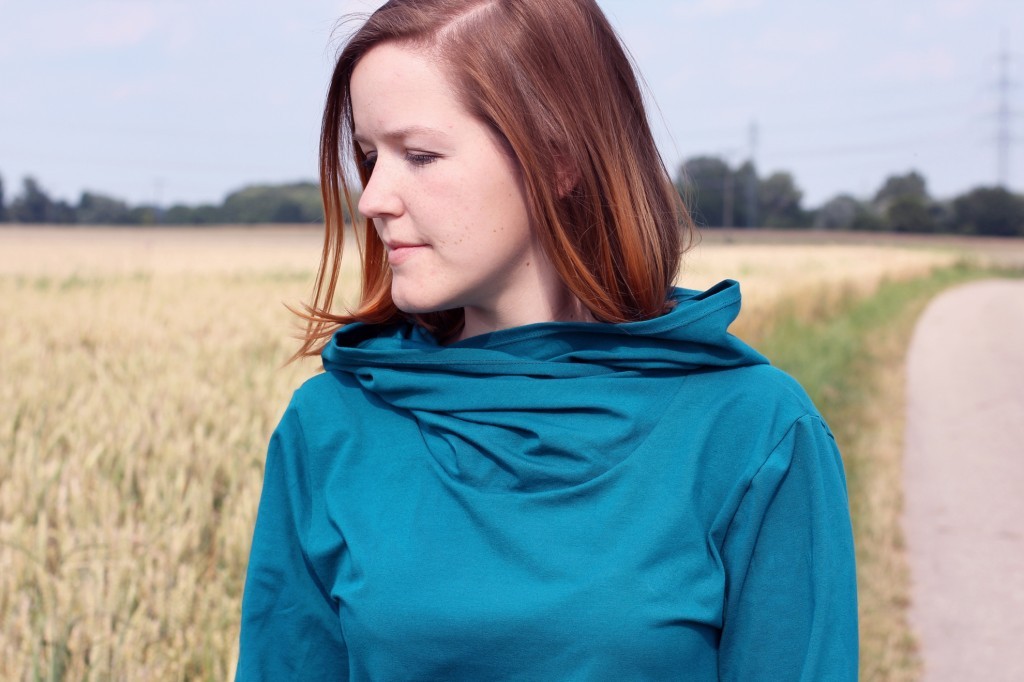
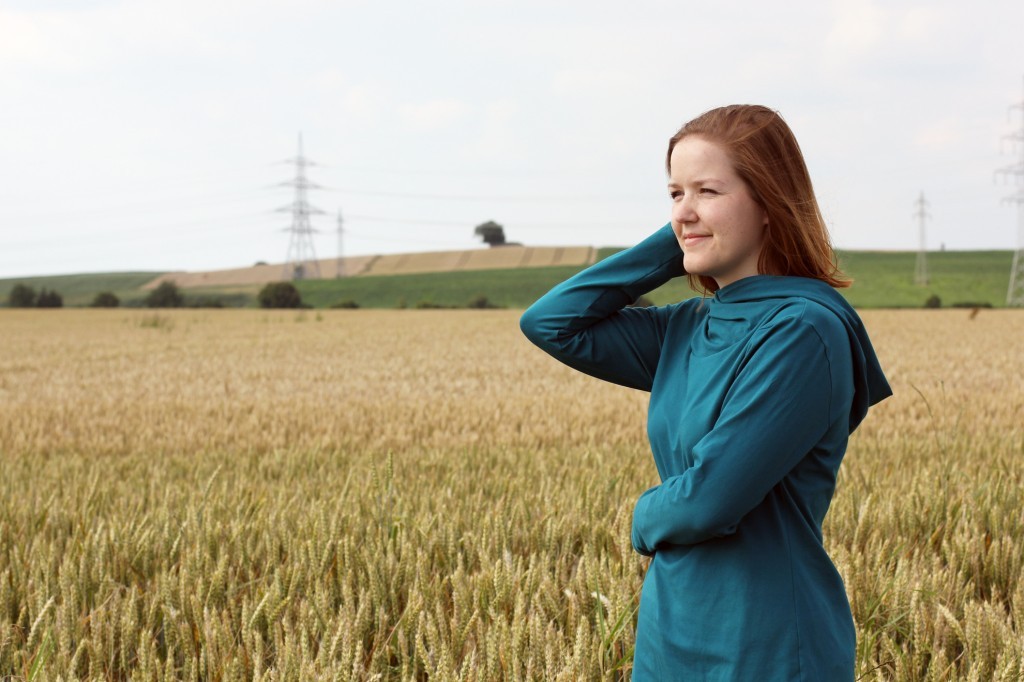
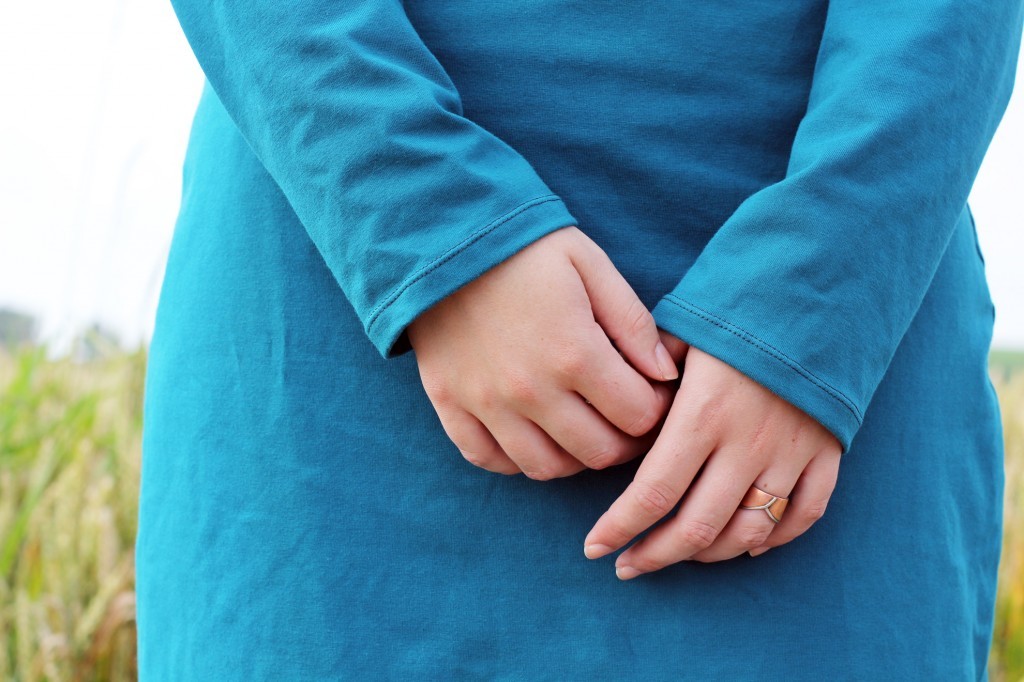
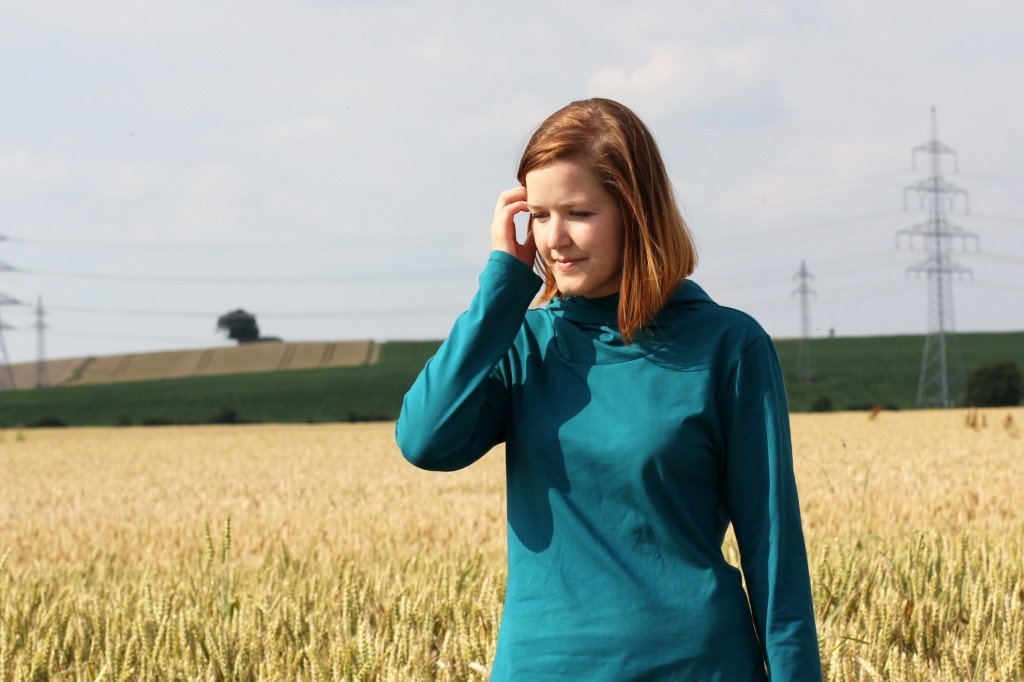 The Anika dress is a really easy and quick to sew pattern that comes in two versions: you can either make it with a collar or a hood. Both collar and hood cross over at the front which looks really cool if you ask me.
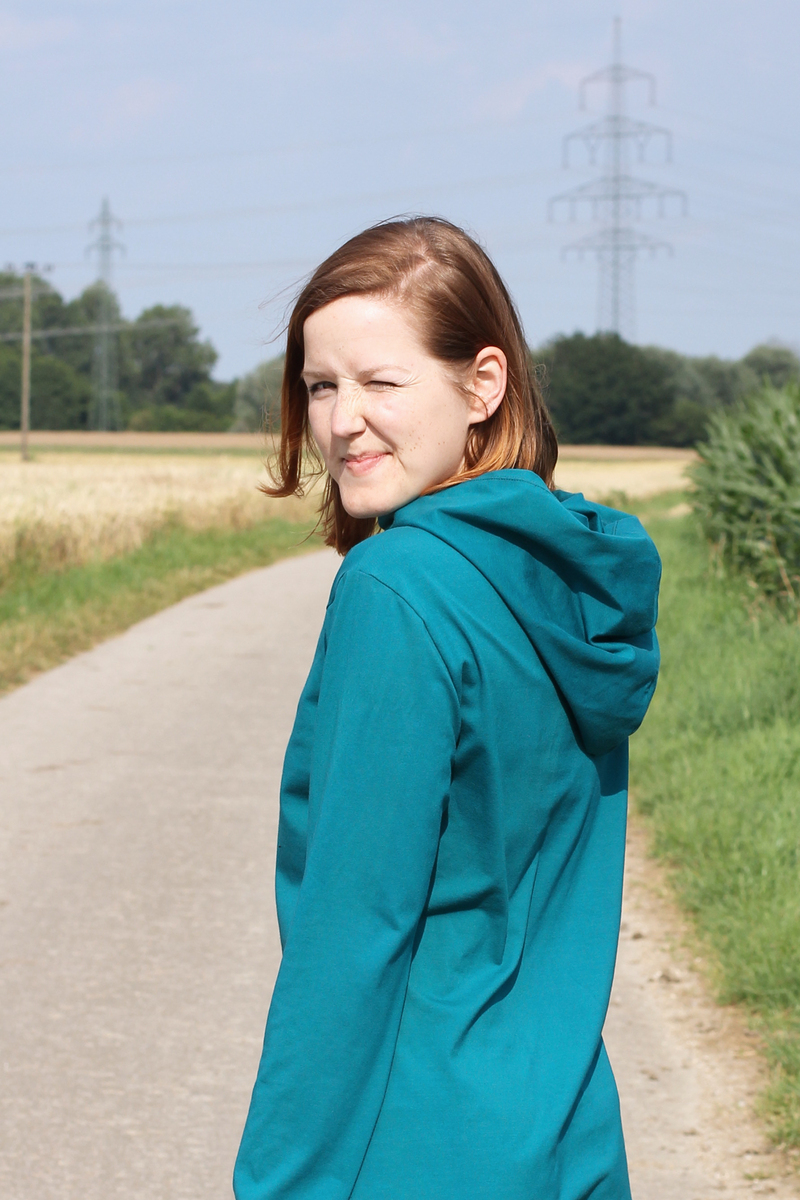


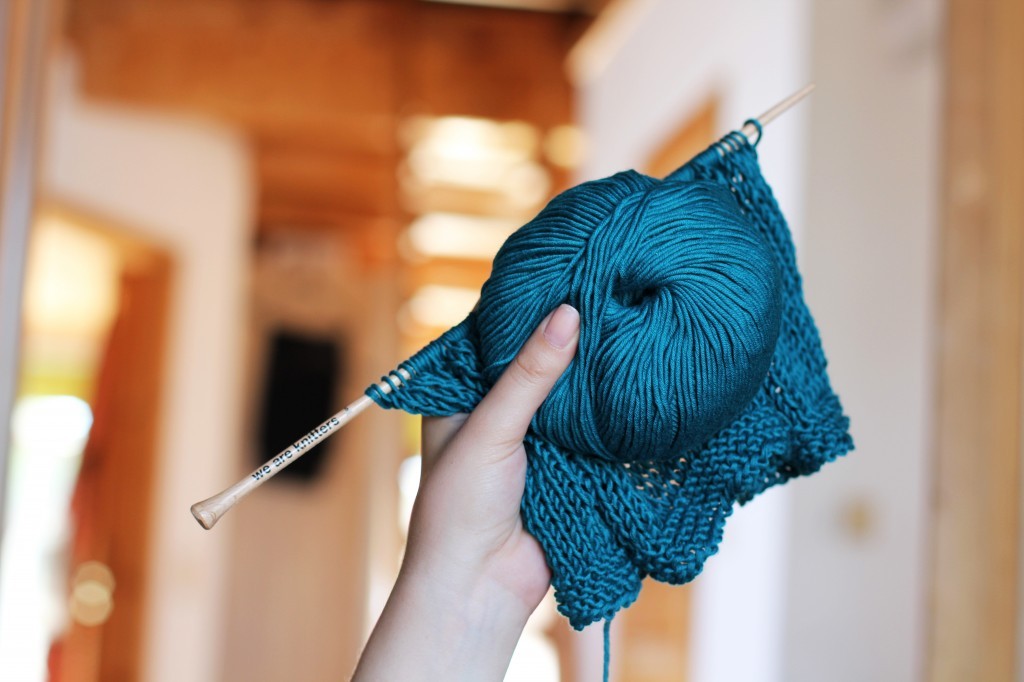
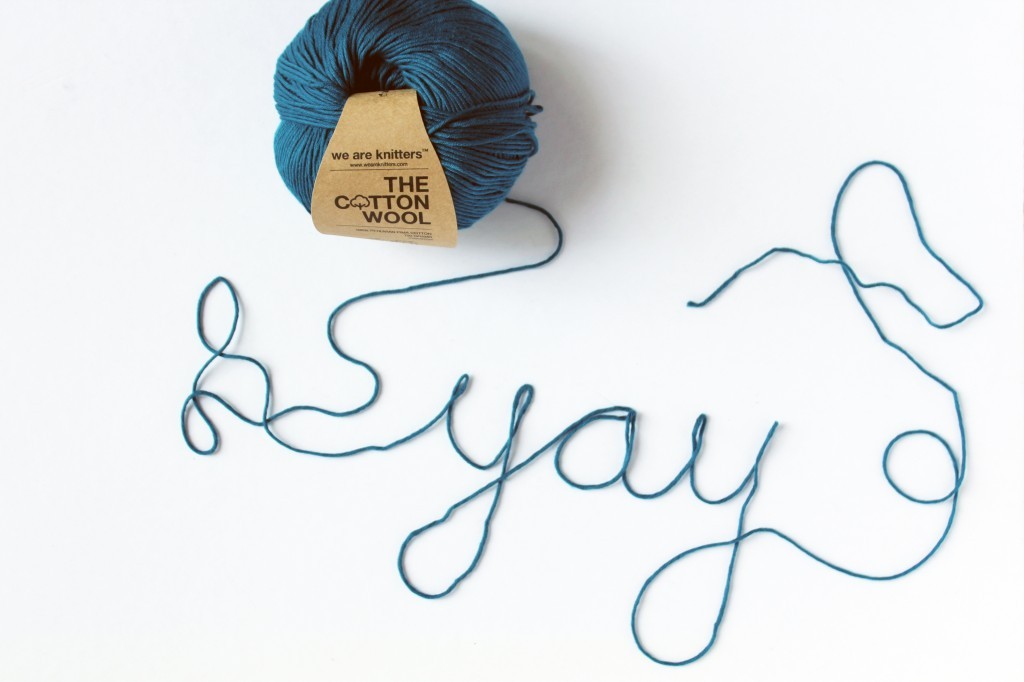
 The fabric is a gorgeous teal one-way stretch knit fabric, courtesy of Zierstoff. The lovely ladies over at Zierstoff headquarters offered to send me some of their fabric so I was able to make the exact same dress as the one in the sample pictures.
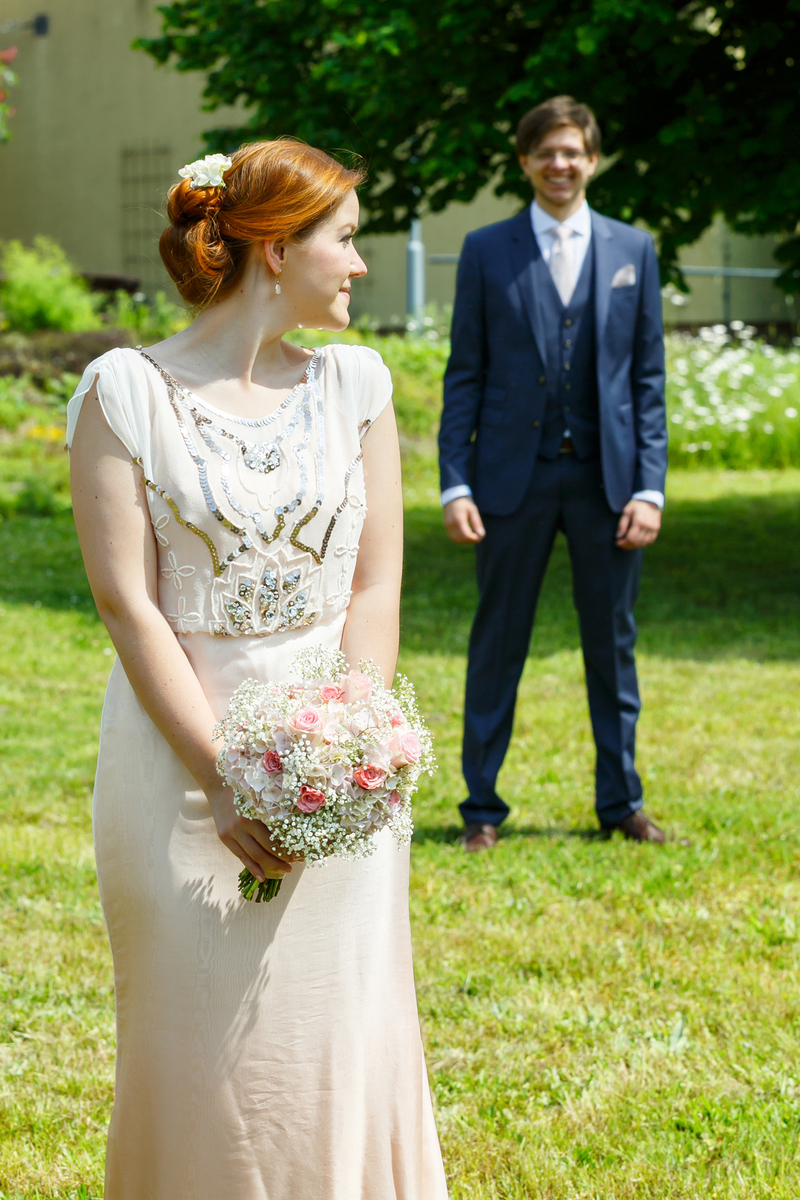
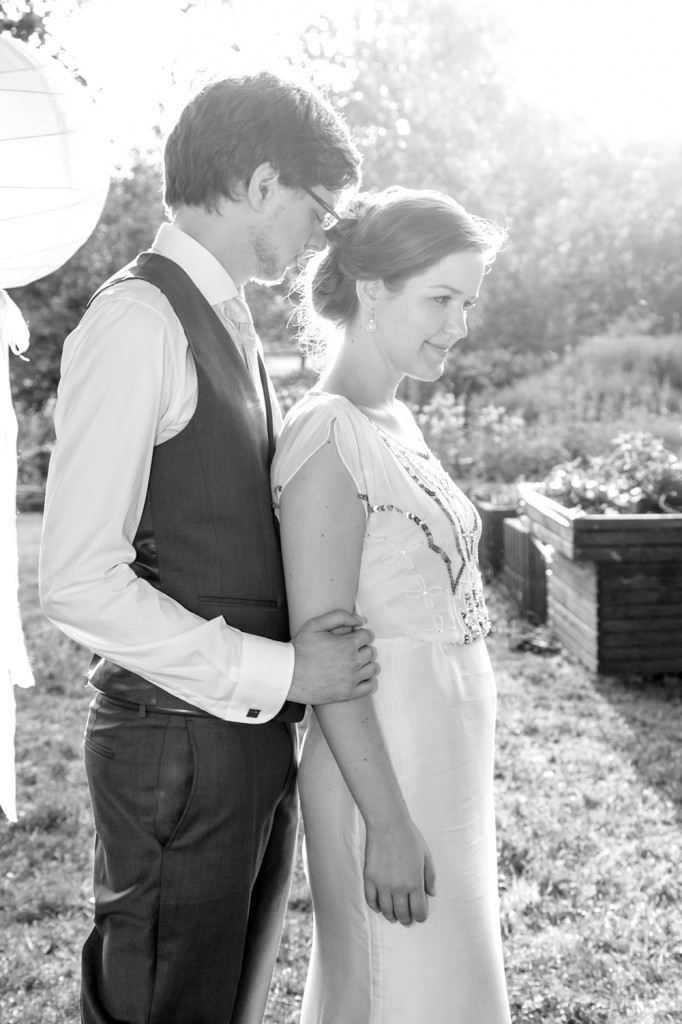
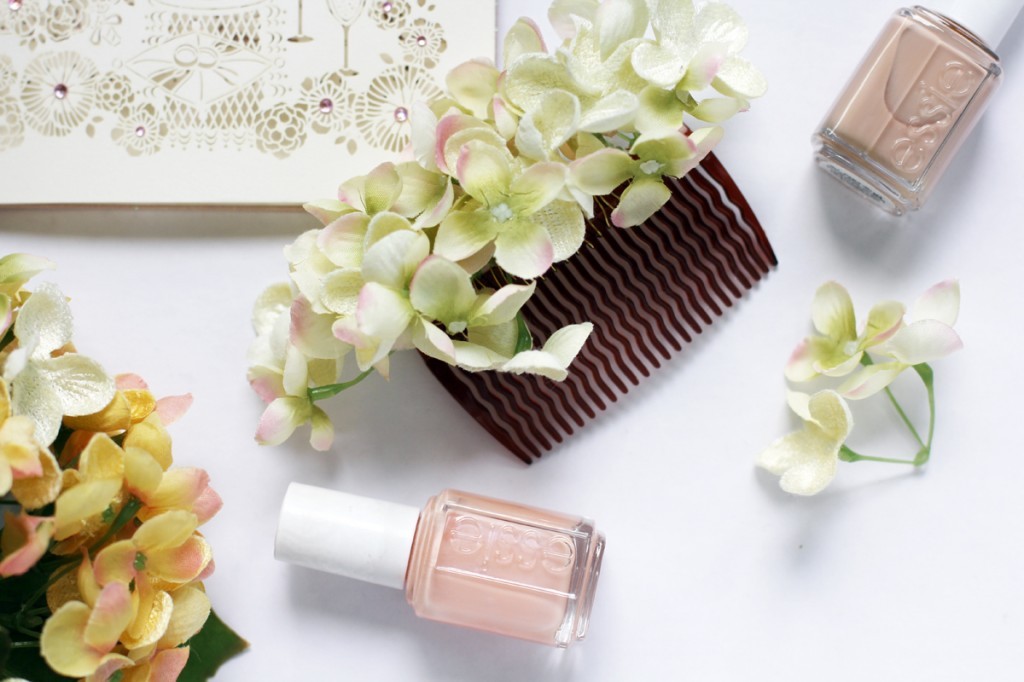 Our wedding was almost 100% DIY, and so was my hair and make-up and some of the accessories. I did not want to wear a veil, but wanted some sort of bridal hair accessory matching our theme and my dress.
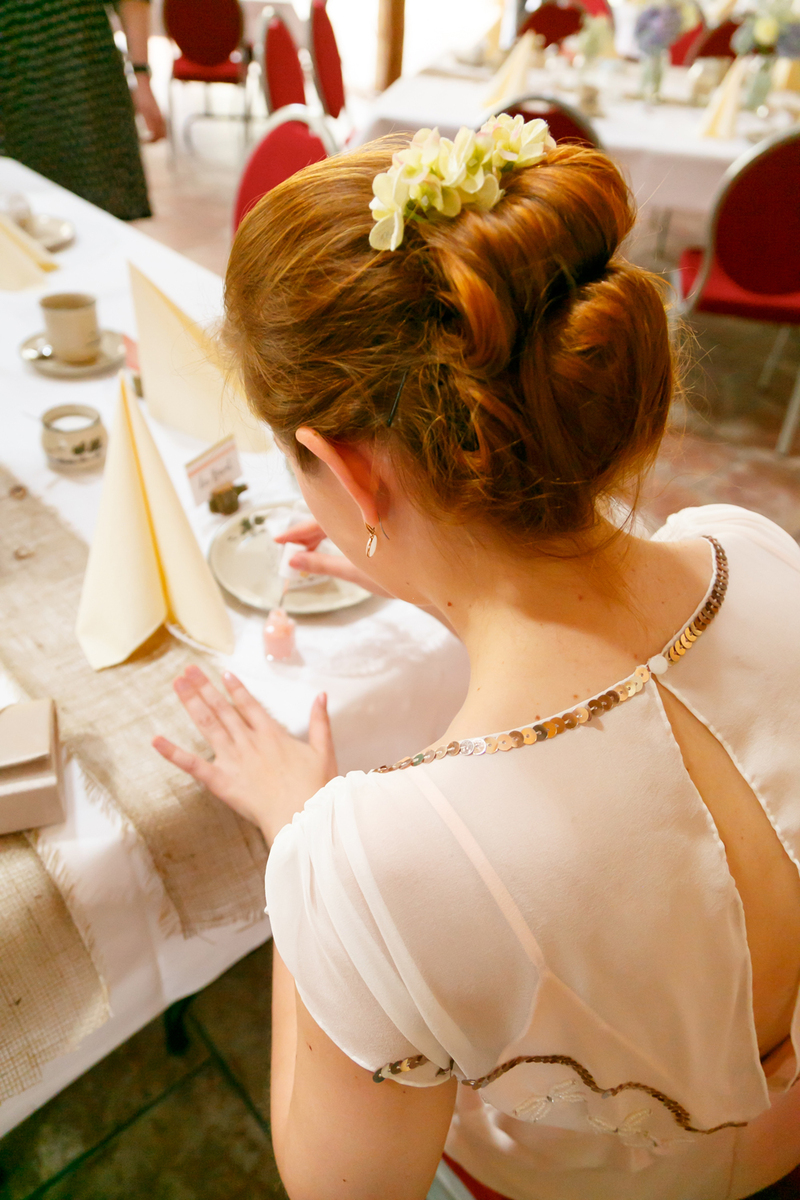
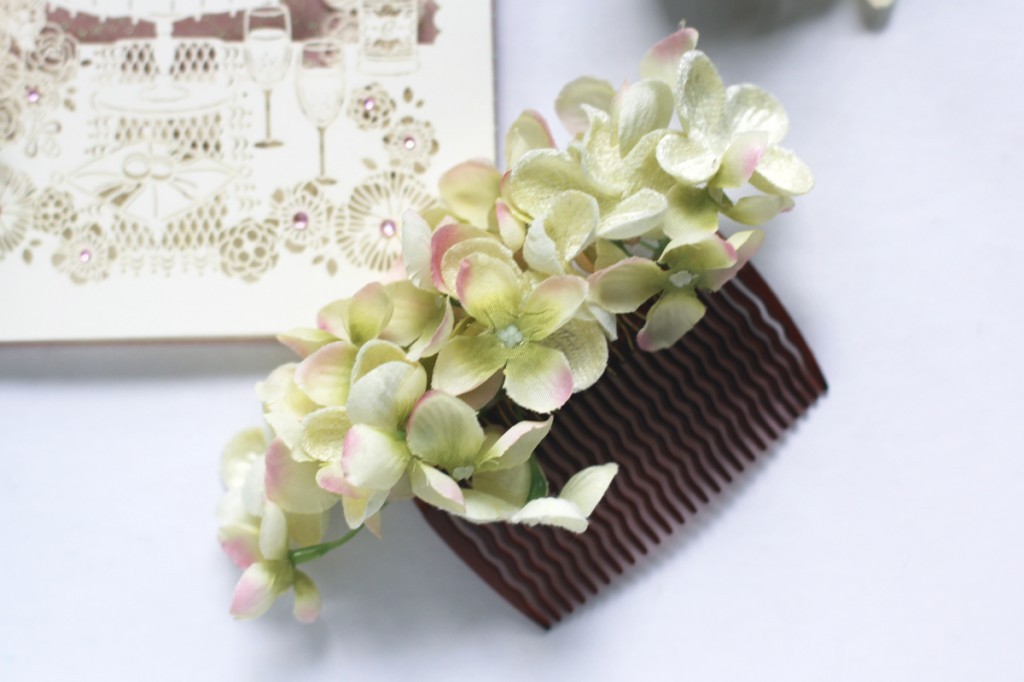
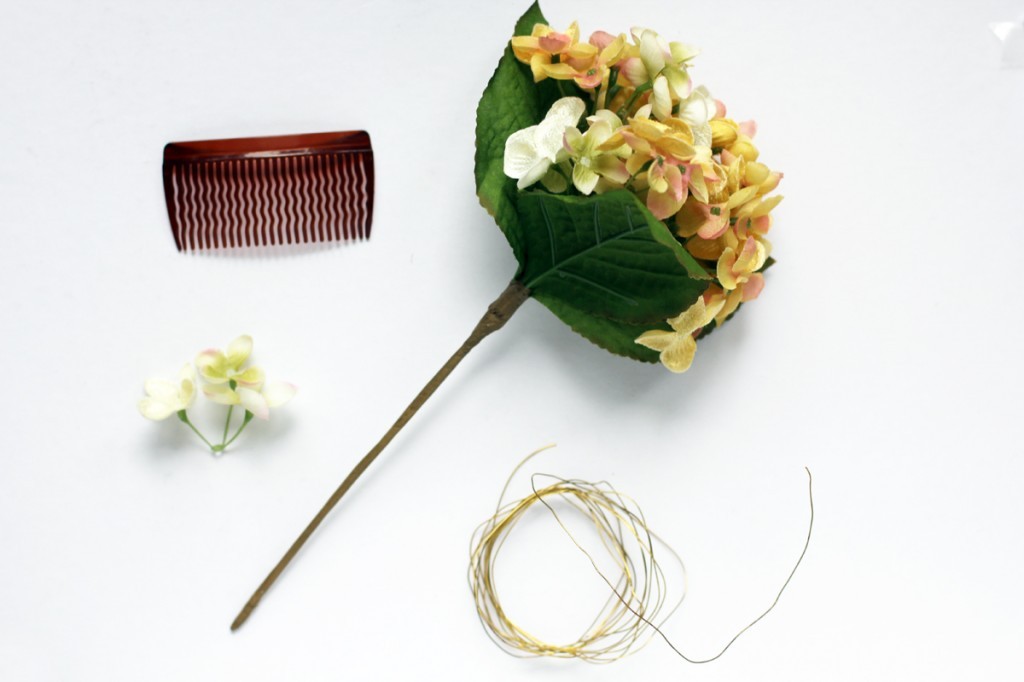 All you really need for this is a hair comb (you get them really cheap at almost every drug store), some artificial (or real) flowers and some fine gold wire.
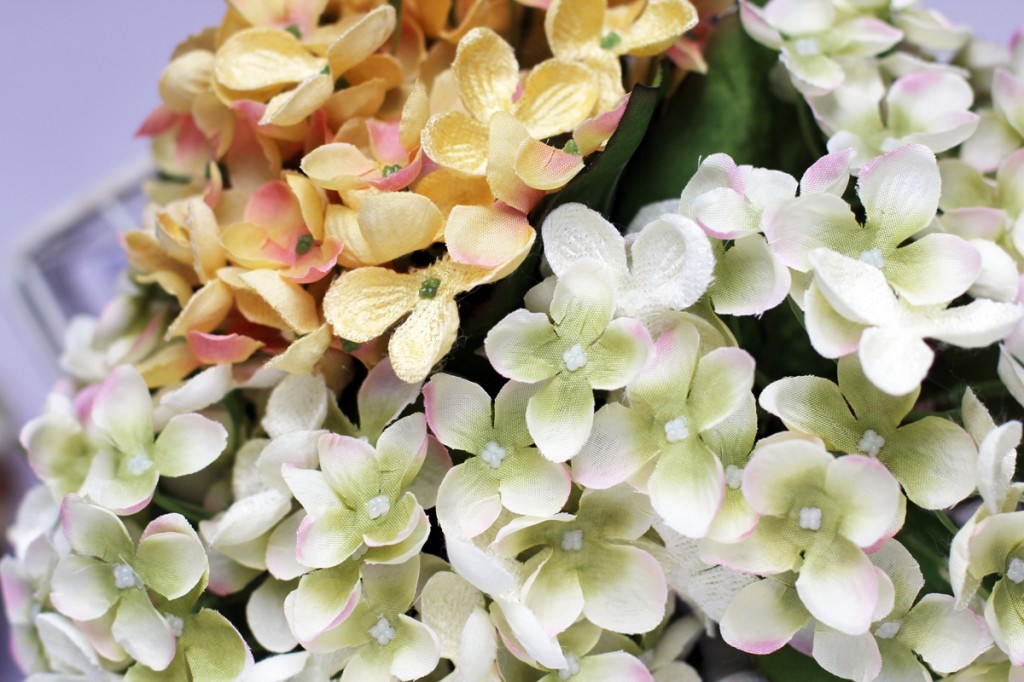 Take the wire and wrap it around the comb once or twice starting at one side to secure it in place. Separate the smaller bouquet from the plastic stems of your artificial flower. You can use the tiny holes at the bottom to pull through the wire. If you are using real flowers, leave the stems a bit longer so the wire can get a proper hold on them. I wouldn’t recommend using real hydrangea blooms because they need to stay hydrated and wilt very quickly.
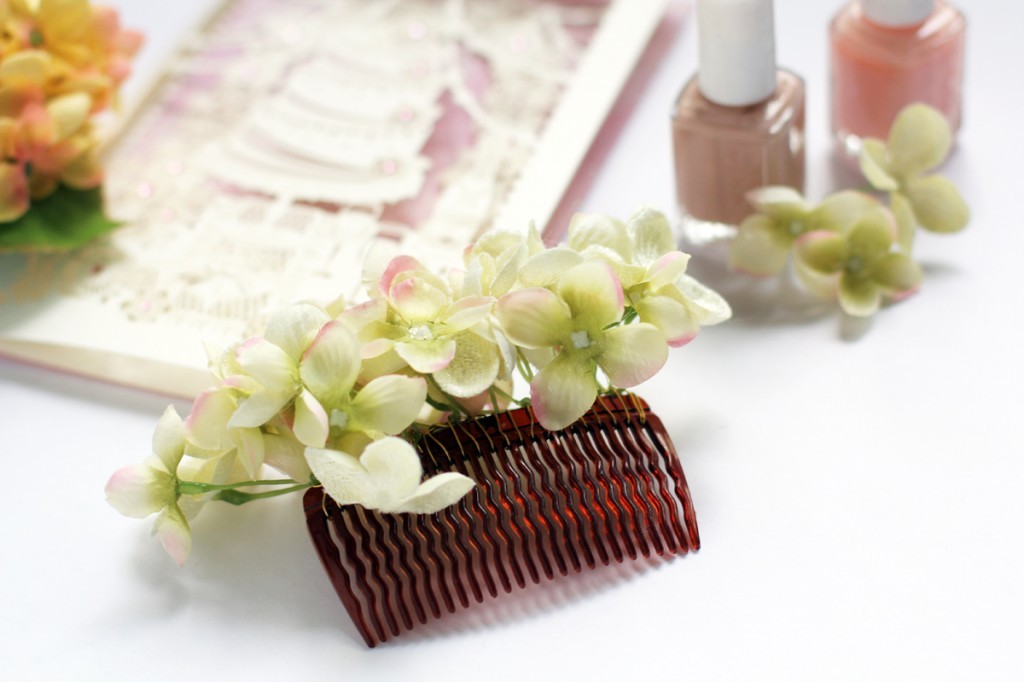
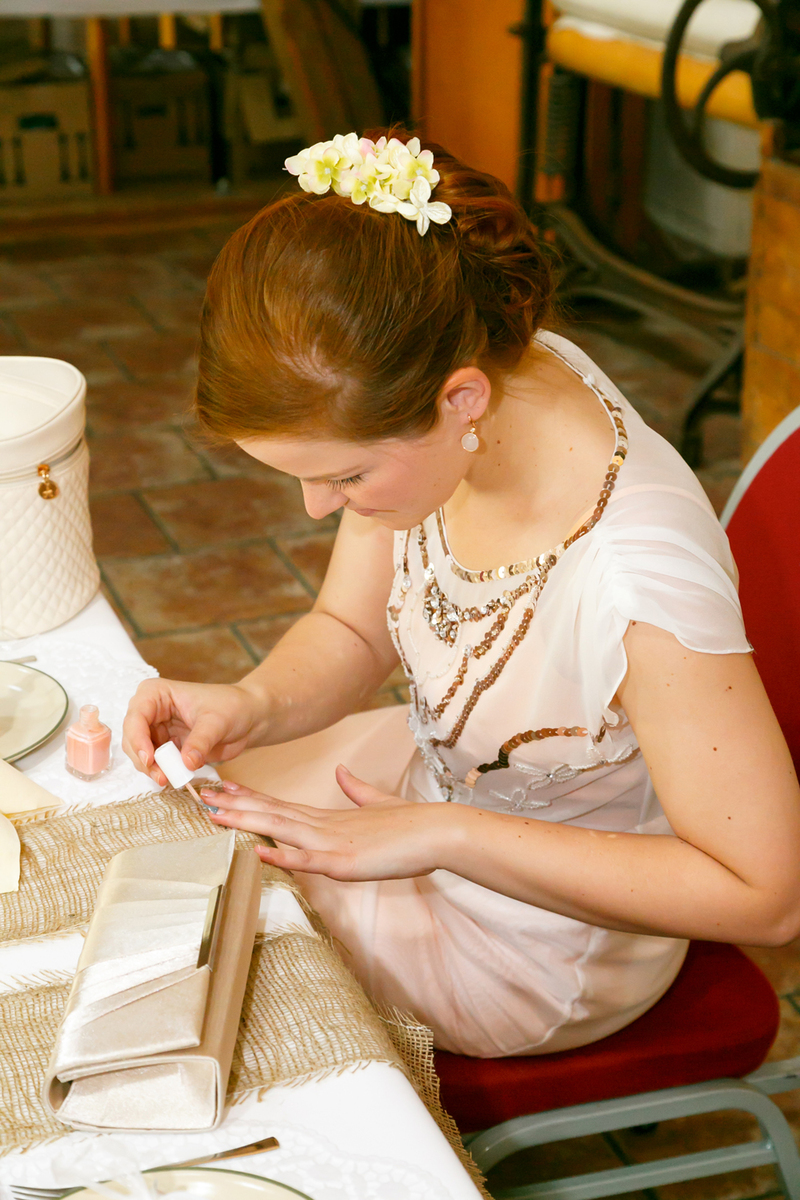
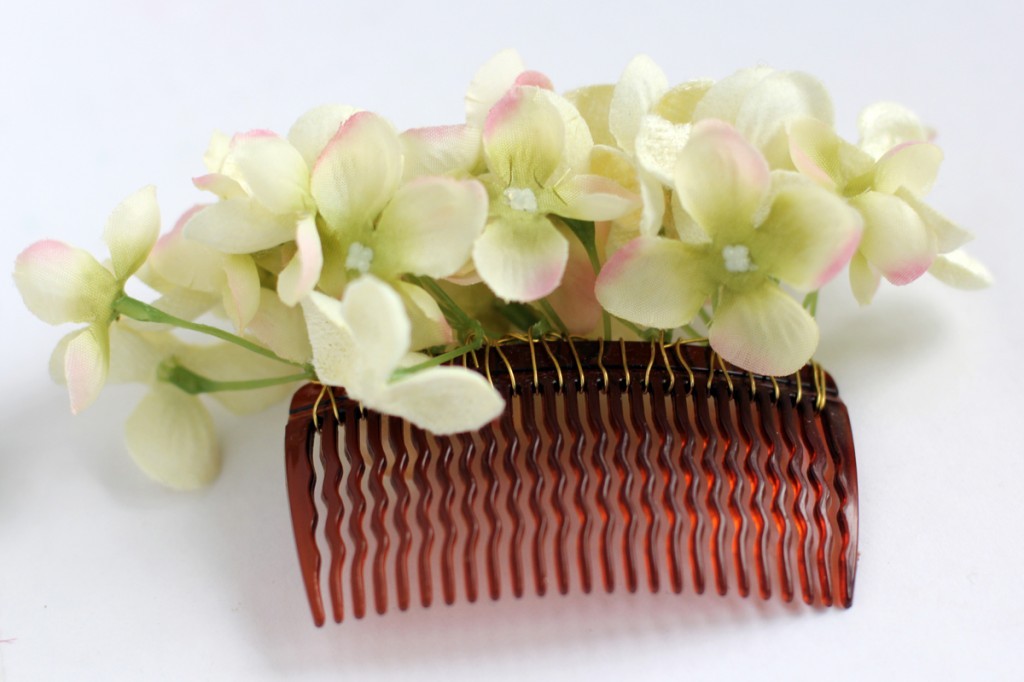 Here’s a pic of the front and back. You cannot see either comb or wire once it’s in your hair. Feel free to add as many blossoms as you like and mix them up if you want to. I had to play around a bit until I got it right for my taste. Using a wire makes it easier to adjust things as you go and you won’t burn real flower as you would with a glue gun.
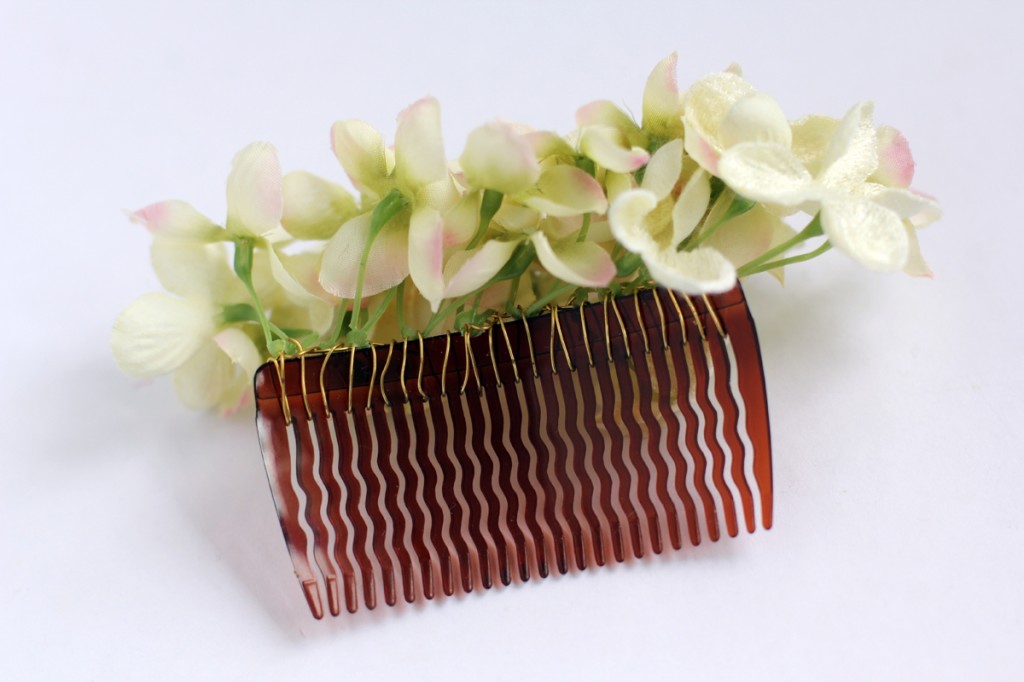


 Congrats, Nicola!