My Handmade Dirndl

Hi my lovelies! Guess what?
I’m finally sharing my handmade Dirndl with you!
Man, this is long overdue! I made it in May 2015, which feels like ages ago now. So why would I make a Dirndl if it wasn’t made for Halloween or Oktoberfest?
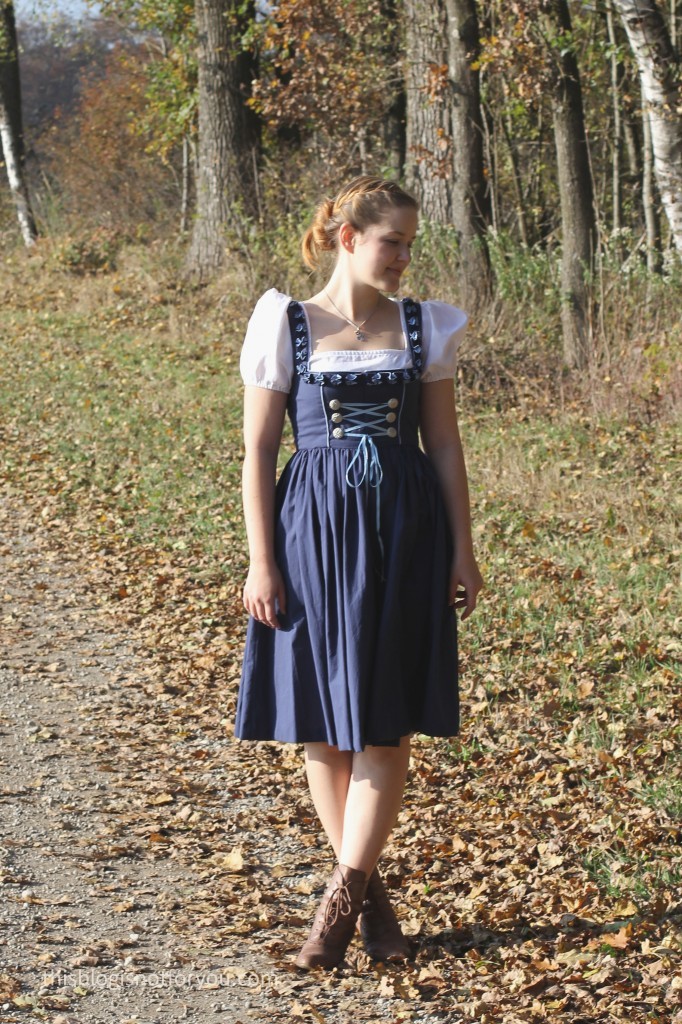
I don’t want to get into the whole Dirndl discussion, but since I’m German, I might say a word or two. Although many people love to think this is what Germans like to wear, wearing Dirndl or Lederhosen is pretty much like wearing kilts in Scotland. The average German will probably never wear or even own one, except for maybe visiting Oktoberfest. The traditional long Dirndls are sometimes worn in some more rural areas in southern Germany, but you see that very rarely and it’s definitely not considered as fashionable in the rest of the country. Having worn one now, I have to say you actually feel very pretty and femine in it. I’d still not wear one in the streets though. Puff sleeves and all, you feel like a freakin’ Disney princess. Which is not the look you’re going for when you’re older than 12, I guess.
I made my Dirndl for a fancy dress party at work which funnily enough was on my last day at work. Since I was working in a hospital back then I didn’t want to go over the top with my costume (I also had to attend my exit interview that day). As I was the German girl on the ward anyway, I decided to dress up as one. Pretty imaginative, eh?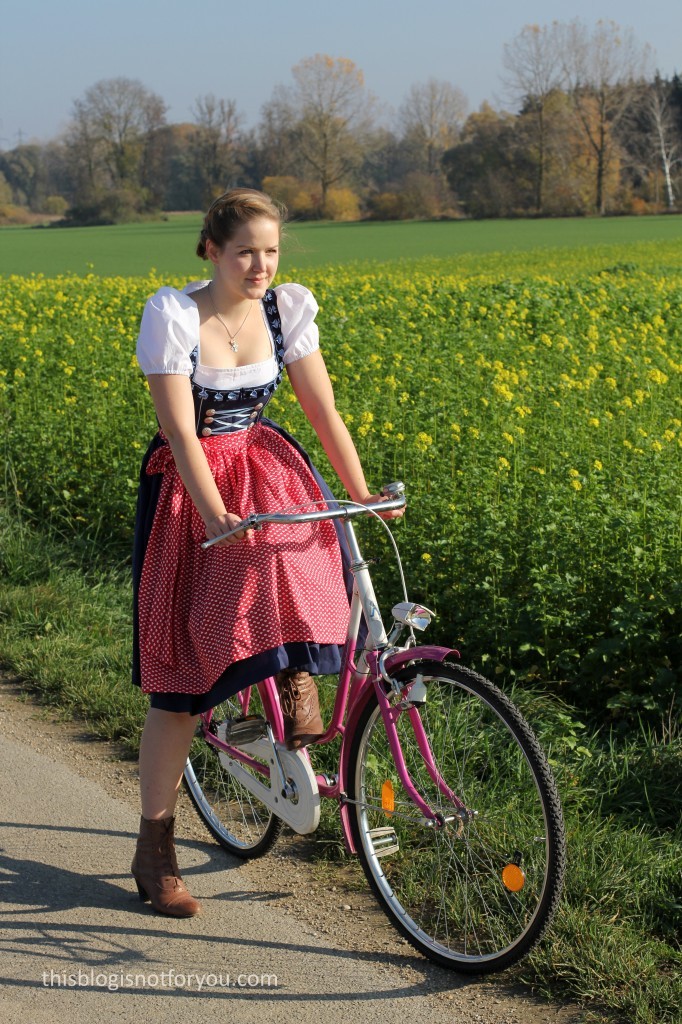
So that’s the story. I haven’t worn it since and wasn’t to keen on going outside dressed like this to take picture for the blog!
Now, five months later, we actually live in Bavaria (who would’ve known!) and it’s not that weird to wear one here.
THE PATTERN
From having the costume idea to the actual fancy dress party I had exactly three days. At first I thought about drafting a Dirndl based on my By Hand London Elisalex pattern, but then I thought What the heck, if you’re actually making a Dirndl, do it properly.
You can find a whole bunch of Dirndl dress patterns on the German Burdastyle website. Which is where I found a really nice burda young pattern, which looked a bit prettier than the common Dirndl patterns. Burdastyle has added more Dirndl patterns since, so whoever is interested, this is Dirndl paradise now.

THE FABRIC & MATERIALS
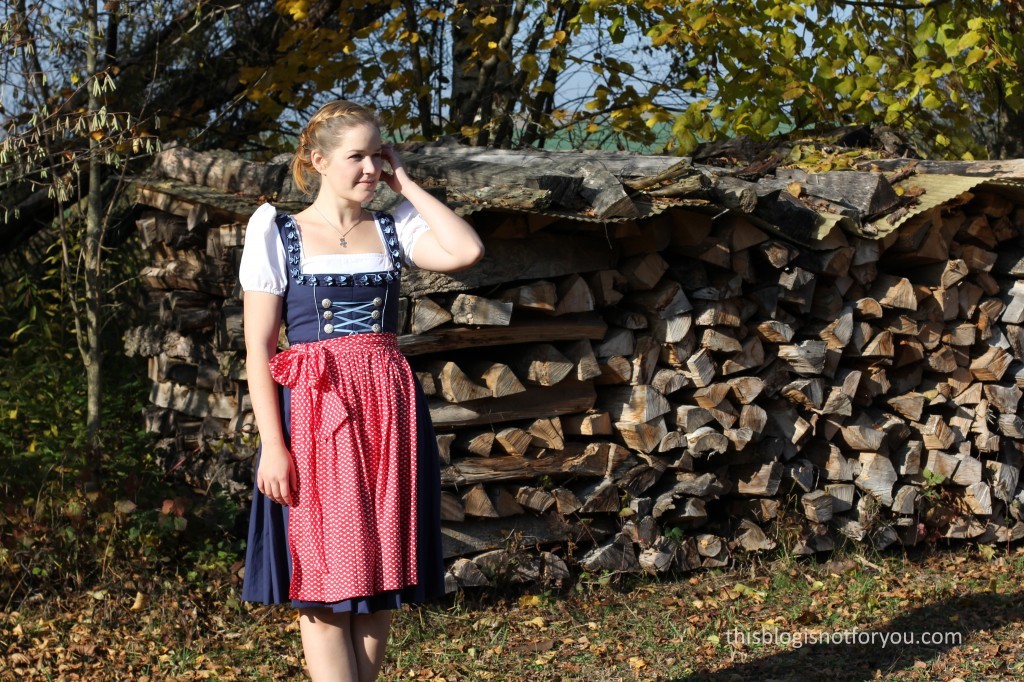
Originally, I wanted to use some light blue cotton and add a white apron (to get more of an Alice in Wonderland look), but as it turns out, Dirndls are fabric eaters and I didn’t have enough.
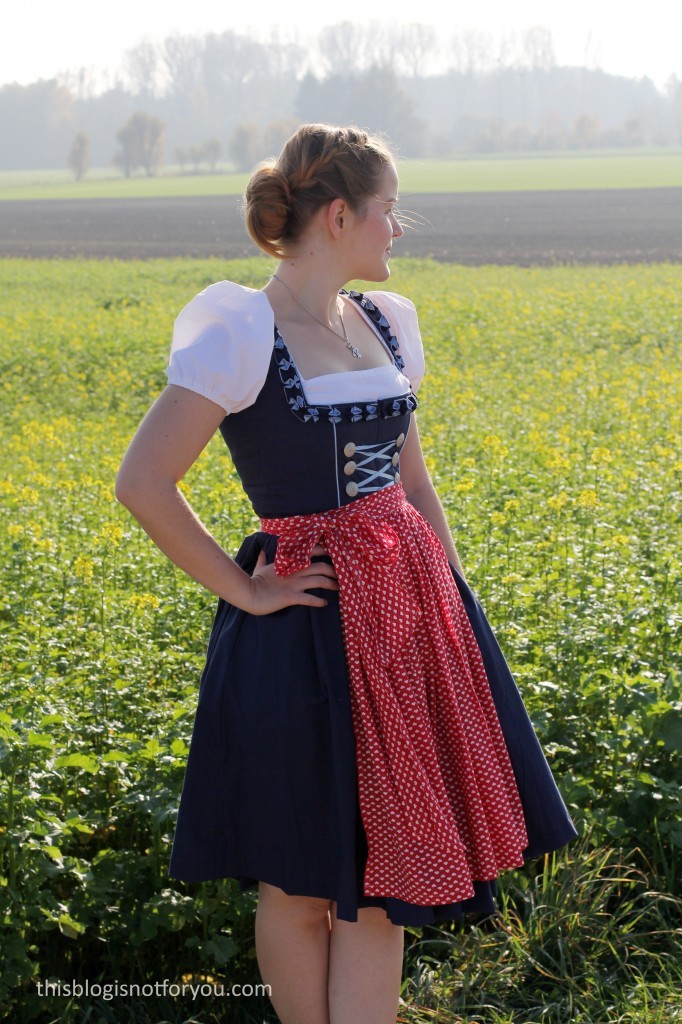
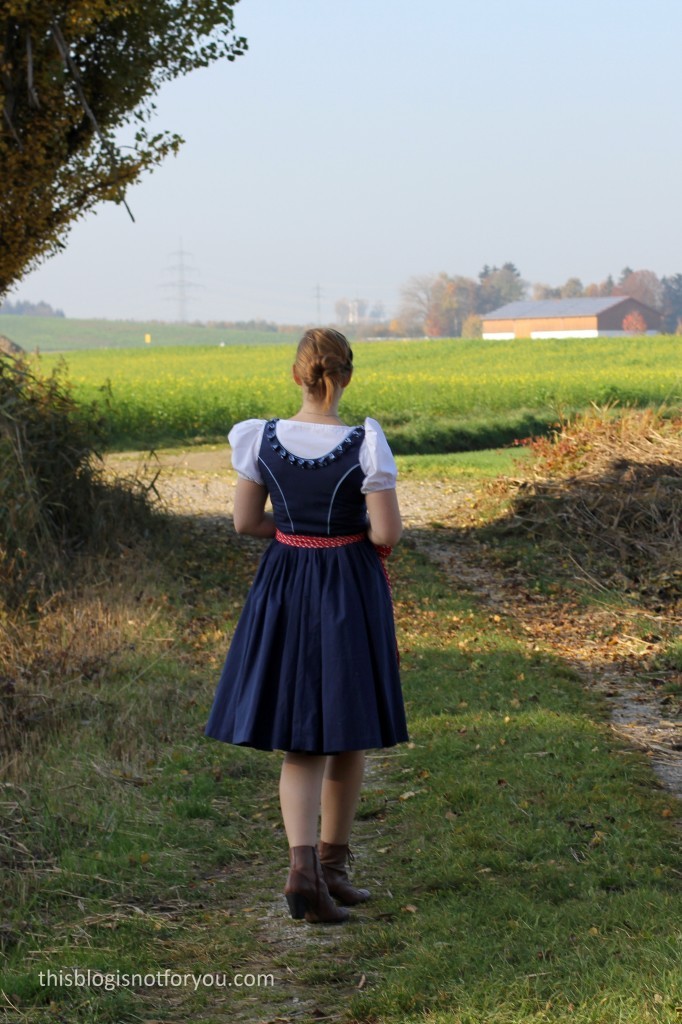
For the actual dress, I used a navy blue 100% cotton, which originally was a John Lewis duvet cover I got at Oxfam for £4. It was a massive piece and the only fabric I had enough of to cut the skirt from. The skirt consists of 4 pattern pieces and has approx. an 8 metre long hem. I still had enough left to cut the bodice and lining from it two.
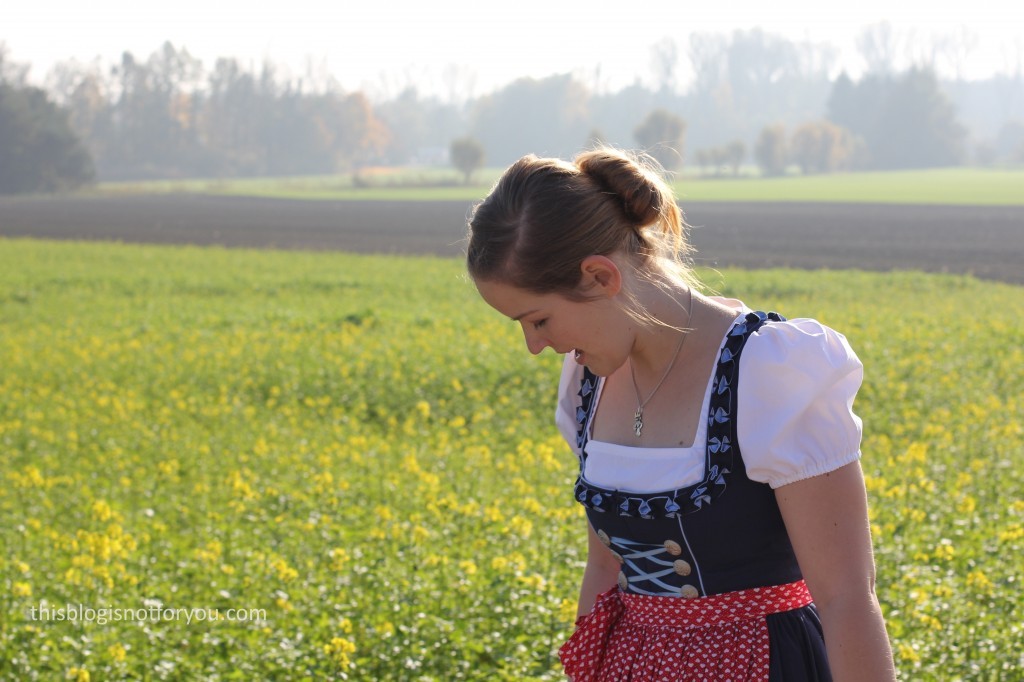
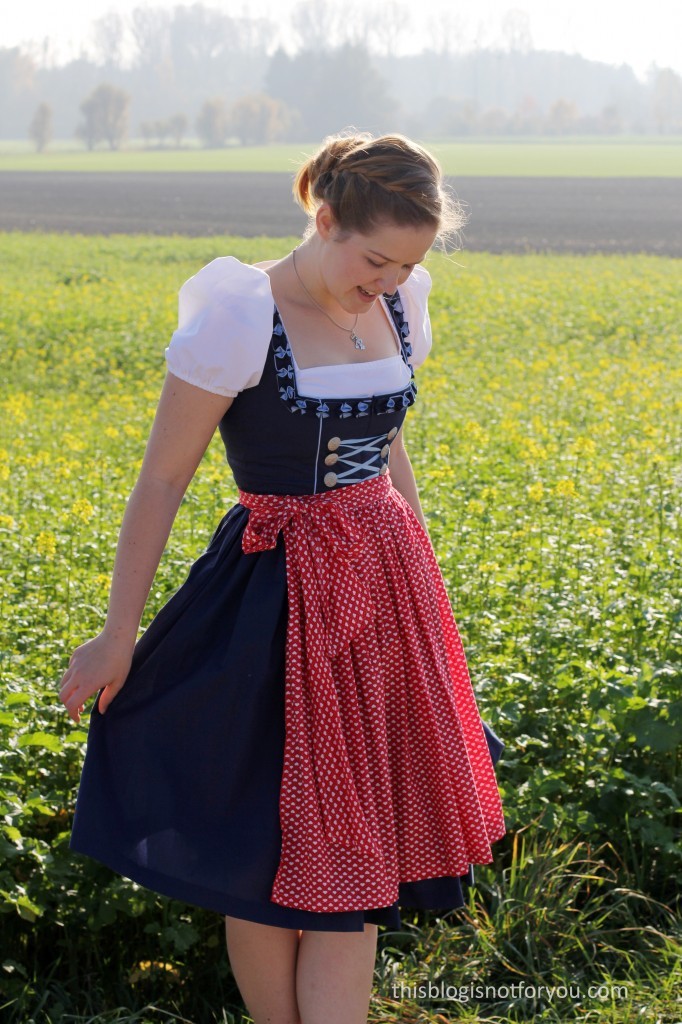
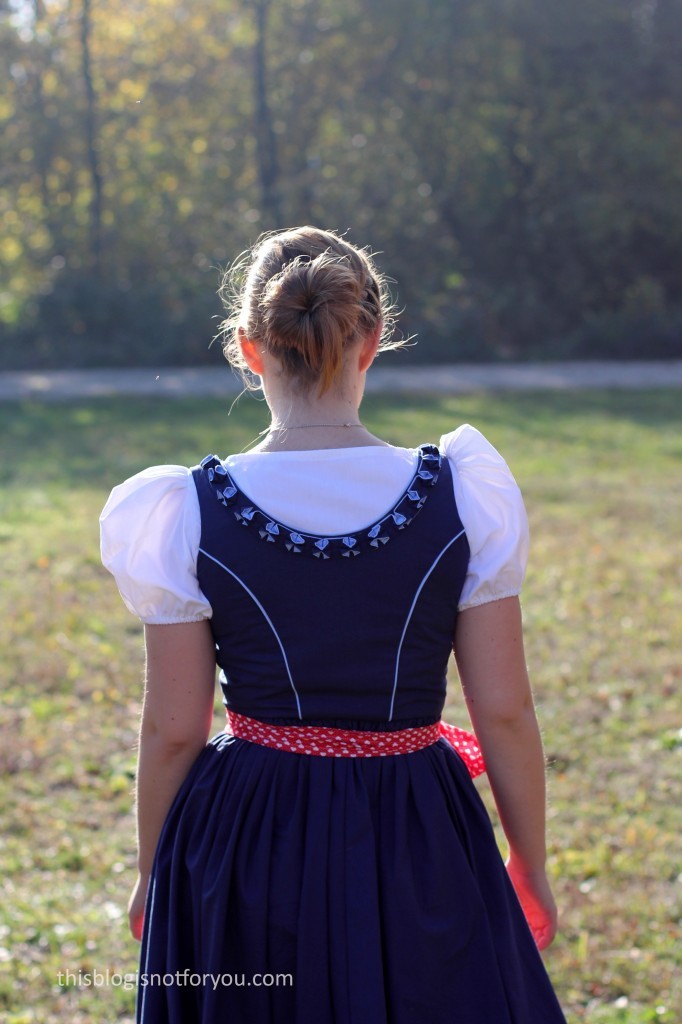
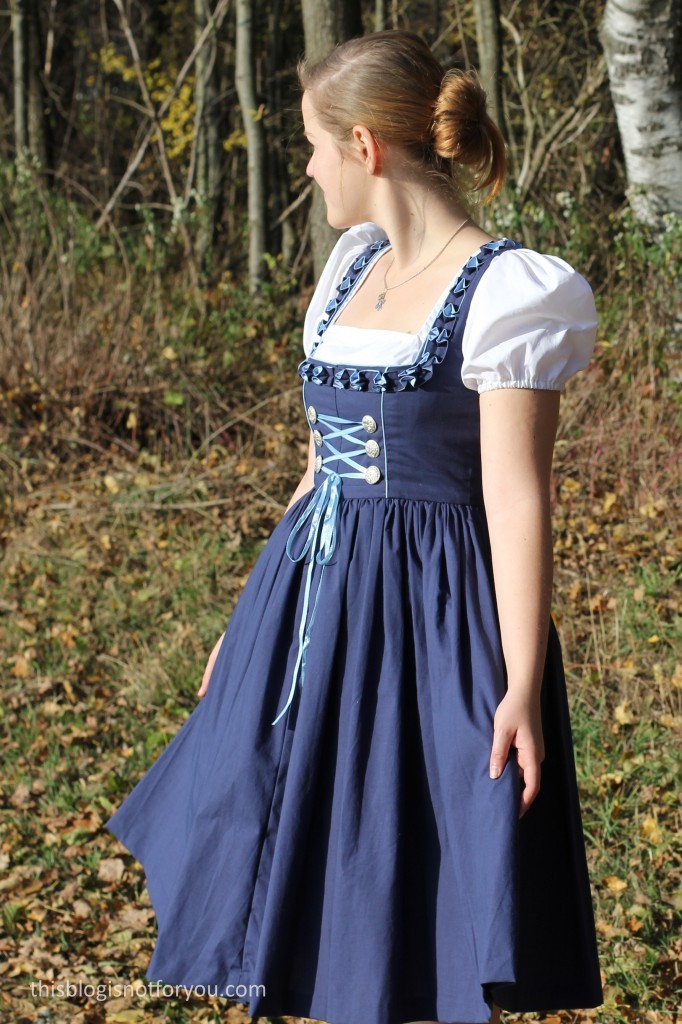
I used the light blue fabric for the piping in the front and back (which isn’t included in the pattern!) and to make the Froschgoscherl trim. The trim took ages to make, but was the most fun part in the construction. Instead of using readymade trim, I made the ‘ribbon’ myself by sewing two massive strips of dark and light blue cotton together and turning it inside out. I pressed it and topstitched close to the edges with contrasting thread. The ribbon is then folded and stitched in an origami-esque way to create the Froschgoscherl.
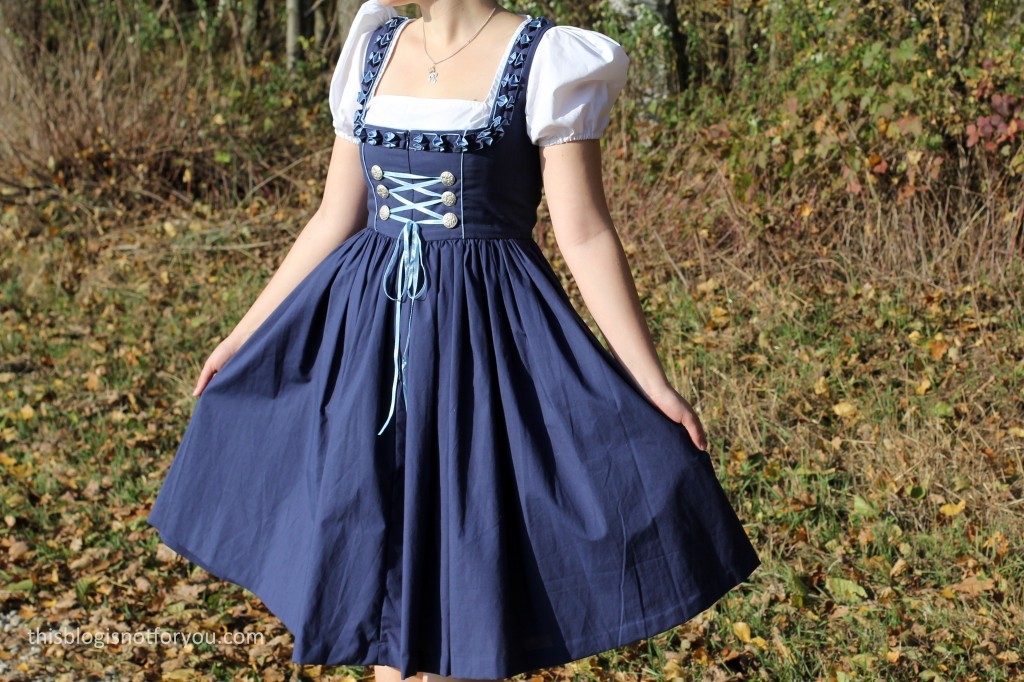

The dress has an ivisible zip in the front, which is a bit unusual normally but actually quite common for a Dirndl dress. The lacing is just decorative. I used six folklore buttons and some satin ribbon.
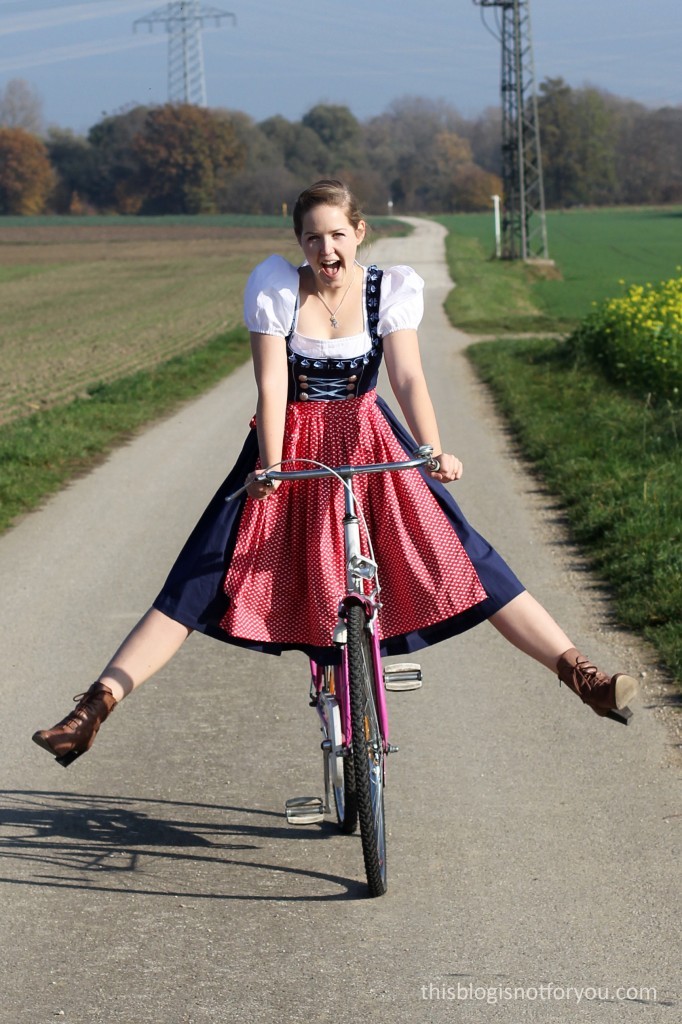
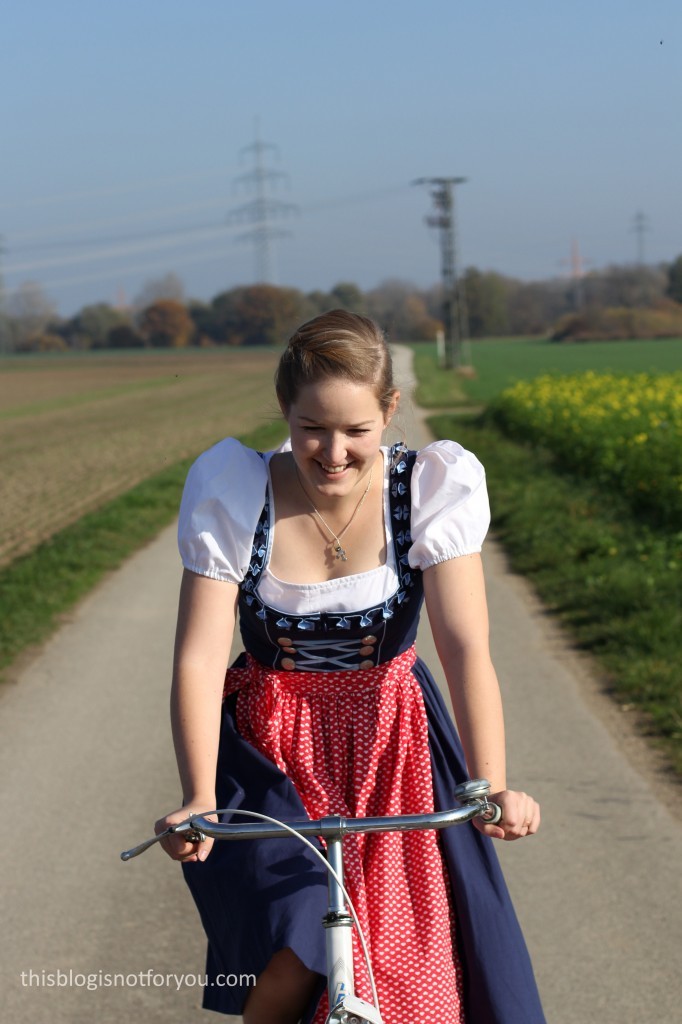
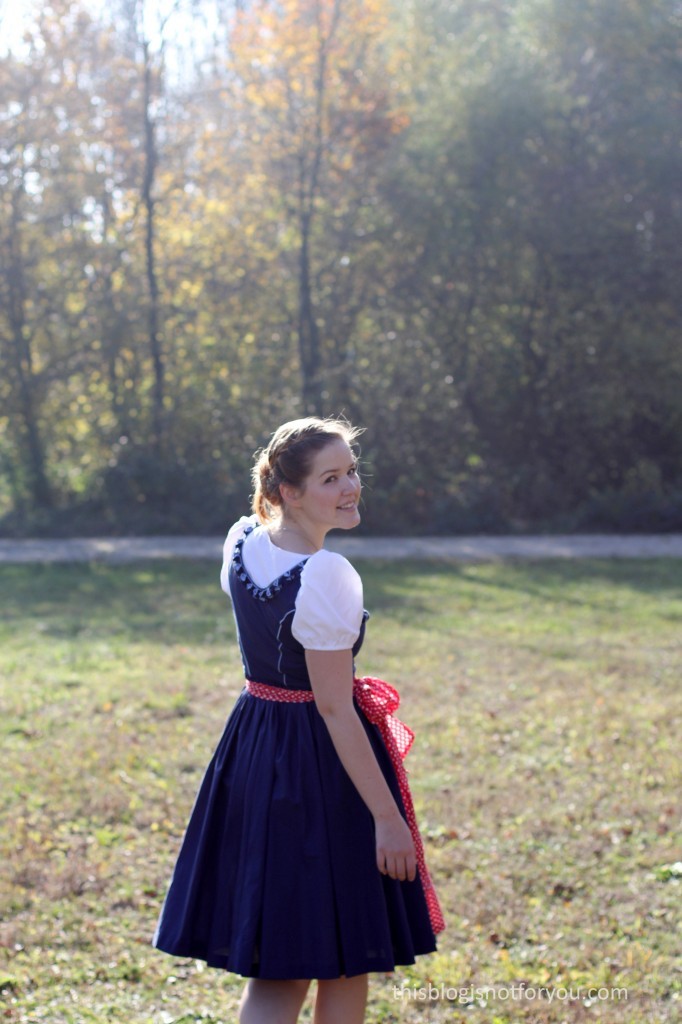
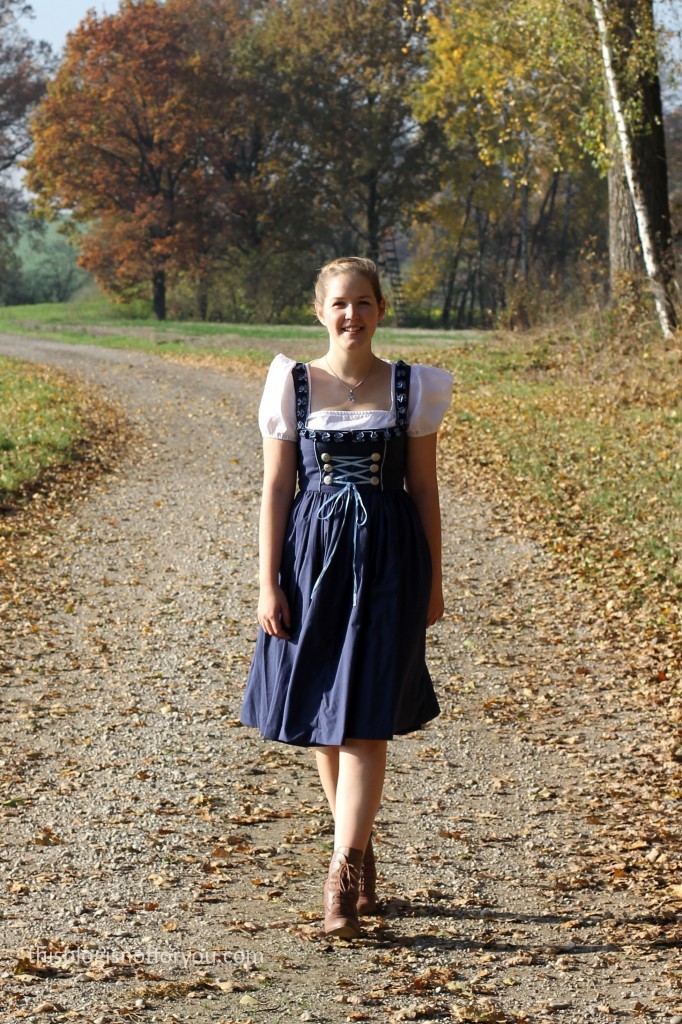
The blouse is part of the Burda pattern and the pattern also includes different sleeve and neckline options. I went for full on puff sleeves.
The blouse is made from white 100% cotton fabric. As is common for Dirndl blouses, it end just below the bust, so as not to add any bulk around your waist area. This is actually pretty genius, although a bit uncomfortable at first.
The apron is made from some quilting cotton I bought years ago. It’s red with tiny white hearts on it.
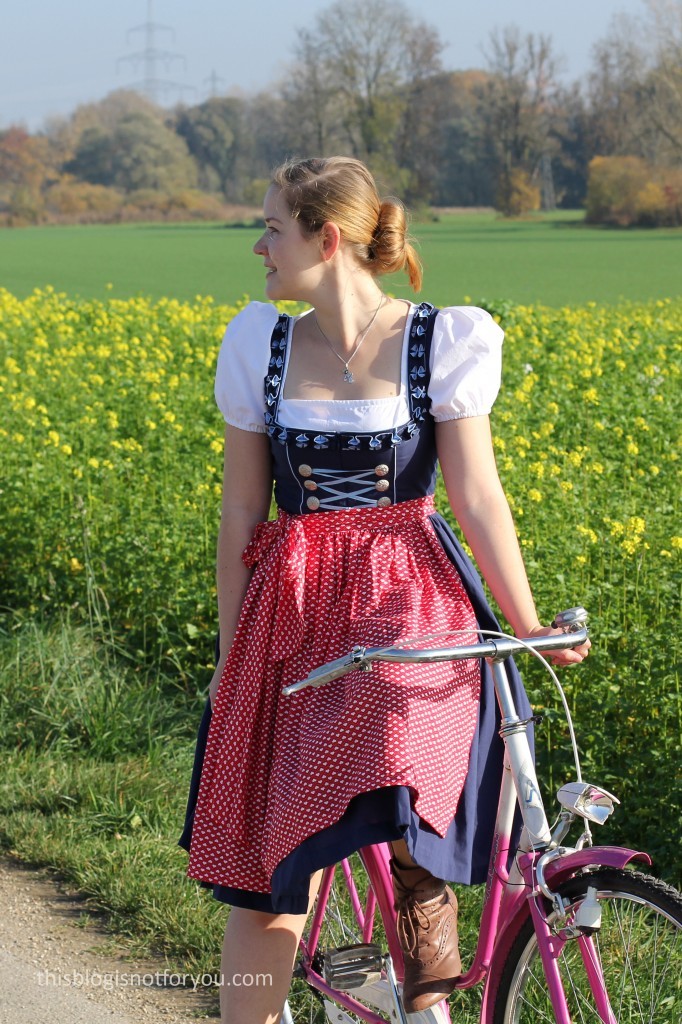
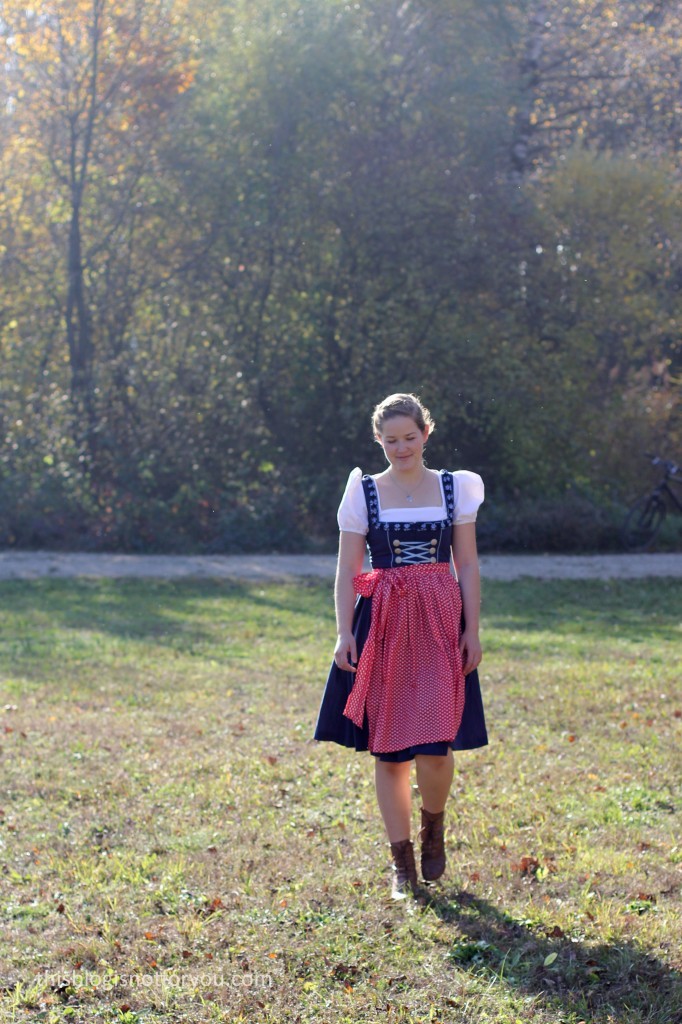
I really prefer the Dirndl without the apron, it’s much prettier and less costumy, right?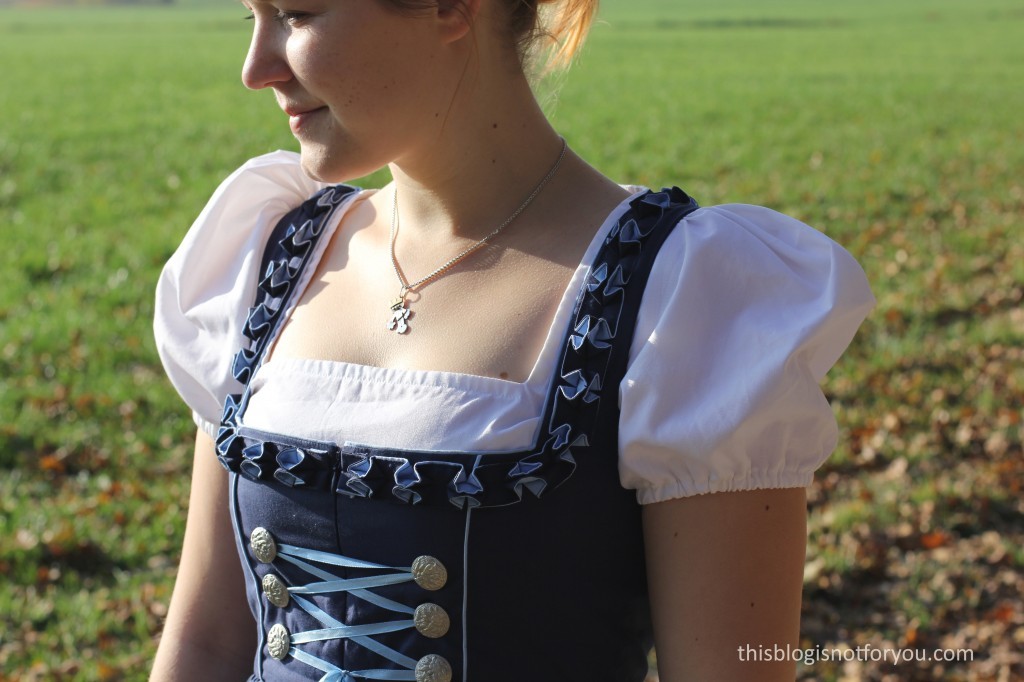
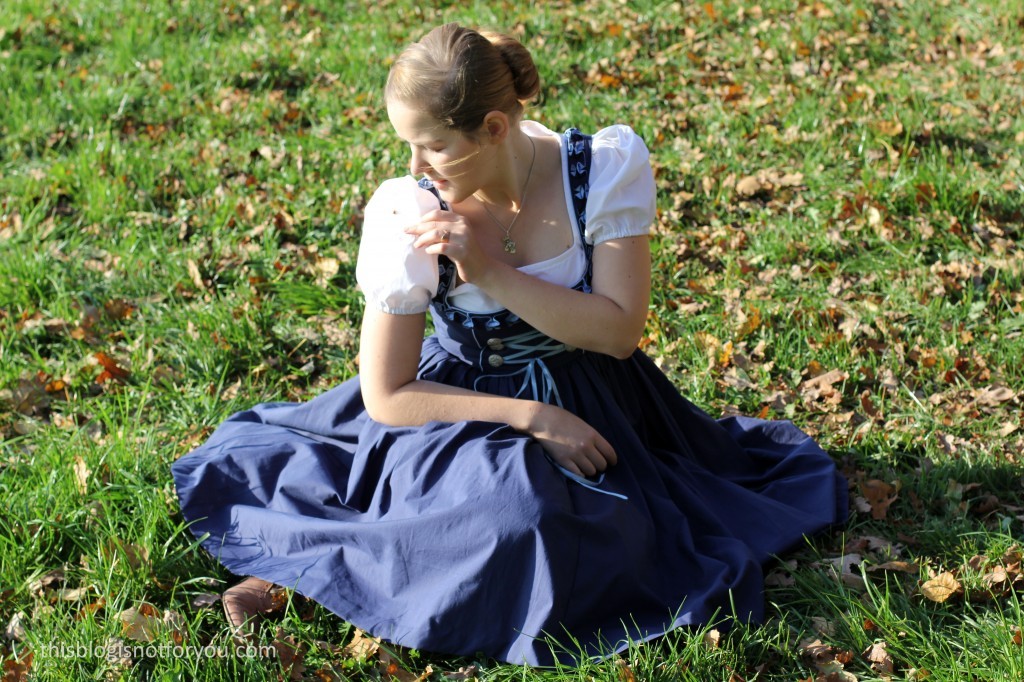
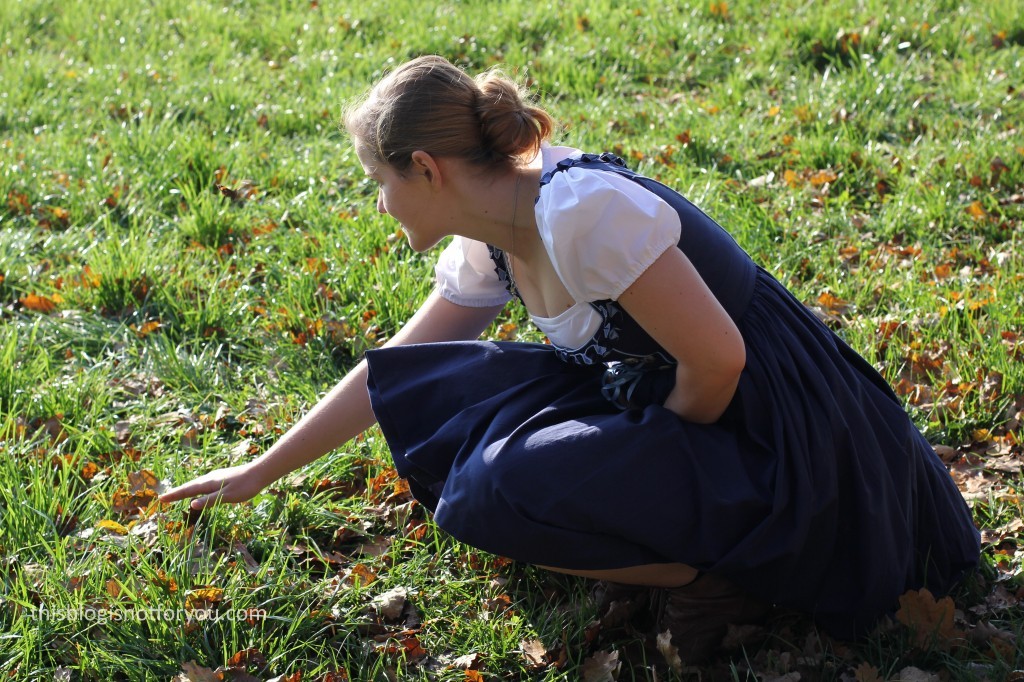
White puff sleeves attract lady bugs and butterflies…what does it remind me of again…? Umm…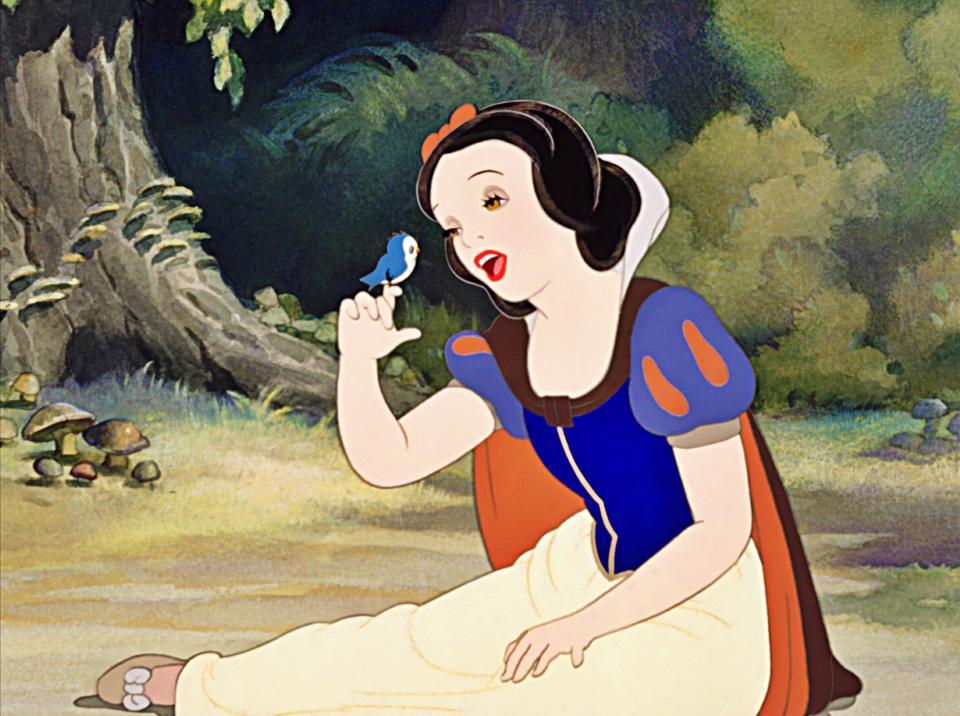

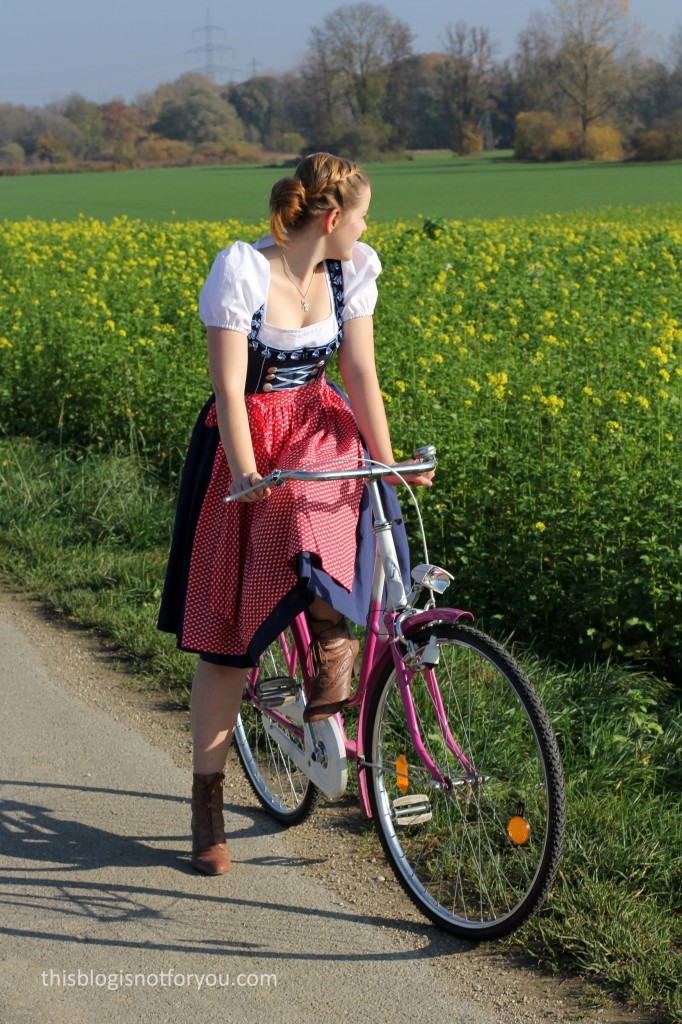
Will I make it again? Umm, no. It was super fun and a lot of work and I could use loads of old cottons from my stash. But since I hardly wear it at all, I don’t think I’ll make another one.
Hope you all have a Happy Halloween! It’s the perfect excuse to buy all the kids candy in the supermarket! I’m hoping the kids in our street won’t ring at our door, so that I can have all the chocolates myself. Ha!
xx
Charlie
Happy sewing!
♥
facebook/bloglovin/pinterest
twitter/instagram
Stay in touch!
 Servus, peeps!


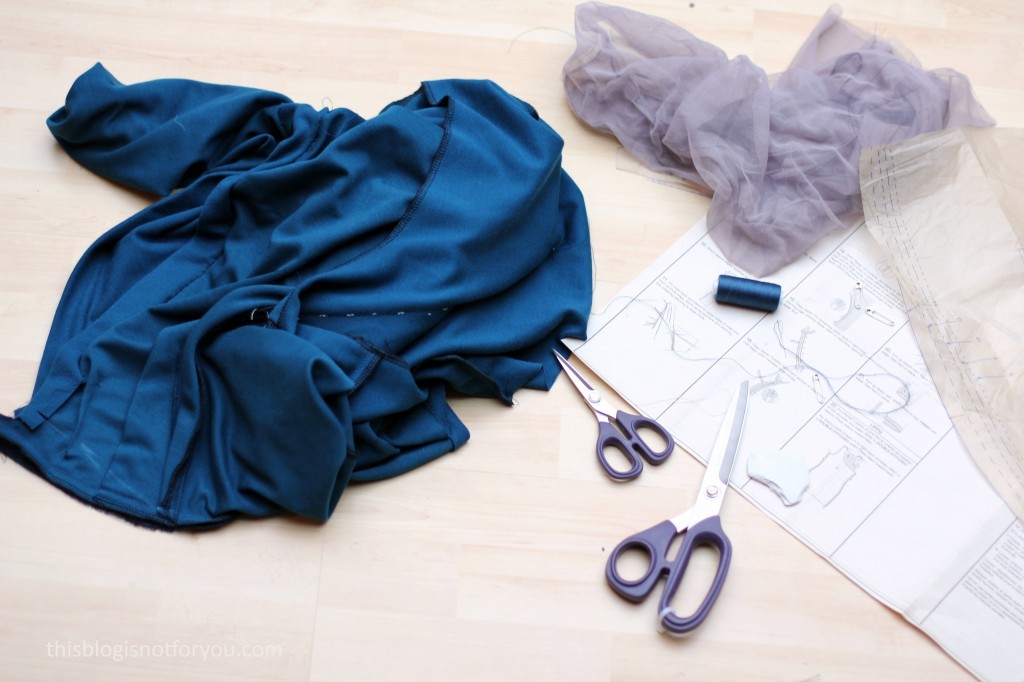


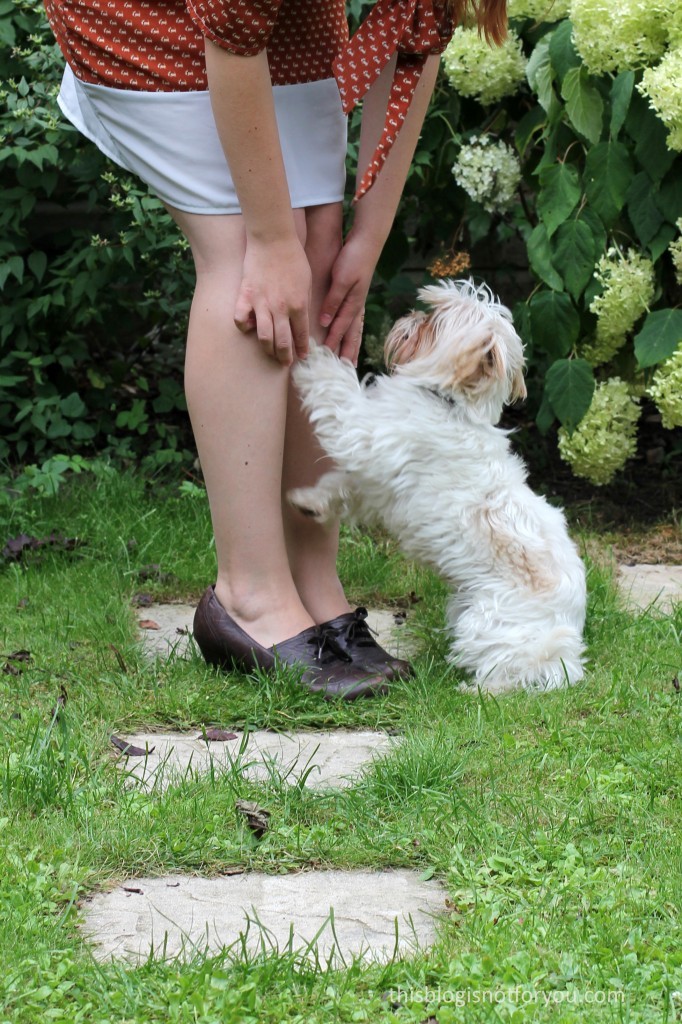
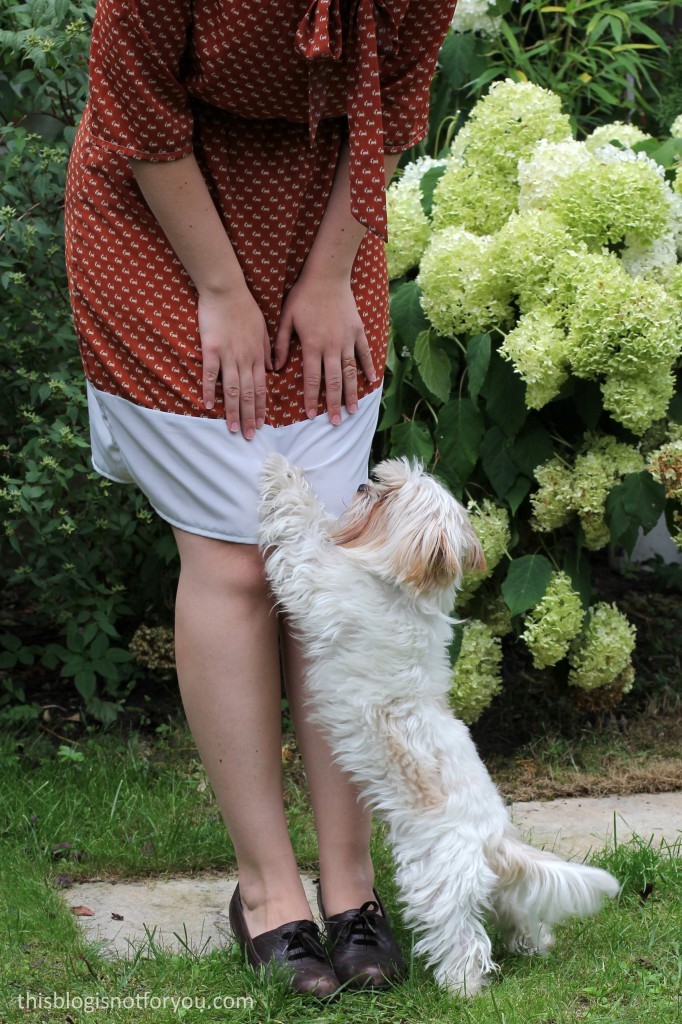
 Photo-bombing dog!
 A couple of months ago, when I helped my friend


 The Pattern: