Leather Baby Mocassins & Dalton Trousers
Hi lovelies!
I haven’t sewn a lot lately, being still in post-move (and now almost pre-move) mode but I’ve finally managed to photograph some makes I made almost 2-3 months ago! Anyone else knows these problems?
Well, anyway, I wanted to share one of these makes, a more recent one, that I made without using my sewing machine sitting in my parents’ garden.
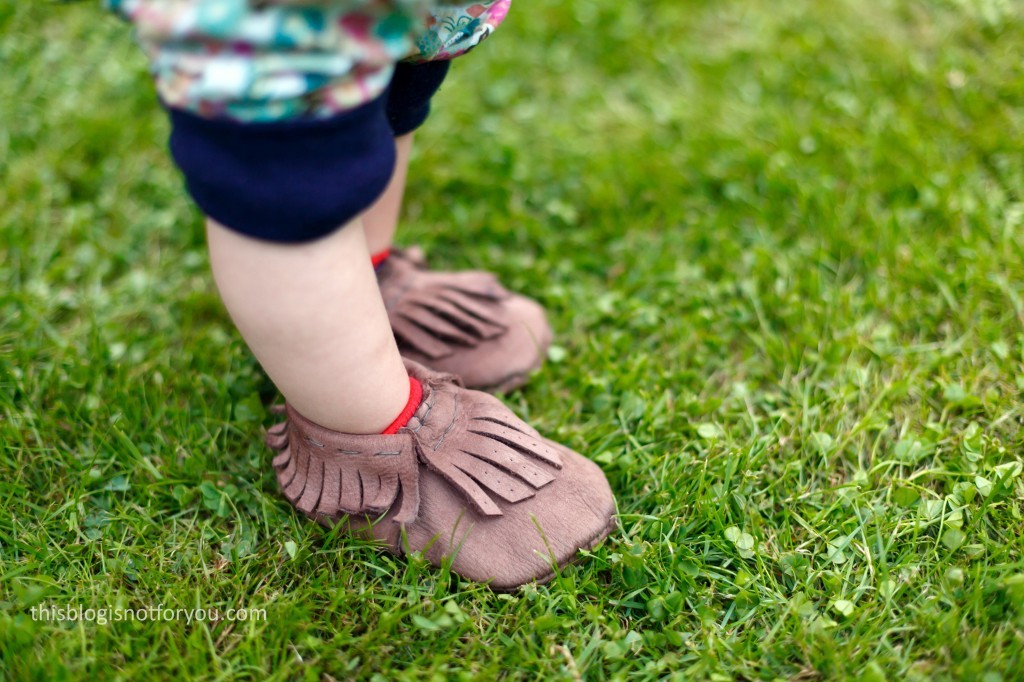
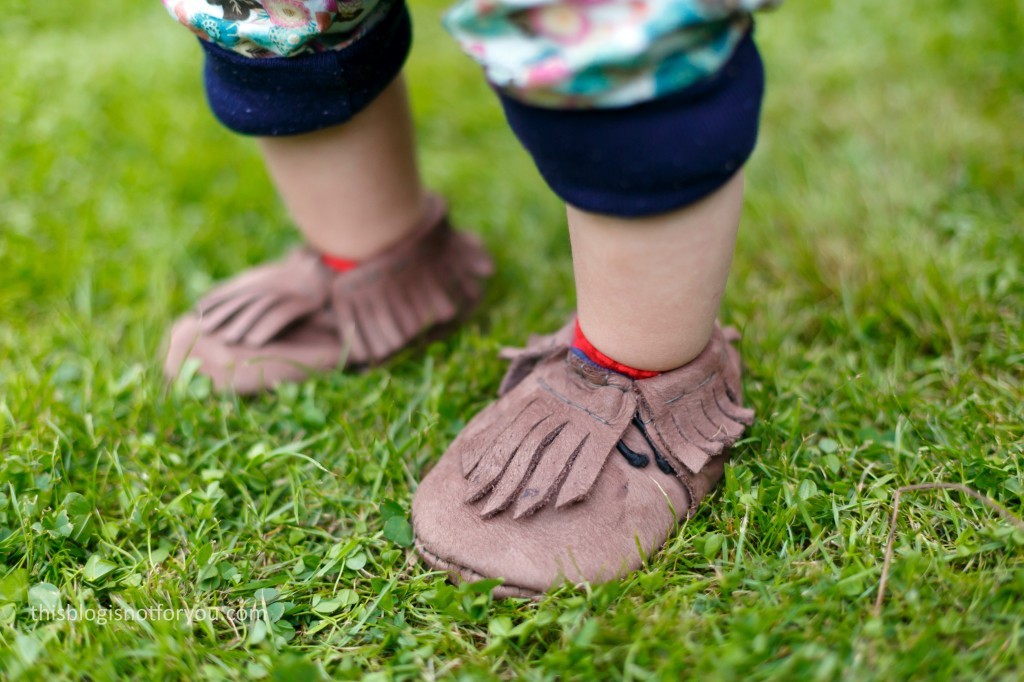
My little 1-year-old niece was staying with us and about to start walking by herself. To help with walking attempts we thought about making her some soft, non-slippery shoes. They turned out really nice and she actually loves them! Now, two weeks later, she is walking by herself and even brings mummy her mocassins in the morning for her to put them on.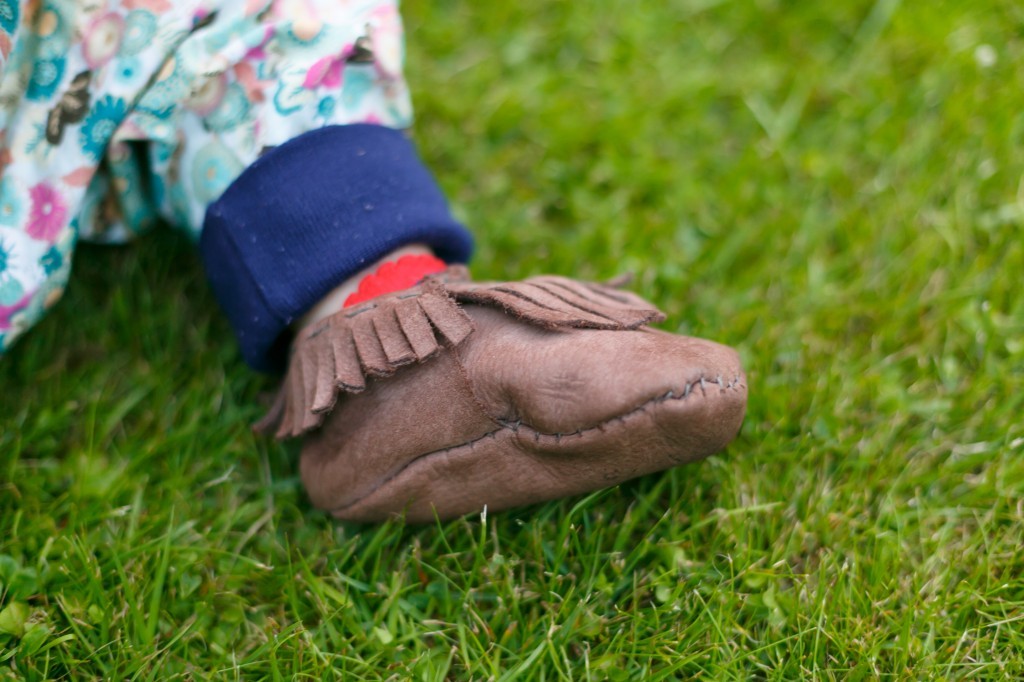
The Pattern:
It took a while to find a pattern that was simple but not too plain. Eventually we settled for fringed mocassins, the pattern was free and the website includes helpful step-by-step instructions with pictures. You find the download link in the first paragraph of the tutorial.
I cut out one shoe and glued it together using special leather/bookbindung glue. It turned out way too small, so I altered the pattern a bit by adding a bit more seam allowance (using a well-fitting sandal as reference).
 Construction:
The mocassins came together quite easily; the pattern really is straight-forward. It did not have my machine with me and from experience, sewing leather on my machine isn’t fun at all.
The shoes are small and fiddly anyway so I thought handsewing would be best. I really enjoy it anyway, although it’s a bit of a different story with leather.
I used a wooden block, a nail and hammer to make tiny holes along the stitching line which didn’t take too long and really made the whole handsewing process much, much easier.
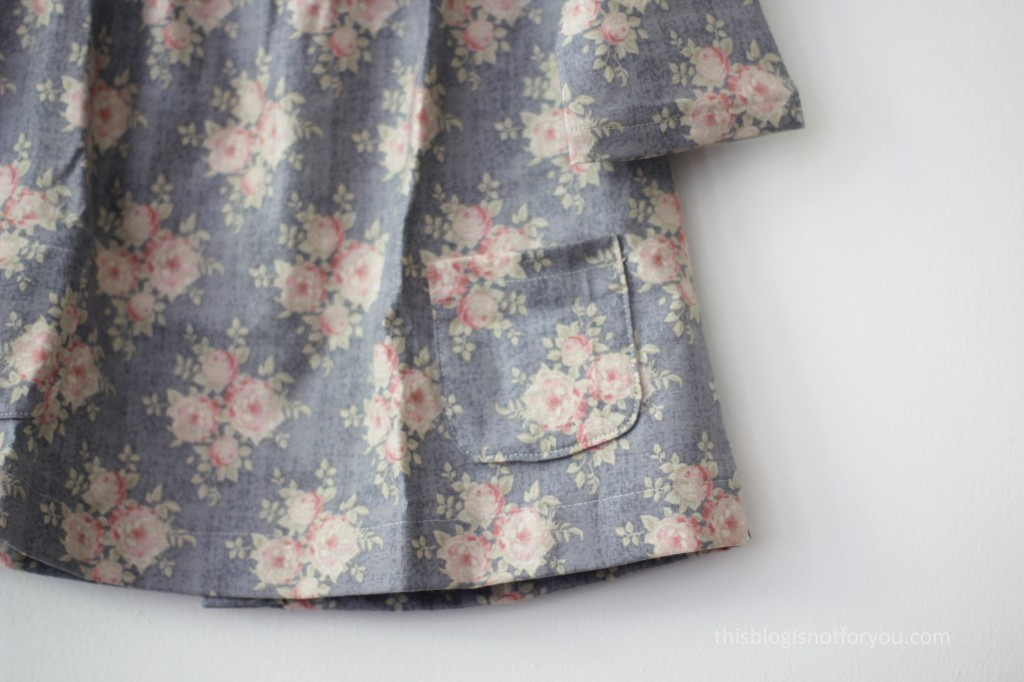
I added a tiny bit of embellishment by using the hammer and nail to punch some tiny dots into the front fringe, which I think looks quite lovely. 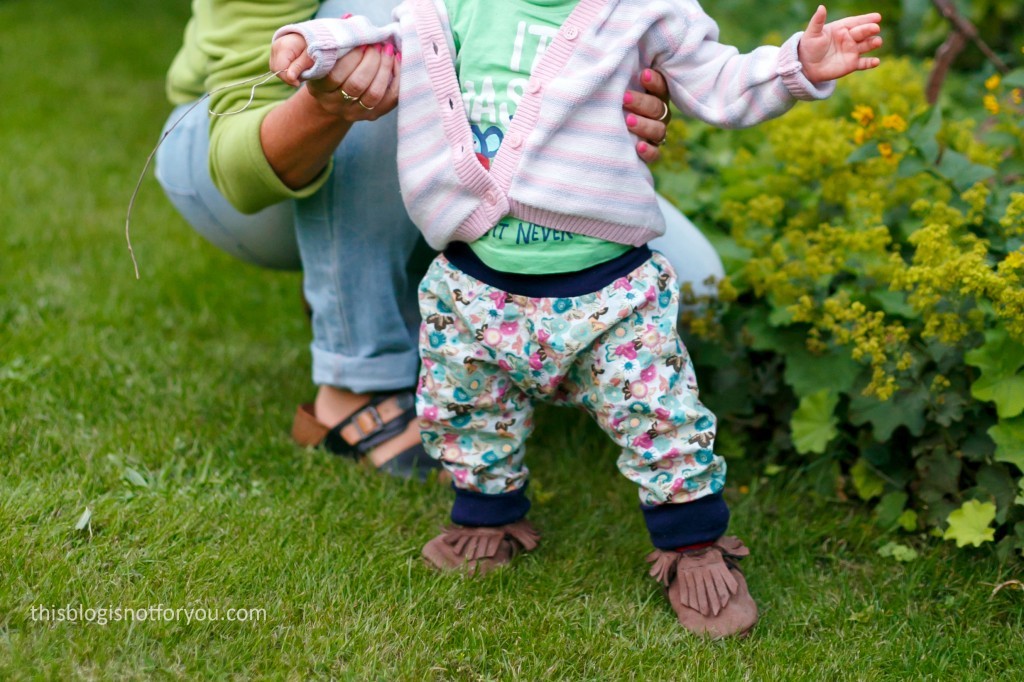
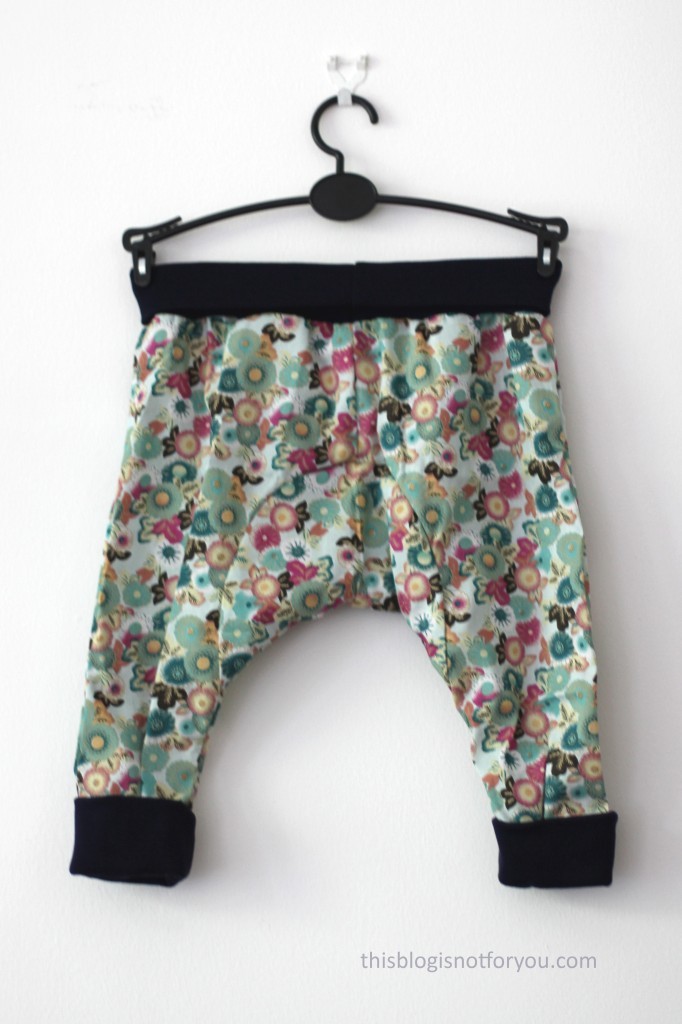
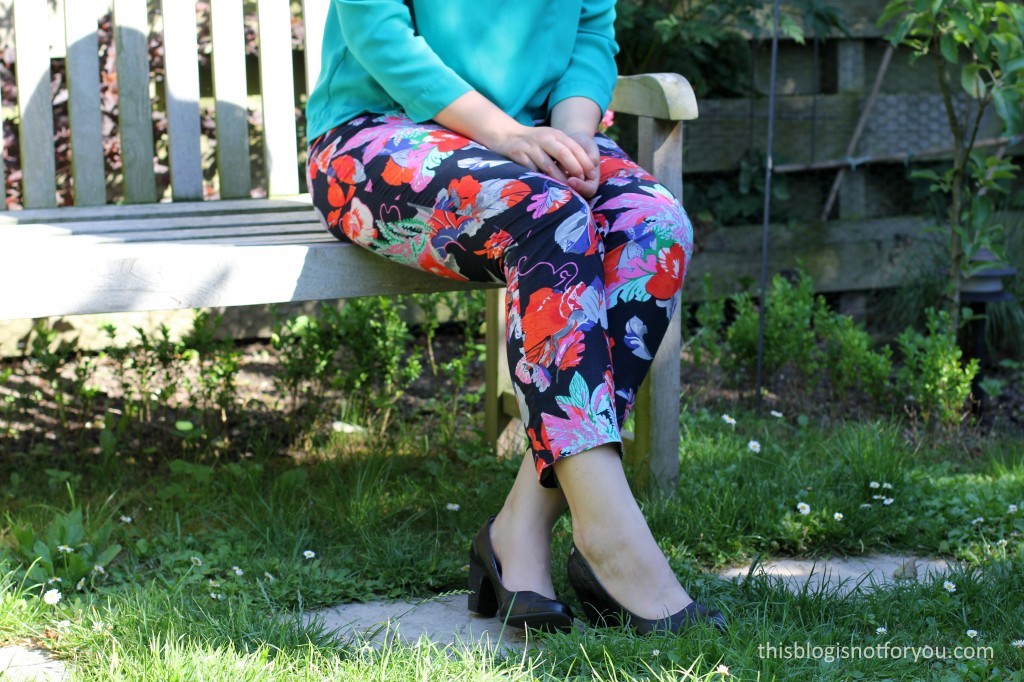
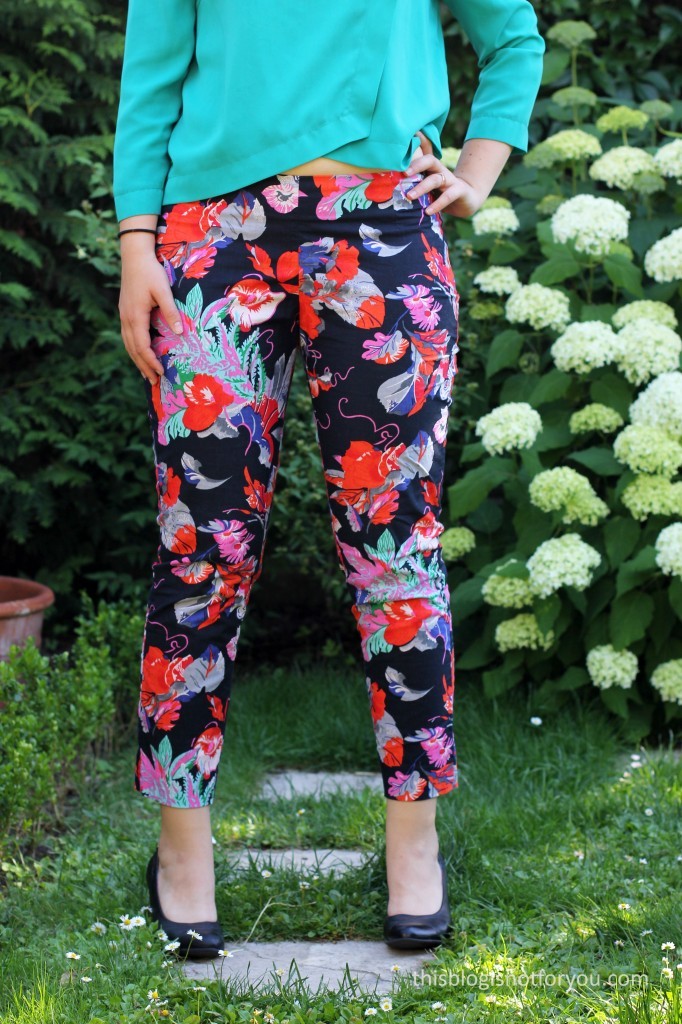
The little munchkin loves her new mocassins (worn here with her pair of Dalton trousers) which makes up for all blisters and sore fingers! I made two pairs of Dalton trousers, which is a lovely pattern from La Maison Victor magazine. I took 30 mins to make each one and they look too cute!
 Recognised the fabric from my Hepburn Dress?
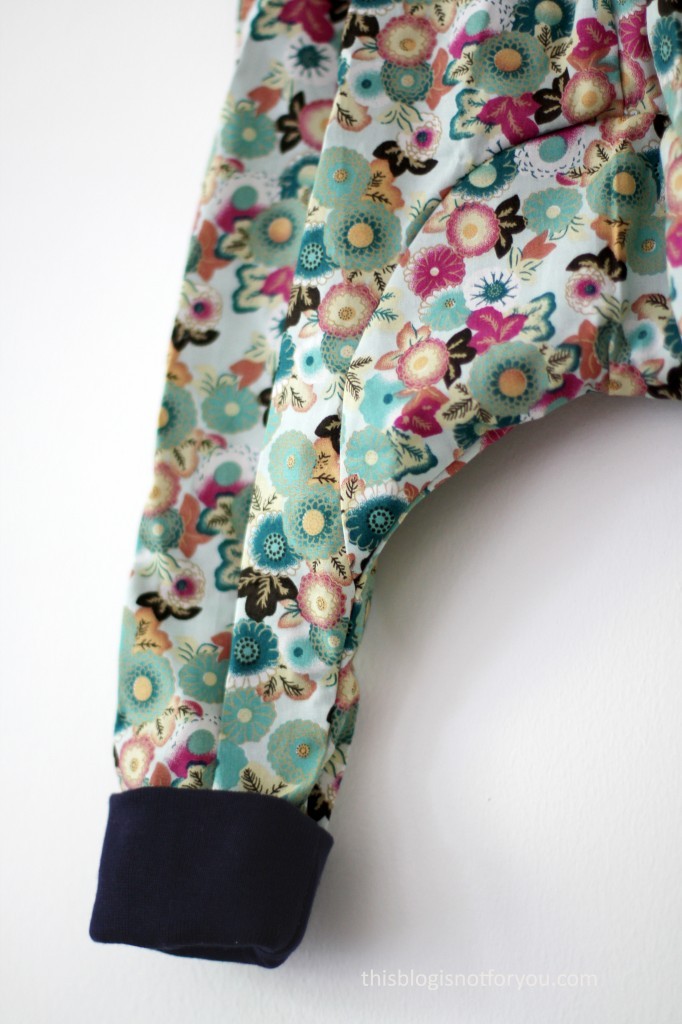
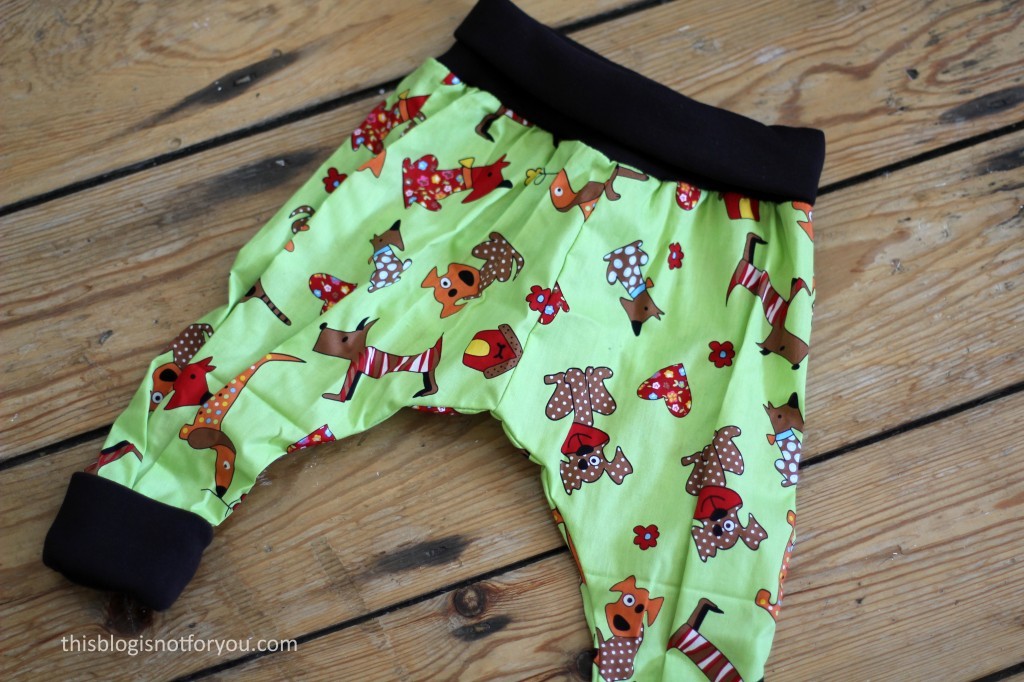
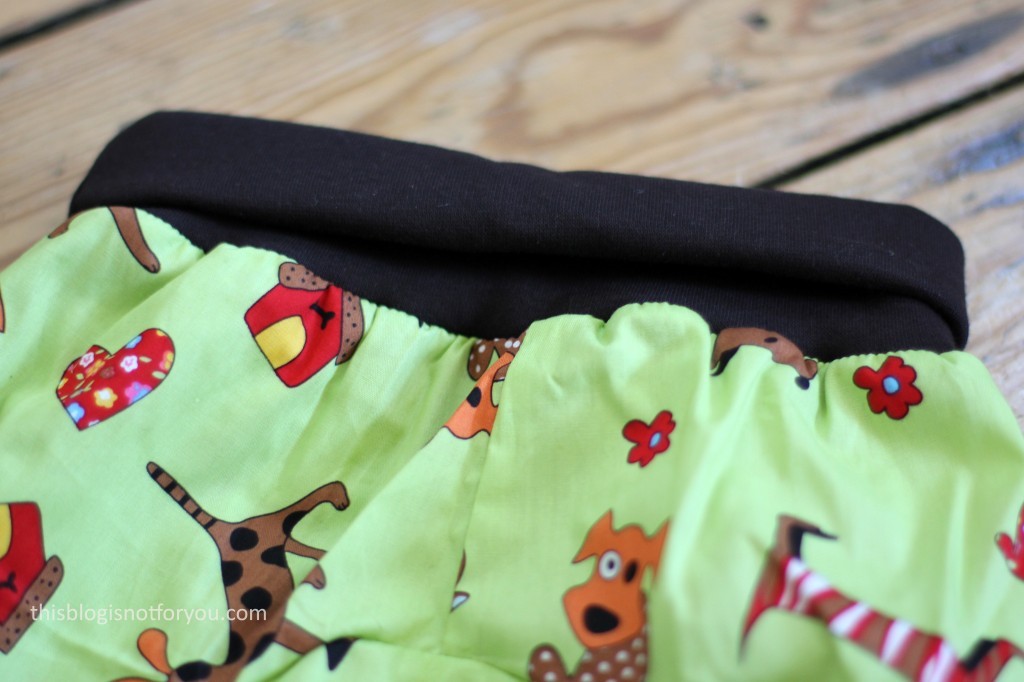
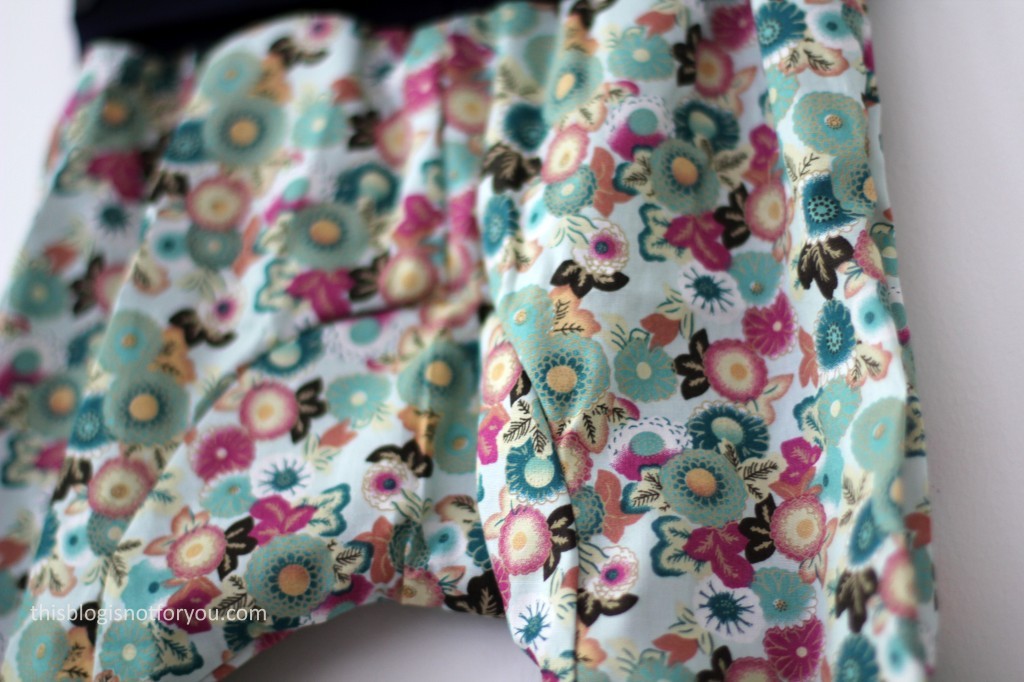
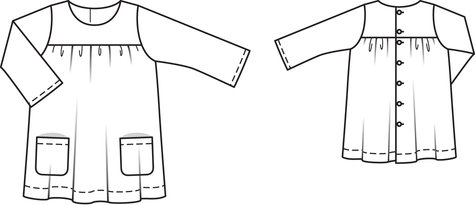
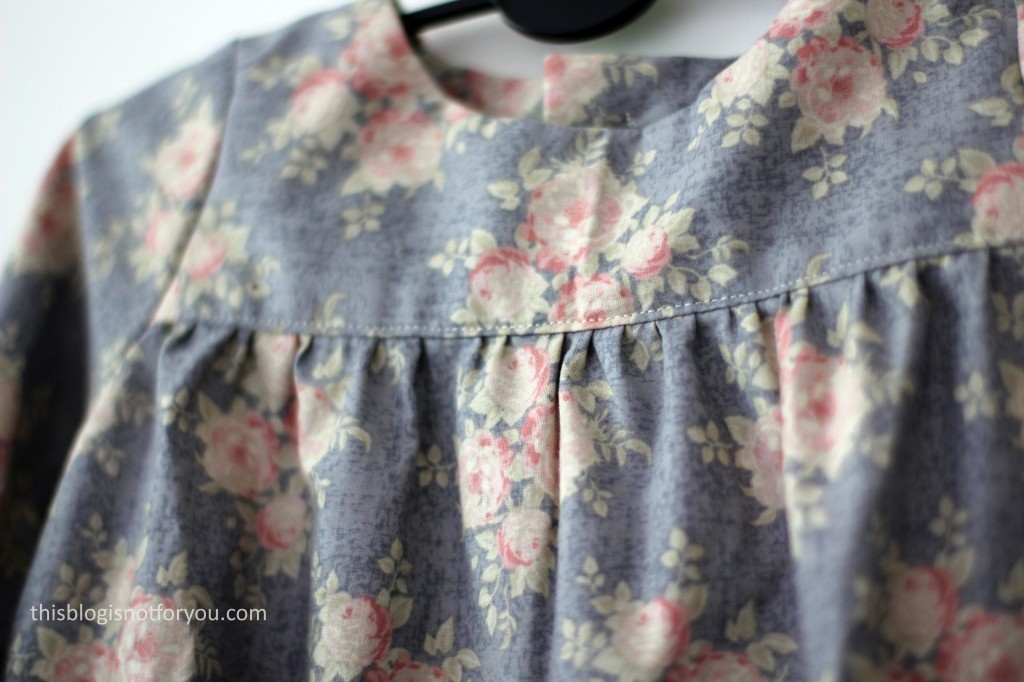
They are made from cotton and jersey. The trousers consist of just three pattern pieces plus the jersey waistband and cuffs. They look super comfortable!
I always find it super rewarding to sew for others! If I had more time and money, I might even do it more regularly! 😀
xx
Charlie
Happy sewing!
♥
facebook/bloglovin/pinterest
twitter/instagram
Stay in touch!
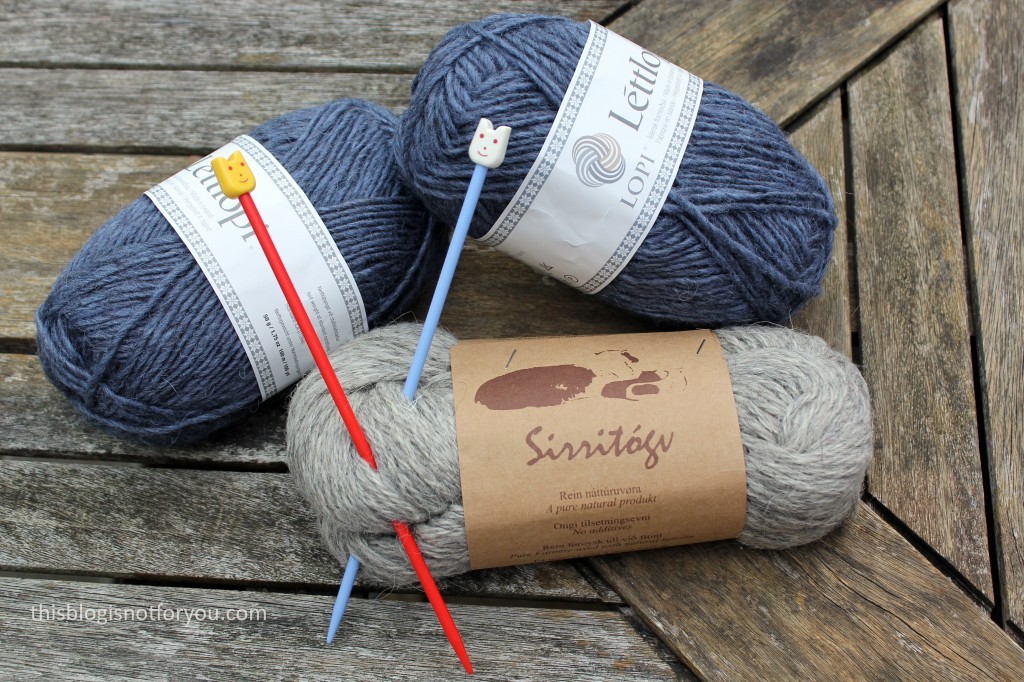
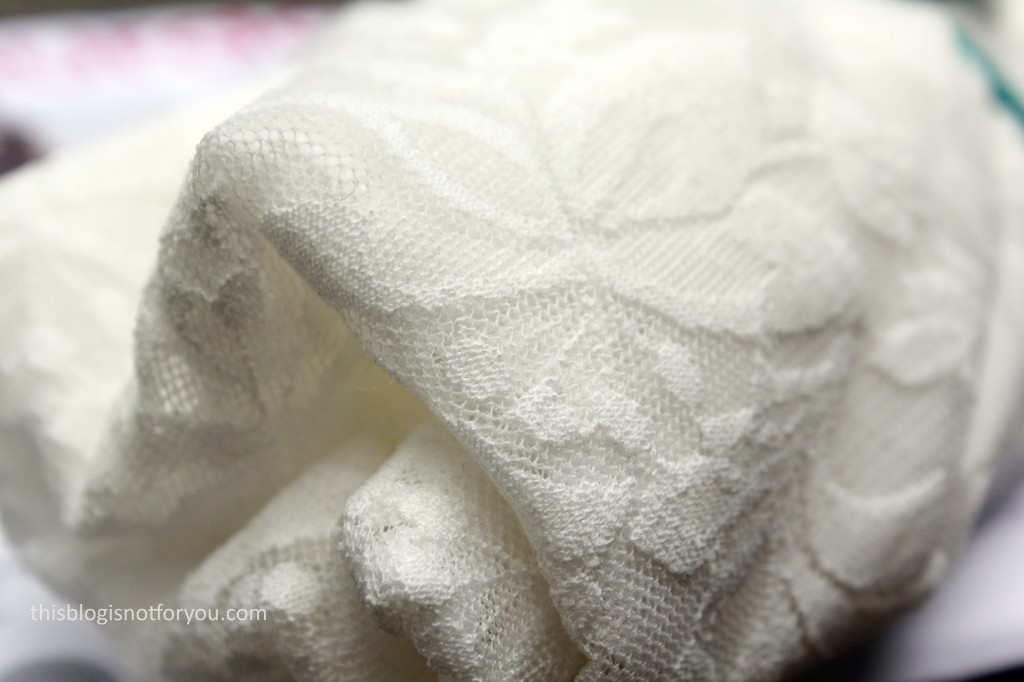
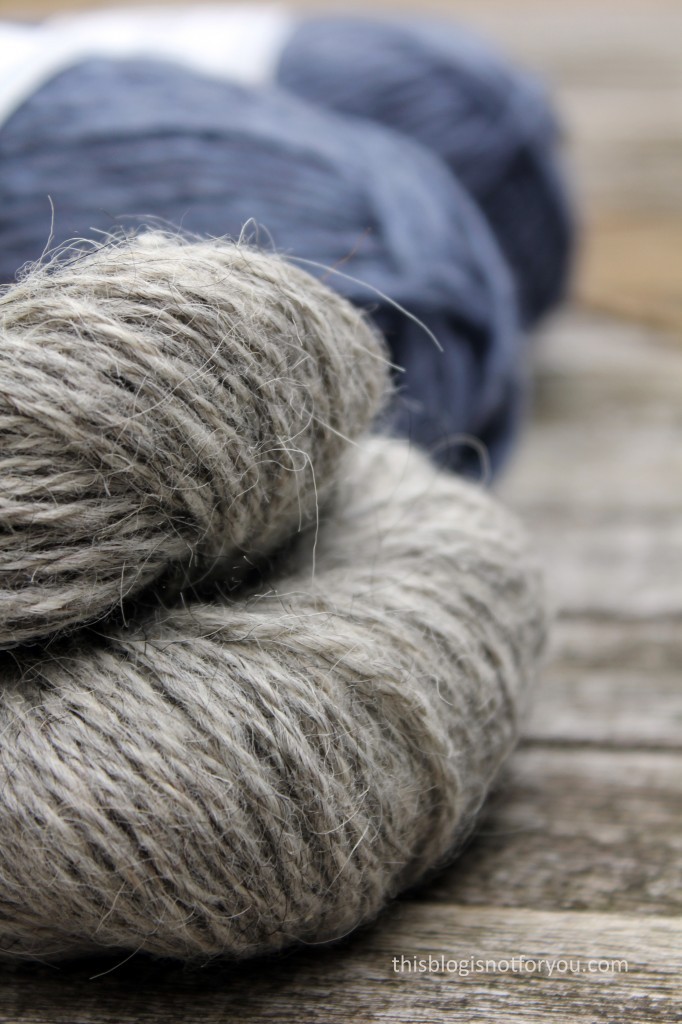 First of all, the wool! You won’t find many craft shops on the Faroe Islands, but when you find one it’s a knitter’s dream! Most people live on sheep farming and as you can imagine, Faroe wool is pretty awesome. I bought a 100g ball of 100% sheep’s wool in a natural colour in a little shop call
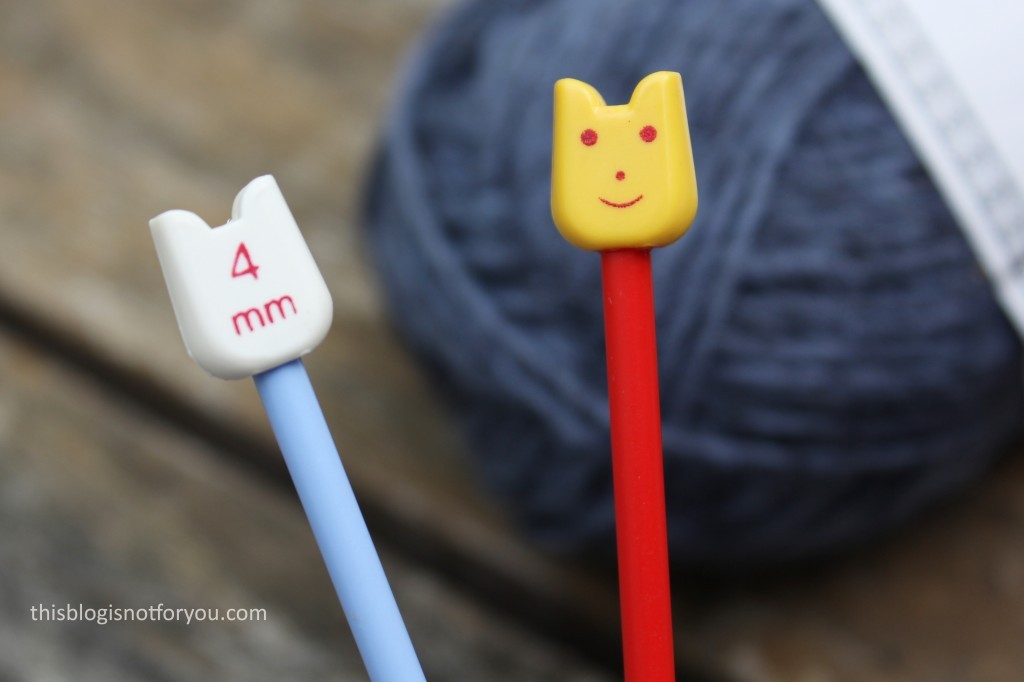
 I was really looking forward to my trip to
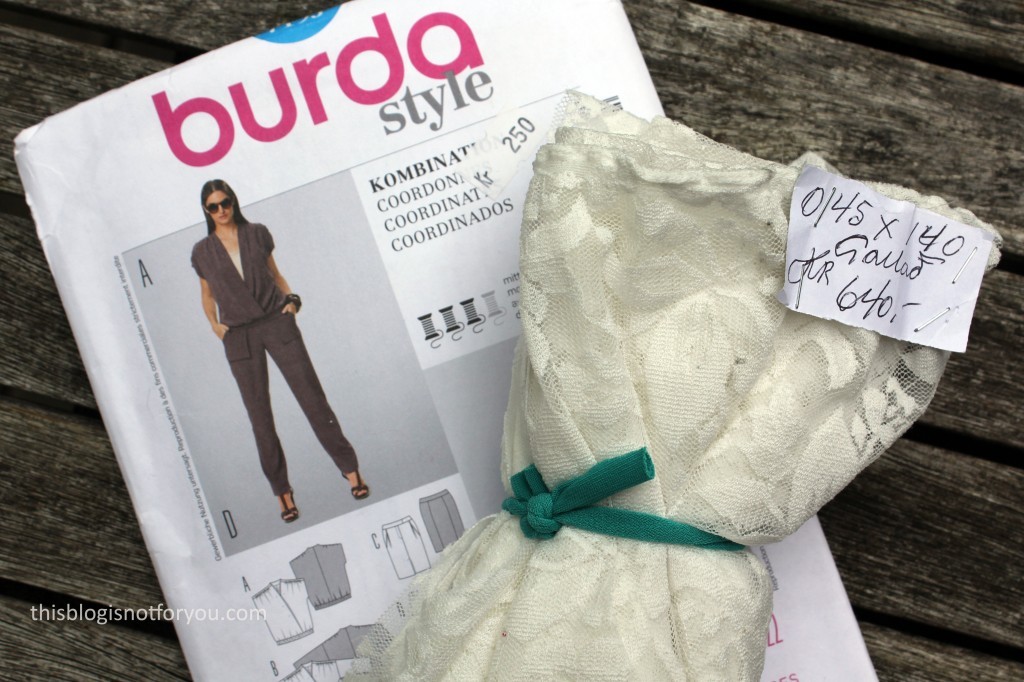
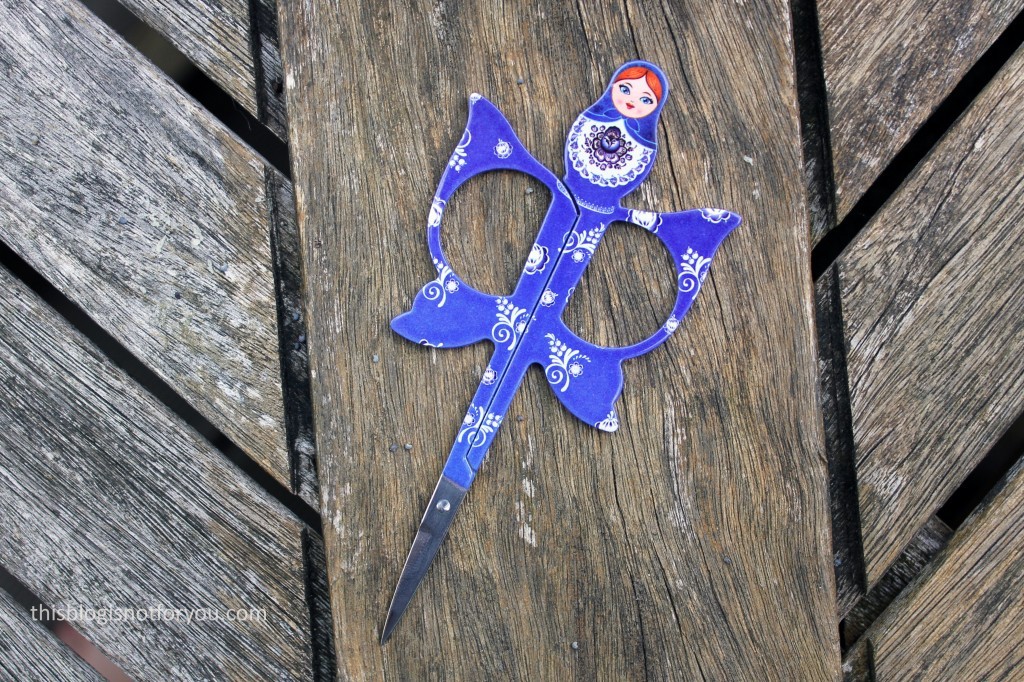
 They also these super cute hooks and eyes in different colours. I haven’t seen anything like these before. They’ll be nice on a keyhole closure or dress.
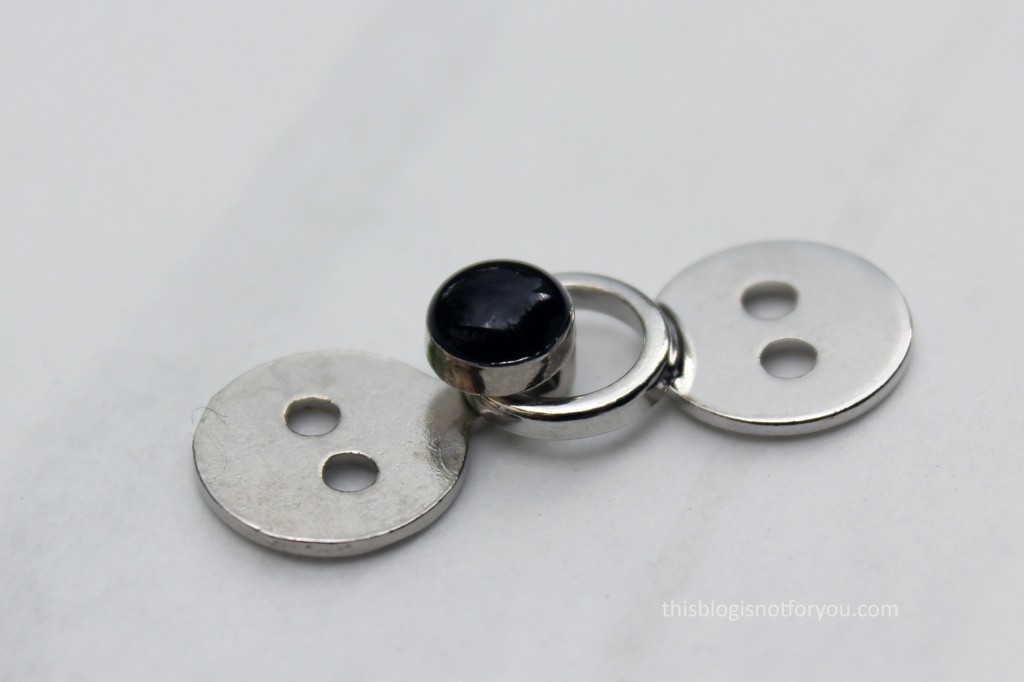
 Oops, I did it again! Hope you guys are not bored of me constantly posting different versions of the same patterns.
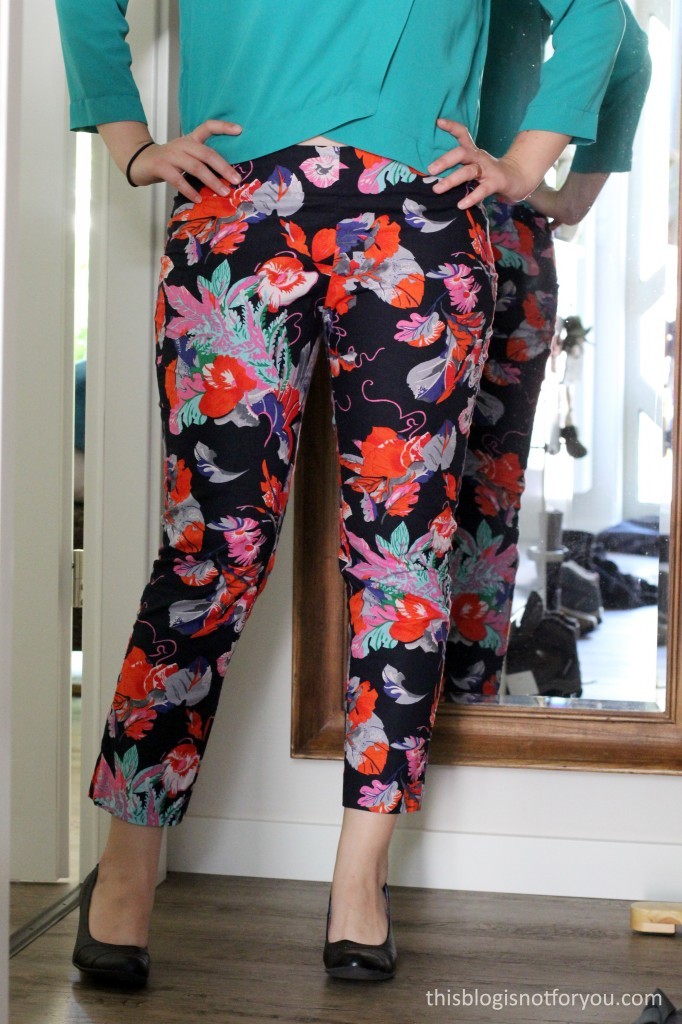
 Fit & Alterations:
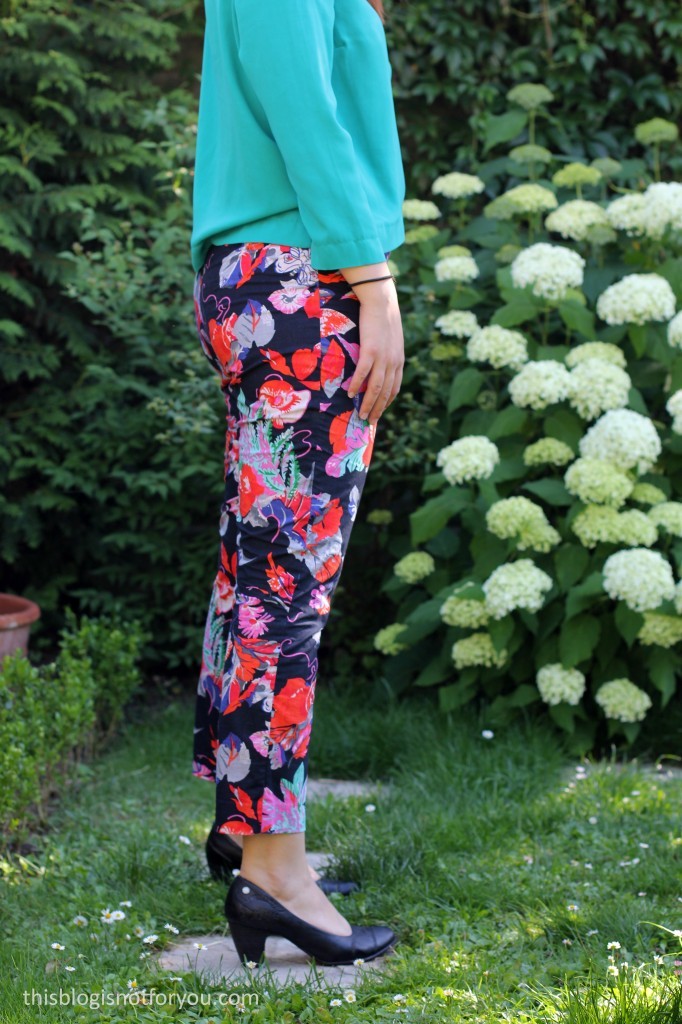
 The Fabric:
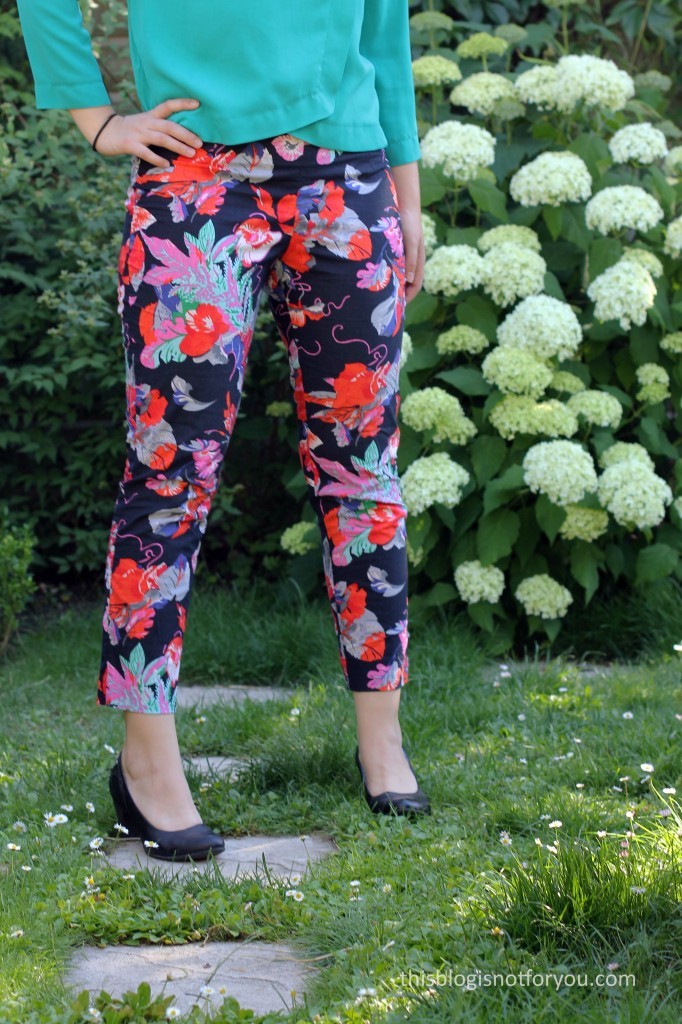
 Helloooo my lovelies!
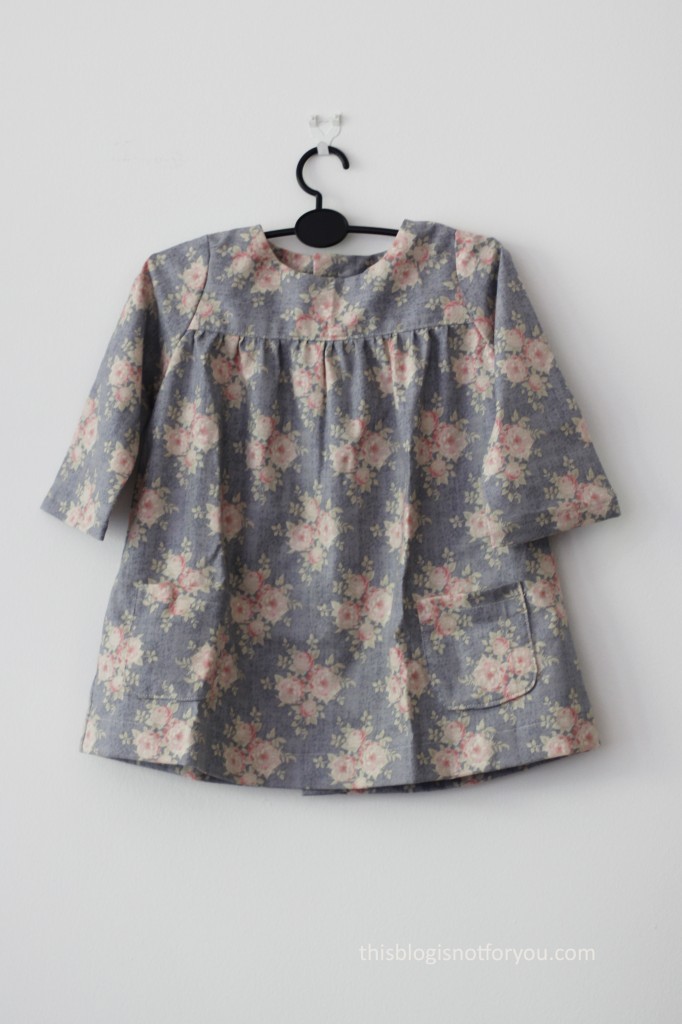
 And here’s the even cuter back! I made self-covered buttons (12mm) and sew all the buttonholes with my buttonhole foot and my 4-step-sewing machine setting (15mm wide buttonholes). These buttons make me smile!
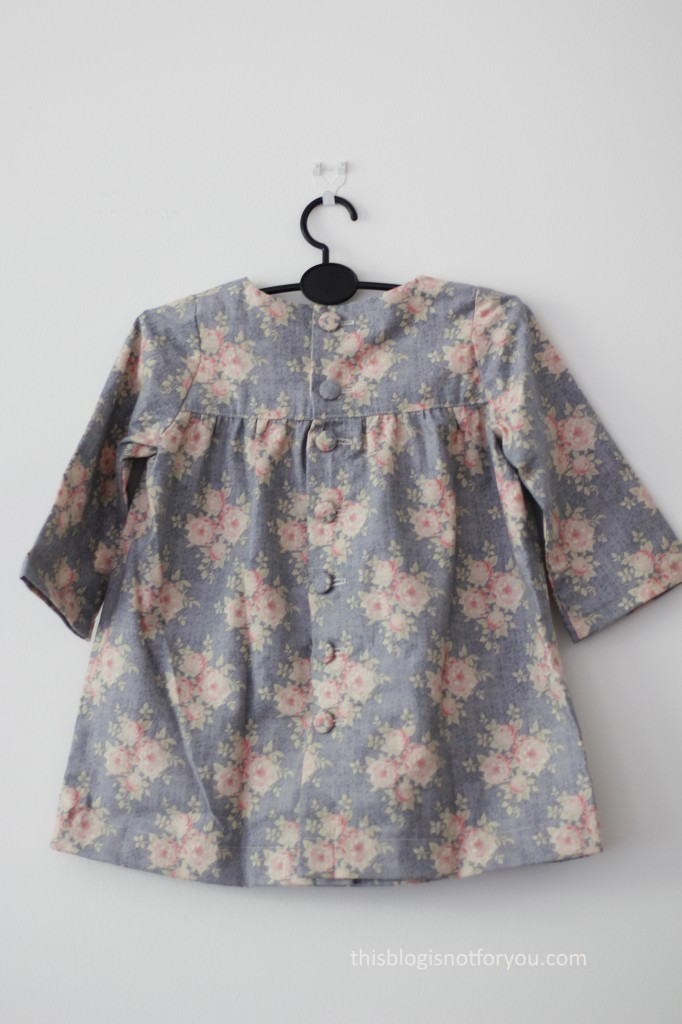 The dress fits beautifully and the little munchkin looks absolutely stunning in it (you can tell that she knows that, too!)
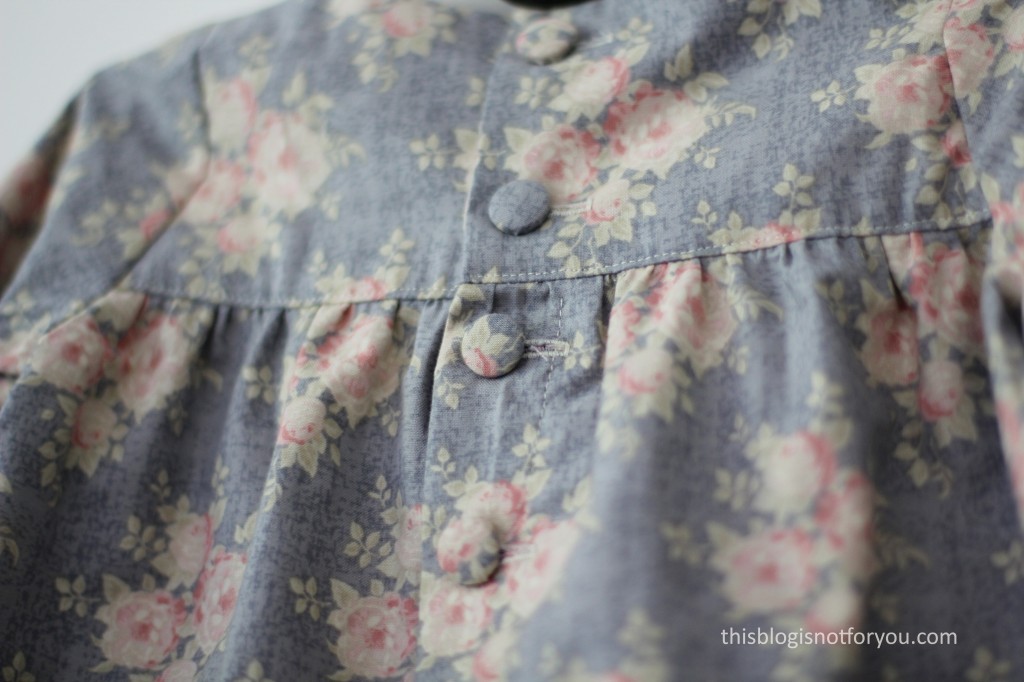
 Hello dear sewing-lovers! Today I’m sharing

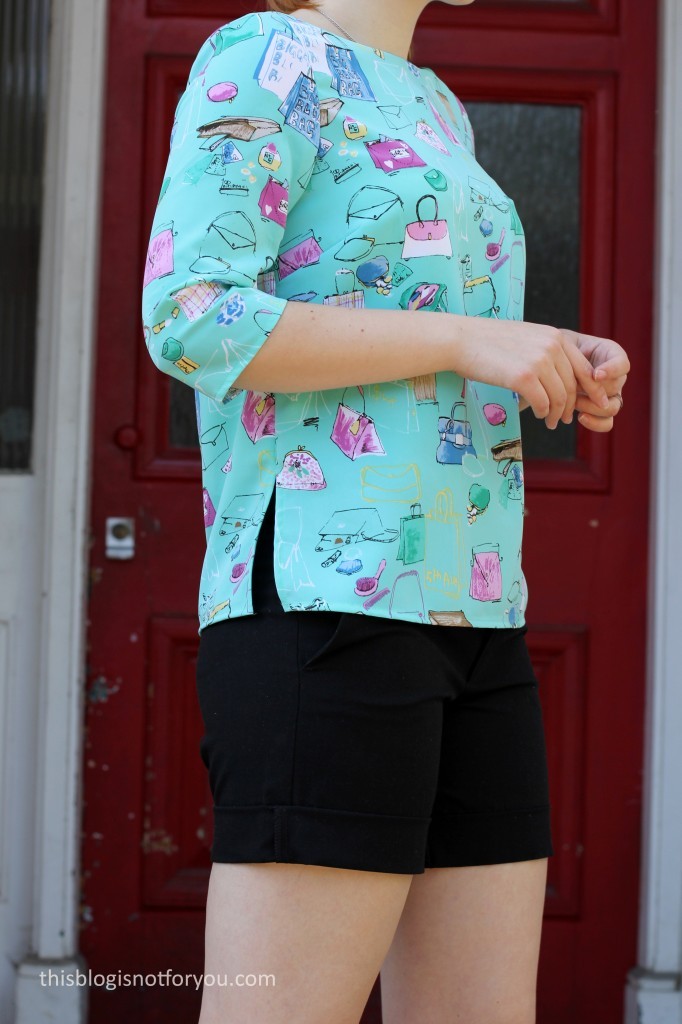
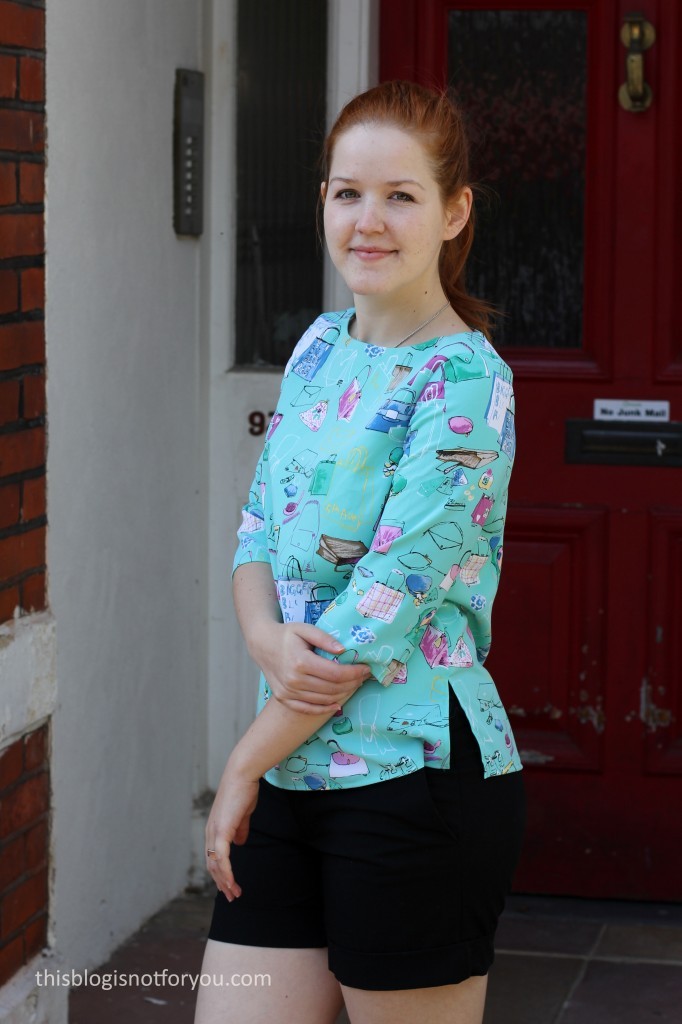 I stitched the side seams up to approx. 15cm from the hem. I then pressed the seams open. The seam allowance is kept in place by topstitching 5mm from the edge, starting at the hem. I stitched up to the point where the side seam stitching starts, then stitching at an 45° angle, first up, then down again, forming a little triangle shape at the top of the slit.
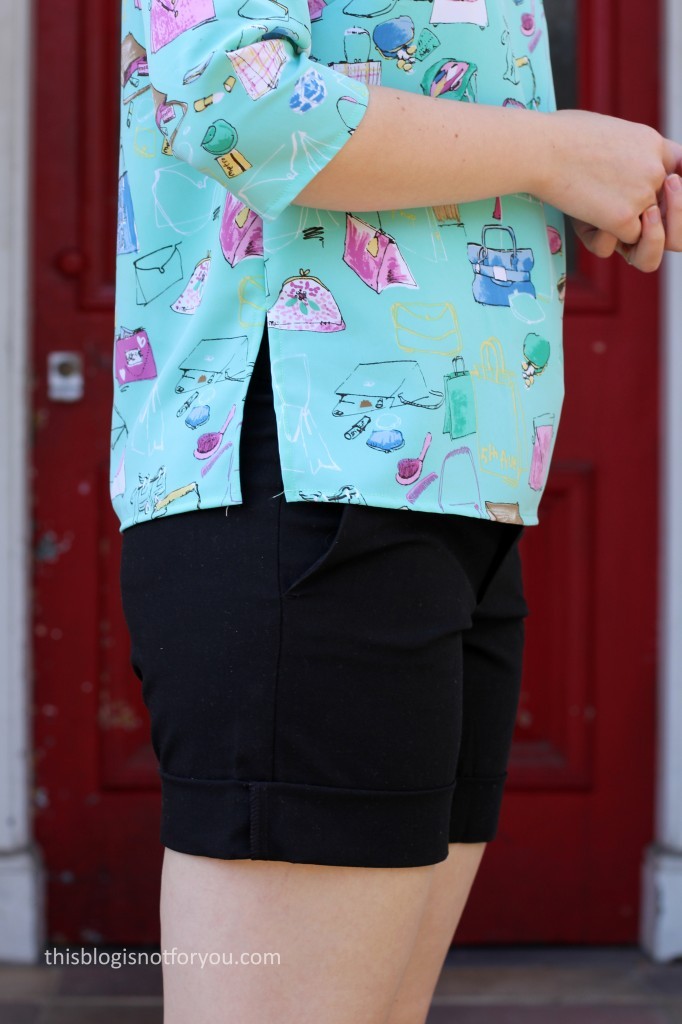
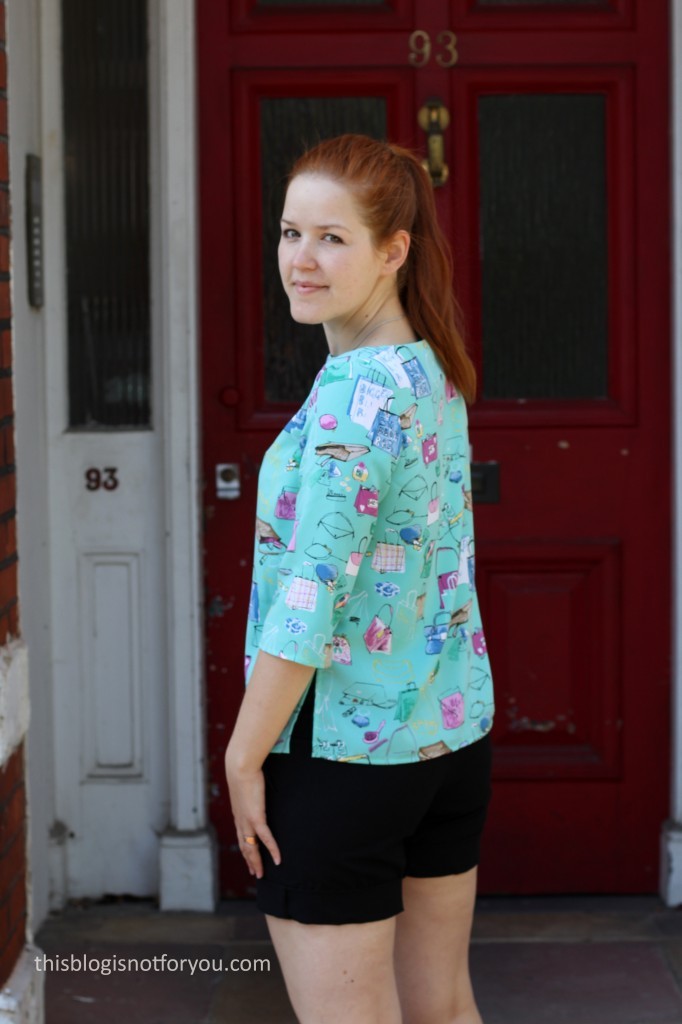
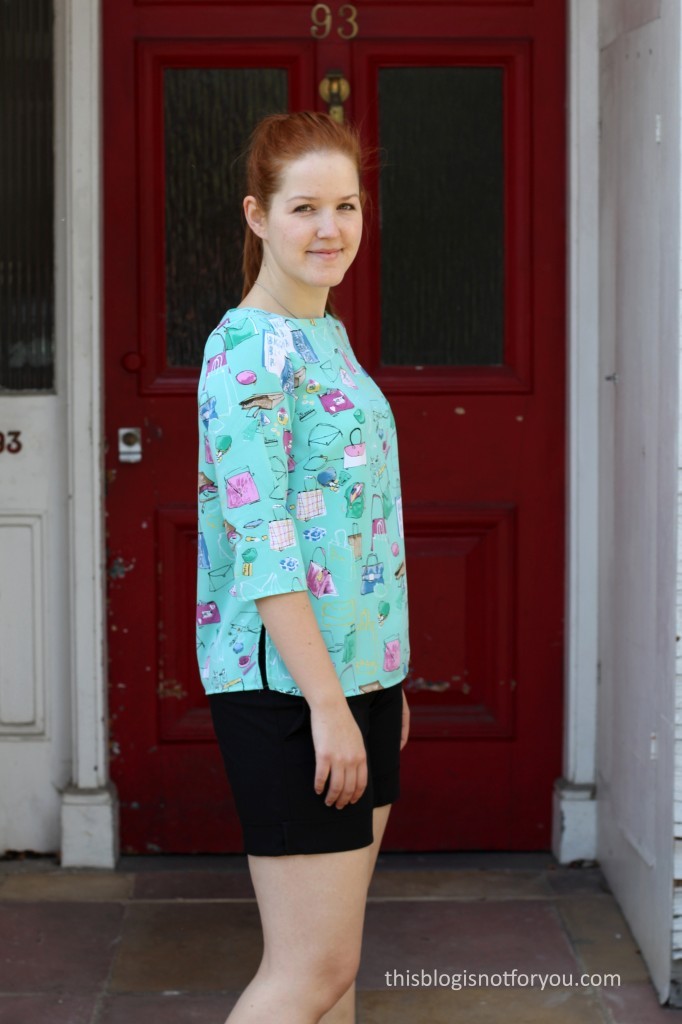
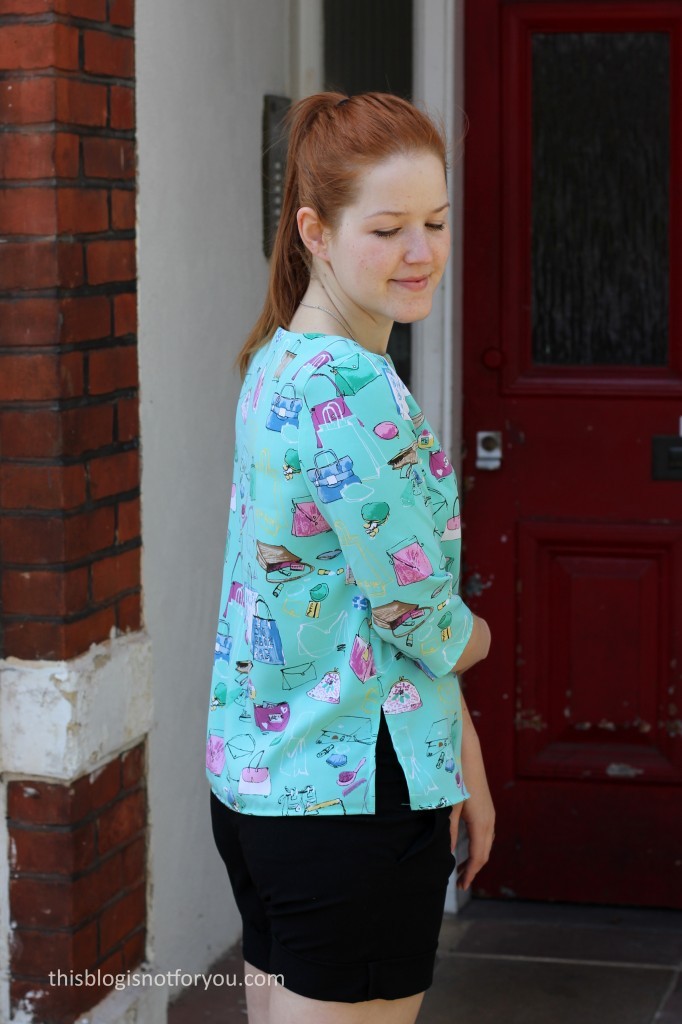 To be honest, I’m not quite as happy with this make as I hoped to be. First, the fabric. I have 3m of this polyester blend, which I got for almost nothing at a charity shop. The quality is really nice and I saved it up for ages. I finally decided that I had enough to make a top and still have enough left for a dress. Looking at the top now, the fabric choice wasn’t the best. I just really don’t like the print on it. It would’ve looked better on a dress I guess. I might use the rest of this fabric for the
 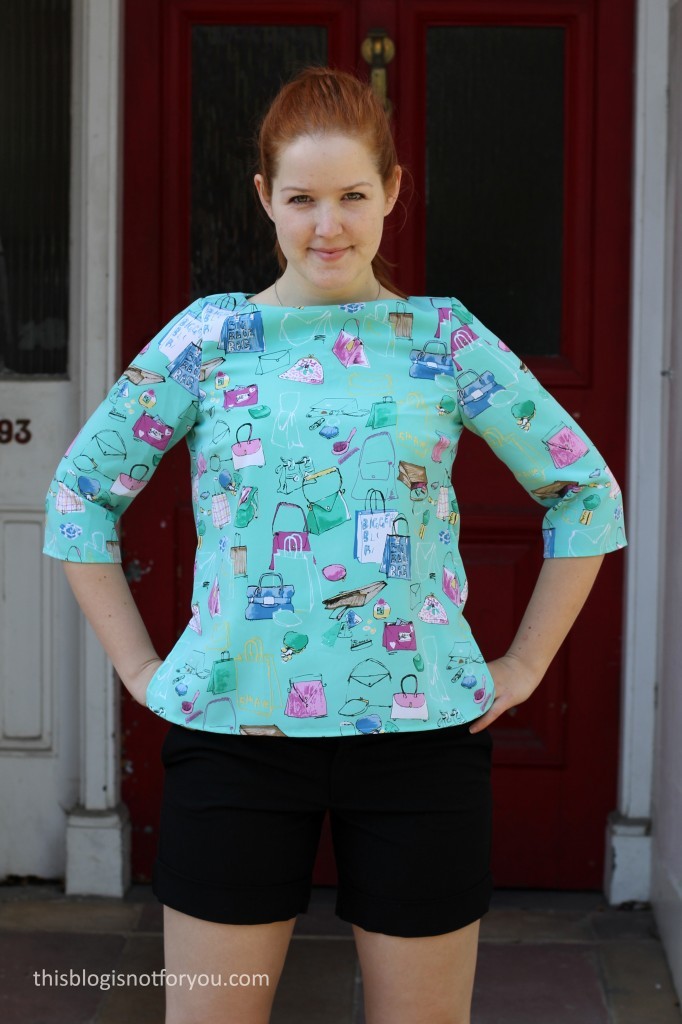 Well, it’s good enough to wear at home in the garden and I have learned my lesson!