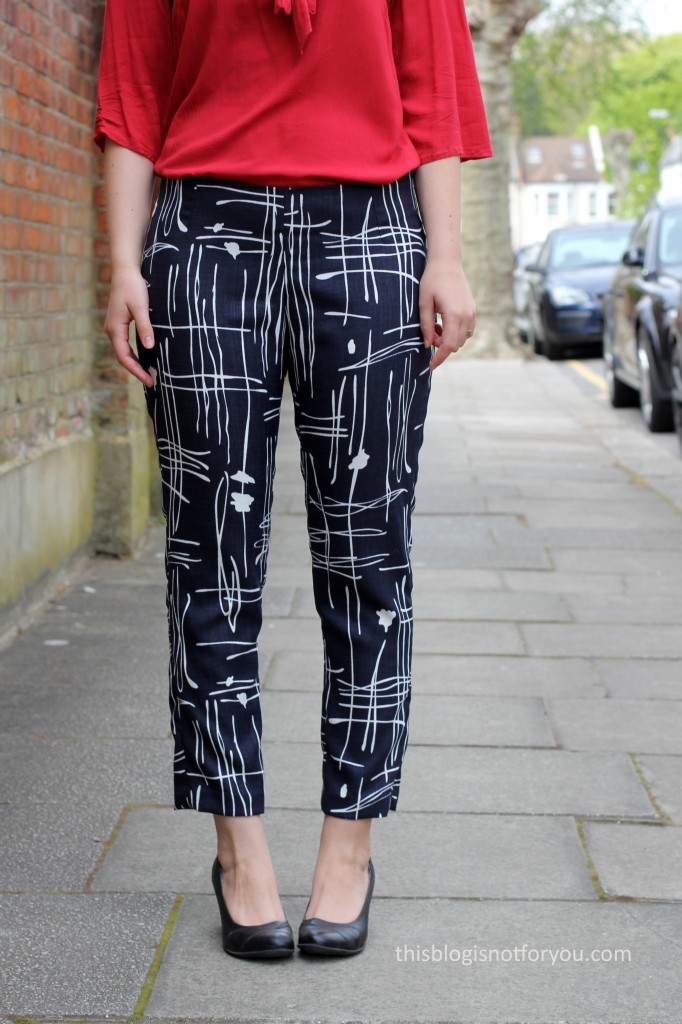
Burda Style Midi Culottes 04/2015 #113A
 Hello everyone! Hope you are all having a fantastic weekend! Mine has been great so far – had my last day at work on Friday followed by leaving drinks in the evening which was fun and pretty sad as well! Yesterday we hit Walthamstow market and I went a bit crazy fabric and notions shopping, because, who knows, there might be no fabric in Germany! (Or that’s what I kept telling me). And today I’m resting my feet and will tidy up and sort out all my sewing stuff in preparation for the big move.
Ahh, and did I tell you that I spontaneously made a Dirndl dress (including handmade Dirndl blouse and apron) last week because we had a fancy dress fundraiser at work? Well, I did, and it was pretty crazy as I had slighlty underestimated how much work that would be. But hey, I ended up with a pretty fab costume, lots of compliments and an actual Dirndl dress which I might even wear again in the future should I ever go to Oktoberfest. Anyhow, this project isn’t photographed yet, but you can head over to my Instagram (see sidebar) to see the end result!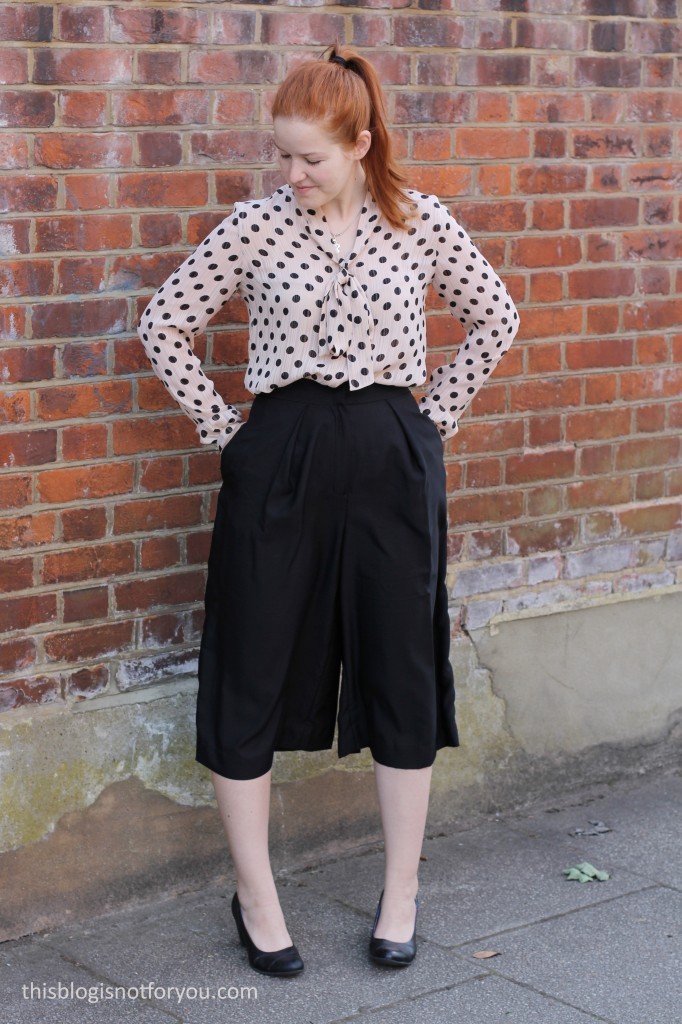 But let’s talk about these culottes now! The moment I saw the pattern in Burda Style magazine I wanted to make them. I wasn’t sure whether they would be flattering or practical, but they just looked too comfy and cool.
Pattern and Construction:
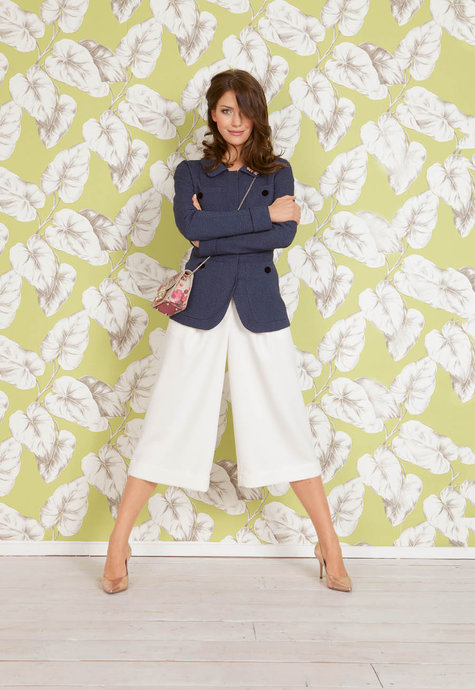
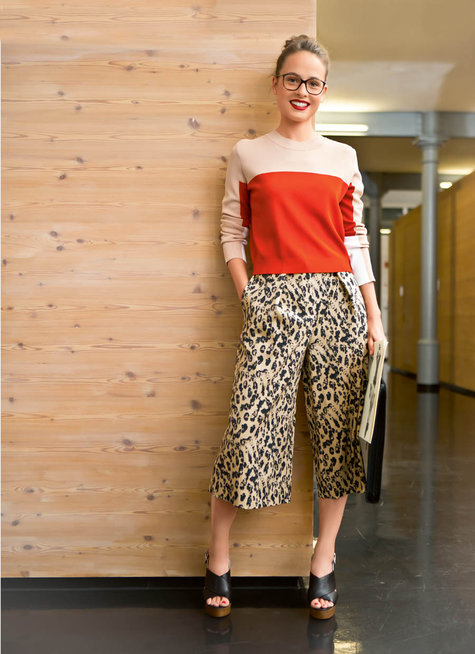
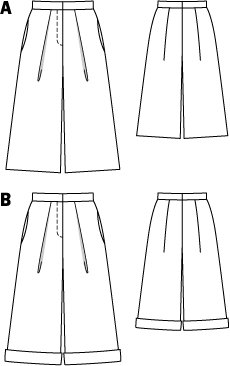
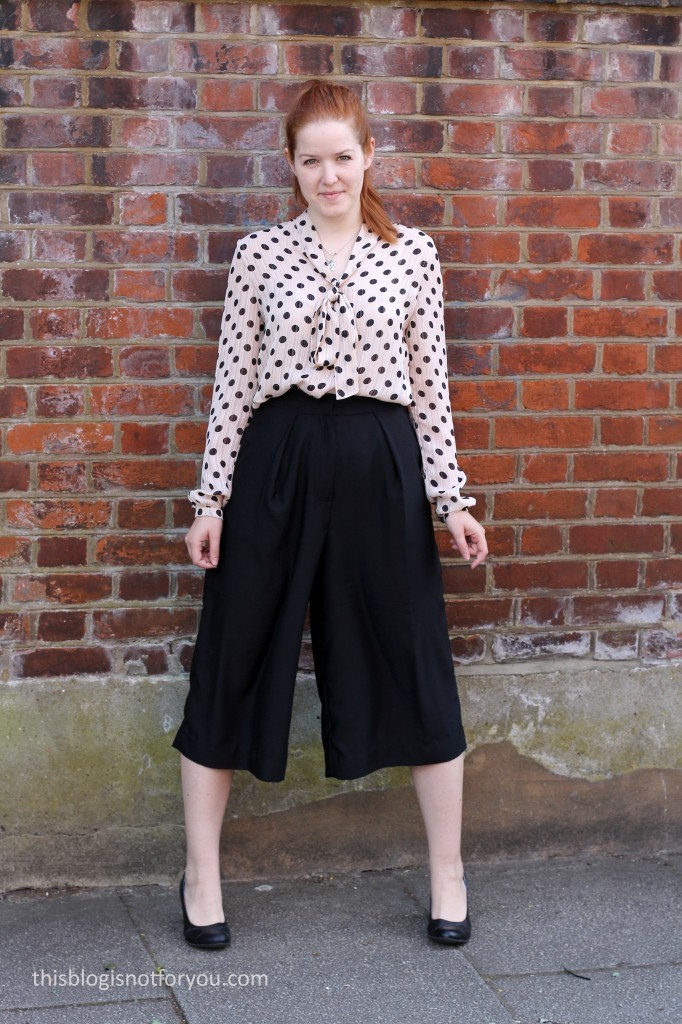
The pattern is Burda Style Midi Culottes 04/2015 #113A. Burda Style seems to have a thing for culottes now, as they only just had another pattern in the March issue.
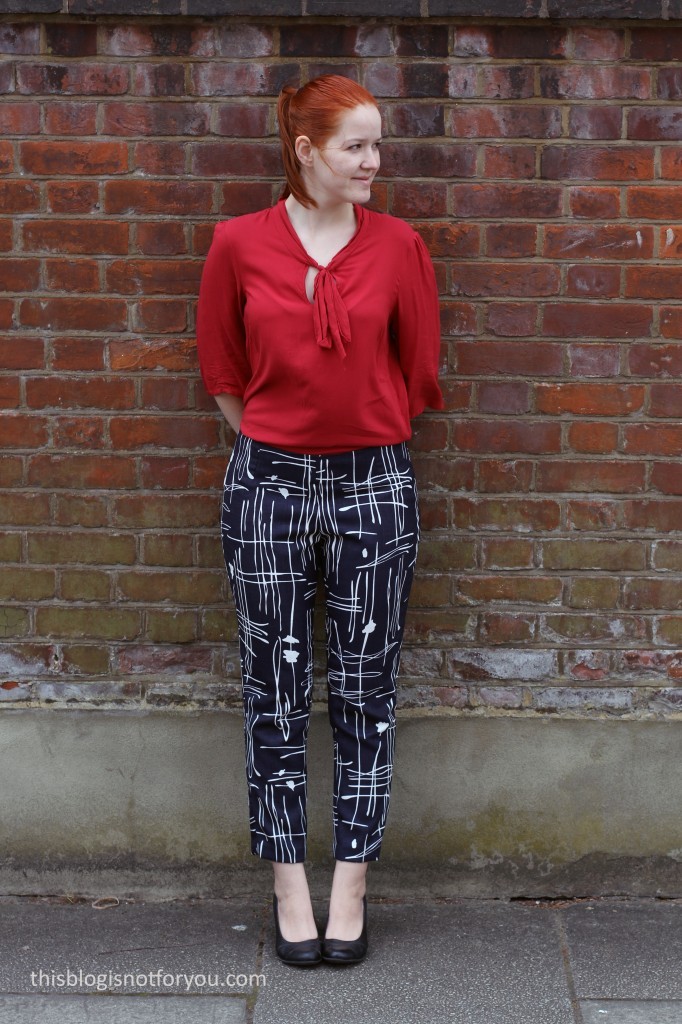
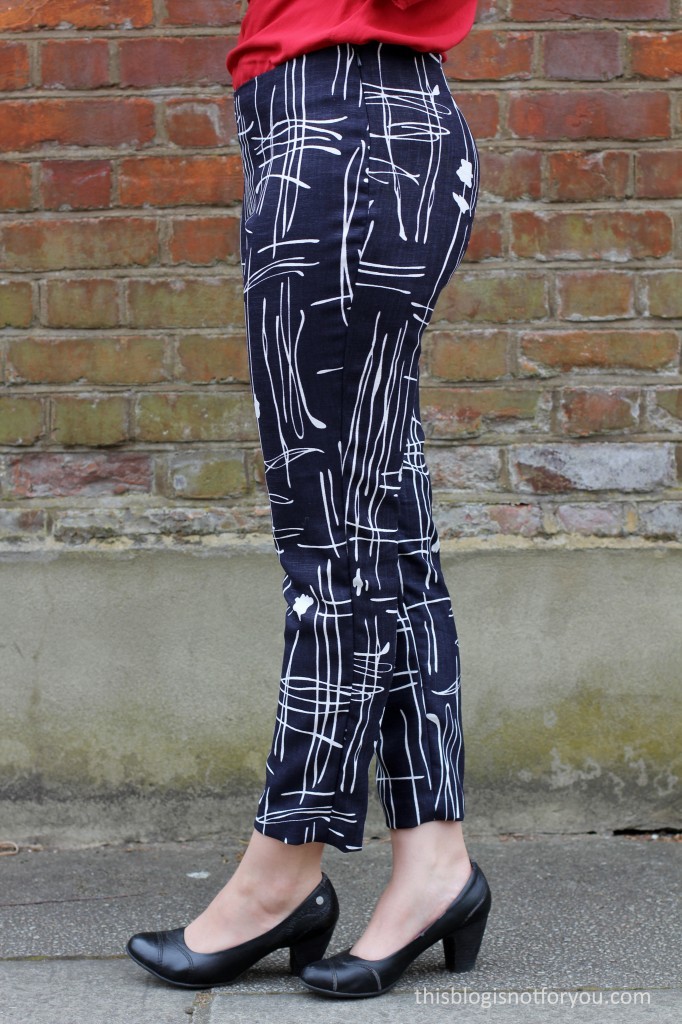
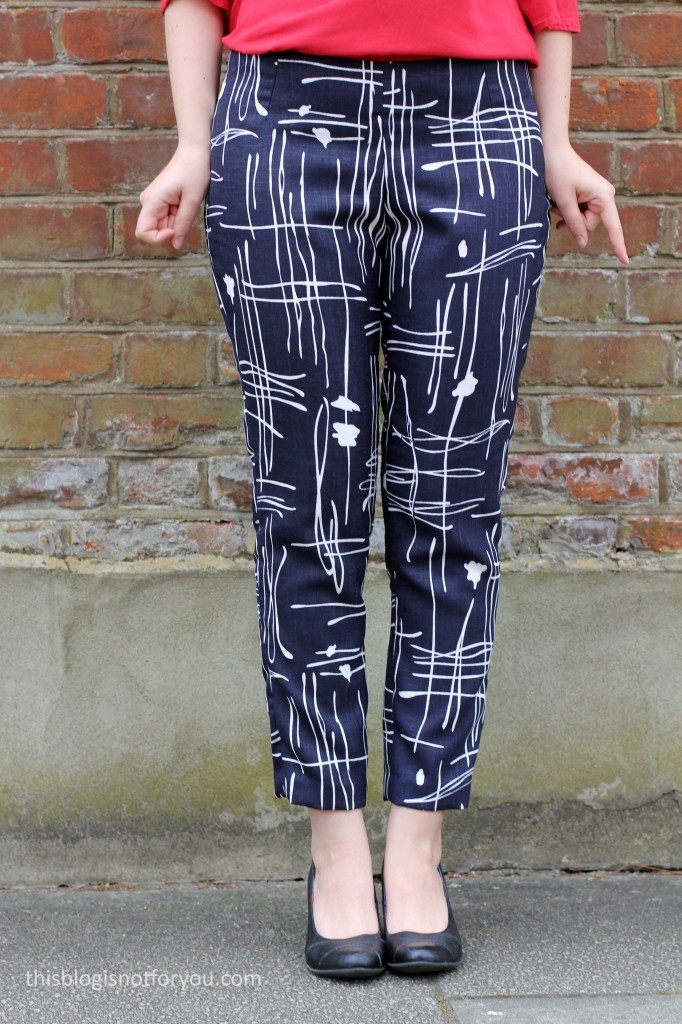
The pattern came together very easily, the fit was spot on. I didn’t grade up as usually, as it’s a wide fit and went with size 10 (EUR 36) which I normally use for Burda Style bodices. The waistband sits on the natural waist. The culottes lay flat on the top thanks to the pleats and then flare out. They almost look like a midi skirt, it’s only when you start walking and people see it actually trousers.
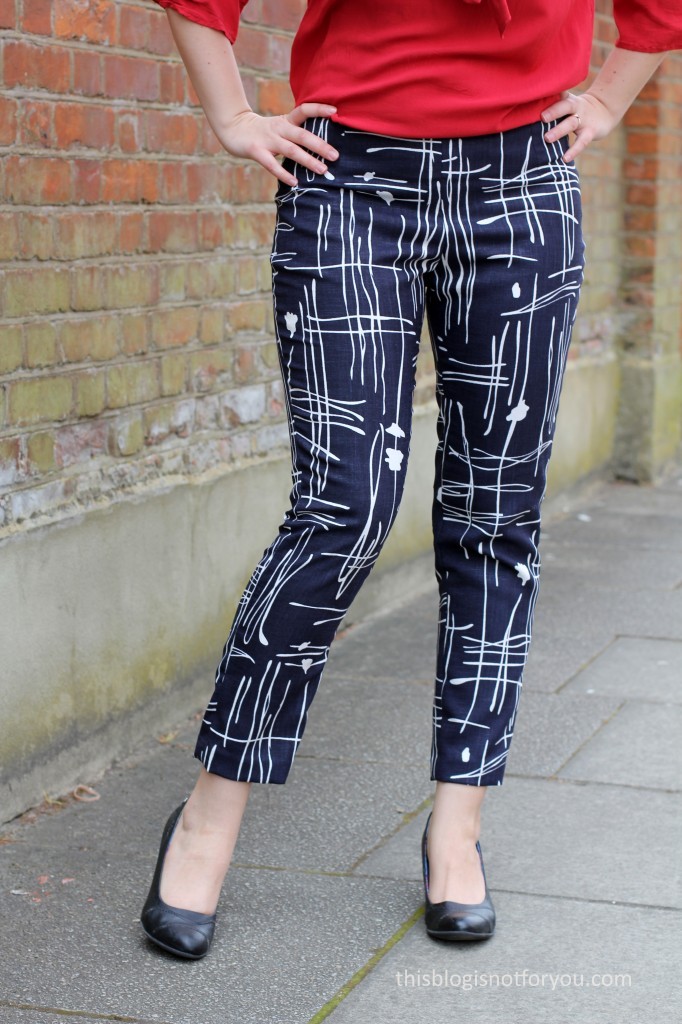
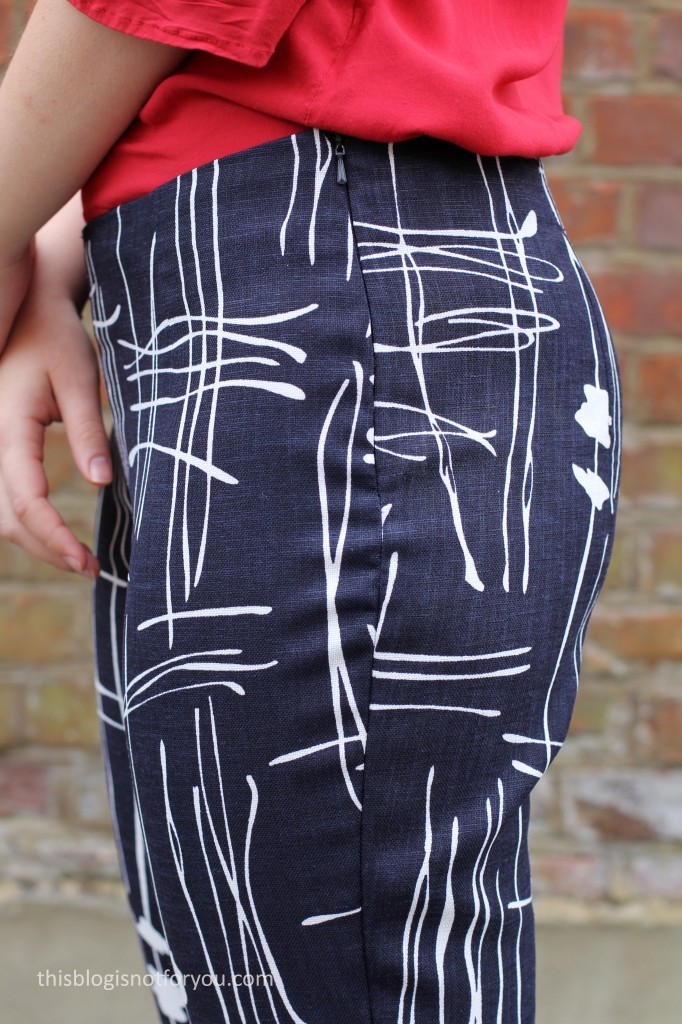
The pattern inludes pockets (I looove pocketses!) and has a front fly which is the only slightly more complicated bit of the construction. Luckily, this pattern is featured in the magazine with detailed and illustrated instructions, so everything came together smoothly.
 The Fit:
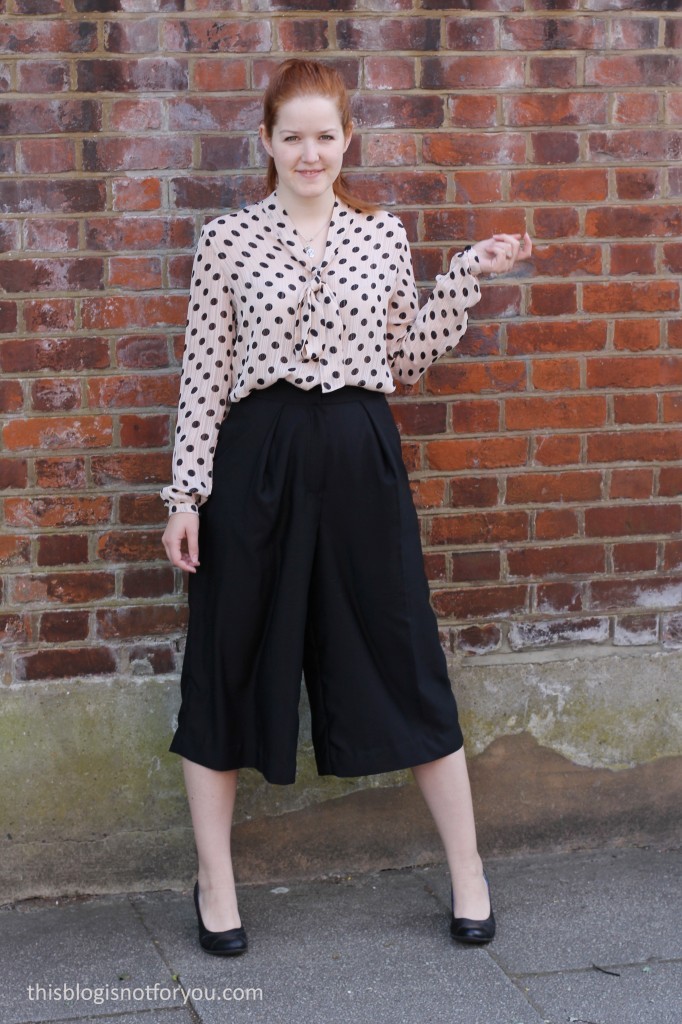
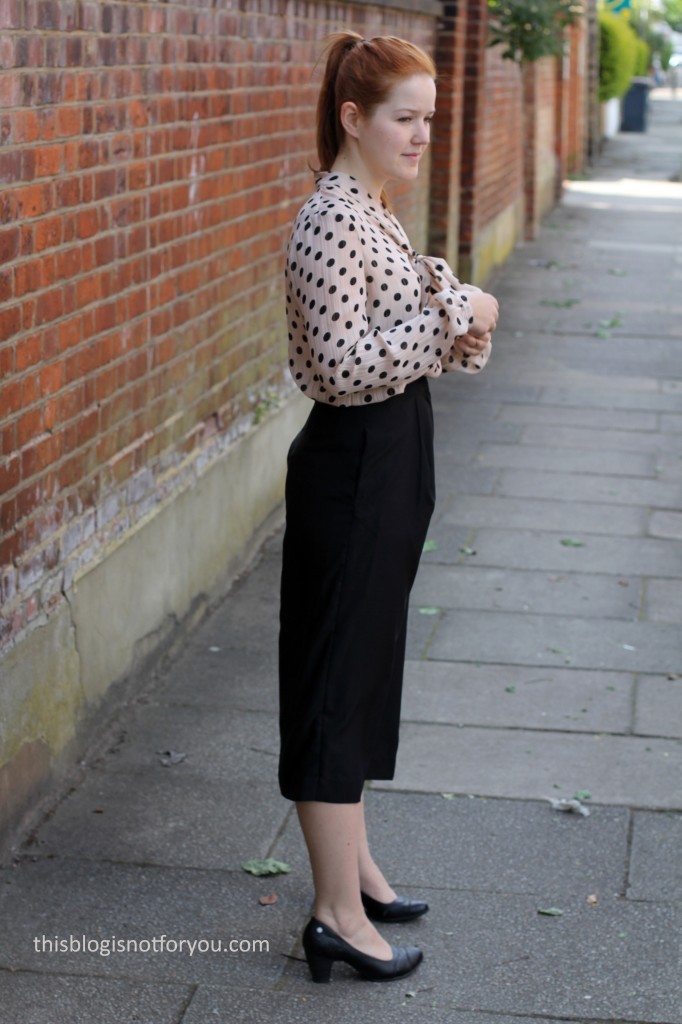
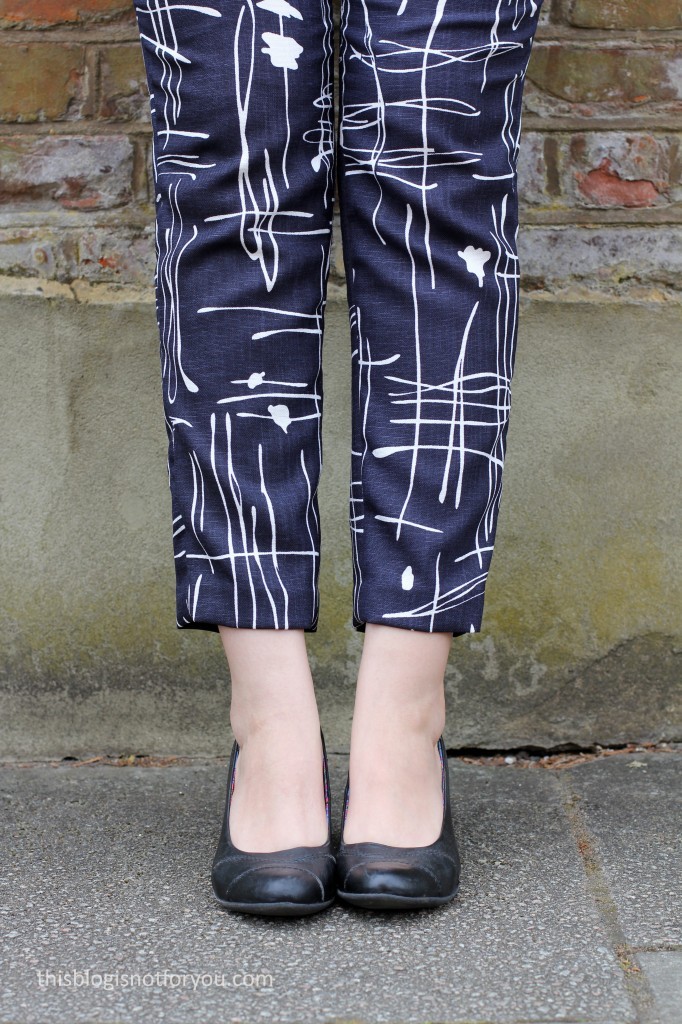
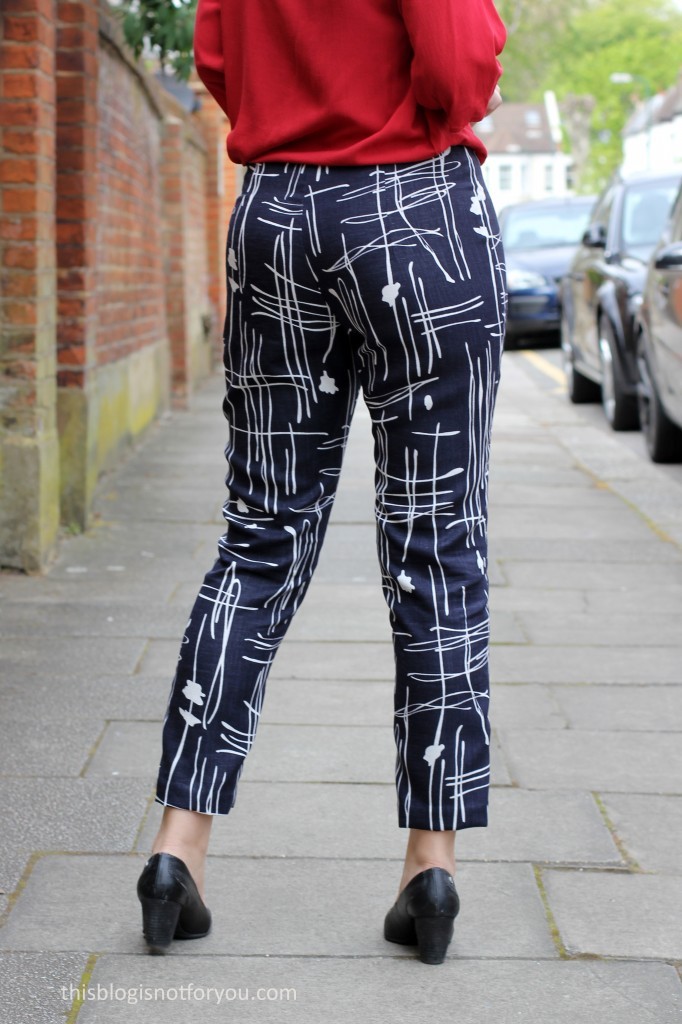
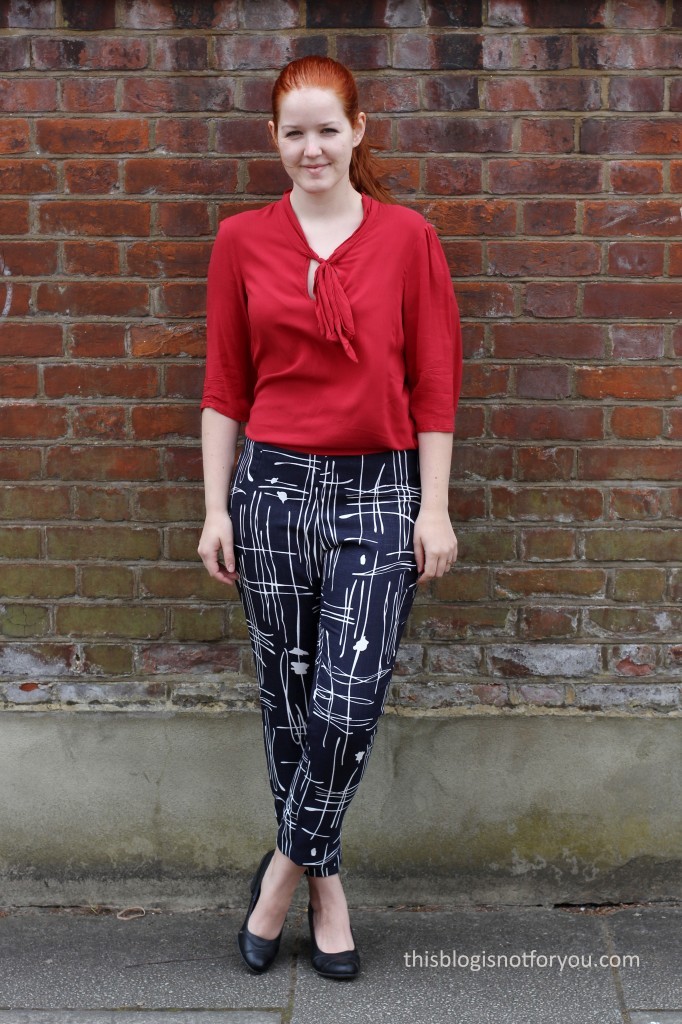
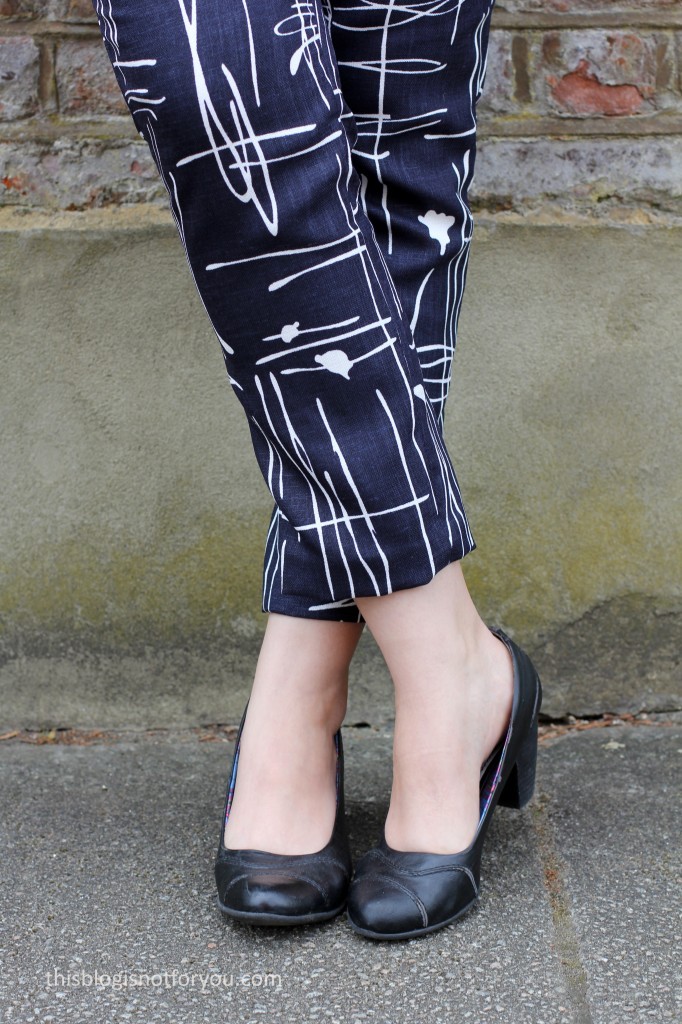
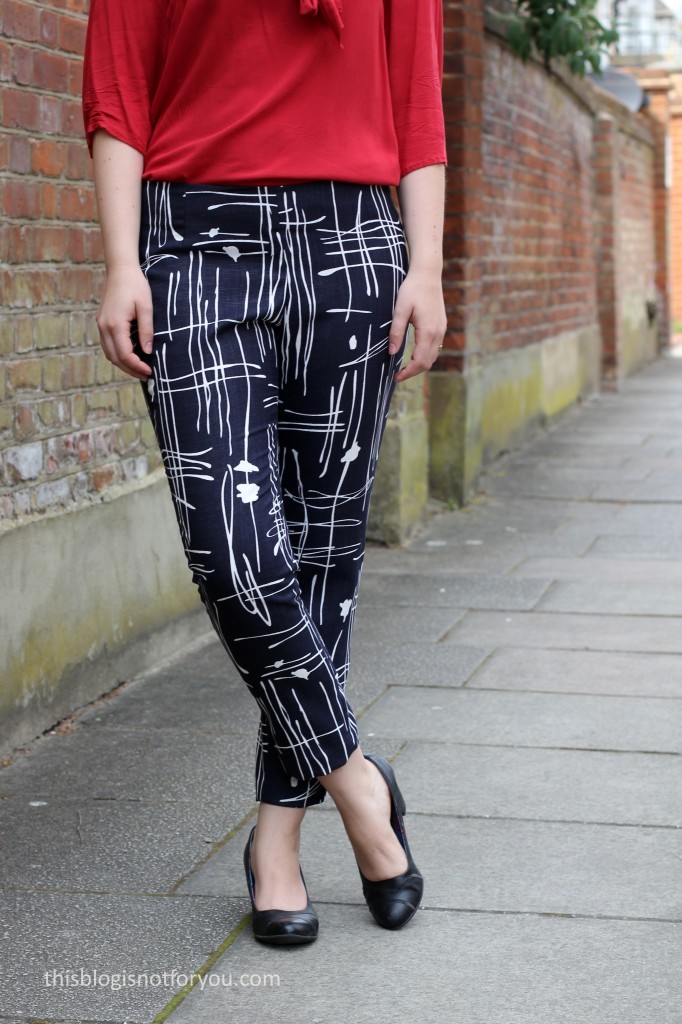
As I said, the fit was pretty much spot on. They are very flattering, also you can’t really see that in the pictures. (I really need to give those pleats another good press.) I love the high waist. The midi length might not work for everyone, but I think shortening the culottes might make them look a bit awkward. Although midi length often is on the verge to looking a bit frumpy and old-fashioned, it really works with these culottes especially when you wear them with heels.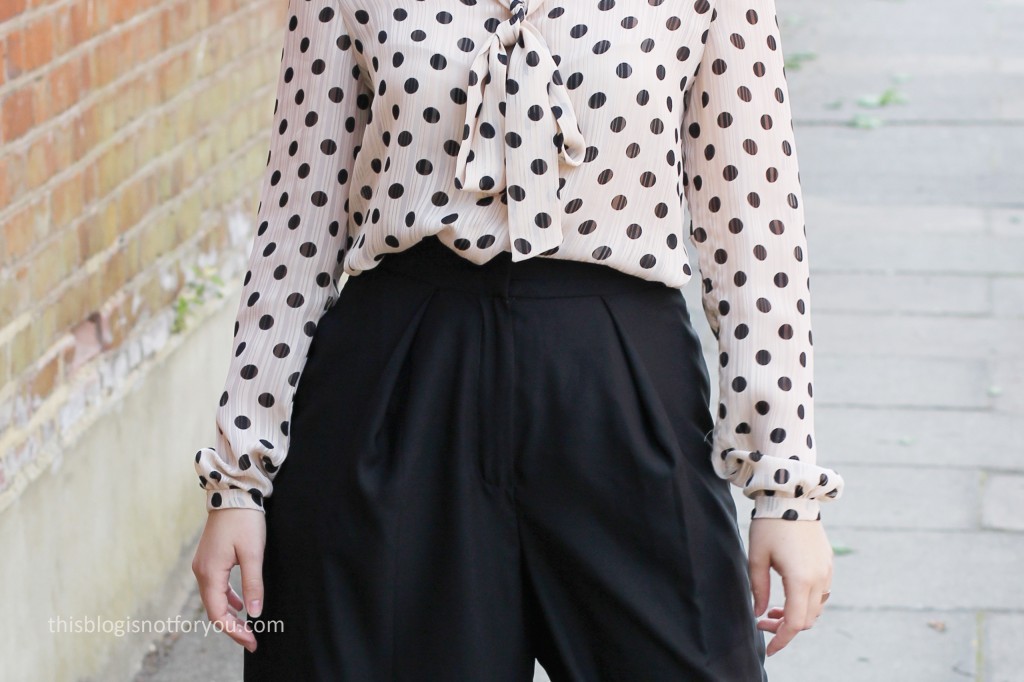
 Fabric and Notions:
lightweight polyester (charity shop), polyester thread (Isacord), extra fine (70) sewing machine needle (Hemline on Amazon), overlocker to finish fabric edges, trouser hook with rivets (Weaverdee.com), 9 inch zip
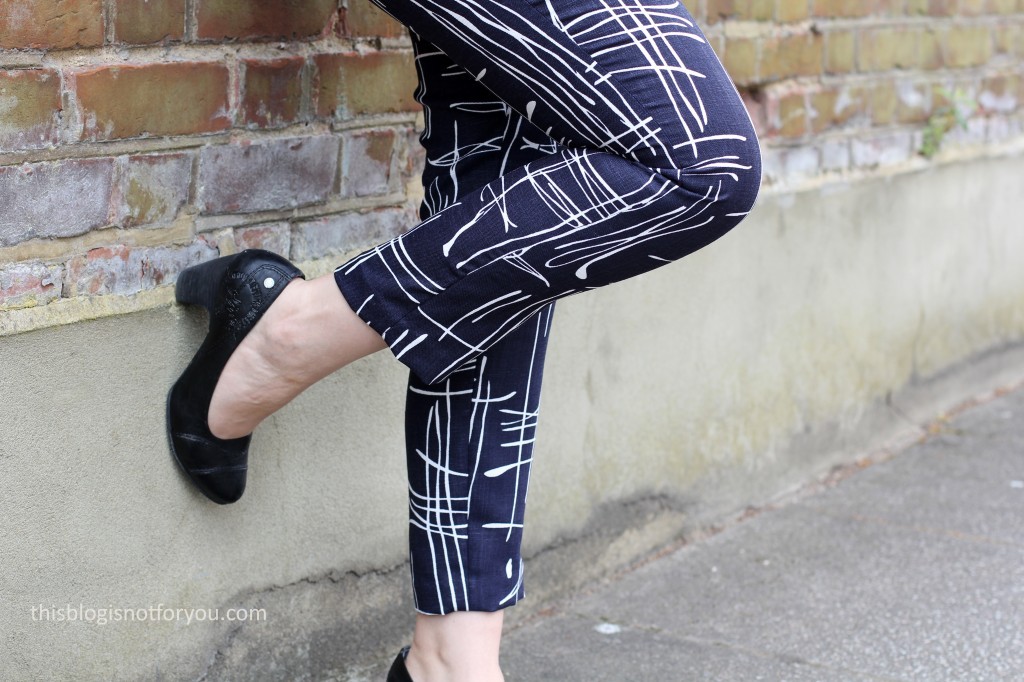
The fabric is definitely not the perfect choice for this garment, but I wanted to make a wearable muslin first and this fabric was cheap and on hand. It’s a very, VERY light-weight polyester, which you can see in most of the pics as it only was a bit windy that day and the culottes basically wouldn’t hang straight.
The fabric is actually a 5m sari shawl (that’s probably not the right technical term for it) that I got in a charity shop for only a few quid. The fabric drapes beautifully and is super comfy, but I will definitely go for something with a bit more volume next time. I bought a pretty navy blue polyester-cotton-blend in Walthamstow yesterday which I will probably use for another one.
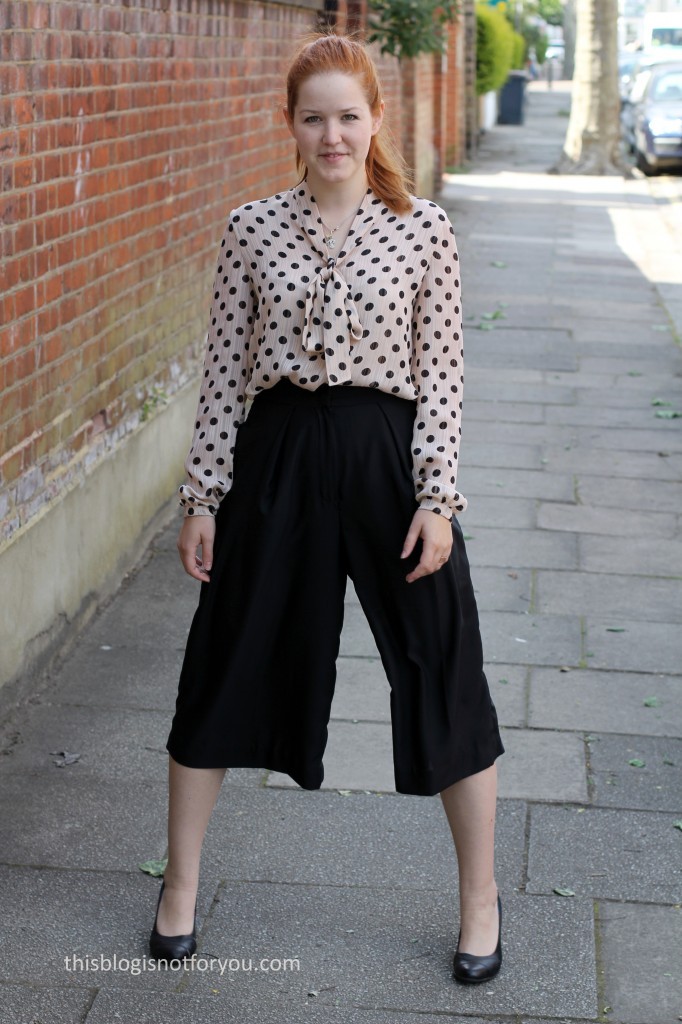
 So overall, I’m quite happy with how they turned out. Obviously, the fabric isn’t quite right, but it sort of works. I think they look quite elegant – the Mr. says I look like a pirate in them. Well, I don’t mind that. Yoho!
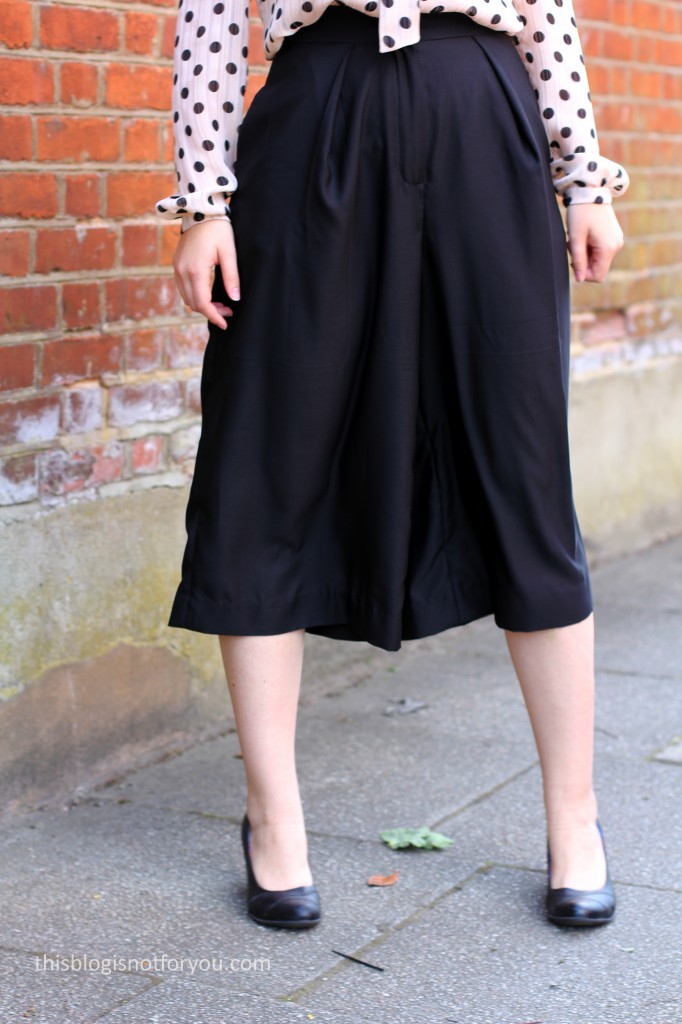
Will I make it again?
Yes, I’m pretty sure you’ll see another one soon! It wasn’t an overly complicated project and it’s good for practising sewing a front fly! I already have fabric for another pair of culottes.
What do you think of the culottes trend? Do you like it? Would you make some yourself?
Happy sewing!
♥
facebook/bloglovin/pinterest
twitter/instagram
Stay in touch!
 Helloooo my lovelies!

 The Fabric:
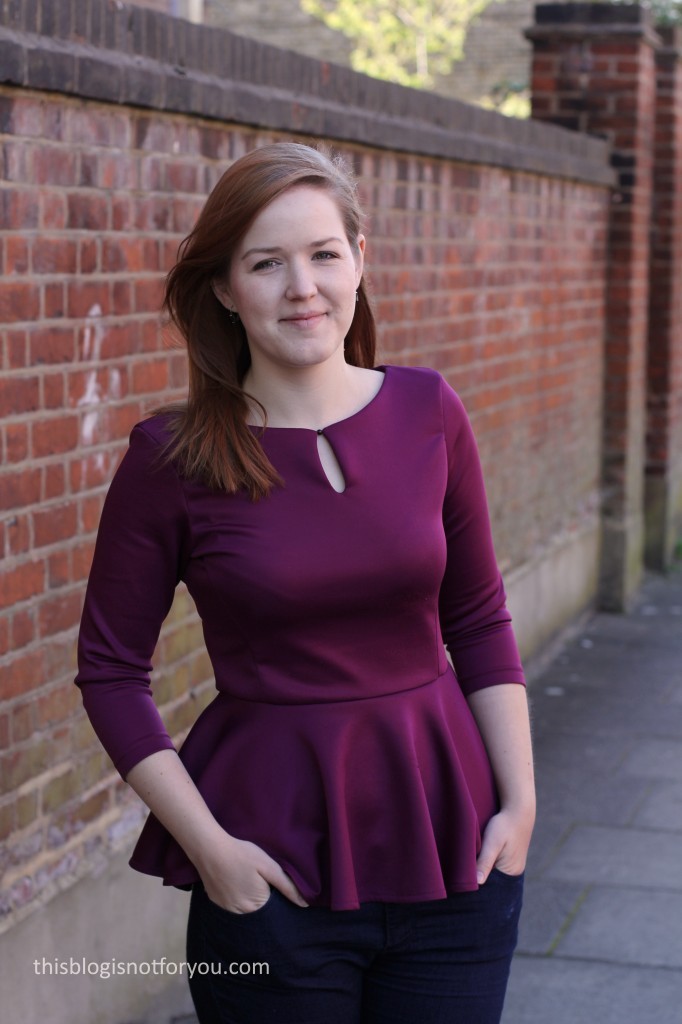
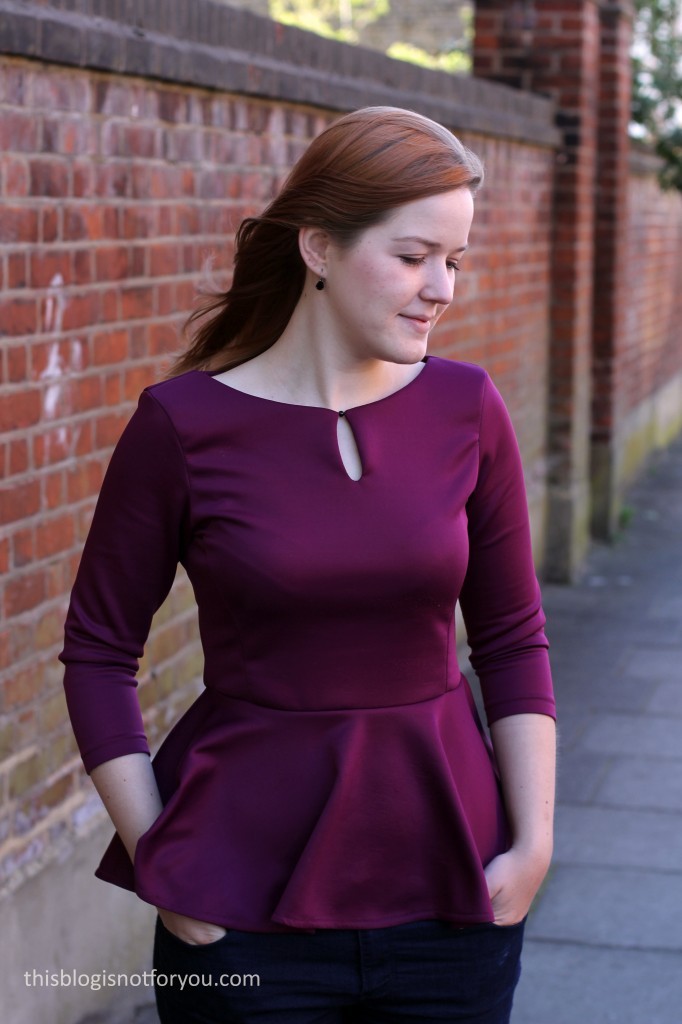
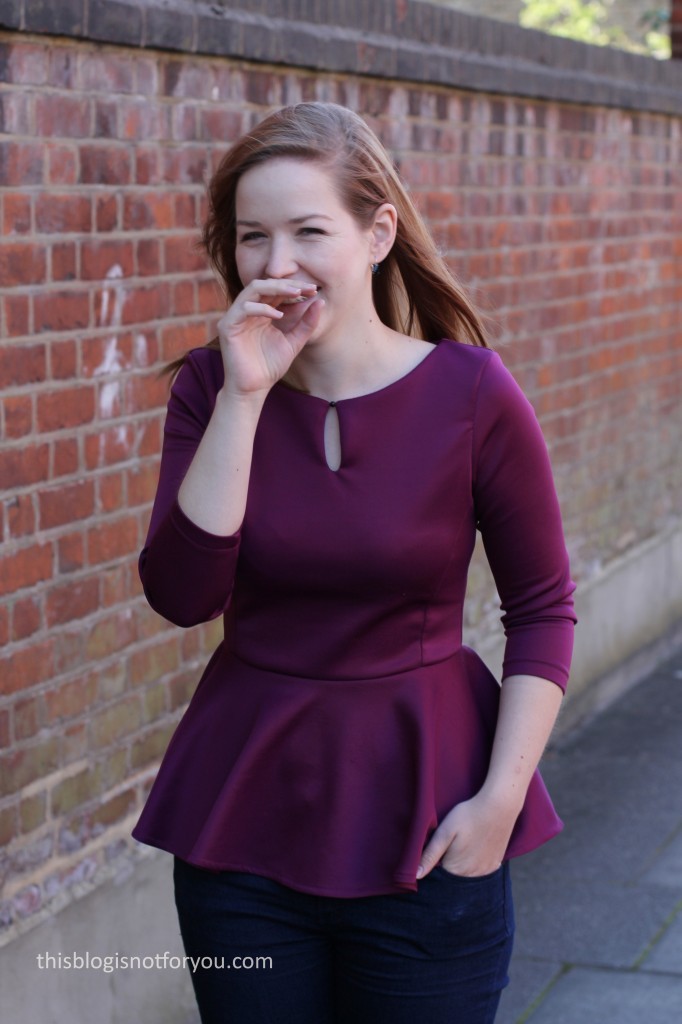
 The Pattern:
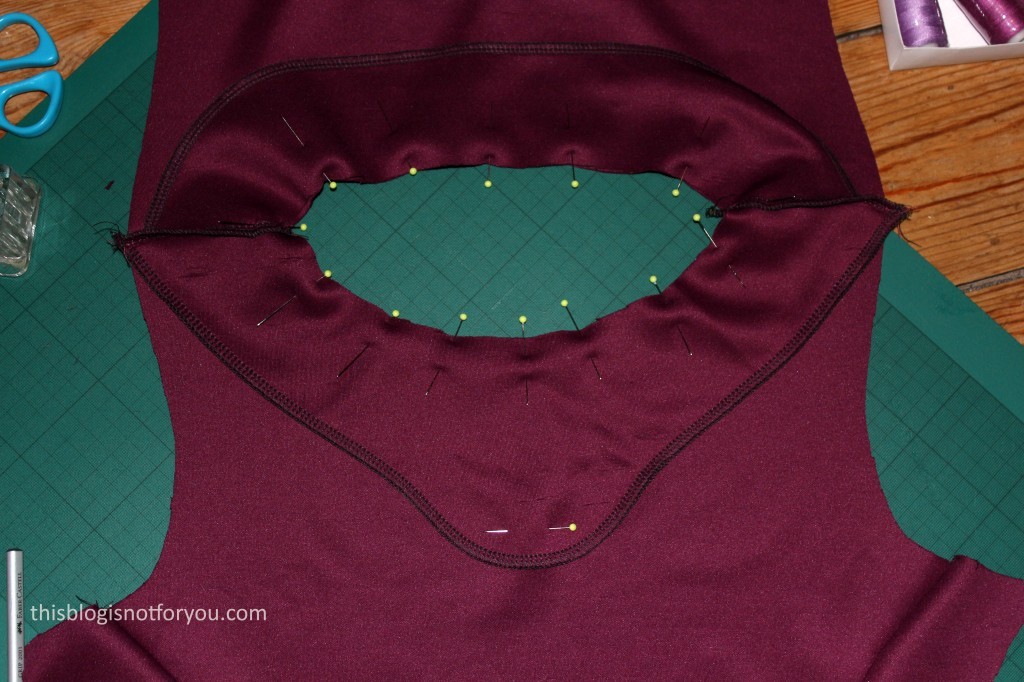
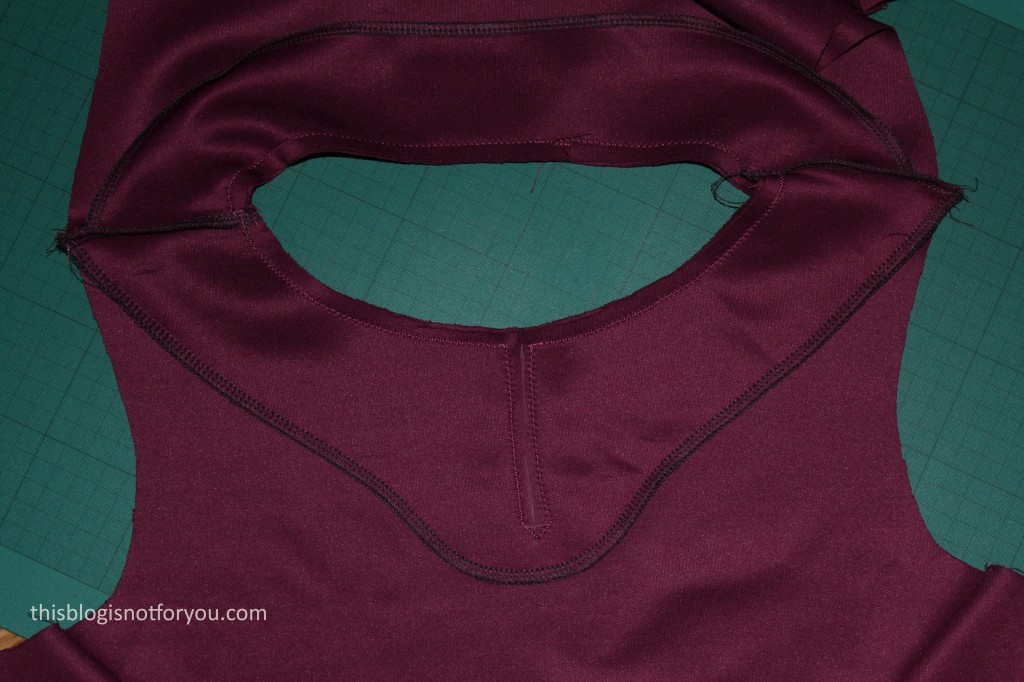
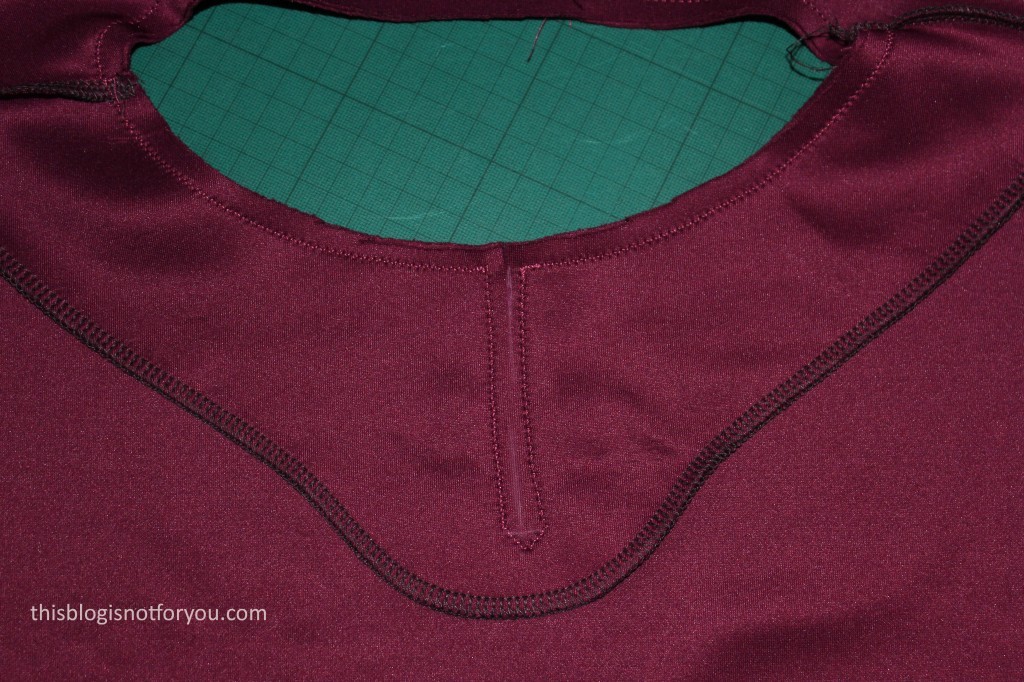
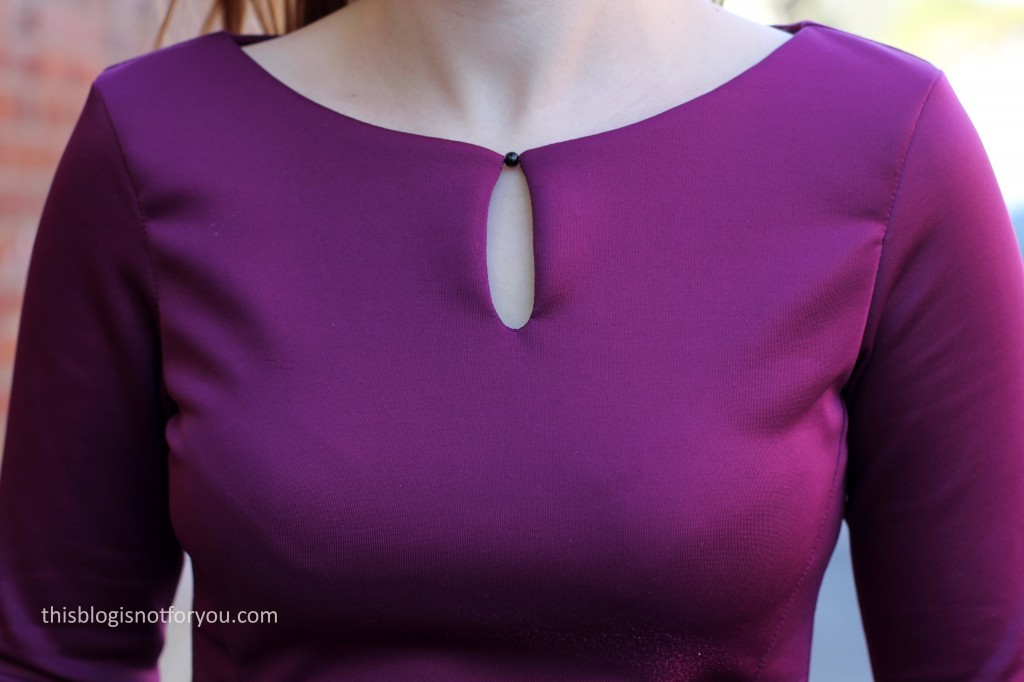
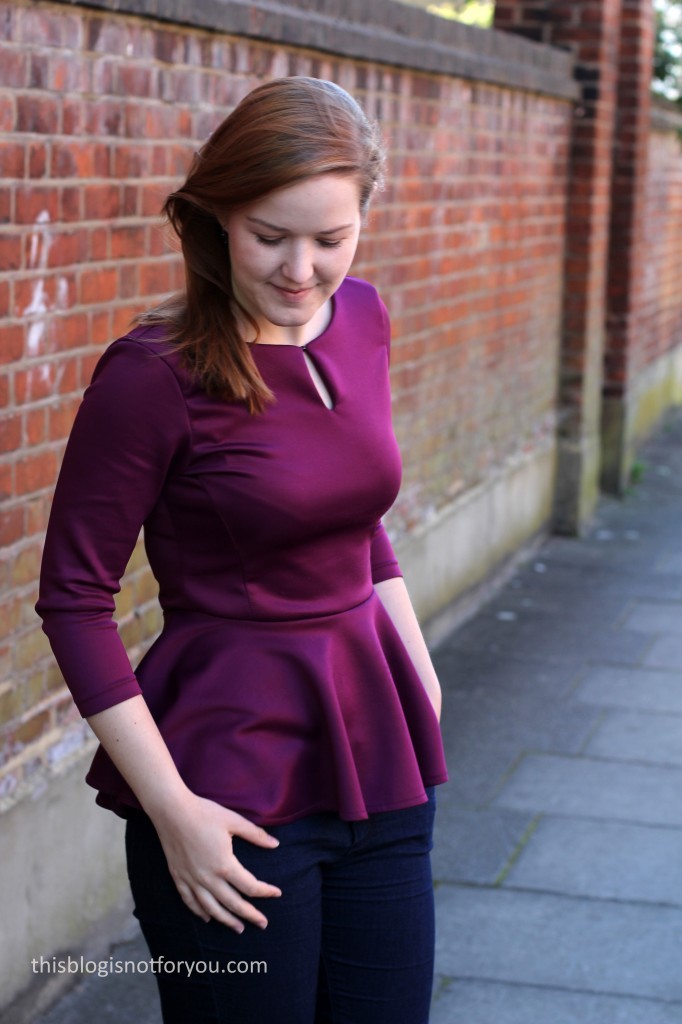
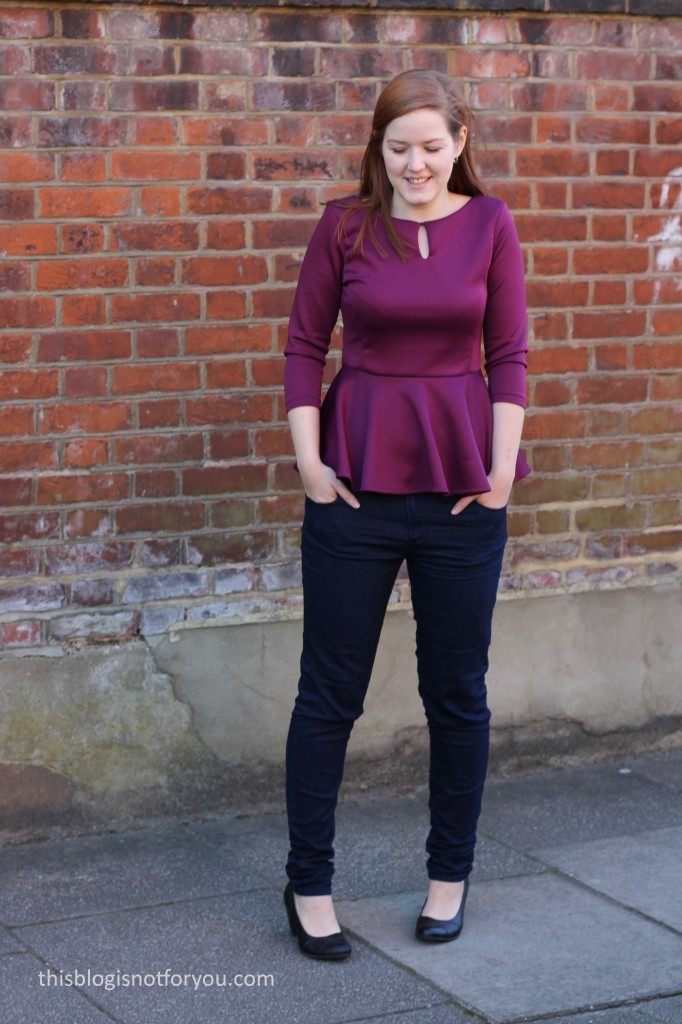
 I used facing for the neckline and to finish the keyhole detail: