A Baby Quilt – my first and probably last one ever!
 I made a quilt! It’s my very first quilt and will probably be the last for a long time. I’m quite proud of this one, but mainly proud of the fact that I actually finished it. I do love sewing, but I found out that I really hate quilting.
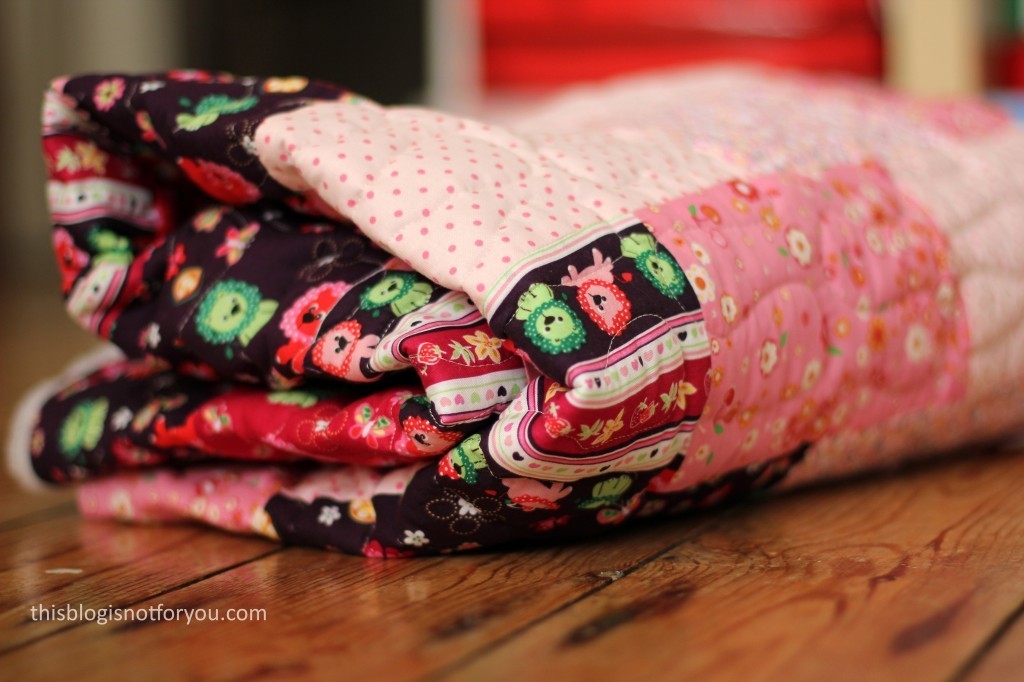
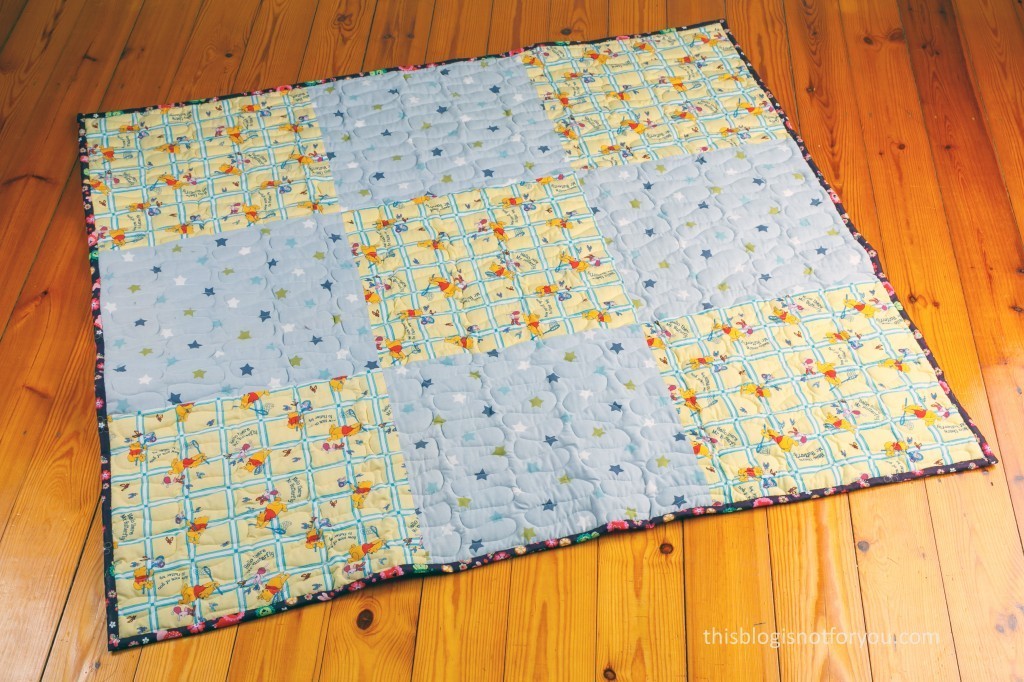
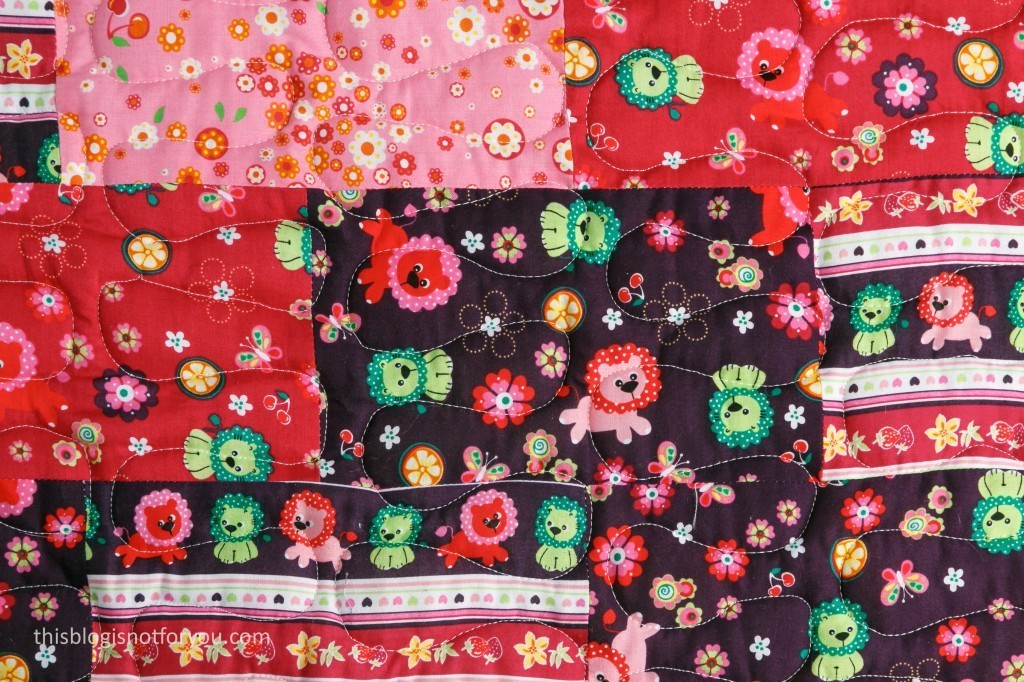
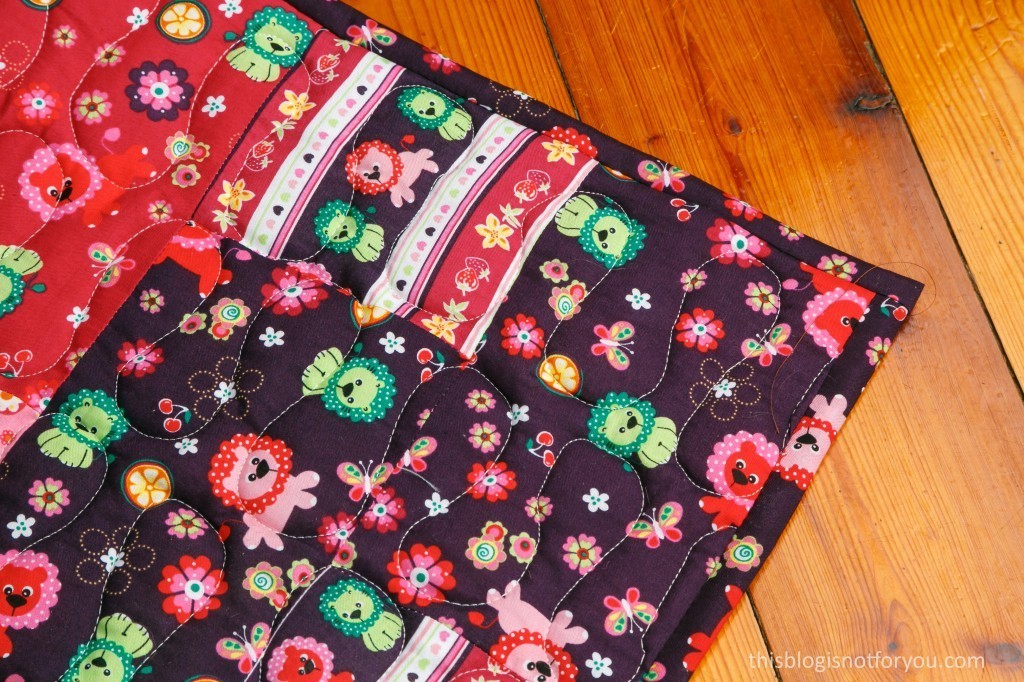
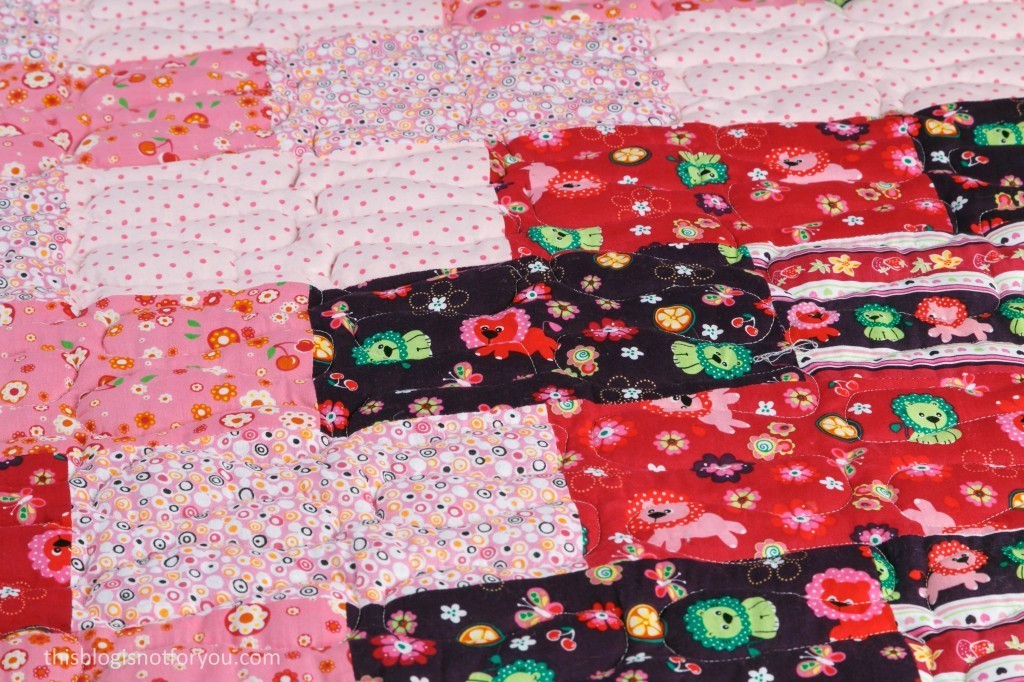
I promised to make a play mat for my niece when my sister-in-law was pregnant and I still hadn’t started it by the time the baby was born. I finally started a few months ago and with the help of Daniela, the queen of quilting, I managed to put together a really cute patchwork blanket. I basically used all sorts of fabric leftovers, all 1000% cotton, I bought years ago and had barely used. The colours were great together, so I was super happy with the first bit of the project.
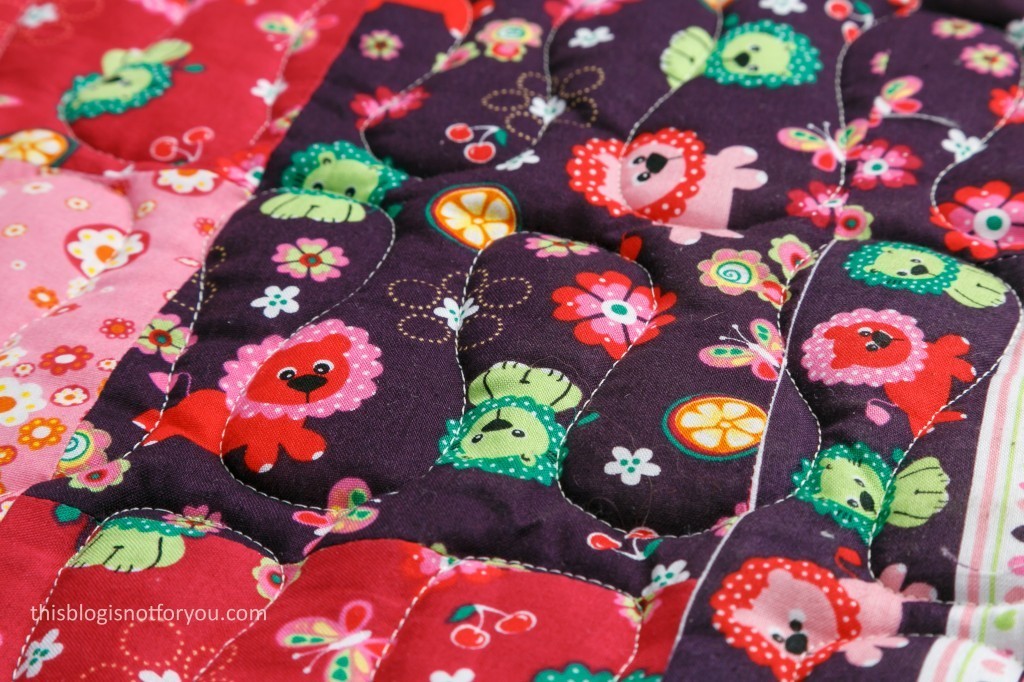
I was very excited and looking forward to the quilting bit, which I imagined would be like doodling on fabric. Sounds awesome, eh? Well, turns out I’m really, really not good at quilting. It was depressing. It’s exhausting and very difficult. At least that was my experience. Also, my sewing machine was playing up a bit and made terrible loud noises every two minutes which almost gave me a heart attack. It turned out to be a problem with the needle and the way I was moving the blanket (needle caught the thread every time I went up) and I only noticed when I was halfway done (then started quilting left to right, instead of up and down – problem solved).
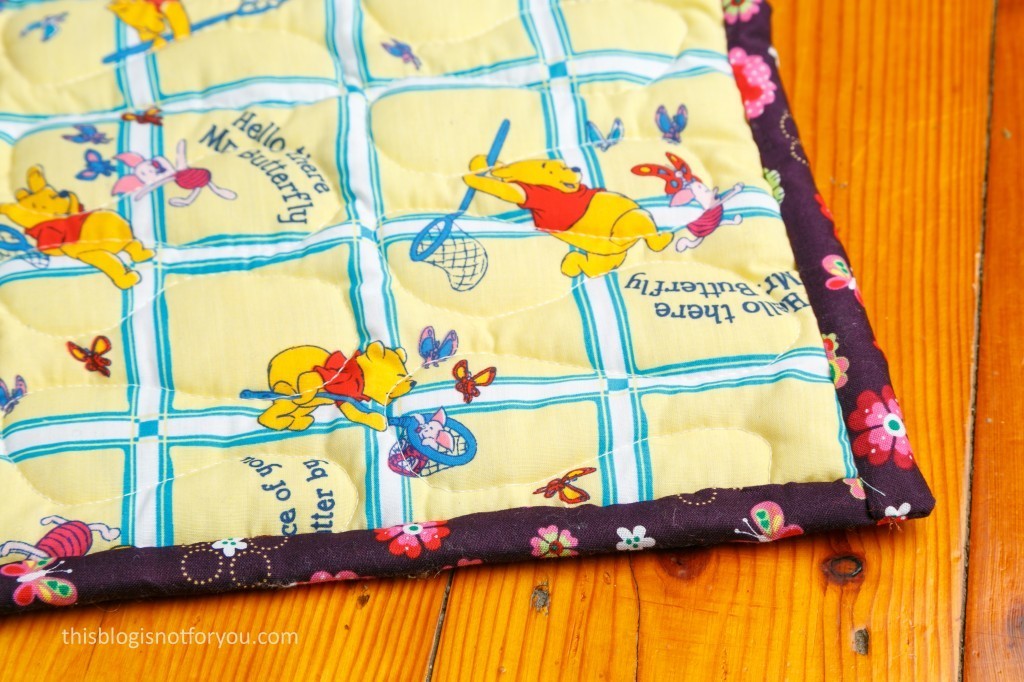
Also, the bias binding was hard to machine sew, so I handstitched most of it in the end.
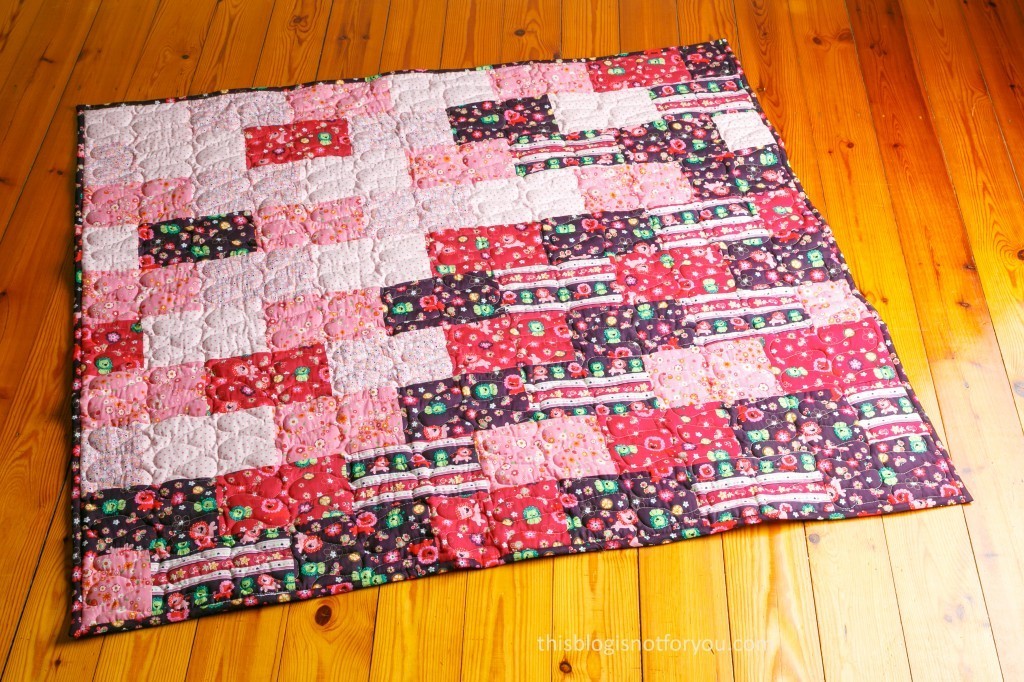
Although I’m really glad I got this project off the table in the end, I really do like the way the blanket turned out. I’ve read so often that especially with quilting mistakes just seem to disappear and apparently it’s true. My quilting looked horribly close-up but you can barely notice when looking at the pics – It looks like an actual quilt (lucky me!).
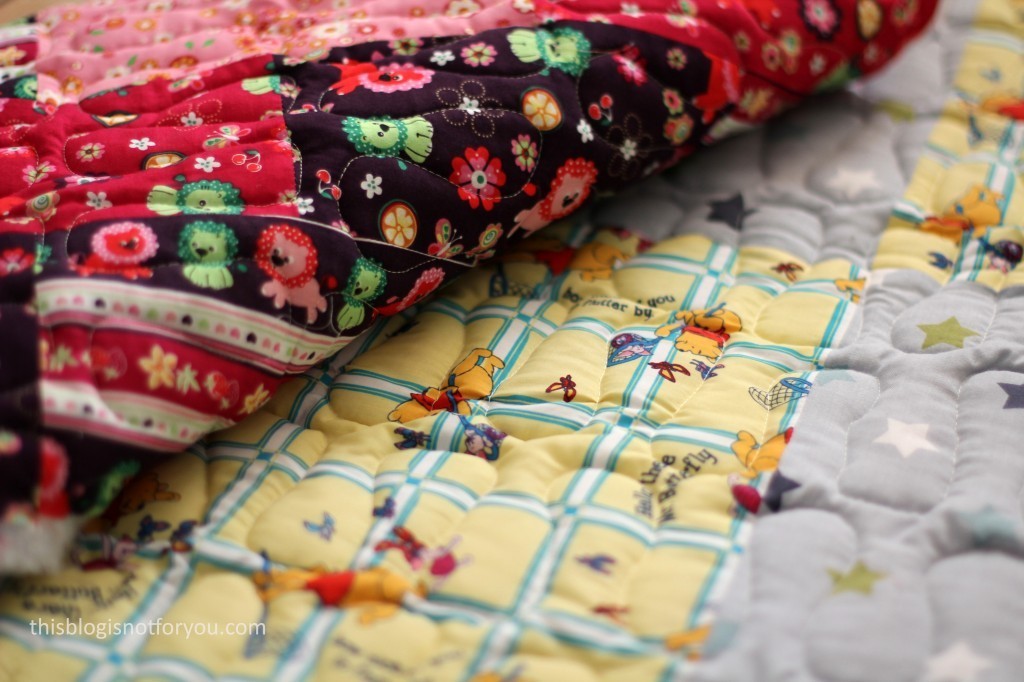
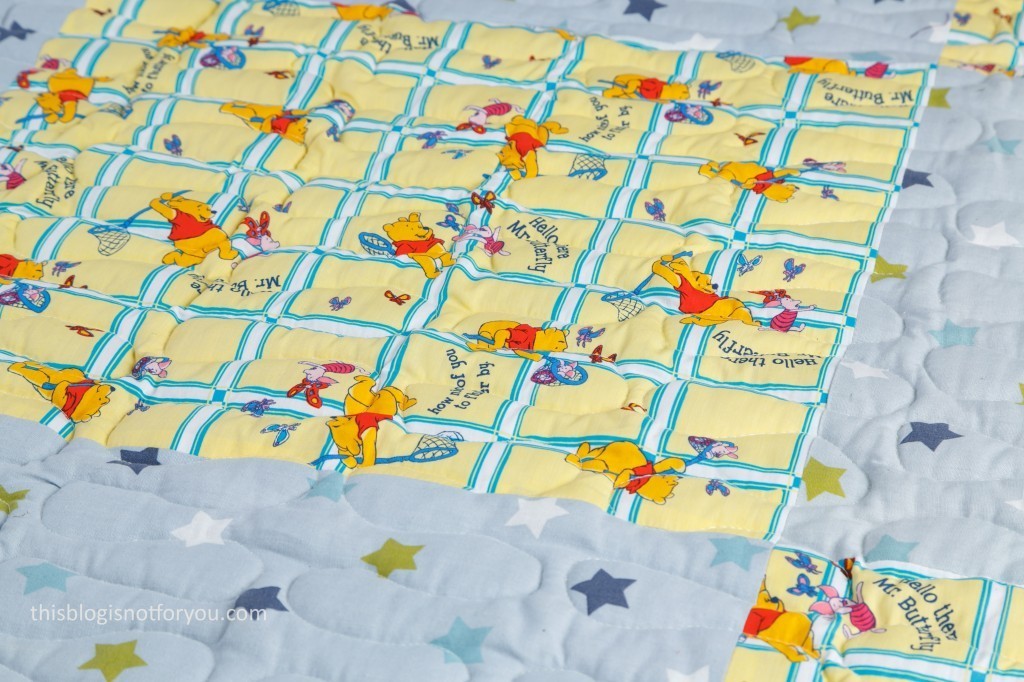
The blanket is reversible, firstly because my niece might decide not to like pink after all and secondly, because it was more fun than just a plain colour underside. I recycled some children’s curtains I bought to make toddler pinafores a couple of months ago. The wadding is polyester which I bought in Walthamstow (I think it was Saeeds Fabrics) last spring.
I really enjoyed the patchwork bit and I’m quite proud of my matching seams. I took a lot of time measuring and cutting and sewing very carefully so that things would line up perfectly in the end. Then it took ages to safety-pin-baste everything together (thanks for the tip, Dani!), so that layers wouldn’t slip during the quilting.
If you haven’t quilted before it’s hard to imagine how physically exhausting it is to push a blanket that size through my tiny cheapo-machine. My arms hurt so much I hard to pause after every third row for a couple of hours or days. Quilting’s like going to the gym, folks!
Have you quilted anything yet? Do you love it or hate it? Any tips to make it easier?
It’s incredible how one can’t really notice just how wonky my quilting is! I was close to tears halfway through the project and now I think it looks actually fine (and baby loves it!!!) Quilting might not be so bad after all. I might give it another try one time. Maybe with a less ambitious project. Make some coasters or something. We’ll see 🙂 Any ideas? Send them my way!
Happy sewing!
♥
facebook/bloglovin/pinterest
twitter/instagram
Stay in touch!
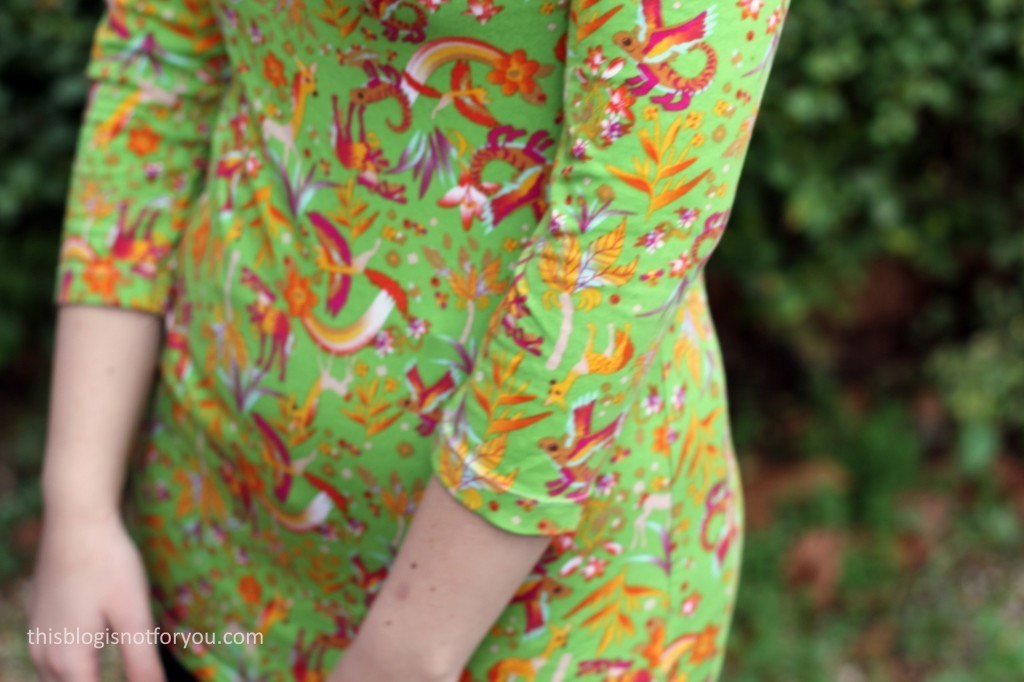
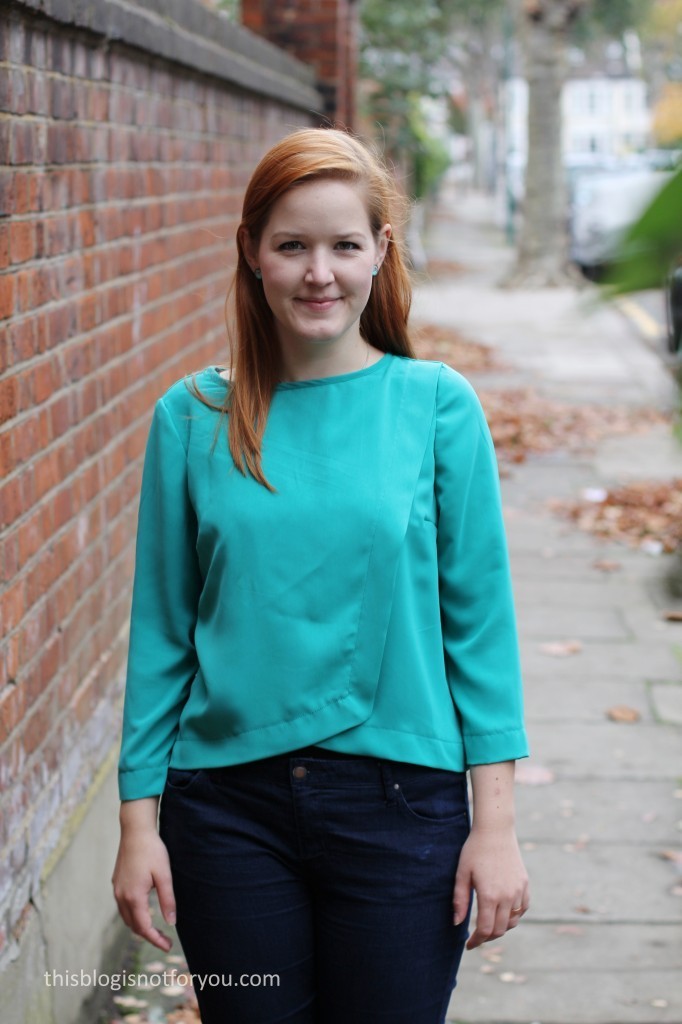
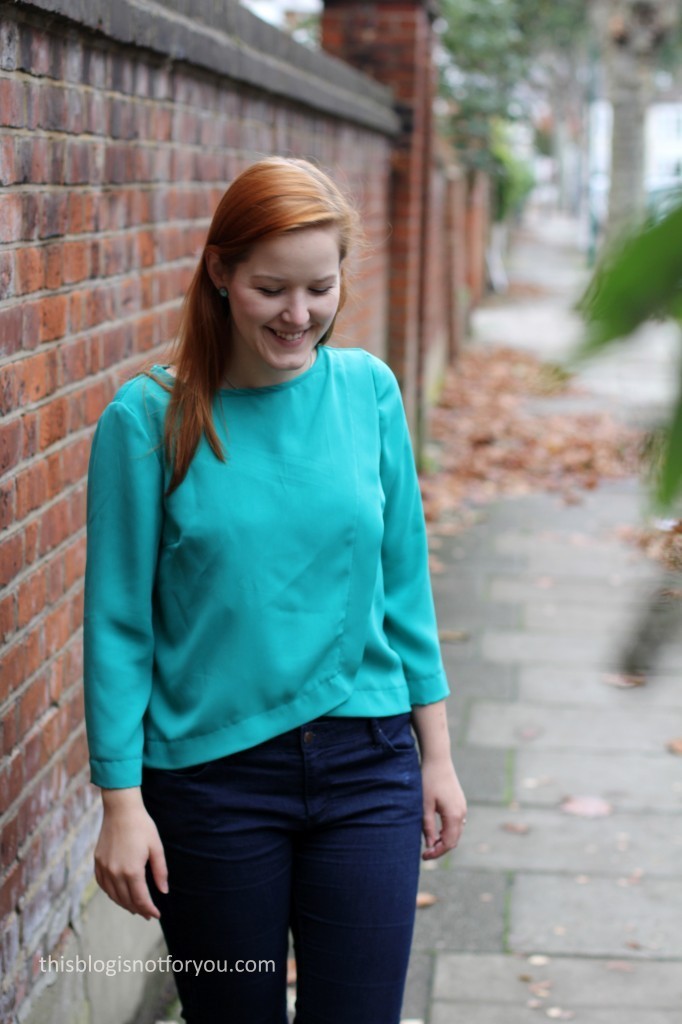
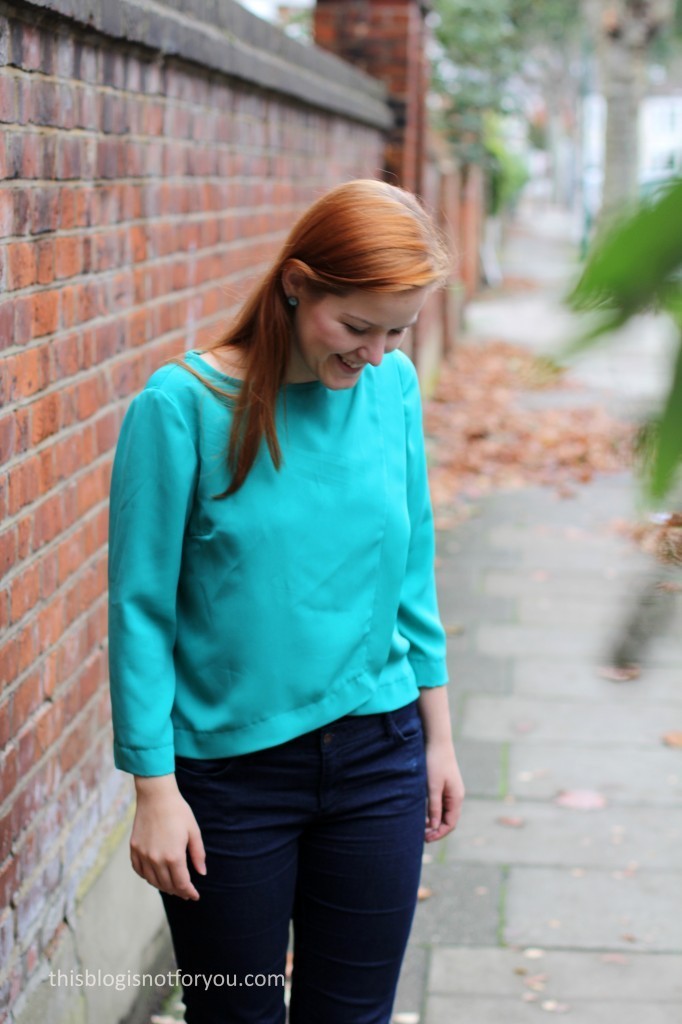
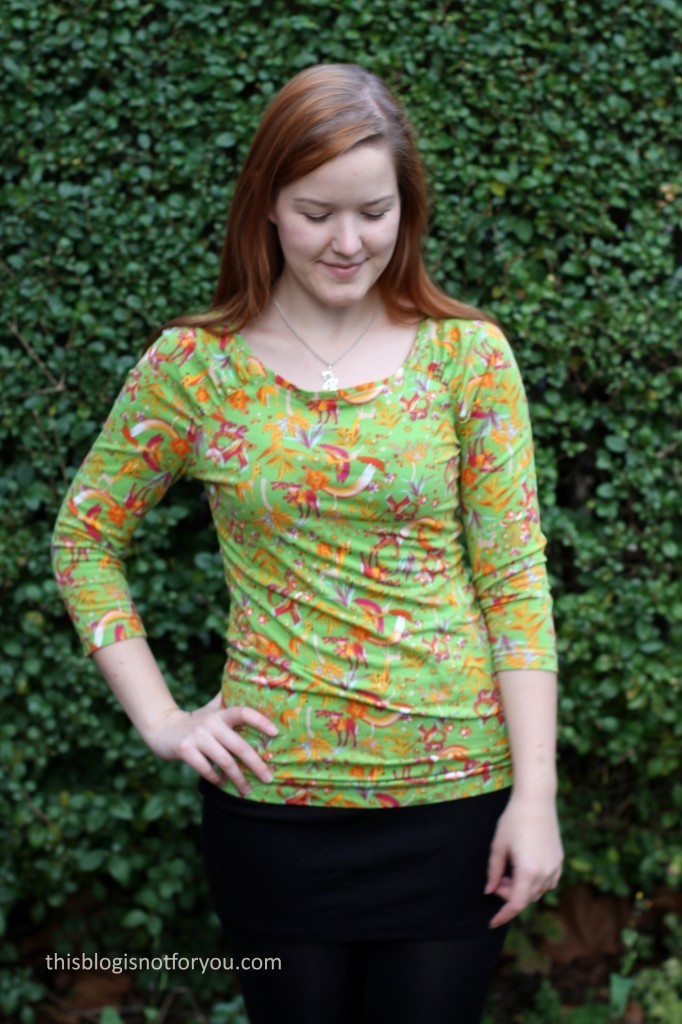 Hello gang! Life has been so busy lately that I don’t even have the time to share my makes on time anymore! I made this jersey shirt in October.
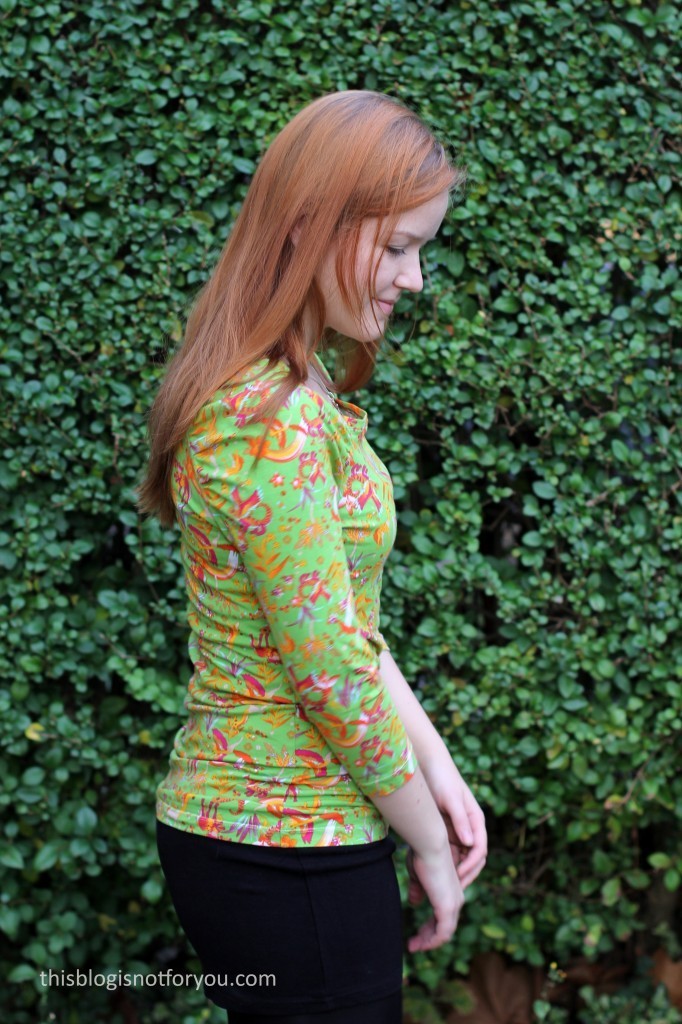
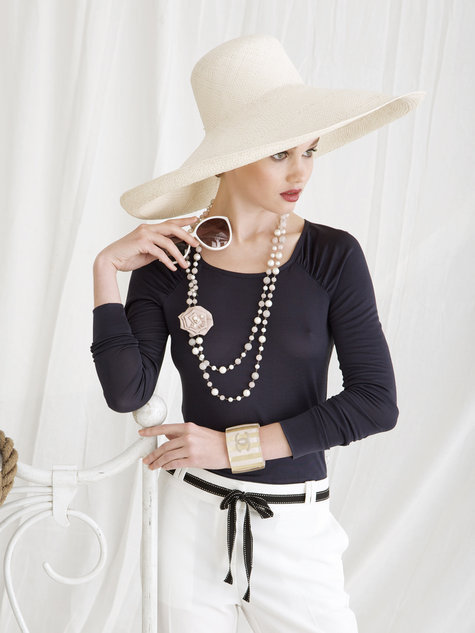
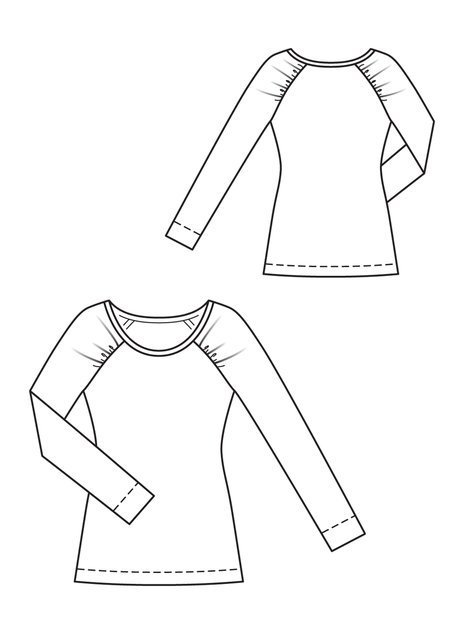
 The Fit:
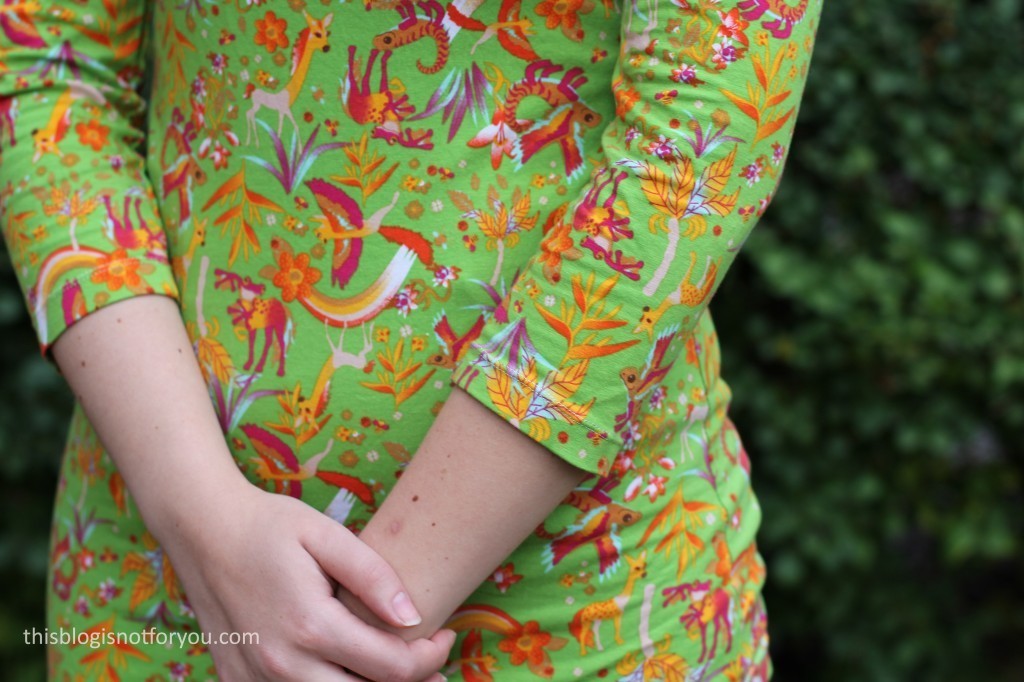
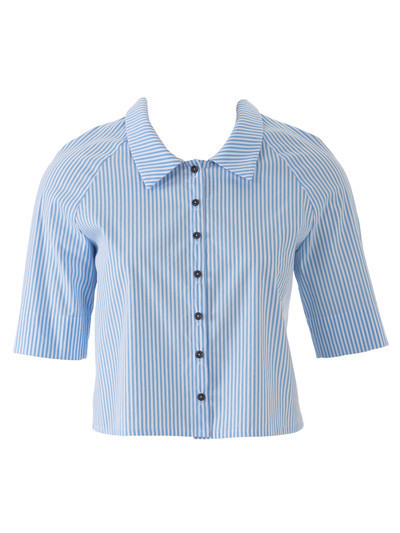
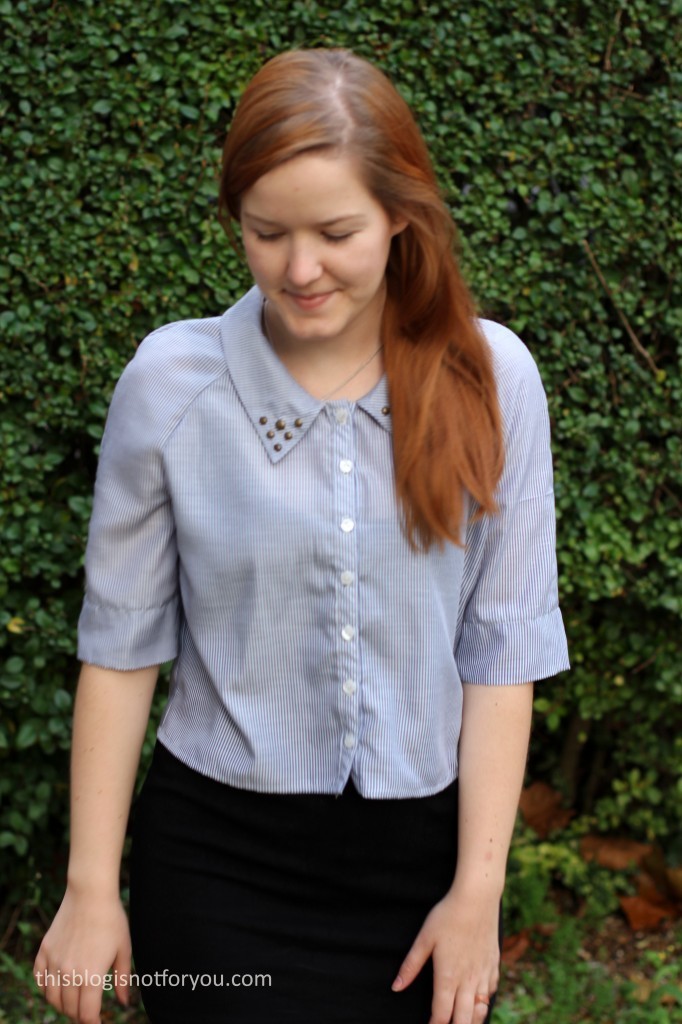
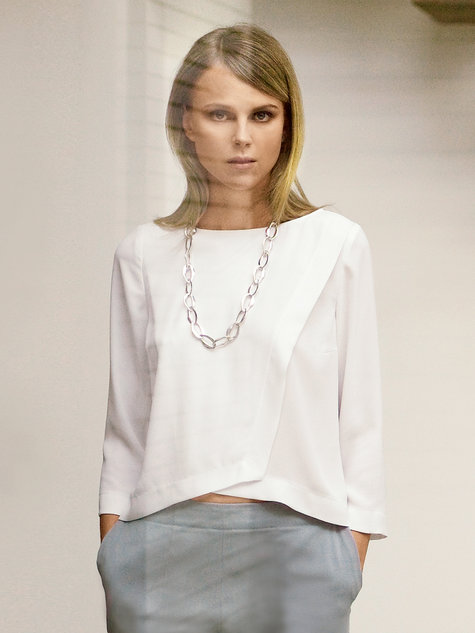
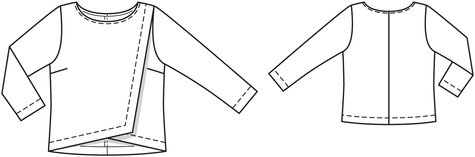
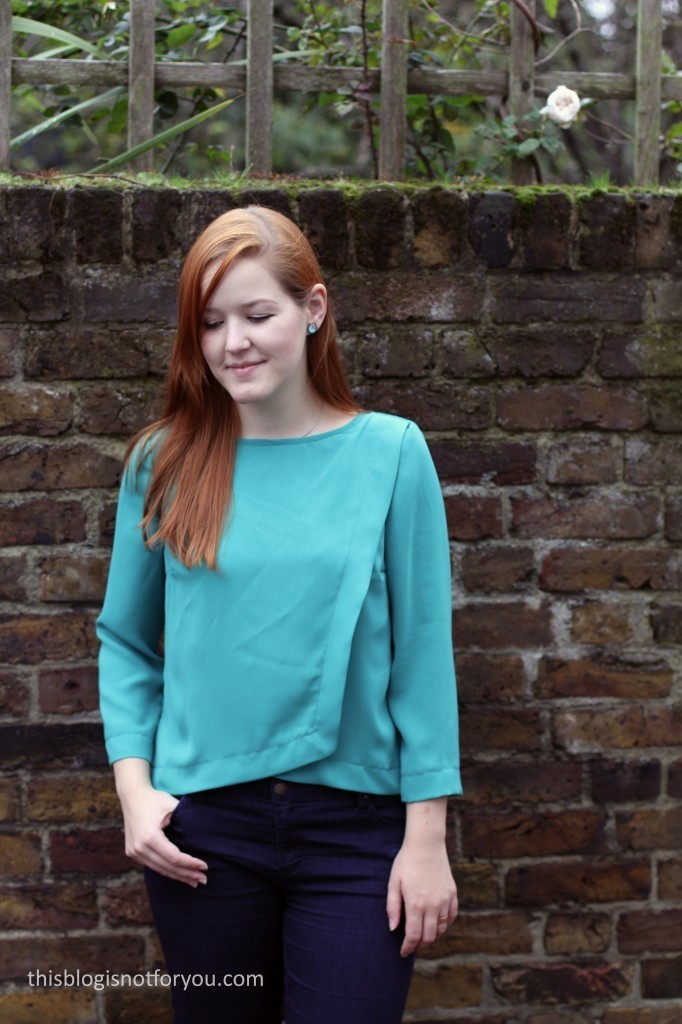
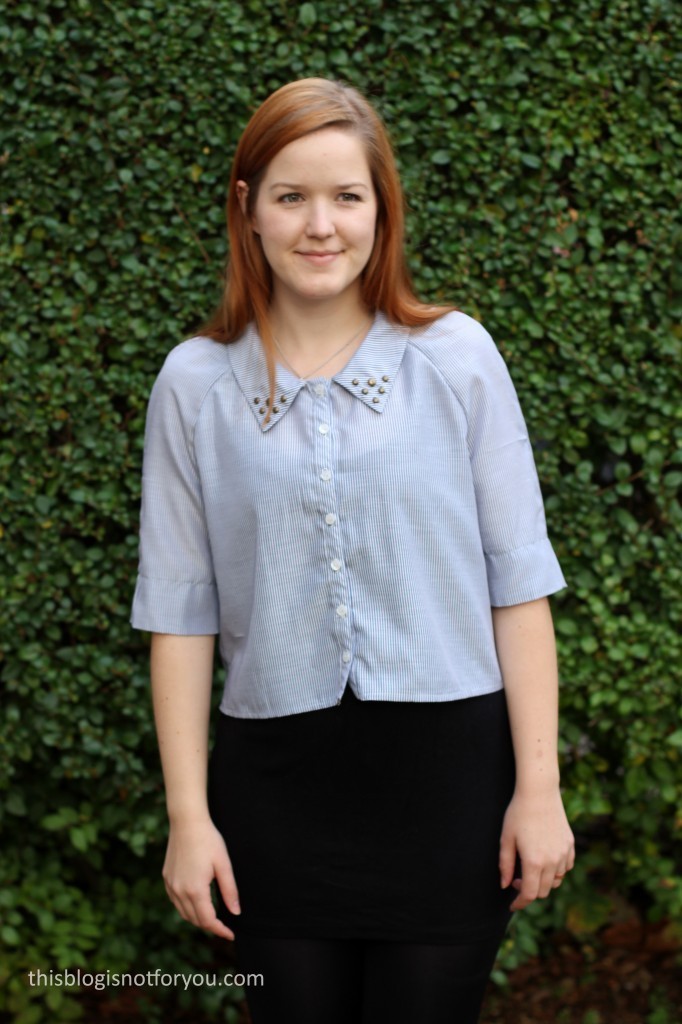 Hello gang! Today I want to share one of my latest makes, a cropped blouse with a studded collar. I hope you guys like it as much as I do! Let’s talk about the pattern first!
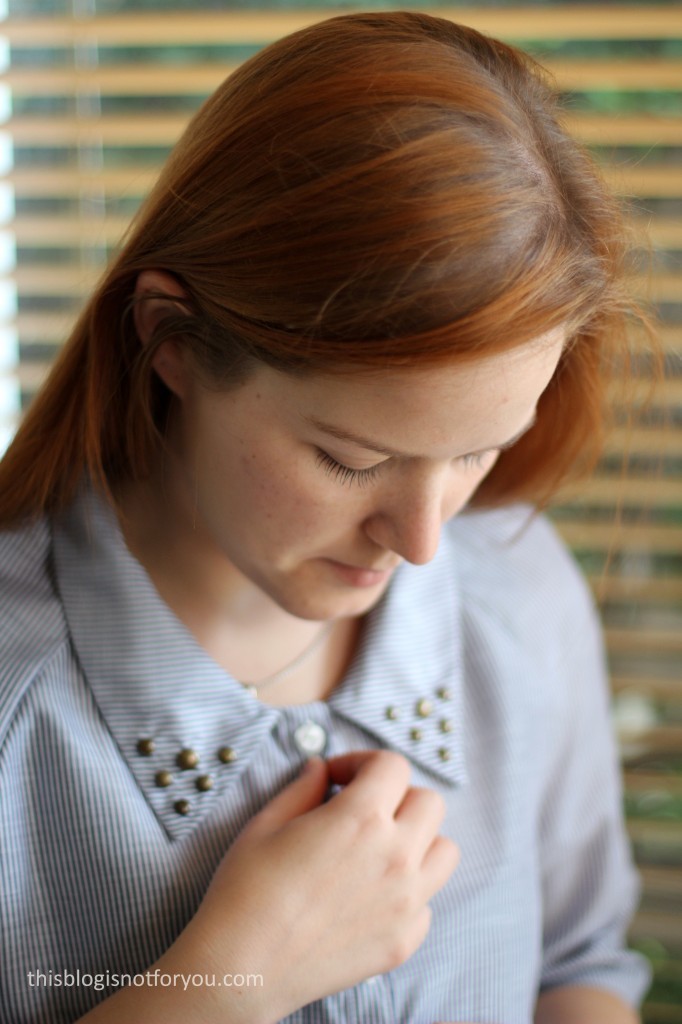


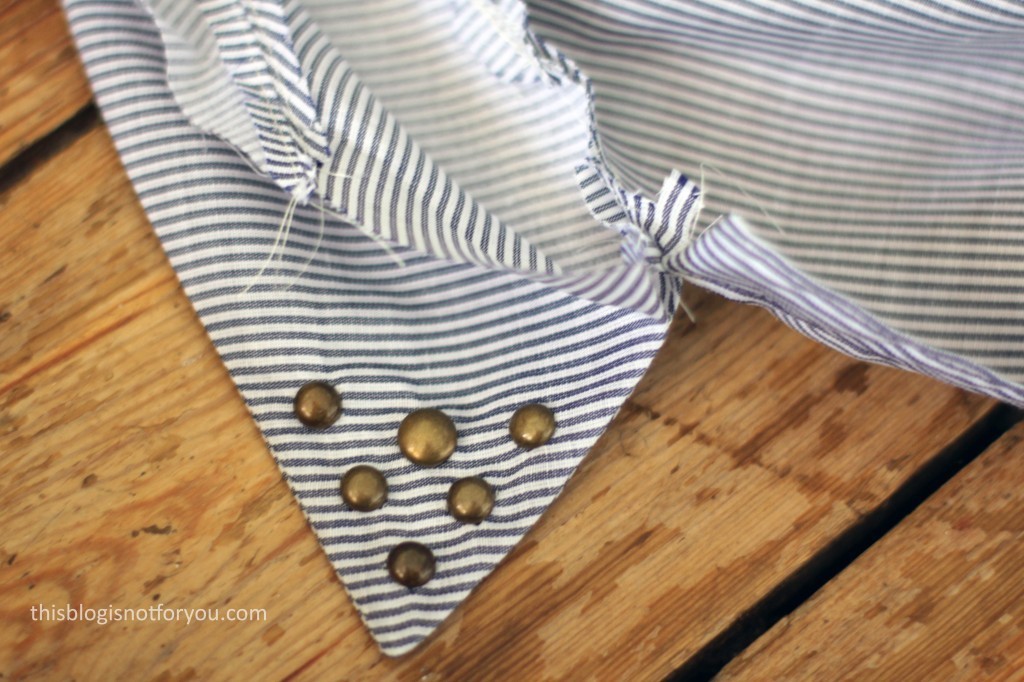
 I was so happy that before sewing the collar closed, I had the idea of adding some embellishment. I remembered that I had some studs lying around somewhere and then just gave it a go.
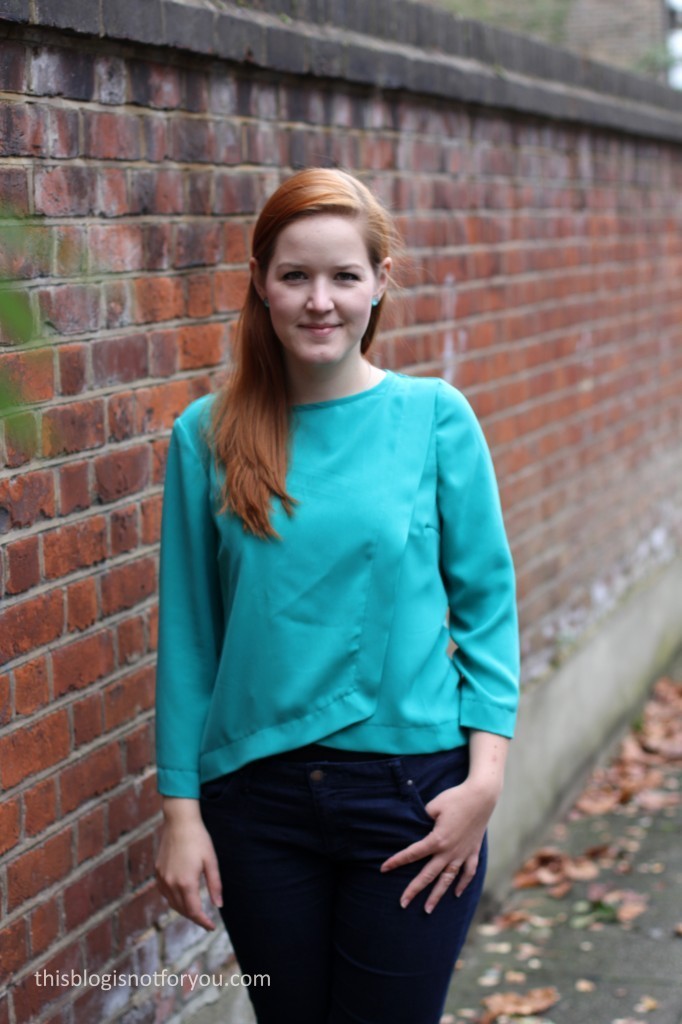
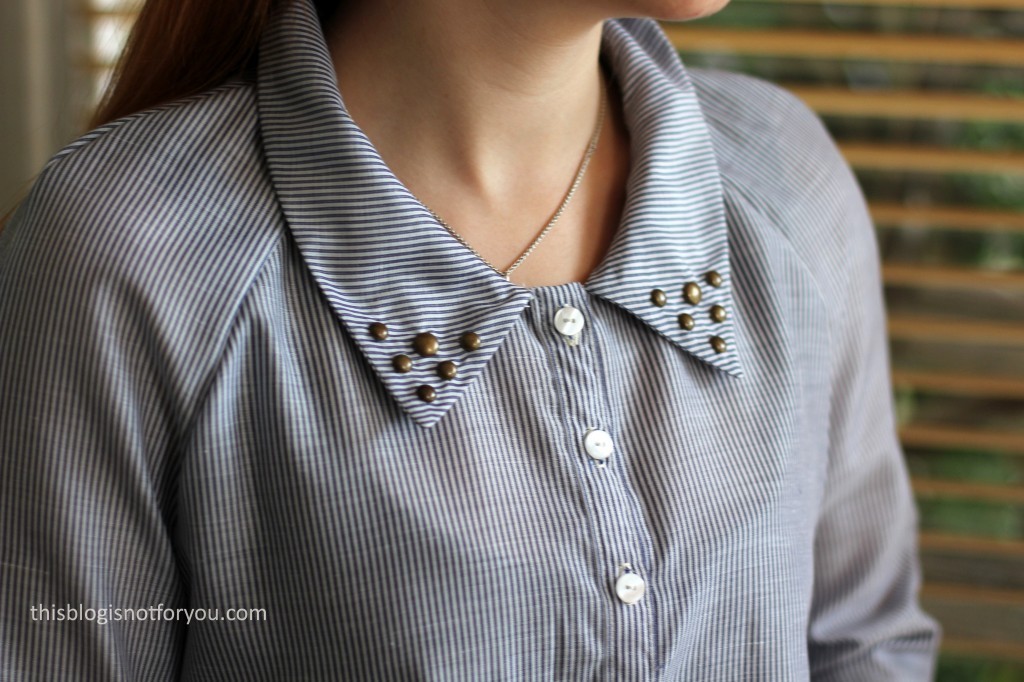 I am still ot sure whether I like the studs and white buttons together, but darker buttons looked even worse and I had none that would match the studs. Should I ever find some that are the perfect match, I can simply change them.
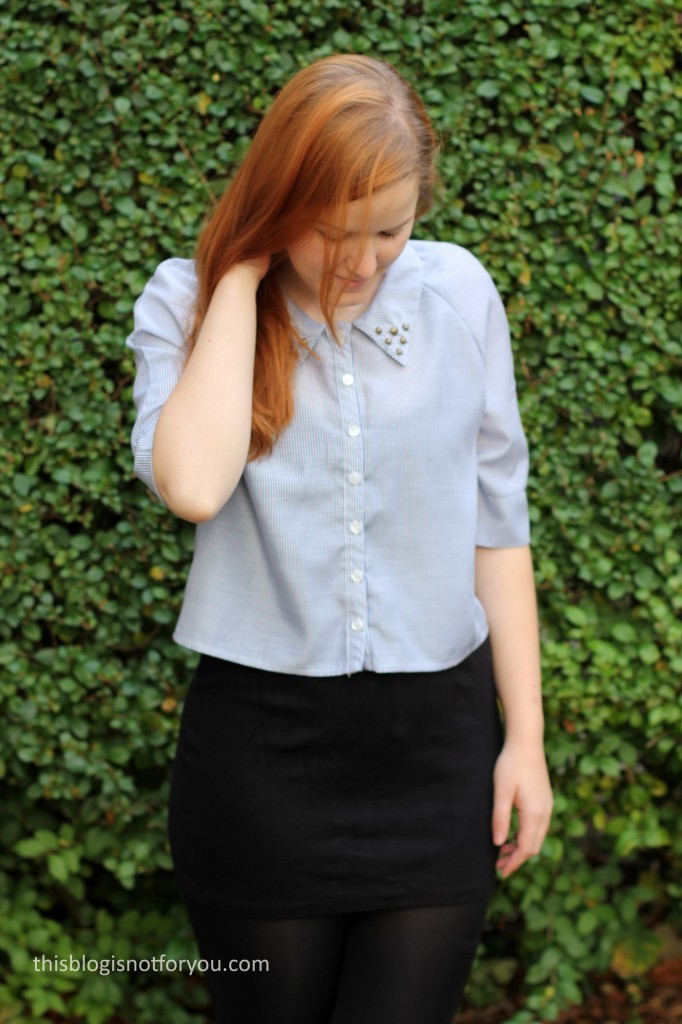 The Fit:
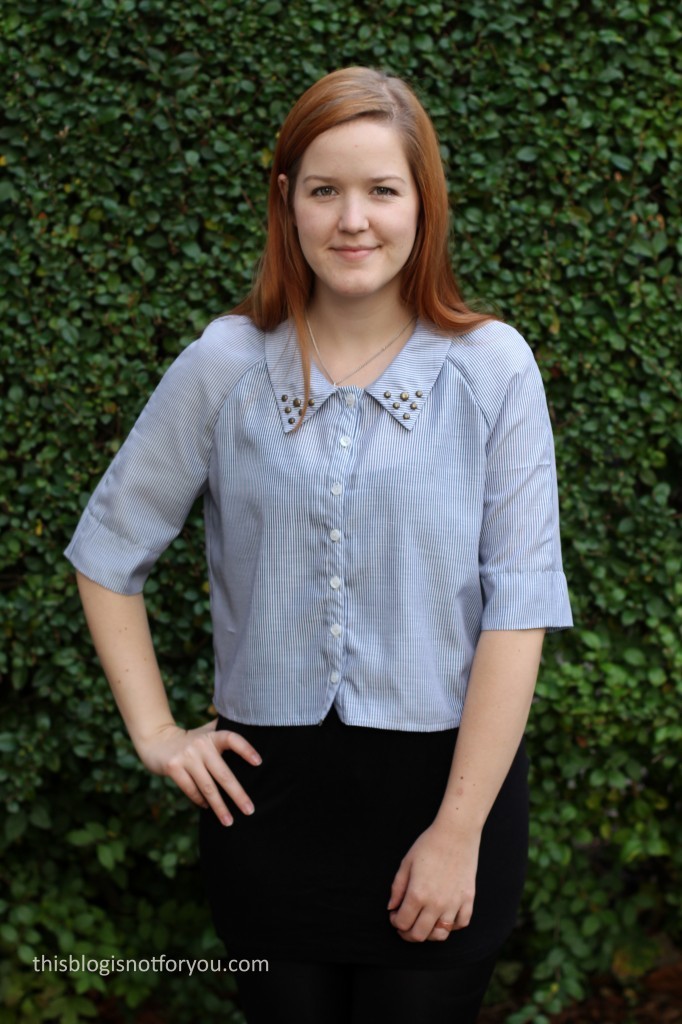

 The Fit:
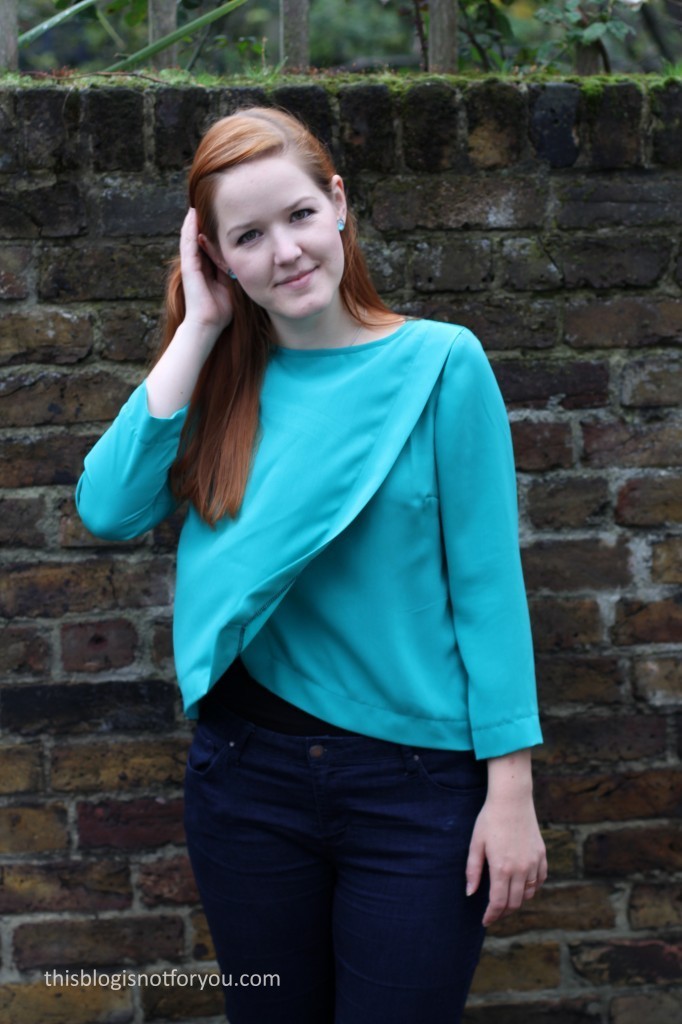

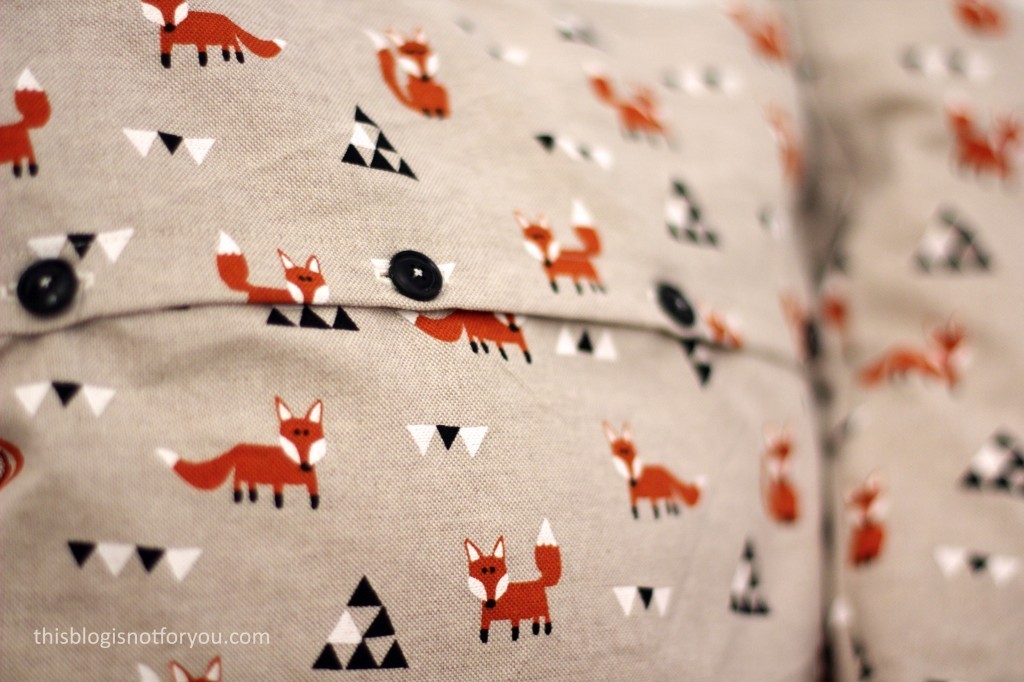
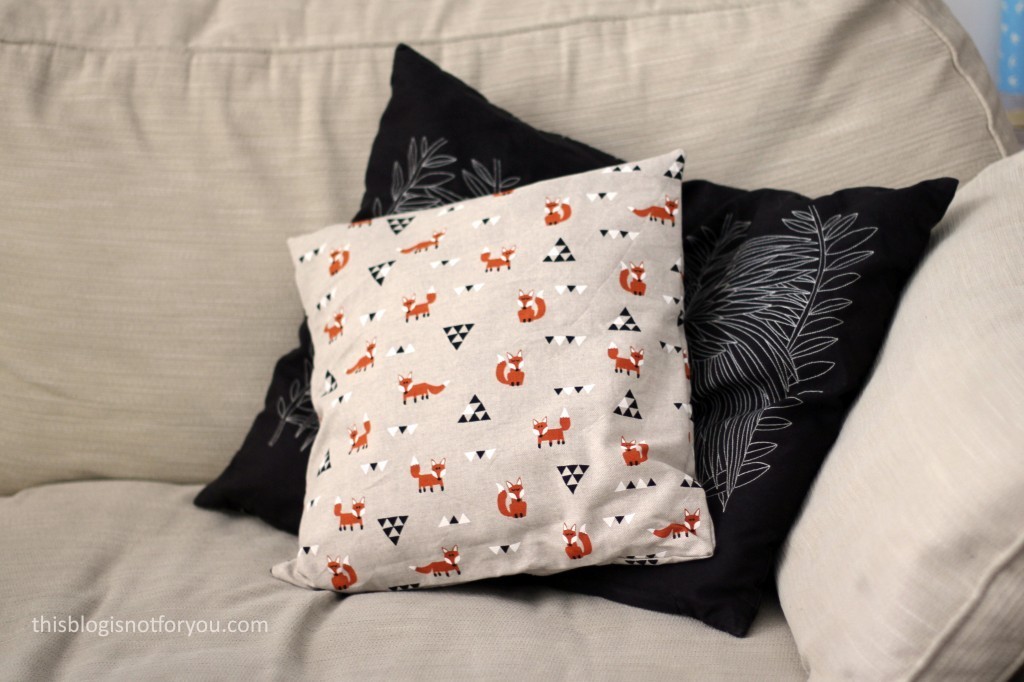
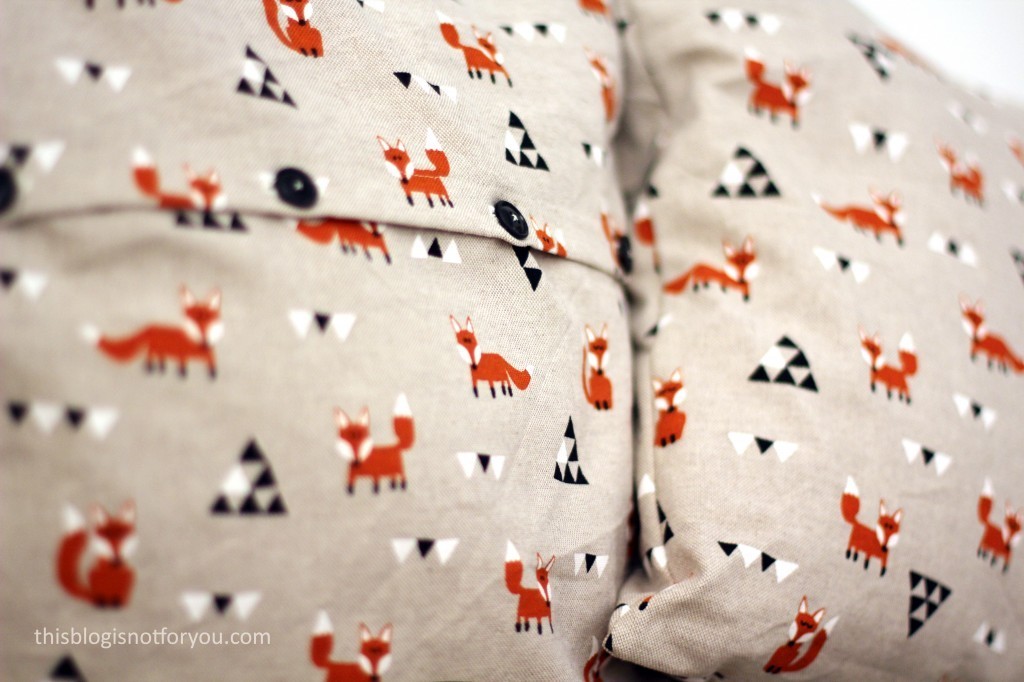 In order to get over my end-of-summer blues I decided to embrace autumn and make some new seasonal cushion covers for our shabby sofa.
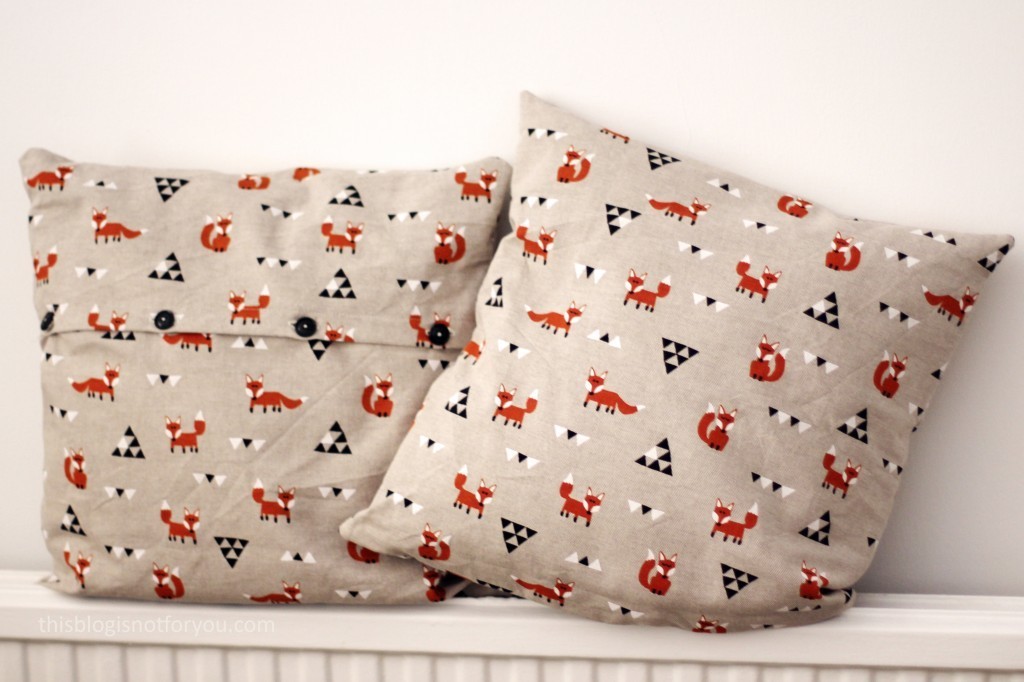

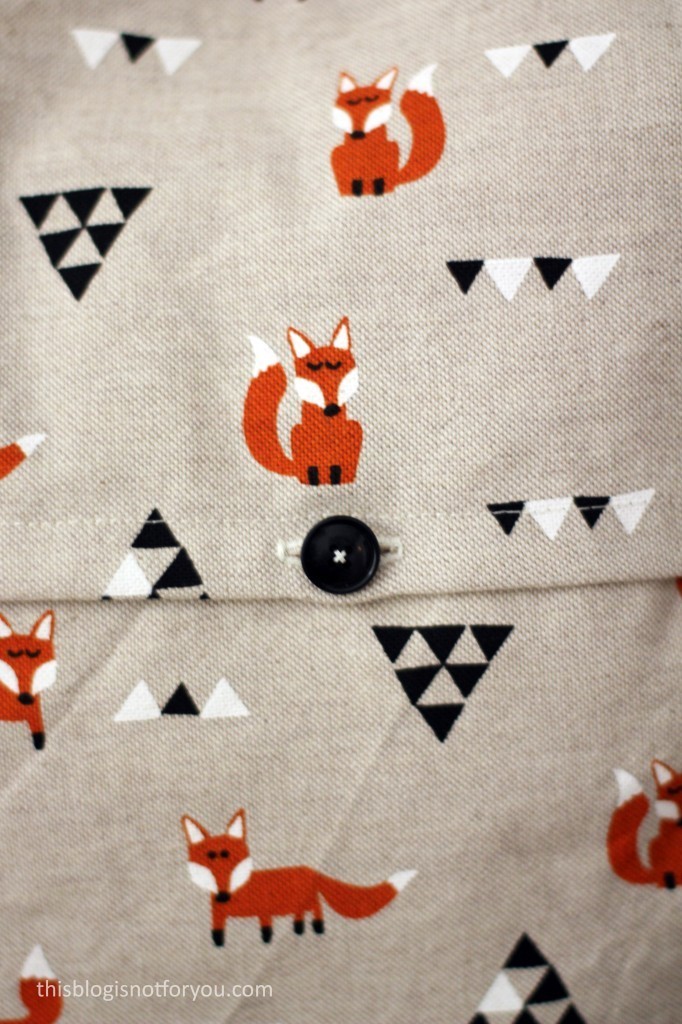 Each cushion has 4 buttonholes and buttons. I sewed all seams with the overlocker with 1cm seam allowance. Since I only had 0.5m of fabric I really had to cut the fabric carefully and had to keep the seam allowance quite narrow.