BHL Polly Top – Separates here I come!
 Heeeelllo! It’s been a while (well, not too long actually) since my last garment post as I am about to start a new job which is keeping me quite busy at the moment. But nevertheless, I have been sewing like a maniac. I just simply couldn’t get around to take pics for the blog because of a) nightshifts and b) everything always being in the laundry (because I love wearing it so much).
Partly due to my new position, I decided I urgently needed more handmade separates. All I ever seem to sew are dresses (at least that’s the impression I get whenever I need something causal to wear). Too many pretty dresses! So separates it is. 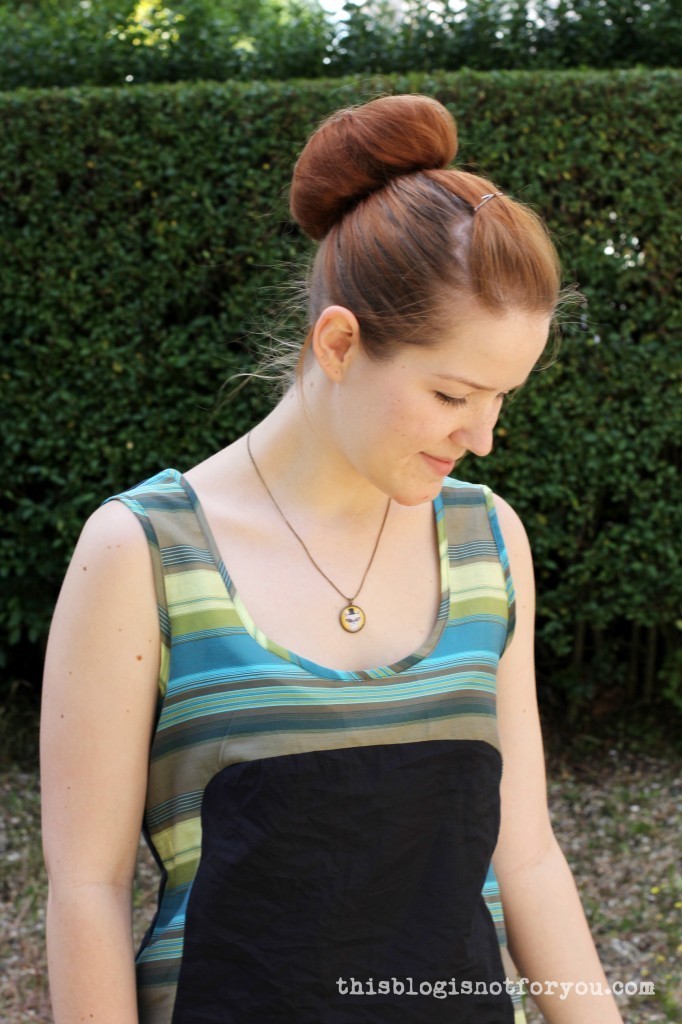
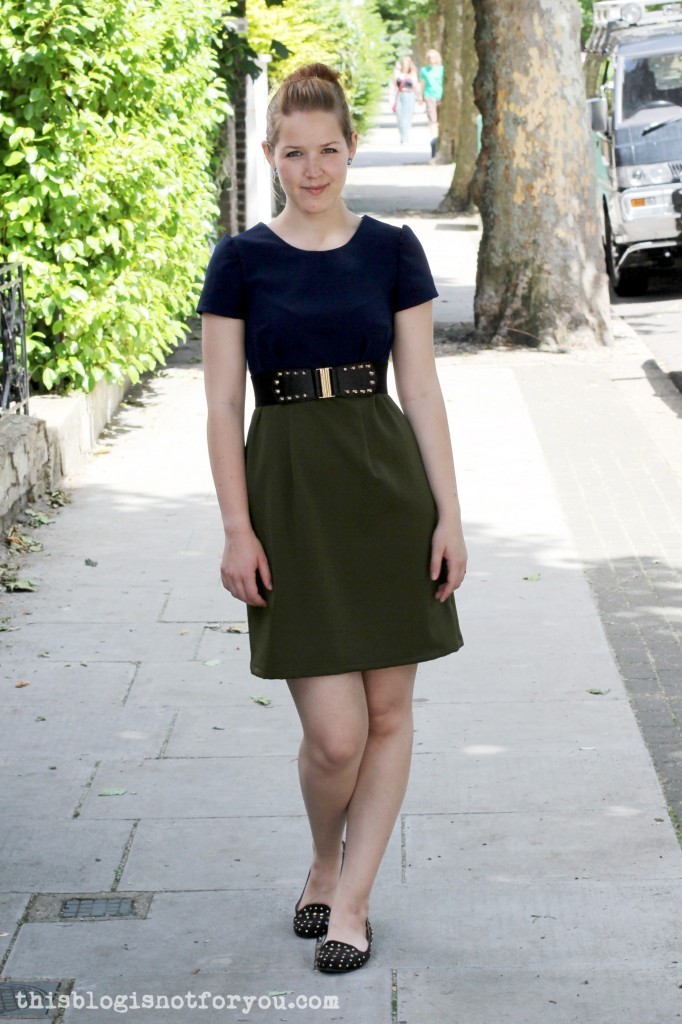
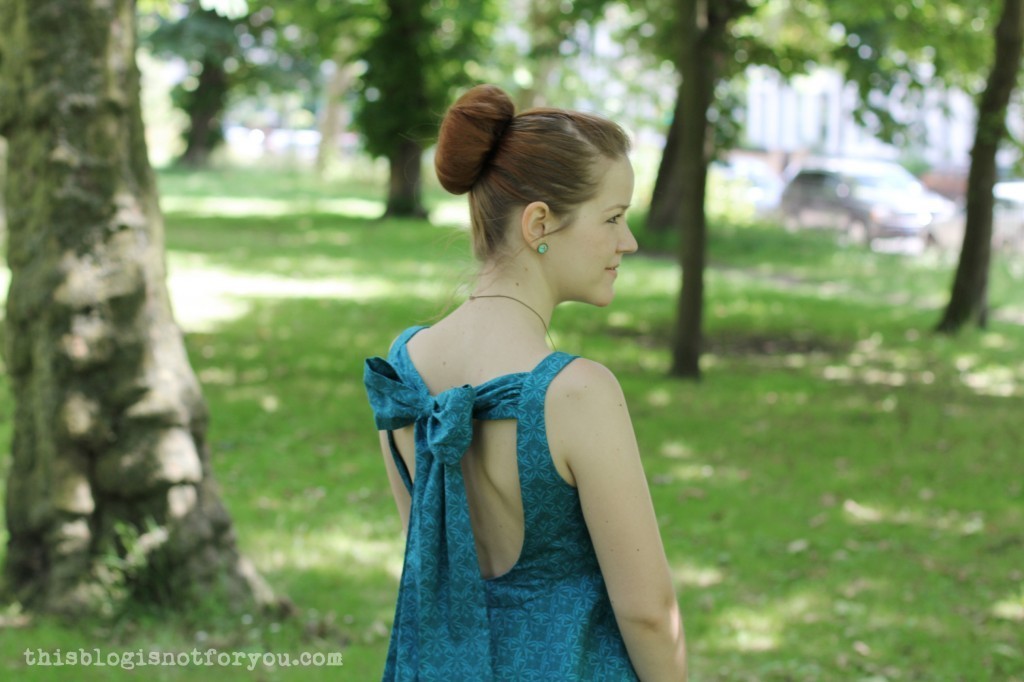
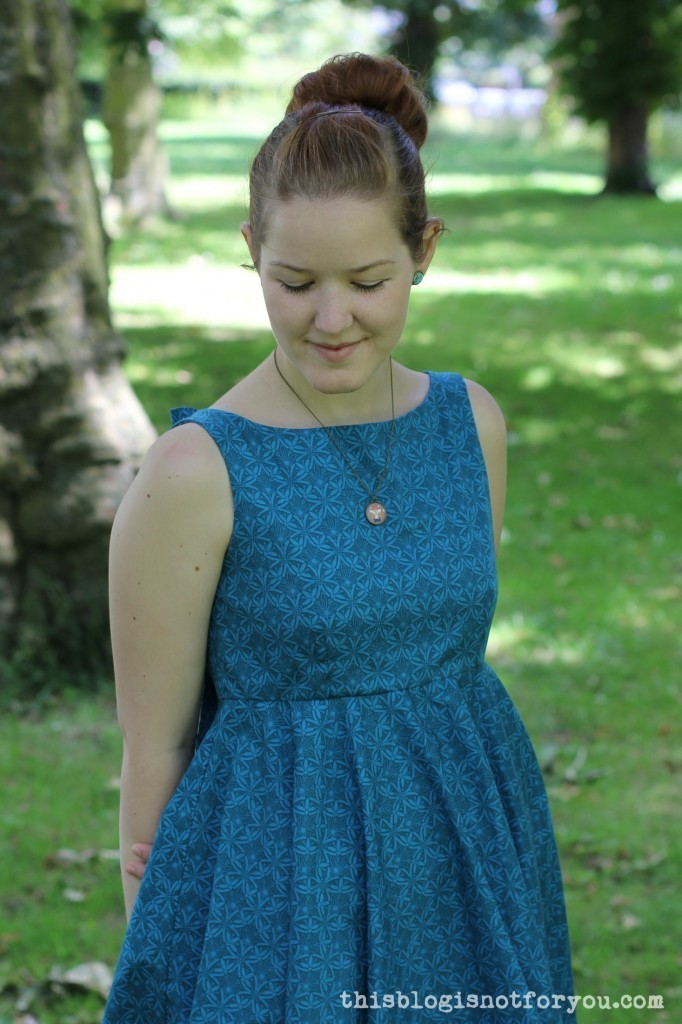
 The first (of my many new tops and blouses) is the BHL Polly top which you can download for free (yay for freebies!) The BHL ladies also have made the cutest sewalong video for this project.
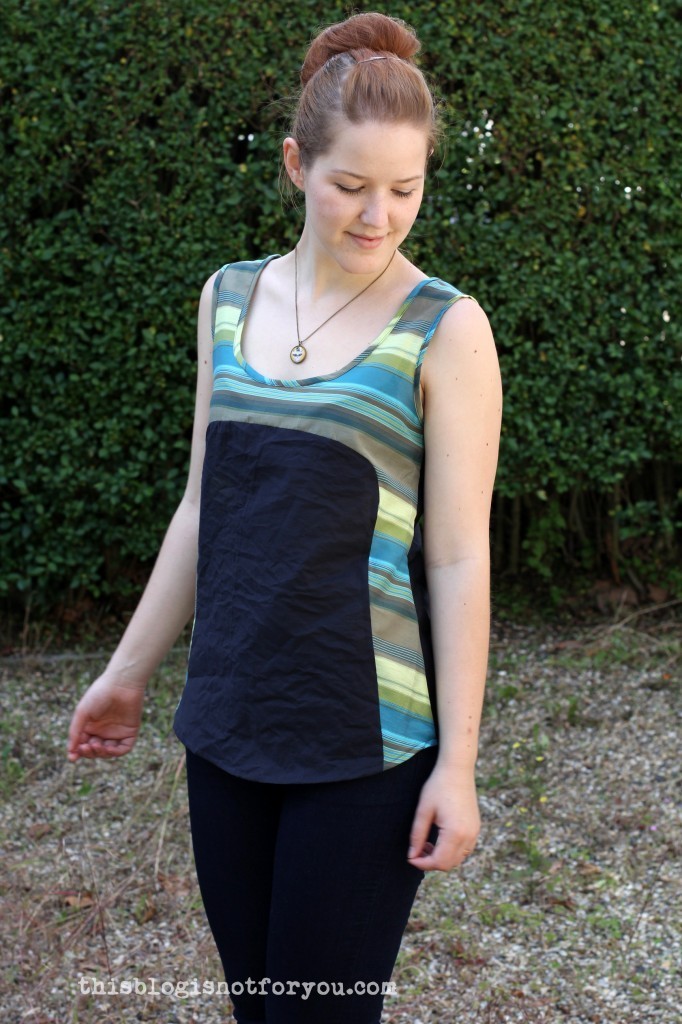
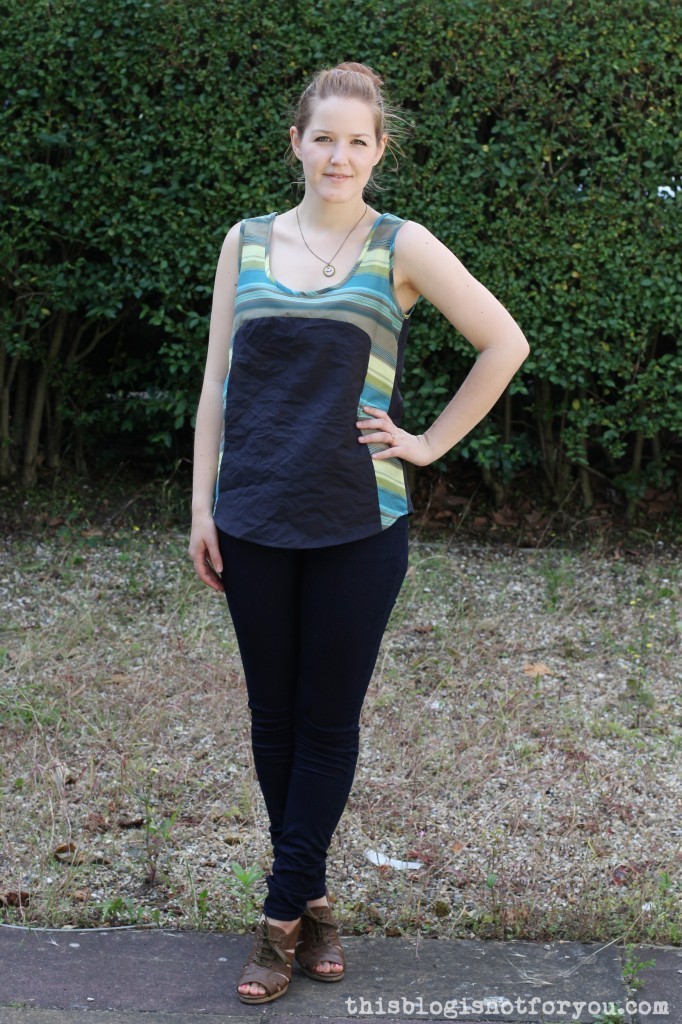
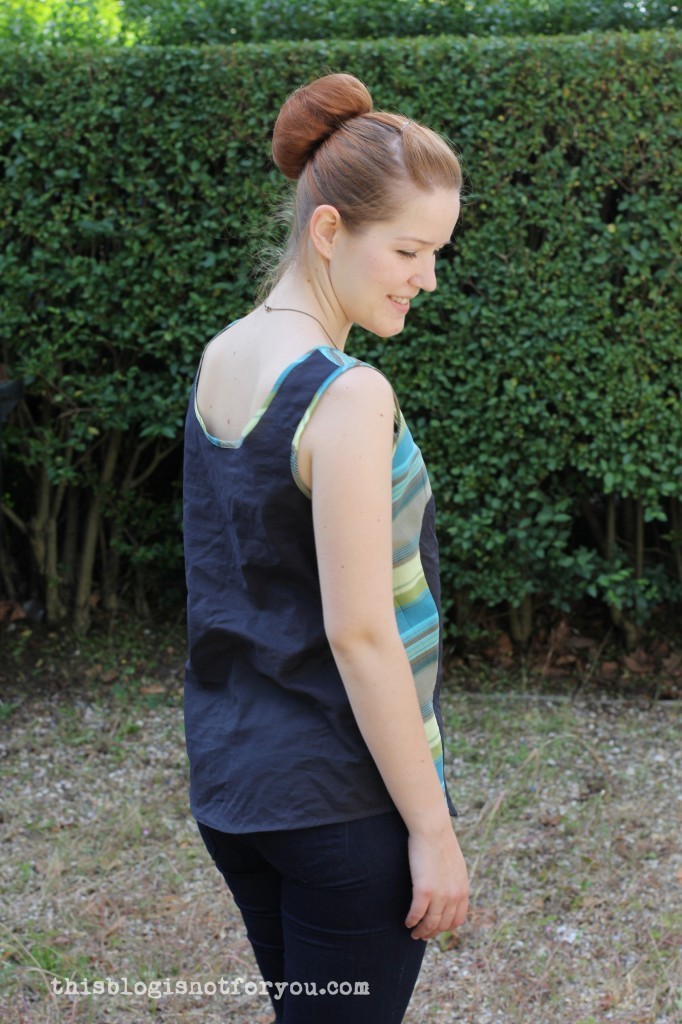
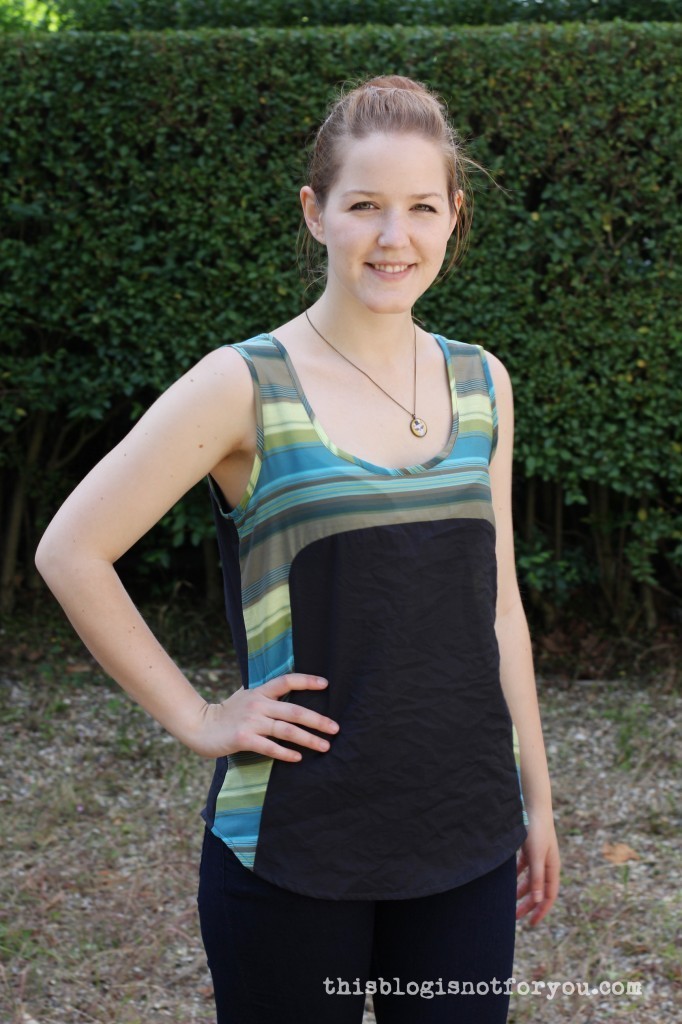
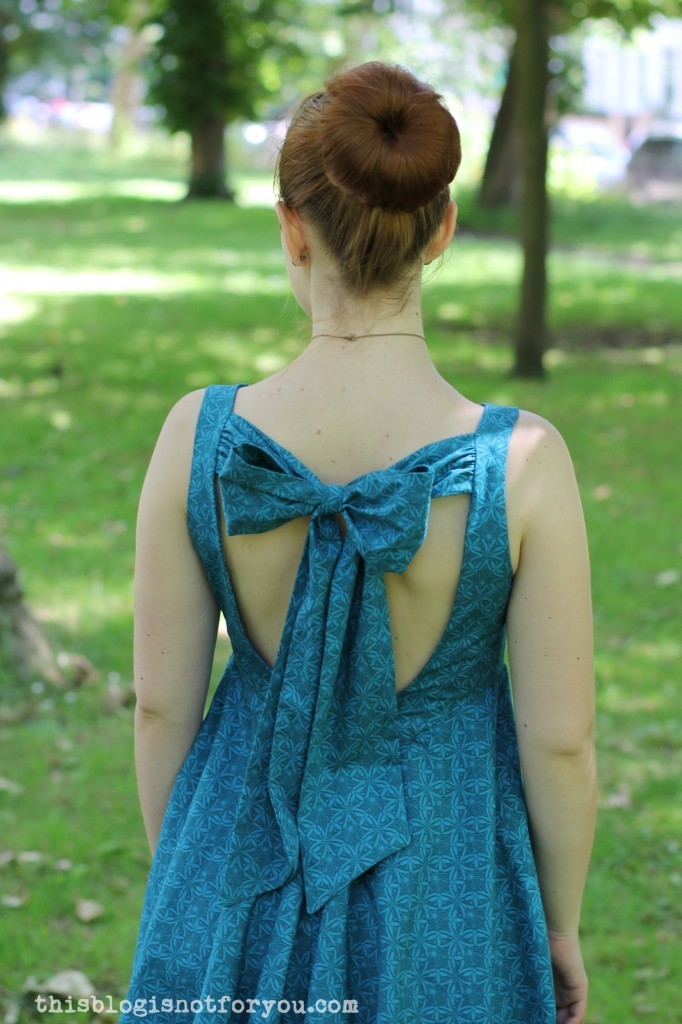
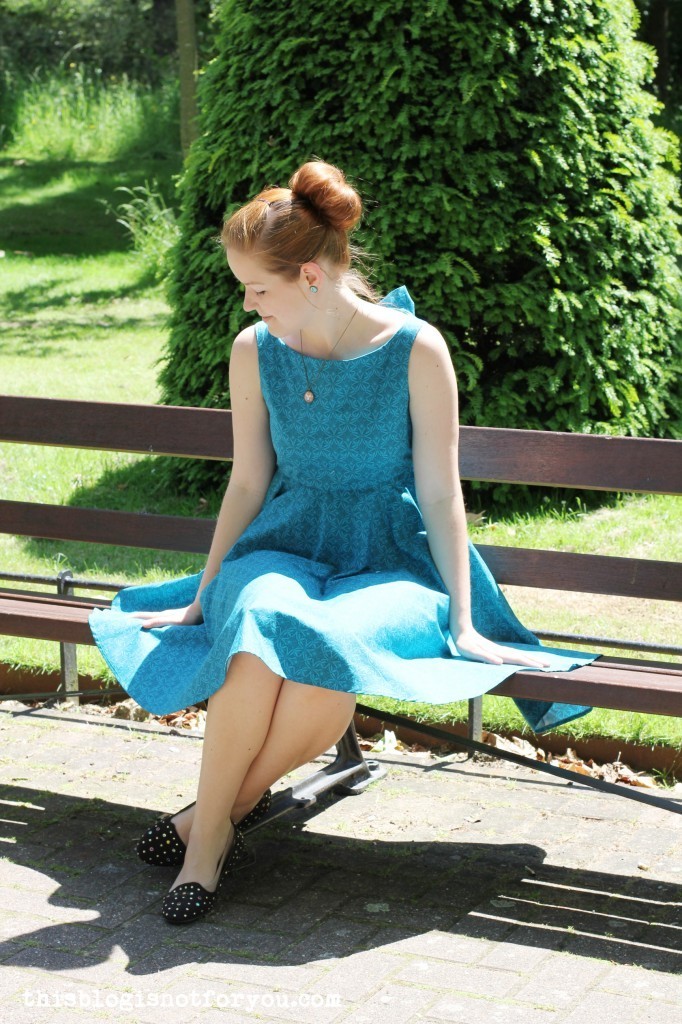
I used two stash fabrics (again! hooray!), both cotton and of similar weight. The top is really easy to sew and quite suitable for beginners. However, I’m not too happy about the fit. Normally, the BHL patterns fit me perfectly, but the top turned out to be really large (I cut out a size 10). I don’t mind that too much, though, since it’s a summer top and summer tops shouldn’t be too tight anyway. But I will cut out a smaller size the next time I make this top.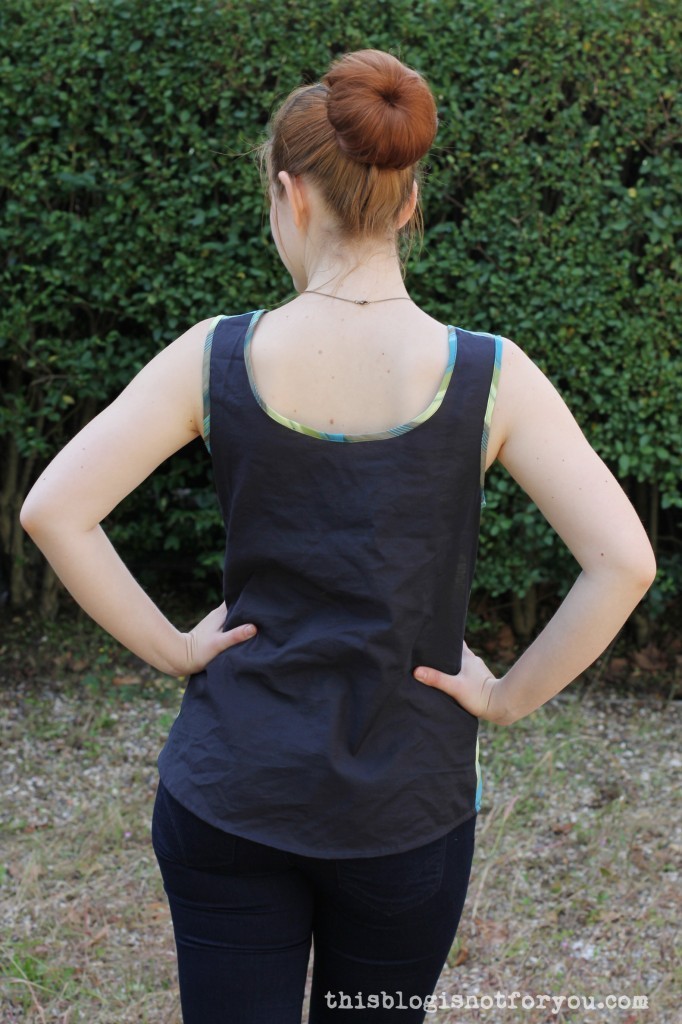
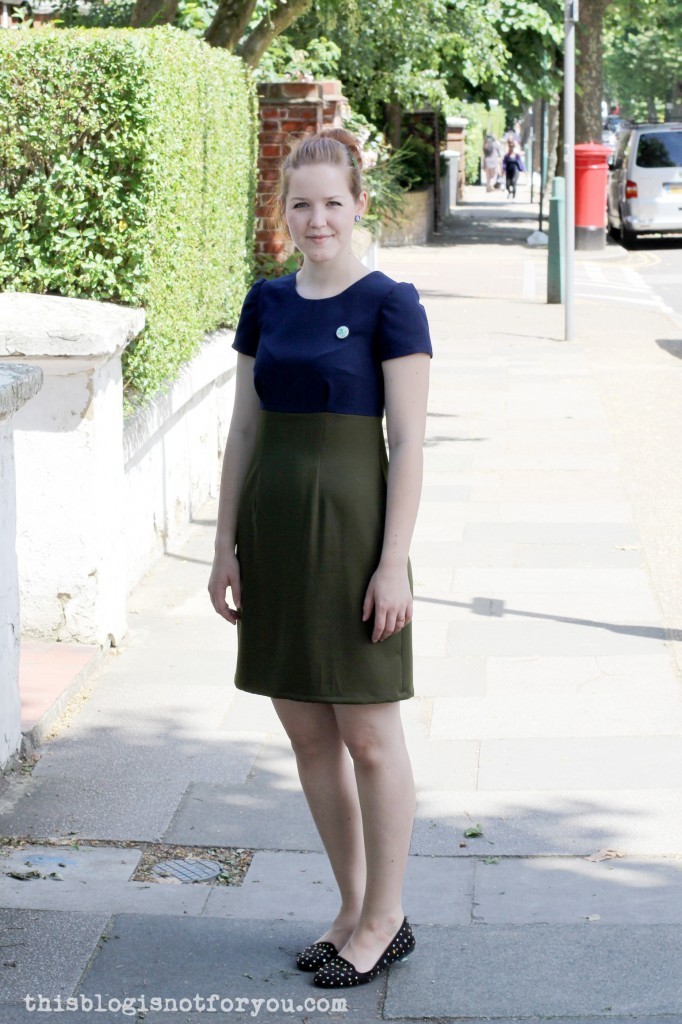
 I have worn this top already and will probably make more. I’m also a big fan of BHL lady Victoria’s Polly pattern hack (she made a dress)! So maybe you’ll see a Polly Dress soon 😉
The only thing keeping me from making more Pollys at the moment is the Lottie blouse pattern. I somehow fell in love with blouses recently (I don’t know why, I’ve never been a big fan of blouses – maybe it’s the weather!) and just finished my third Lottie blouse. To make the next few blog posts less boring, I will also throw in some Mimis (from Tilly’s book). I’m excited to share these blouses with you. All I can say now is, it includes elephants and scottie dogs.
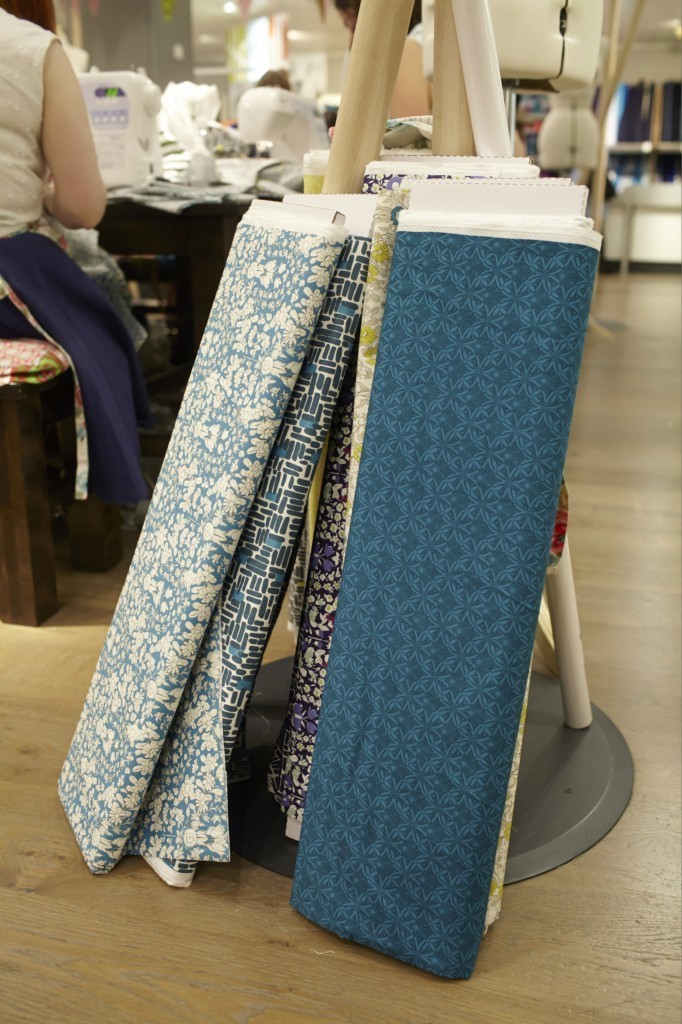
I went fabric shopping with Dani this week and am almost half-way through my new fabrics with all these blouses in the making (I should get a medal for all this stash dieting!).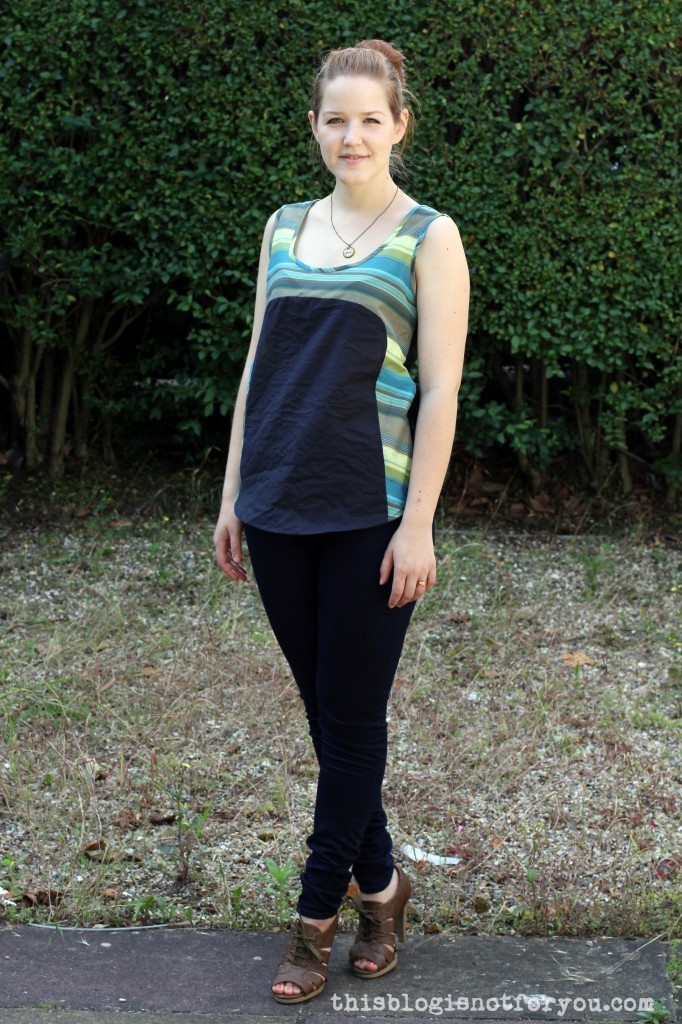
Have you made the Polly top? What’s your favourite summer pattern?
Happy sewing!
♥
facebook/bloglovin/pinterest
twitter/instagram
Stay in touch!


 I loved meeting
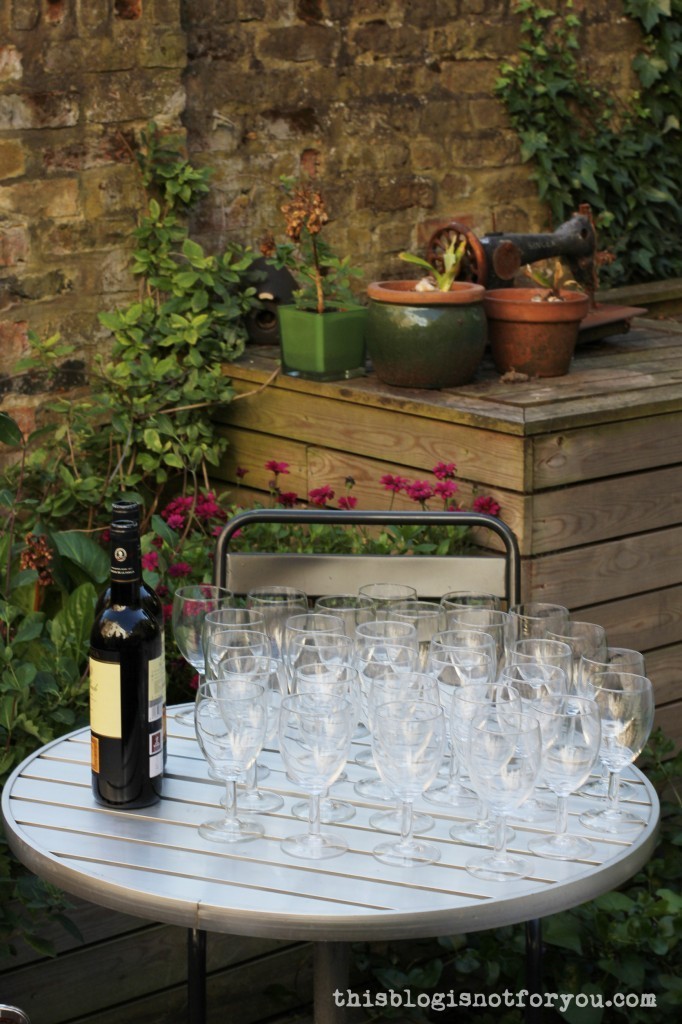

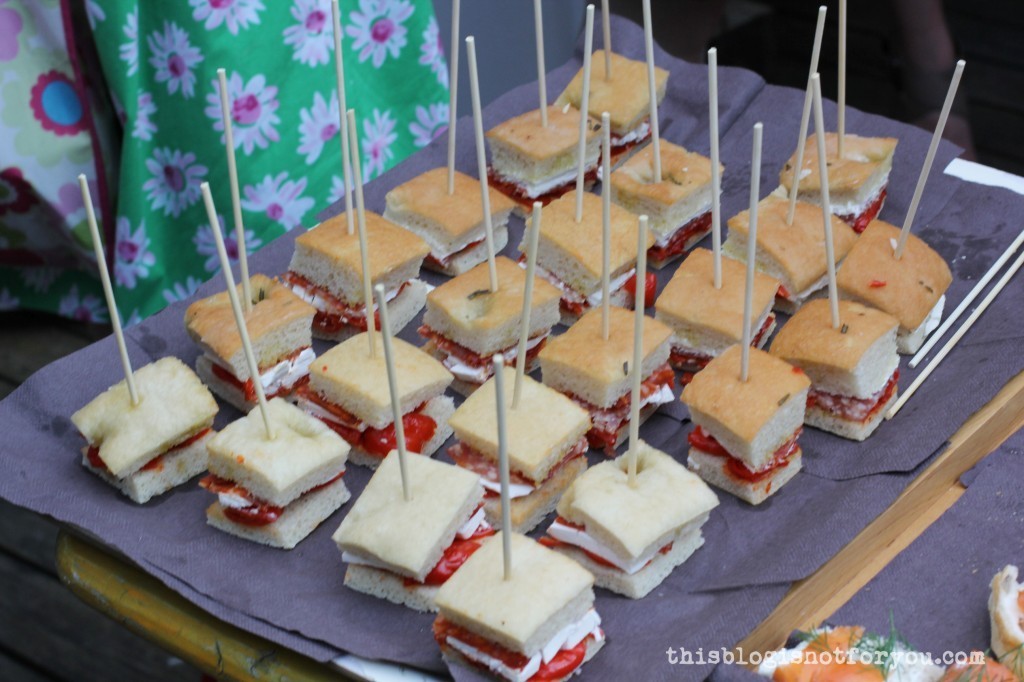 Loads of drinks and nibbles!
 Two weeks ago I got Tilly’s


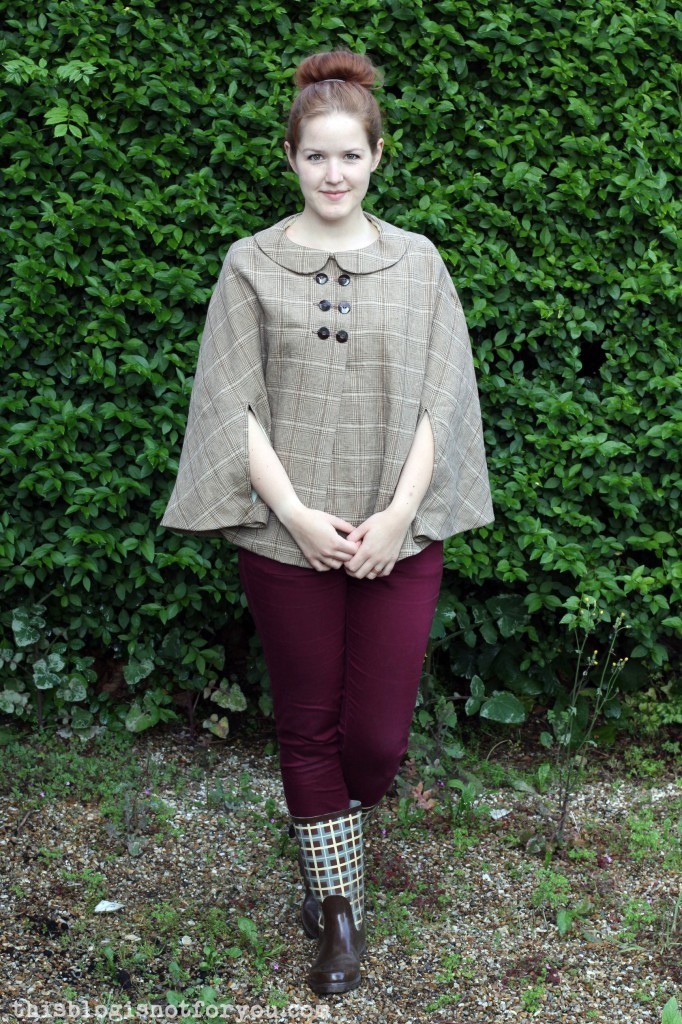 Sewing along and making the cape?
  1. Take your cape and pattern piece and mark the position of the arm opening as shown above. The position of the armslits really is up to you. I put mine closer to the centre front, others prefer it to be on the lengthened shoulder seam line.
 3. After marking the position of the arm opening (with chalk or tailor’s tacks), cut out four strips of your main fabric (or lining fabric if you prefer the contrast), two for each armslit. They should be approx. 4-5cm (2inch) wide and 3cm longer than your armslit measurement. So if your armslits are 20cm long, these strips will have to be at least 23cm long in order to include a seam allowance of 1.5 cm on each end.
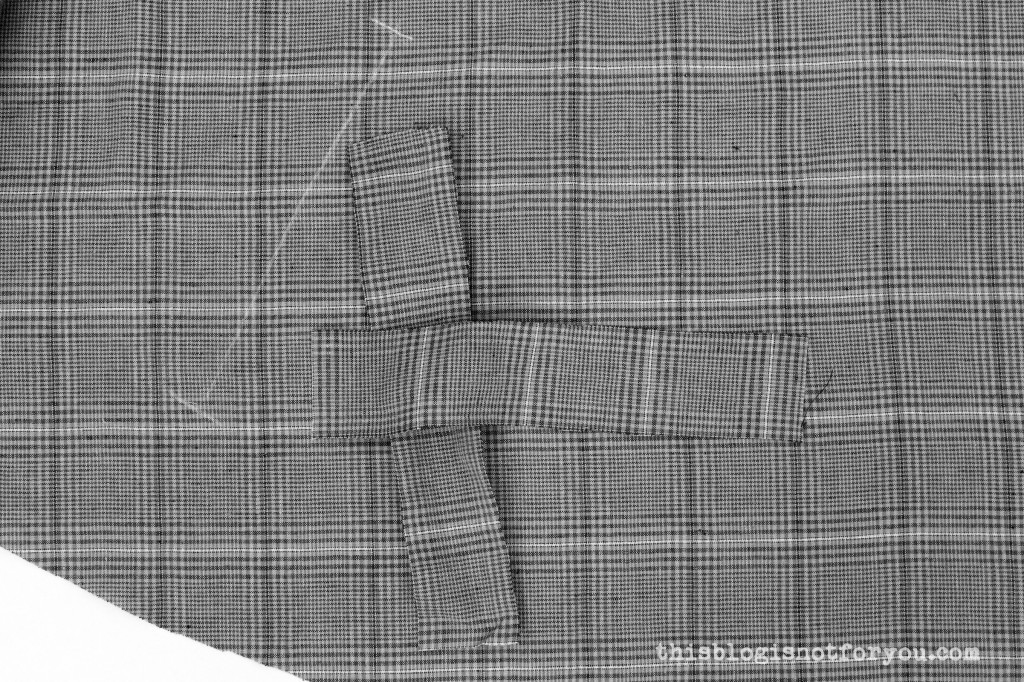
 5. Turn your cape around, so that you are facing the left side of the fabric. Carefully stitch two lines approx. 7mm (2/8”) from the armhole marking, starting and ending your seam at the markings, as shown below.
 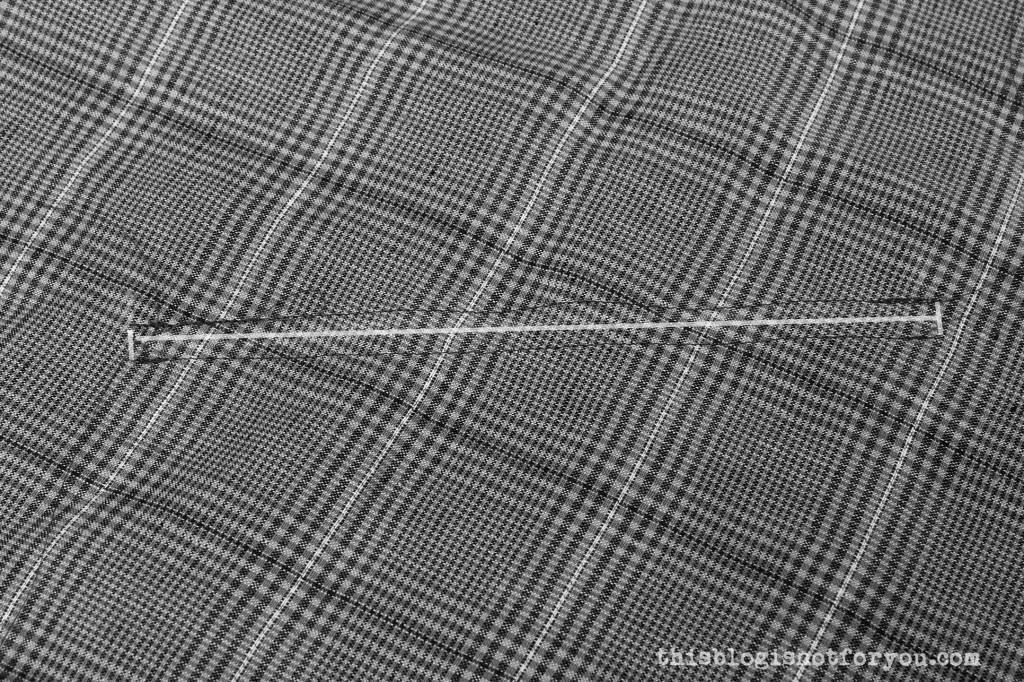 6. Cut the armslit open along the marked line starting and ending 1.5cm from the marked end of your line (see picture below).
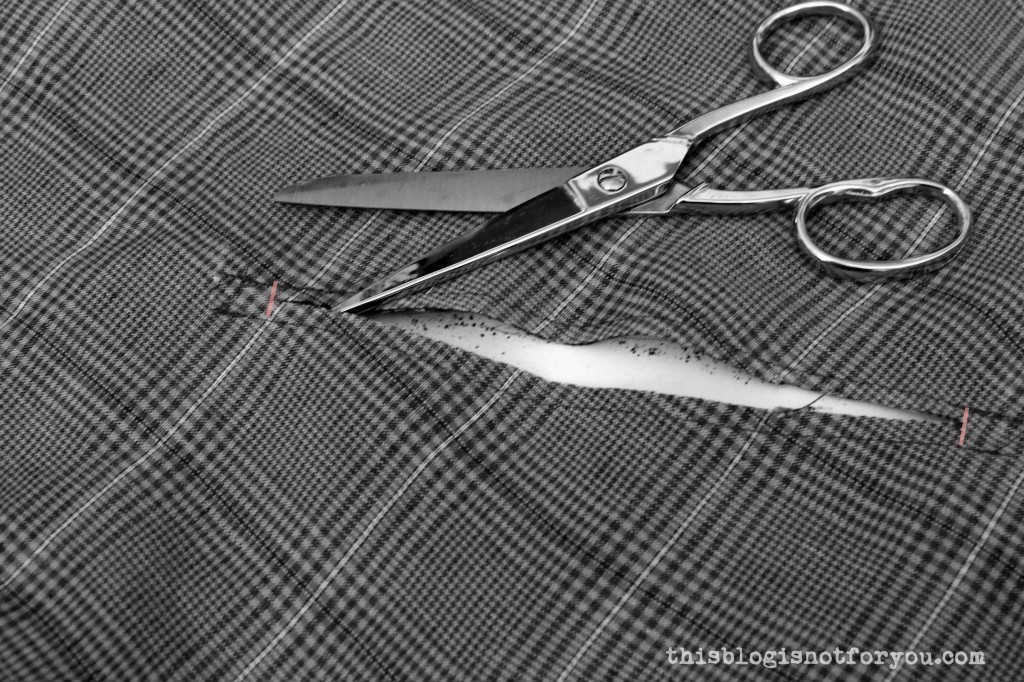 7. Cut diagonally towards the end of your stitching lines, so you will end up will small triangles.
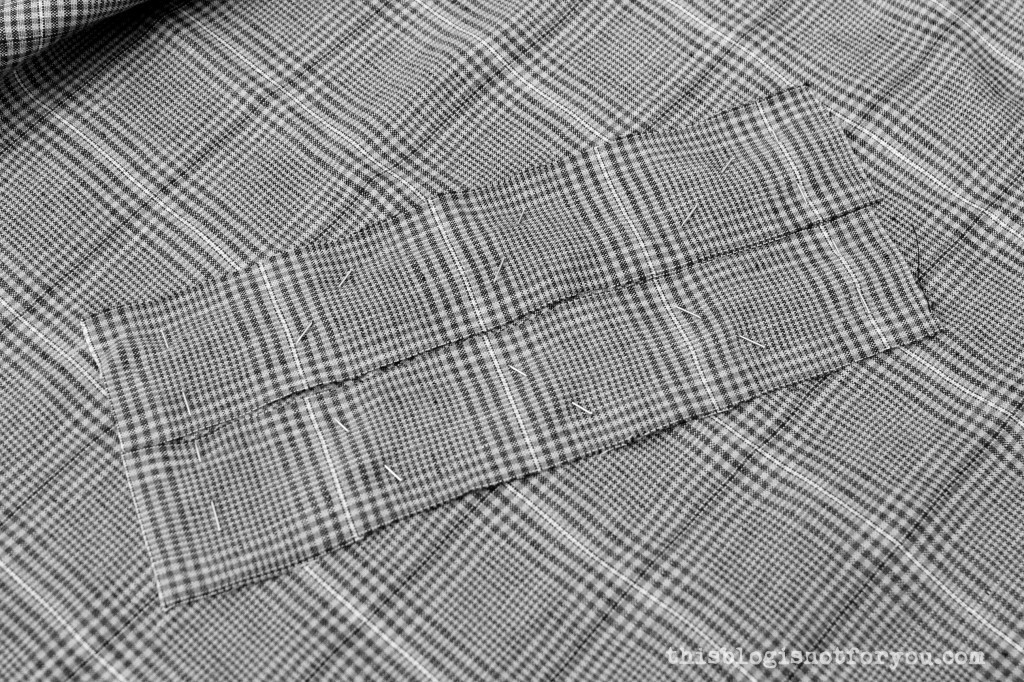
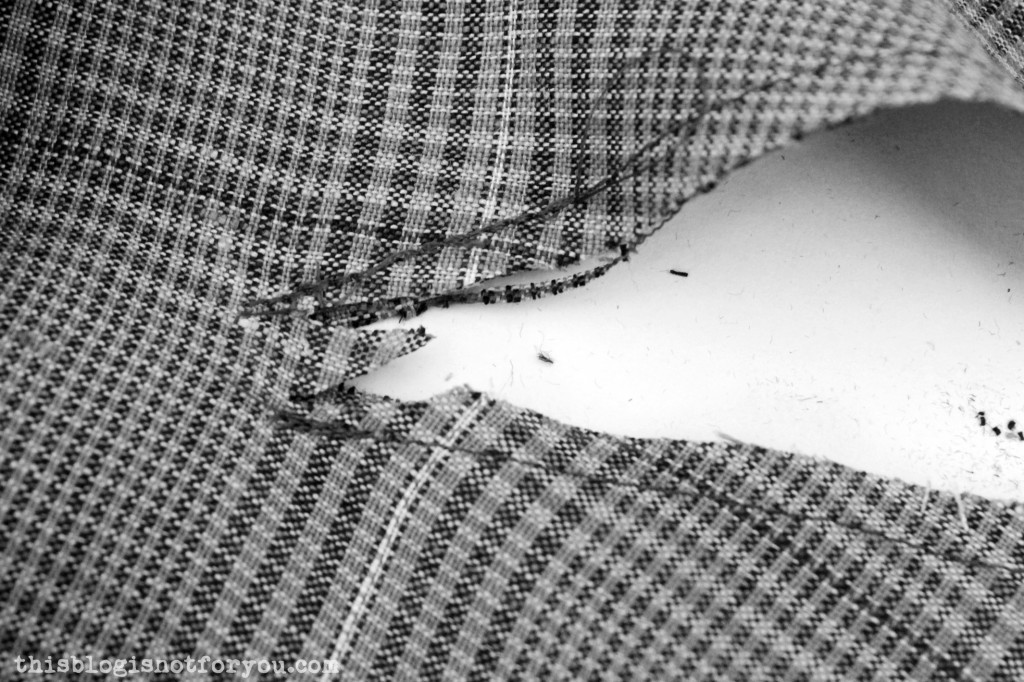 8. Push the fabric through to the other side and press.
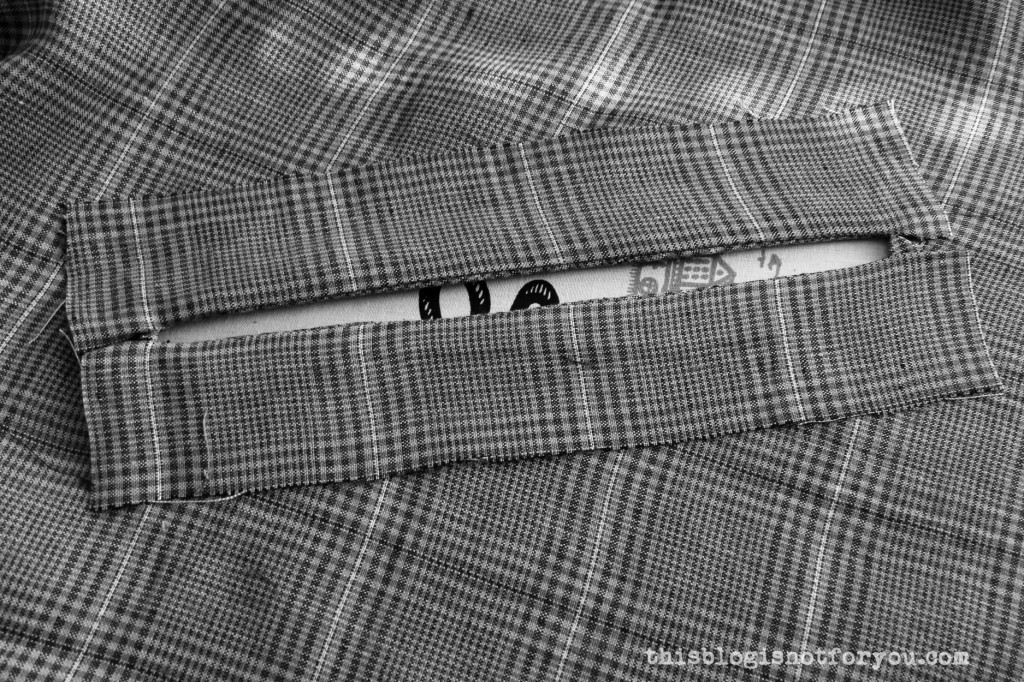 9. You could now simply understitch the facing. I decided to press the facing so that it shows through the opening on the other side.
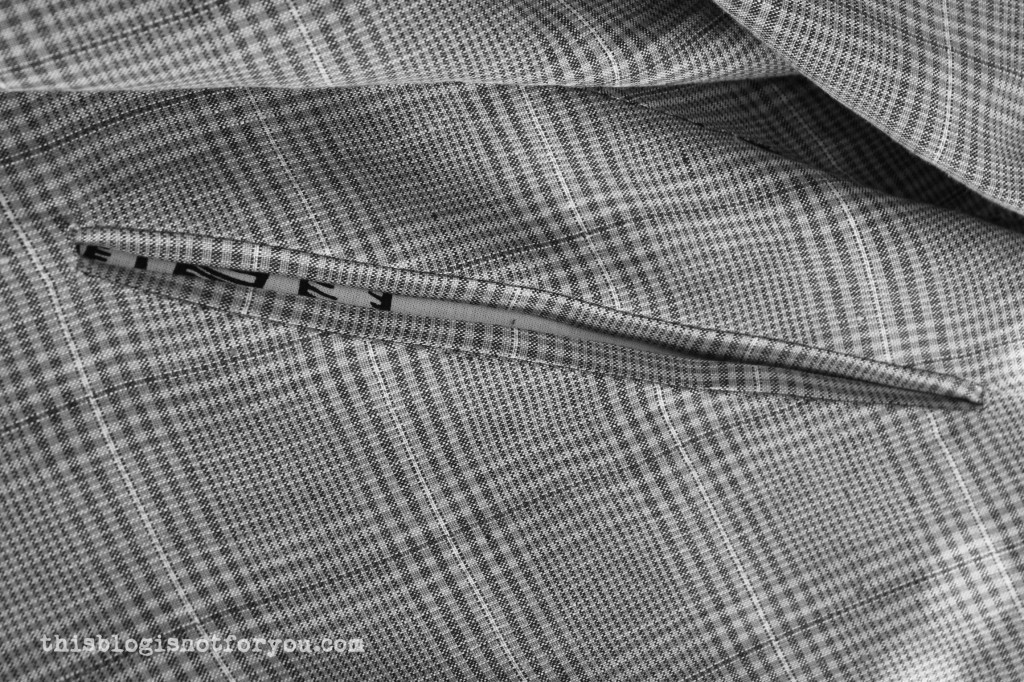 10. Stitch in the ditch to hold the facing in place.
 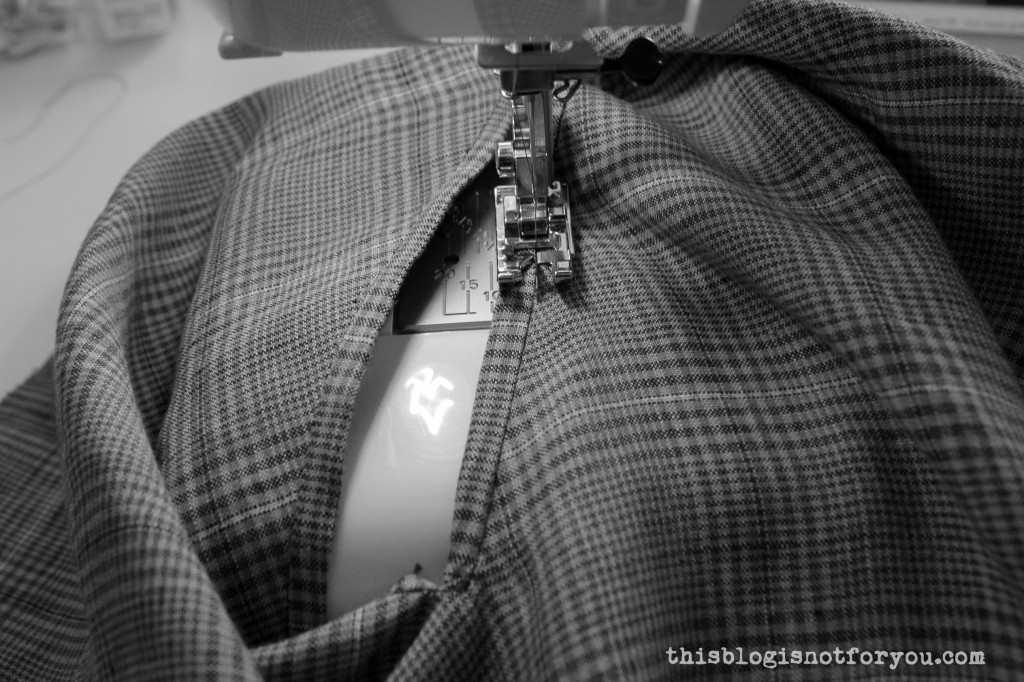 I used a special presser foot for that, but you can simply use a standard feet as well, stitching slowly on the previous seam.
 11. When you have understitched, topstitched or otherwise secured the facing, pin the small triangles in place and stitch them onto the facing’s seam allowance. You can either to that by machine or with hand.
  12. If you are not adding a lining to your cape, you can sew the outer edges of the facing onto your cape with wide catch-stitches.
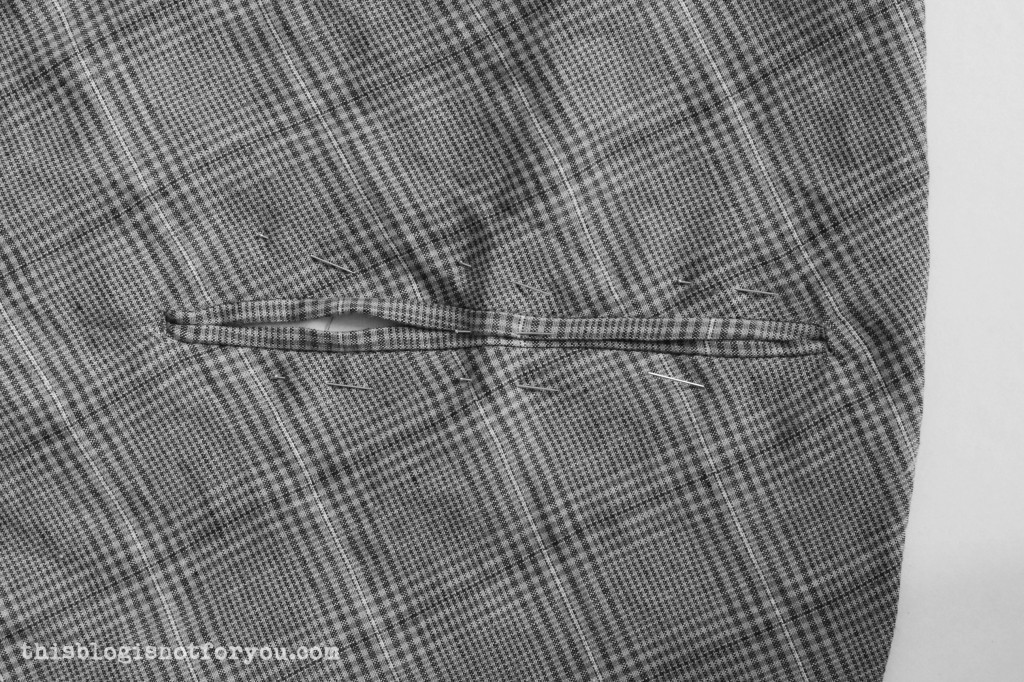 1. After your cape is lined and pressed, first pin the armslits closed and an then add some pins to hold lining and main fabric together along the opening. Make sure all layers are lying very flat before you pin (or baste) them together.
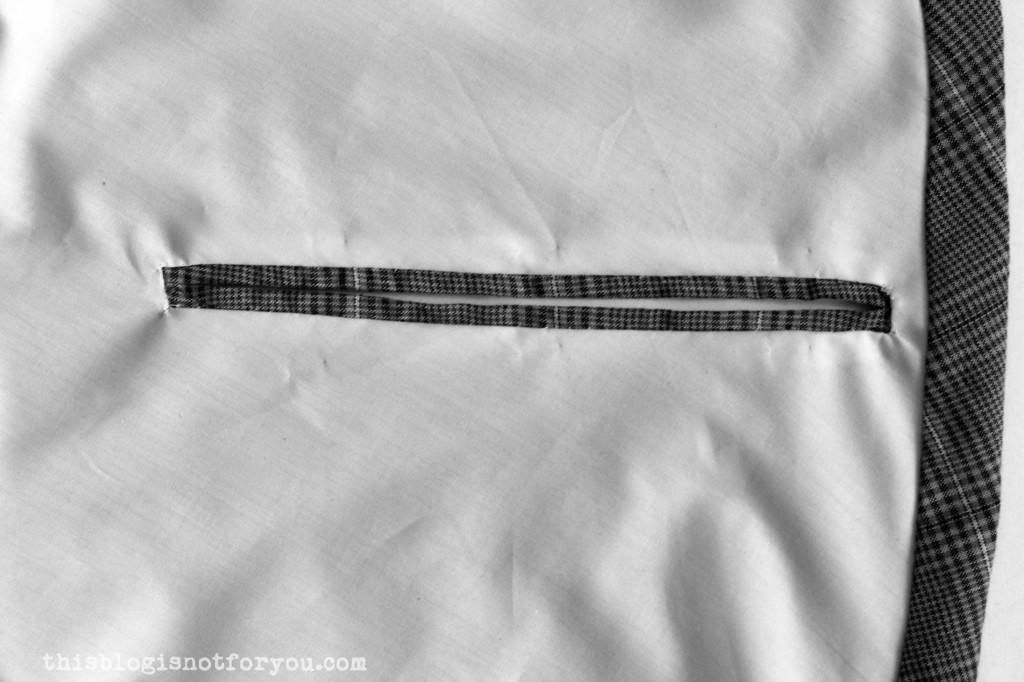
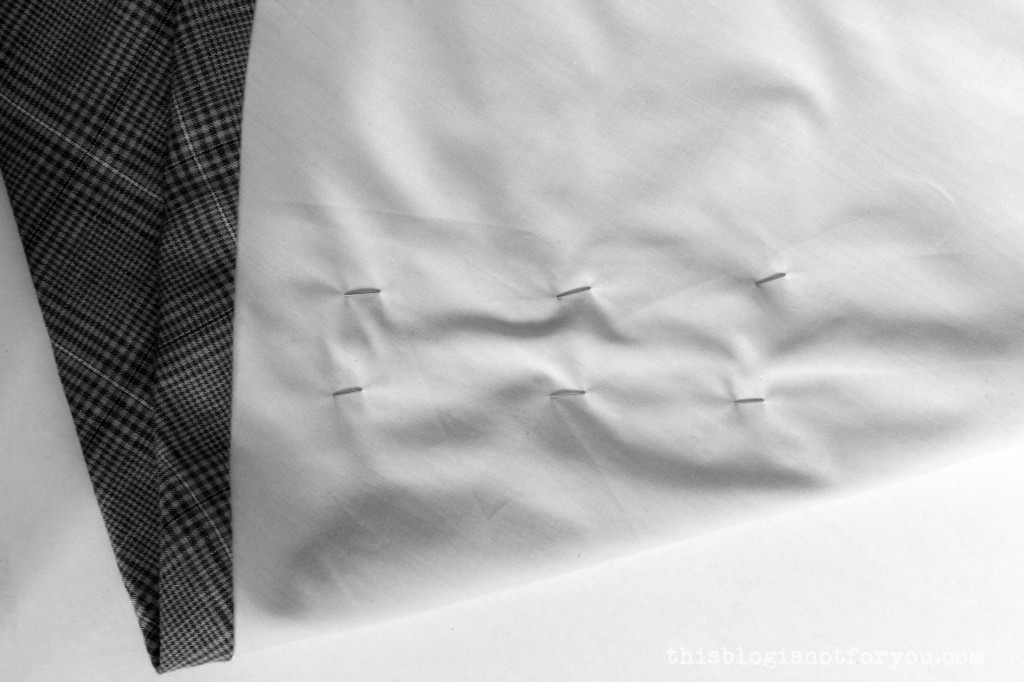 2. Take out the pins you used to close the opening and carefully cut the underlying lining open along the marked armslit line. (You can either mark the line before you sew in the lining, or before cutting, after you take out the pins.)
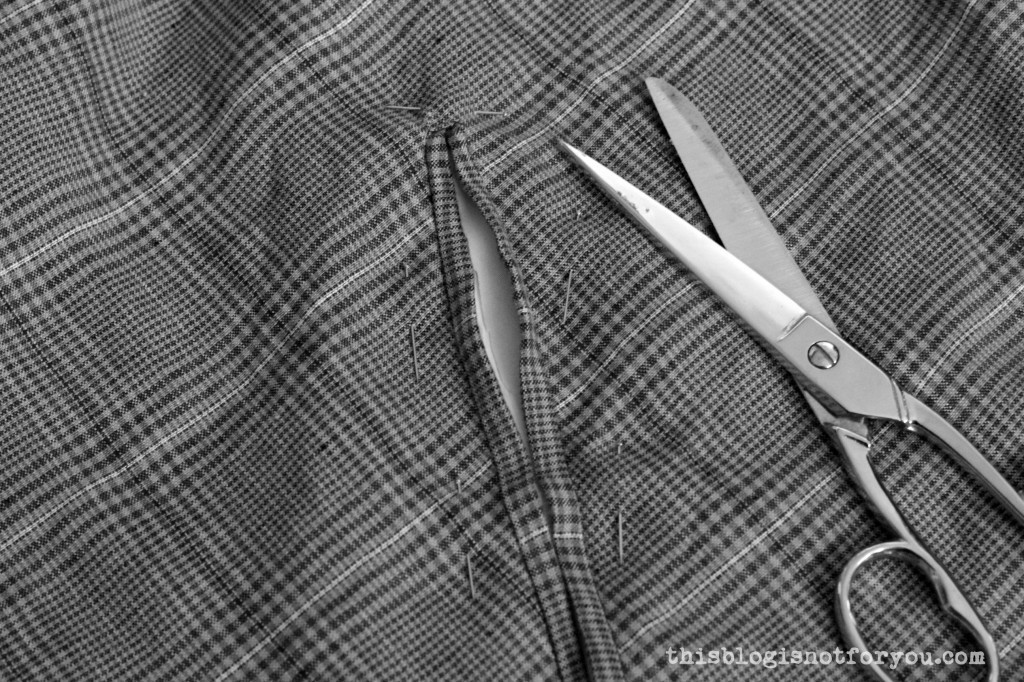 You make the cut in exactly the same way as before, ending the cut with the small triangles.
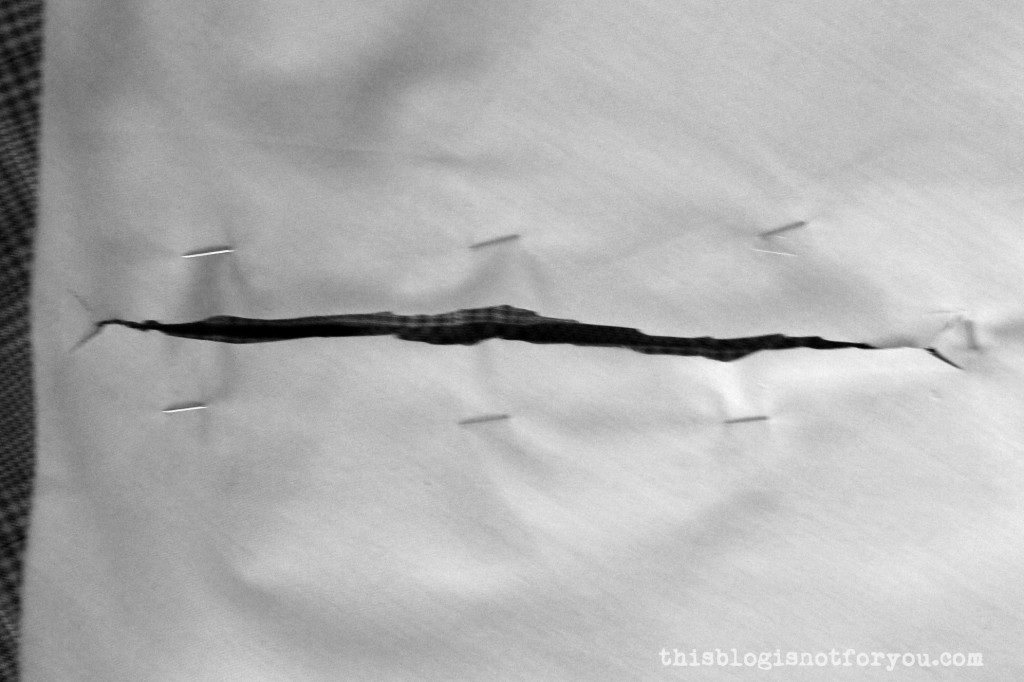 3. Push the seam allowance between the layers and pin everything in place.
  4. Using thread and a handsewing needle, slipstitch the lining to your facing. If you absolutely loathe handsewing, you can (from the right side) stitch in the ditch again, catching the lining. For a neater finish, I’d always recommend handsewing, though.
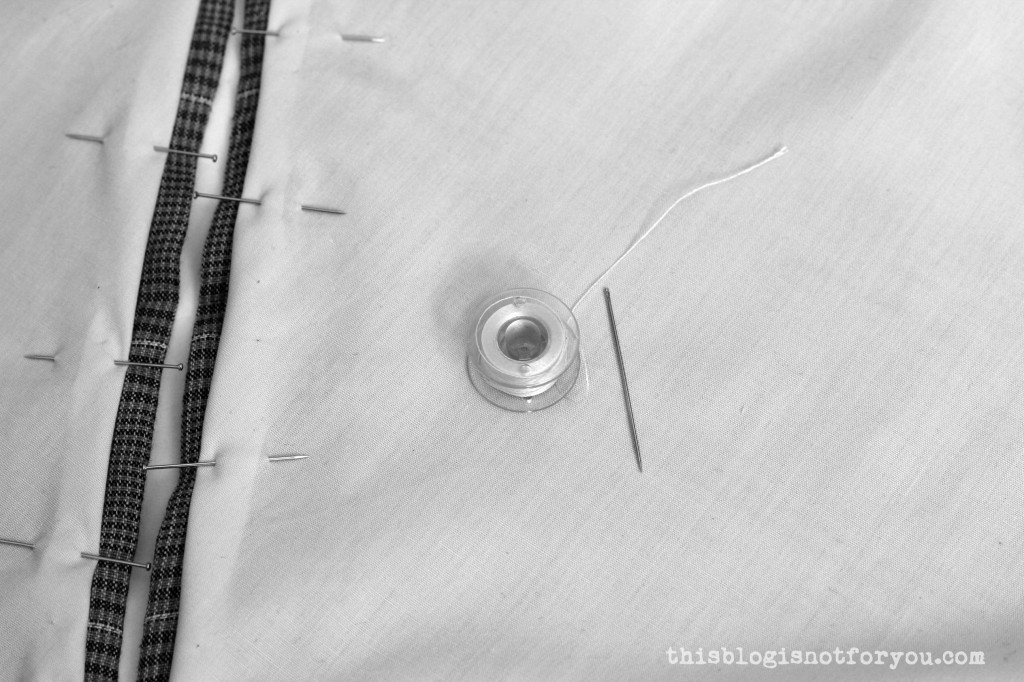
 And you’re done! Congrats!
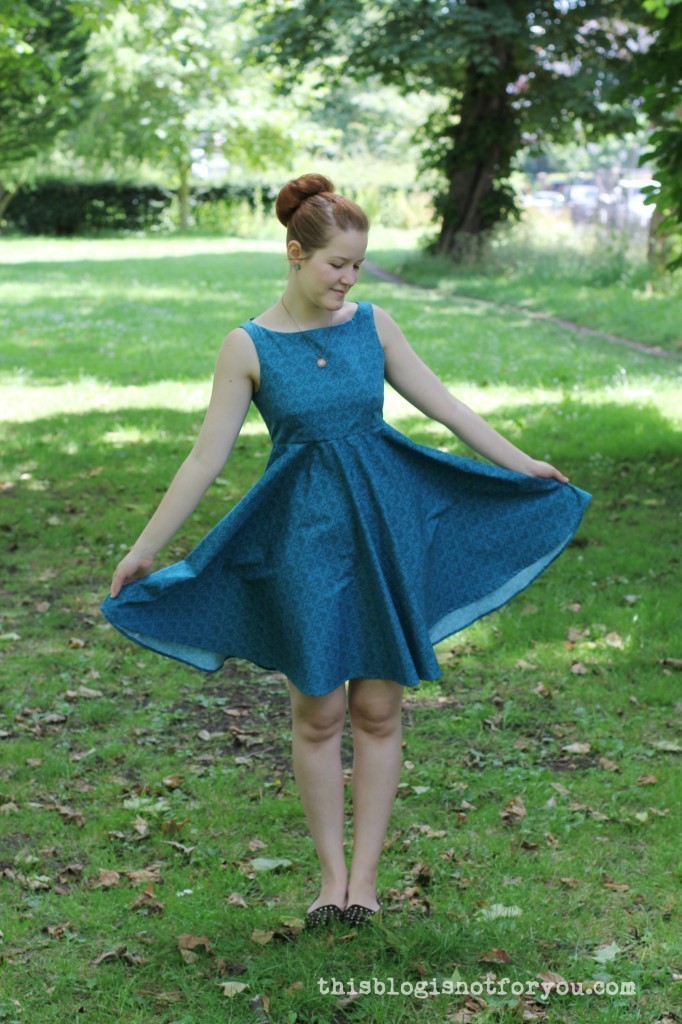


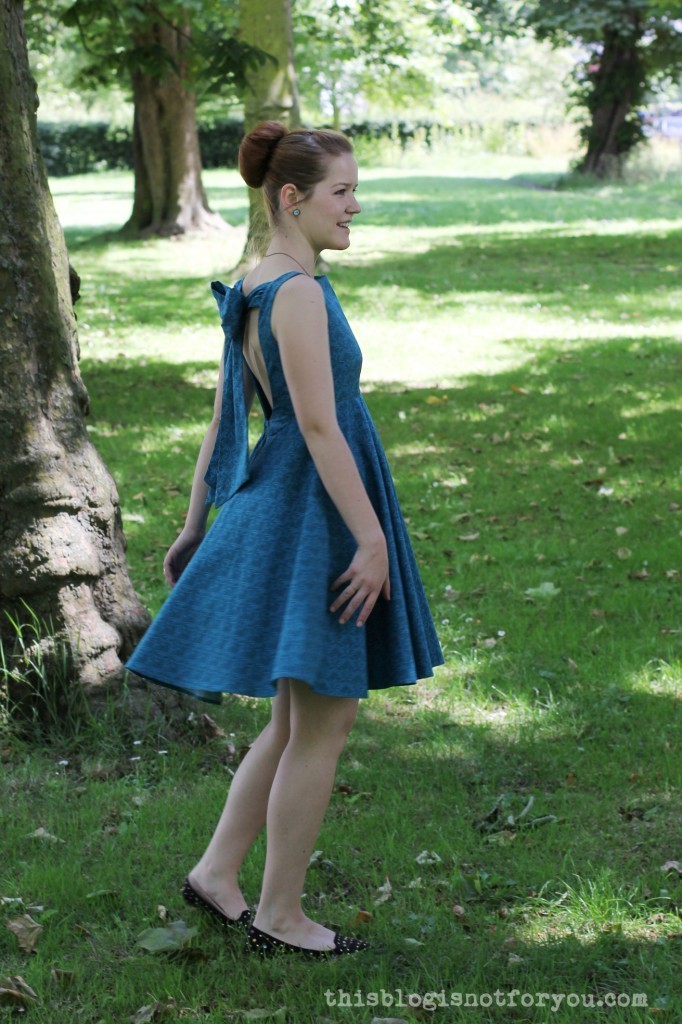
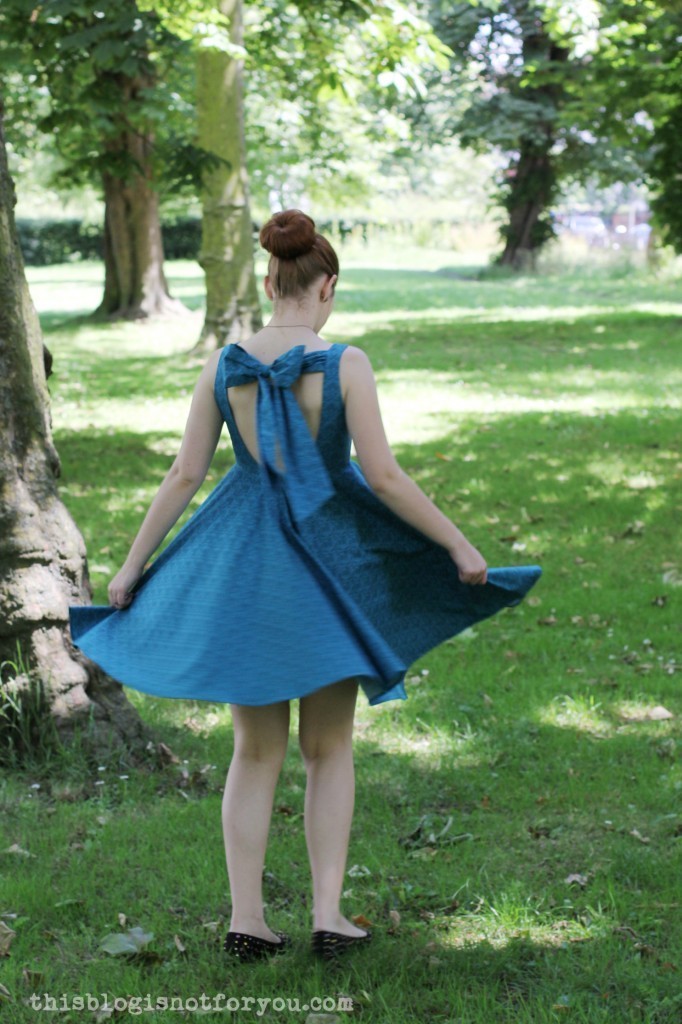

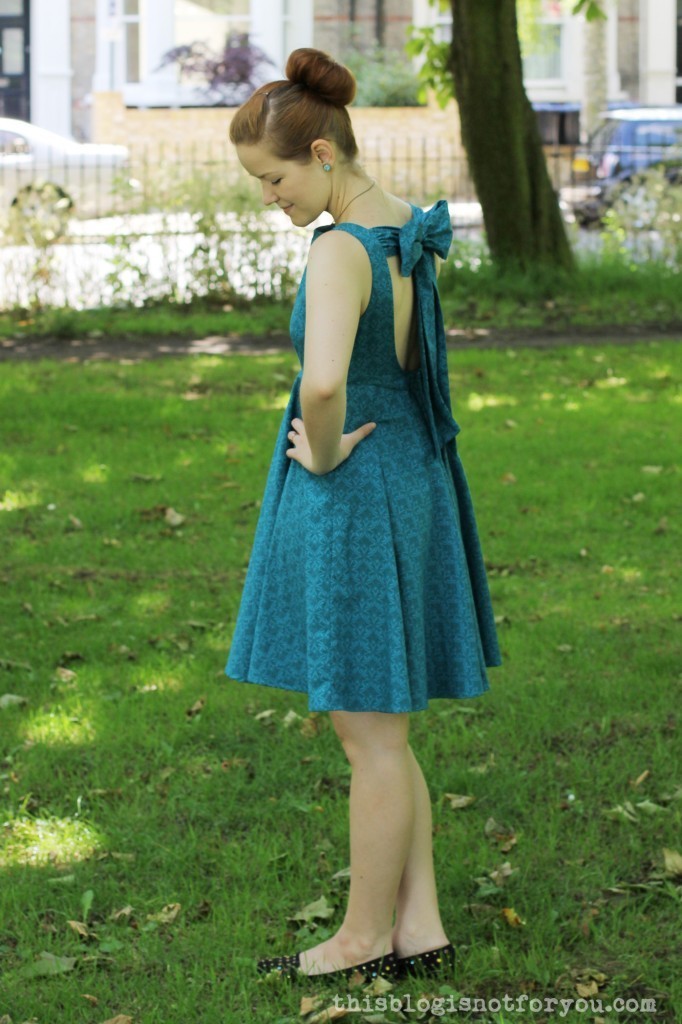
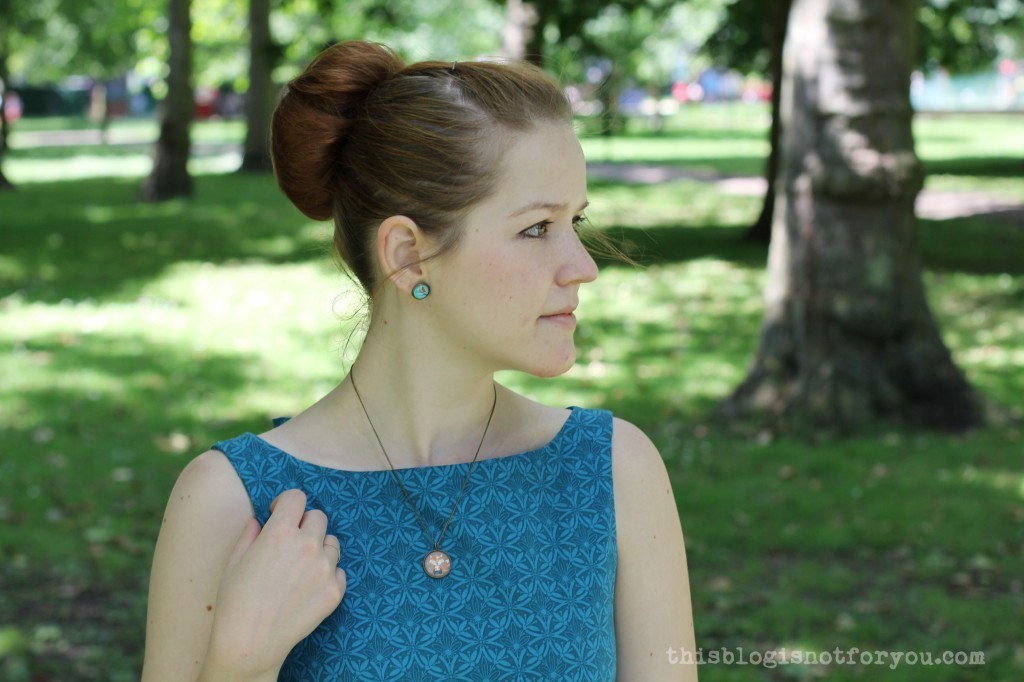
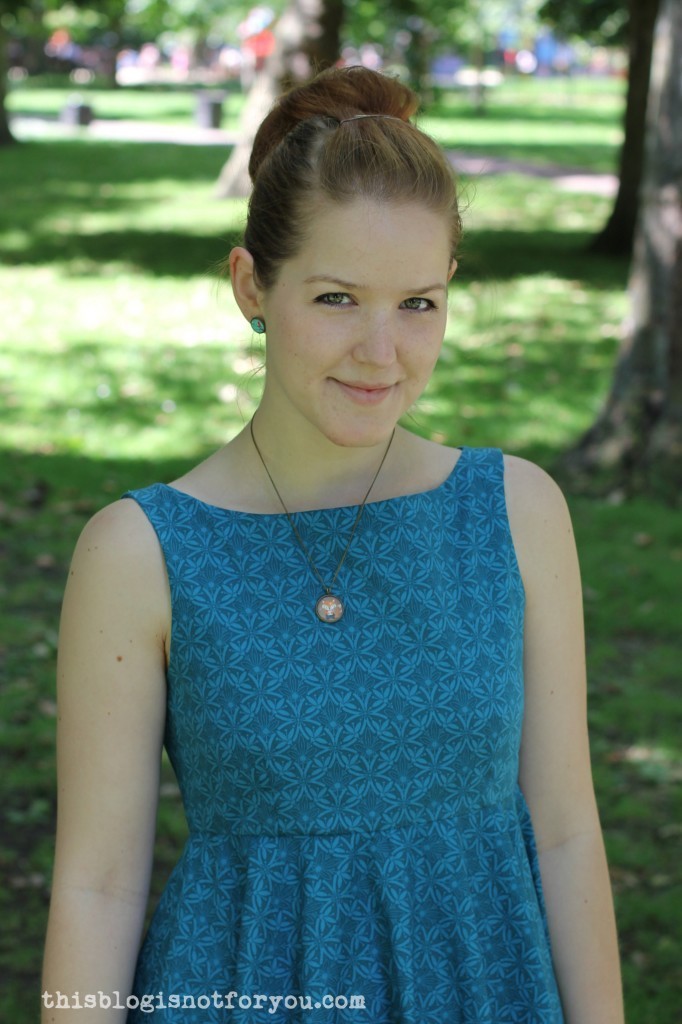
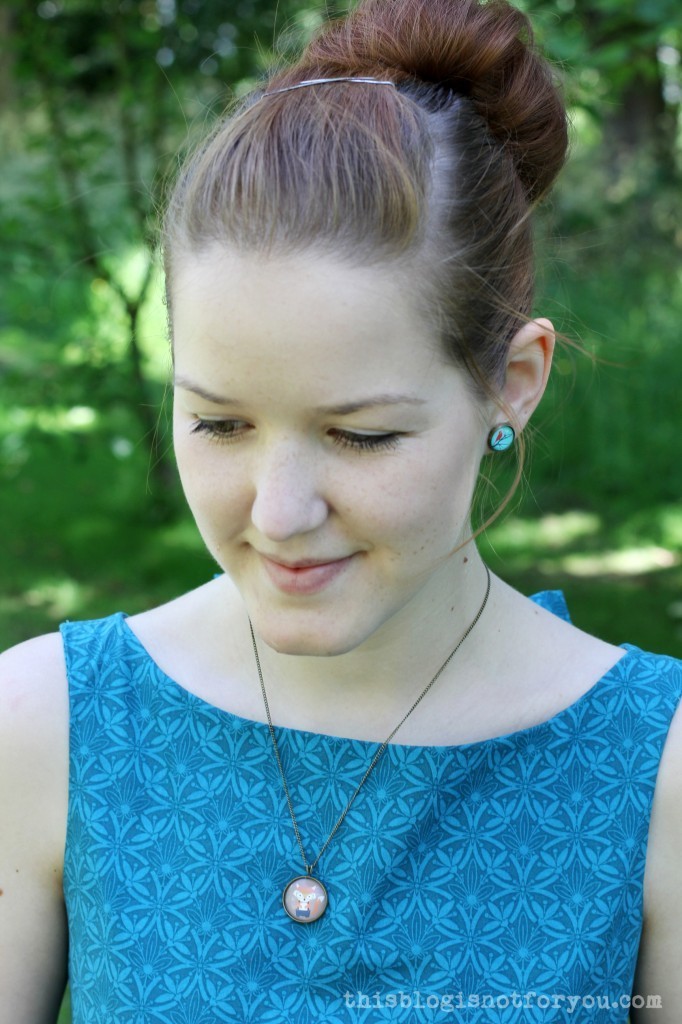
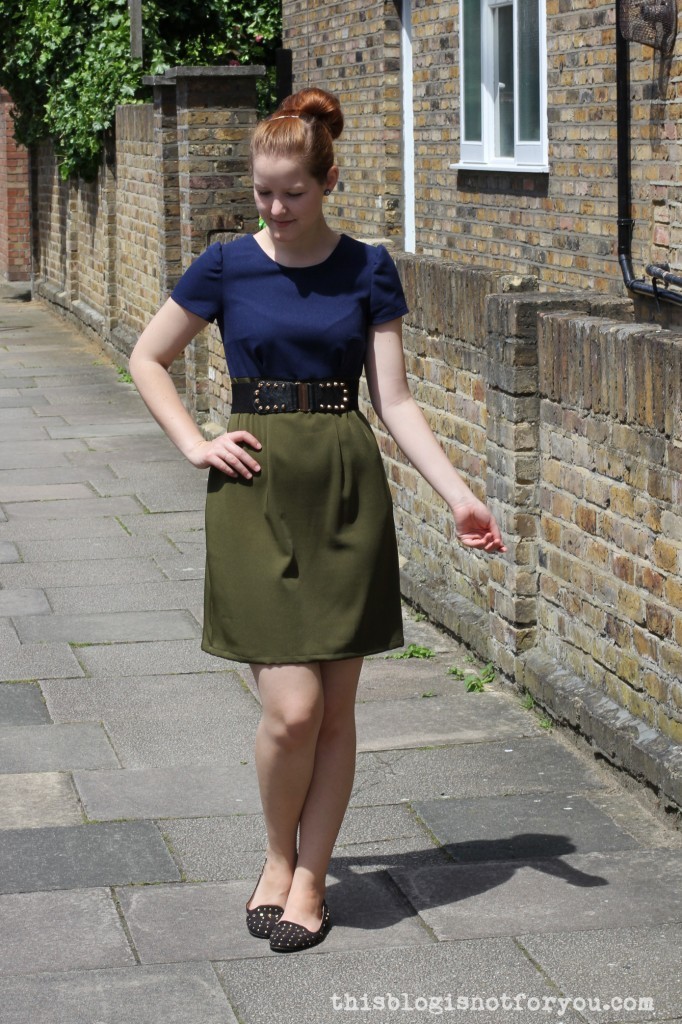
 I just love this dress and hopefully will be able to wear it on many occasions this summer. I also love my new handmade jewelery – some of the materials are courtesy of my new sponsor, which I will introduce this week!