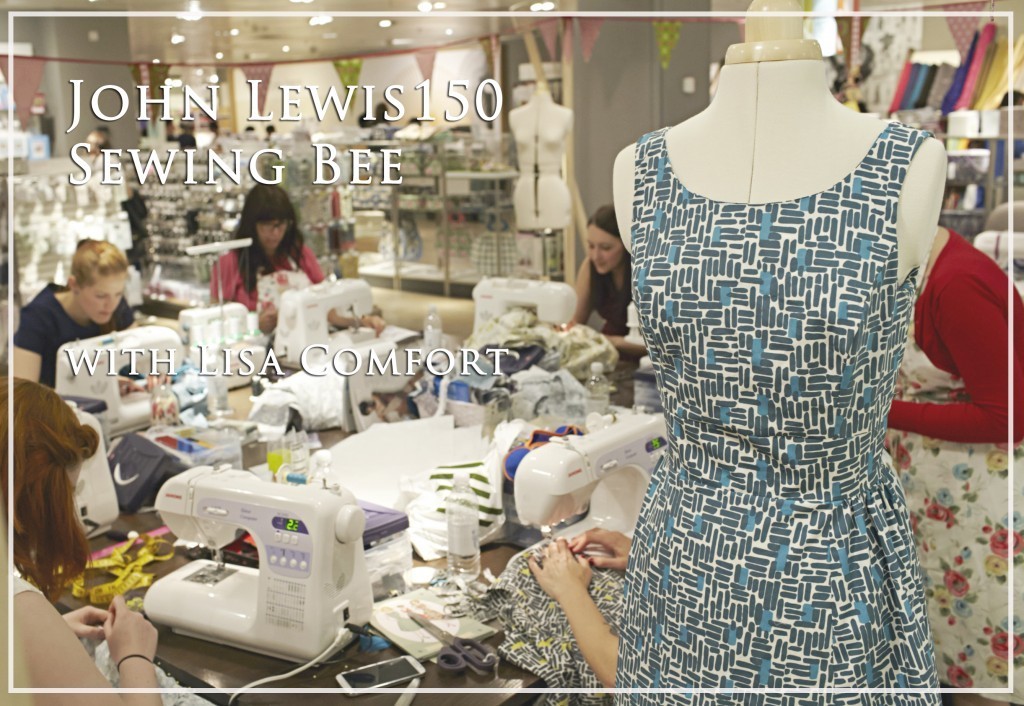
John Lewis Sewing Bee with Lisa Comfort
Did you know that John Lewis started business in 1864 when john lewis himself opened his first haberdashery shop at 132 Oxford Street?
Well, that was 150 years ago. (Woah, just try to imagine the time. Fighting over the last two metres of silk with Charles Dickens.) And what’s the best way to mark the 150th Anniversary of a department store which started out as a haberdashery shop? Right! A sewing bee!
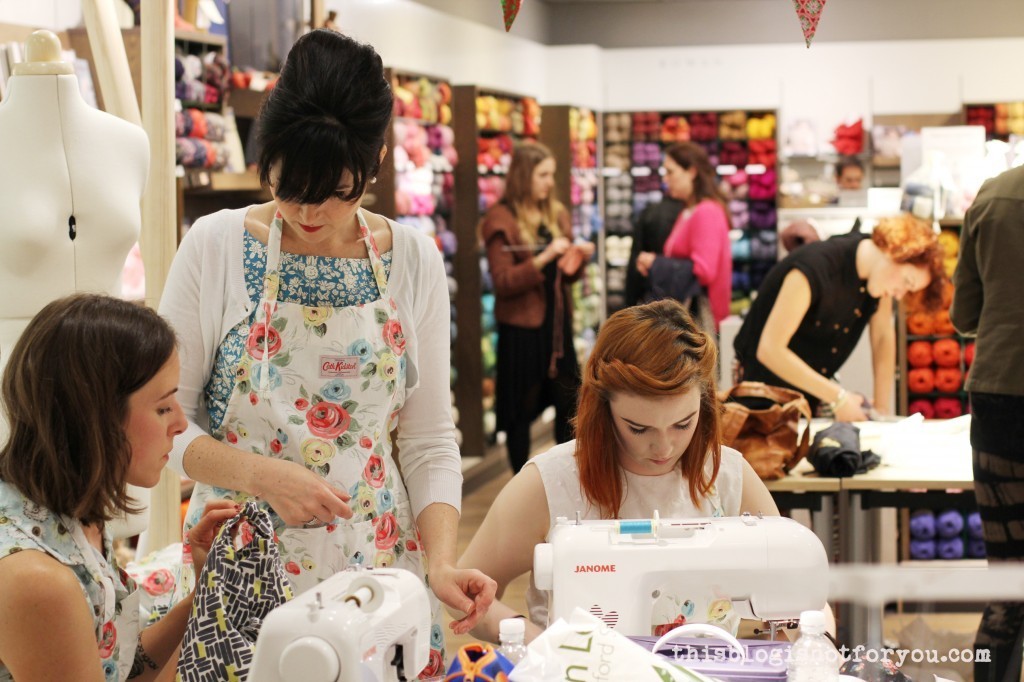
Me and some amazing fellow sewing bloggers spent the whole Saturday at John Lewis Oxford Street, raiding the haberdashery department and stitching away with the lovely Lisa, sewing expert & founder of ‘Sew Over It‘, who helped us out with some cutting, sewing and fitting.
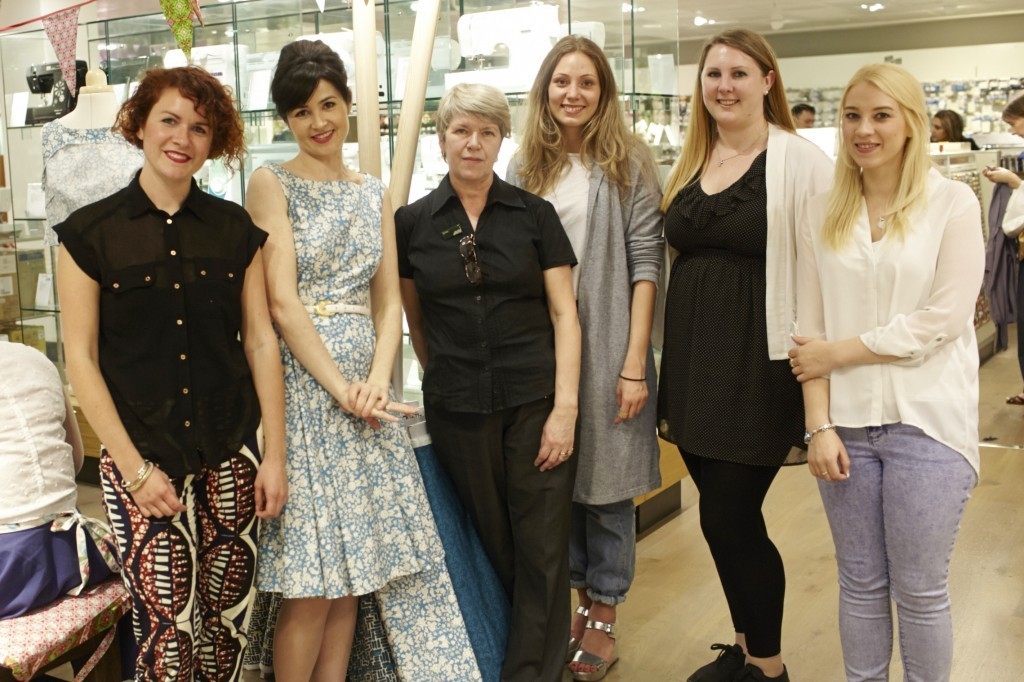
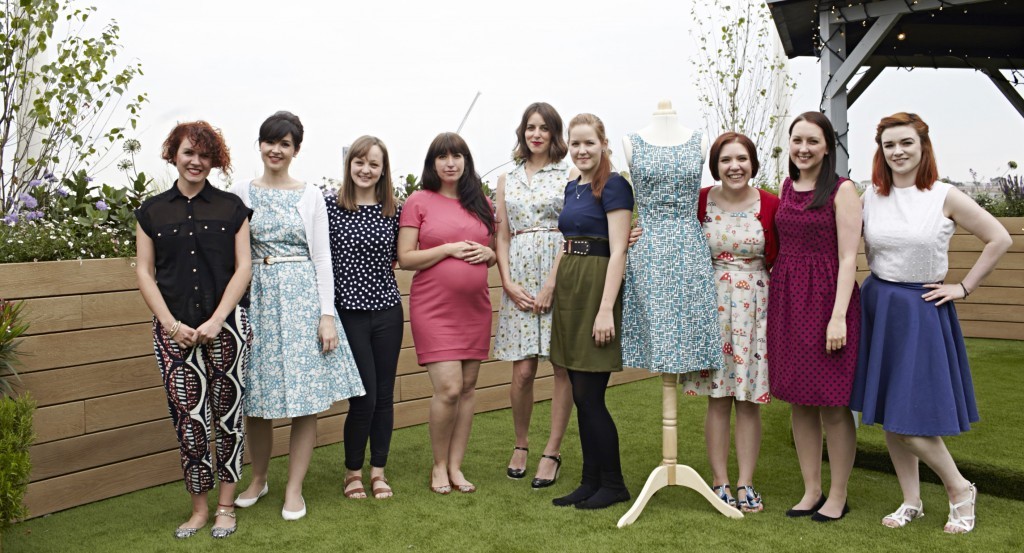 Left to right: Freya (who assisted Lisa during the day), Lisa, Fiona (Diary of a Chain Stitcher), Elena (Randomly Happy), Clare (Sew Dixie Lou), moi, some lady without a head, Roisin (Dolly Clackett), Amy (Almond Rock) and Emmie (My Oh Sew Vintage Life).
 To celebrate their anniversary, John Lewis brought back heritage fabrics from various decades and we were using these gorgeous John Lewis Commemorative 150th fabrics to make our dresses. Lisa had picked some cotton fabrics and patterns for us to choose from.
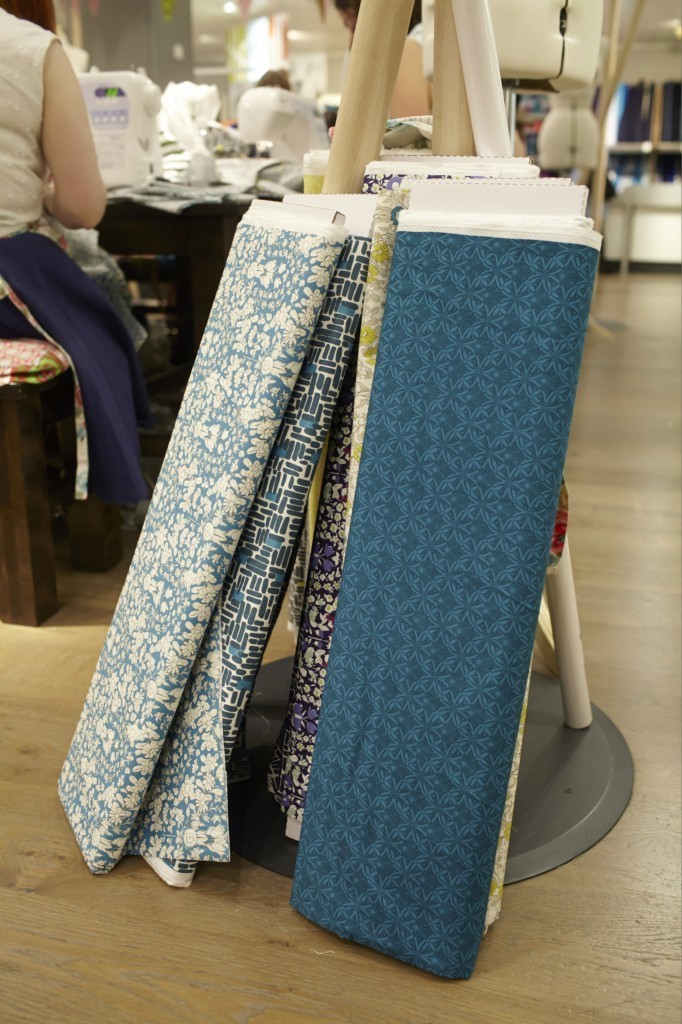
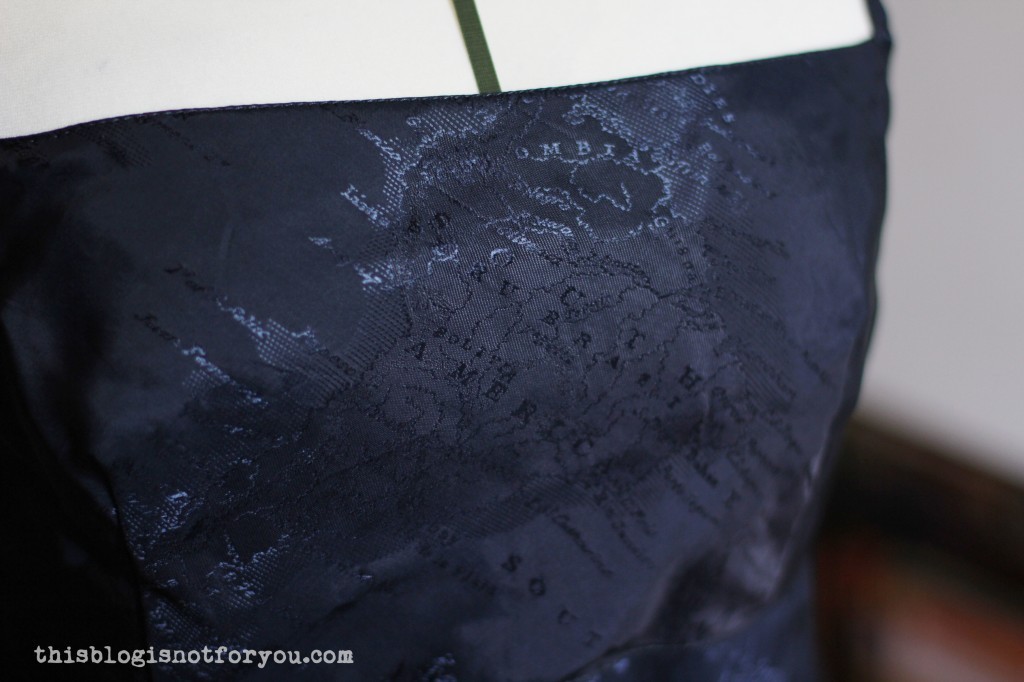
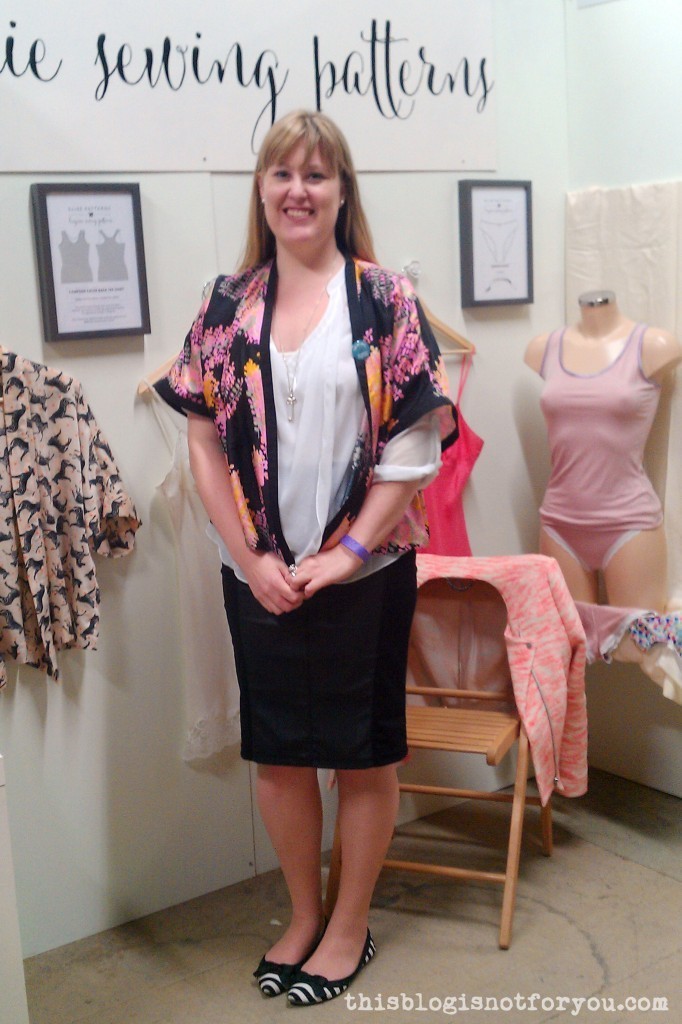
I’m in looove with these fabrics! JL sent some fabric samples before the event, but it was still pretty difficult to choose when I stood in front of them. The colours are beautiful and the prints are amazing. The fabric is quite pricey but very good quality, soft and drapey and the different prints and colours all go very well together. I went with the turquoise fabric in the front and Vogue pattern V1102, a backless dress with a massive bow.
Somehow we all managed to choose different fabrics. And I’m pattern twinsies with Amy, who also went for the Vogue pattern.
 Beware. There’s a massive amount of pictures coming up…!
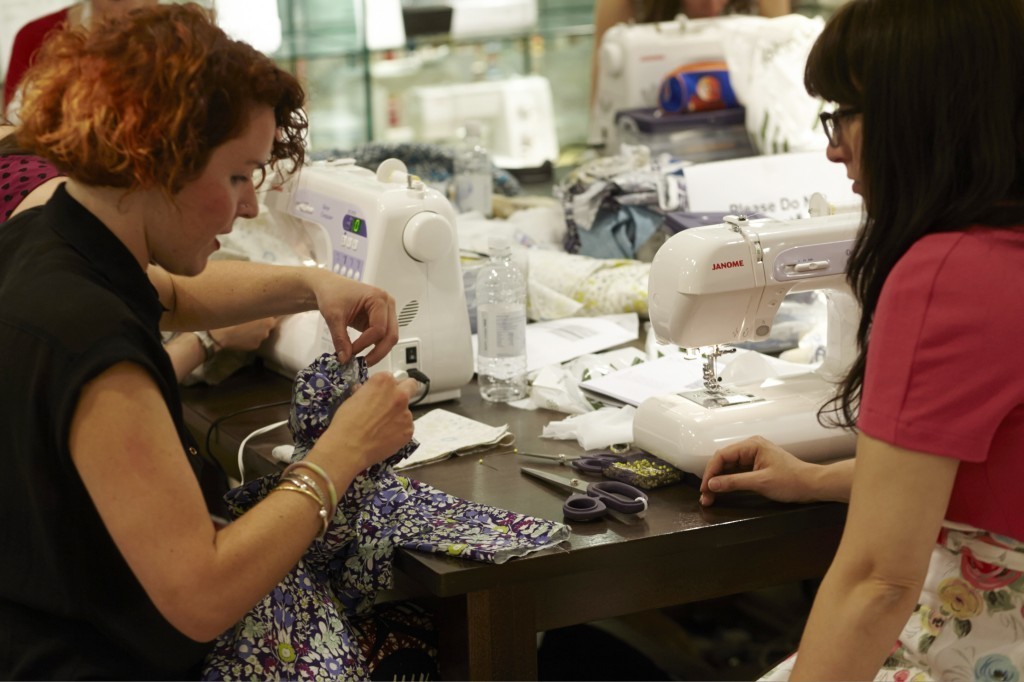
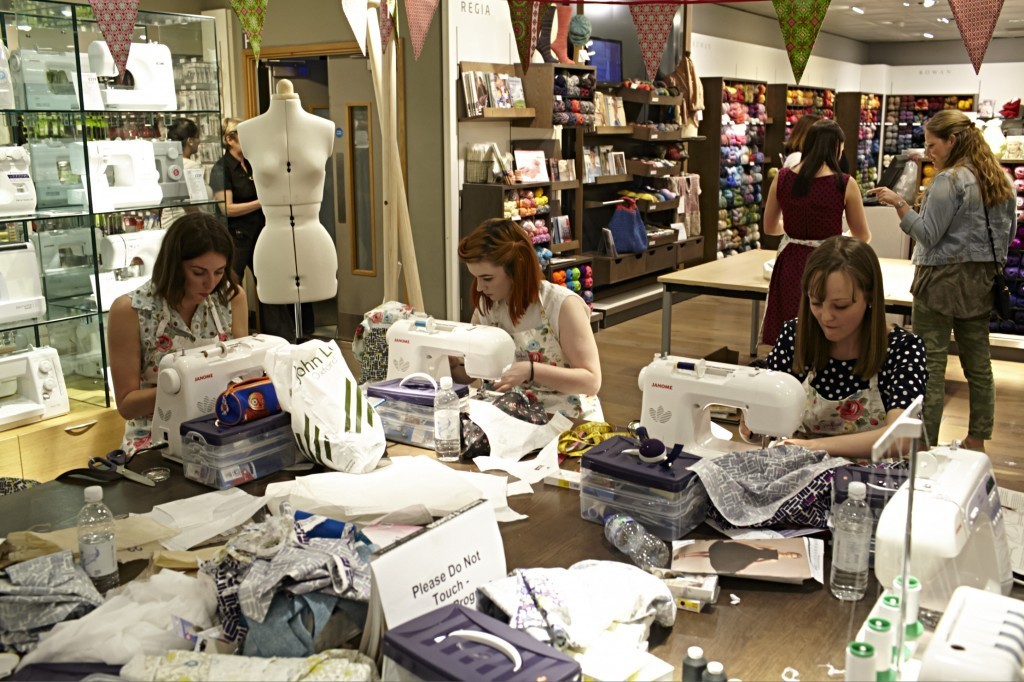 Sewing Bees are messy. Here’s the evidence.
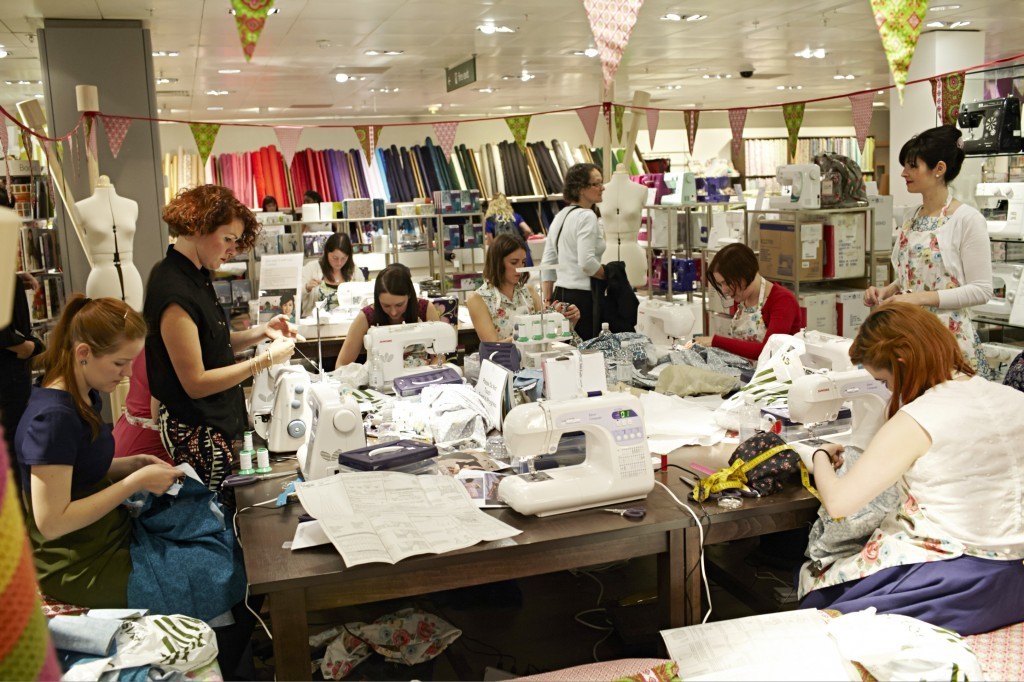
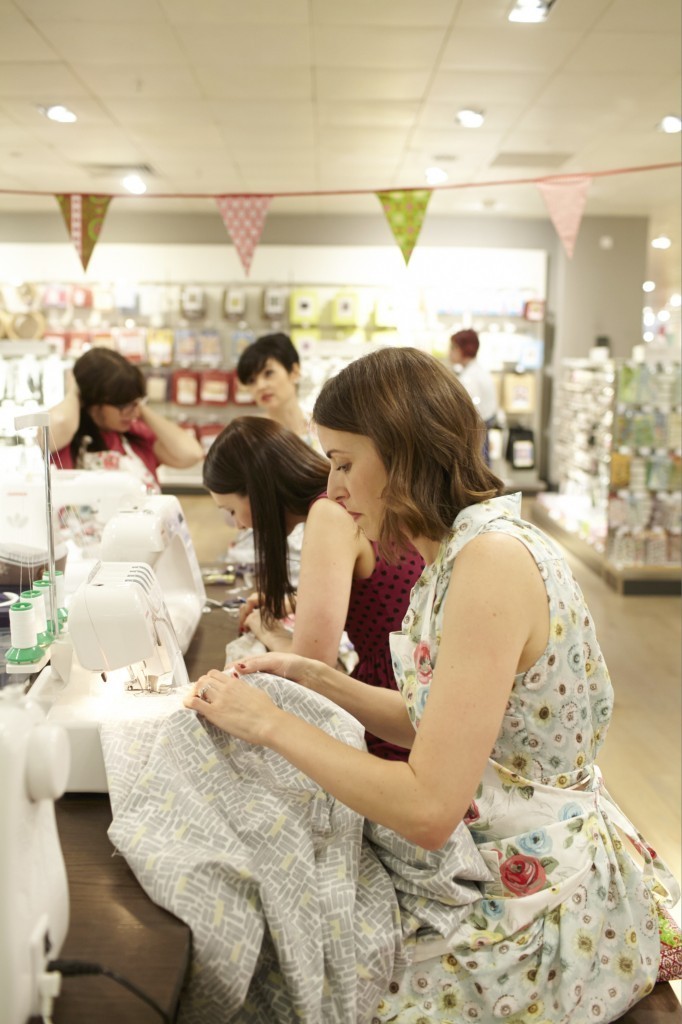
But what looks like chaos is actually just seven semi-organised seamstresses sharing a table.
 Fiona went for the purple/pink brick/’bacteria’ fabric.
 Roisin. Probably the fastest sewer in the world.
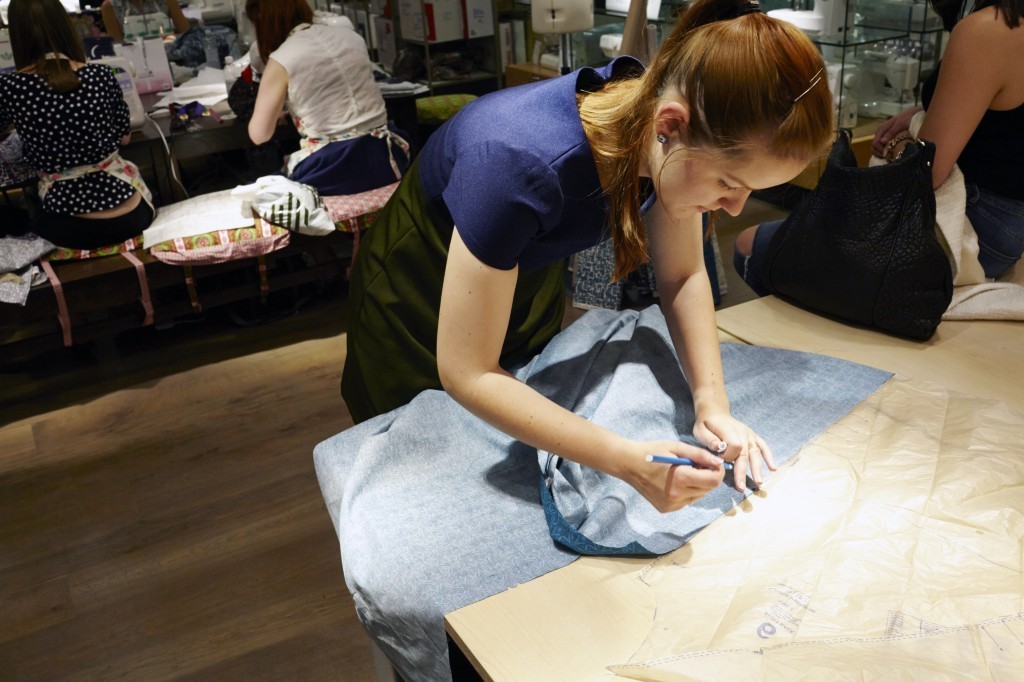
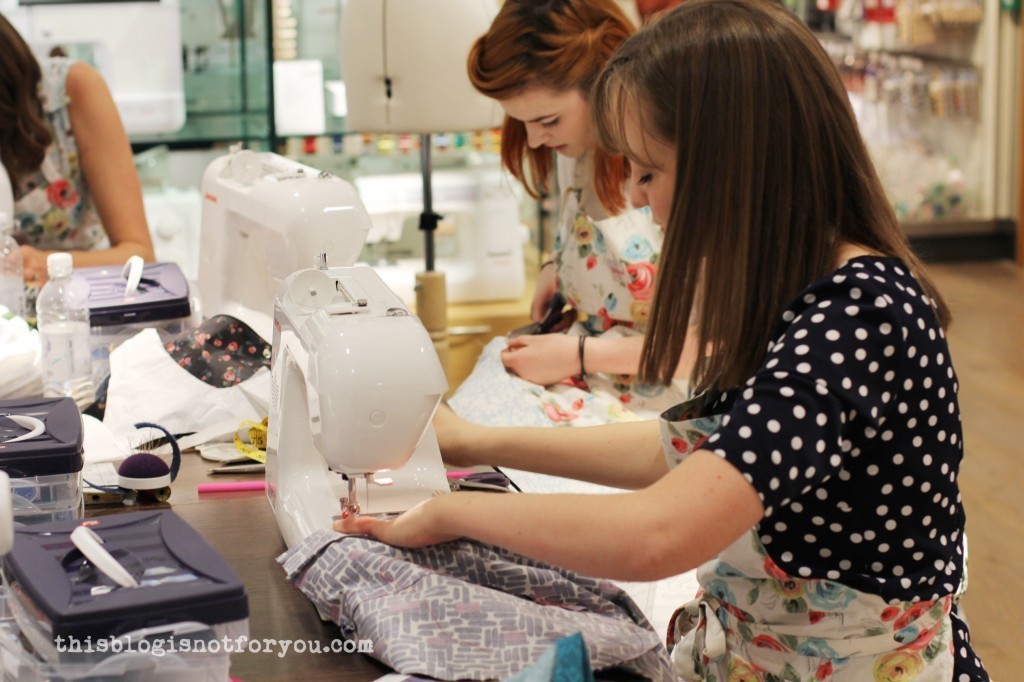
 Moi. Am I pinning without even looking? Hmm…
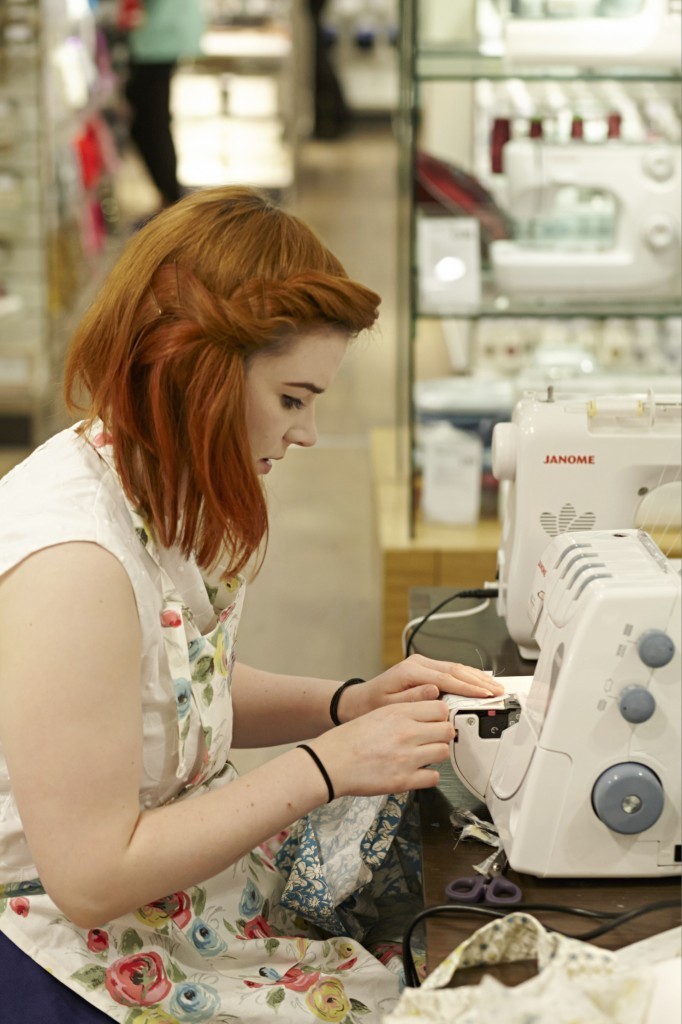
 Emmie decided to be dress twinsies with Lisa and made a Betty dress from a gorgeous flower print cotton.
 I don’t know how she did it, but Clare managed to baste all seams first, fitted the dress and still had an almost finished dress by the time we left. And I loved the McCalls dress she wore that day!
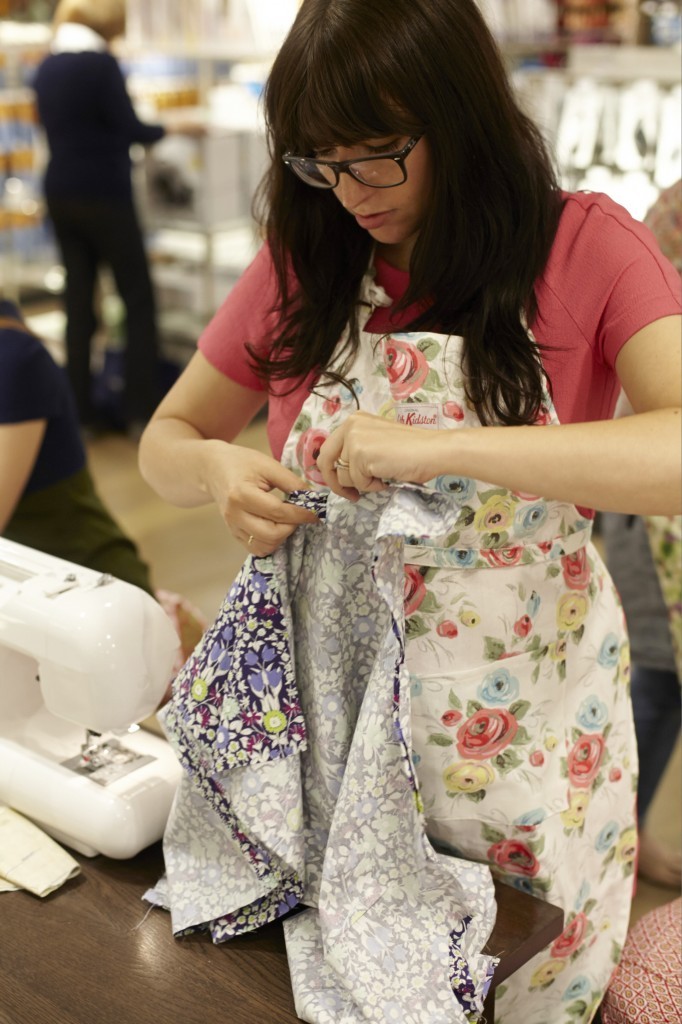
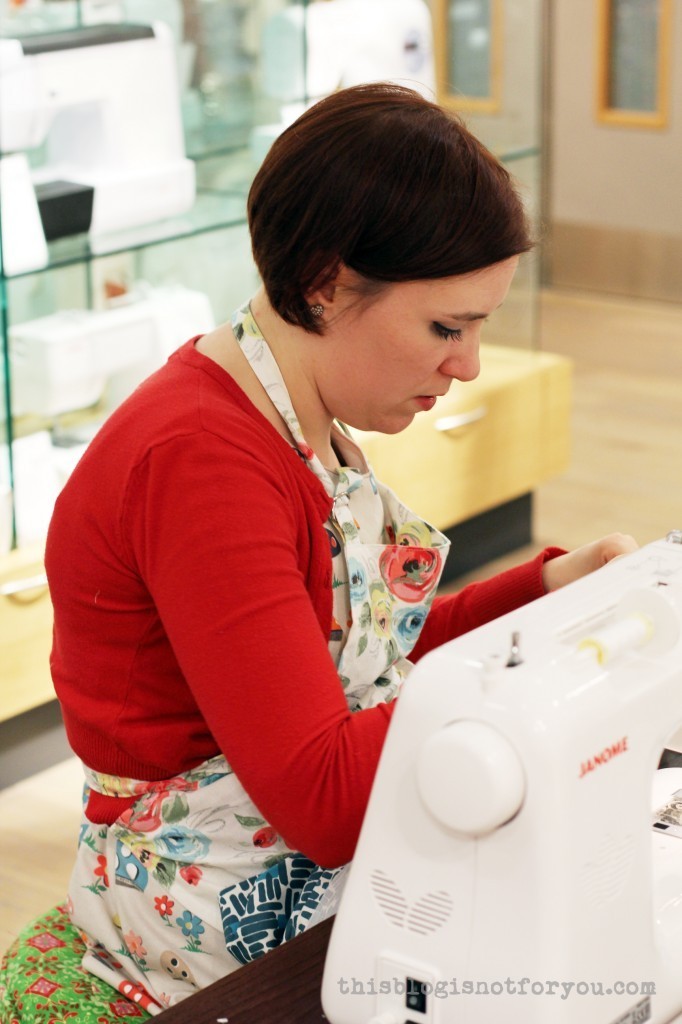
 This awesome lady, Elena, was just so much fun to have around. I’m loving the shift dress she made!
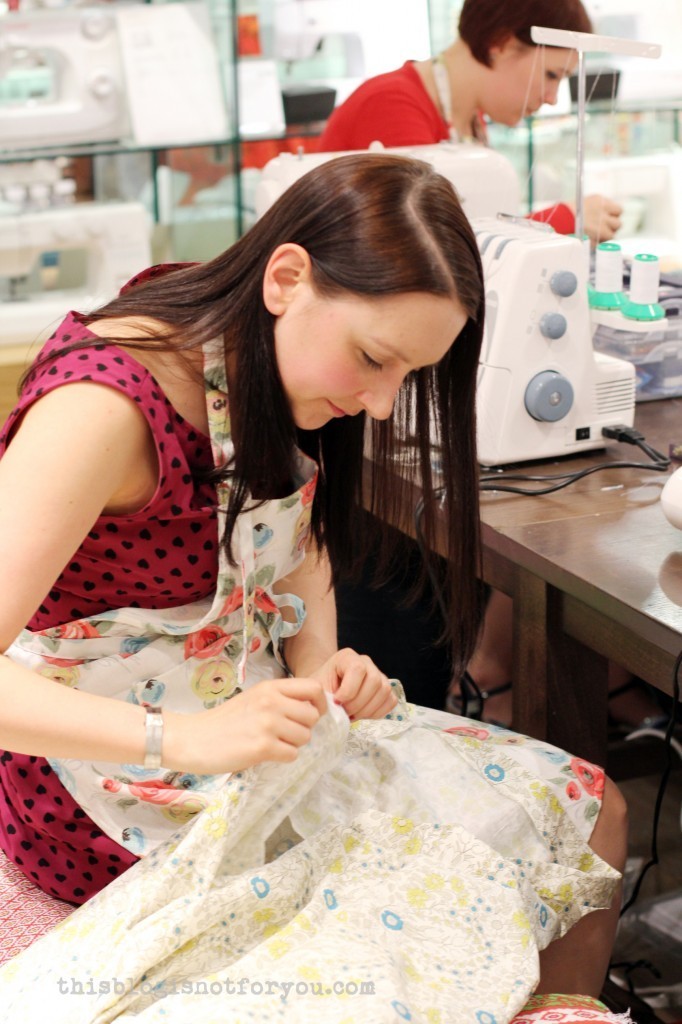
 Amy chose the same Vogue pattern, but a completely different fabric. I can’t wait to see her finished dress!
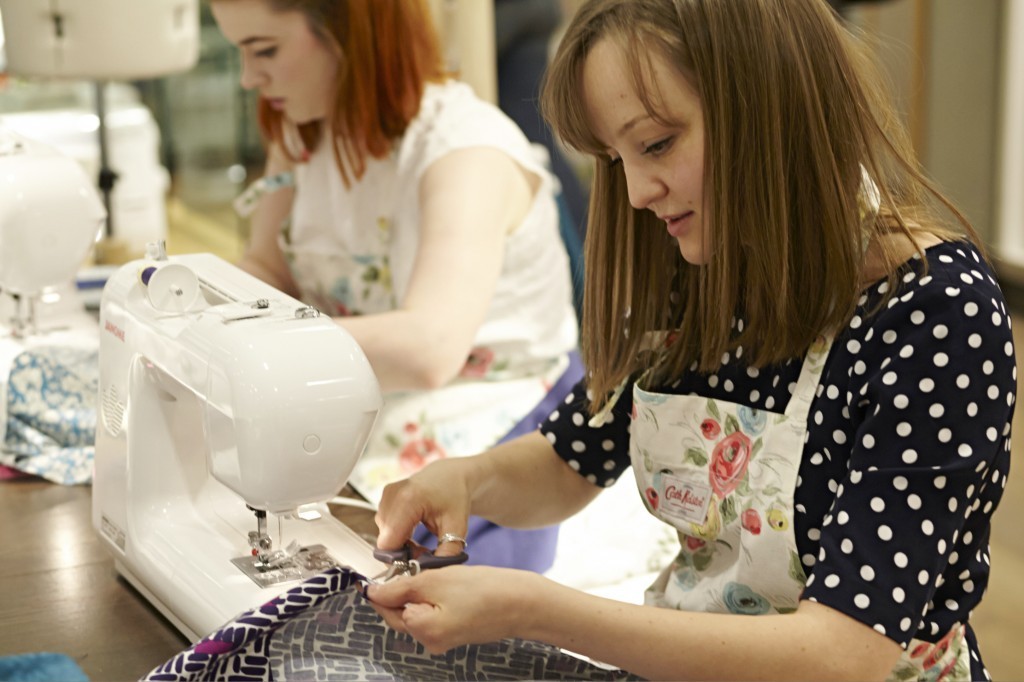
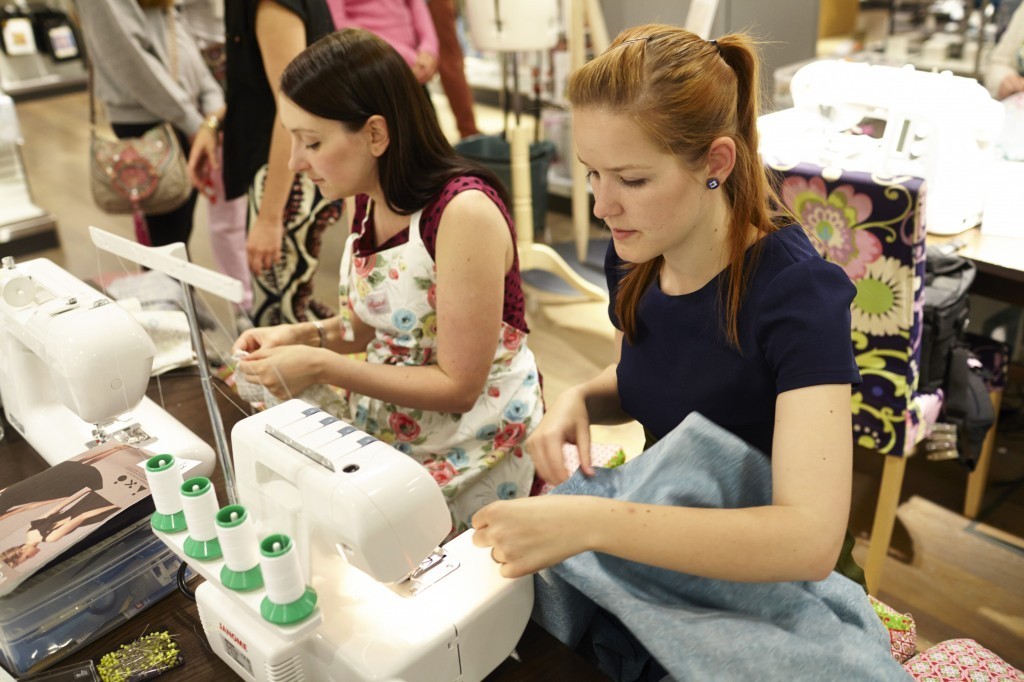 And yes! I was able to try out the Janome overlocker, which I probably fell in love with that day. I’m trying to convince the Mr to come with me on one of the next weekends and pay it a visit (and carry it home!).

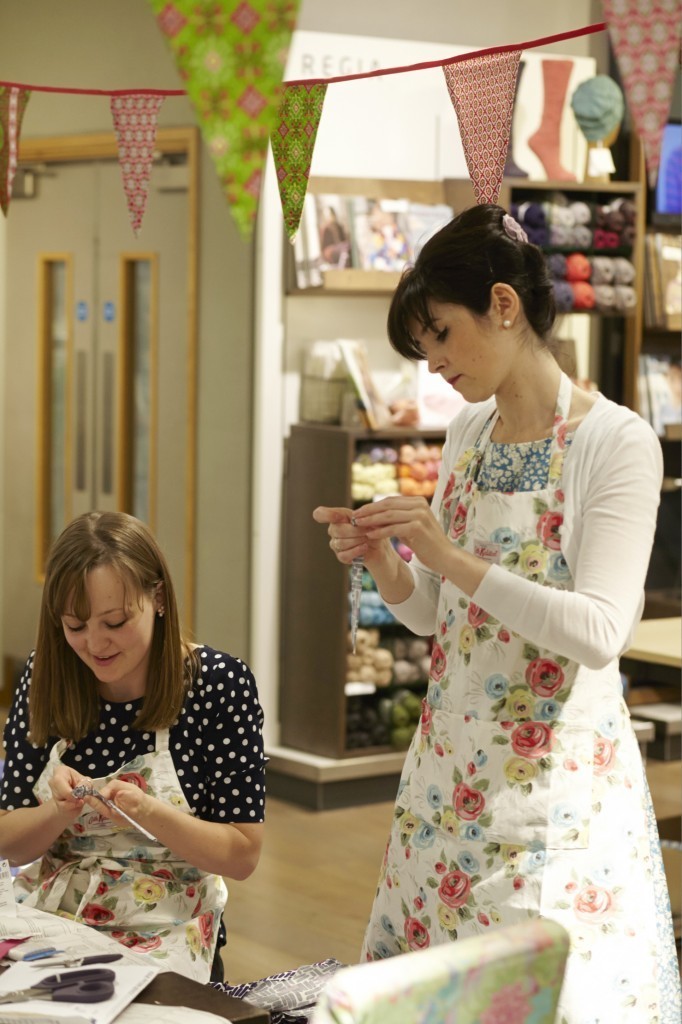 Amazing Lisa was such a great help that day and was so kind to be our fitting buddy. If this woman approaches you armed with scissors or a seamripper, let her. She knows what she’s doing!
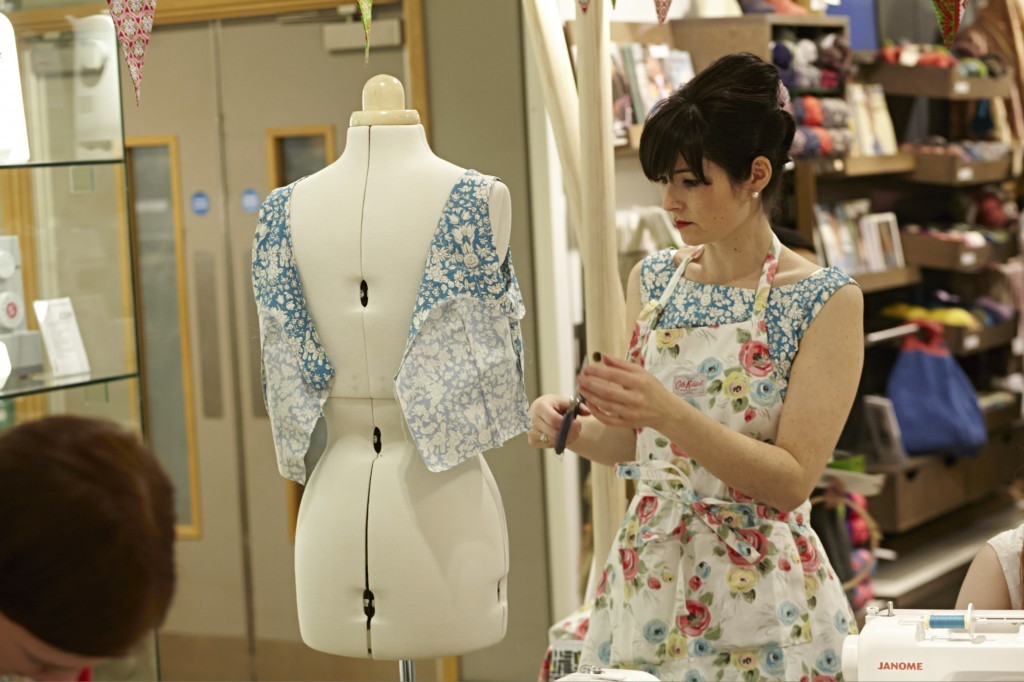
 Freya helped us out cutting fabric, interfacing and pressing while we were still sewing. Thank you, Freya!!
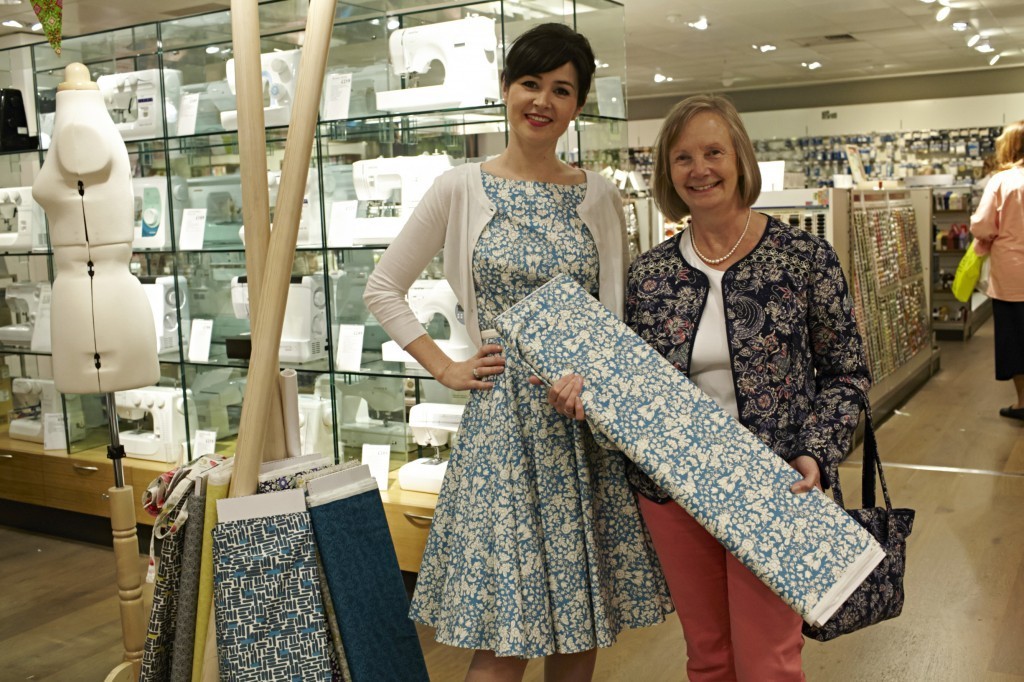
 Freya and Lisa with the awesome JL team!
 Guess who was the only one with a dress on the dressform when the photographer came to take pictures? Yep. In Dolly-Clackett manner Roisin whipped up this dress in no time. Pretty impressive, me thinks. Never take part in the GBSB, should this lady be one of the contestants. You will hear her pull up the zip when you’re still cutting out fabric.
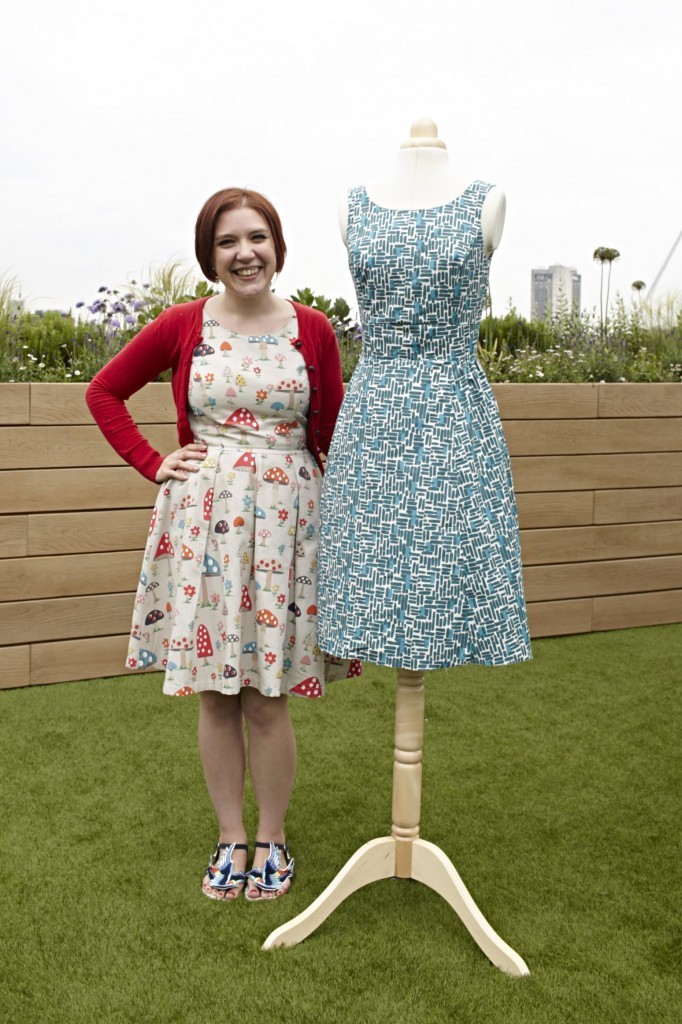
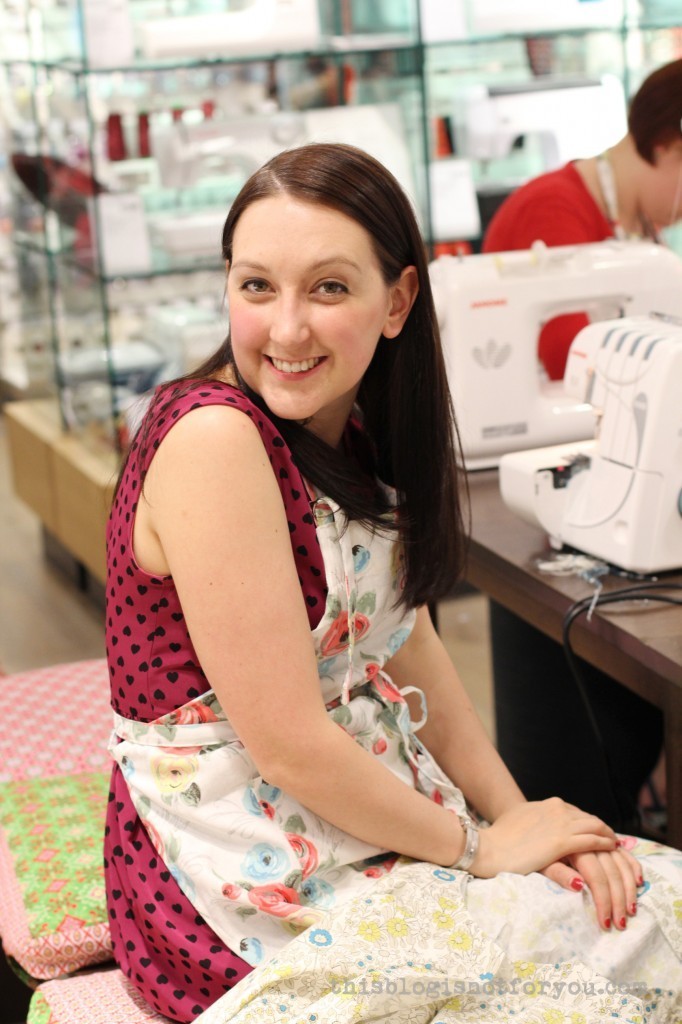
 We all loved our fabulous pinneys!
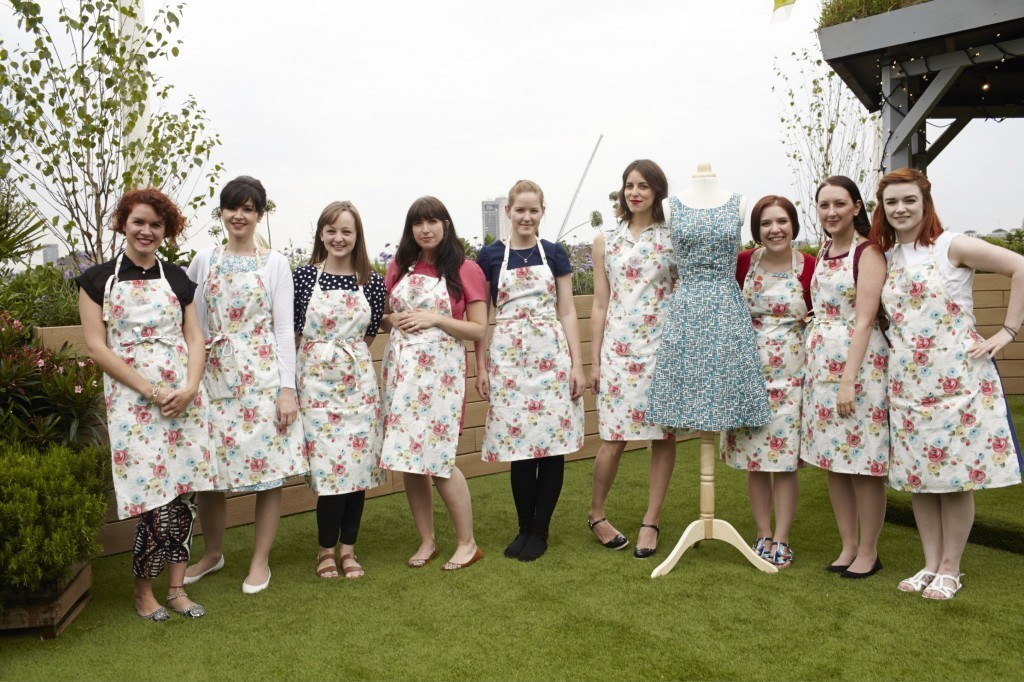
 We took the group photo on the new rooftop garden. It was pretty amazing up there. They even have a juice bar there!
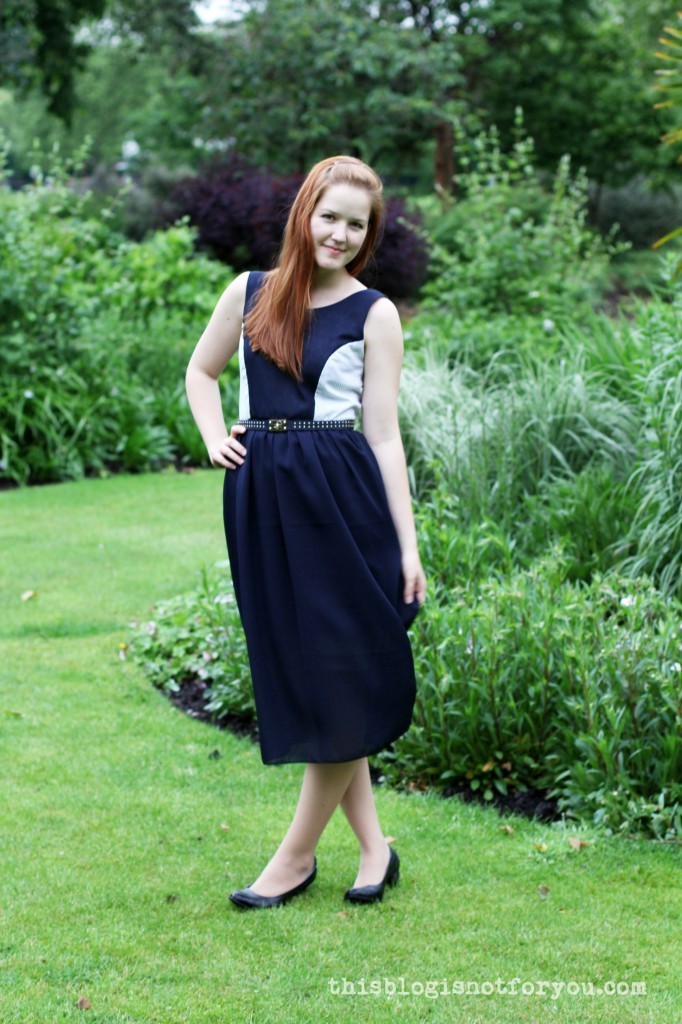
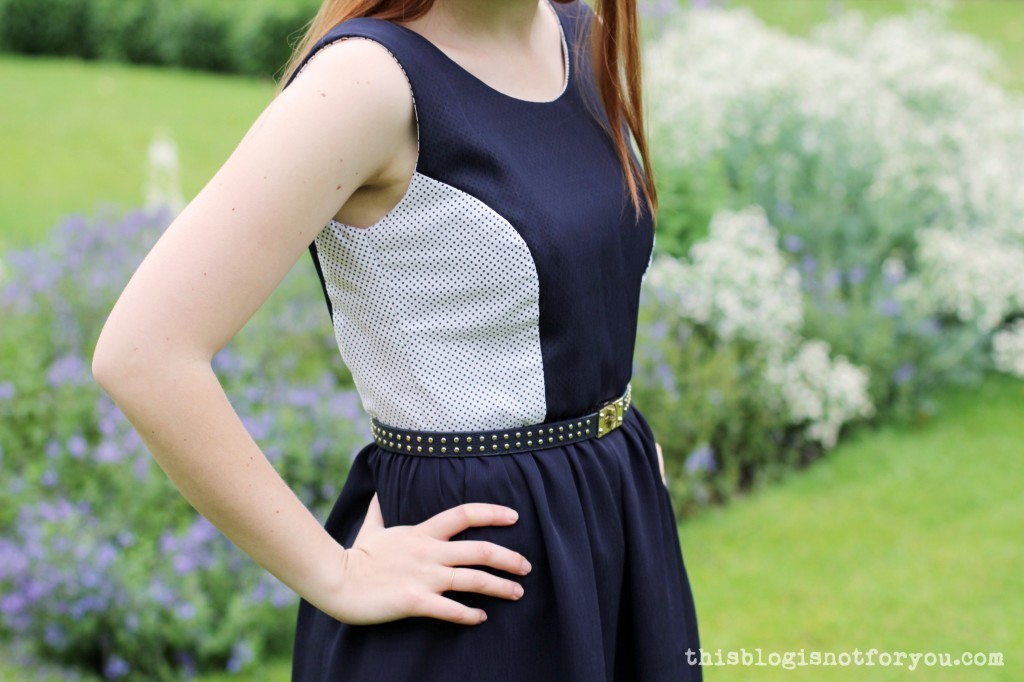
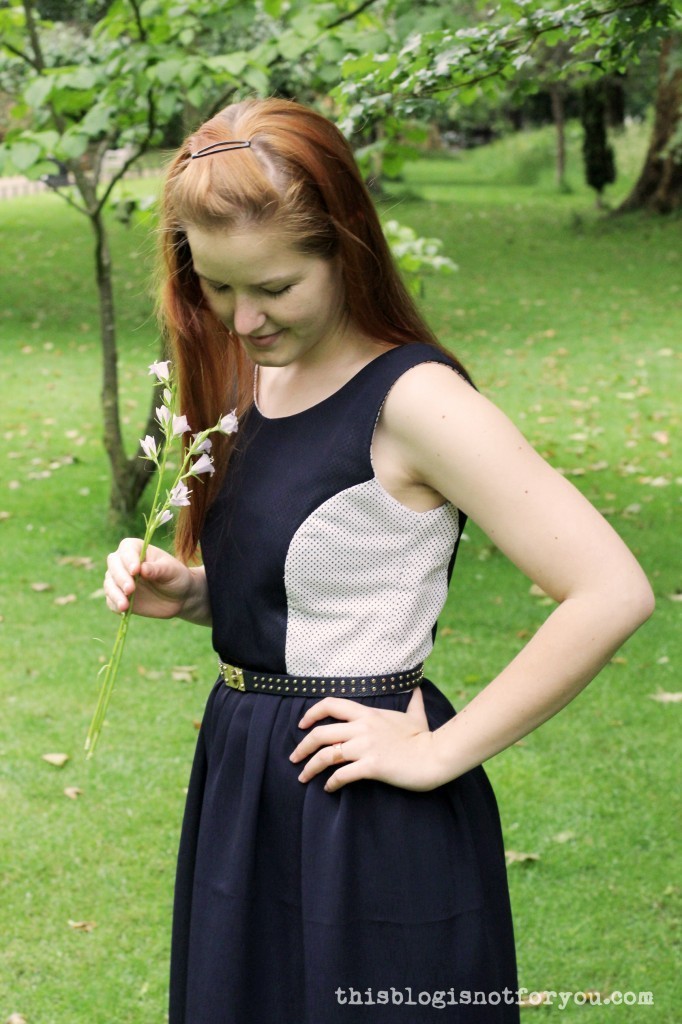
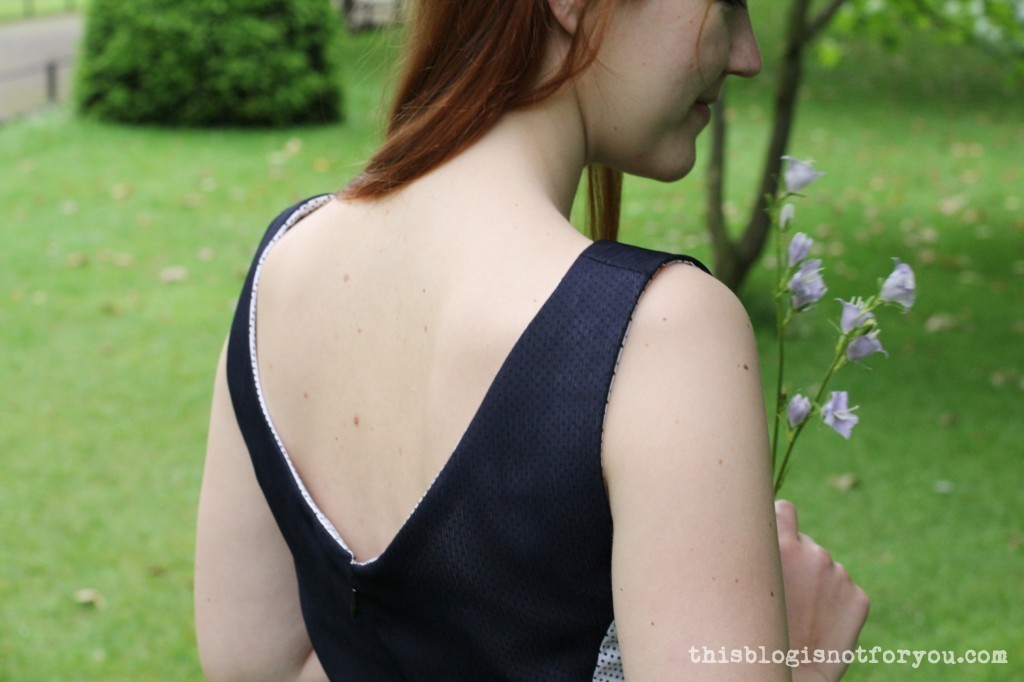
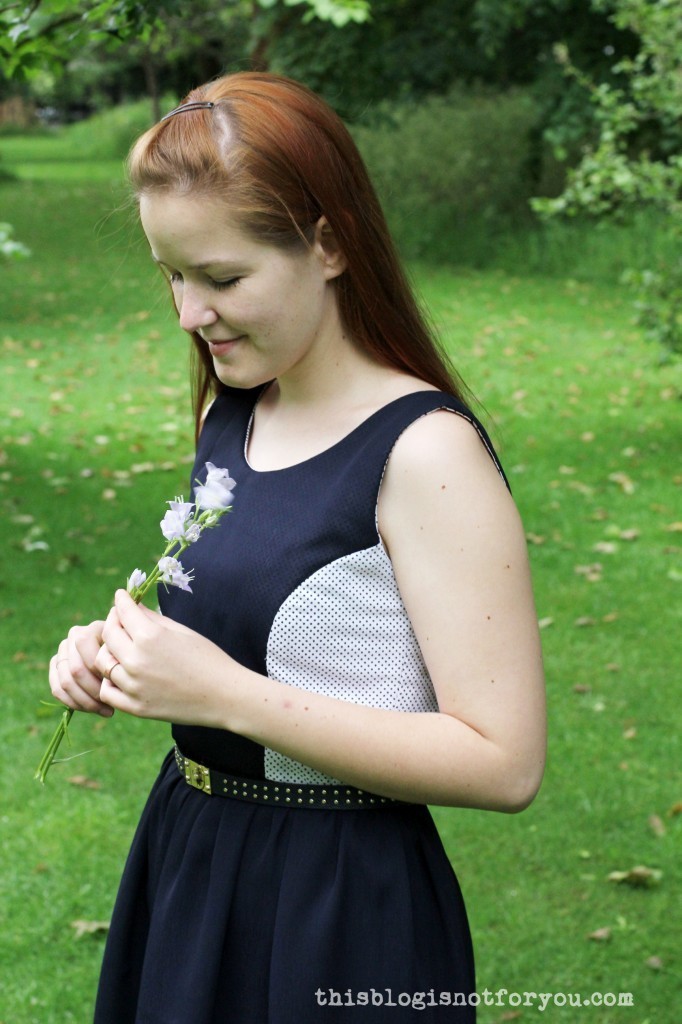
And I was wearing my brandnew colour-blocked Megan dress, which I finished the morning of the sewing bee. Five minutes before I left I was still sewing in the zip, with the dress half on. Phew!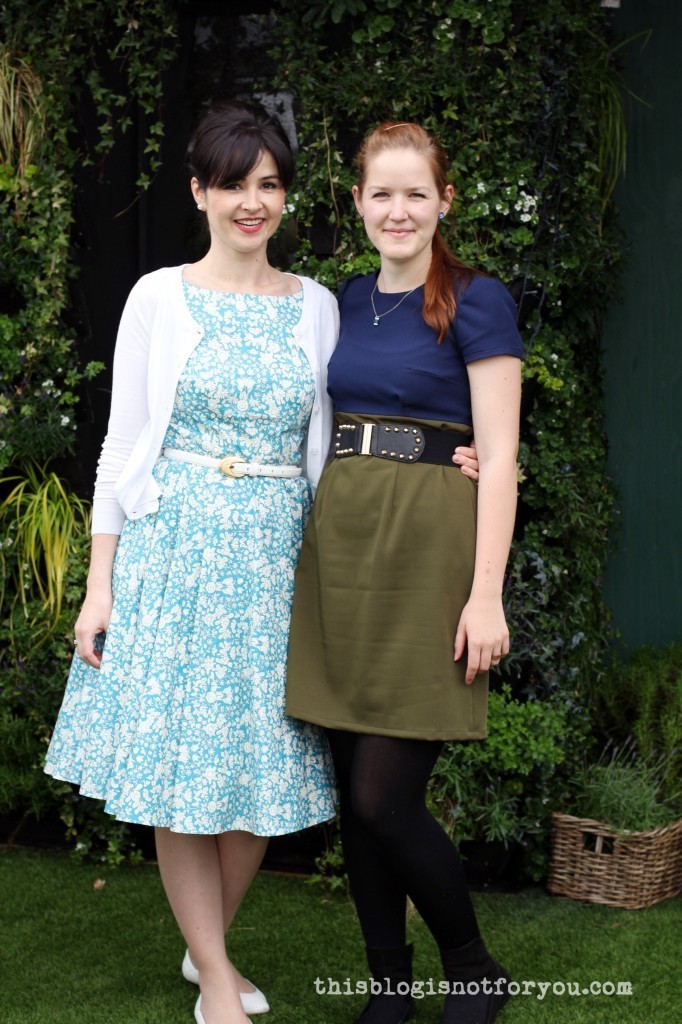 John Lewis provided a pretty freaking fantastic sewing box for everyone of us for the sewing bee. And the best part? We got to take it home!
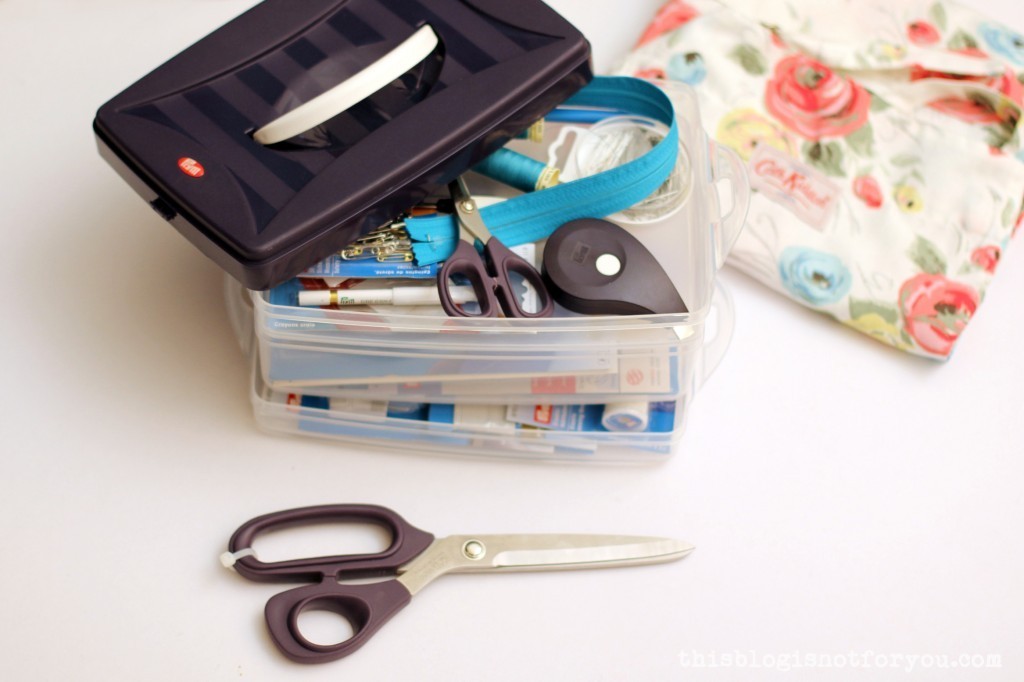 Loads (!!) of goodies in there (sorry, I had to show it off):
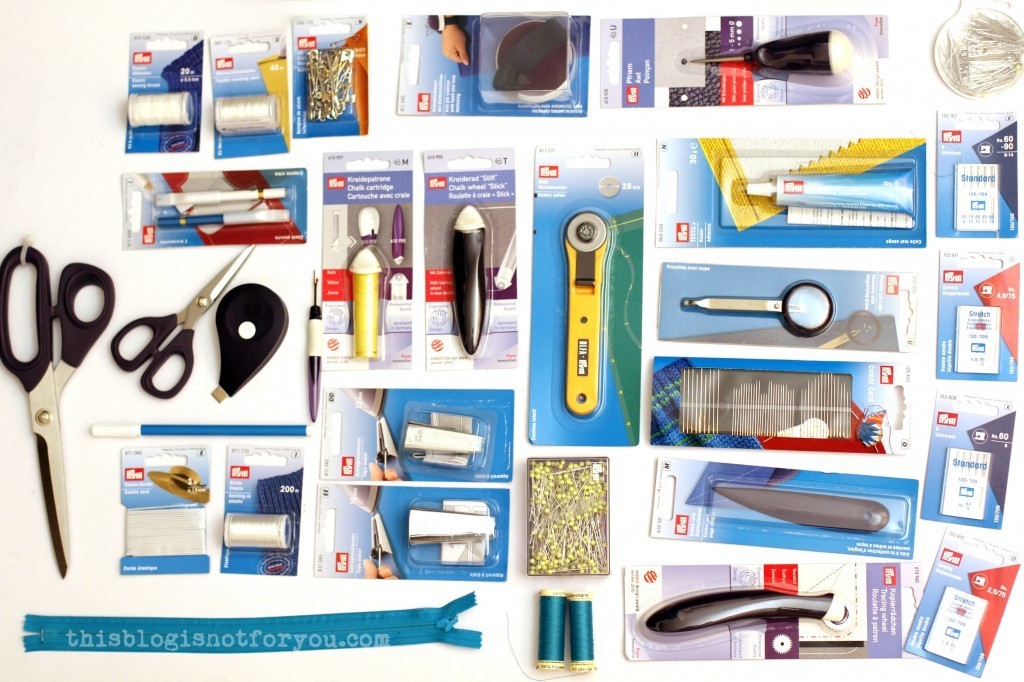 I guarded it like a treasure chest on the train home.
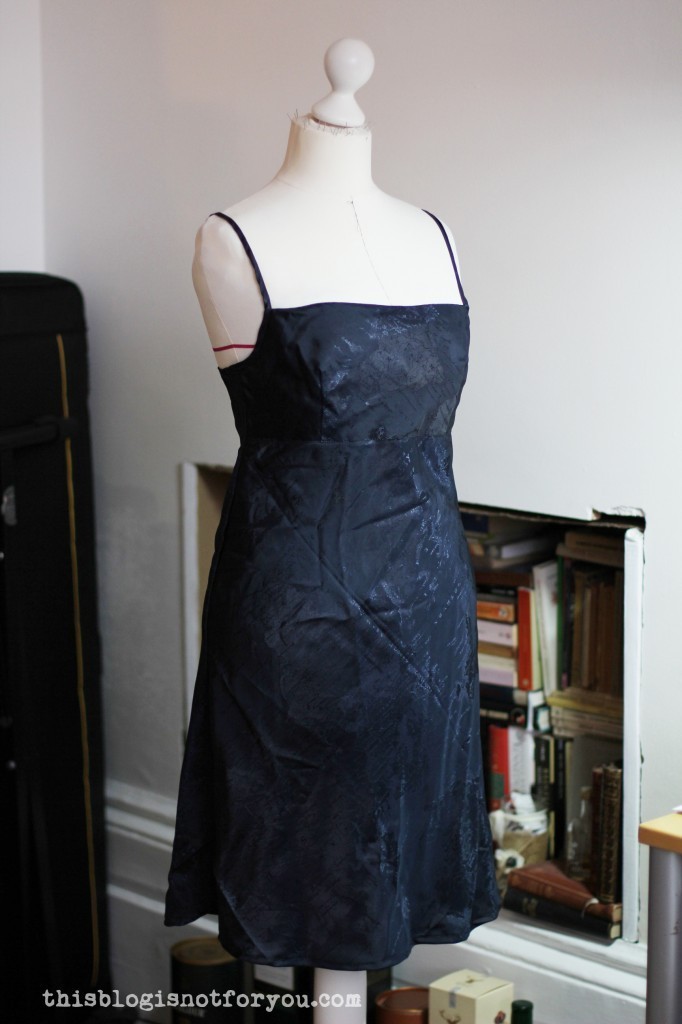
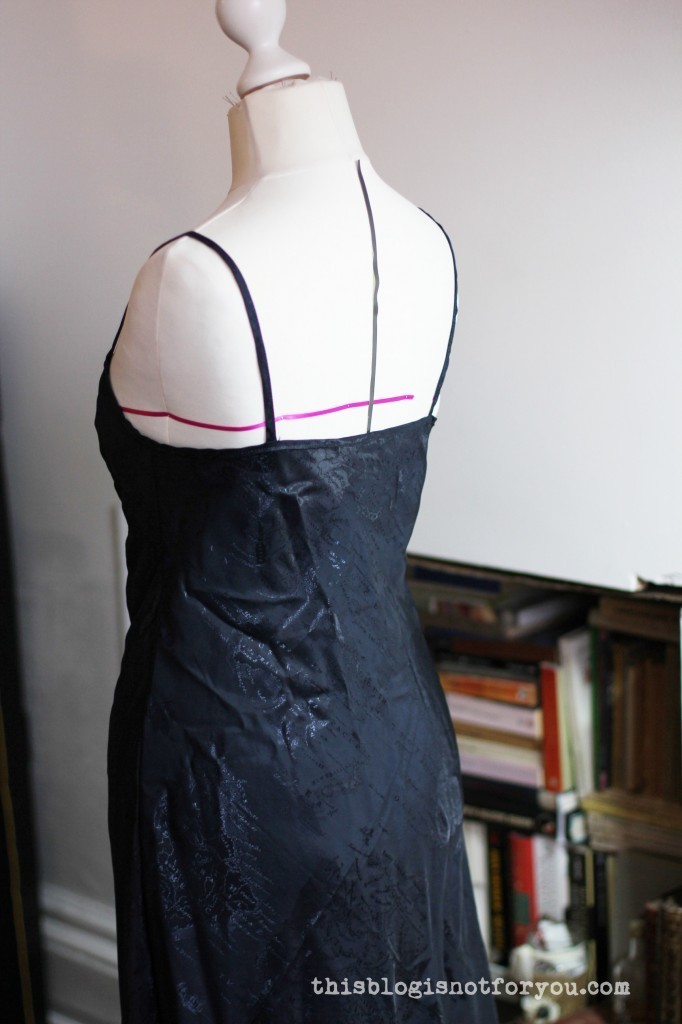
Now you’re asking, where’s the dress you were talking about? Wasn’t that the main reason you were there?
Well, you’re right. I didn’t manage to finish the dress on Saturday. We had the most amazing time and there was a lot of chatting away that day! This probably slowed me down quite a bit and honestly, cutting out, fitting and sewing a dress in just a few hours is pretty ambitious. I can’t imagine how they do this on the GBSB. It’s impossible!
Anyway, I finished the dress at home and will hopefully be able to bribe the Mr into taking some pictures this week. I can’t wait to show you this dress!
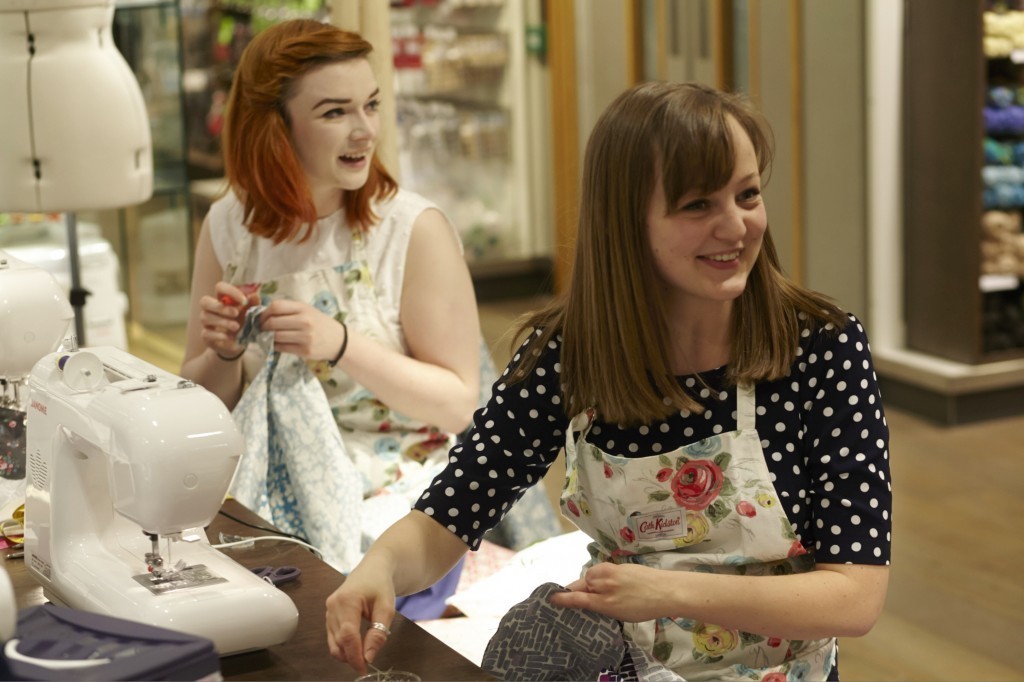
 Such happy faces after a whole day of sewing like mad. Sewing really must be good for you!
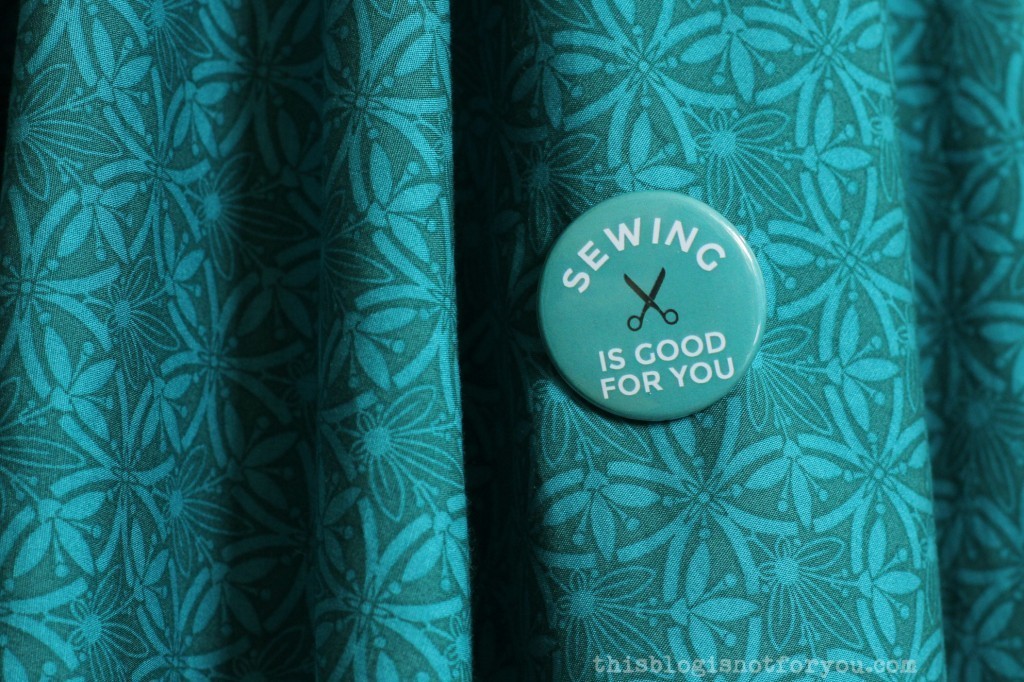
Happy sewing!
♥
facebook/bloglovin/pinterest
twitter/instagram
Stay in touch!
 Making the cape?
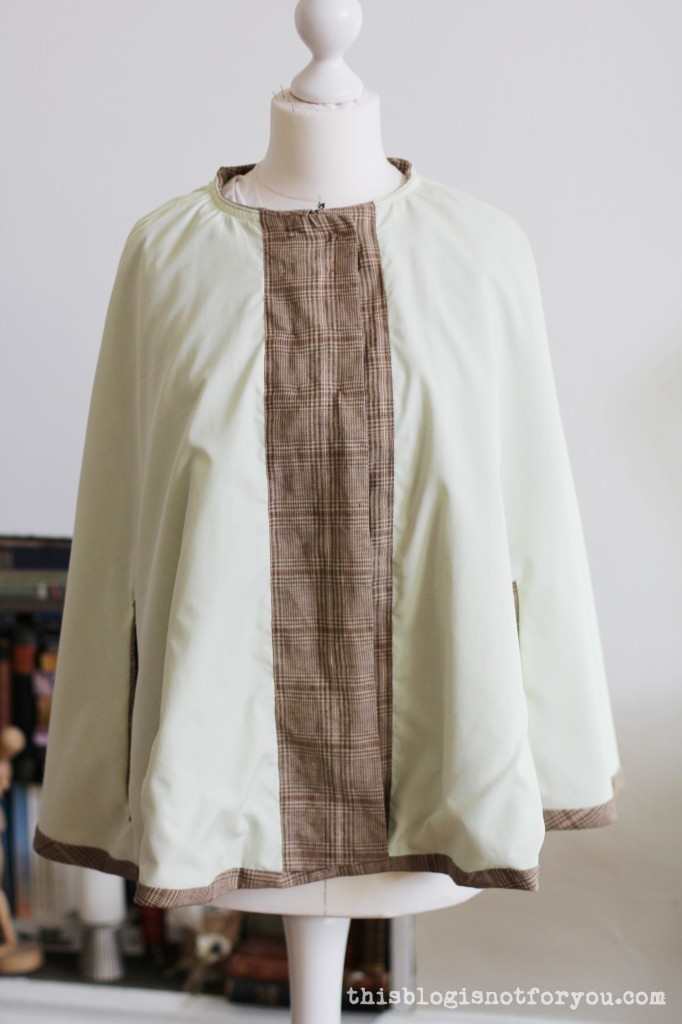

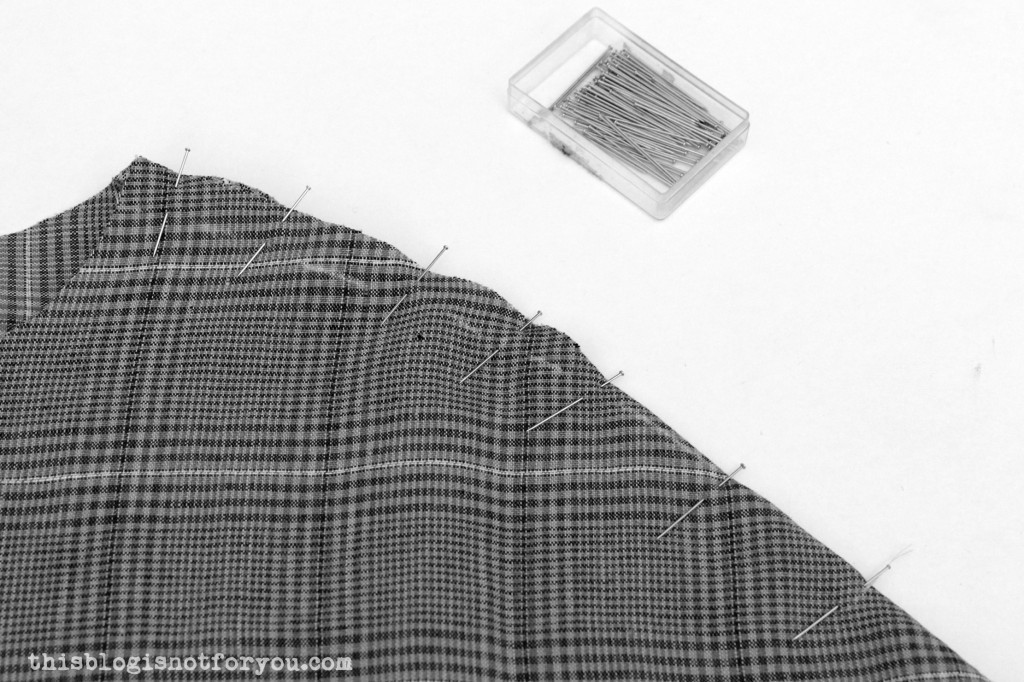
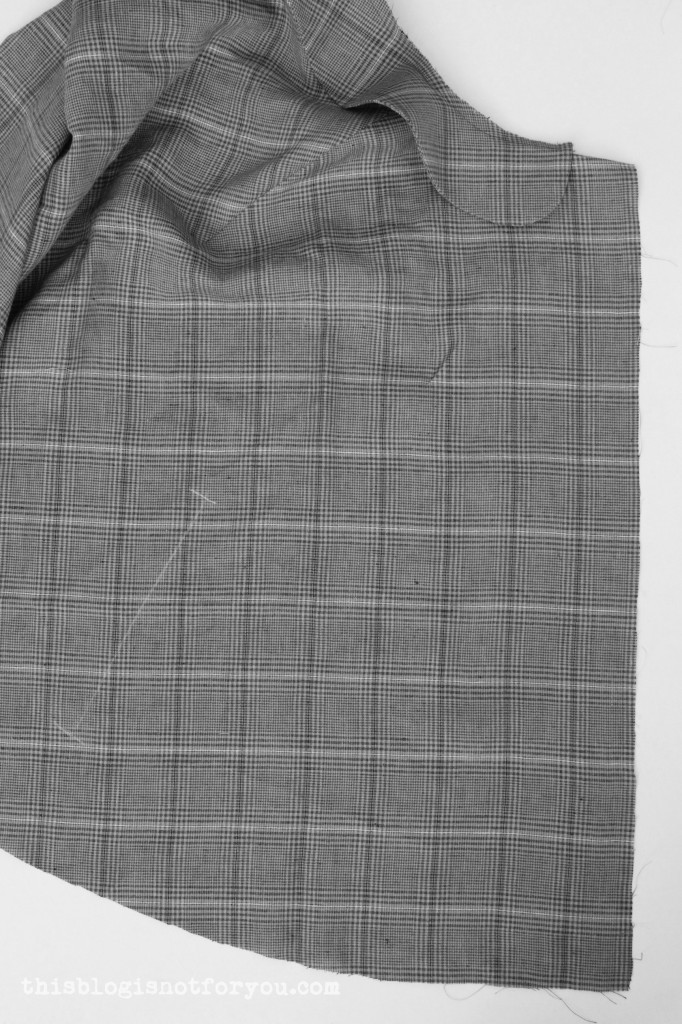
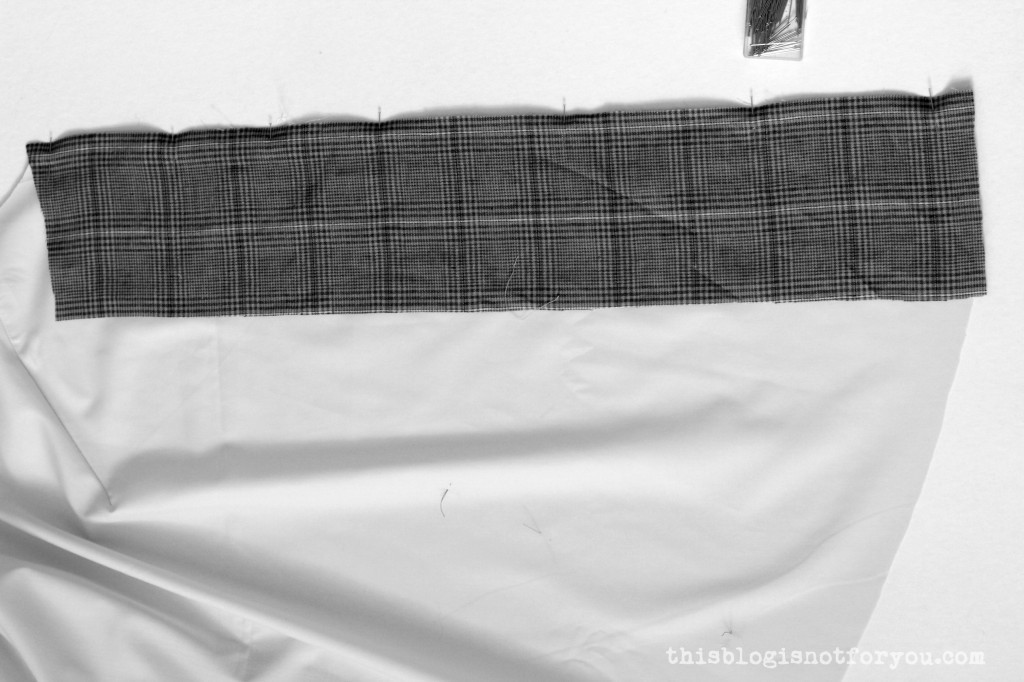
 1. Before you cut into your lovely fabric, have a think about pattern matching, if your fabric has some sort of a print. The centre front will be parallel to the grainline, the centre back will be perpendicular to the centre front.
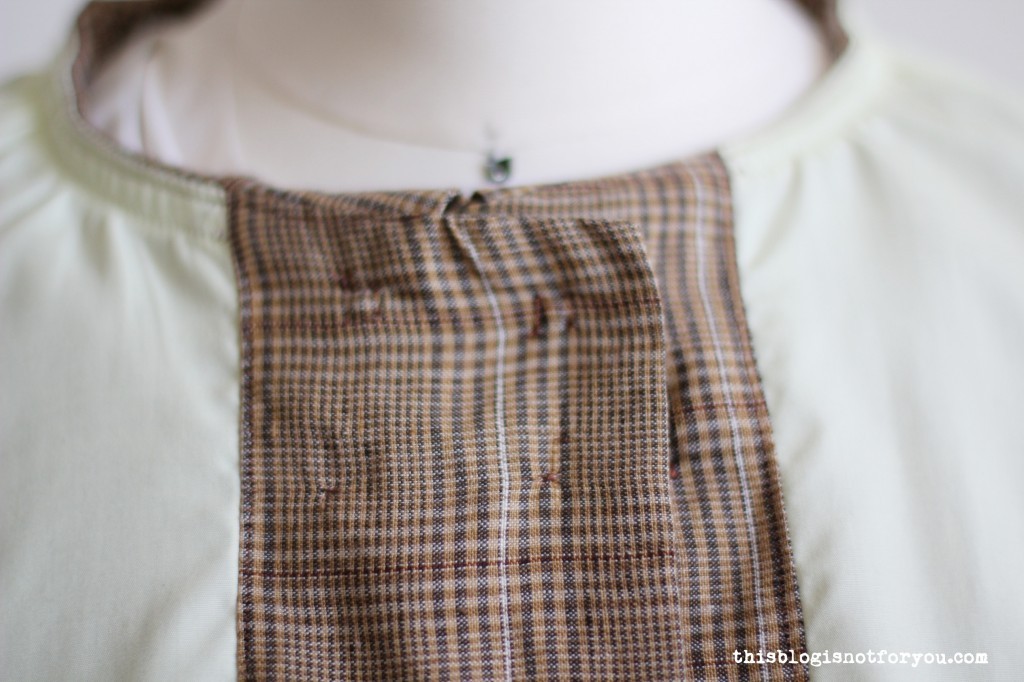
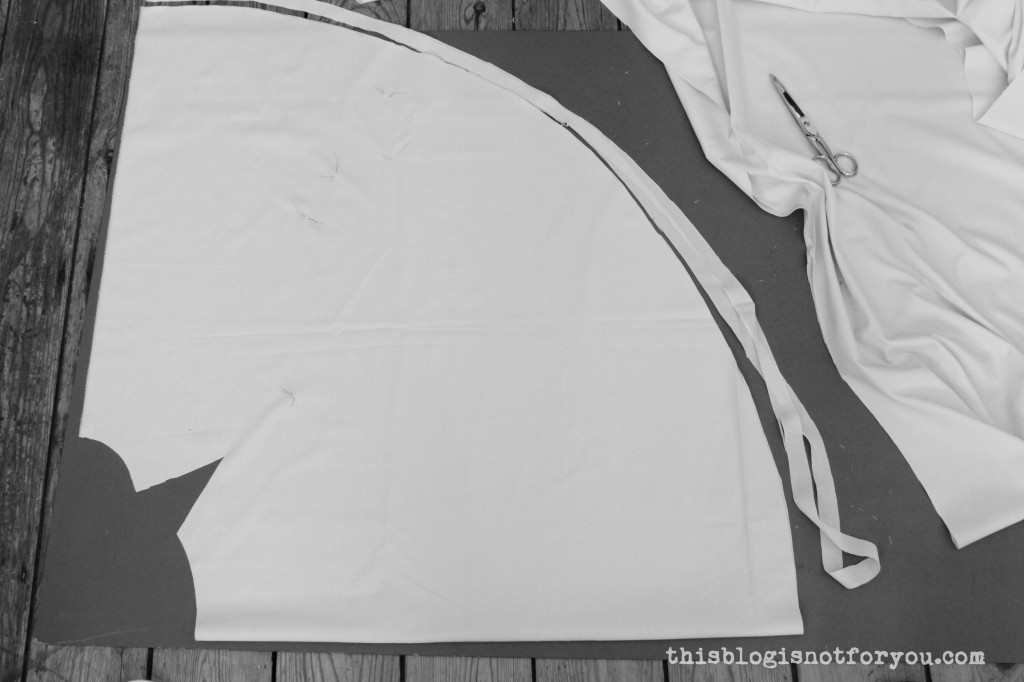
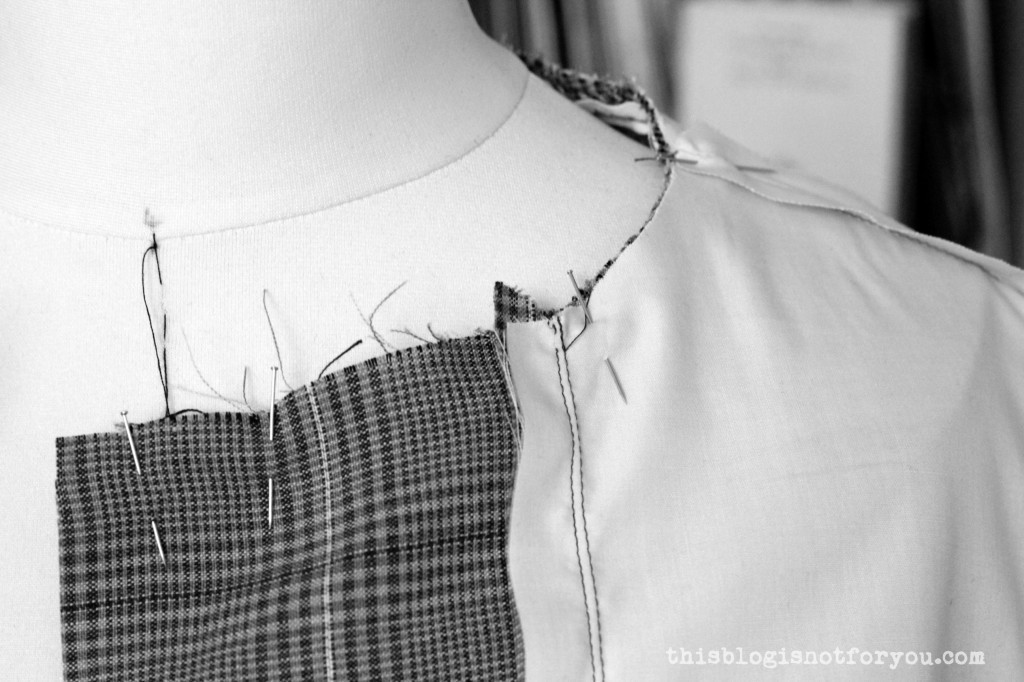
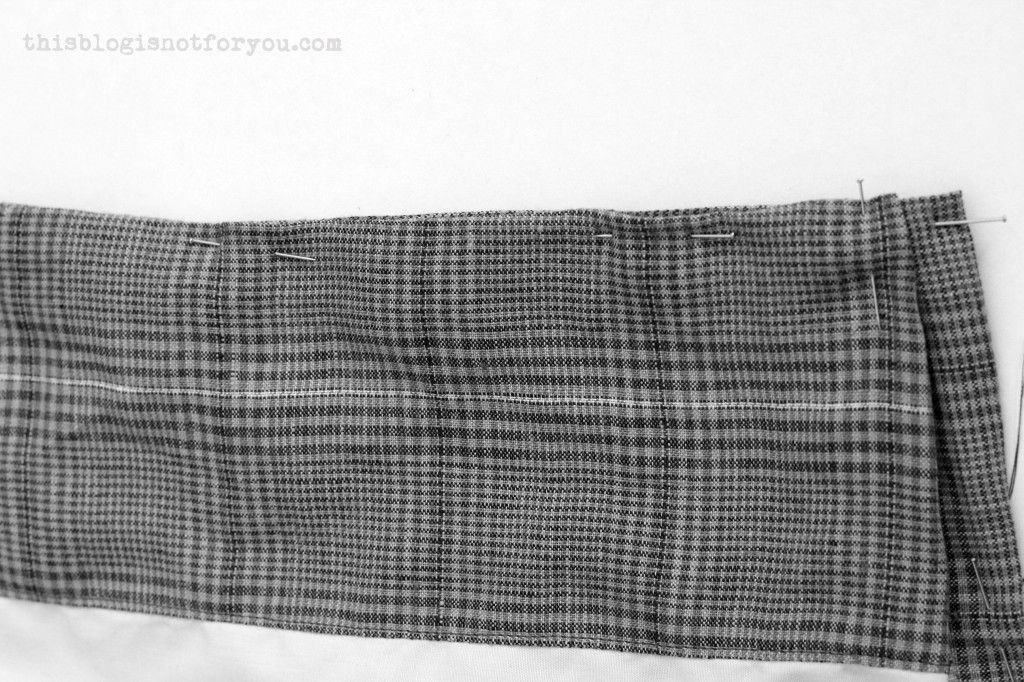
 3. The first thing we will do is sew the shoulder seams. Pin the shoulder seams (right sides together) and stitch on the marked seamline (1.5cm seam allowance).
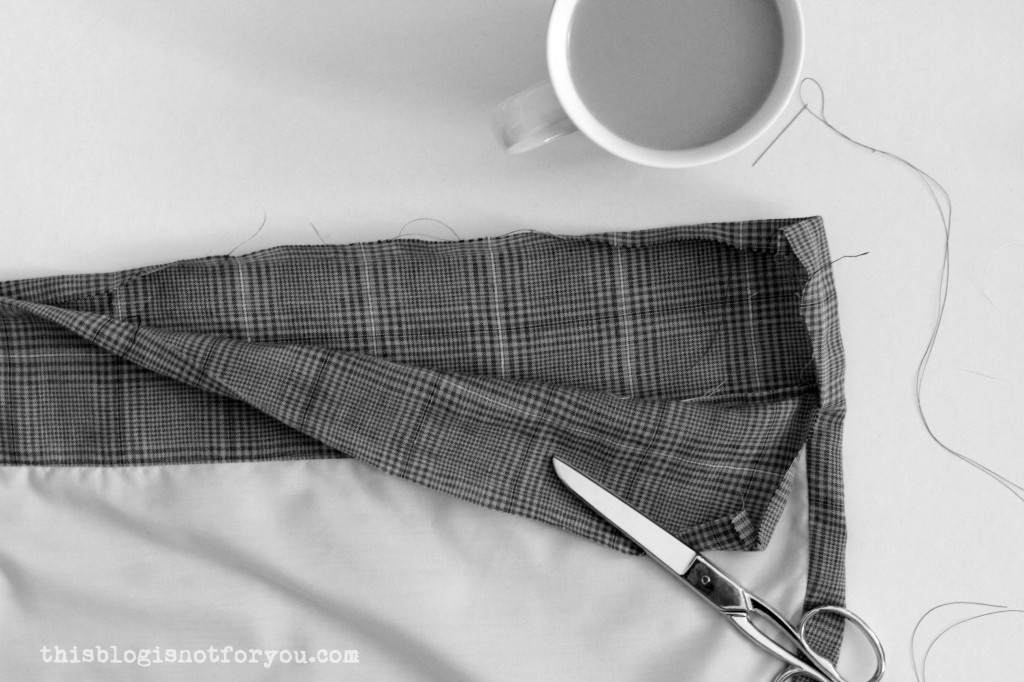
 4. Press seam open like so:
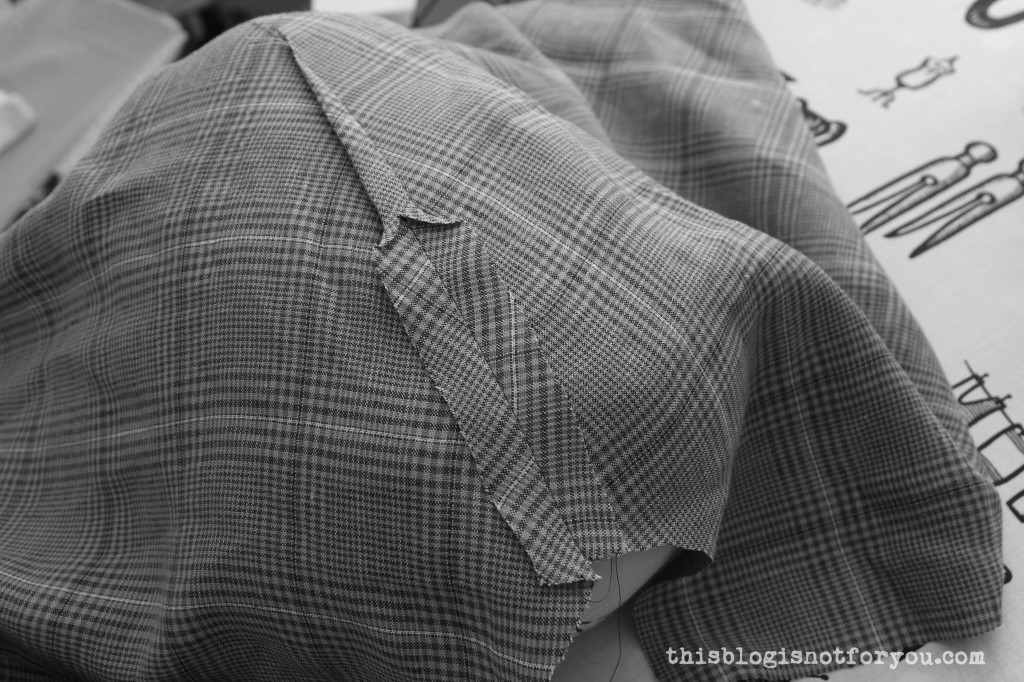
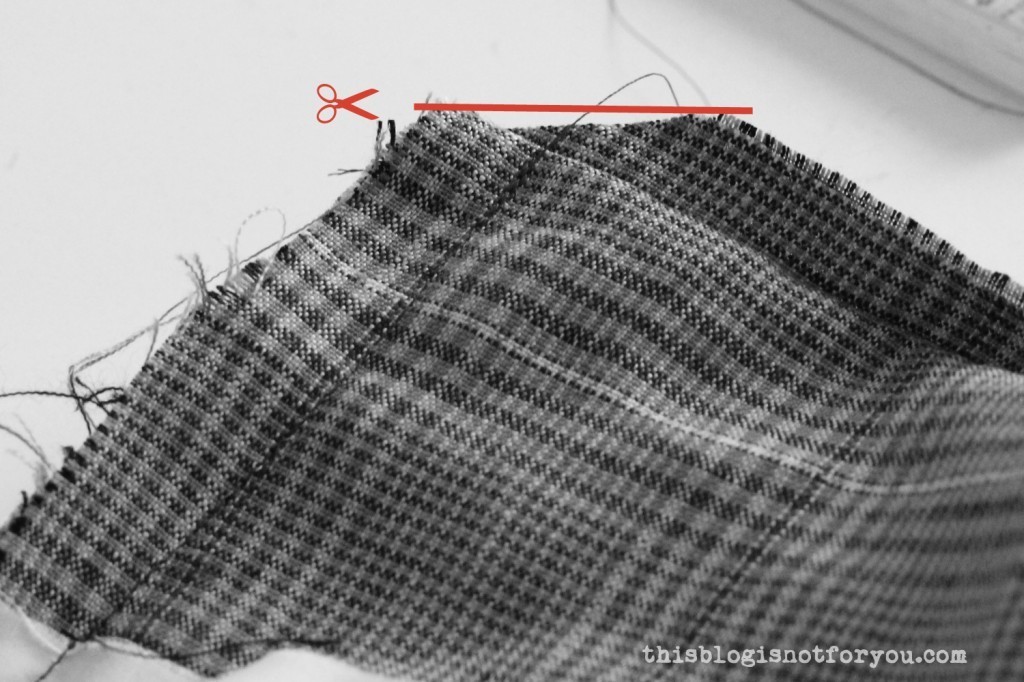
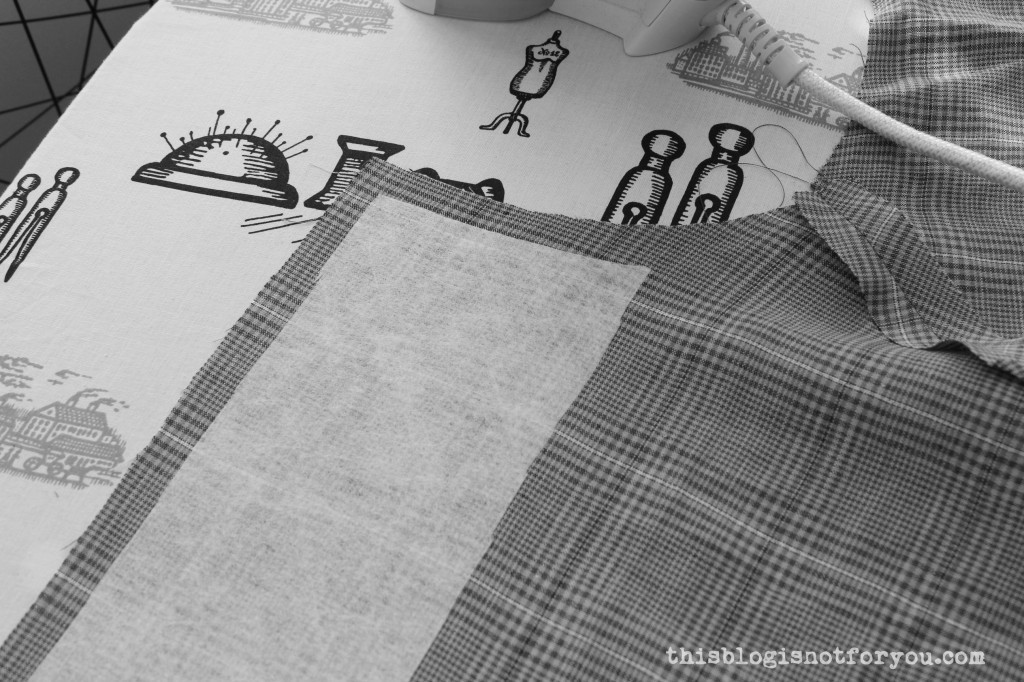 6. This next step is completely optional.
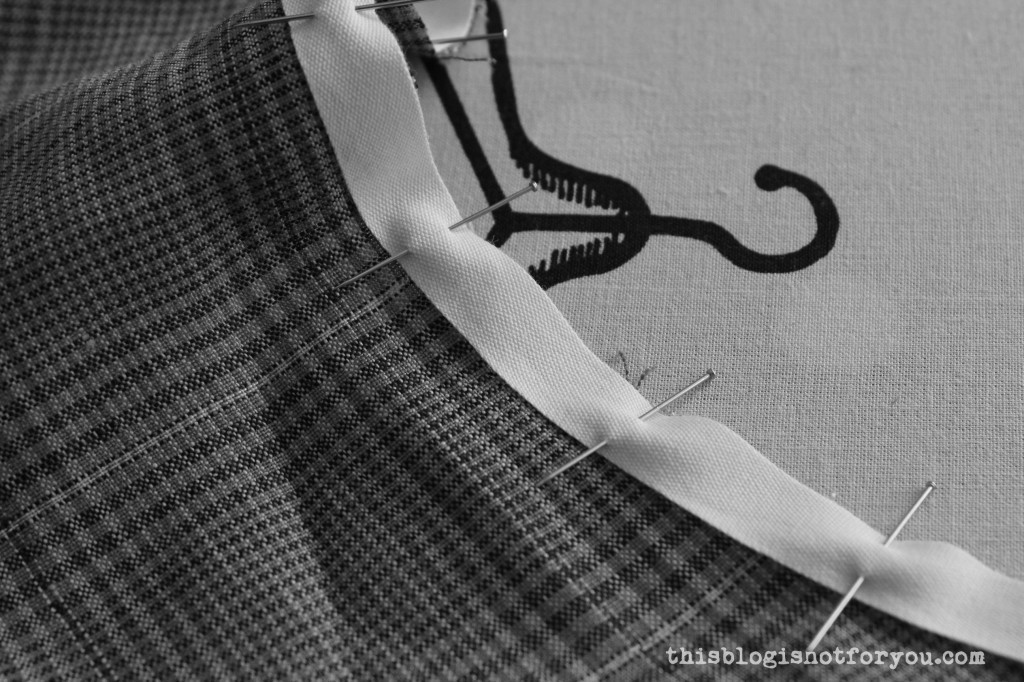


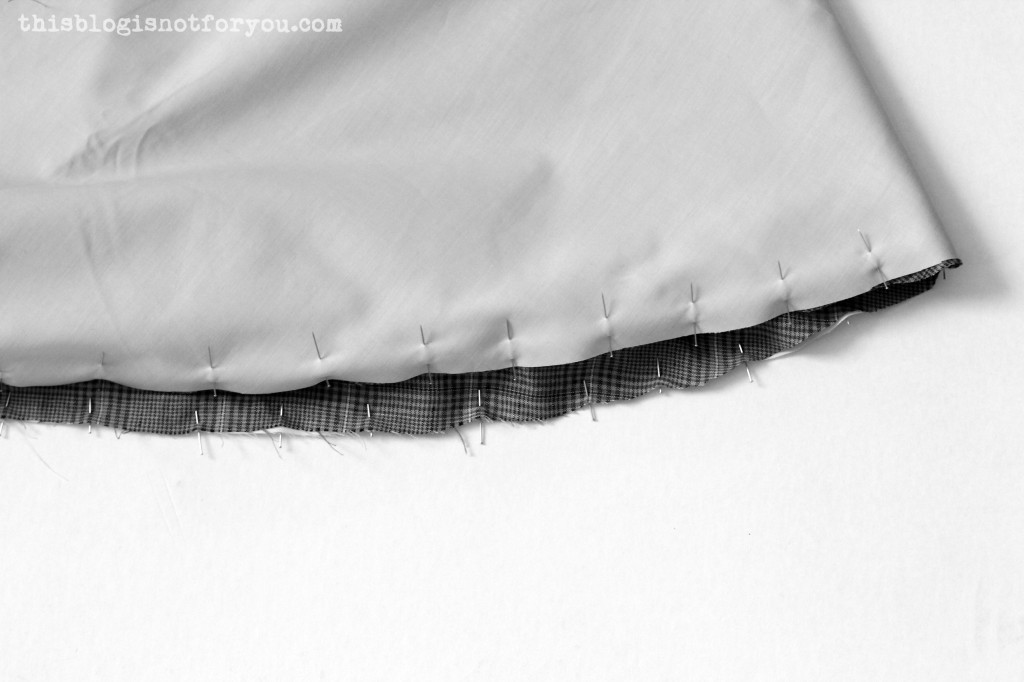
 We want the lining to be a tiny bit shorter than the cape, so it doesn’t peek out at the hem later. We will be bagging the lining.
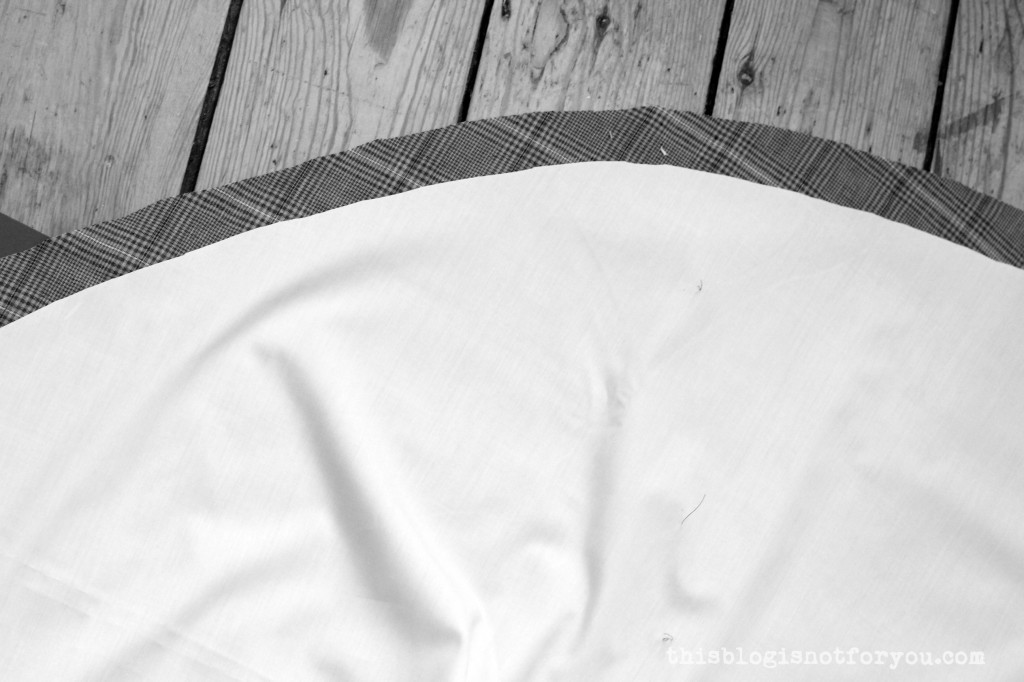
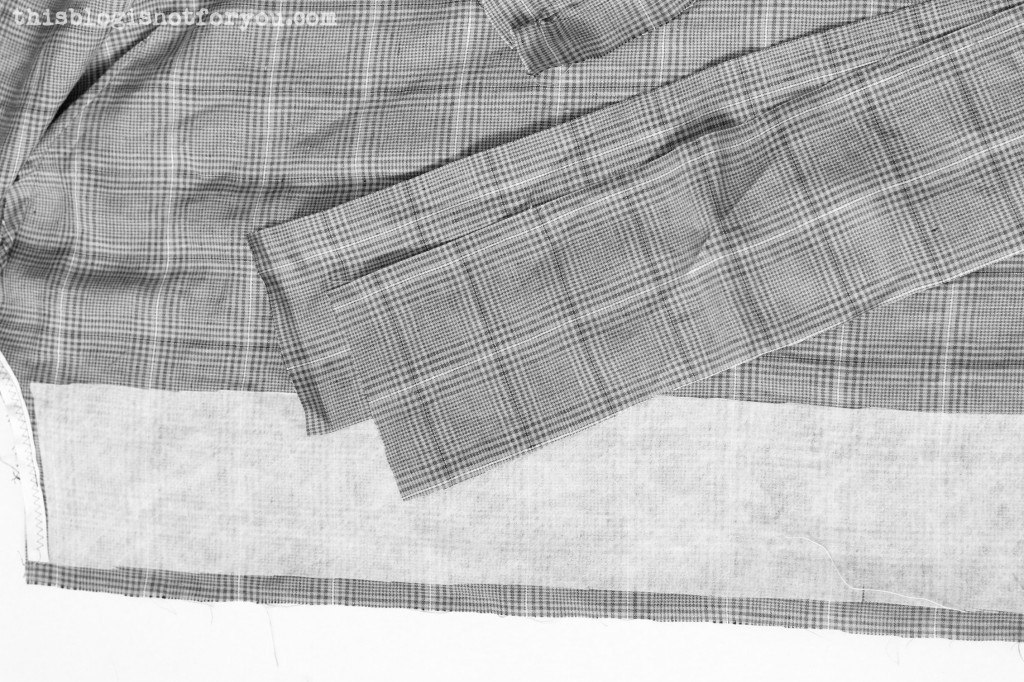
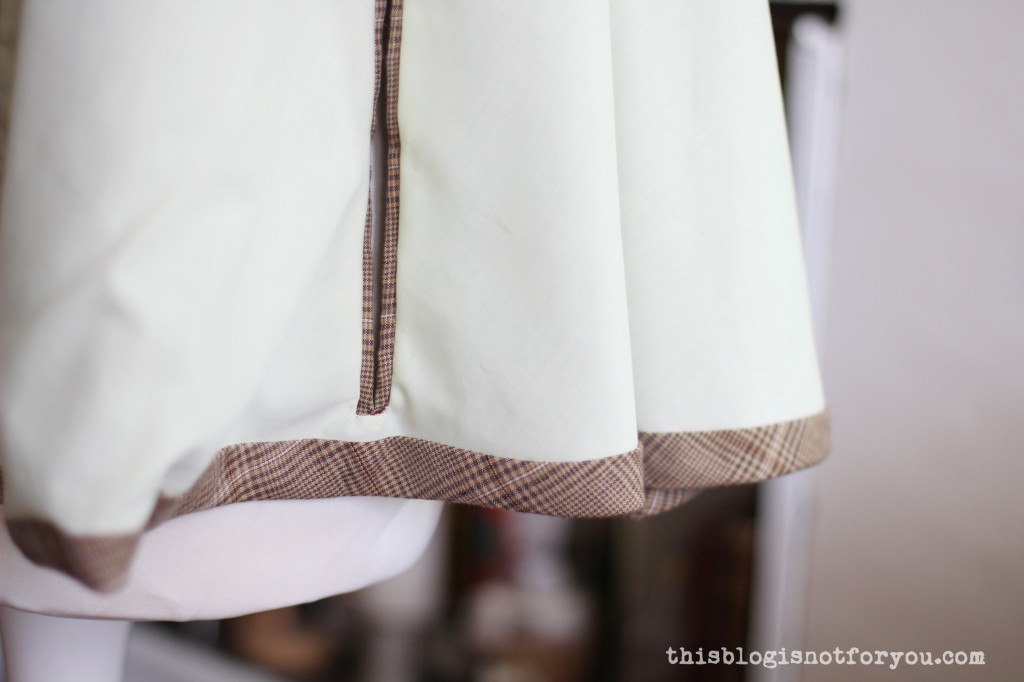
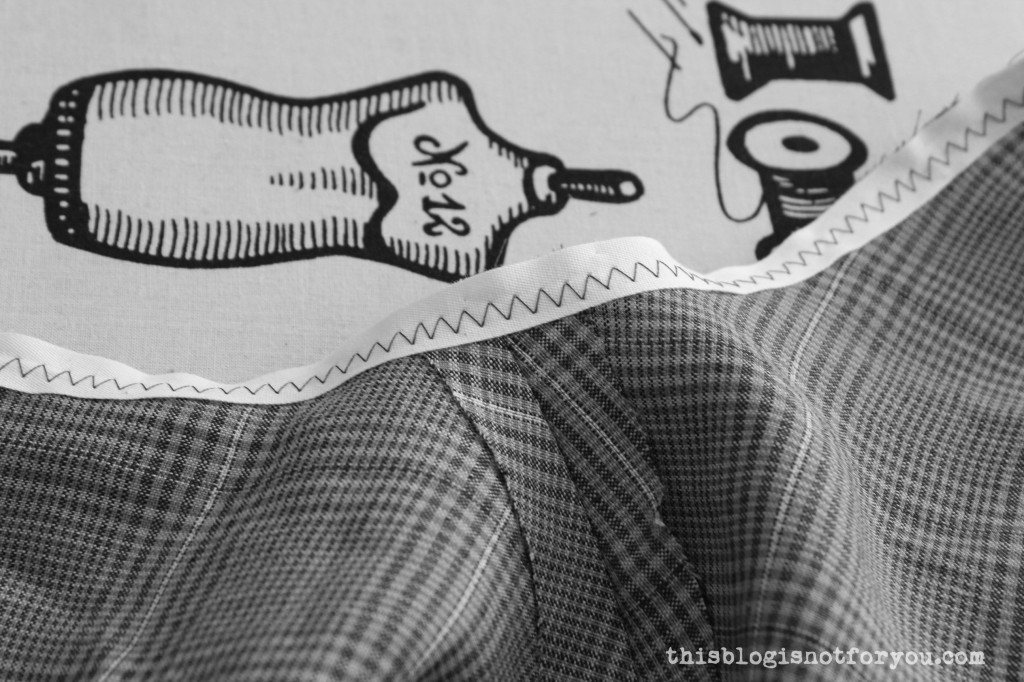
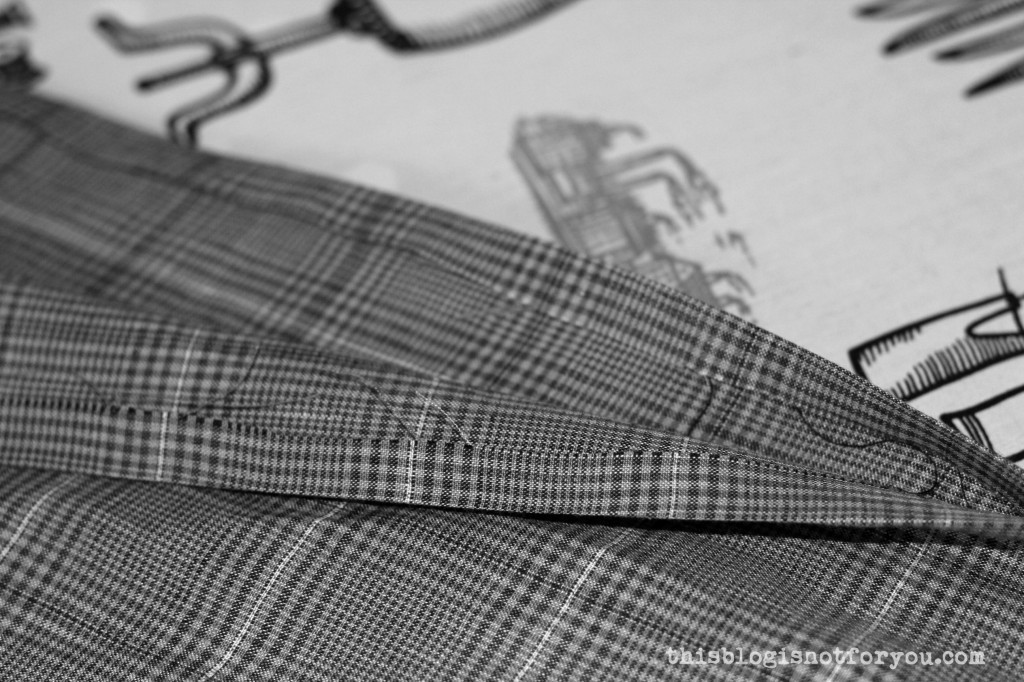
 13. Breathe! You just finished the hem! The biggest and most difficult part is done!
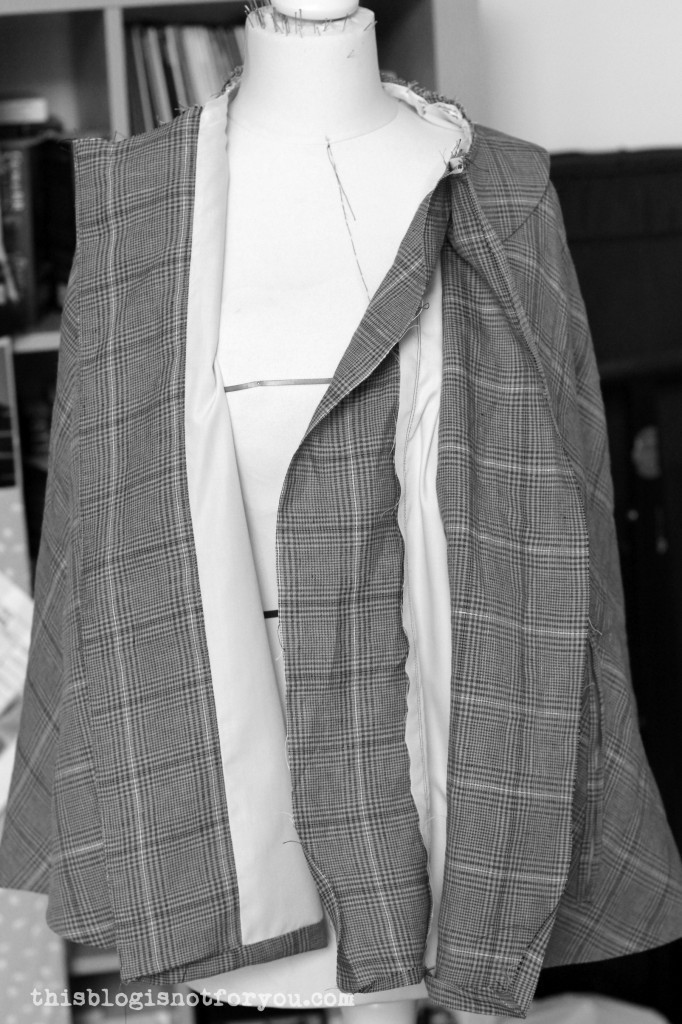
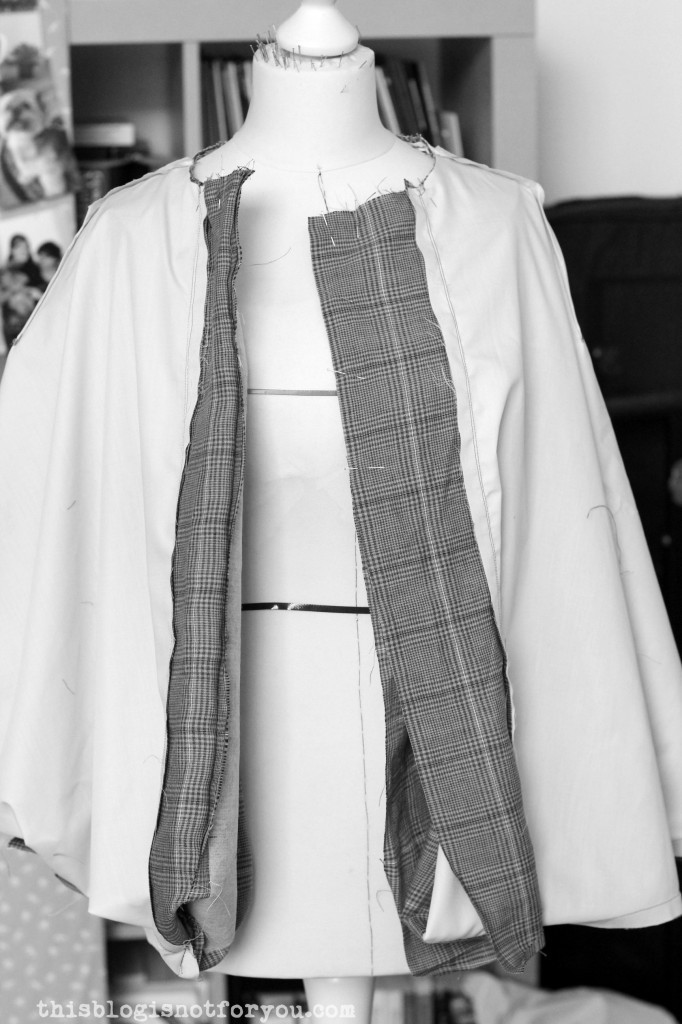
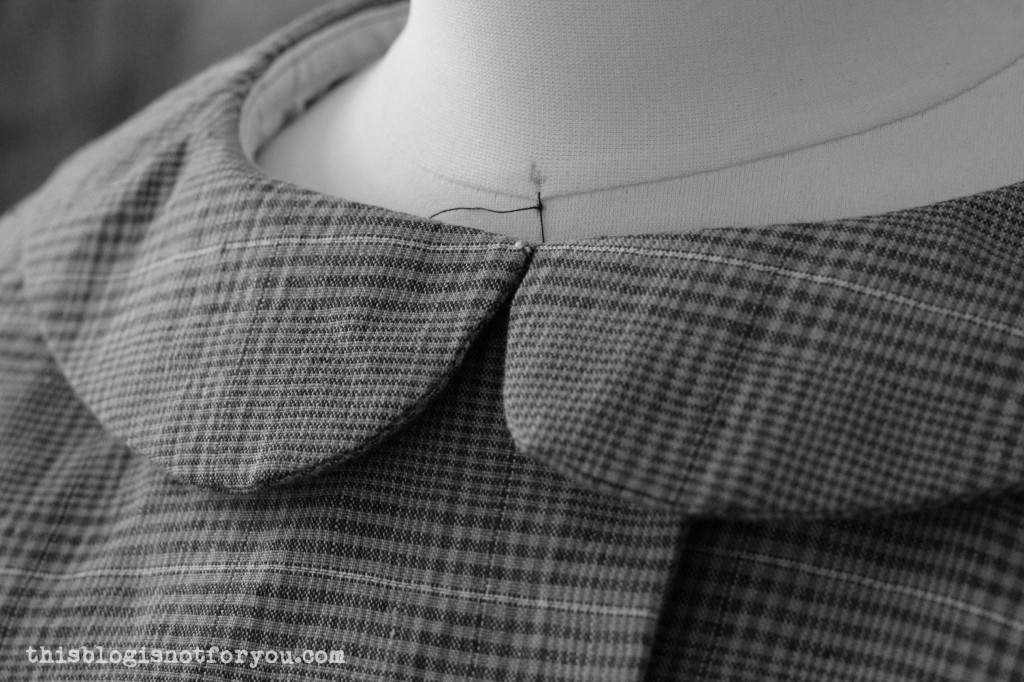
 14. Pin along the neckline and front edges down to the hem, leaving a 20cm gap on one of the edges (we need this to turn the cape inside out later). Stitch all the way around the front edge and neckline making sure you don’t sew the gap closed. If you’ve attached the hood, make sure you don’t catch it while you’re stitching.
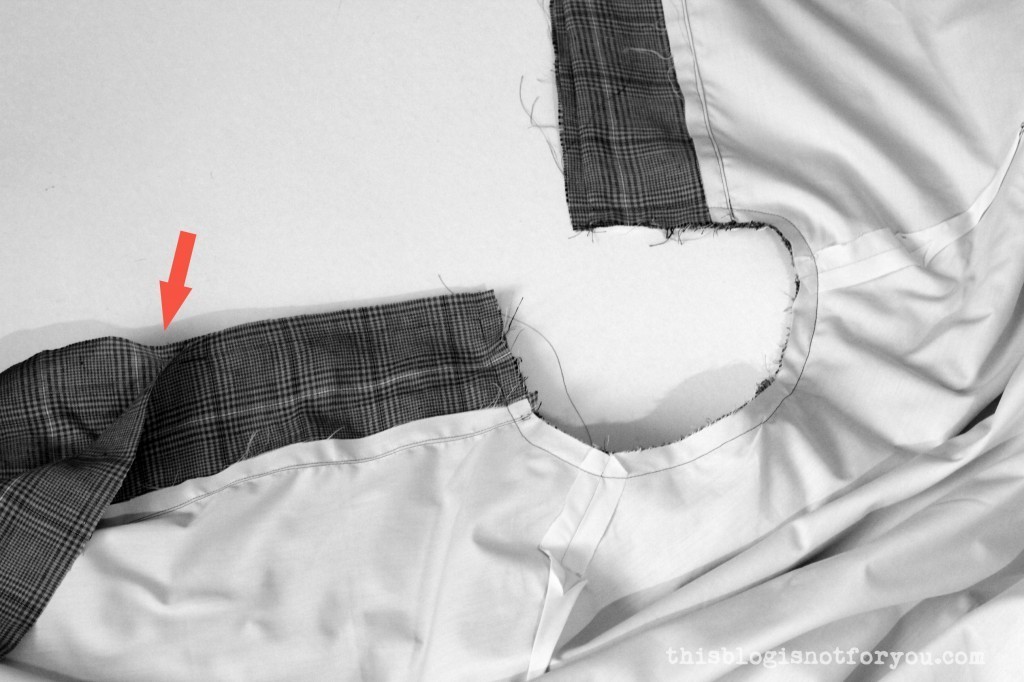


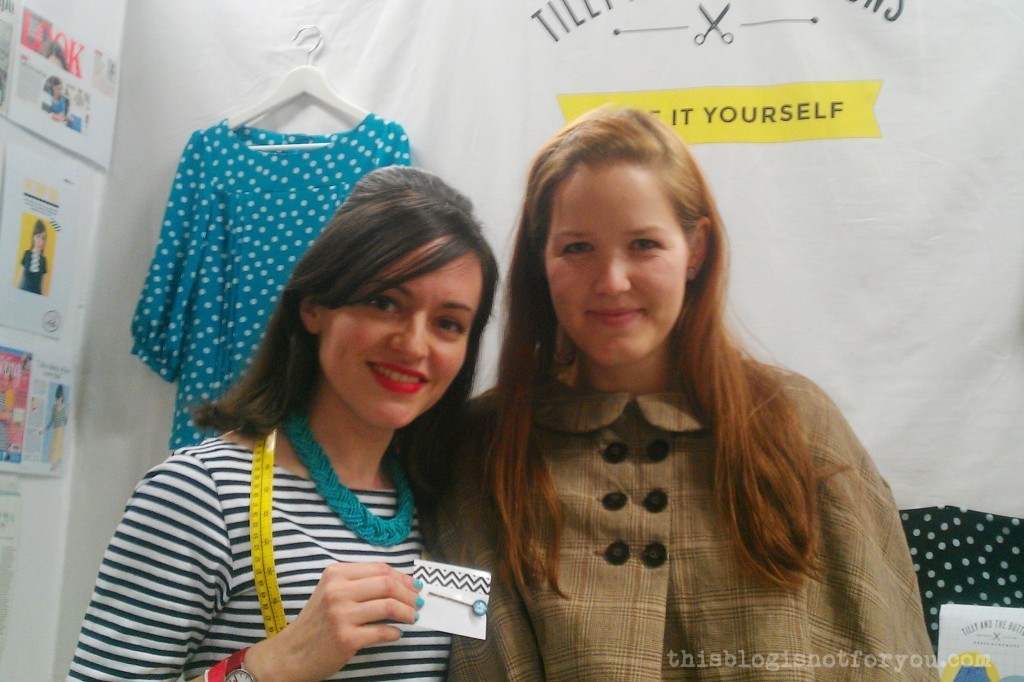
 I also met the lovely Freya (
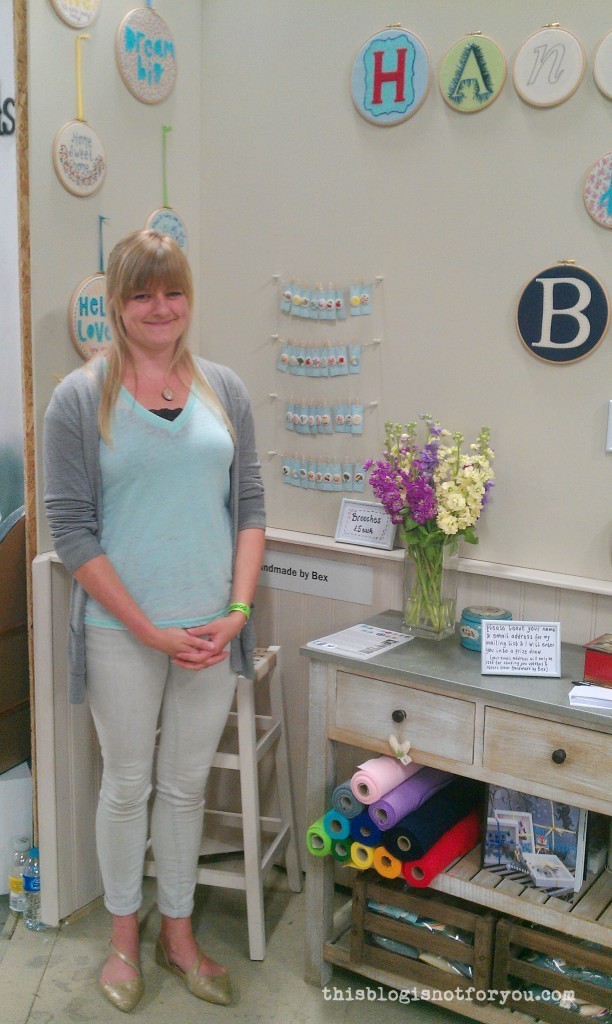 I also really loved “


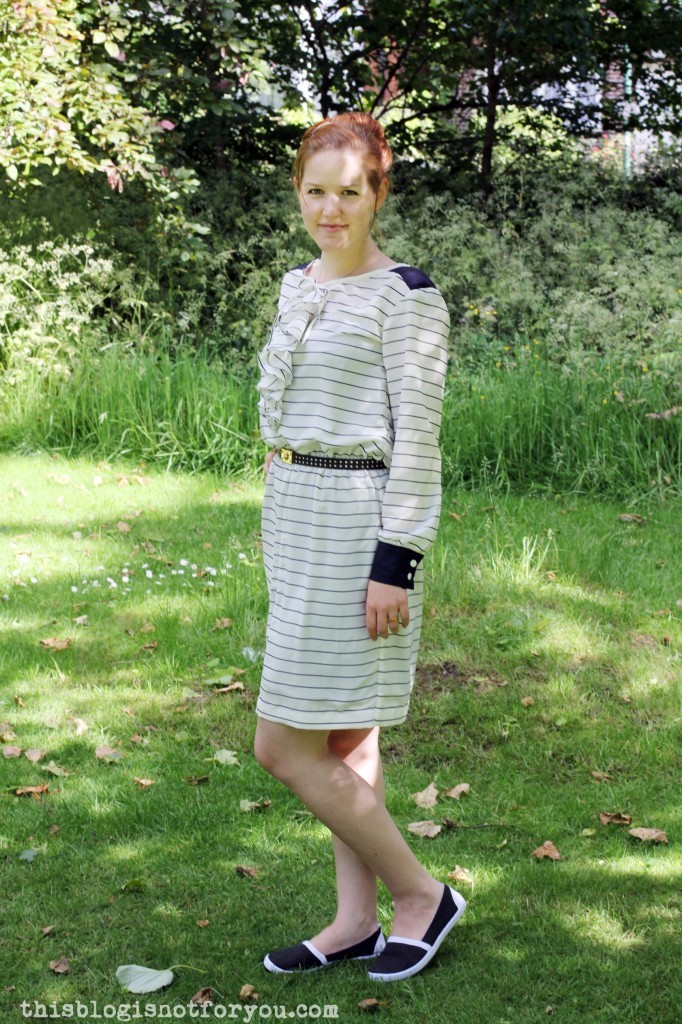
 Wow, two garment posts in a row! Don’t worry, that’s not going to become a habit! I just wanted to squeeze in this dress, in time for this week’s
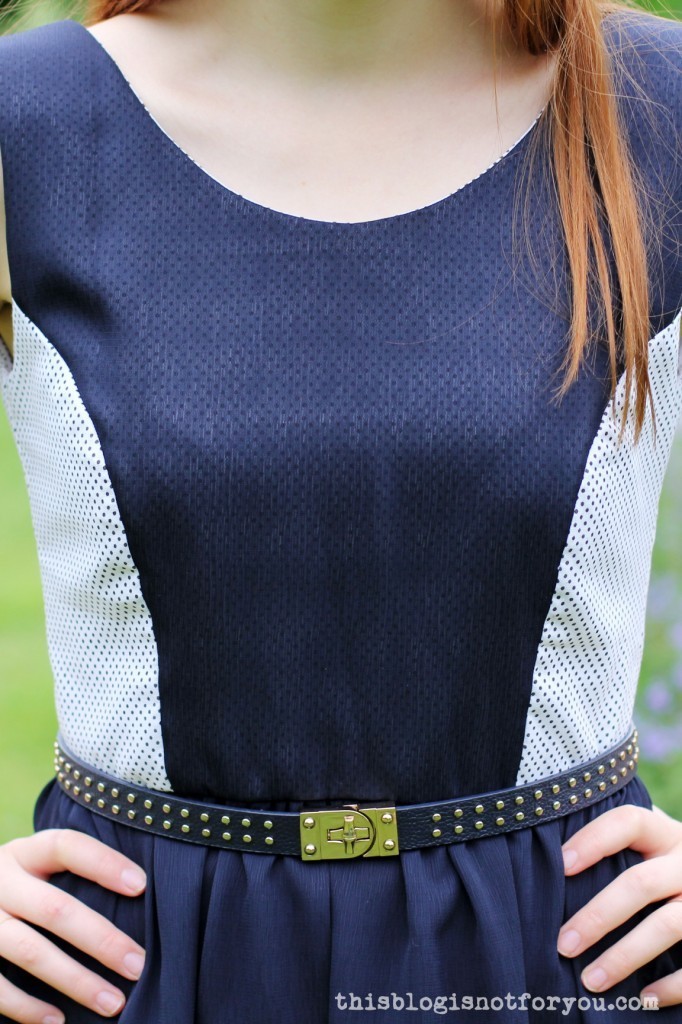

 Our local pub had some veeeeeeery convincing signs outside their door when we went to the park. But after we had to walk there twice (don’t forget to charge the camera batteries!) in this shitty weather, we decided to go to the off-licence around the corner and get some drinks to take home.
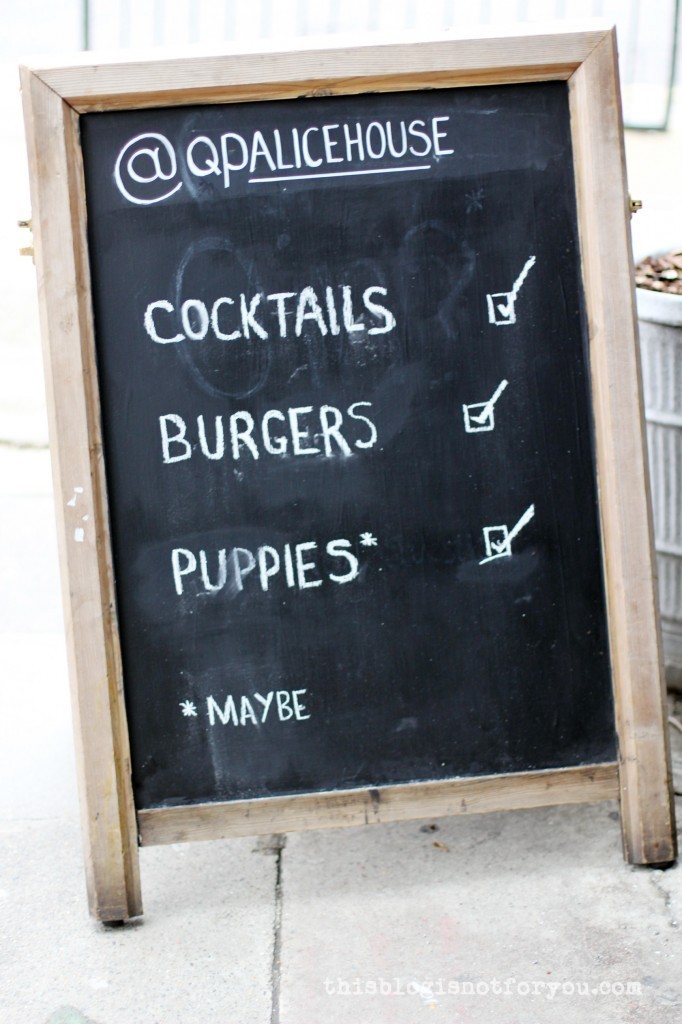

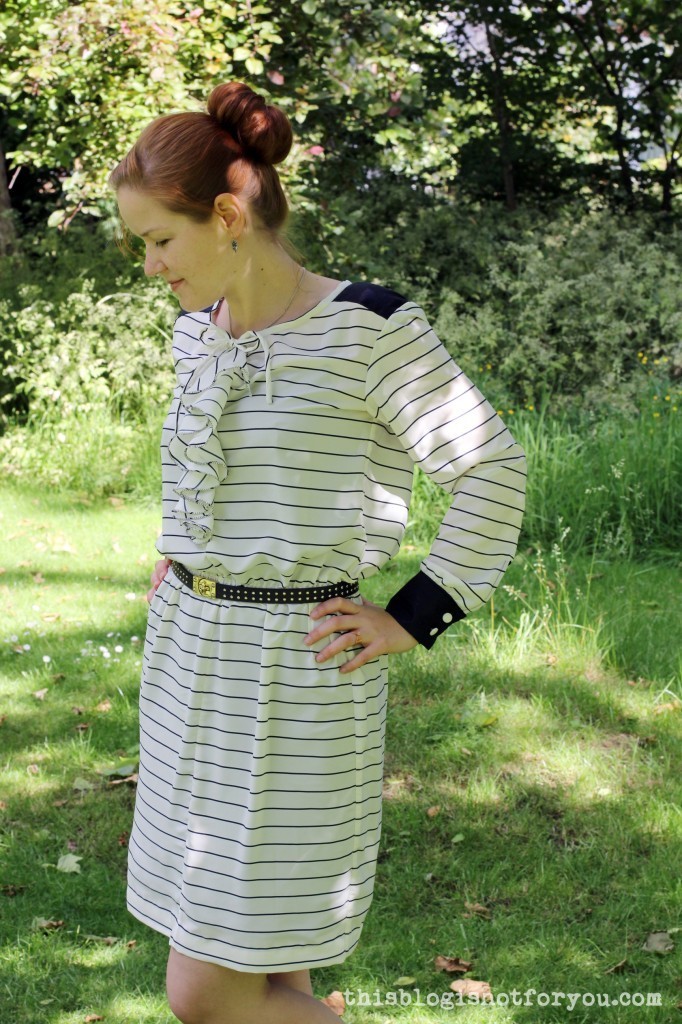
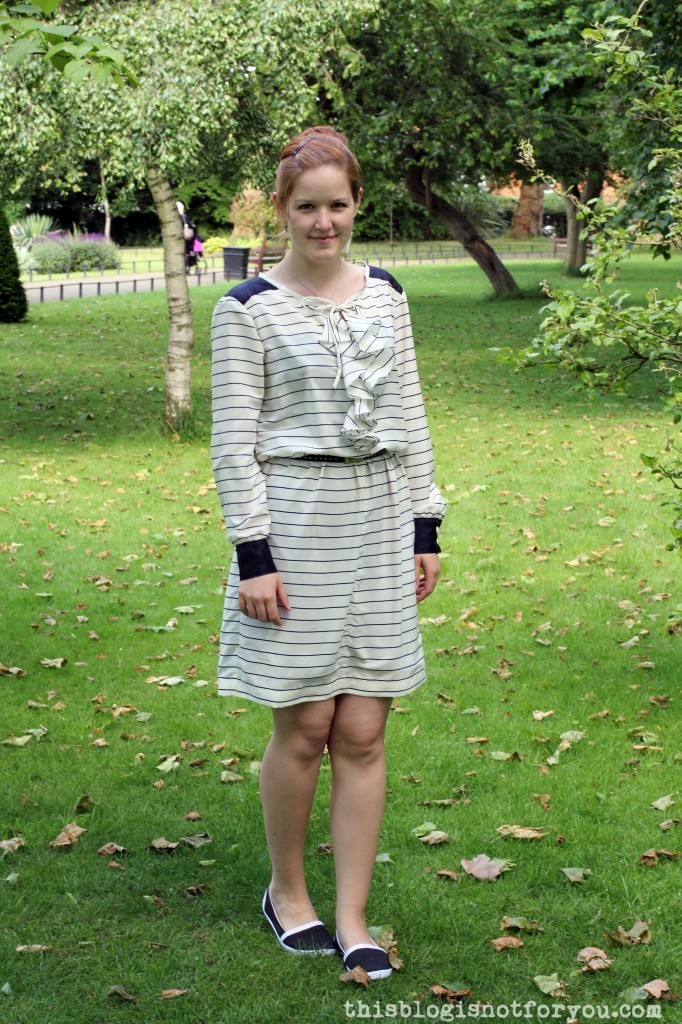


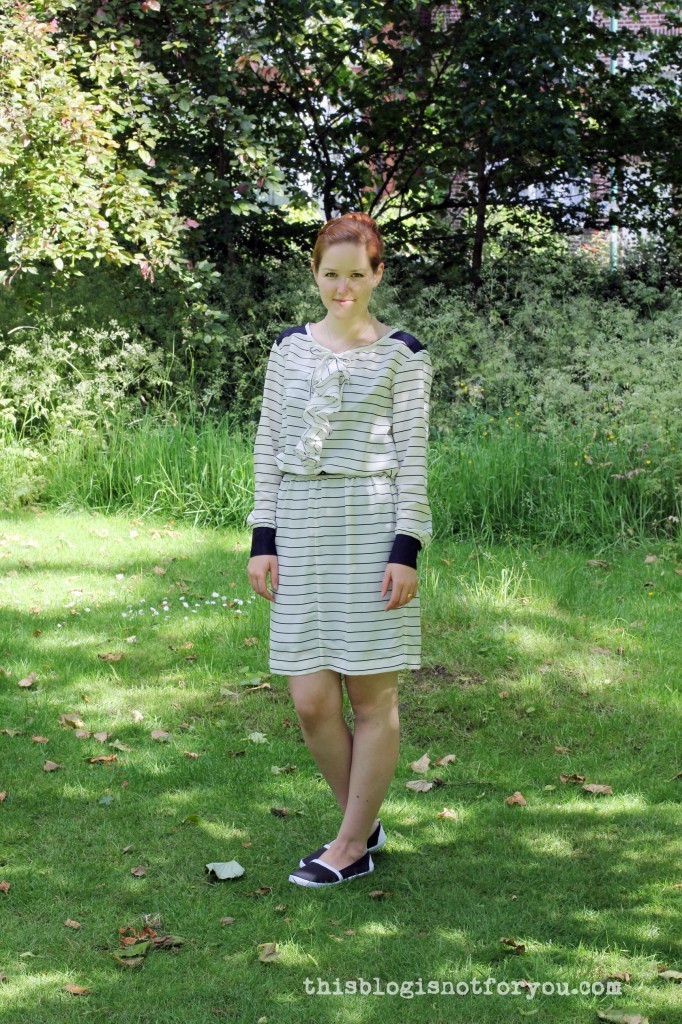
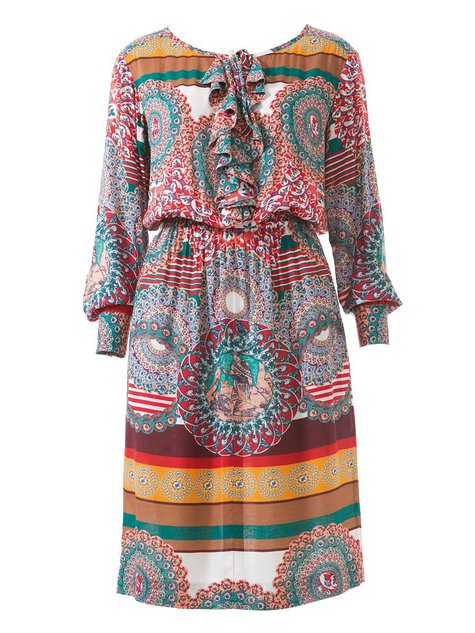

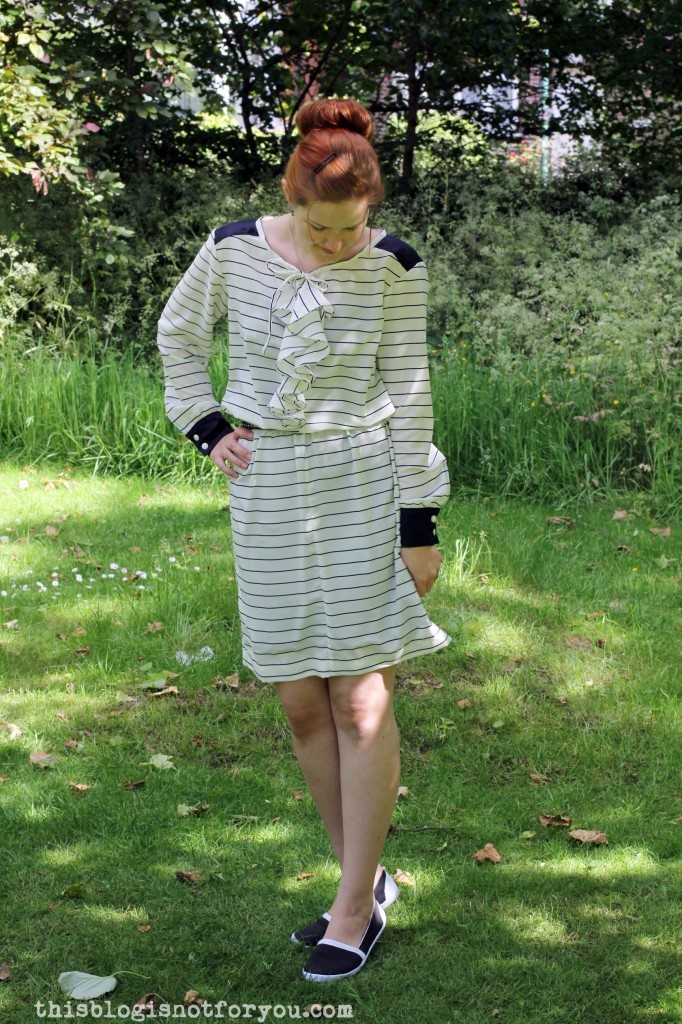
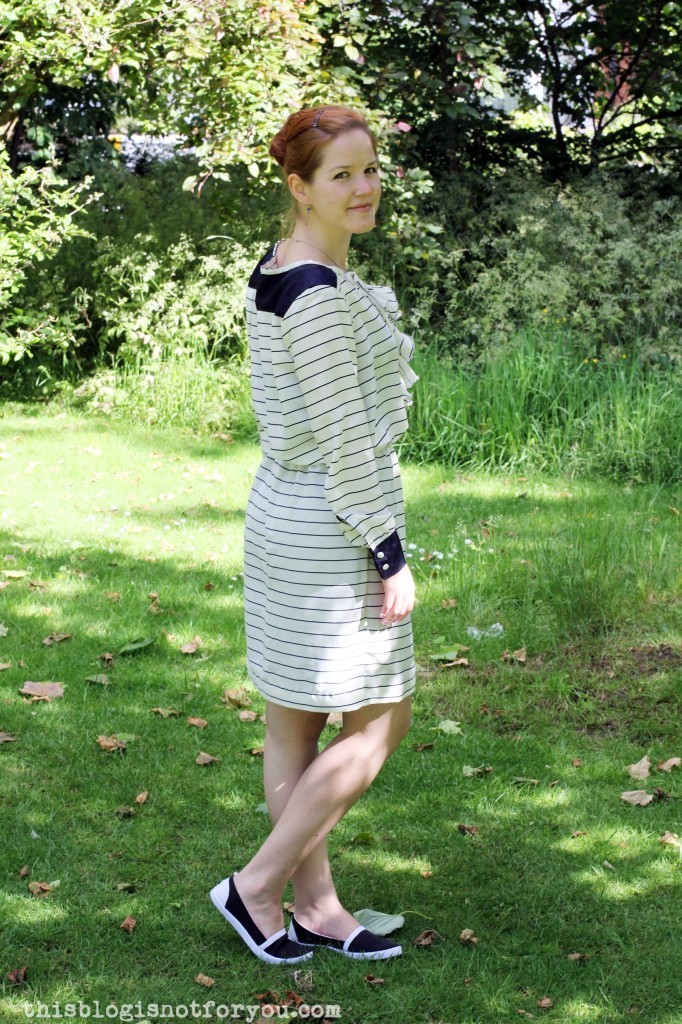
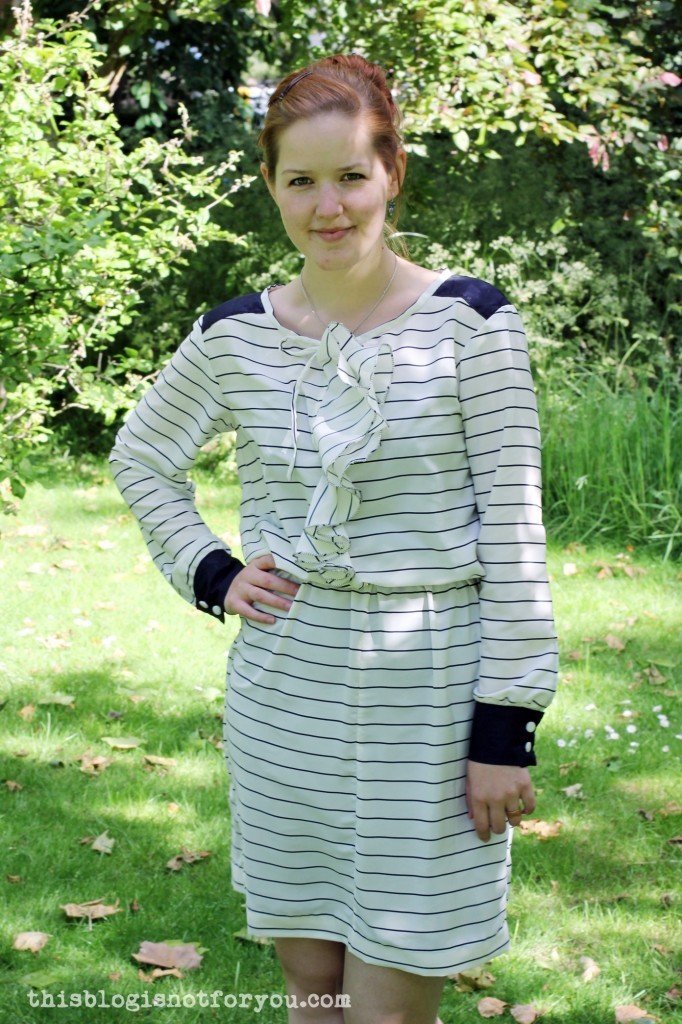
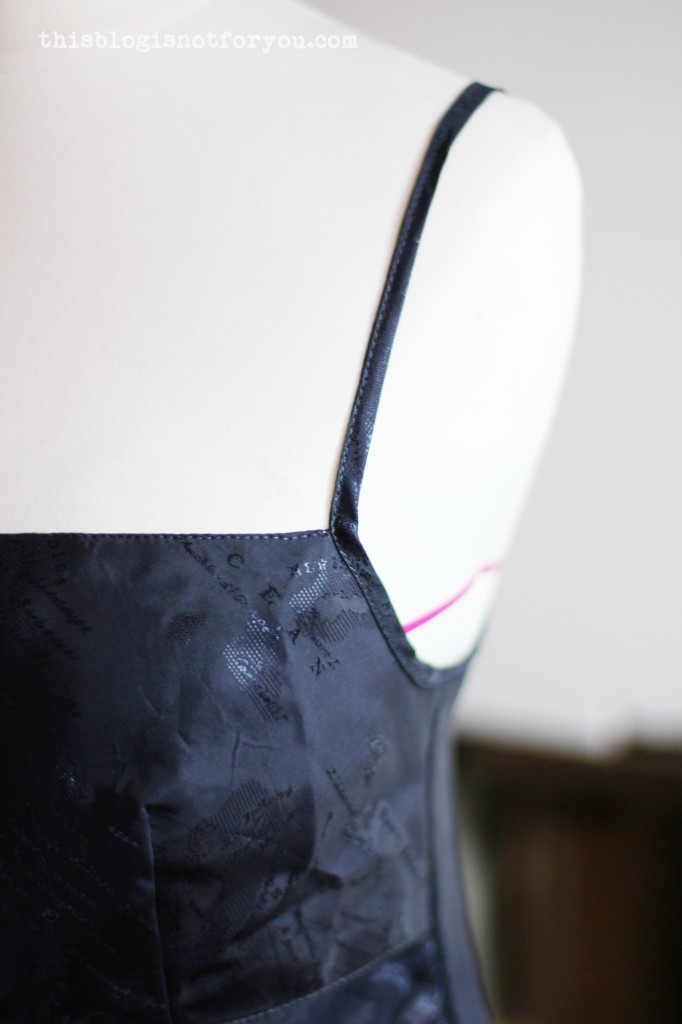
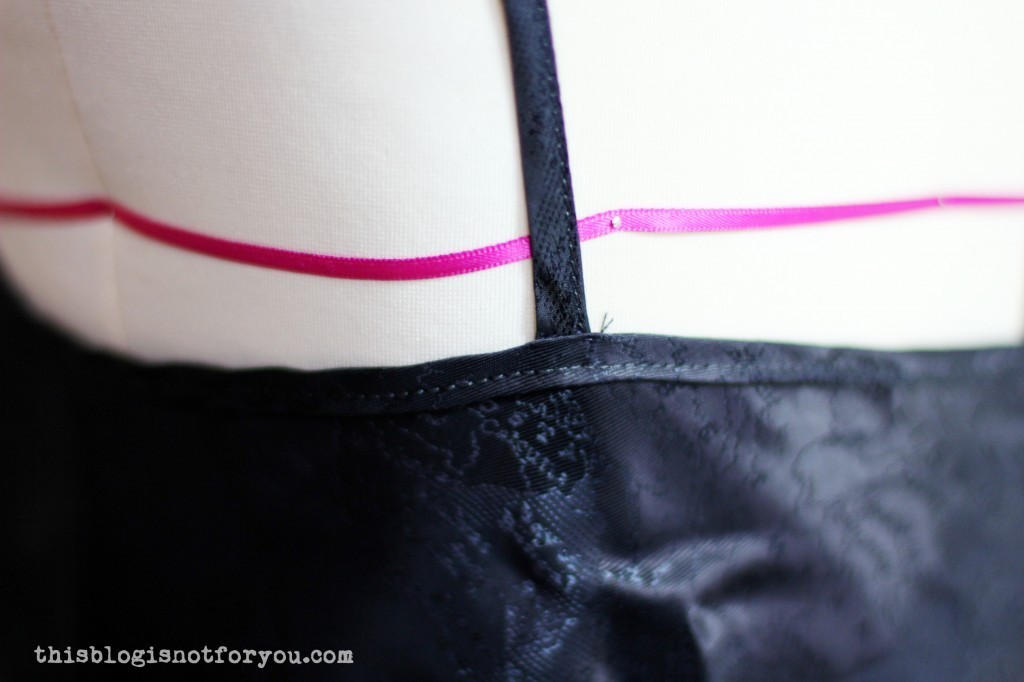
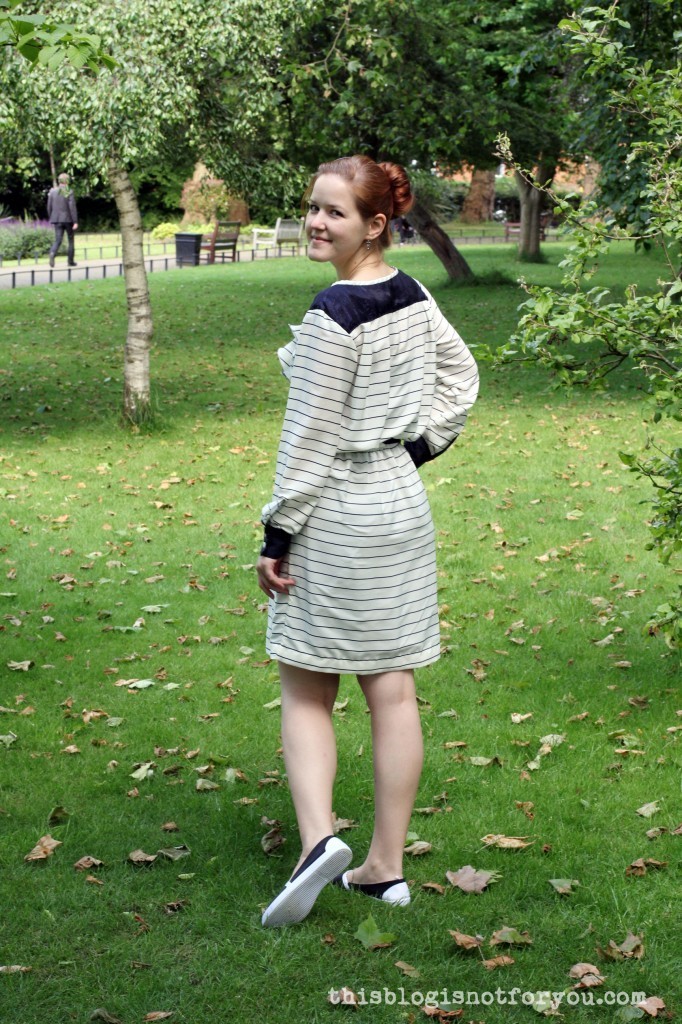
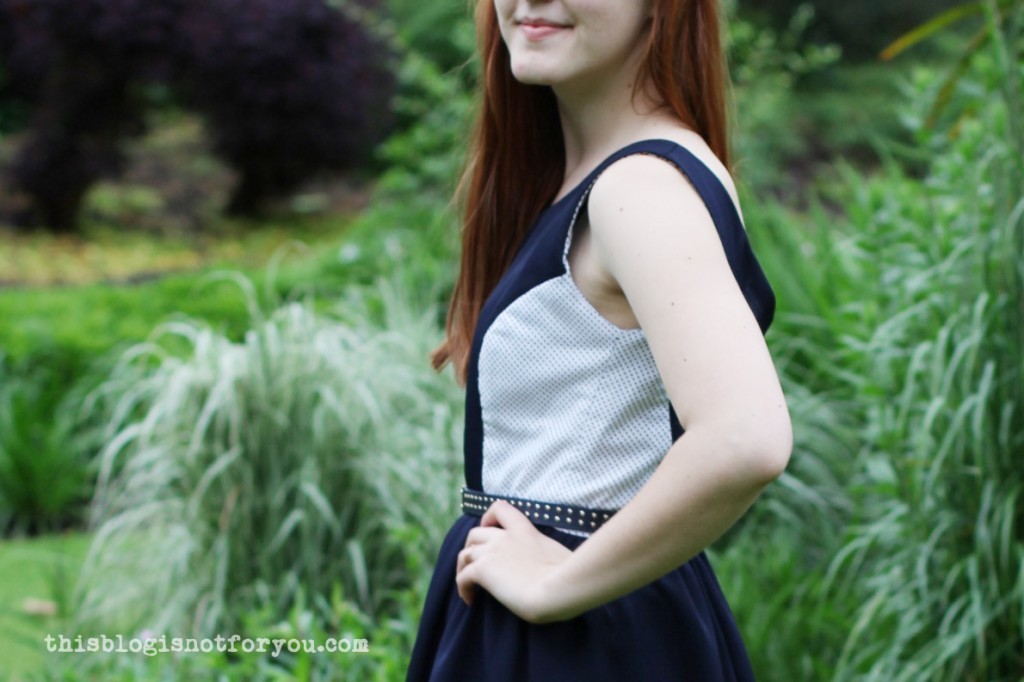
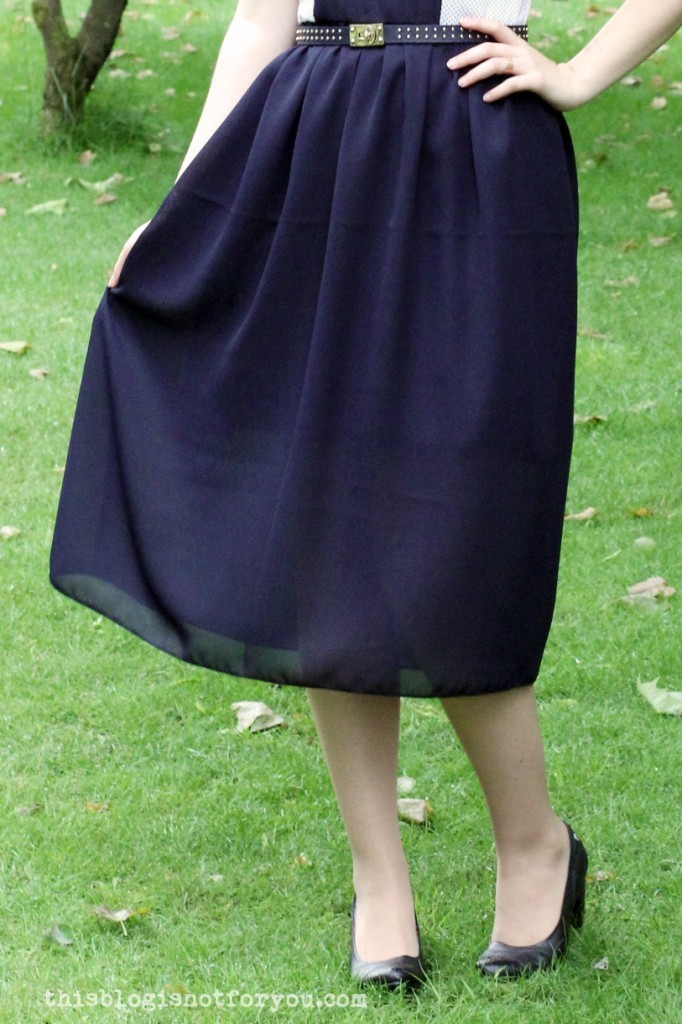
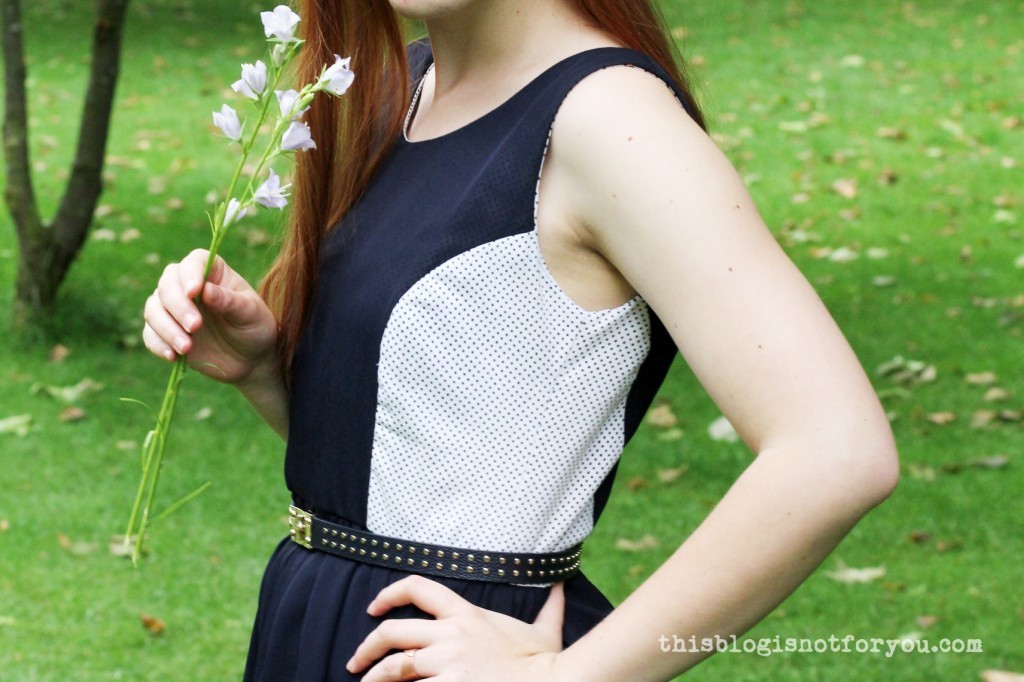
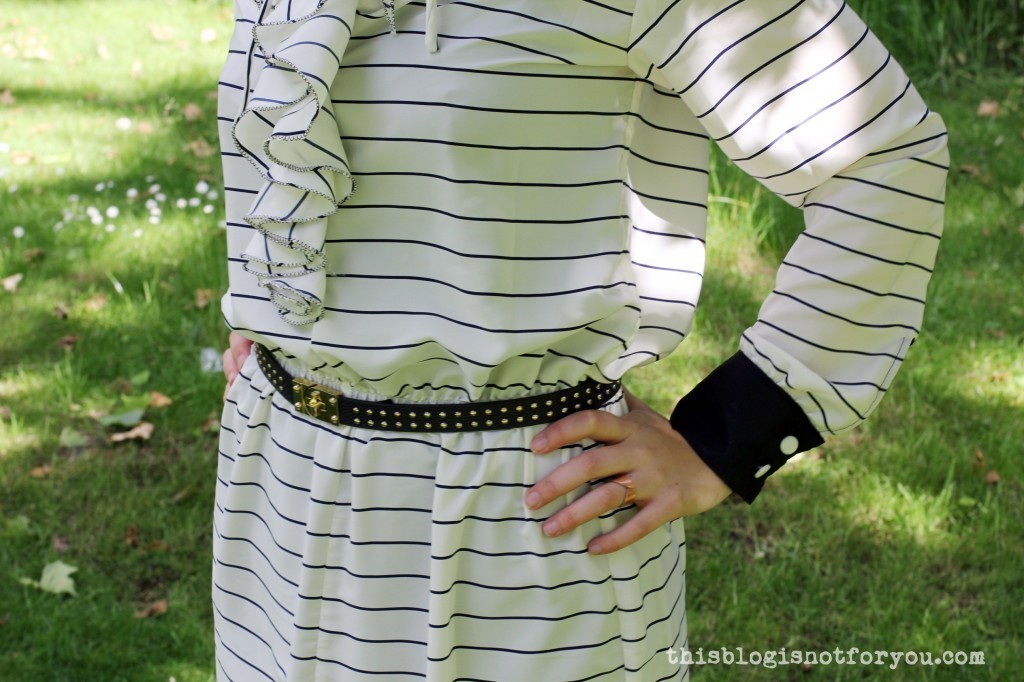 The dress has a casing for an elastic which cinches in the waist. (The belt is from Primark and it’s my absolute favourite belt on earth!..which is why it’s in almost every outfit picture.)
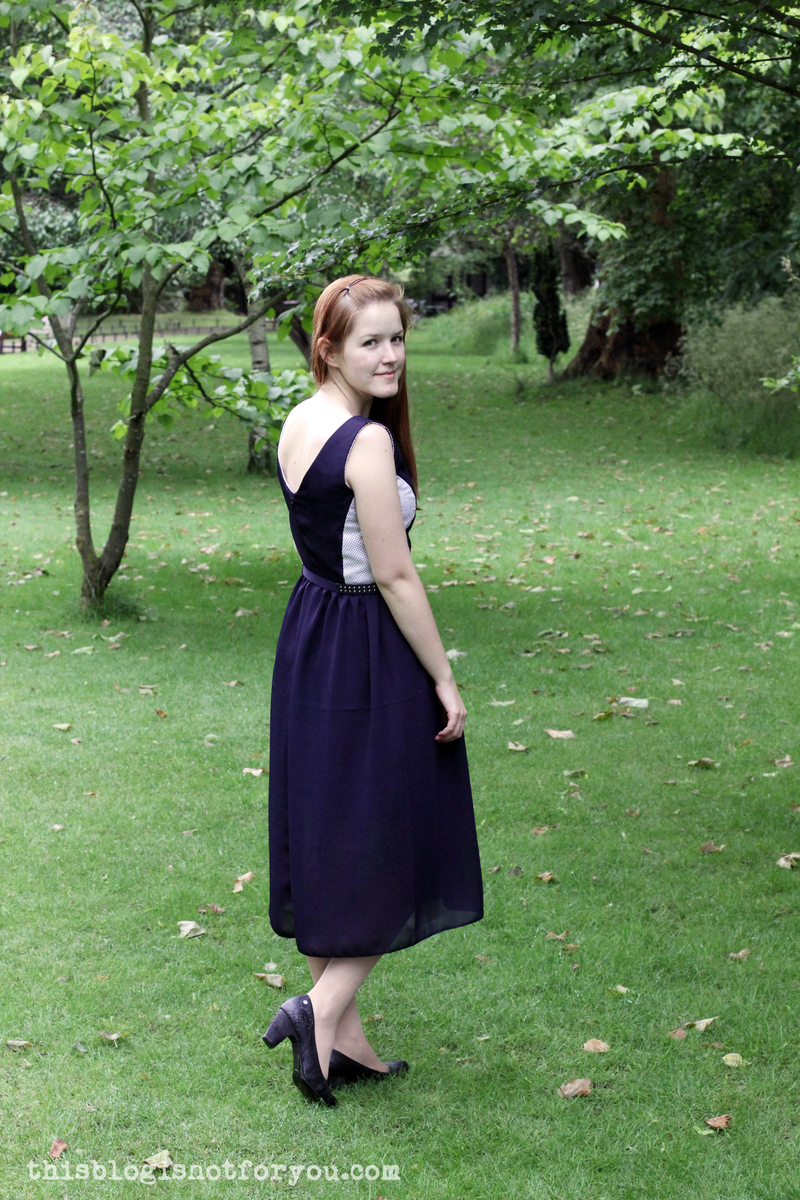
 Oh! And the shoes are DIY, too! They used to be a dirty white bargain from Primark, so I painted them black. Remember