
Make the Cape: Drafting a Peter Pan Collar for Your Cape // Sewing the Collar
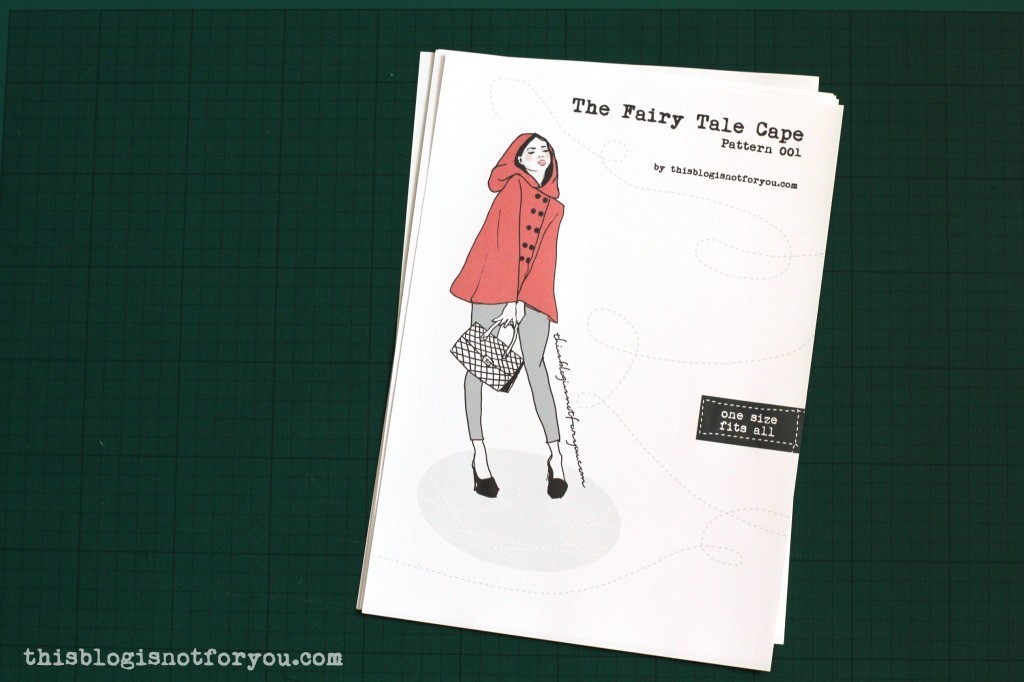
 Making the cape? Pattern assembled and cut out? Then it’s time to draft the Peter Pan Collar!
Drafting a Peter Pan Collar for Your Cape
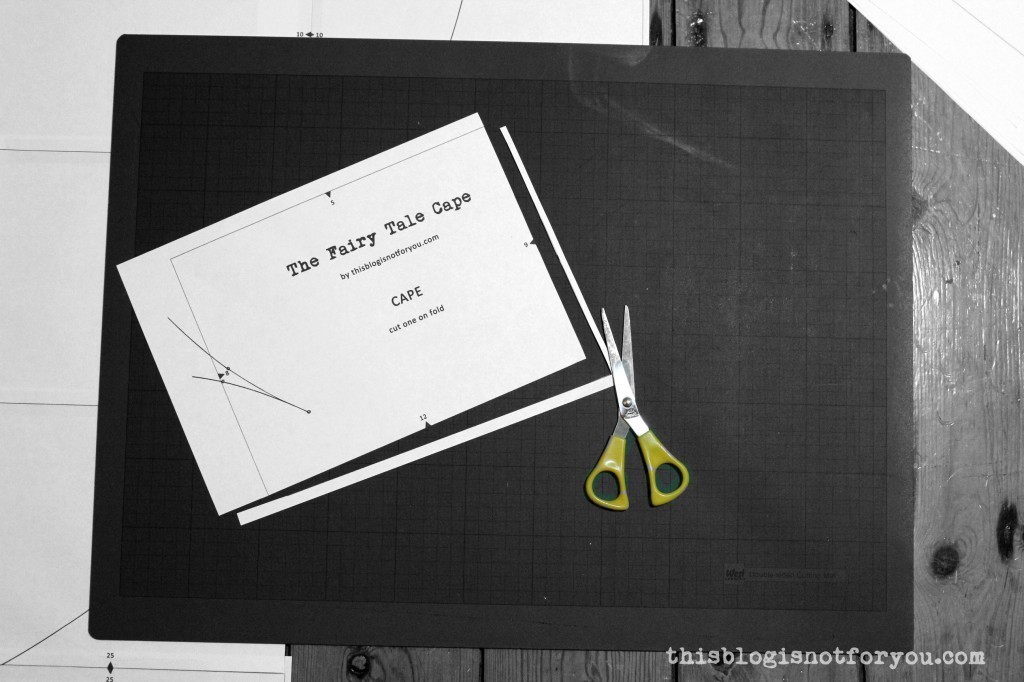
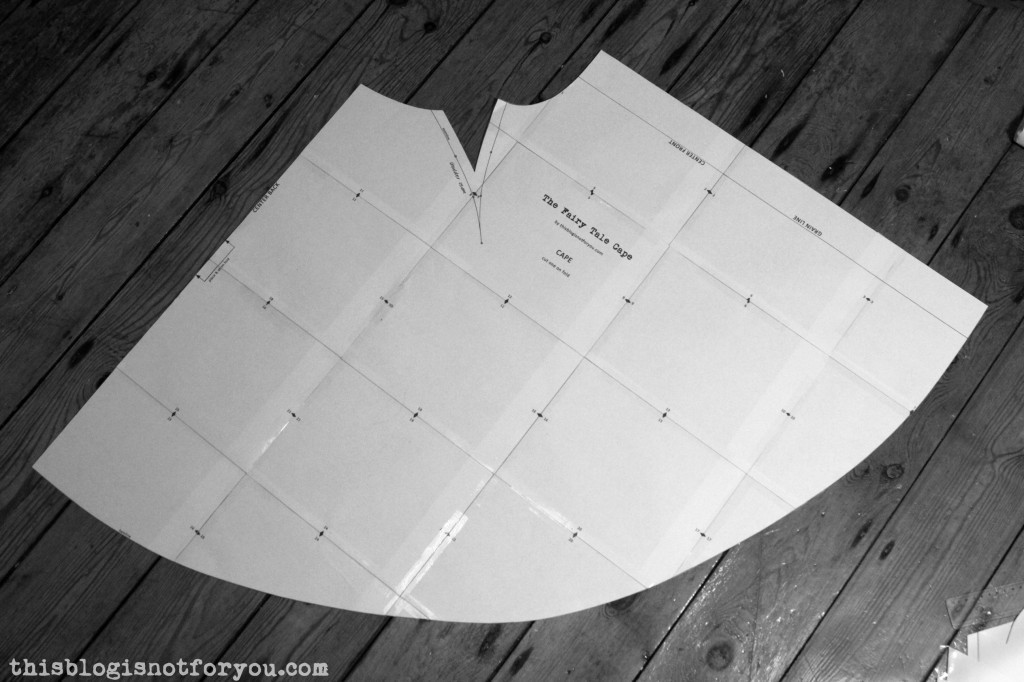
In order to do this, we will need to make some adjustments to the cape pattern piece. Best, you cut out your cape fabric before you draft the collar. If you want to cut out the fabric later, you will need to put the pattern piece back together after drafting your collar.
1. Take your cape pattern piece and lengthen the shoulder seamline by drawing a straight line down to the hem like so:
2. Cut the pattern apart along this line.
Now it’s much easier to join the shoulder seams, which we will do in this next step:
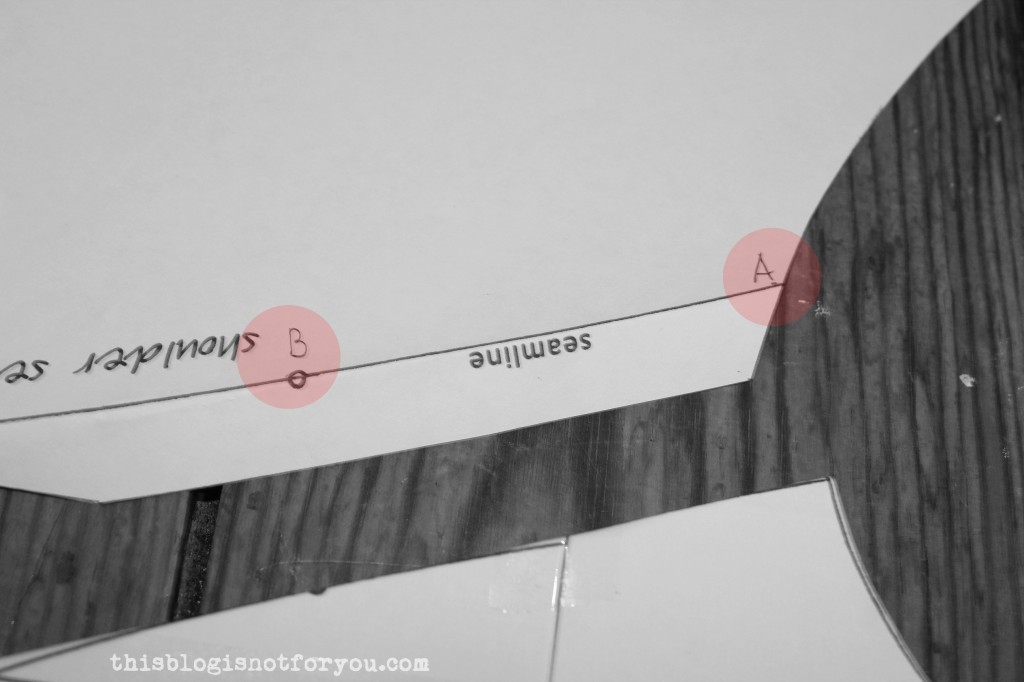 To make explaining this step easier, I have marked two points, A and B. A is where the shoulder seamline meets the neckline. B is where the small circle is marked.
3. Fold away the seam allowance like so: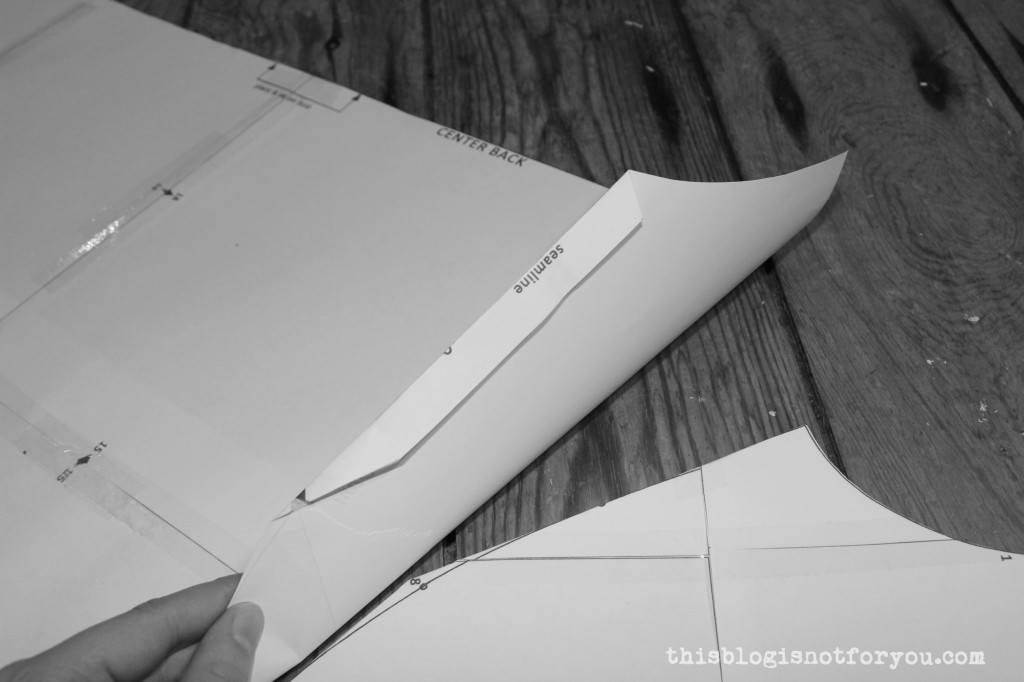 4. Now join the two pattern pieces, so the As match up and the Bs overlap by approx. 1cm. Tape together (don’t glue, you will want to be able to separate the pieces again and tape them back together in order to cut out your cape if you haven’t done so yet).
The point of overlapping the two pieces is to help the collar lie very flat against your cape.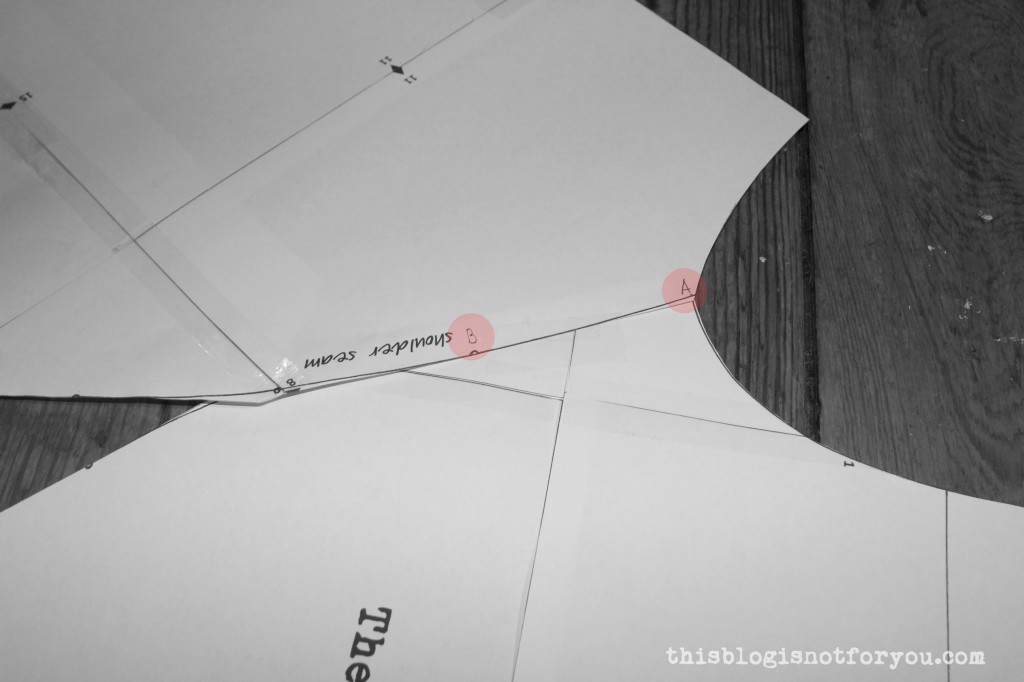 Your pattern will now look like this:
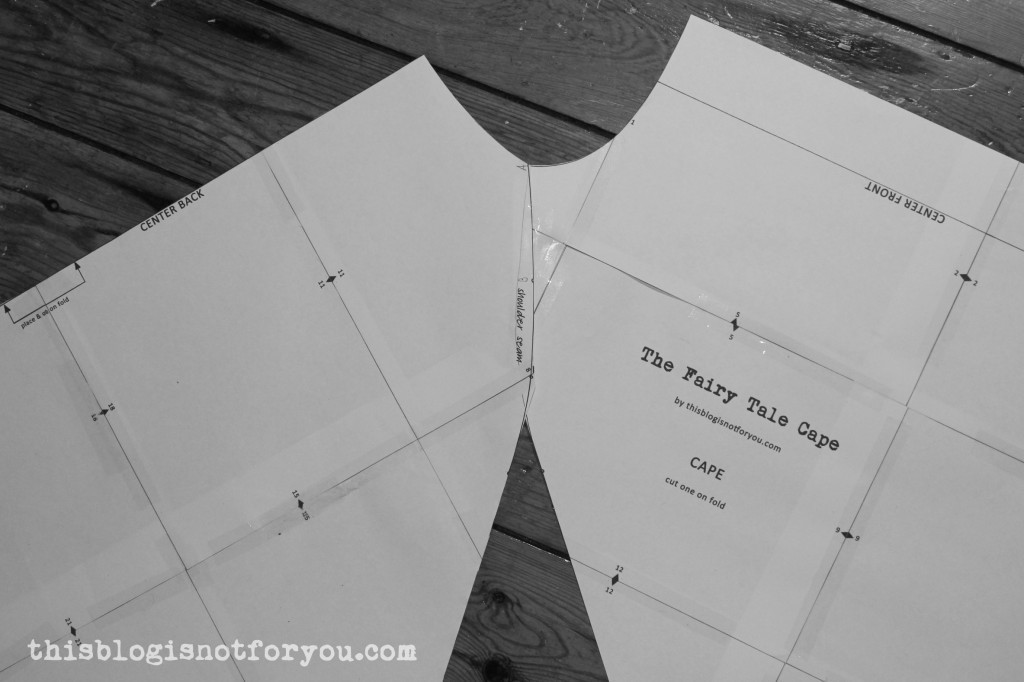 Now that we have a continuous neckline, we can start drafting the collar.
5. Place your pattern piece on a piece of paper (I glued together two A4 pages).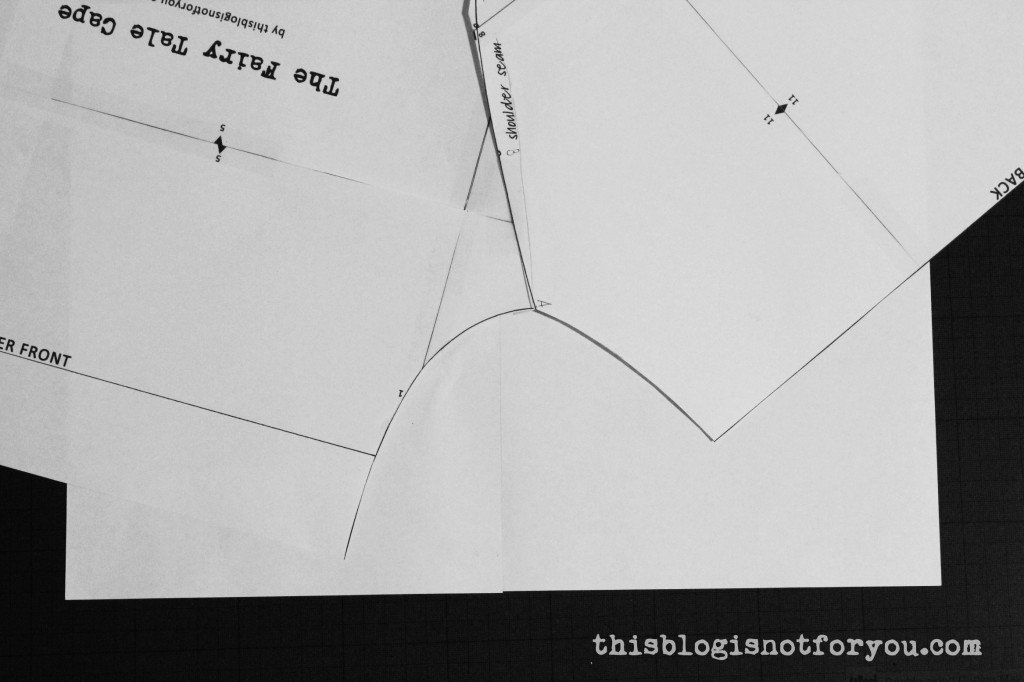 6. Copy the shape of the neckline, also marking the position of center front & back and the shoulder seamline.
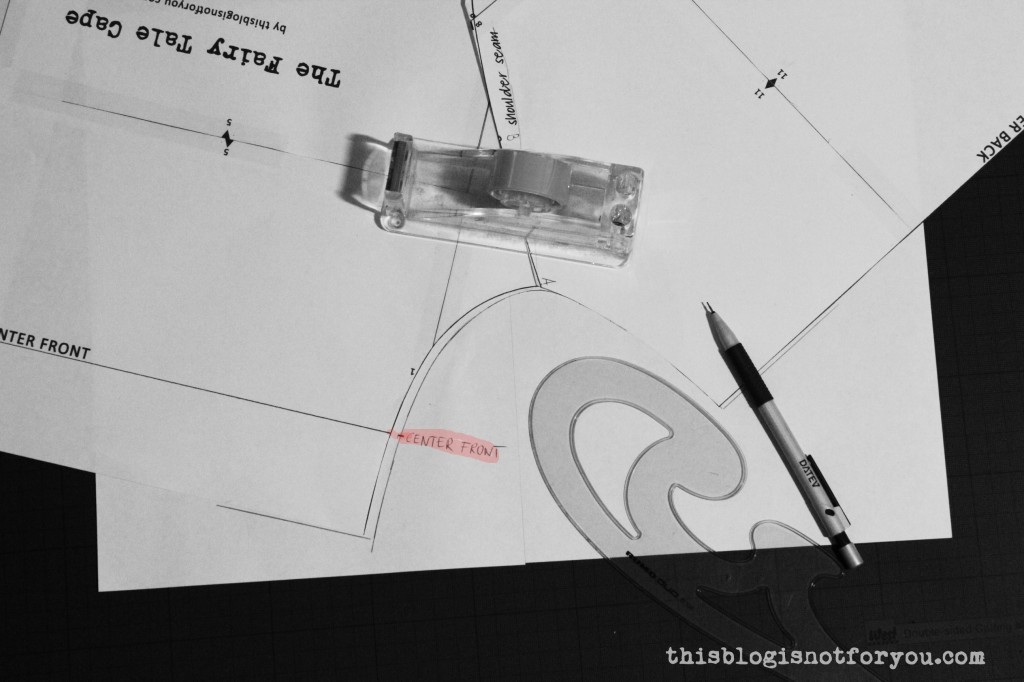 It should look like this:
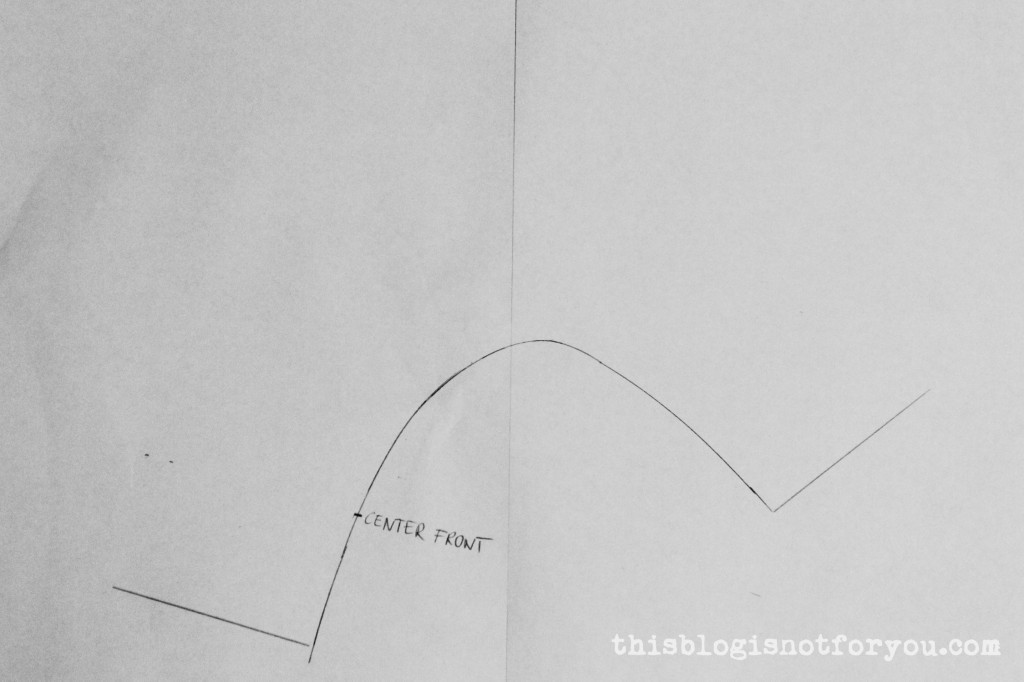 7. Now add 1.5cm (5/8”) seam allowance. (The seam allowance is already included in the cape pattern, which is why we need to mark it on the collar piece. You don’t want your collar end up too narrow).
 8. Draw the center front line (parallel to the front edge).
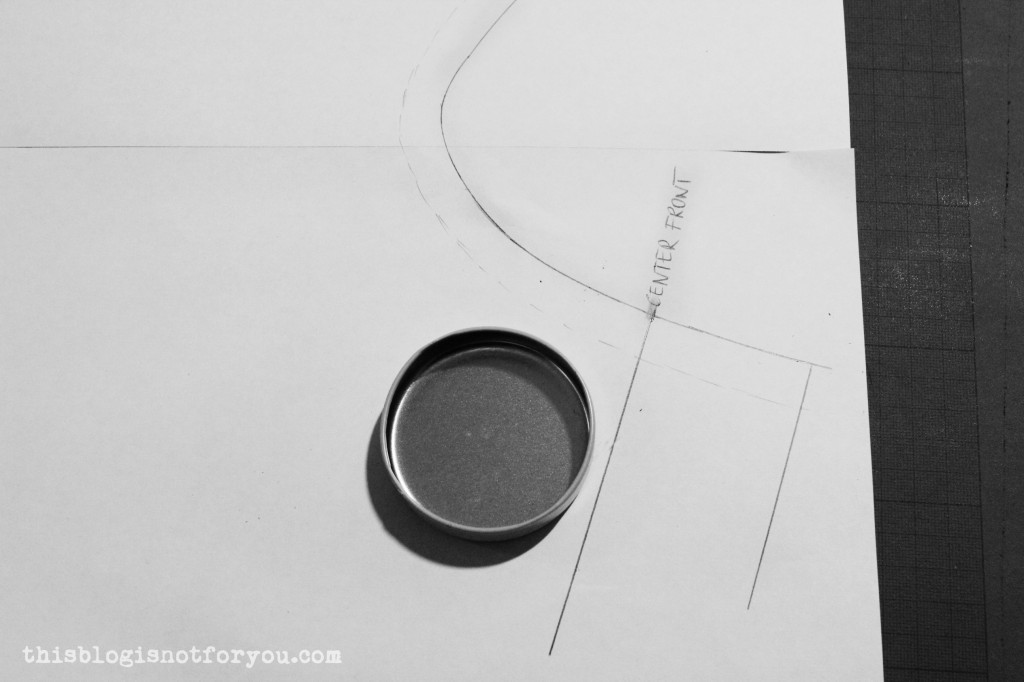 9. For this step I used a lid, but you can also do this free hand. Starting at the center front line draw a curved line. Here it’s completely up to you how you want the shape of your collar to look. When you’re satisfied with the shape, measure the width.
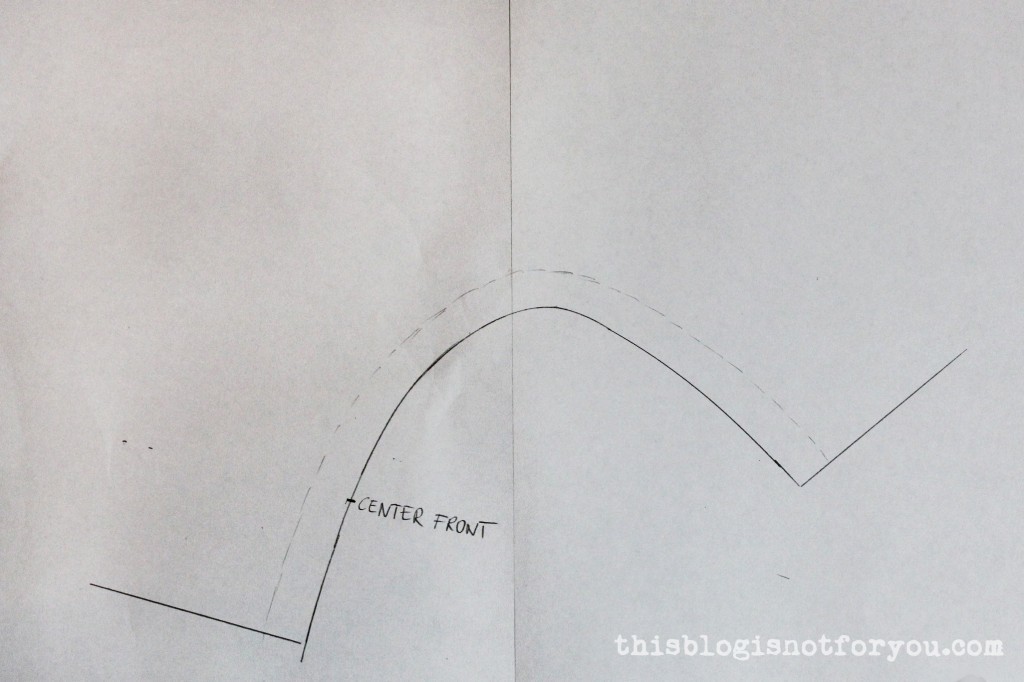
As you can see in the picture below, my collar is 7.5cm wide (including seam allowance at the neckline).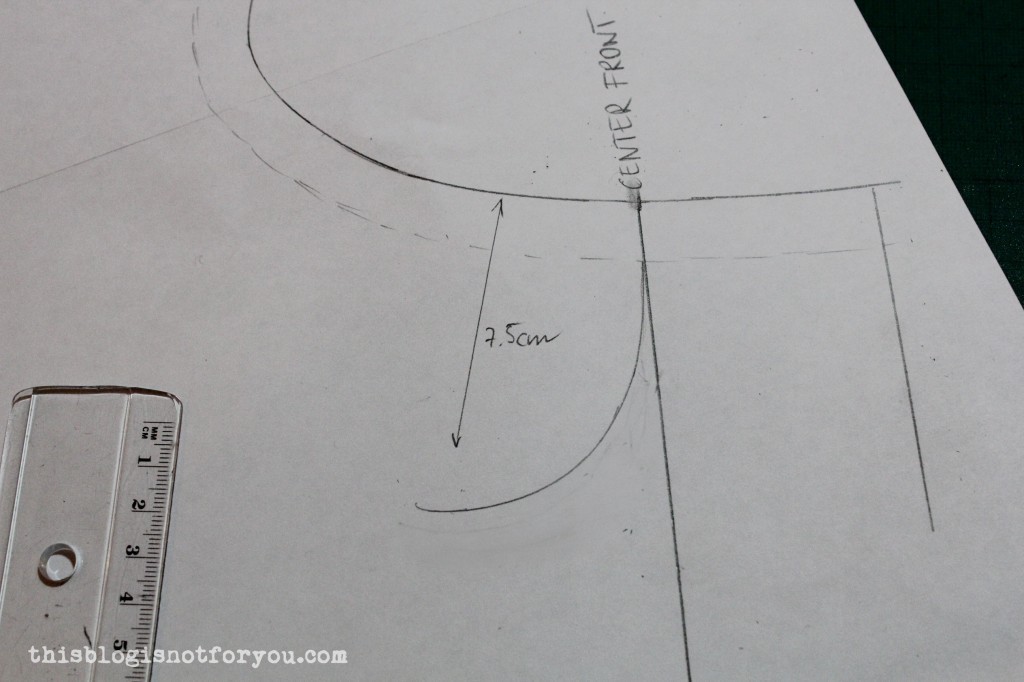 10. Mark the width measurement on the center back seam. Depending on the fabric you use the collar will be either cut on fold or in two pieces. If you are using fabric in a plain colour, you can simply cut the collar on fold (make a note next to the center back line). If you’re using patterned fabric which needs to be neatly lined up in the front, you will have to cut the collar in two pieces. In this case you will have to add 1.5cm of seam allowance to the center back edge.
 11. Mark the measured width all the way around the neckline.
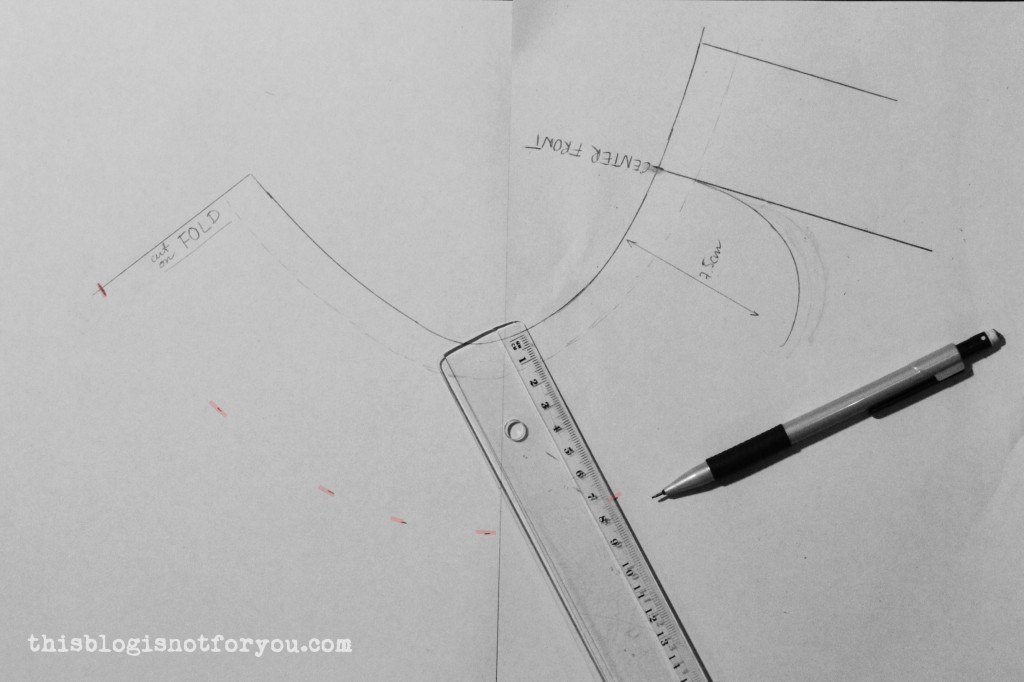 12. Draw a smooth line through all of the marks.
 13. Now you’re almost done! Just add some seam allowance to the bottom edge of your collar.
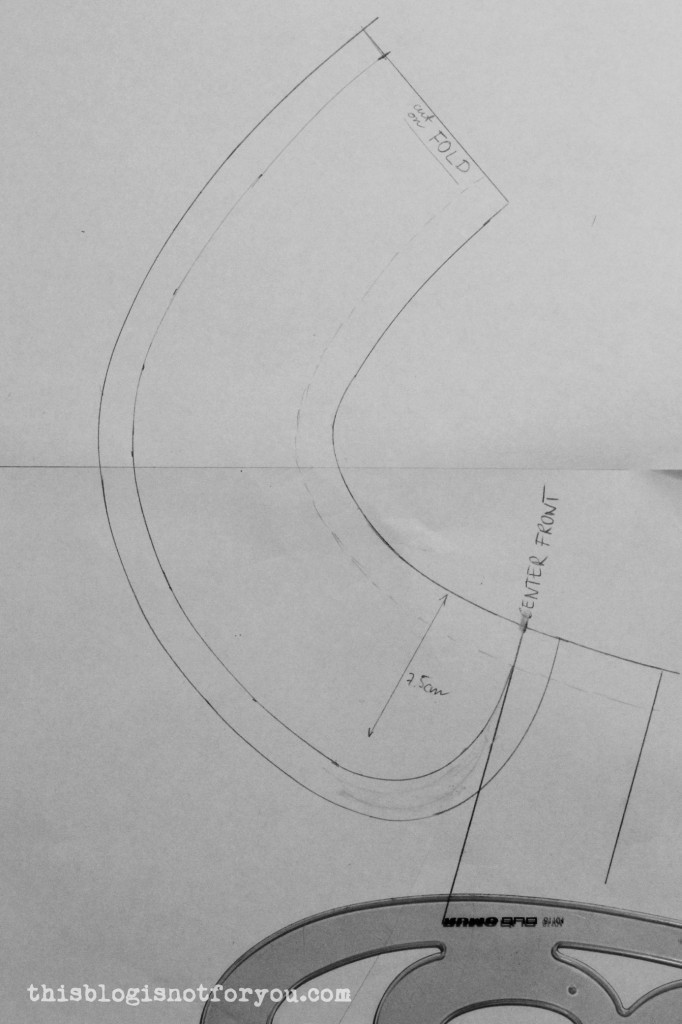 14. Mark the shoulder seam placement and center front with notches. Now grab a coffee and admire your newly drafted Peter Pan collar!
Sewing the Collar
Next to your pattern and fabric you will need:
♥ matching thread ♥ fusible interfacing ♥ scissors ♥ iron ♥ sewing machine ♥ pins ♥
Now it’s time to cut out and sew this beautiful specimen of a collar! Before you head off and cut into your lovely fabric, here a quick hint for those of you using plaid/striped fabric.
First of all, matching the pattern perfectly is easier when you only cut out one piece at a time (so no folding or layering of fabric). But that’s completely up to you.
The easiest way to make sure the pattern matches up nicely in the front is to use the center front mark on your pattern piece as a guide. As you can see in the picture below, I lined up the center front with the darker, vertically running line. Using my fabric as example, you could then mark the position of the lighter, horizontally running line on your pattern piece to make sure that the next piece is cut out in exactly the same way.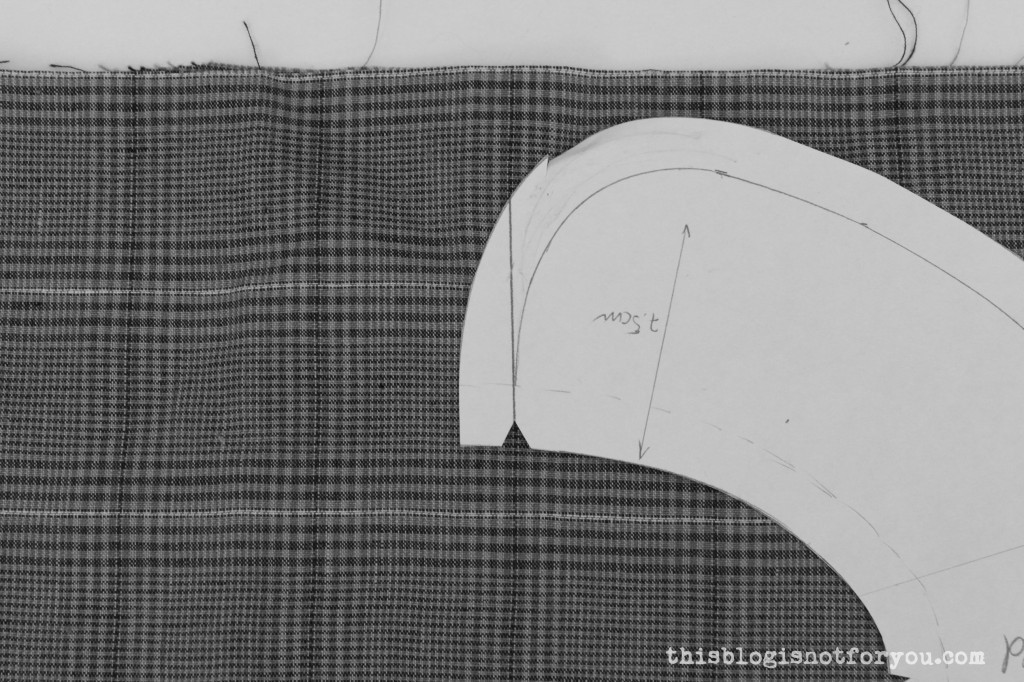
1. Cut out 4x collar (or 2x if cut on fold), 2x fusible interfacing (or 1x if cut on fold). Cut out the fusible interfacing without the seam allowance (we don’t need extra bulk).

2. Using your iron, fuse the interfacing to the left side of your collar pieces. 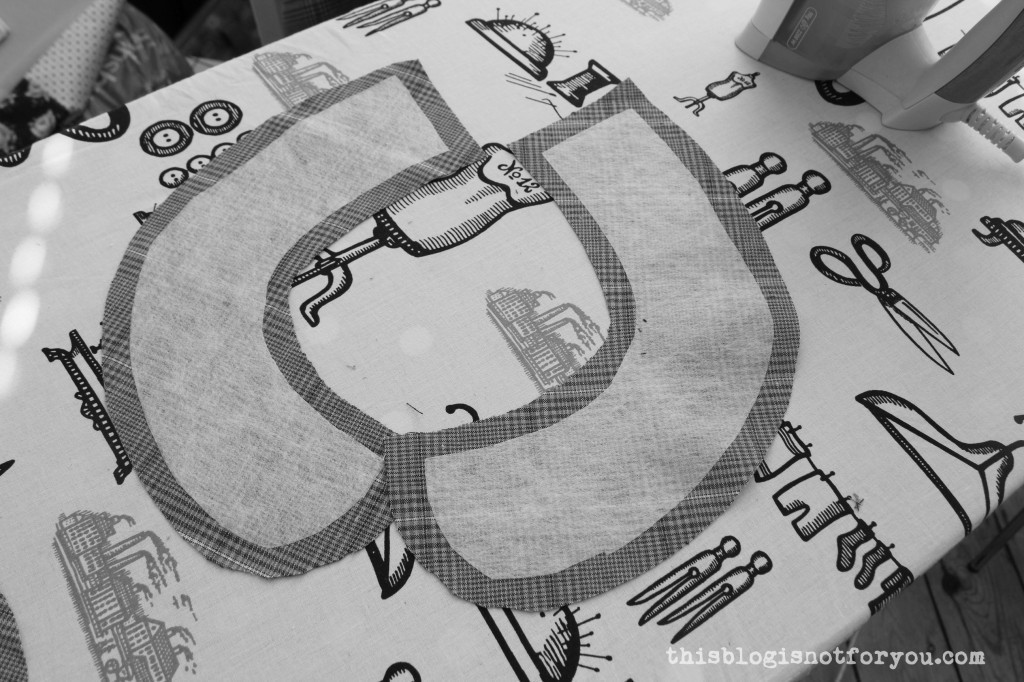 3. If not cut on fold, sew your collar pieces together at the center back. Press seam open.
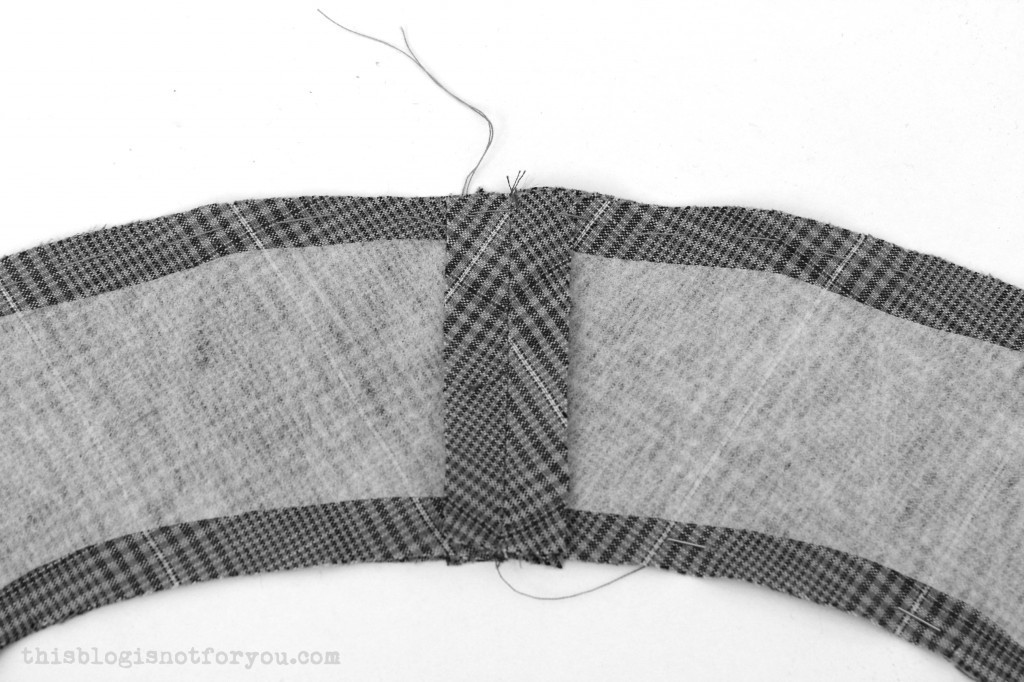 4. Pin or baste collar pieces together (right sides together) starting at the seam allowance mark at the front corner, all the way along the bottom edge. Leave the top edge as it is. Don’t sew it closed!
With this step I always prefer basting instead of pinning, but that’s just my personal preference. When basting, the fabric layers are less likely to shift, which is important when you are trying to match patterns.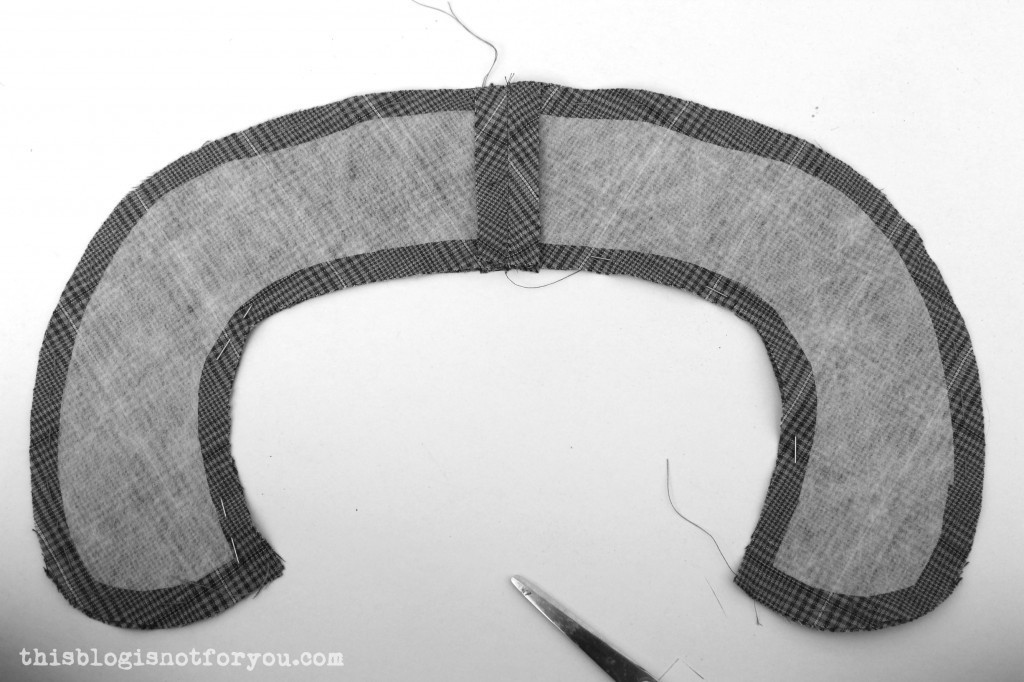 5. Sew along the pinned/basted edge using 1.5 cm of seam allowance. Before you turn the collar inside out, clip the rounded edges to remove bulk like so:
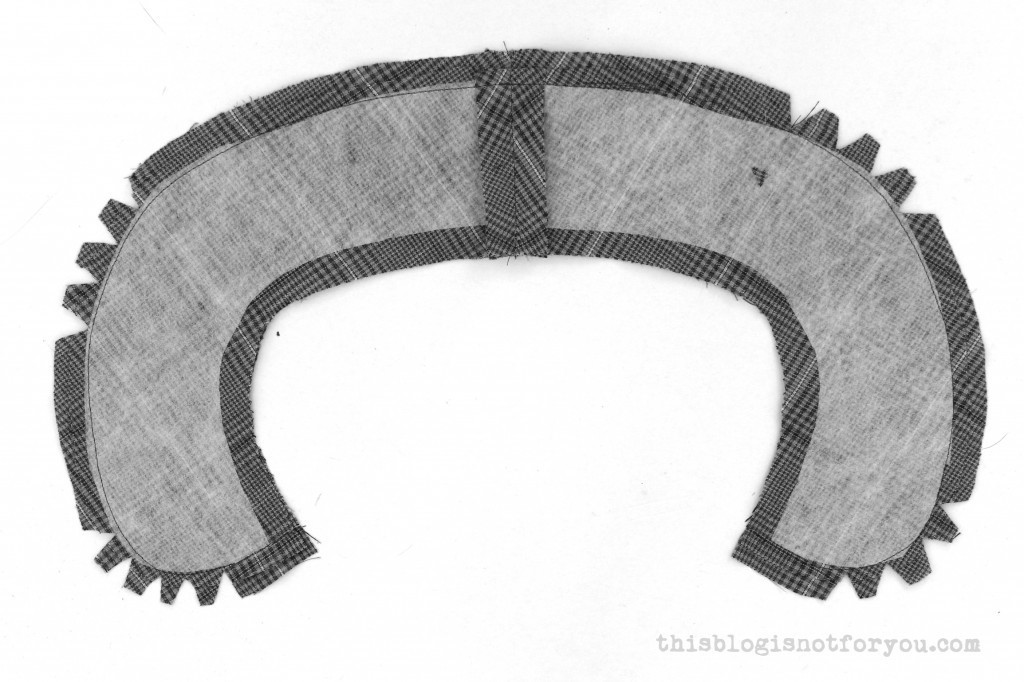 You can trim one seam allowance shorter than the other. this also helps to remove bulk.
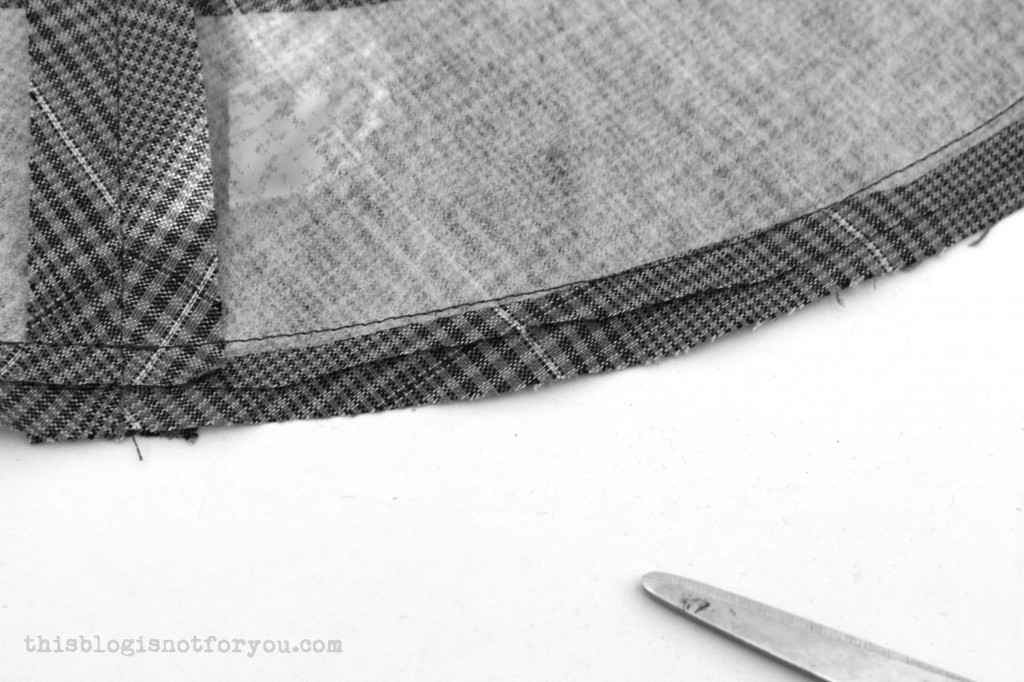 6. Turn inside out and give it a good press.
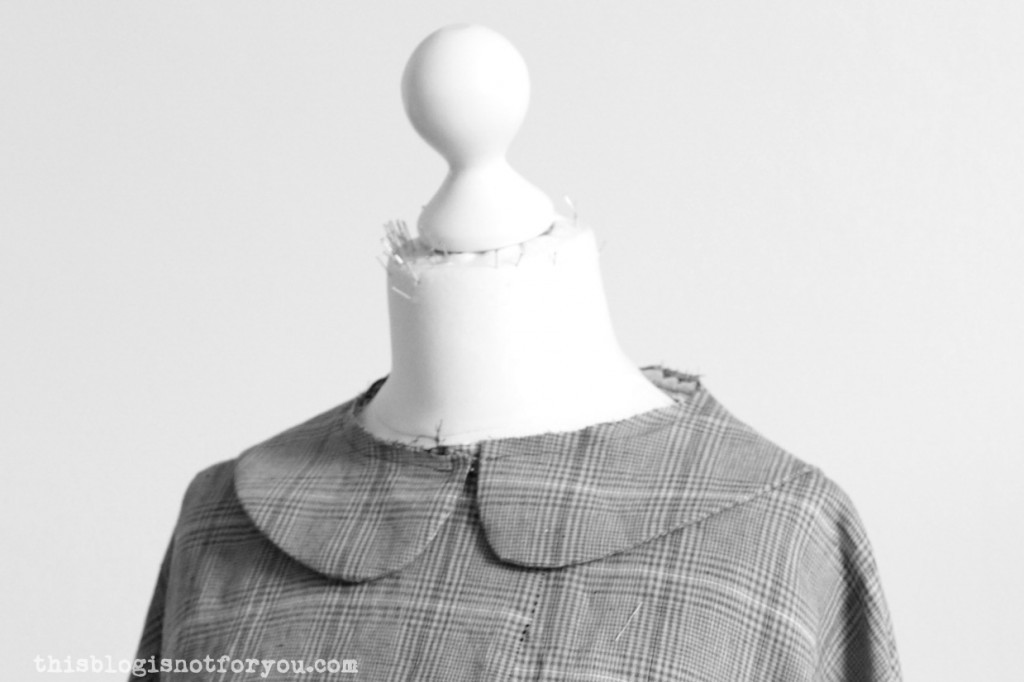
After sewing together the cape, the collar will be attached to the cape’s neckline, matched up at the center front. If you’re sewing a lined cape, you can simply sew the collar to the cape left on right (see picture below).
I will explain how to add a lining in my next sewalong post.
If you are not lining your cape, you could sew the collar onto the cape left on right, finish the raw edges, press them in and stitch them onto the cape (without catching the collar!). The stitching will be hidden under the collar.
The next part of the sewalong will be coming this week next week and covers:
Cutting Out and Sewing the Lining
Happy sewing!
♥
facebook/bloglovin/pinterest
Stay in touch!


 Depending on whether you cut directly on or slightly next to the gridlines, some pattern pieces might not match exactly at the notches. That’s ok. Try to match the pieces as good as you can, orienting yourself on the grid and and pattern lines rather than the notches. Use the notches as a guide to match the right pages (they can be a bit off, as long as all the gridlines are parallel/perpendicular and the pattern lines are matched up).
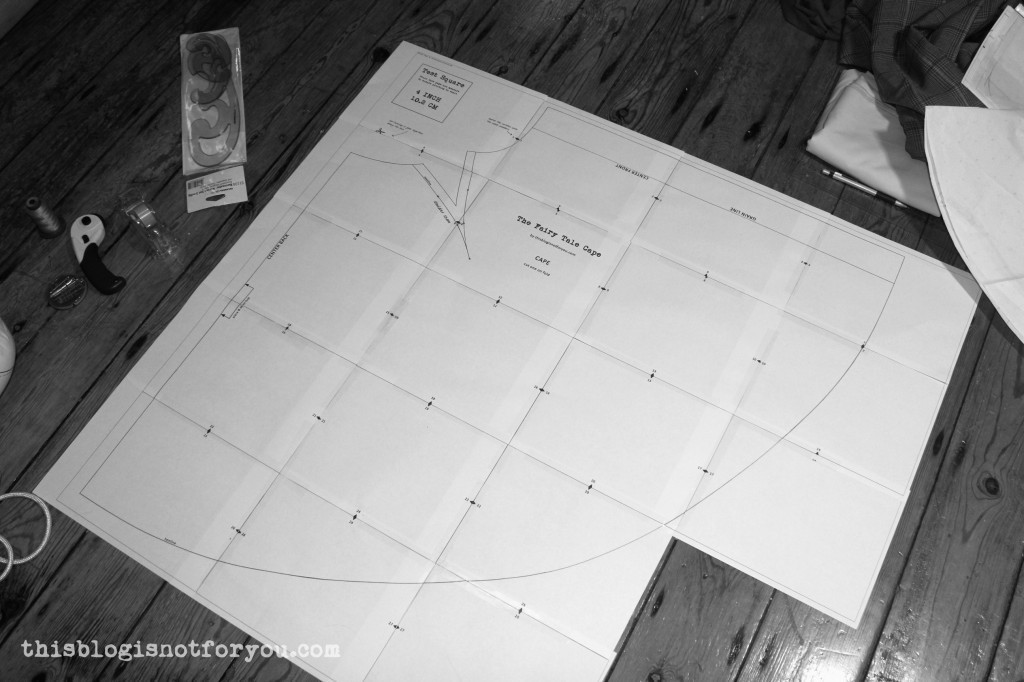
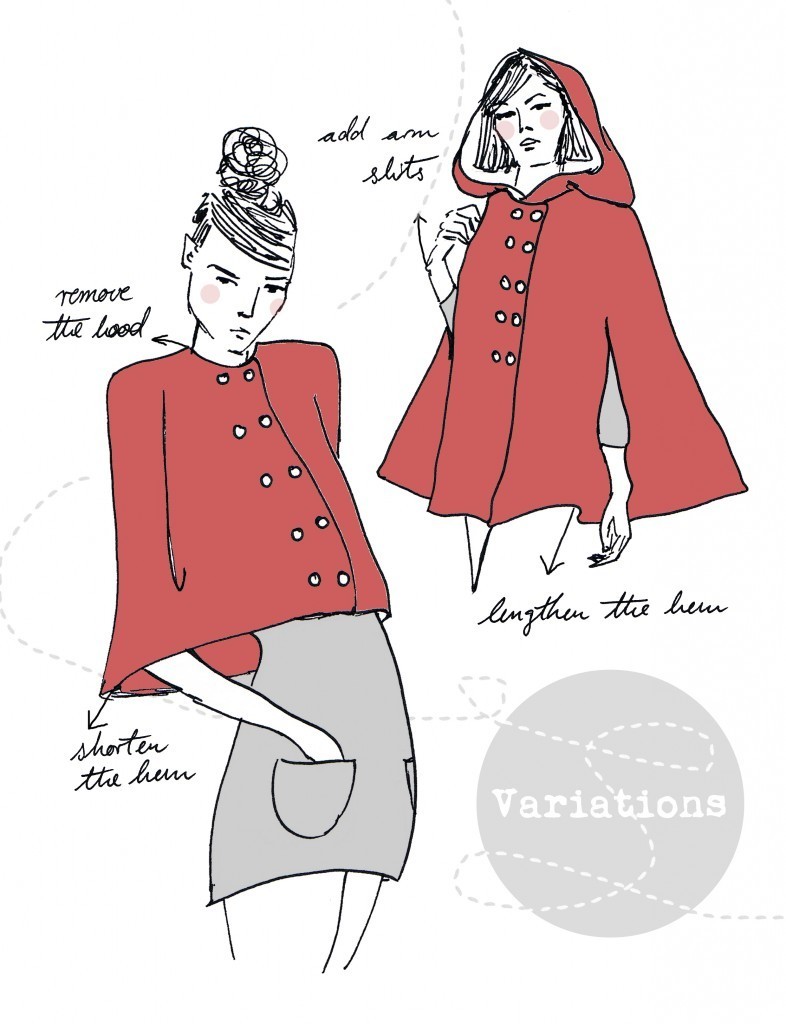
 Armslits don’t neccessarily require a lining, but for a more professional result I’d recommend adding one. The armslits are cut into the fabric at quite a late stage in the process. If your cape isn’t lined at all, you can even decide to add them at a later stage after the cape is finished. Adding armslits does not require much extra fabric, you can even use a different fabric in a contrasting colour.

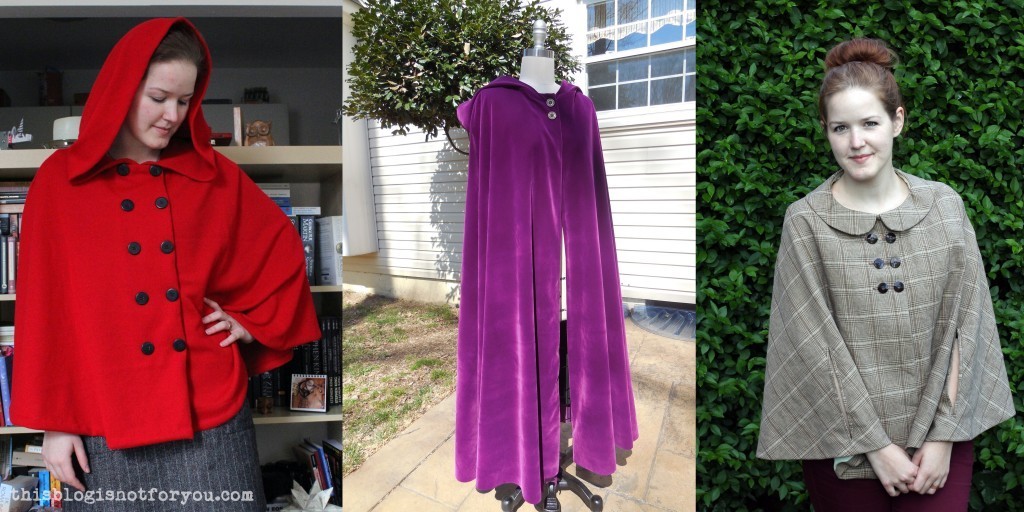
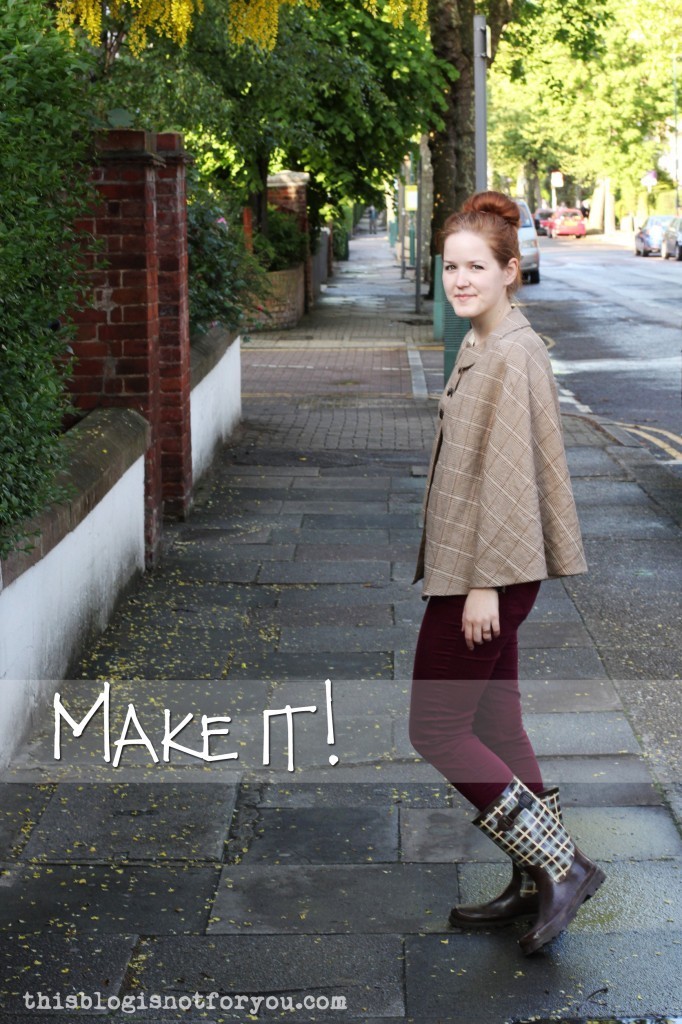 Hello my fabulous sewalongers! My
 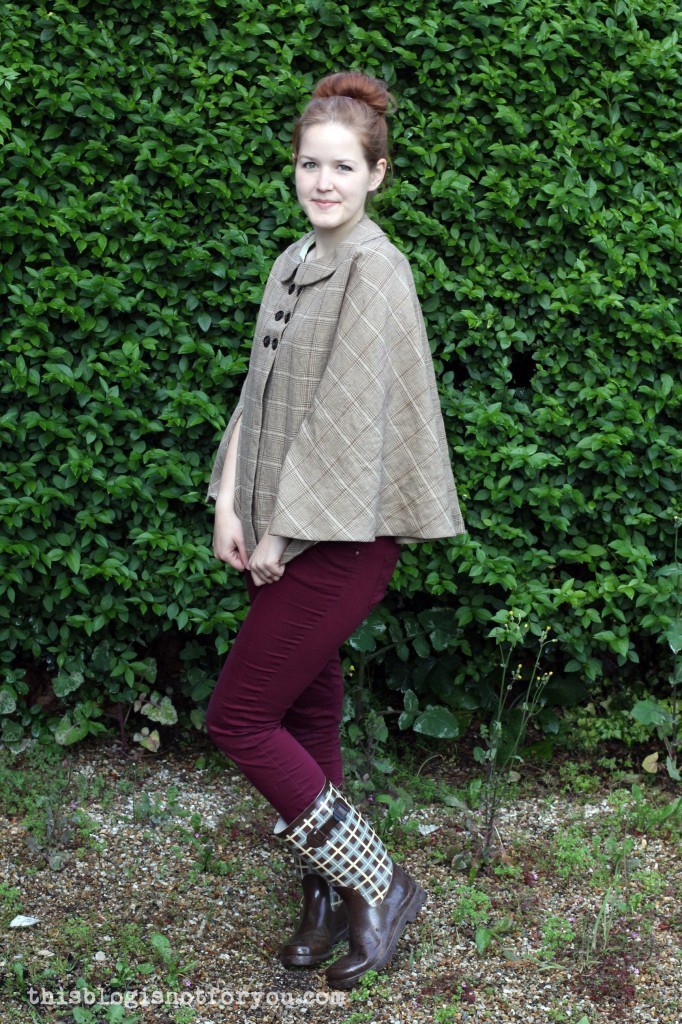 Very sherlock-y, isn’t it? And it was raining here in Londontown, that’s why I’m wearing gumboots. (That was last week – now the weather is just perfect and sunny and I could wear my
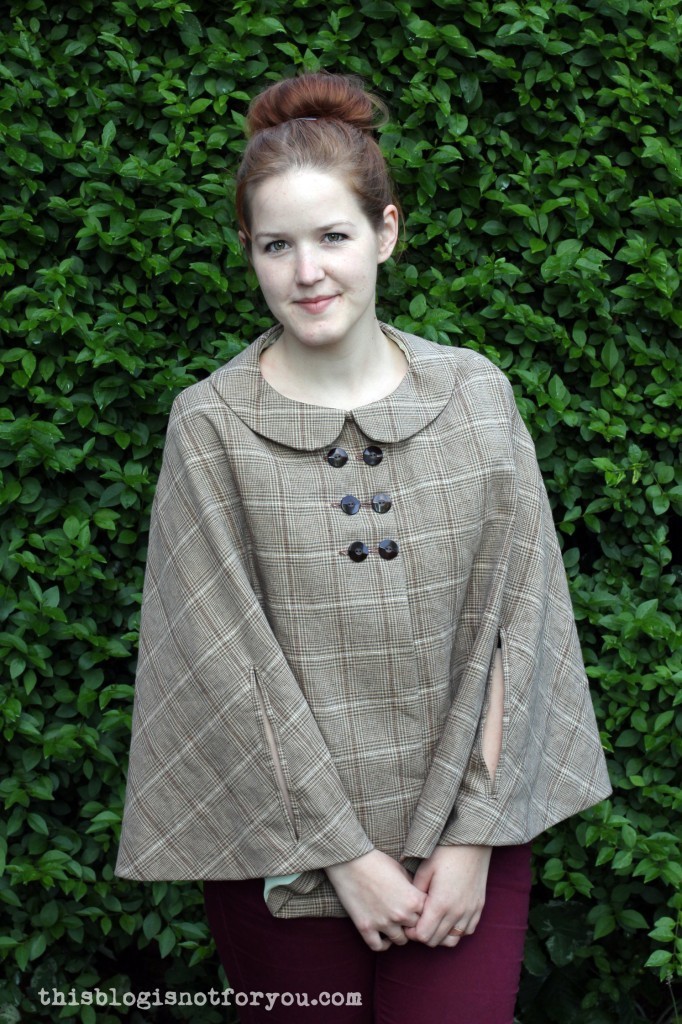
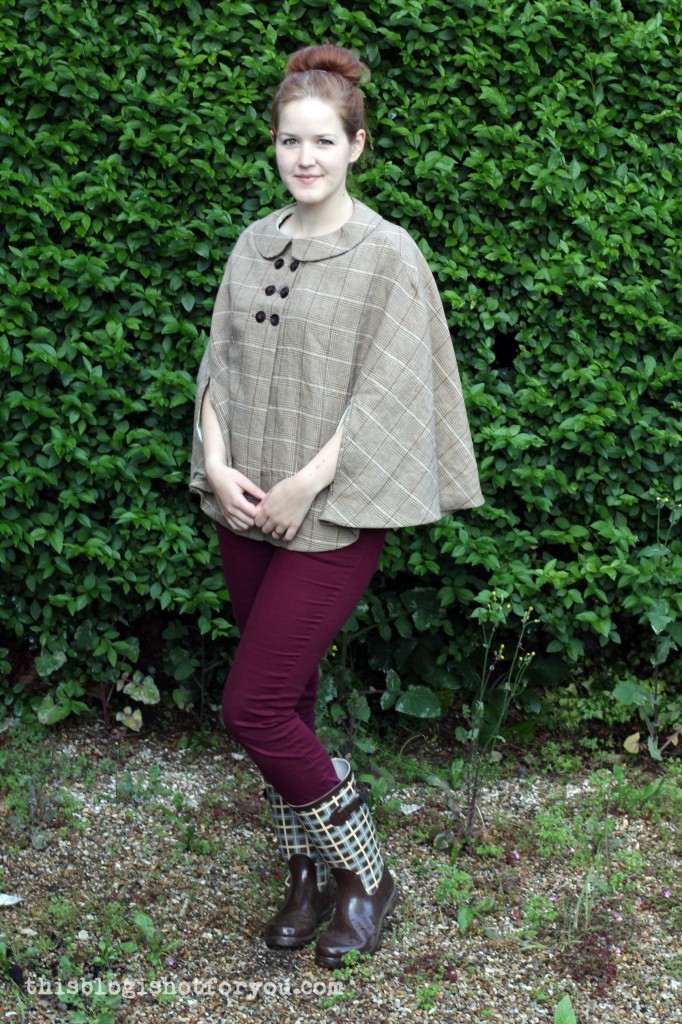
 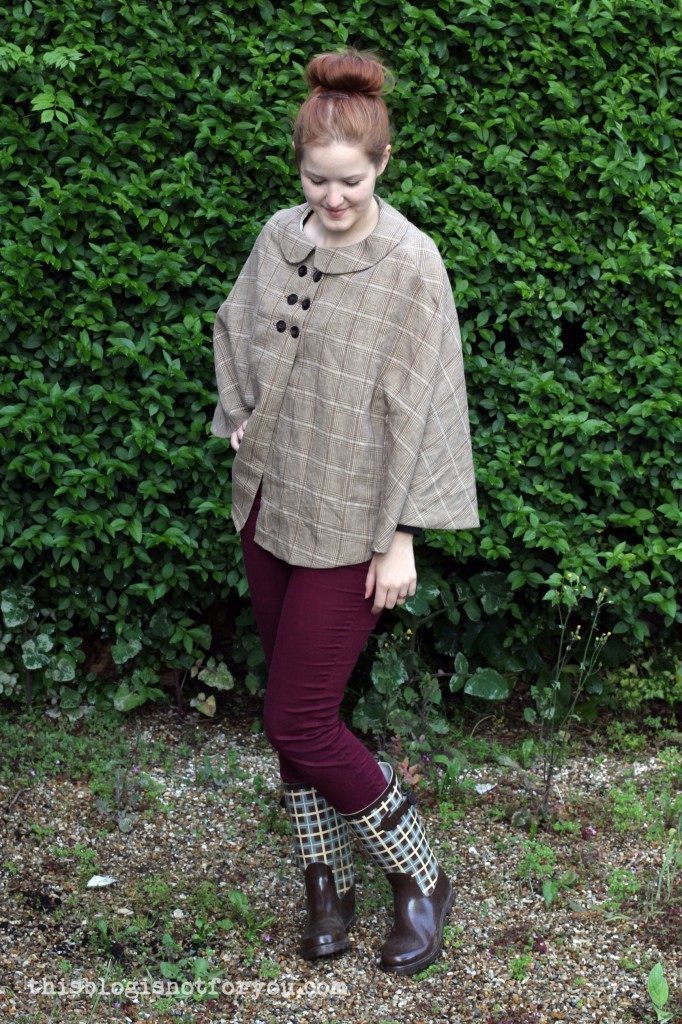 I kept the length of the cape, but decided to swap the hood for a cute Peter Pan collar! Instead of
 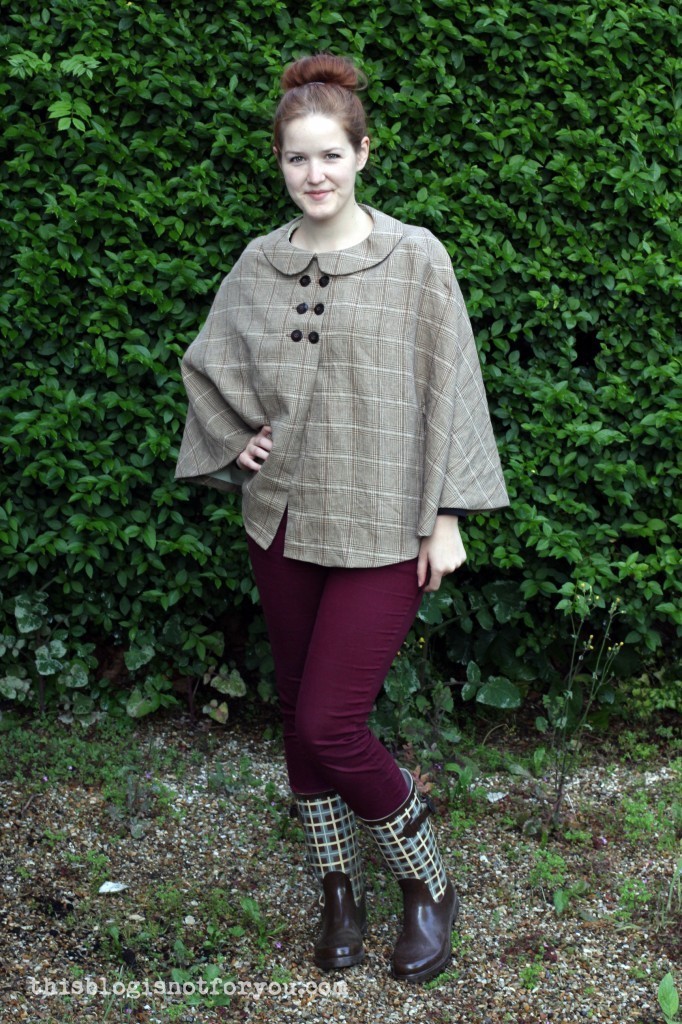 The fabric is soft, lightweight linen I bought at Saeed’s Fabrics in Walthamstow. It is lined with soft lime-coloured cotton.
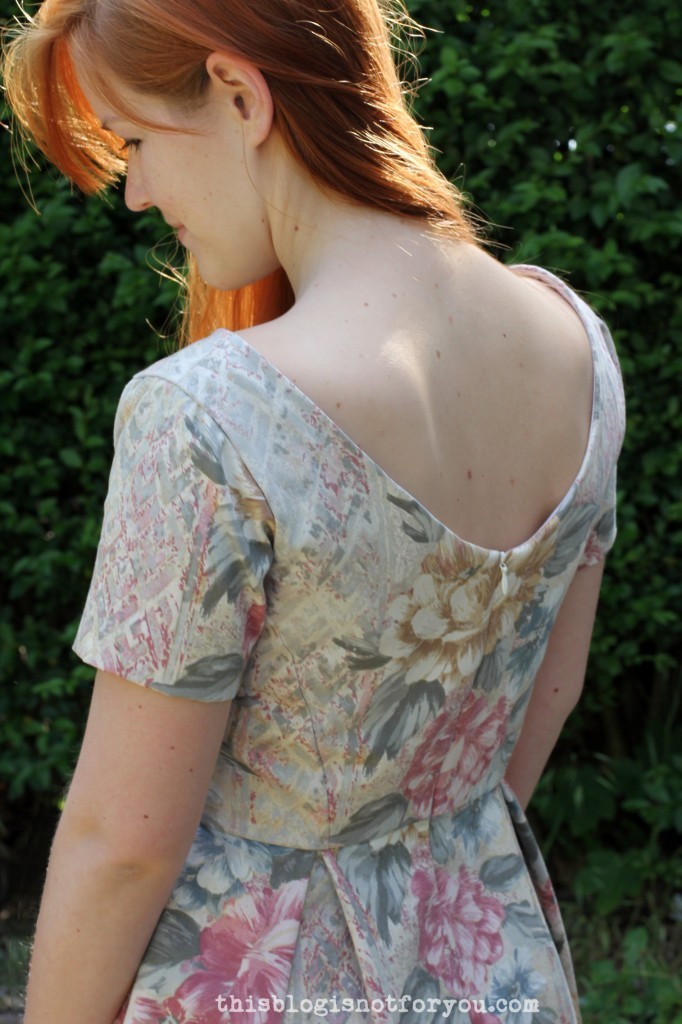
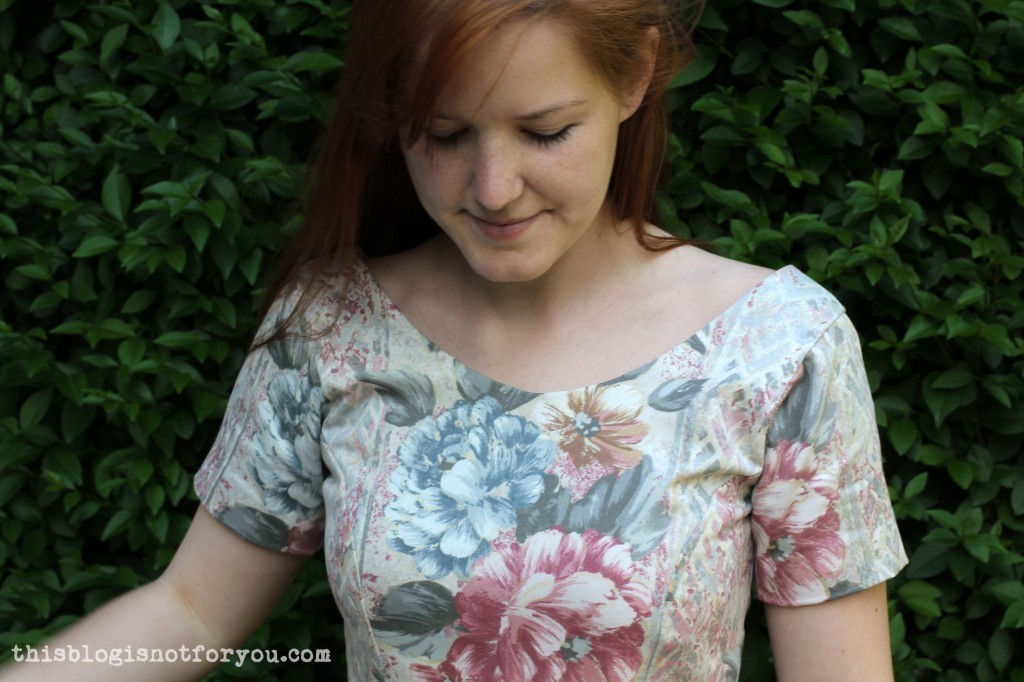
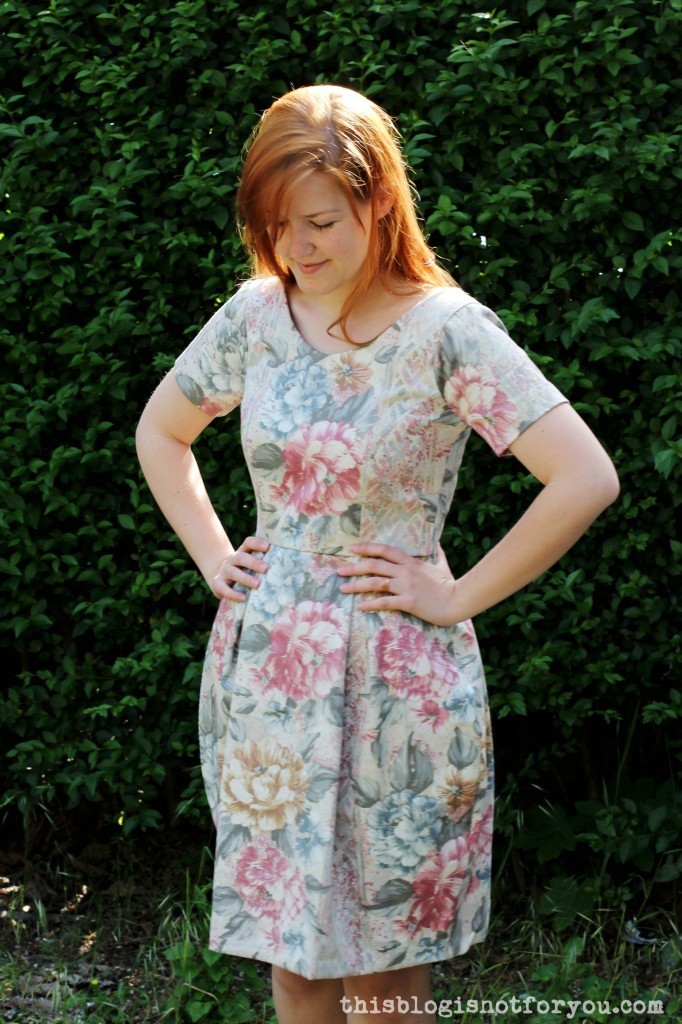 Hooray! The sun’s finally back out here in London and I bribed Mr Thisblogisnotforyou into taking some pictures of my recent makes. After almost a year I finally, finally managed to sew the Elisalex dress by
 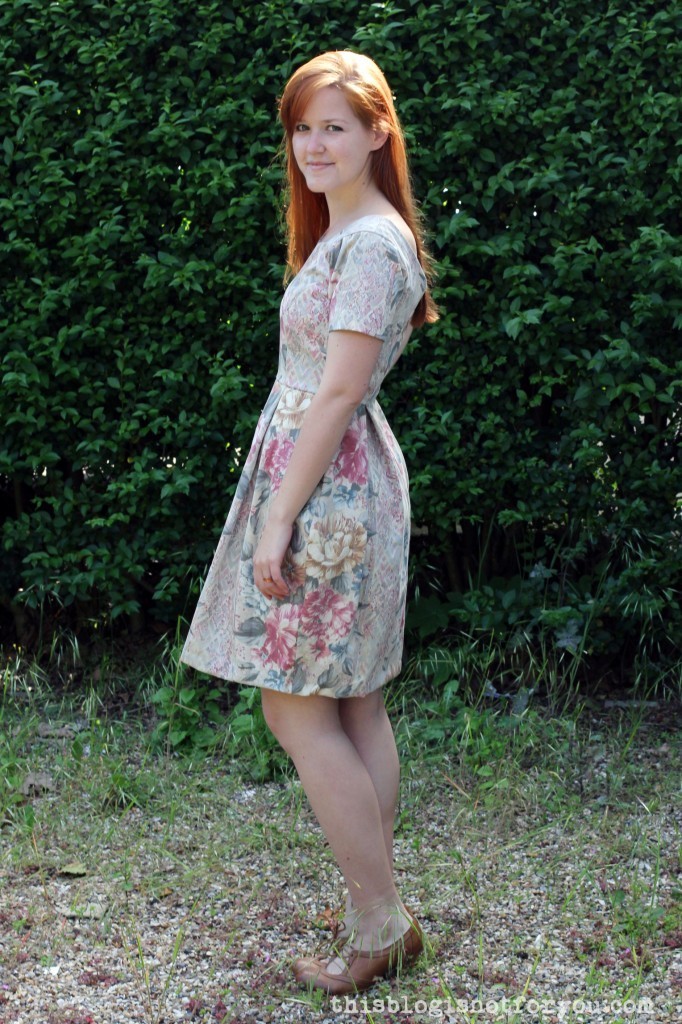 Normally I complain a lot about what went wrong during the sewing process, but this time I really can’t complain about anything – except for my inability to stand straight on gravel when wearing heels. This is why I risked showing you the ugly front of our flat..ehh our neighbours flat, of course. We surely are not the ones with the pealing paint and empty flower pots.
 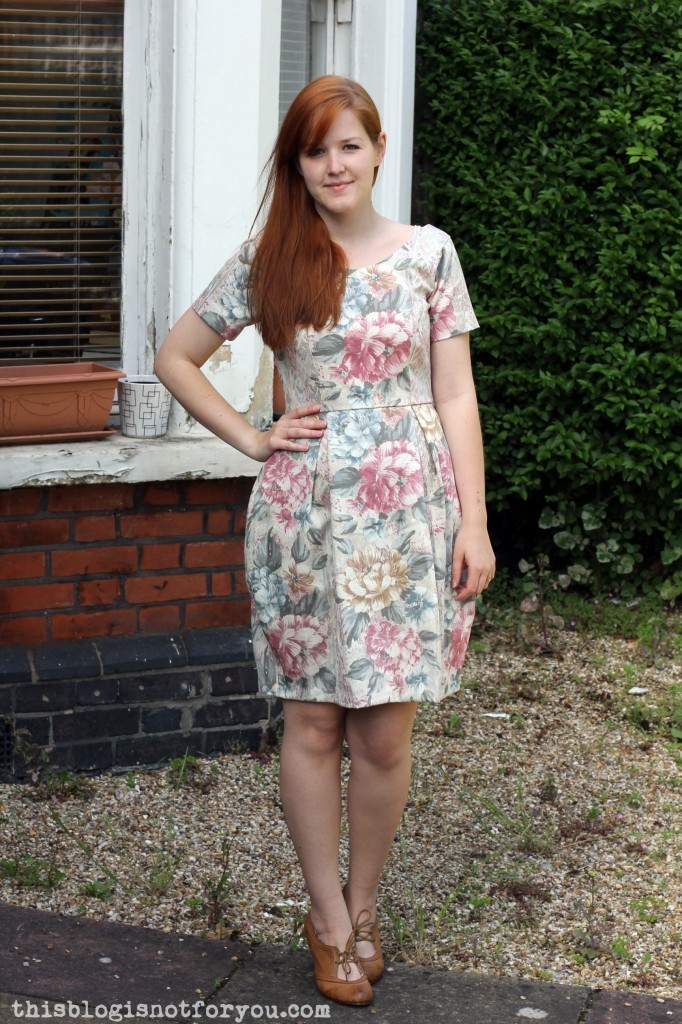 I hadn’t made something with princess seams in quite a while, so I actually made a toile, which fit so well that I ended up using it as bodice lining – win! I cut out a size 10 – according to the BHL measurements it’s exactly, EXACTLY my size. Since the skirt is super voluminous I didn’t even have to grade up the bottom part. Another win!
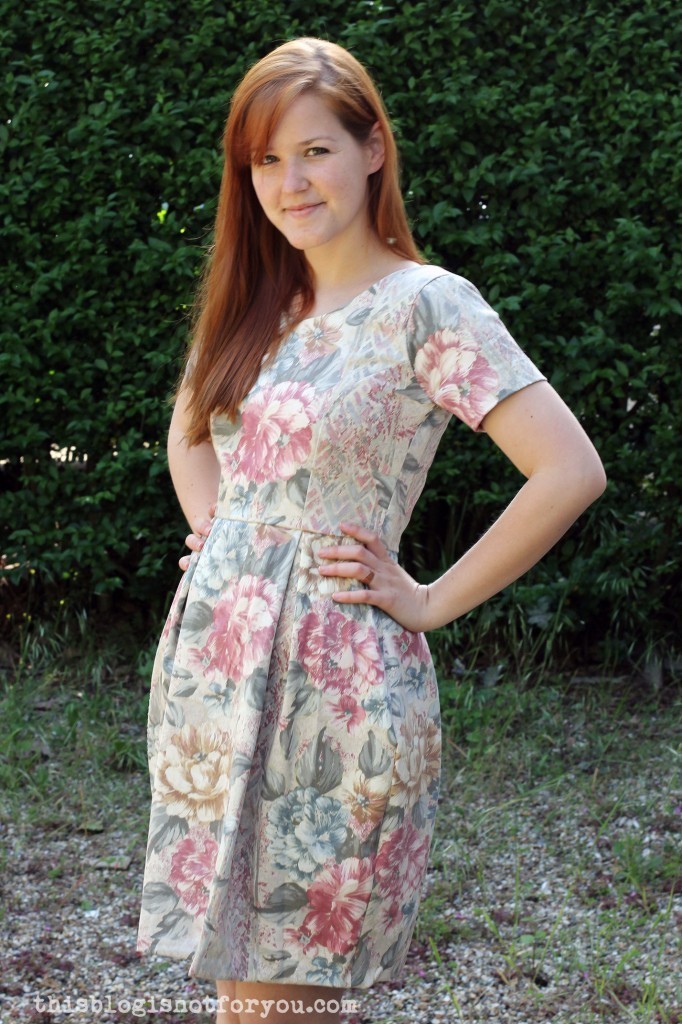 As for the fabric, well. I was inspired by
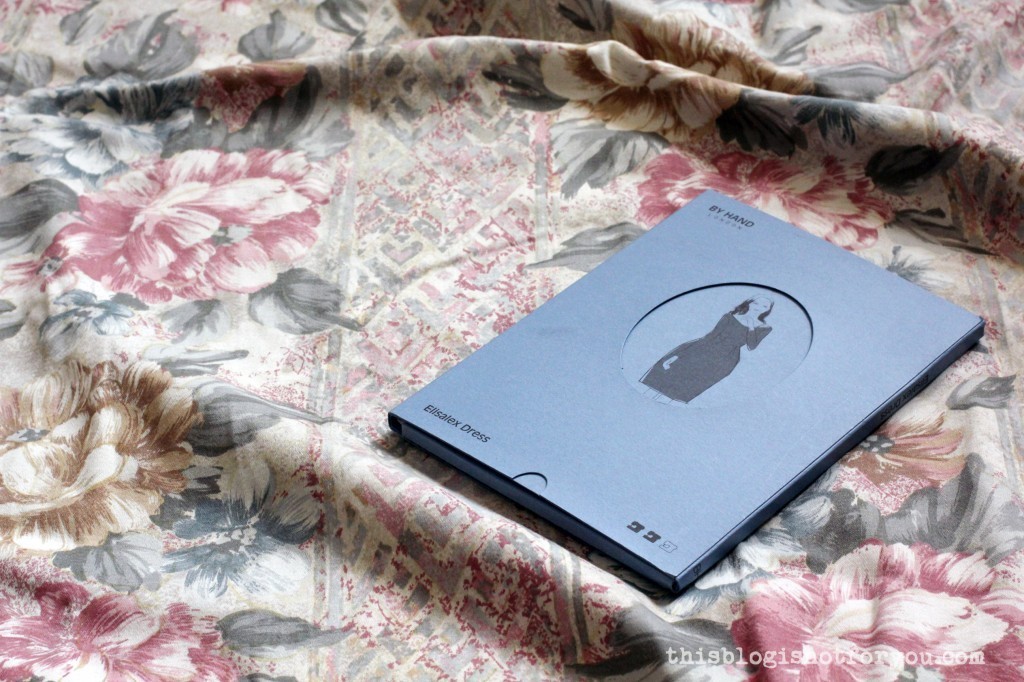
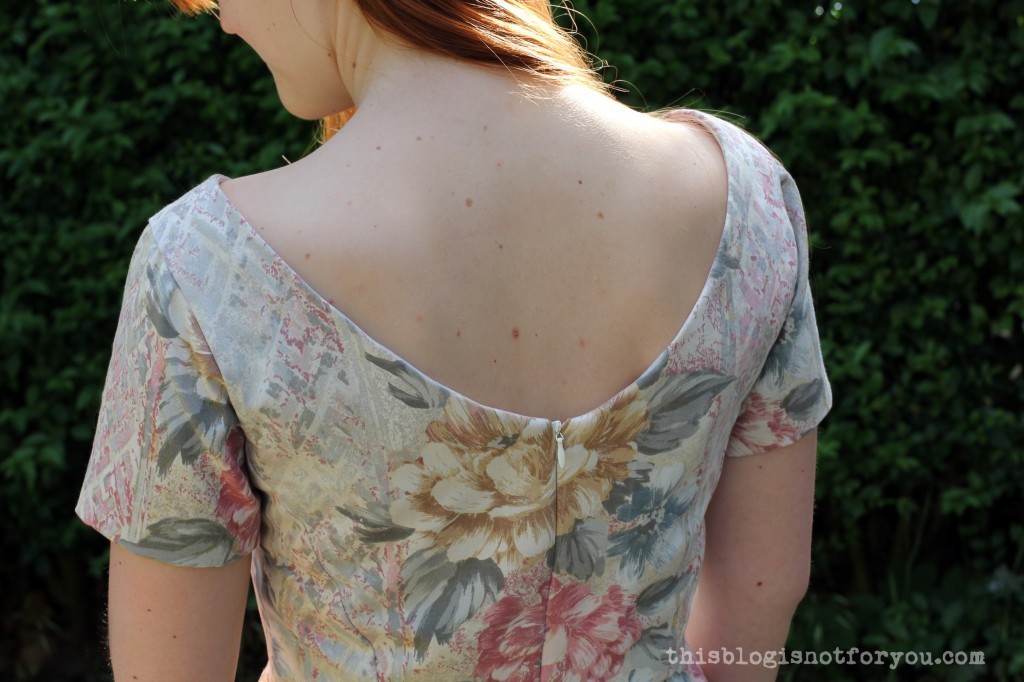
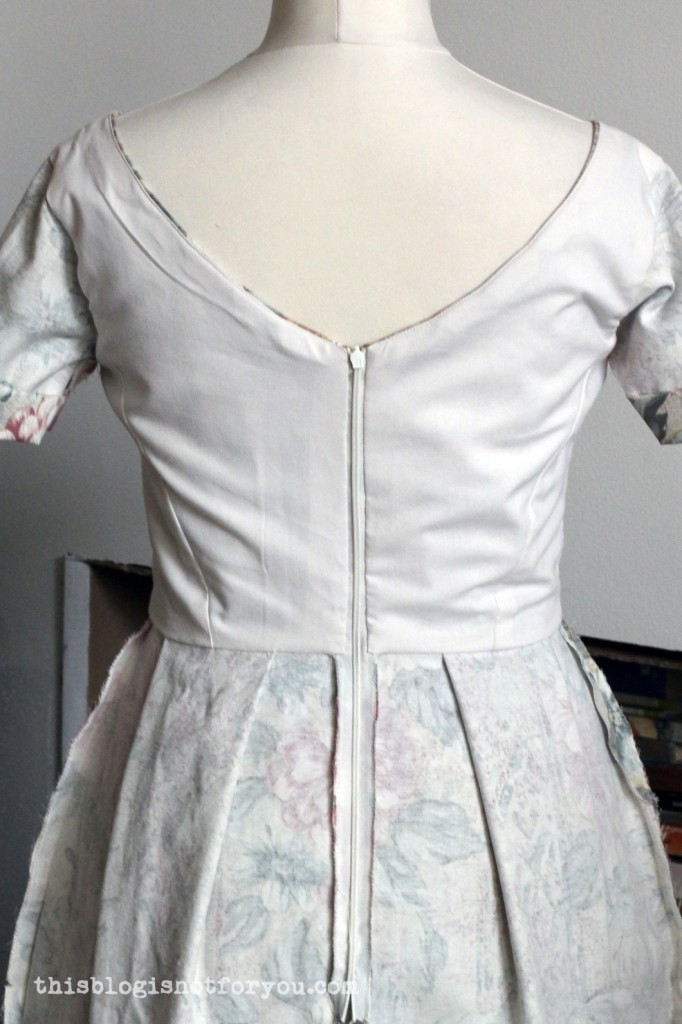 The bodice lining needs to be sewn on by hand which took quite a while, but you all know that I have a weird masochistic fondness for handsewing.
 The only drawback of the pattern is that the lenth of the skirt is acutally 77cm, which I find is way too long and unflattering. It’s also a bit misleading that none of the pictures on the By Hand London website show the acutal length of the dress, but only shorter versions. The inobservant sewer might buy and cut out way too much fabric and end up chopping off half of the skirt. But that’s the only con, really.