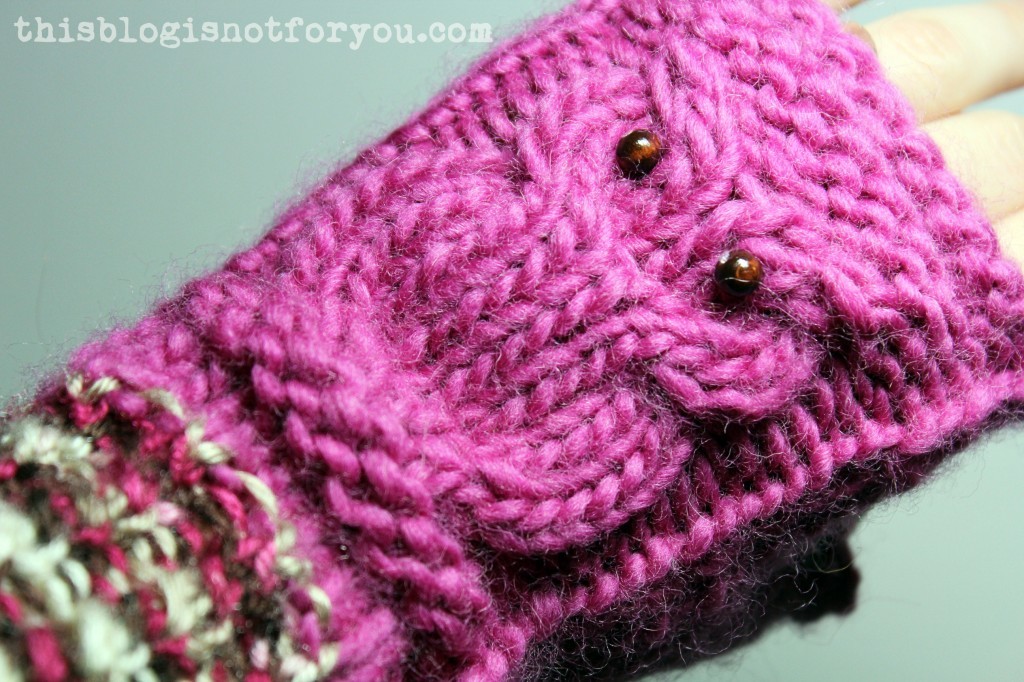
Helloooo! I can’t believe it’s been two weeks since my last post. Yeah, I should be ashamed. But I’ve been working hard, both at my job and at my creative space at home. I try and make several little projects at the moment that are not blog post-worthy yet. And I’ve been knitting. A lot. I finished a scarf, a beanie, one mitten and am now working on the second one.
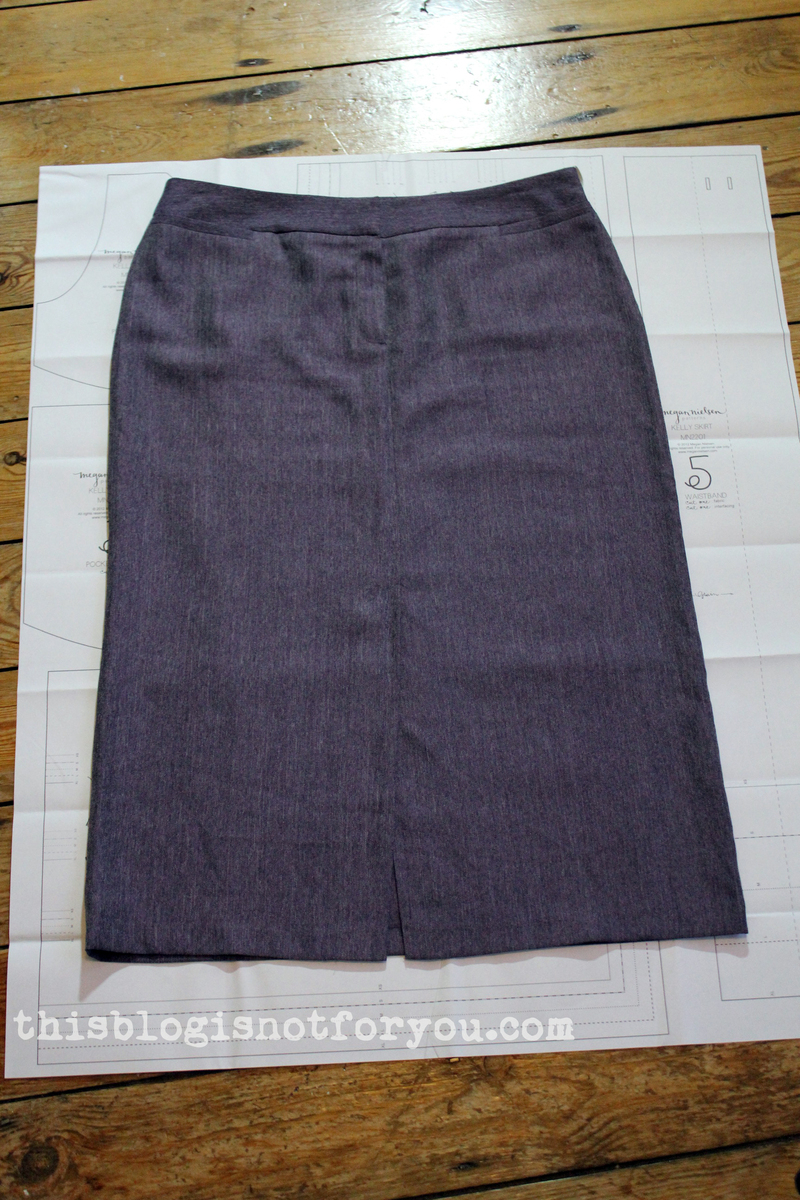
Last weekend I decided to make something without a pattern. I had this very cool cotton jersey I scored at the fabric swap in August, so again a didn’t-cost-me-a-penny-dress.
It’s a super simple cut, only three seams and a simple hem. Some facing at the neckline and you’re done.
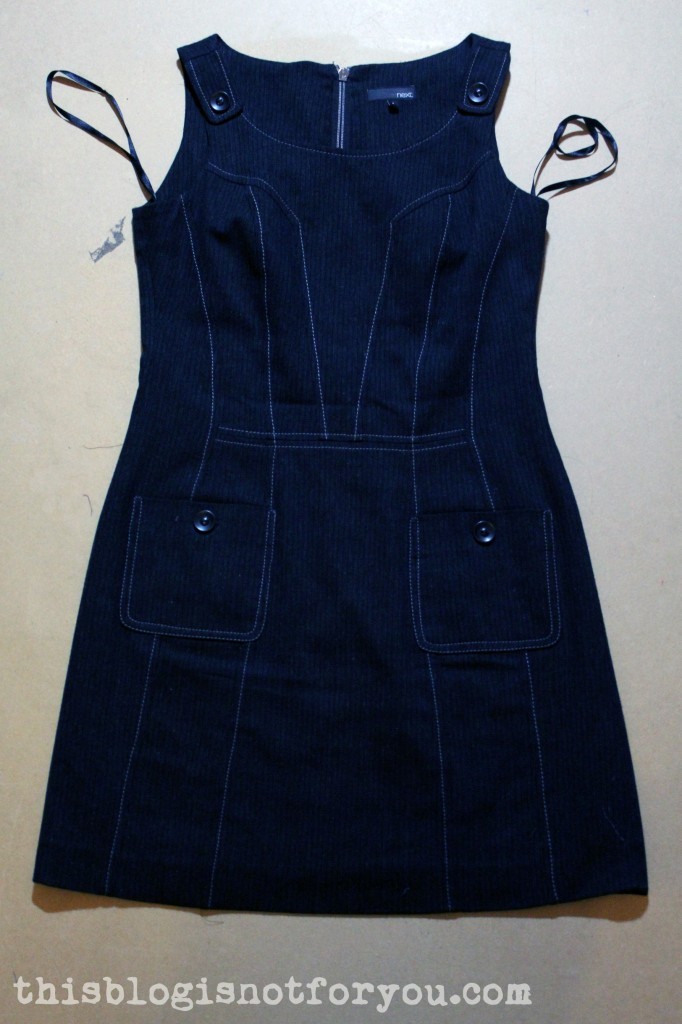
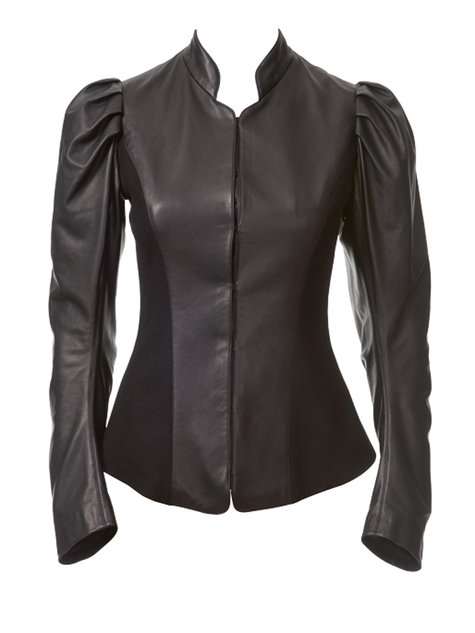
I wanted a simple, elegant cut and decided to use one of my old shirts as a template.
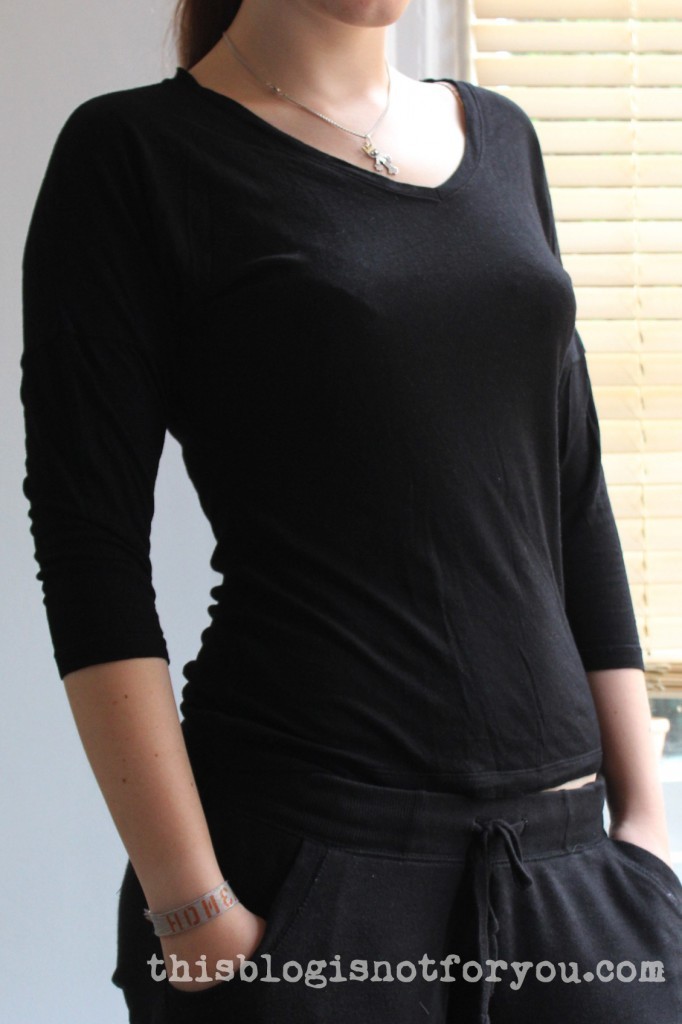
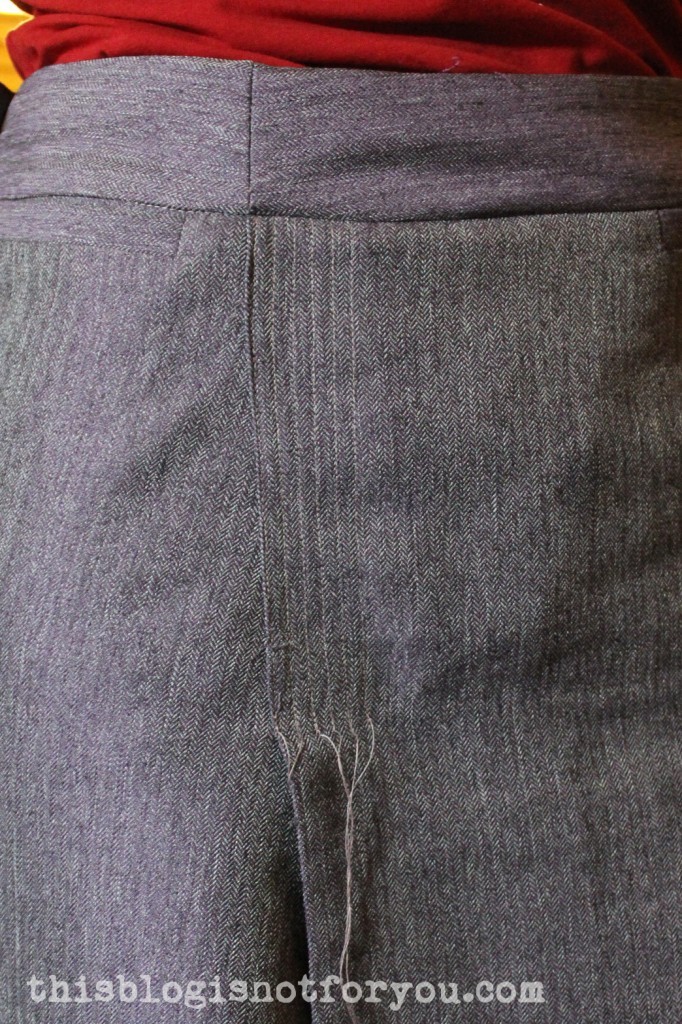
The shirt had batwing sleeves which I really liked. But apart from the sleeves, the fit was horrible:
 So before starting on the actual dress, I did a five minute refashion on this old shirt.
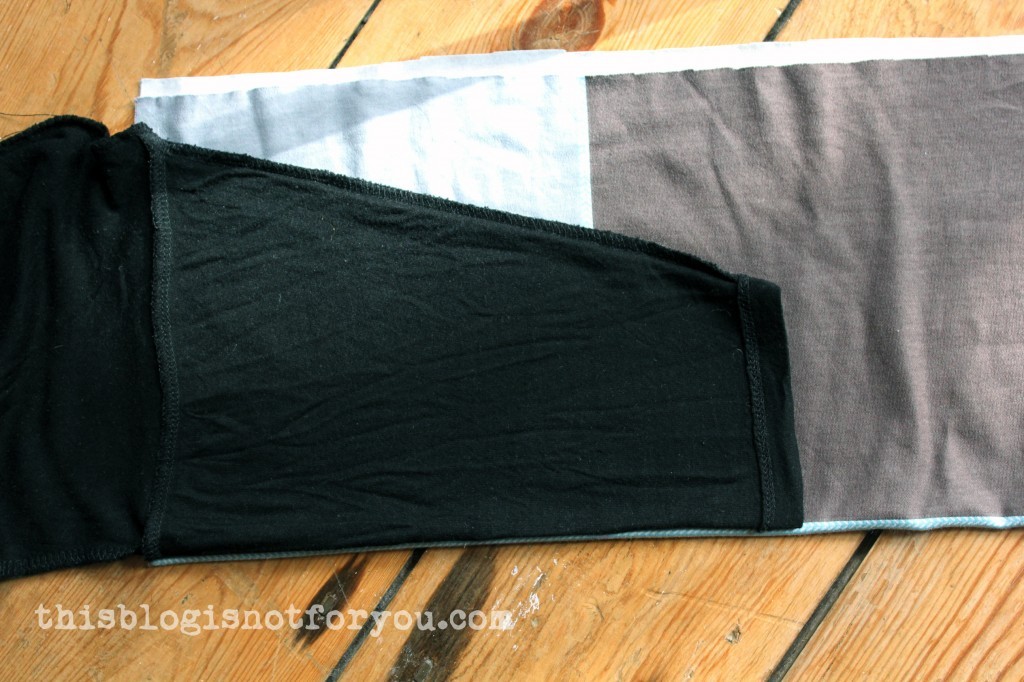
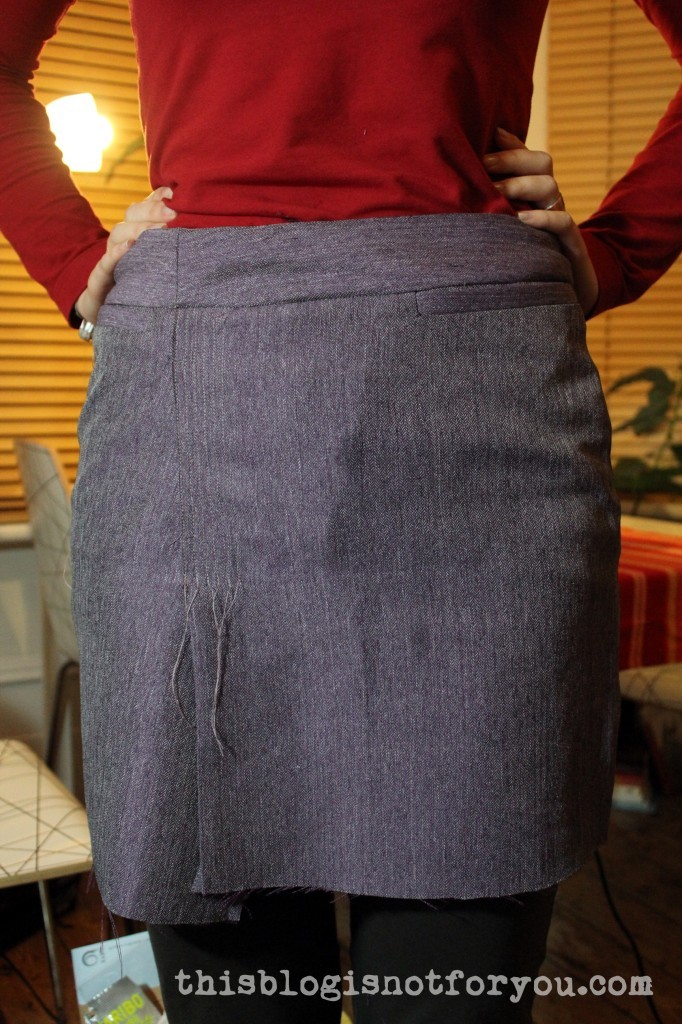
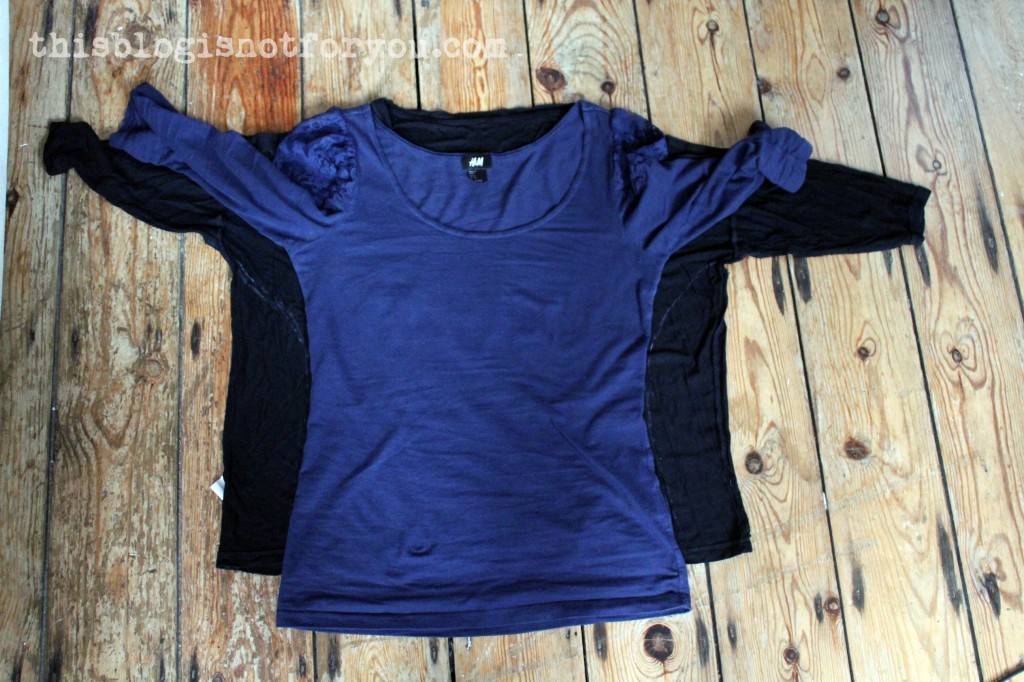 I took another shirt that fits me well and used it to mark the lines of the side seams with chalk, keeping the batwing sleeves.
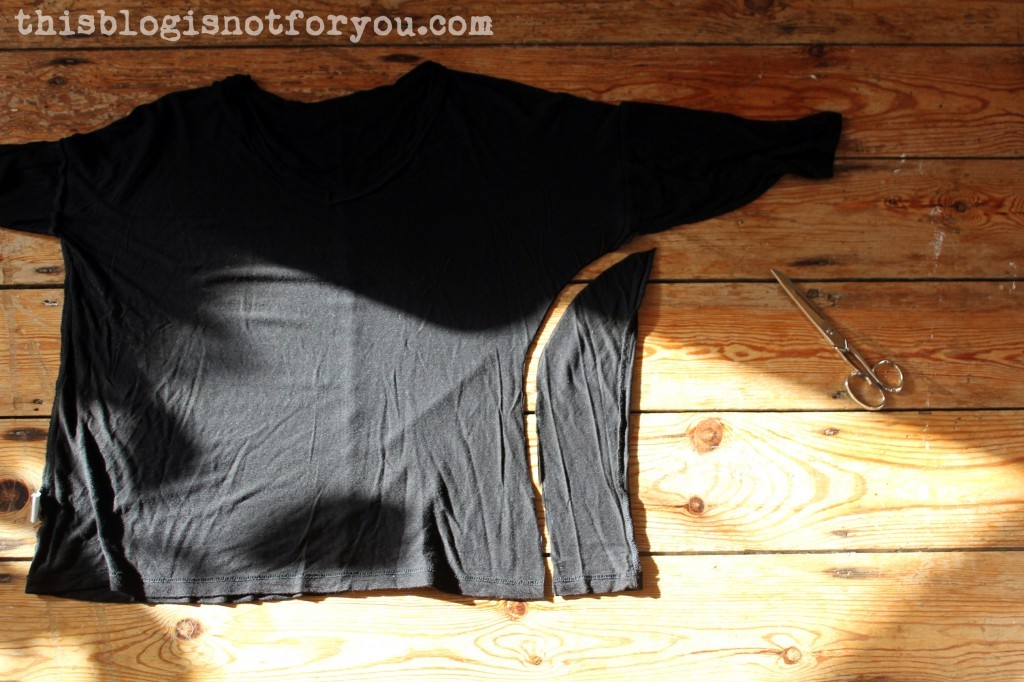 I cut only one side and used the chopped off piece as a template for the other side.
 Chop, chop! I sewed the side seams and ….done!
 Much better, don’t you think?
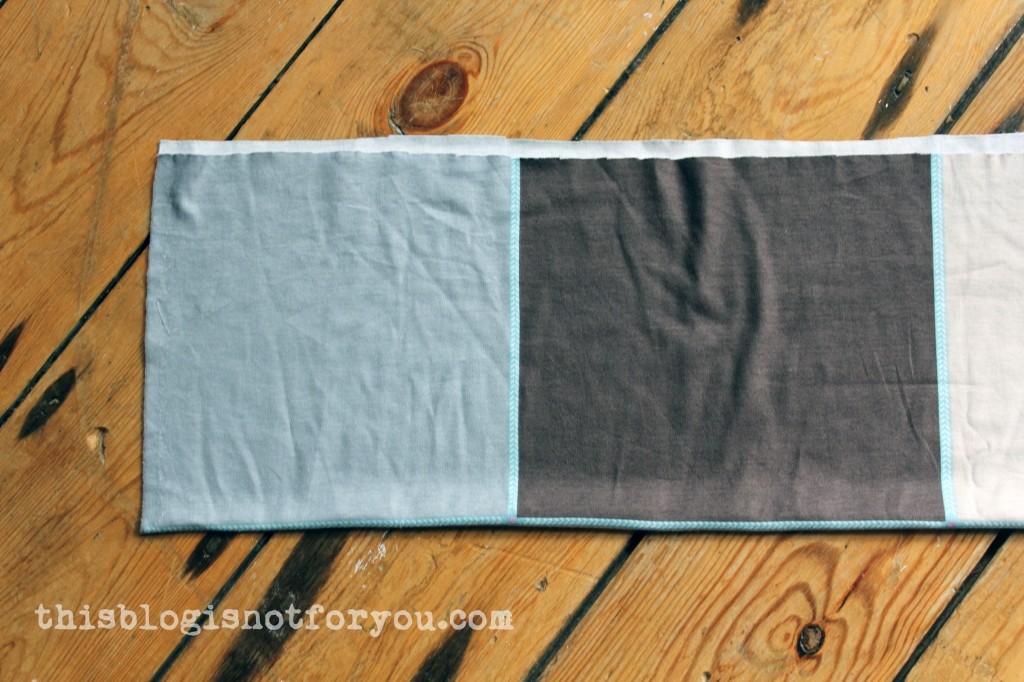
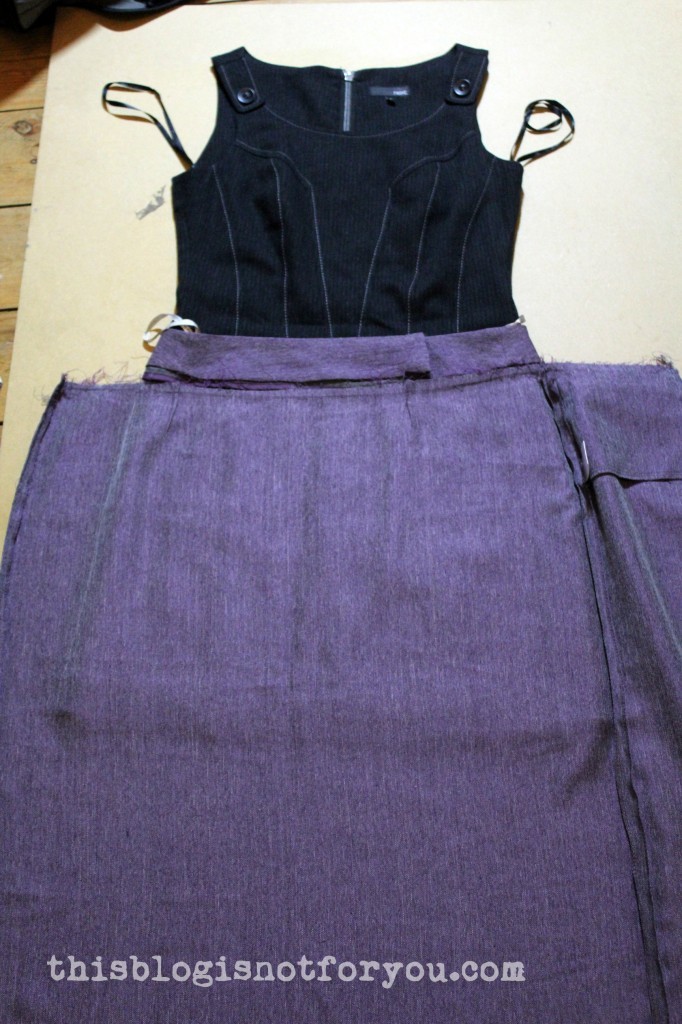
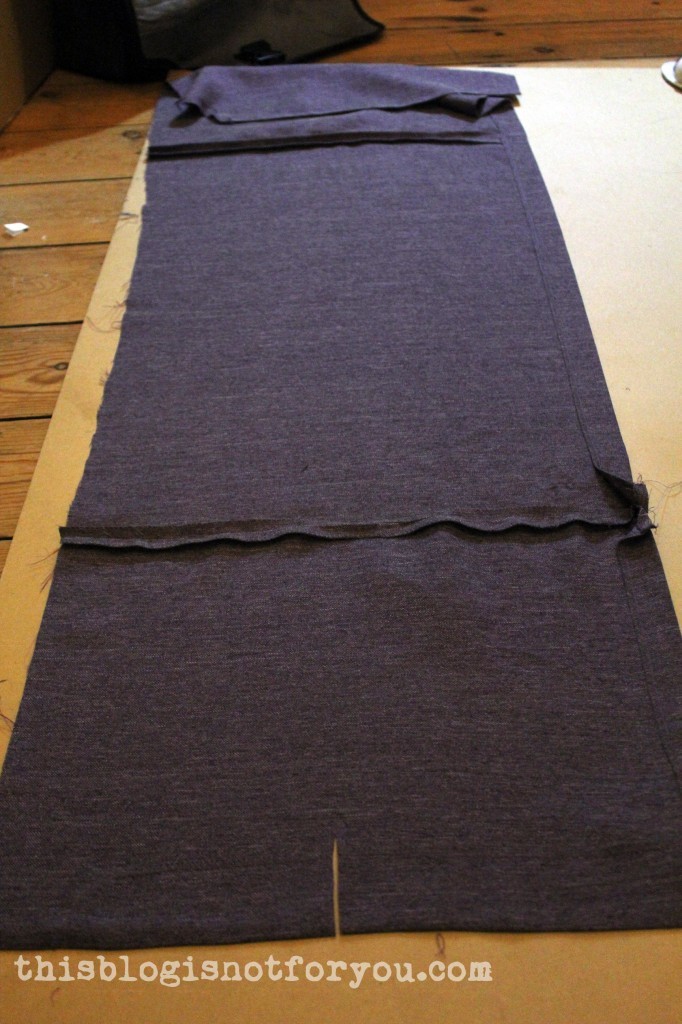
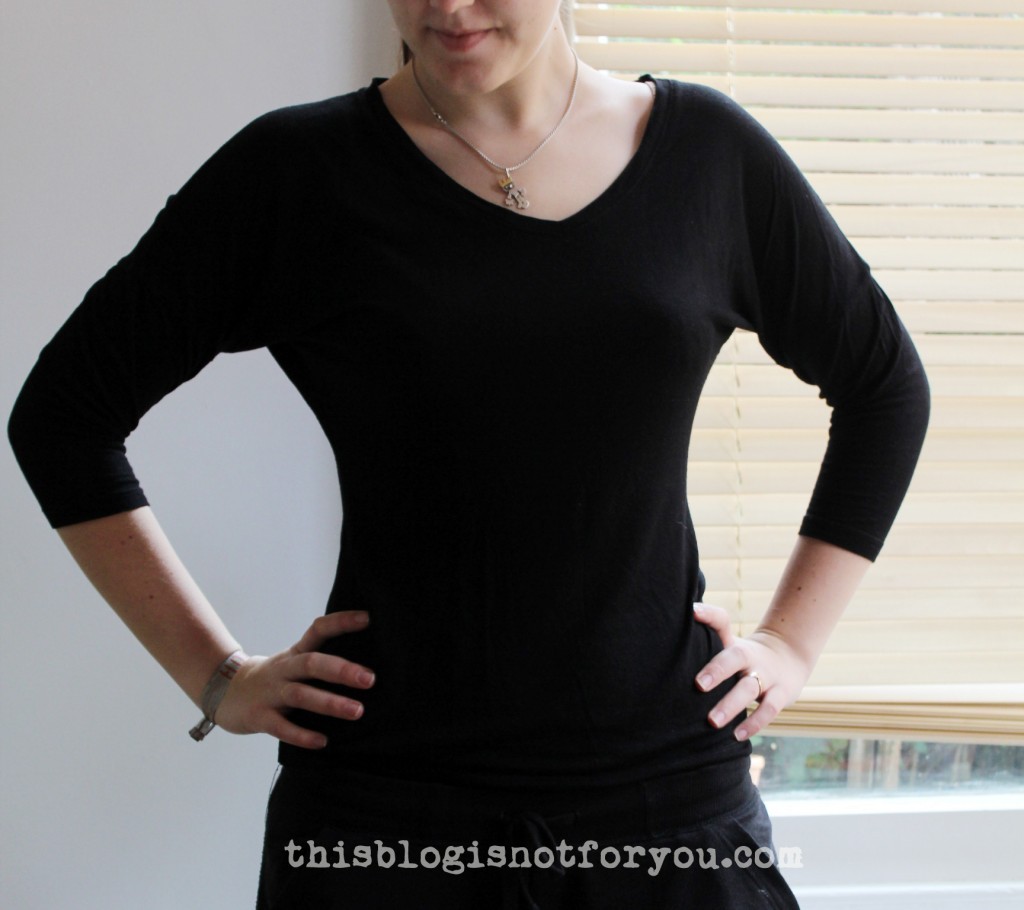 I placed the shirt on top of my spread out fabric and basically just cut around it. The sleeves were in two pieces, the shoulder seam ends somewhere mid upper arm.
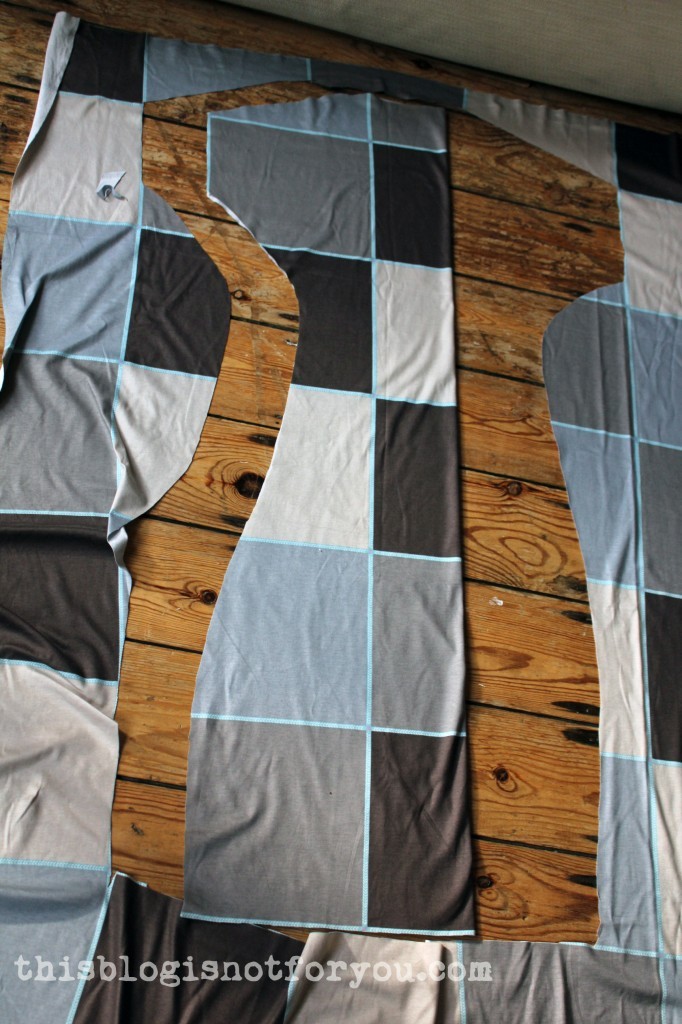 I folded the cut out front panel in half to make sure everything was symmetrical.
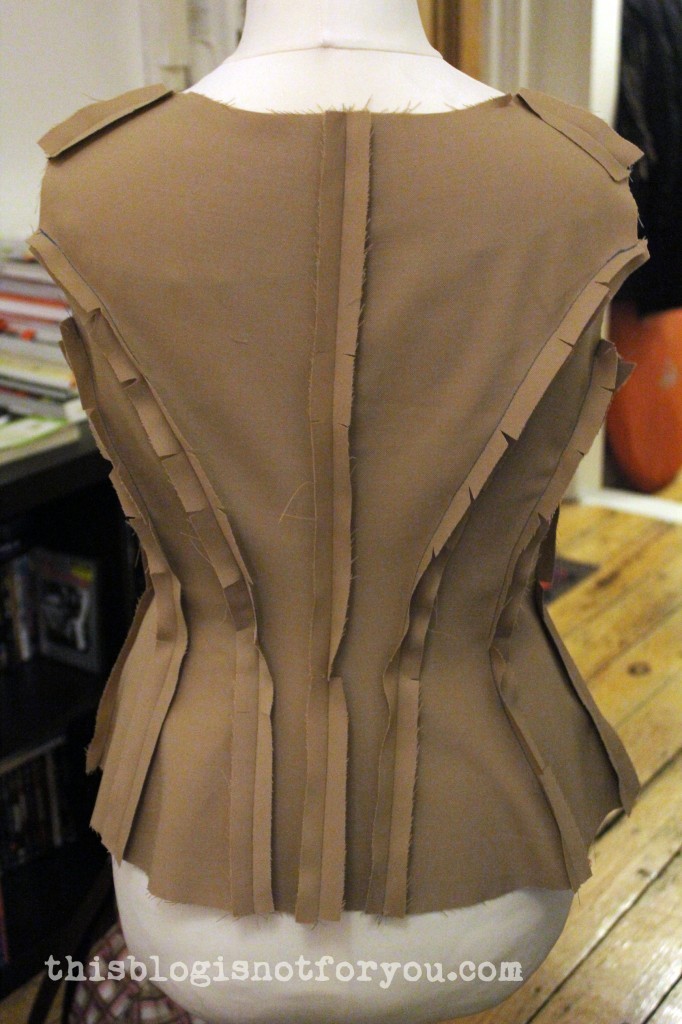
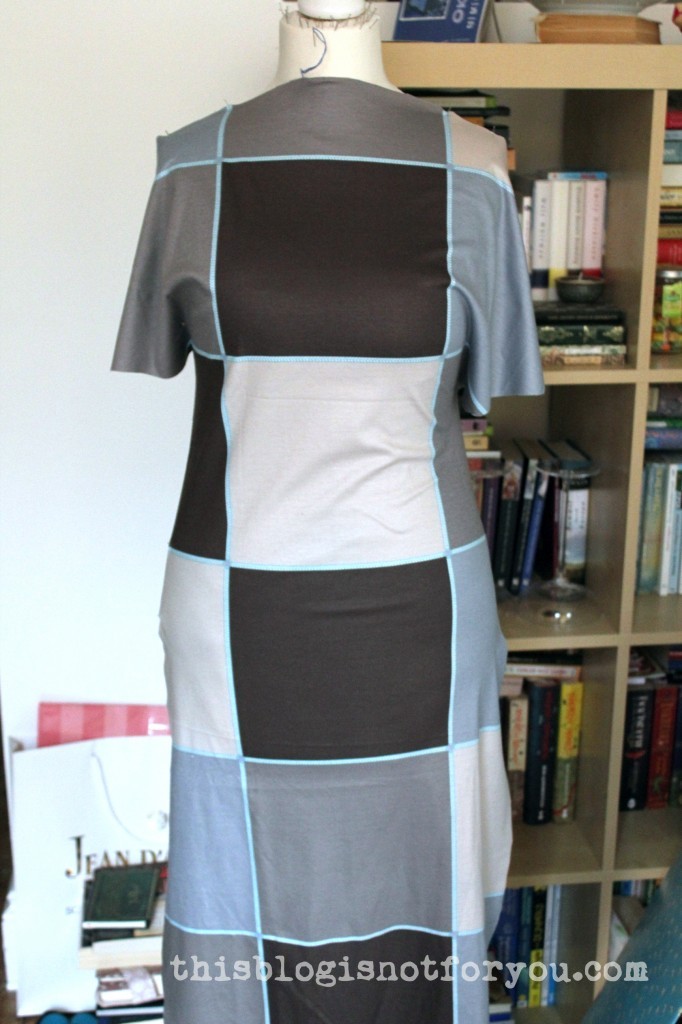 Pinned onto the dressform to figure out the neckline. Chop, chop!
 I just used the front panel to cut out the back, making sure all the lines matched up.
 For the sleeves I used two rectangular pieces and cut on fold using the shirt’s sleeves as template.
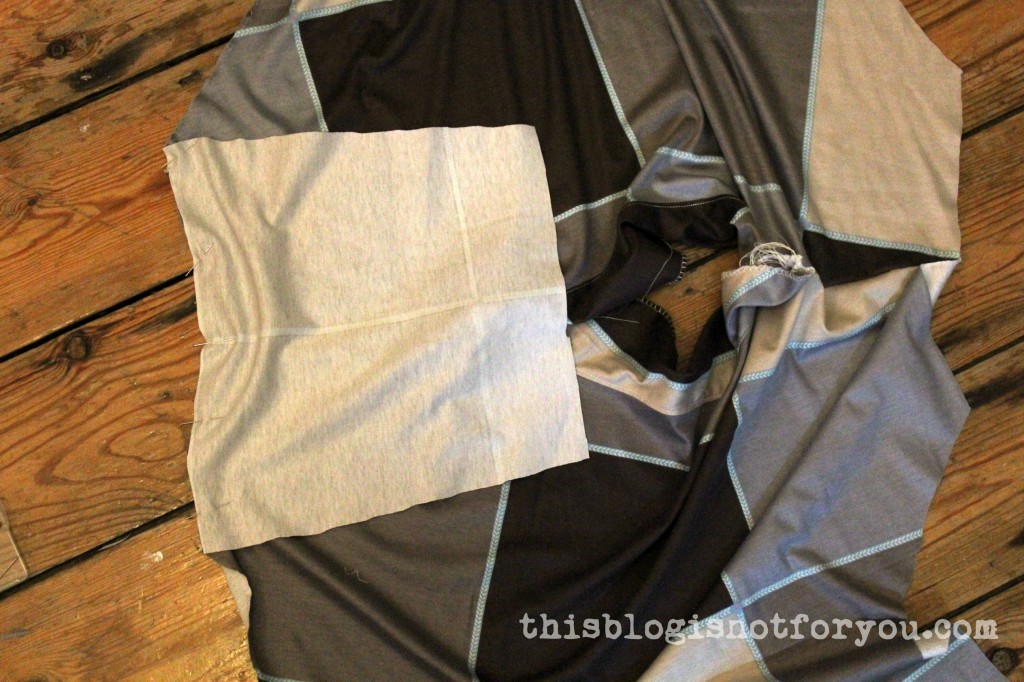
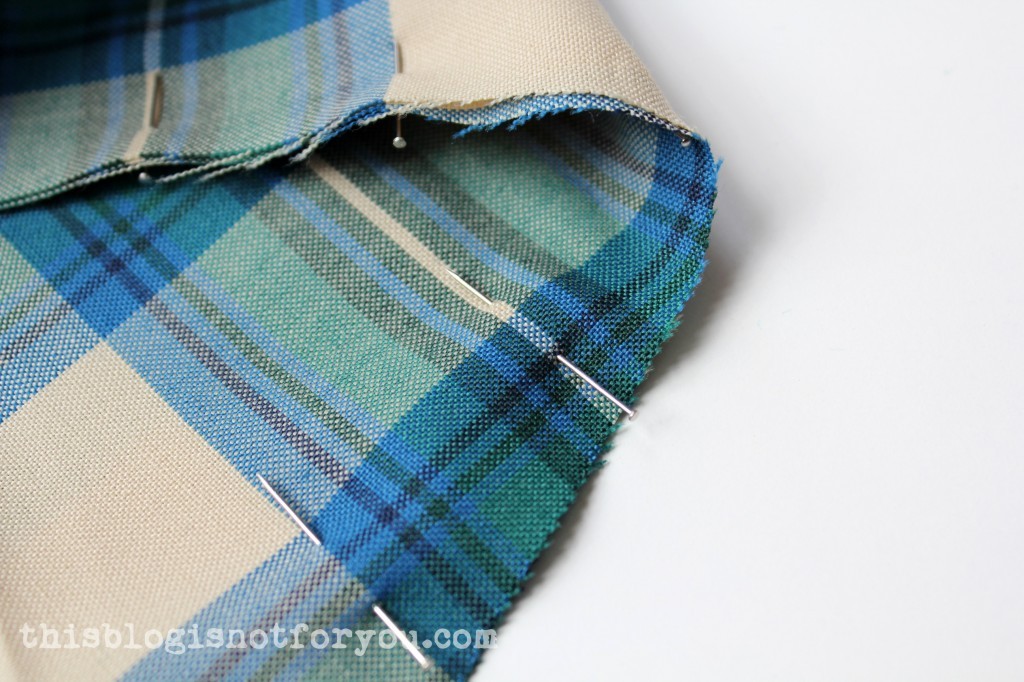
 After figuring out and cutting the neckline, I cut out and sewed the facing for the neckline.
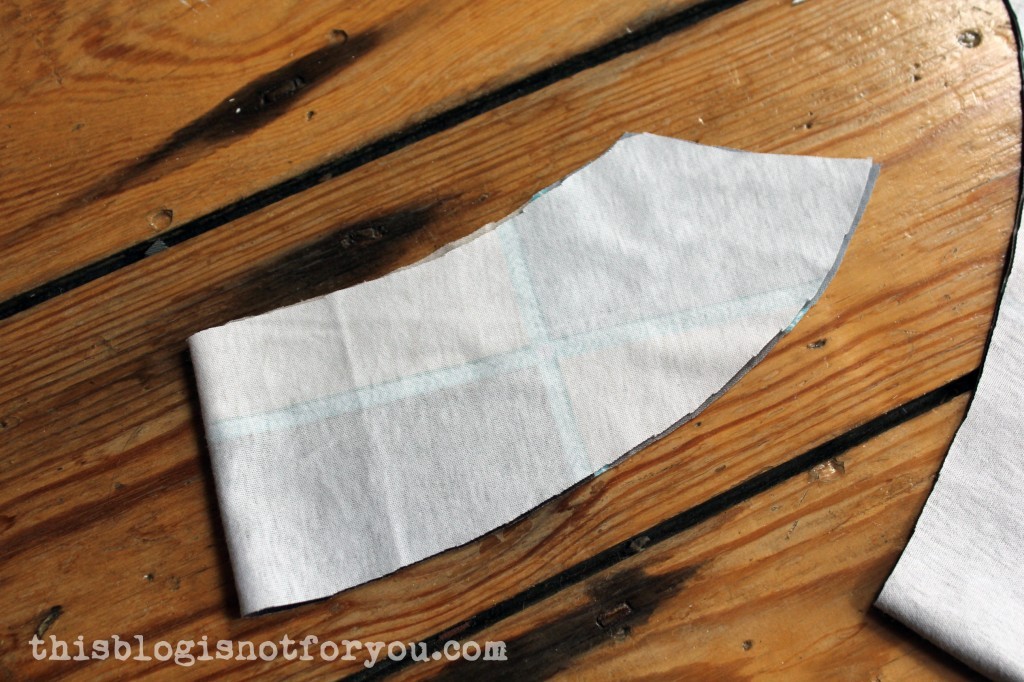
 Next, sewing the shoulder seams together. Then sewing the neckline facing onto the dress.
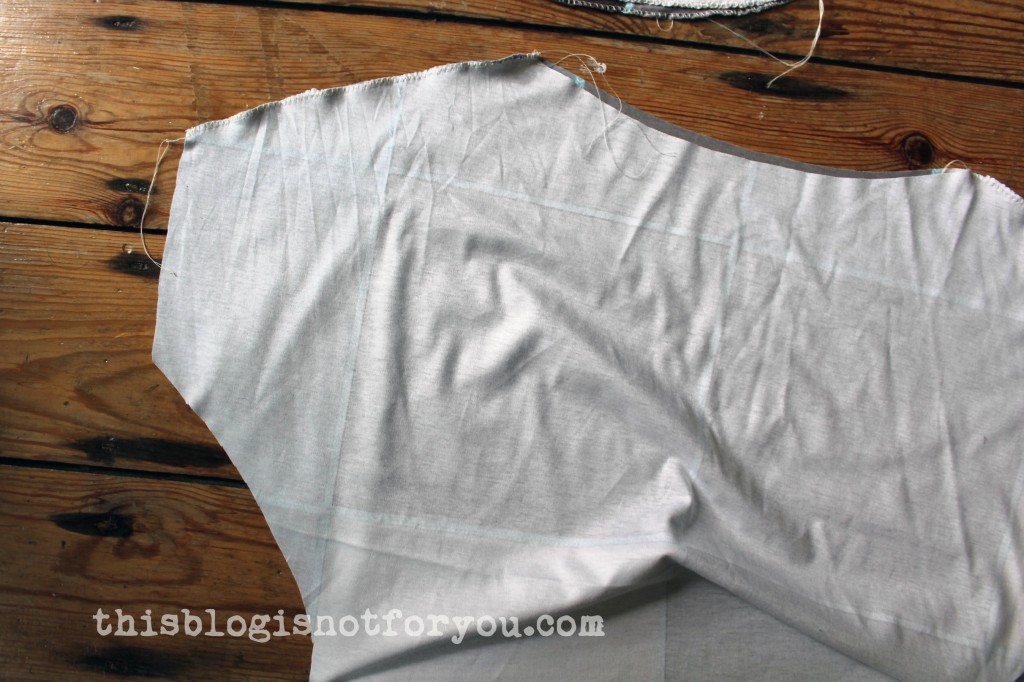 Adding the sleeves (this version still had the full-length sleeves, but I decided to shorten them during the process).
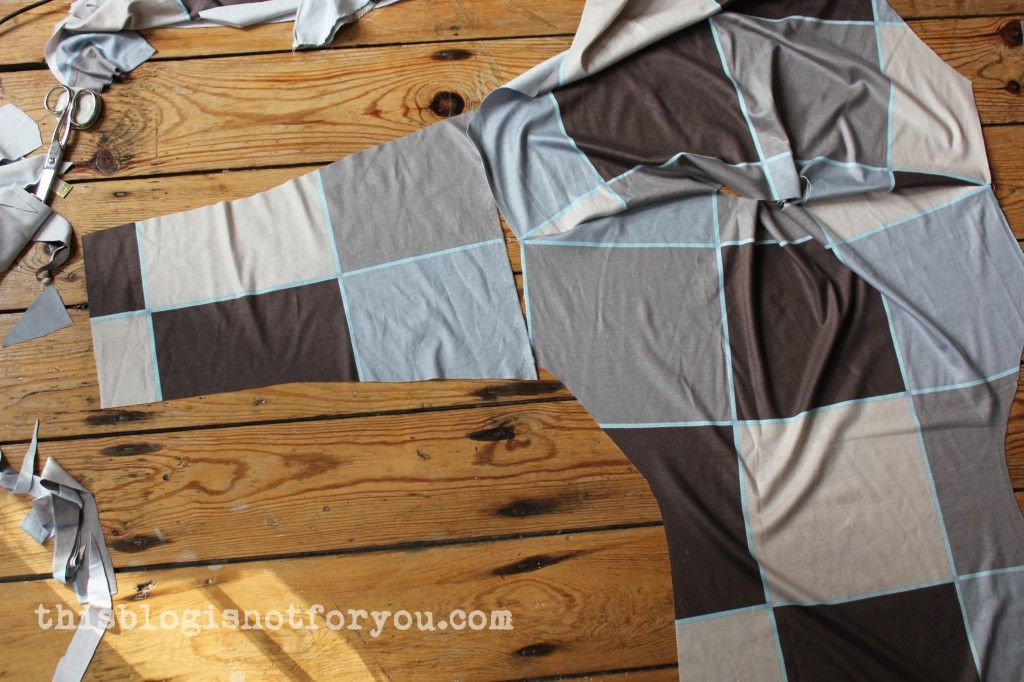
Whirr!
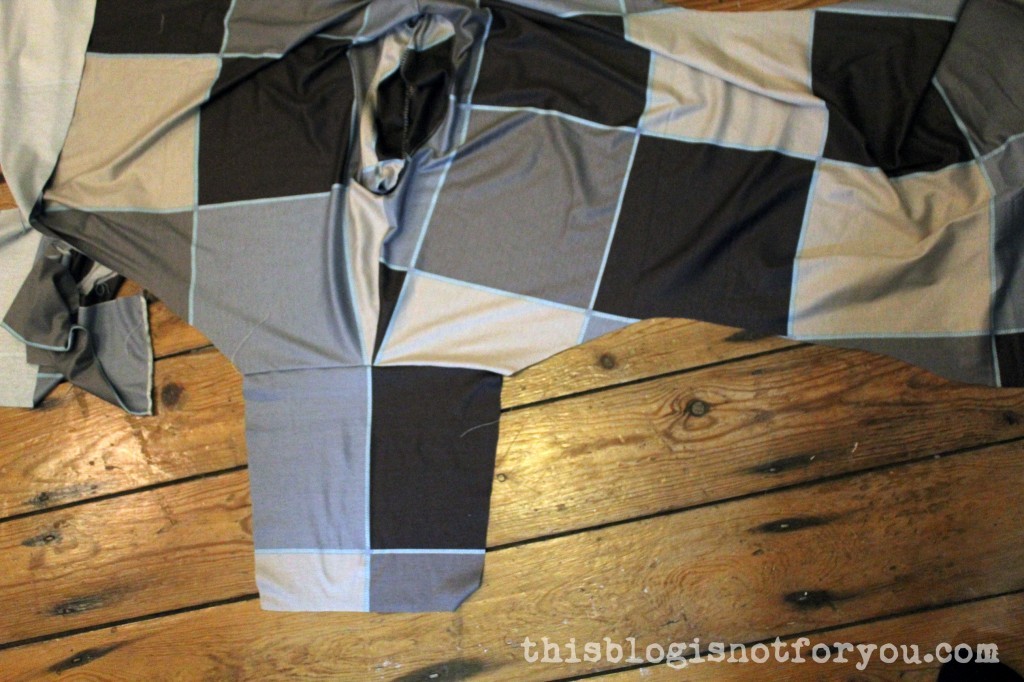 Here the (final) version with shorter sleeves. Next, sewing the side seams – one long seam starting at the sleeves all the way down to the hem of the dress (no setting in of sleeves – yay!).
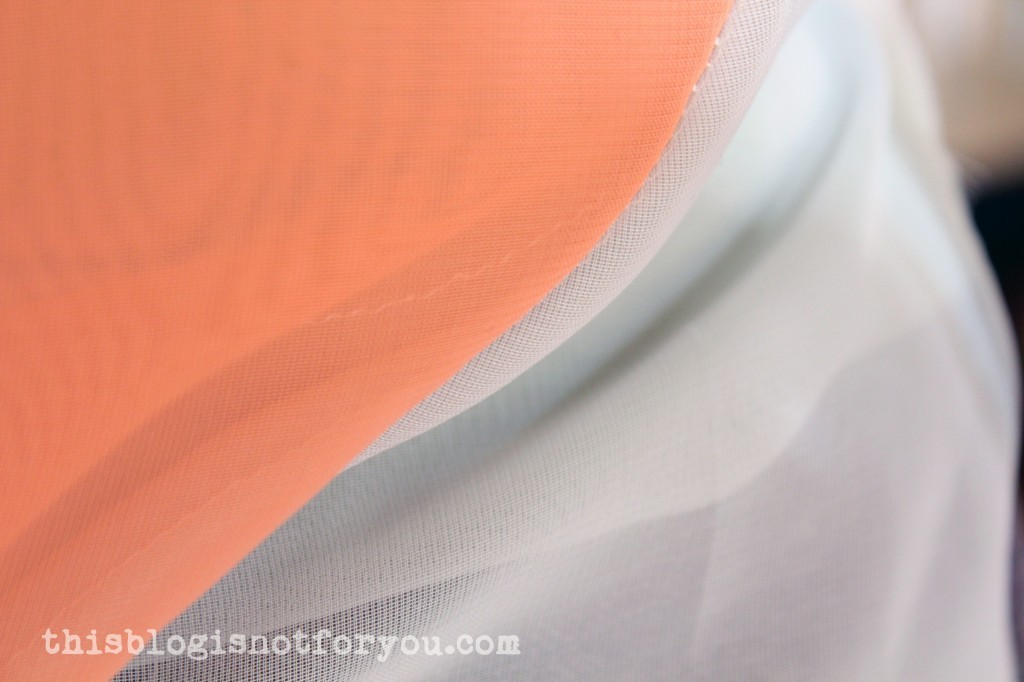
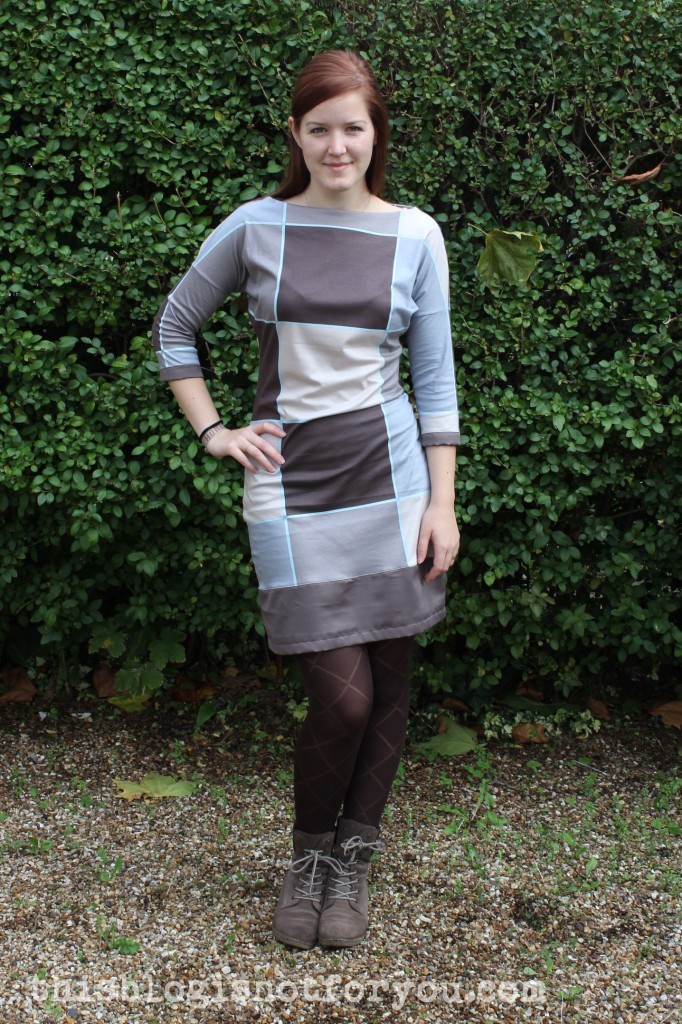
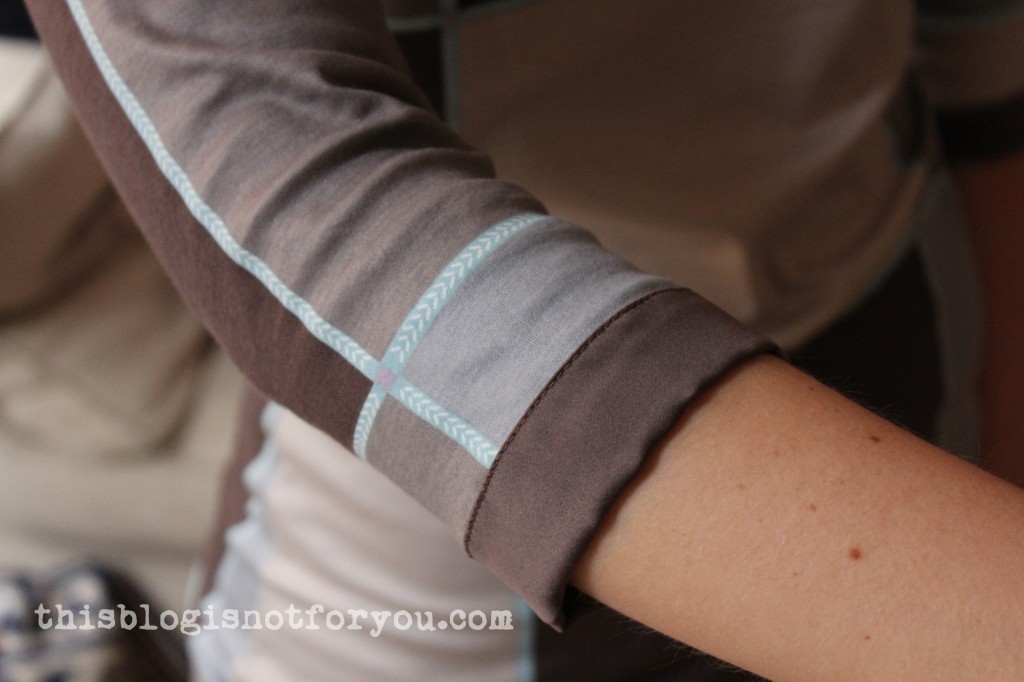
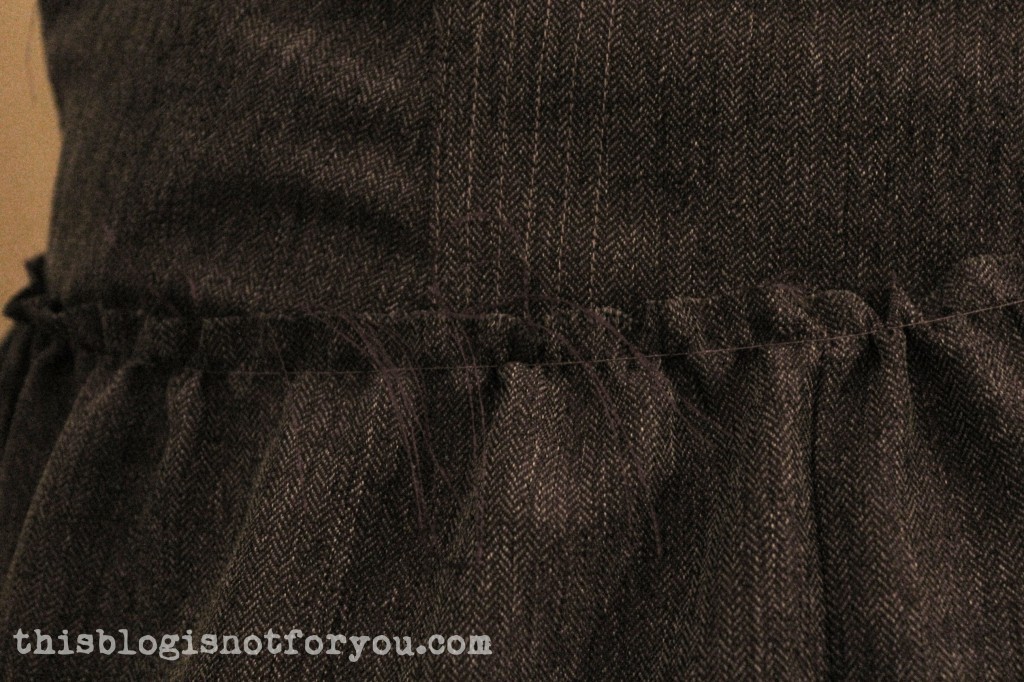
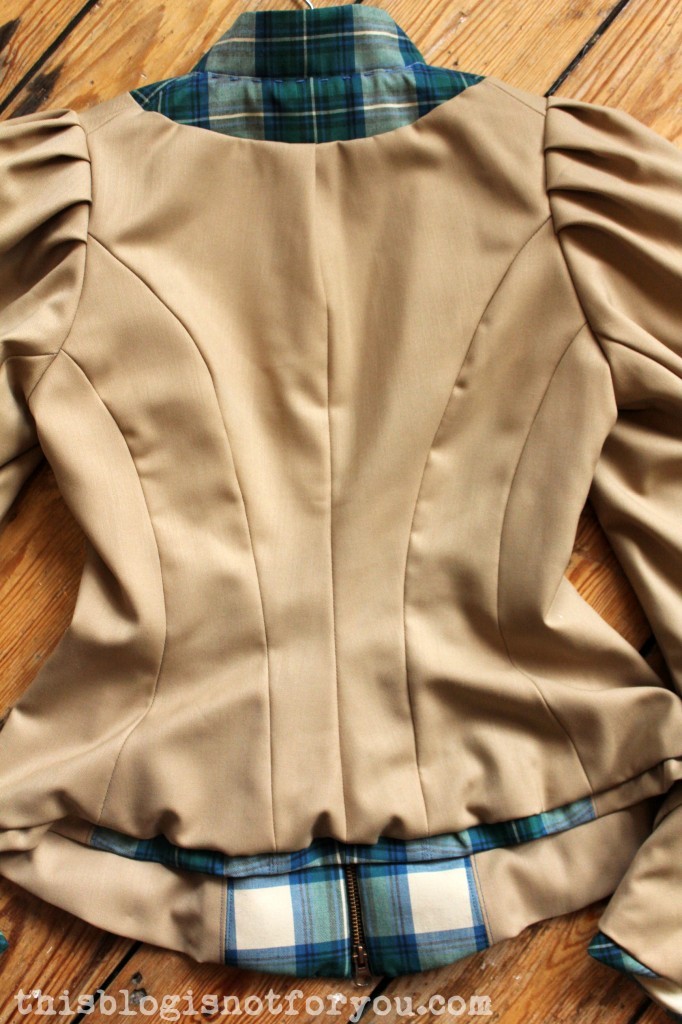
Finally, I shortened the hem – oooops – a bit too much. That’s why I decided to add another strip of fabric to the hem ( I had no other option). Since I had nothing of the jersey fabric left, I used a satin silk in a similar colour, which I also had brought home from the fabric swap. (Yeah, I forgot to take pictures of this step…)
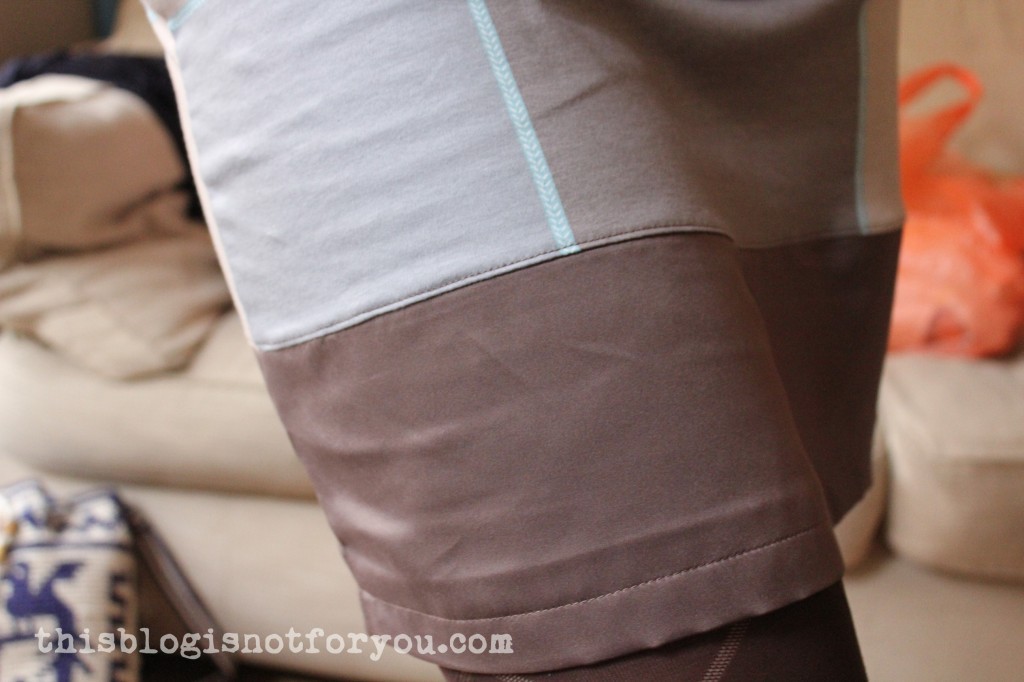
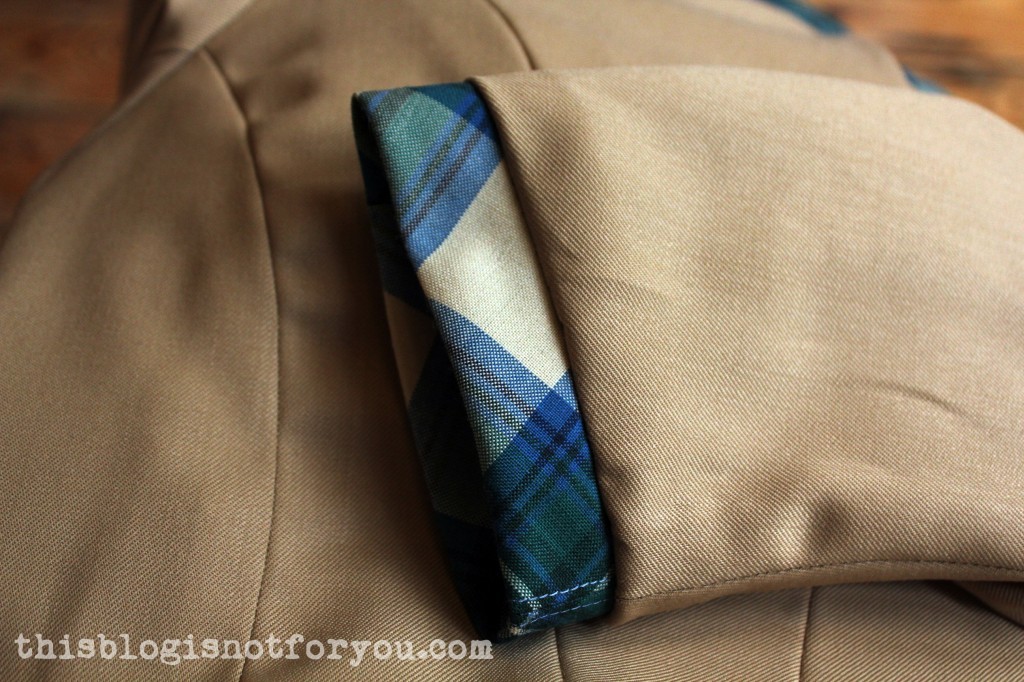
To make the look more consistent, I also added some of the satin silk to the sleeves, as binding.
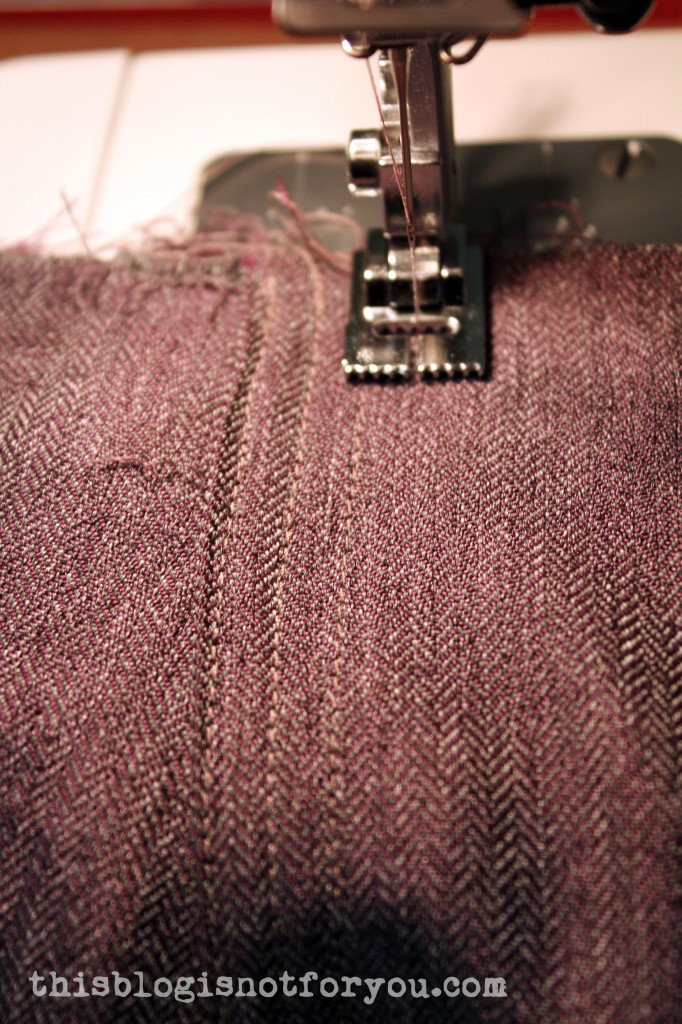
By the way, as I still don’t have an overlocker, I used my overlocker foot, a jersey needle and my stretch stitch setting and sewed and finished the seams in one step:

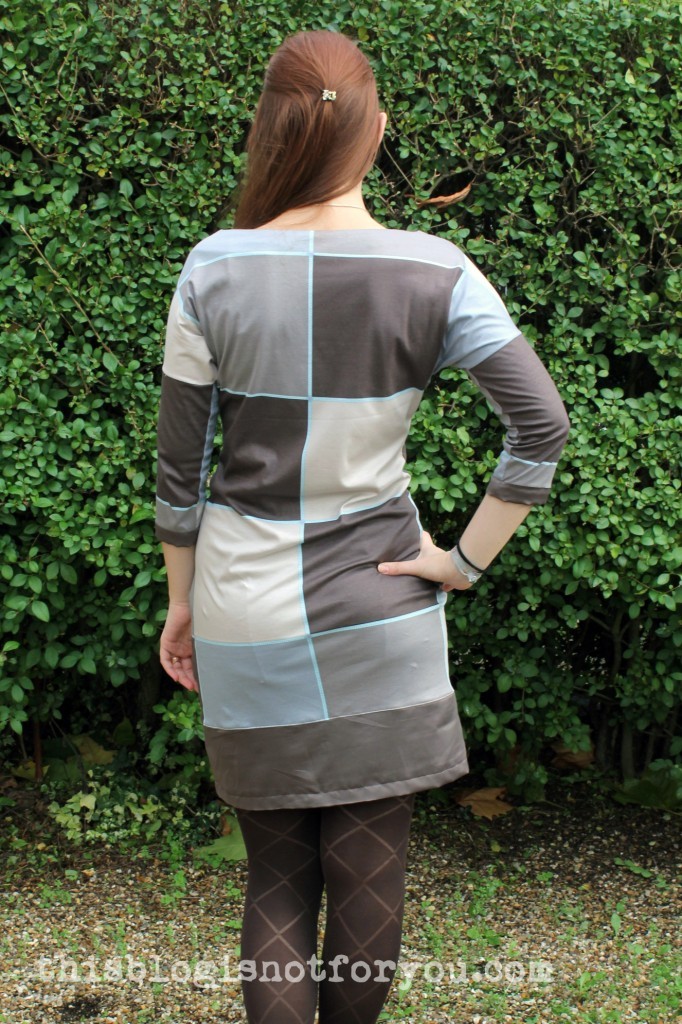
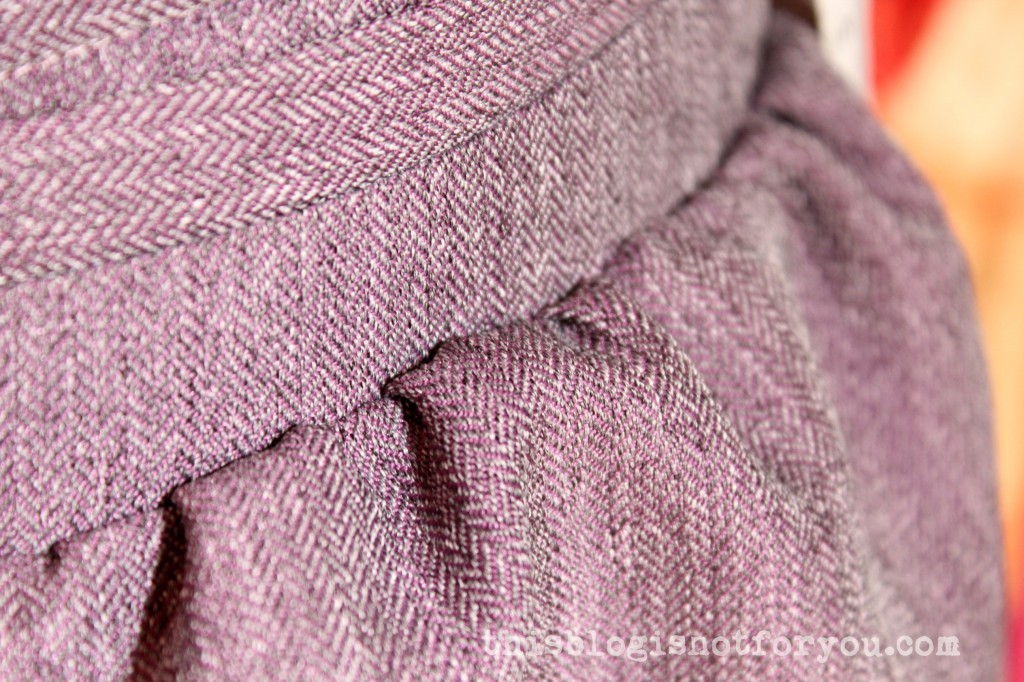
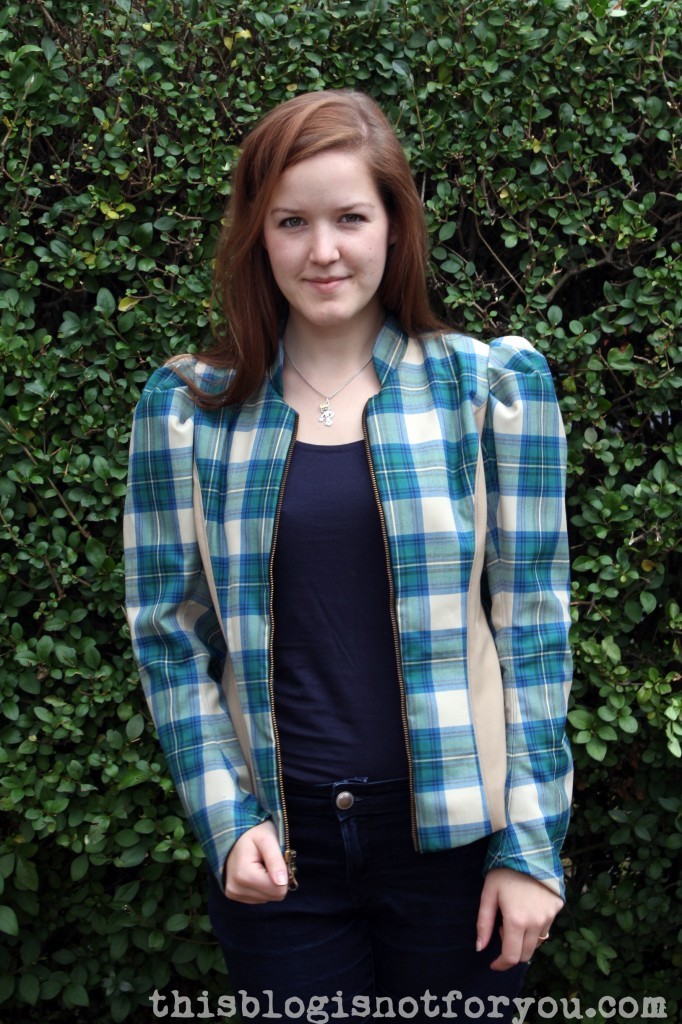
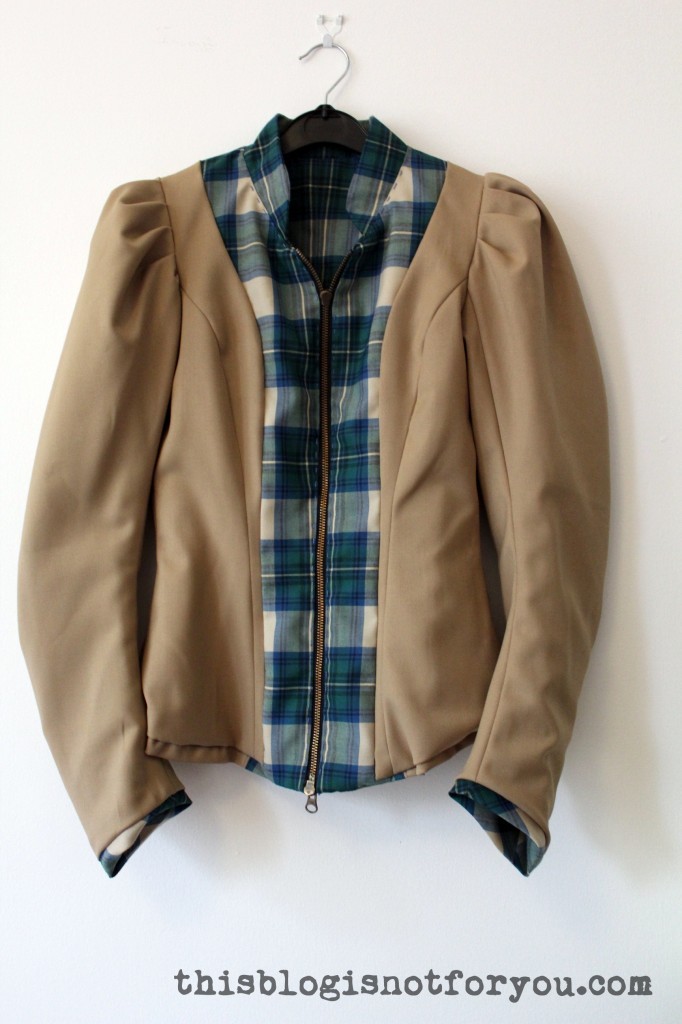
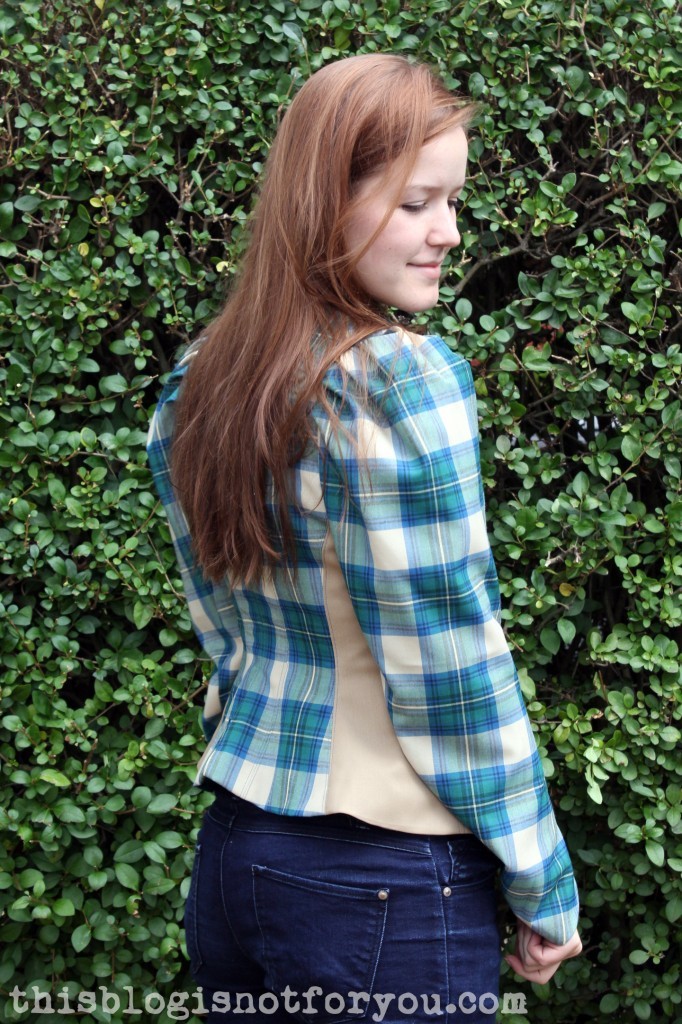
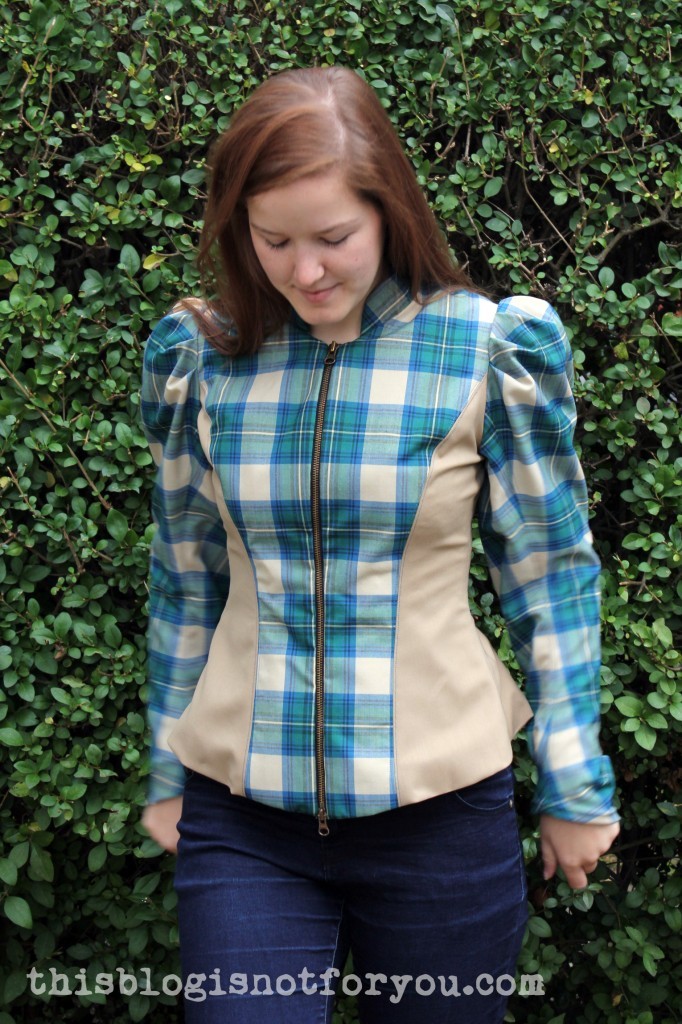
I love the batwing sleeves. They make the cut of the dress looks much more elegant and give you the hourglass shape pear-shaped ladies (like me) love.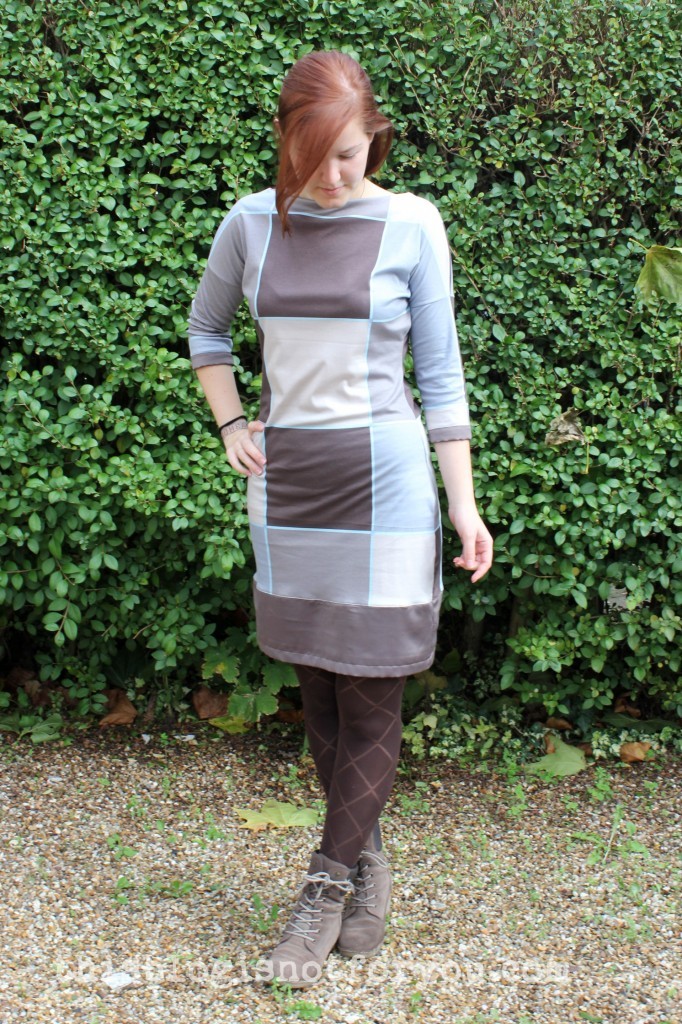 I wore the dress twice already, once on the plane while flying to Berlin last weekend. It’s super comfy and I can see it becoming one of my favourite dresses.
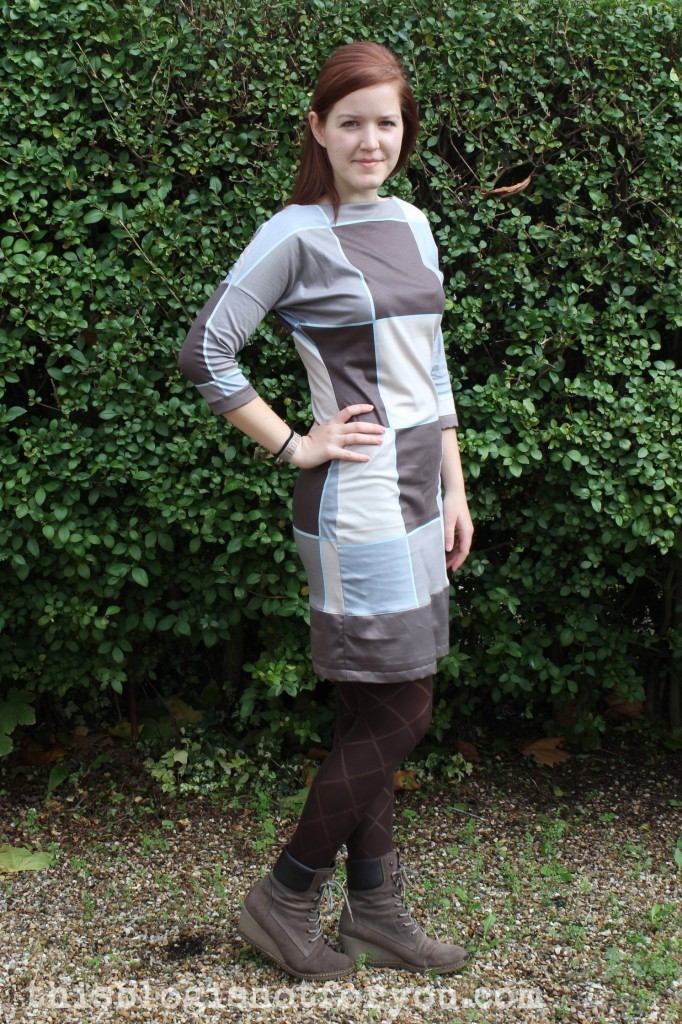
Dress #16 of my 27 Dresses Challenge – done!
Happy Sewing!
♥
facebook/bloglovin/pinterest
Stay in touch!

 Hi everyone! Yes – I’m still alive (and making handmade stuff)!
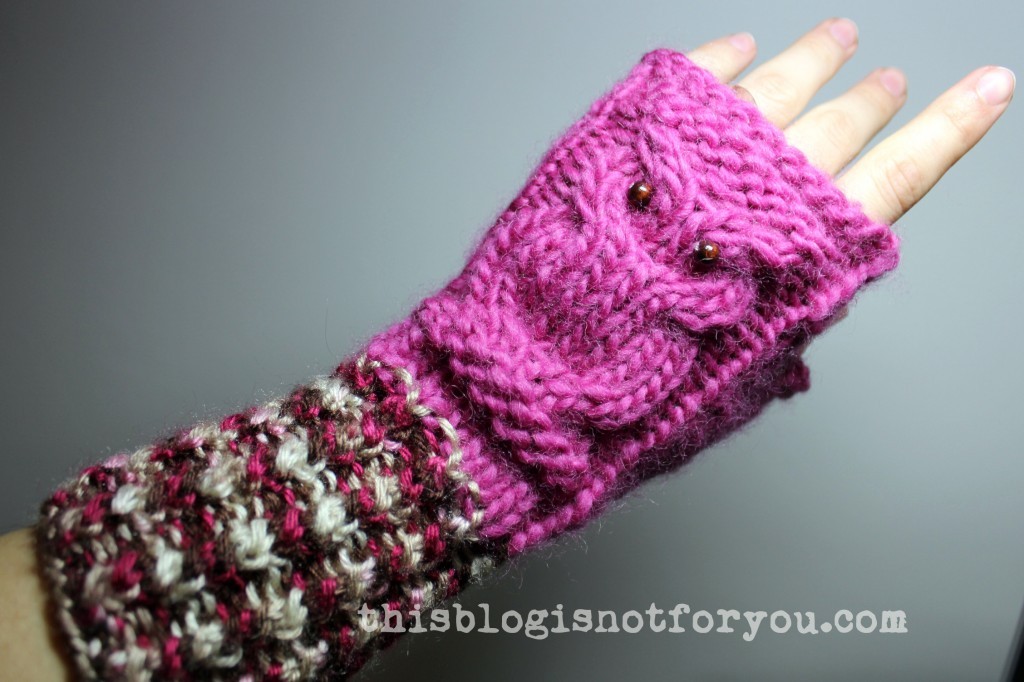


 Hello there! Finally! A sewing-related post :) It’s been a while!
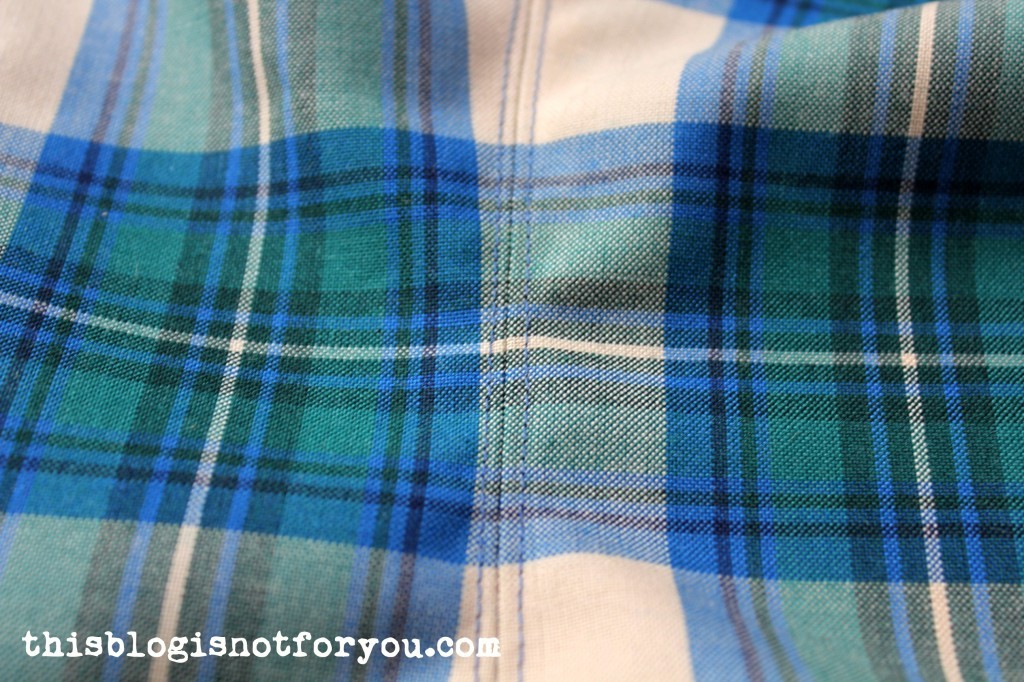


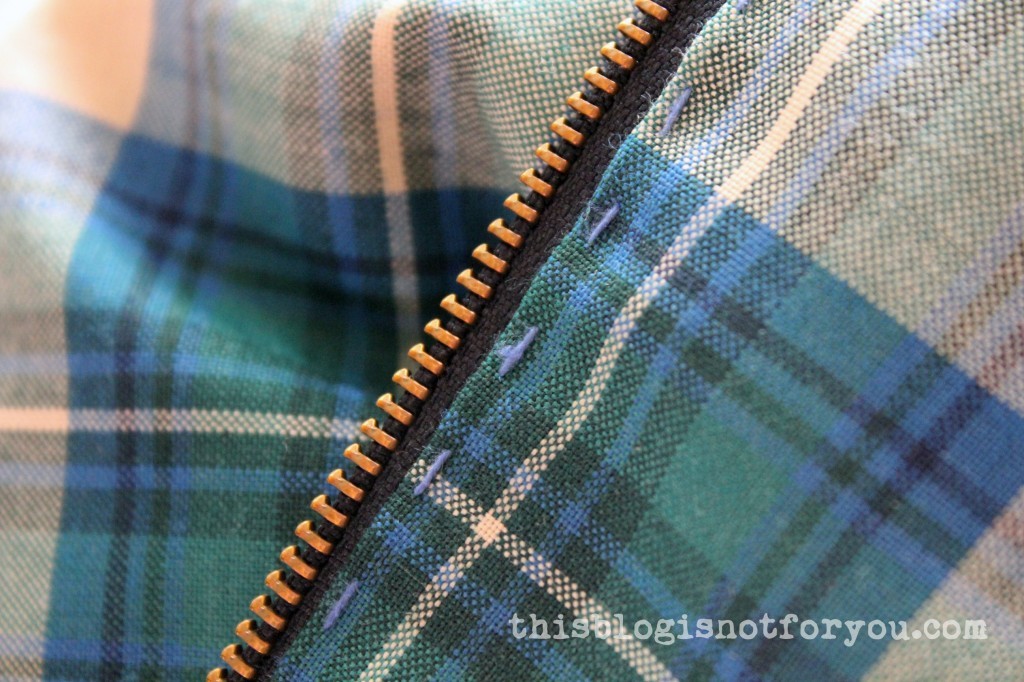
 I embellished the facing with blue embroidery thred instead of edge-stitching it to the seam allowance.
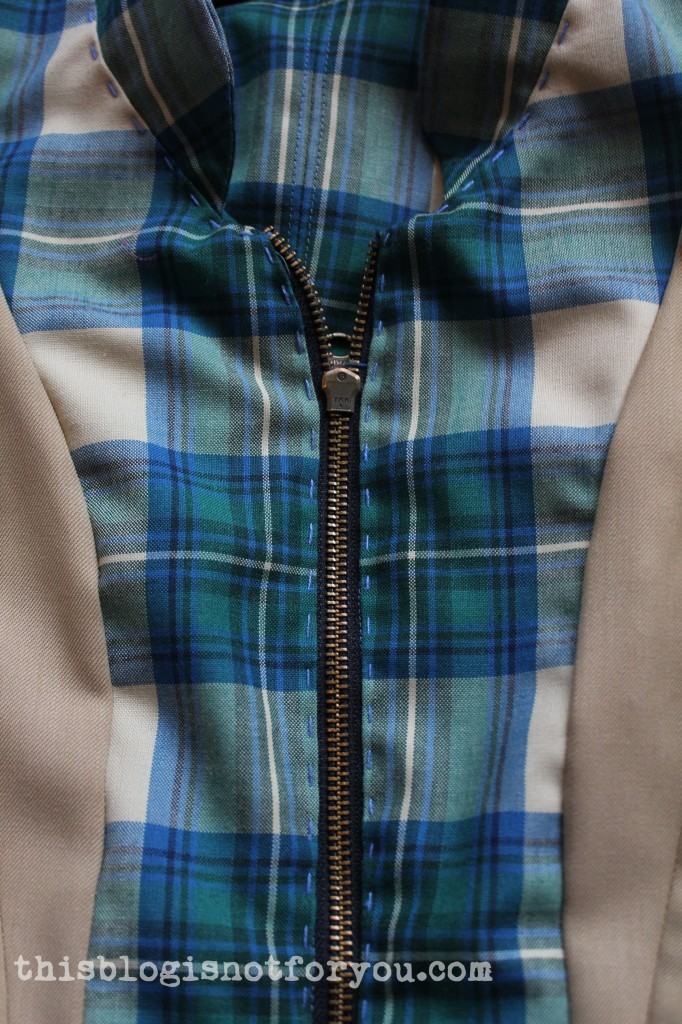
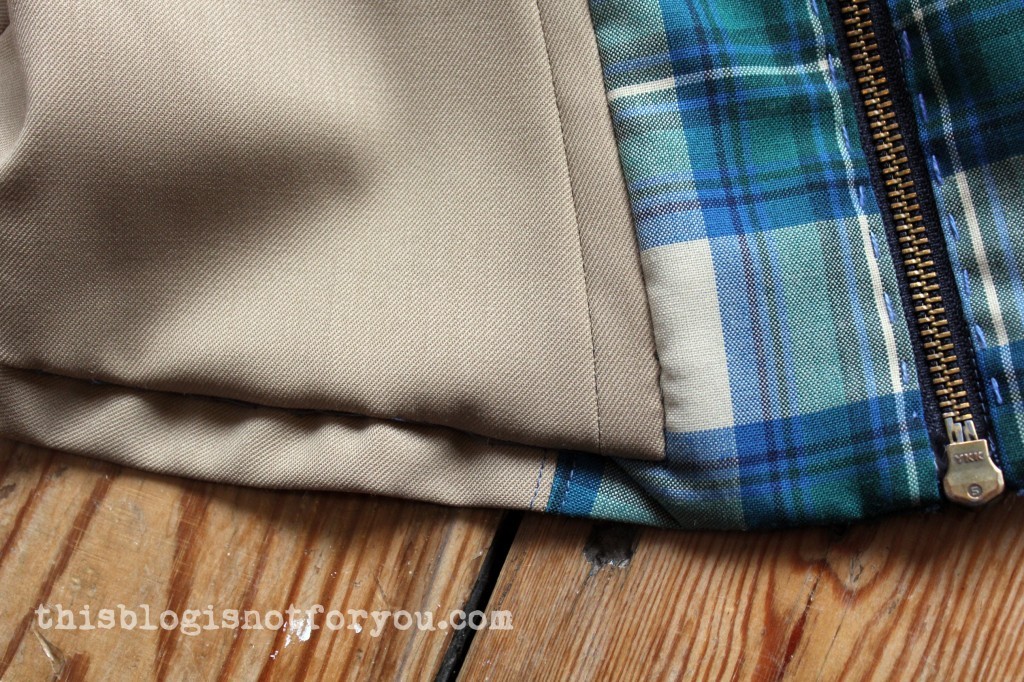

 *Blurry Pic Alarm*