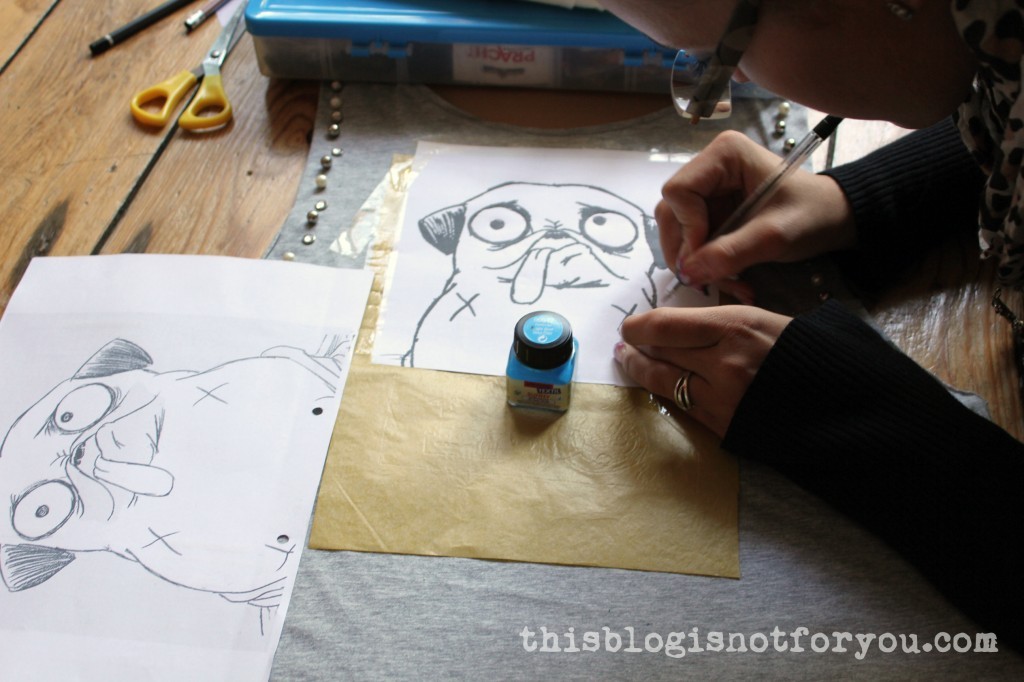
Last weekend I showed my sister, who visited me in London, how to paint a jersey shirt. We had bought this one from Primark’s sale rack and it seemed to be missing something.
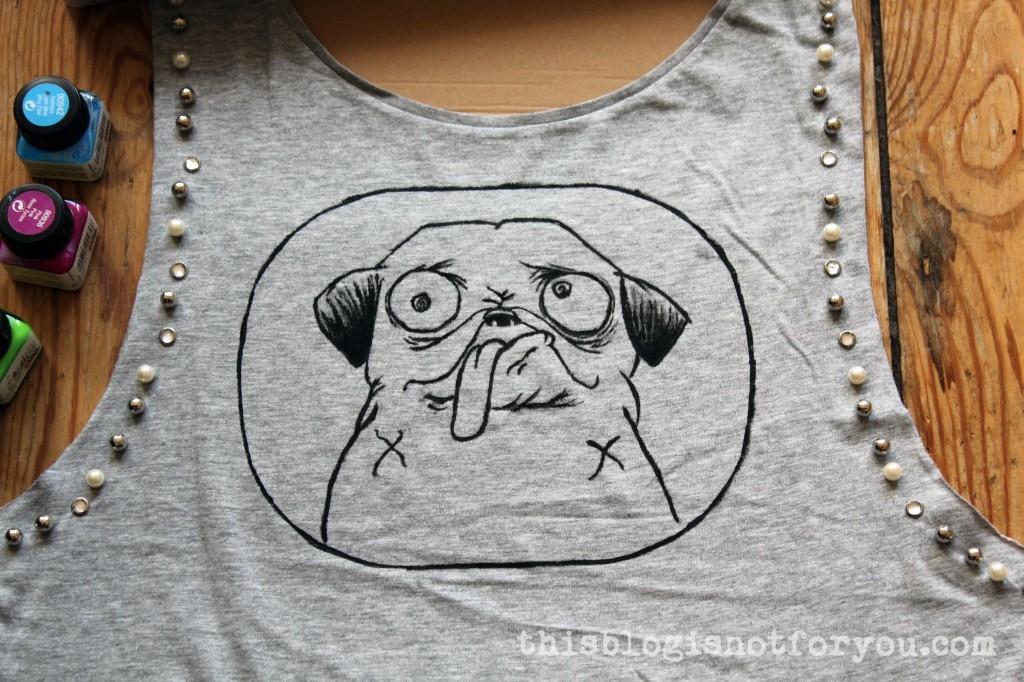
We used transfer paper to transfer the picture onto the shirt. This one leaves very pale yellow lines on the fabric you can easily paint over.We traced the yellow marking lines with a fabric marker and then used black fabric paint and a small paint brush.After painting we left it to dry and then ironed it, left side up.
The picture quality isn’t the best, because we finished late at night. 😀
By the way, my sister’s visit has been the reason why it has been so quiet around here. I’m working on several projects at the moment – so keep your eyes peeled!
I wanted to share something with you I made without using my sewing machine!
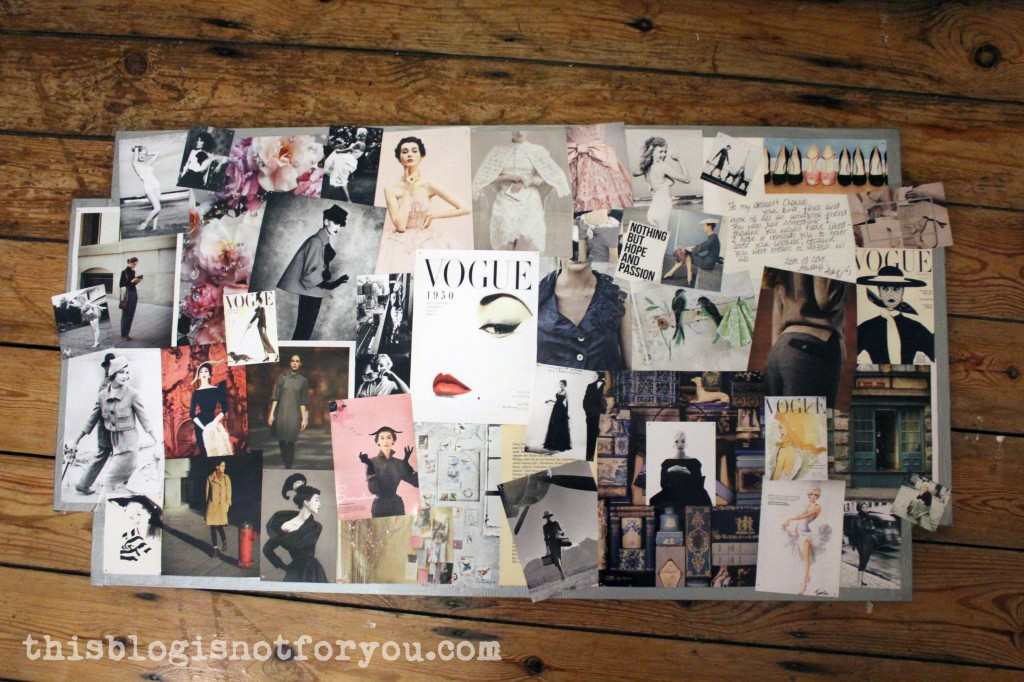
I love inspiring pictures and photographs and also keep collecting postcards from museum gift shops. I wanted to hang these up on the wall without having to make too many holes in the wall.
Here are three super easy and fun ways to decorate your walls with your inspiration or pictures.
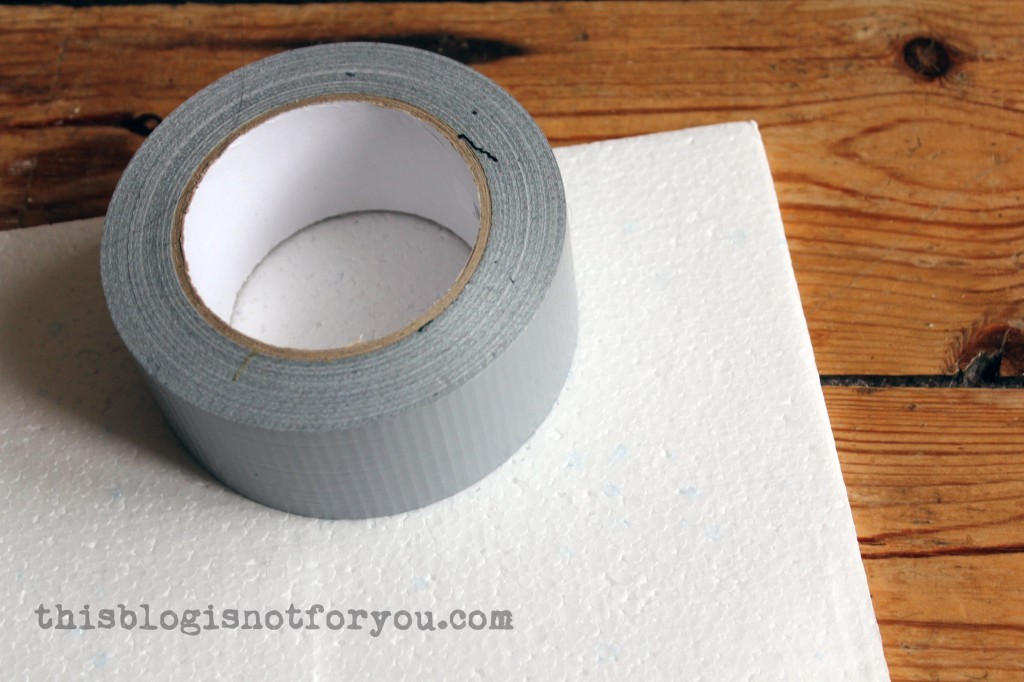
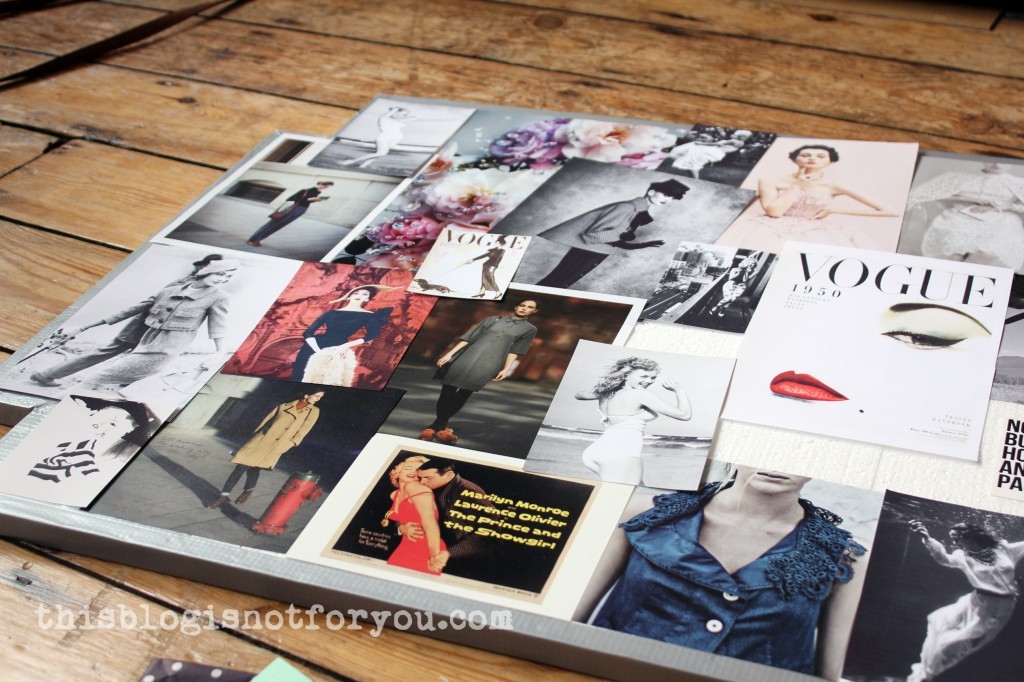
Polystyrene Pinboard:
I made this useing polystyrene sheets (these were left from the packaging material of our IKEA wardrobe) and duct tape.
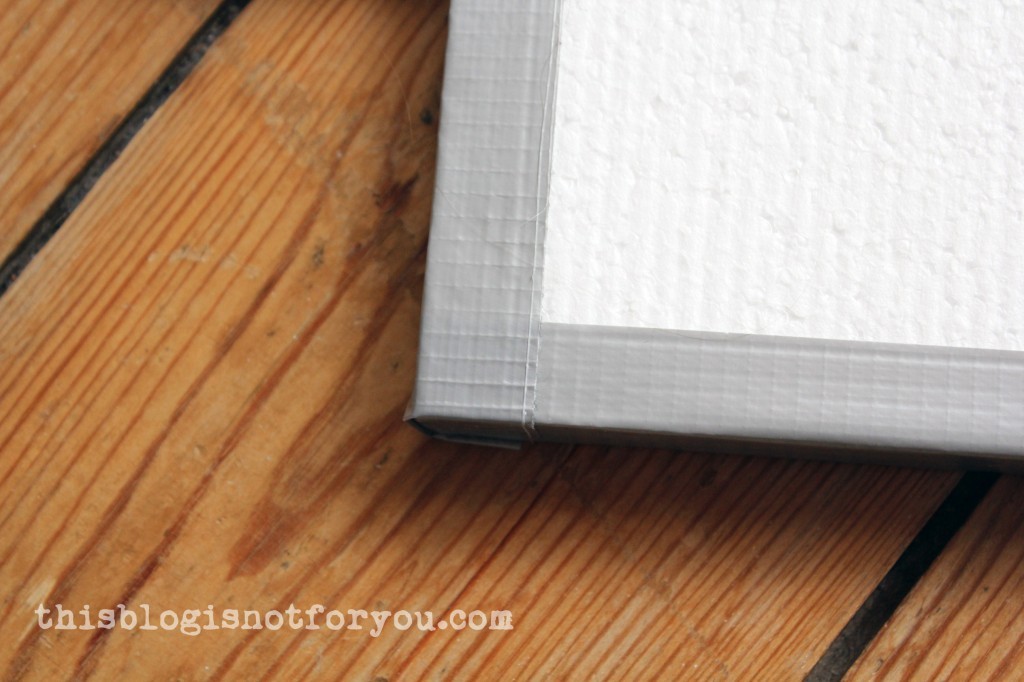
I covered the edges with duct tape to make them look more finished.
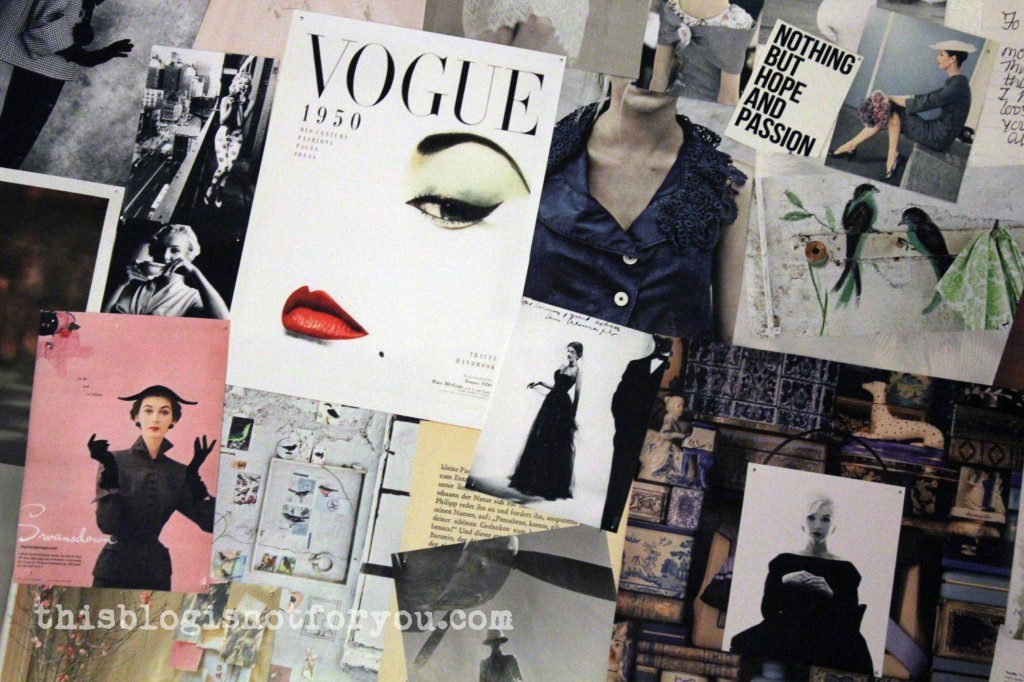
Now the fun part! After printing out all my favourite pics onto photo paper, I started arranging them which took quite a lot of time.
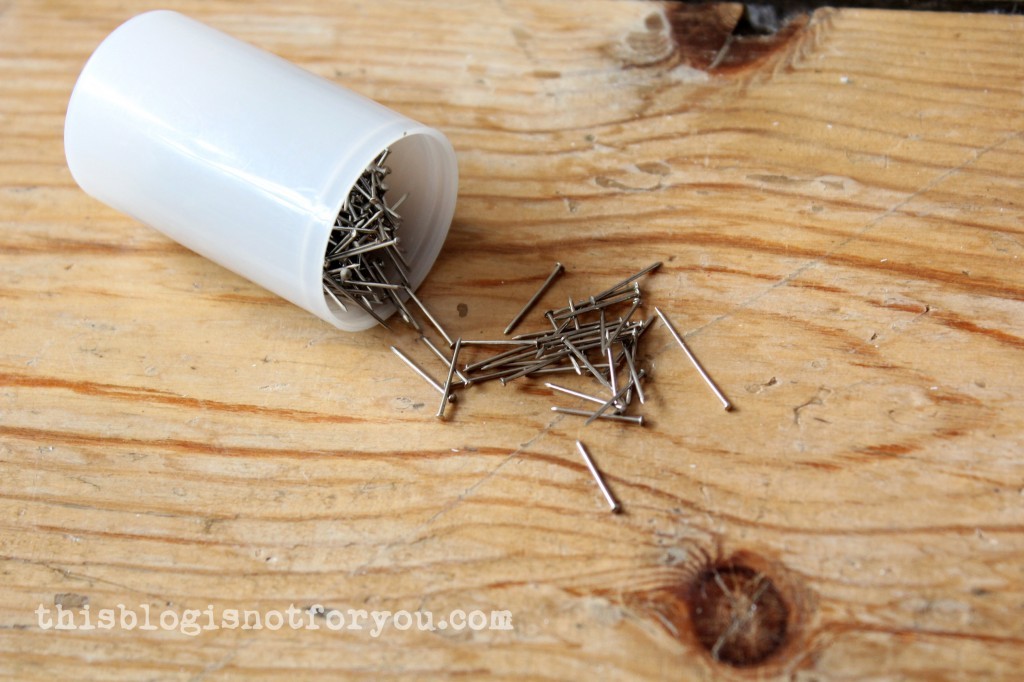
I used these short pins to pin everything in place.
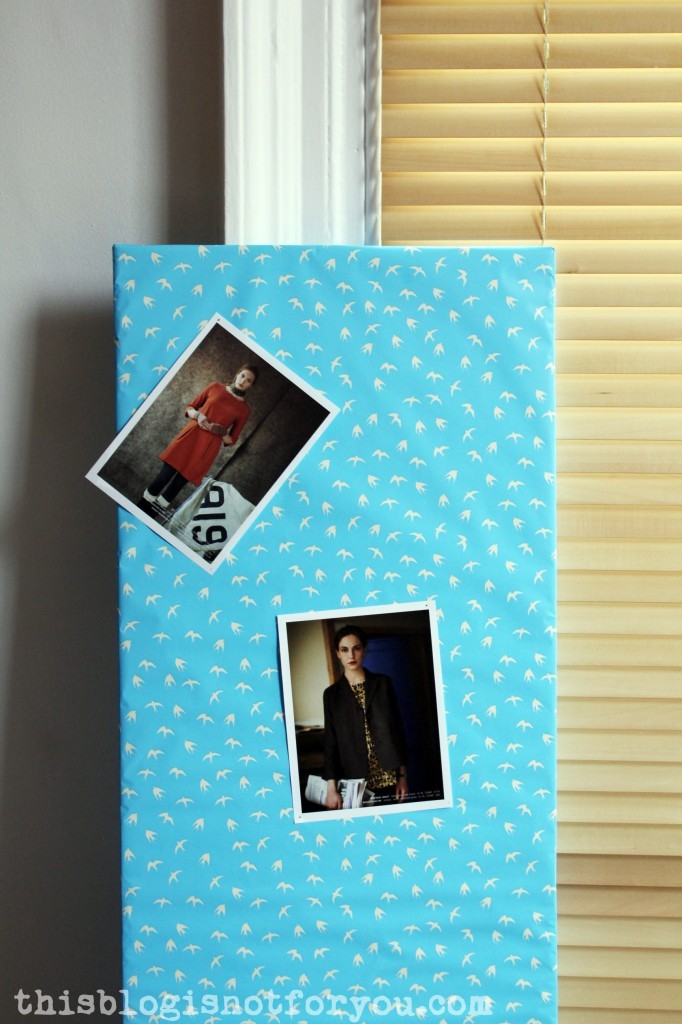
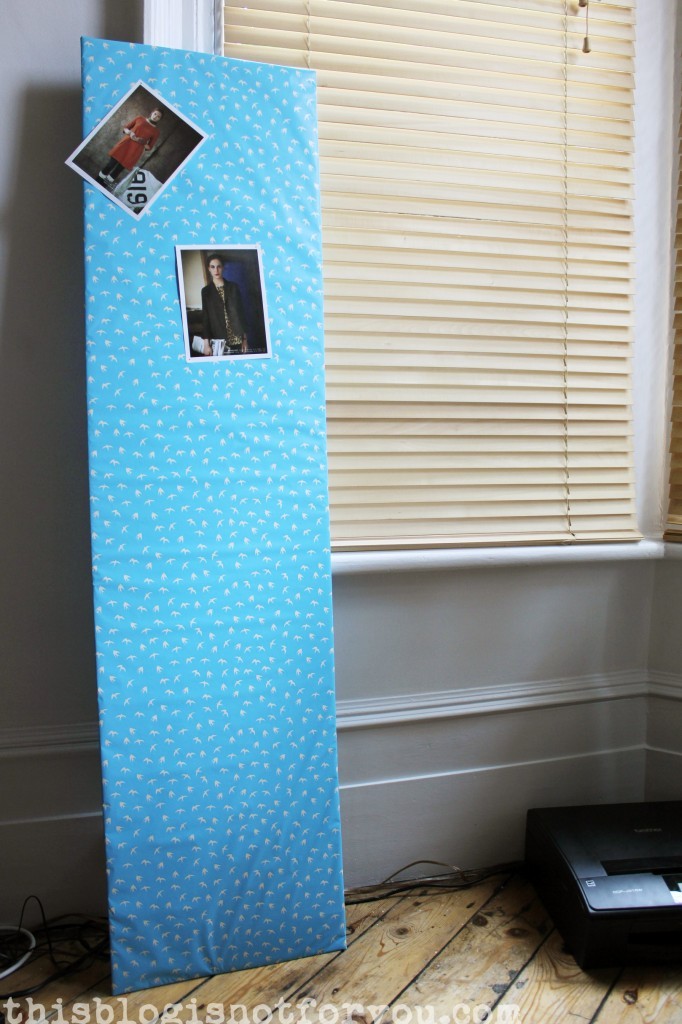
Cardboard & Wrapping Paper
This one is even easier if you want to avoid the hours of arranging and pinning.
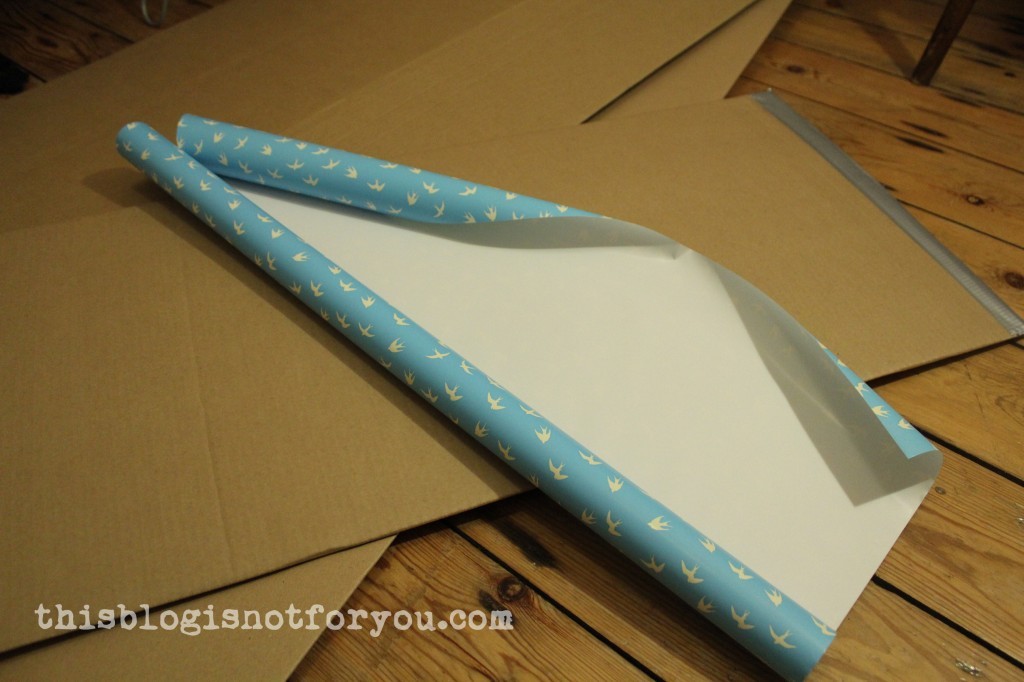
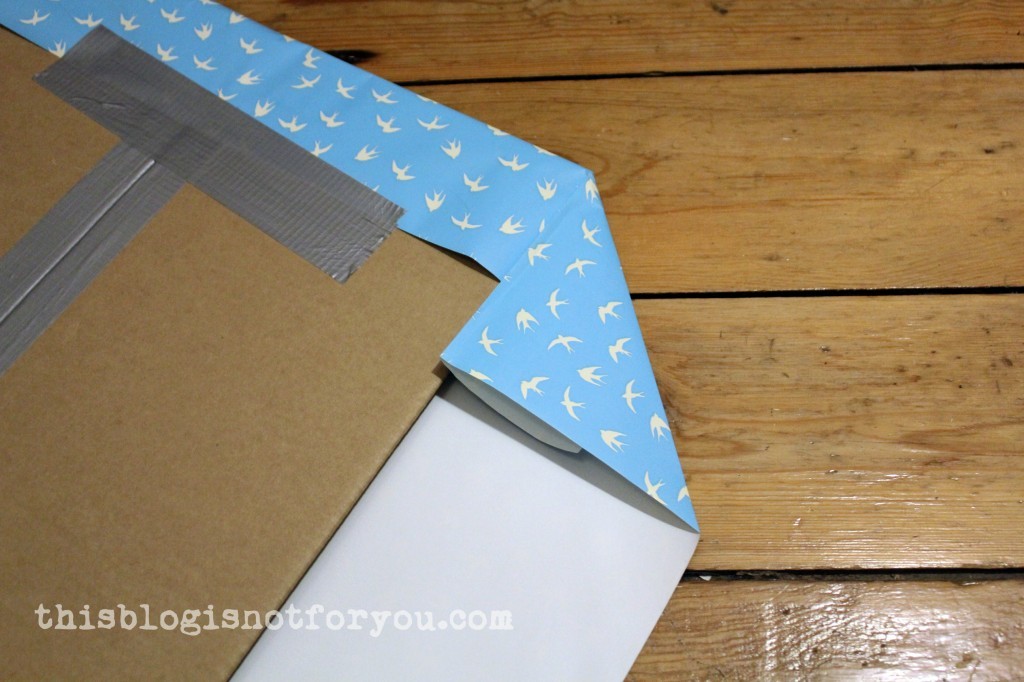
With this one I used some cardboard (also left from our IKEA shopping trip), duct tape and wrapping paper.
I taped the cardboard together at the back, so there are two layers, which makes pinning easier.
I got this cute swallows wrapping paper for just 1 pound at Primark.
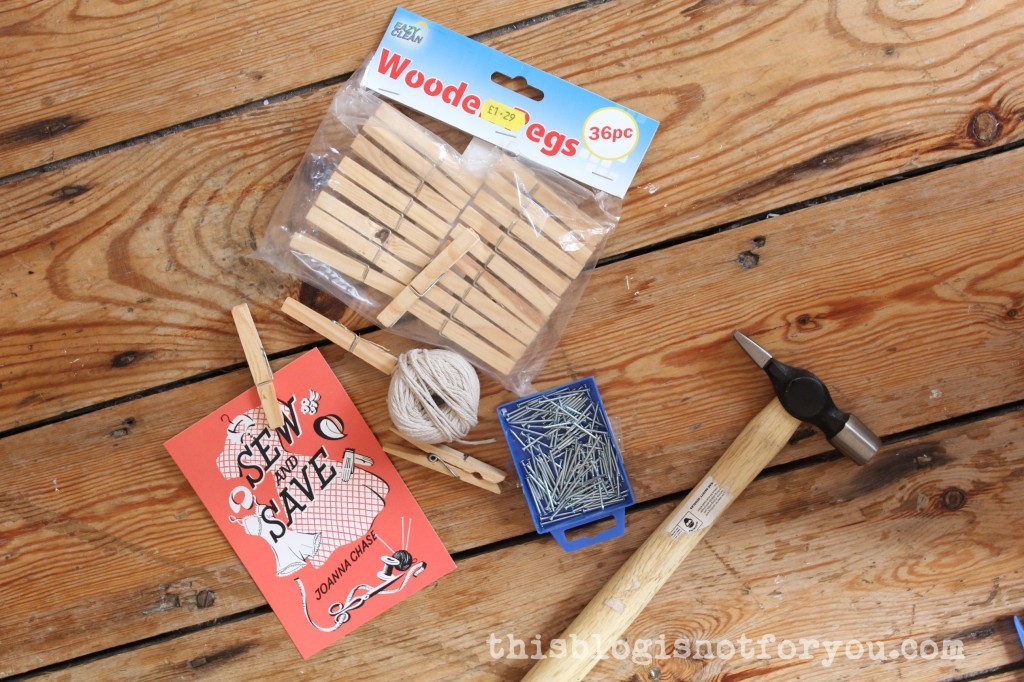
String & Pegs
I hung up only one row at first to see where it would hang, before starting with the second row.
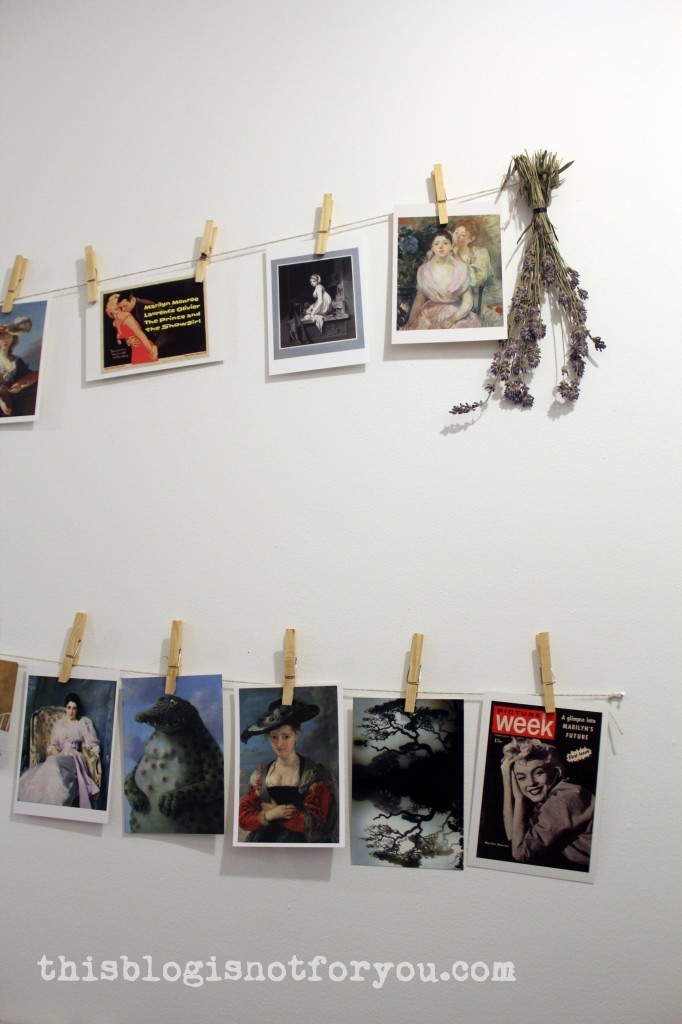
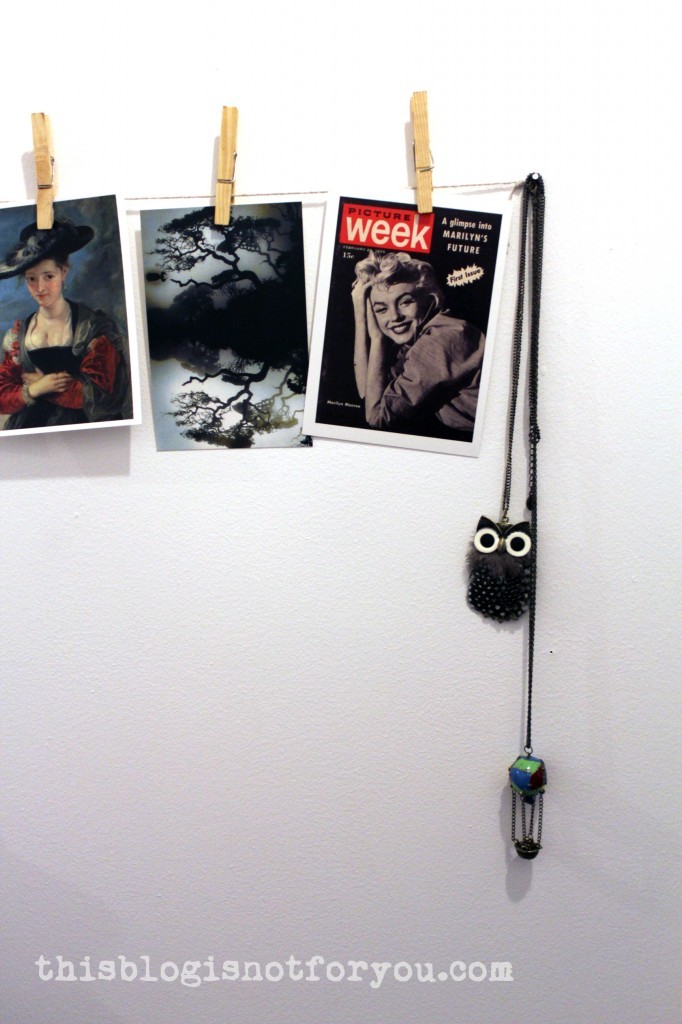
You can either hide the nails like I did with the dried lavender or use them for hanging up jewelry.
I had a lot of fun doing these projects, but now it’s time to go back to sewing 😉
Here is the promised tutorial for those of you who are interested in how I made my maxi dress. Warning! This post got way too long. I recommend reading through first, before starting to cut your fabric 🙂
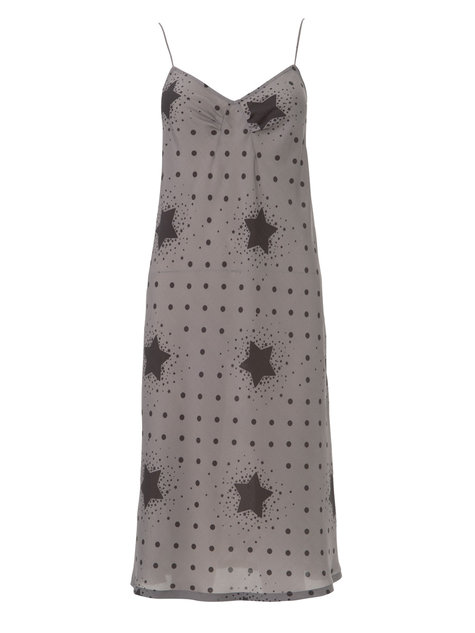
As I mentioned in my last post, I always wanted to make a maxi dress. I’m not a big big fan of the slightly shapeless jersey versions you see everywhere, although I bet these are super comfy. I wanted to make something easy, yet a bit elegant and thought of something like this:
source: img.alibaba.com
What do you need to make it?
Some lightweight fabric, matching thread, stretch satin or jersey for an underdress and some bias binding for the straps (you can make this from the fabric you use for your underdress by cutting strips at a 45 degree angle). Make sure the underdress has a bit of stretch, so that you can skip the zipper.
I used a chiffon (150x2m/60inx80in) and a stretch satin slip dress.
Of course you can make a fitted underdress/slip dress yourself, if you want to go all the way. Here are some pattern suggestions:
Burdastyle.com Cami Dress 09/2013 #114BBurdastyle.com Slip 07/2013 #116
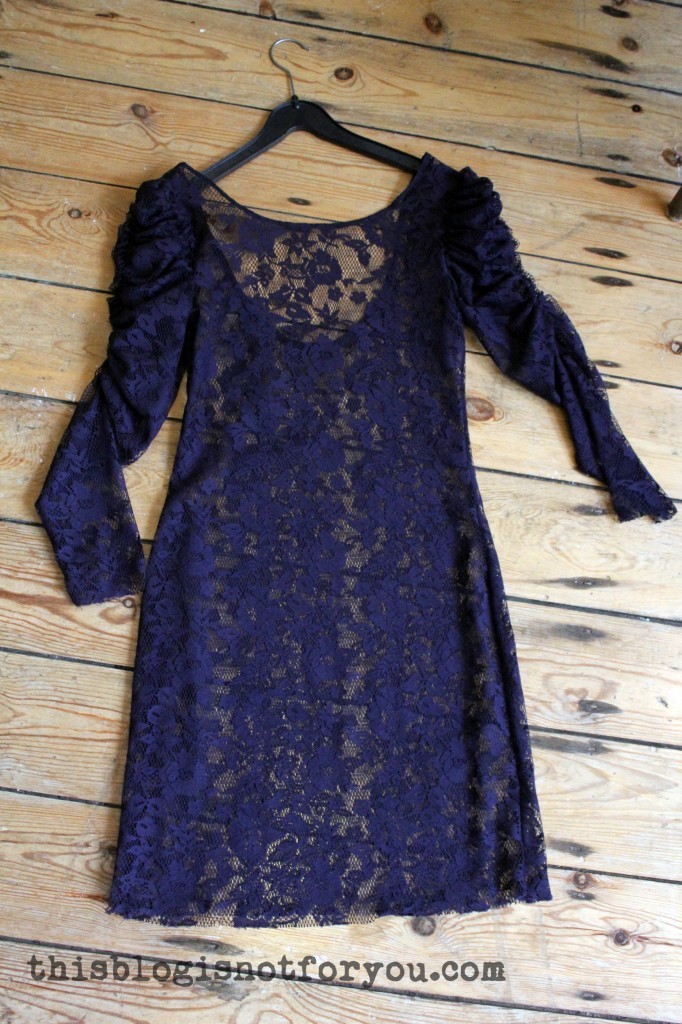
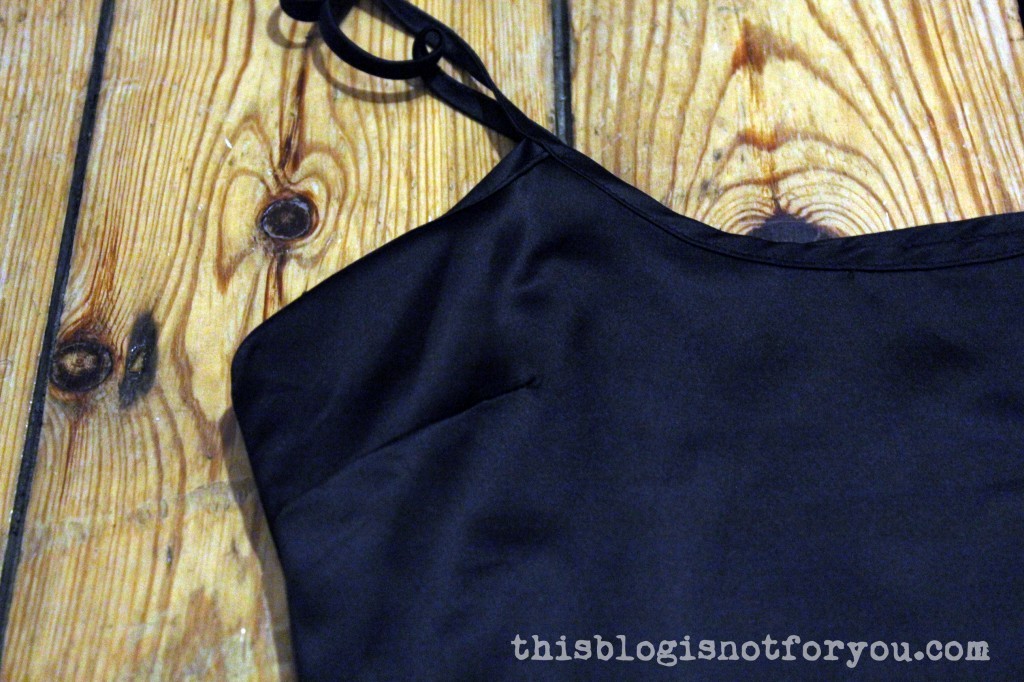
I was super lazy and used a stretch satin slip dress from a Zara lace dress I bought years ago. Who would do that to a lovely Zara dress?? Well, me. In a minute you will know why!
This is the dress without the underdress. Looks lovely, eh? It wasn’t.
So I bought this lovely lace dress during a Zara sale for just 6 Euro. I must have worn sunglasses when trying it on, because it turned out that the dress is super duper ill-fitting. I actually bought this to have something chic to wear for special occaisons, but um, no. Ill-fitting, wayyy too short and I really couldn’t tell what was the front and what was the back.
I wore this little number only once. This is a picture of that evening:
Where were we? Ah, making a maxi dress!
no, it’s not super wide. it’s just super short.
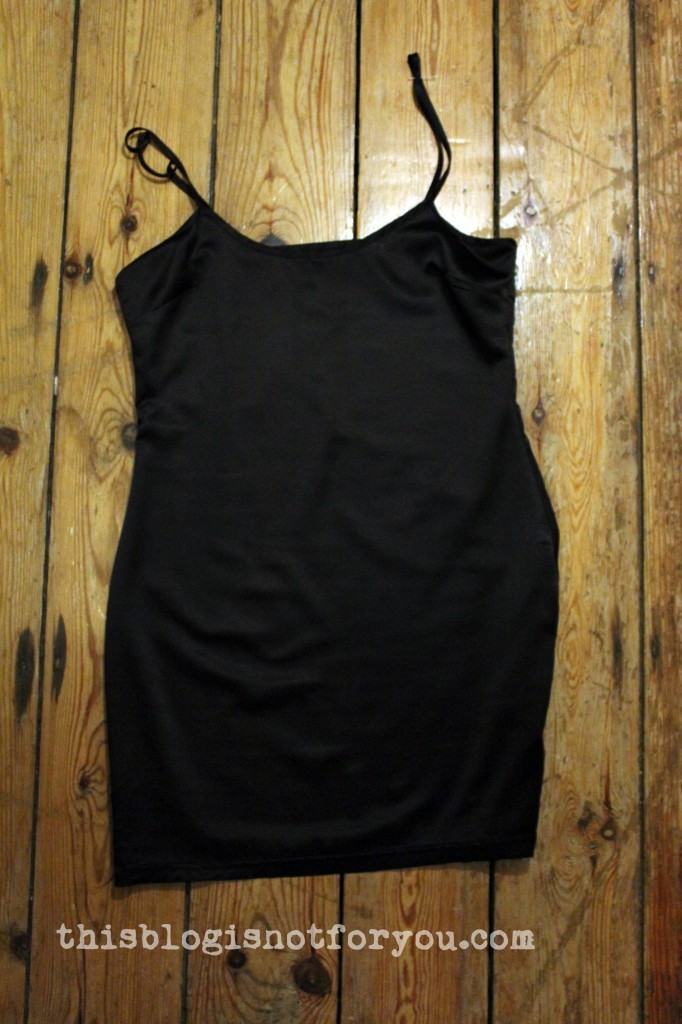
So this is the slip dress. It has only two side seams and two darts at the bust. You could easily make this dress using your bust, waist and hip measurements, creating two hourglass shaped panels. If you want to do that, please use stretch fabric. Otherwise it might not fit.
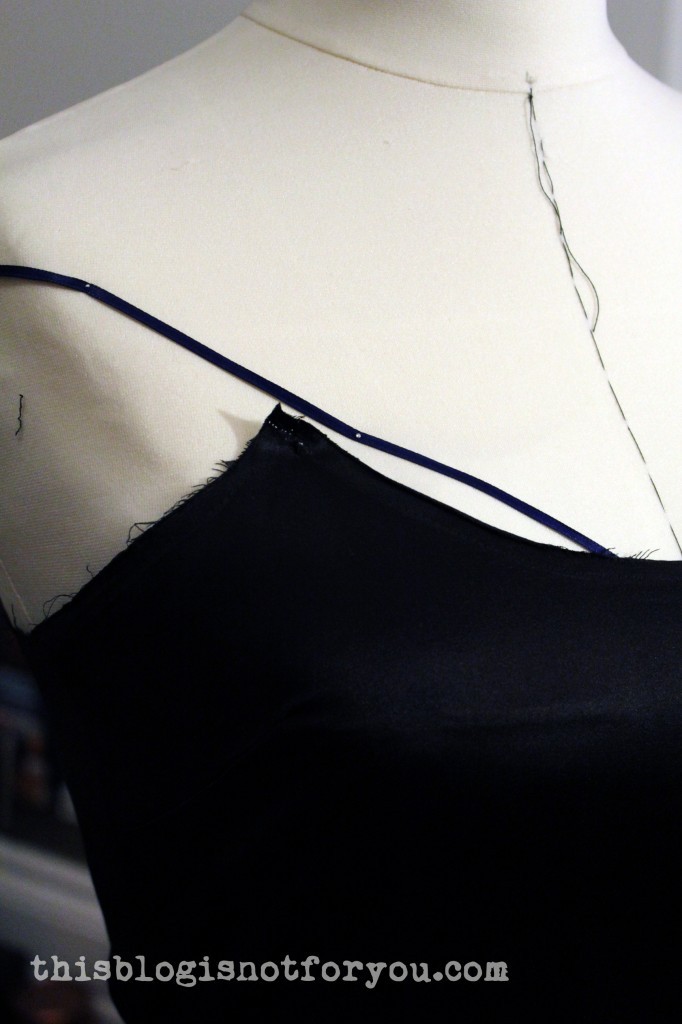
The bias binding/straps were made with the same stretch satin fabric. I decided to re-use them for my maxi dress.
Time to dig out my seam ripper!
If you’re making your own slip dress – just skip the bias binding and strap part!
Before continuing with the next step – make sure to turn the slip inside out.
If you do not have a dress form, that’s fine. I think it’s much easier to have one when draping and pinning, but this dress you can definitely make without one.
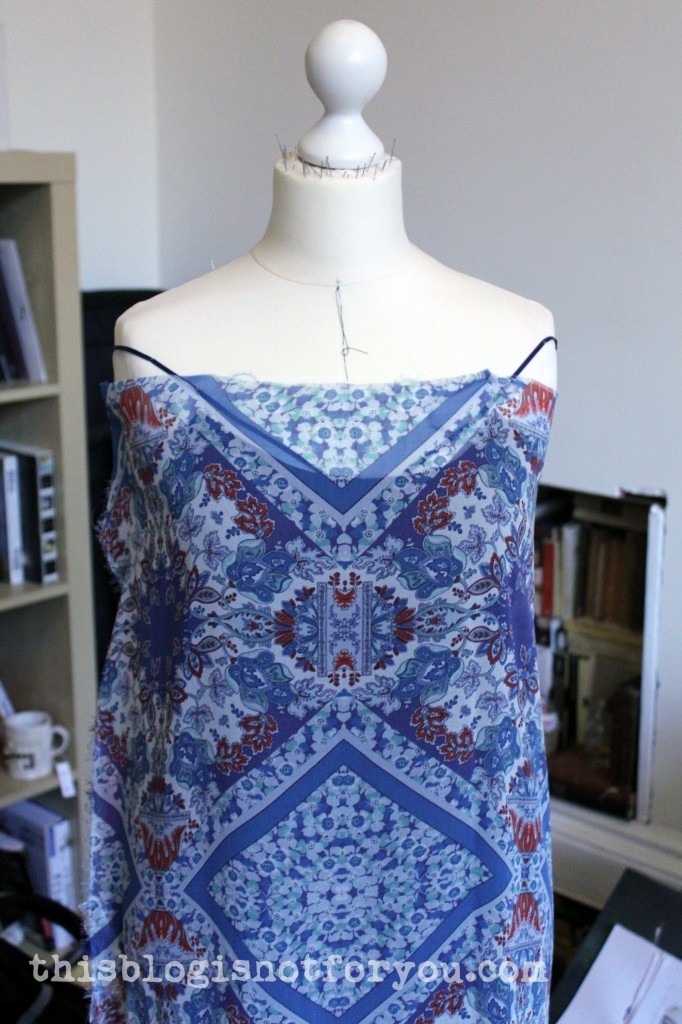
I loosely pinned the fabric (left side facing me) onto the dress form to see where the print would look best.
In the picture above you can see that I started pinning the fabric starting with the selvedge (see right side) pinned a few inches behind where the side seam would be. You just want to make sure to have enough seam allowance in the end. I just pinned the fabric flat onto the dress form, leaving enough seam allowance. I cut the fabric a few inches behind the left side seam.
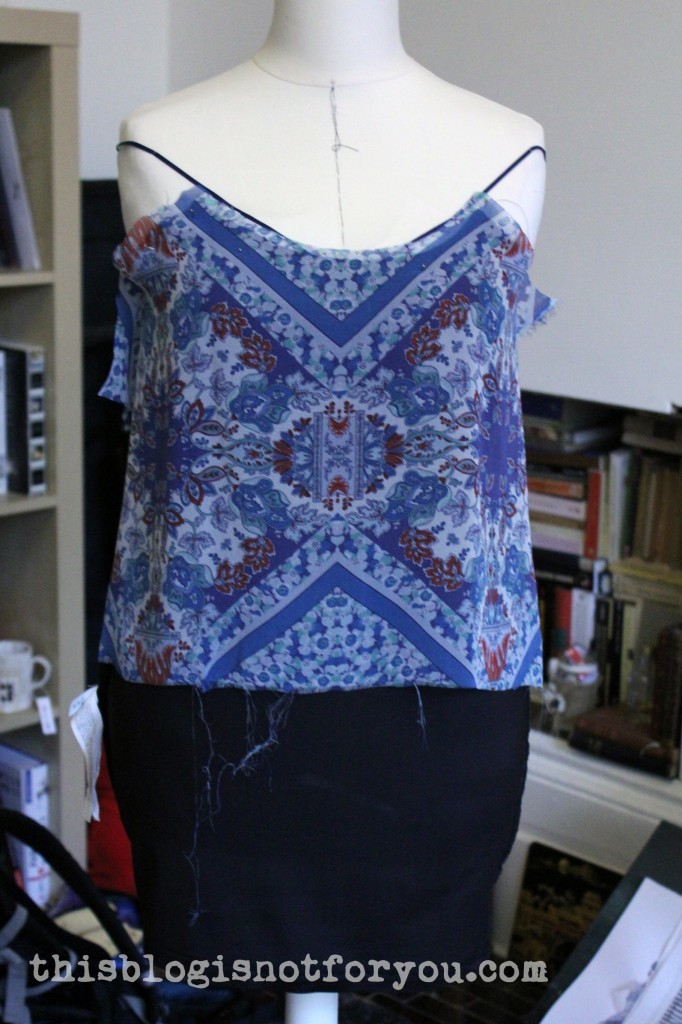
I decided to make the waist fitted and the bodice part a bit longer, so that it would cover the shirred waist and would loosely hang, looking almost like a separate part.
To get the perfect length I just used my hand to push up some of the fabric at the waist, adjusting until the fabric part that fell over it was was long enough to cover a waistband of about 10cm/4in length. (see picture above. Hope I don’t confuse you too much.)
Mark the fabric length were the waistband would start, e.g. in the picture above this would be were my fingertips are. Don’t cut the fabric in the loosely hanging fold, since you want to create that “overhanging” part.
If you’re competely confused by now – just add about 15-20cm length at your bodice piece’s waistline.
Chop, chop! I acutally prefer clipping and then tearing – makes a much straighter edge!
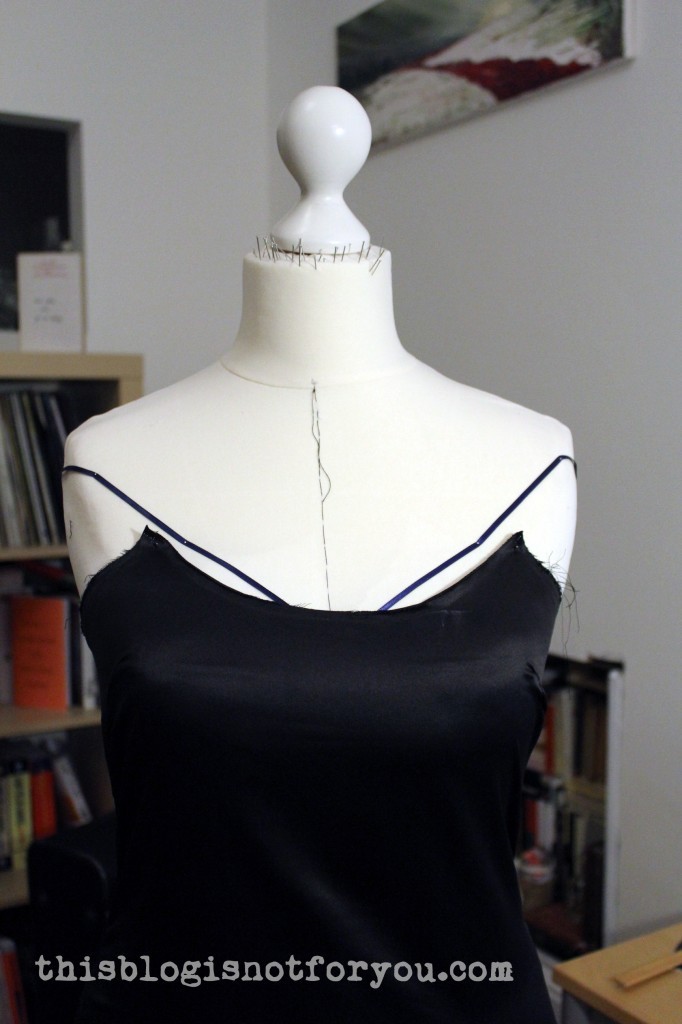
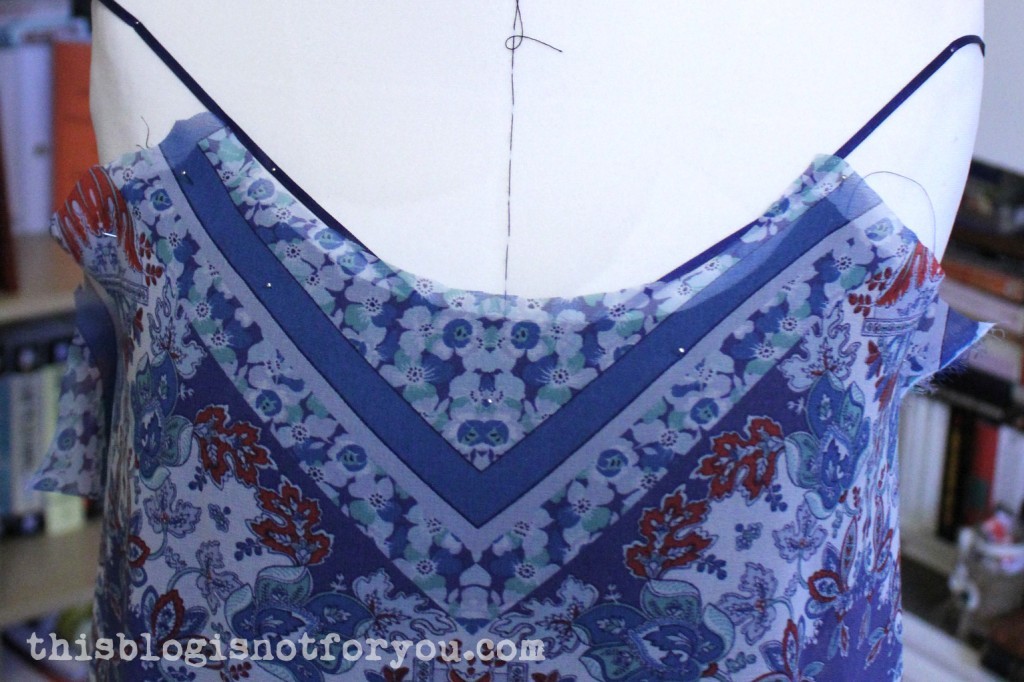
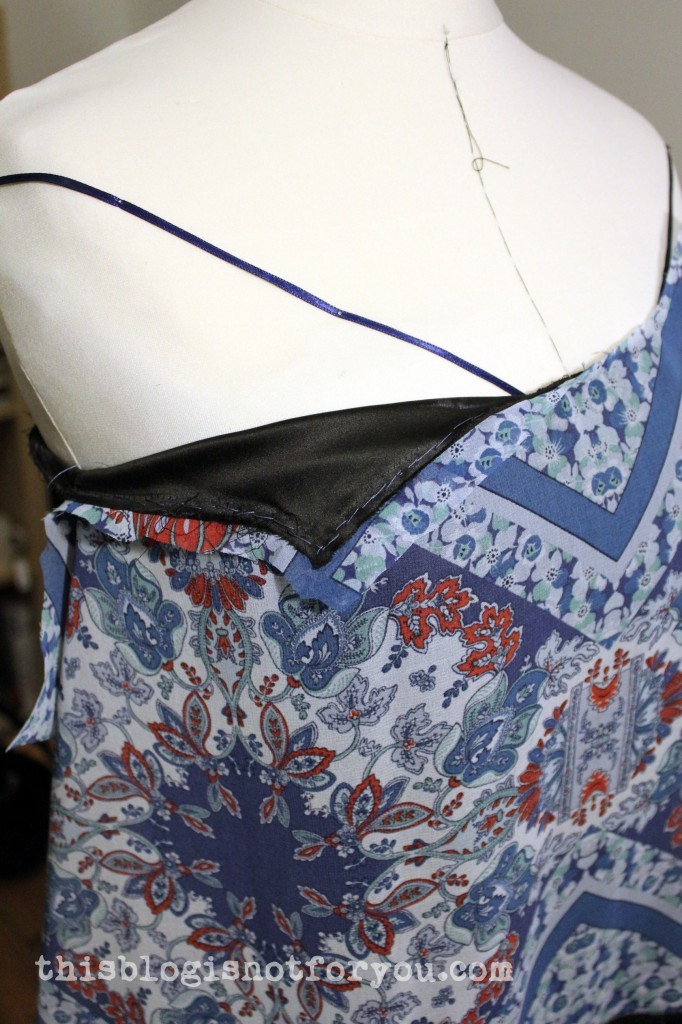
Now cut around the shapeof the neckline of your slip dress, leaving enough seam allowance.
Since I couldn’t really pin the chiffon (the pins would keep falling out), I hand-basted the fabric to the slip dress neckline. I’d recommend doing that anyway, to make sure everything stays in place.
I laid everything flat on the ground to make the side seam allowance more even. I made them straight (as compared to the fitted slip) so everything would fall a bit more loosely.
If your fabric does not have any stretch (like mine) I’d strongly recommend cutting the side seams straight anyway. Otherwise you will have problem getting the dress over your unmentionables.
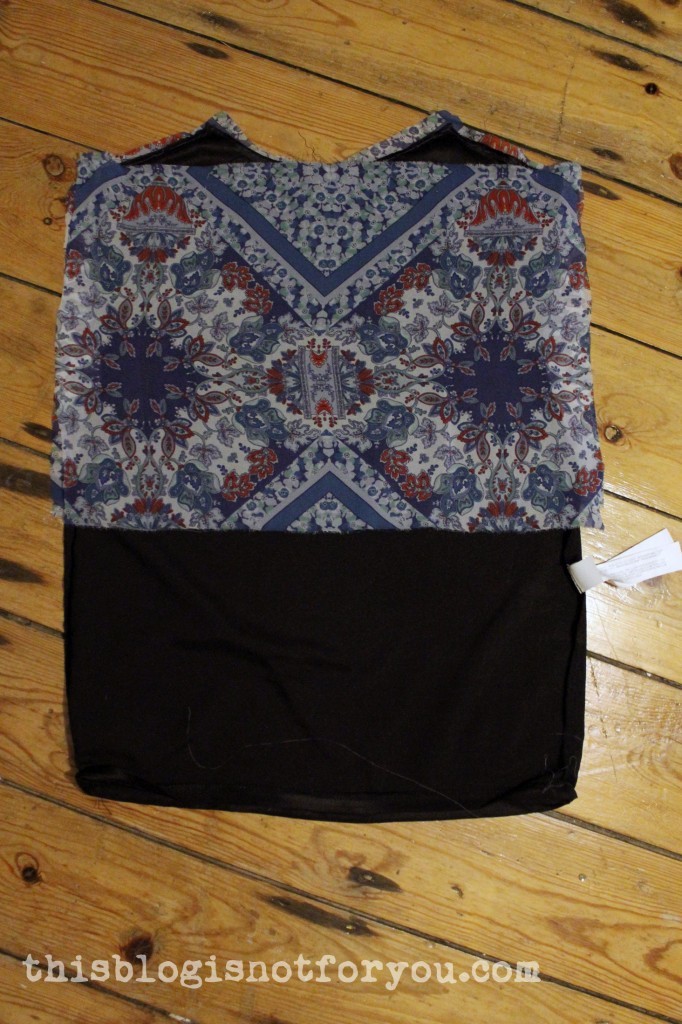
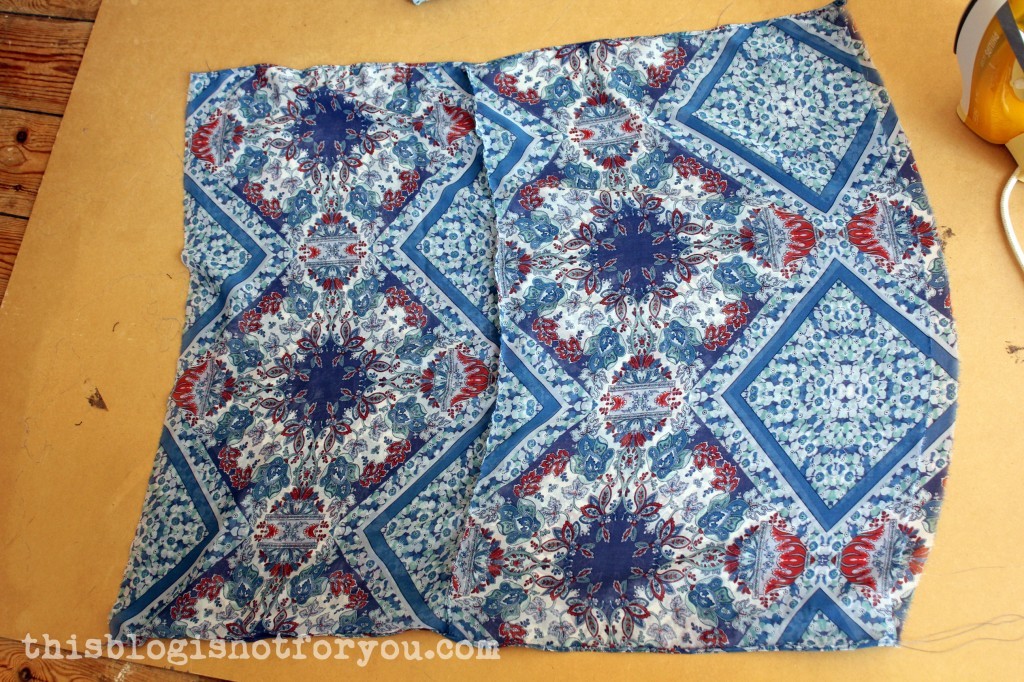
Creating the back panel is super easy. Just line up a piece of fabric, leaving enough seam allowance at the top and using the egdes of your front panel at the side and bottom as a template for the back panel.
If you are using a print like I did, make sure everything is symmetrical. (You can easily forget that when you are super concentrated watching Project Runway, ask me how I know this)
I forgot to make pictures of the next steps, naughty me.
1. Sew the side seams first. Since I was working with chiffon, I used my favourite baby seams technique.
2. Stitch the fabric onto the slip dress neckline. I only had 0.5cm/0.2inch seam allowance on the slip dress, since I had removed the bias binding before. If you’re making your own slip, you can use more seam allowance.
3. Turn everything inside out and try it on. Make a happy dance.
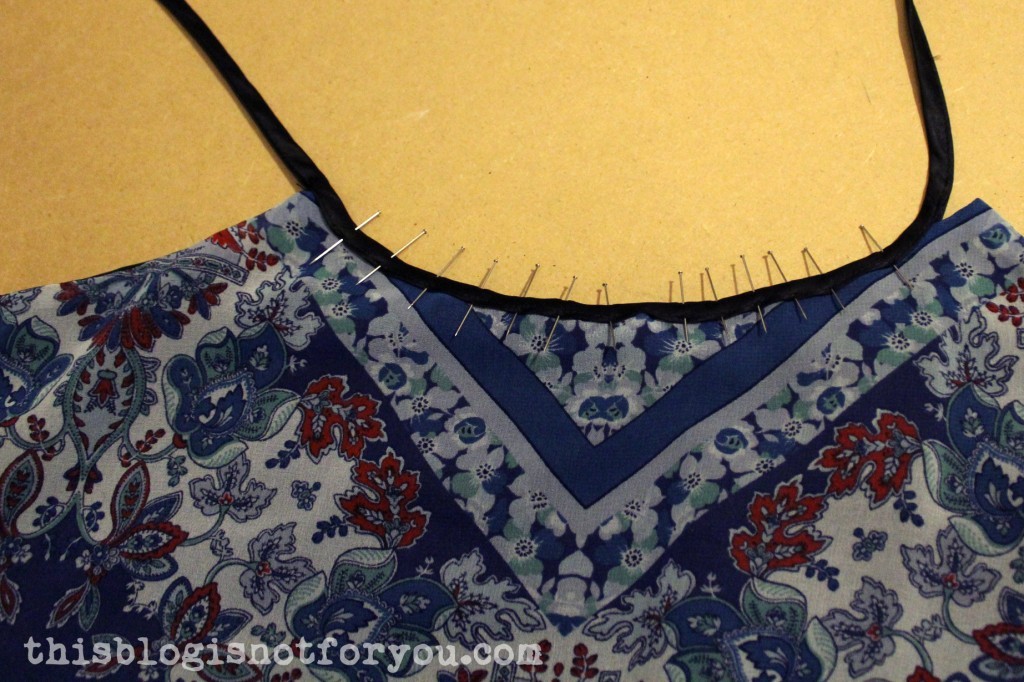
I pressed the turned dress (now right side facing you) and pinned the bias binding back onto the neckline. You need two strips of bias binding. One that goes all the way around the back and ends at the pointed corners at the bust, and one that goes along the neckline and the ends are used as straps.
Sew the one around the back and sides first, so you can cover the end with the one you use for the straps.
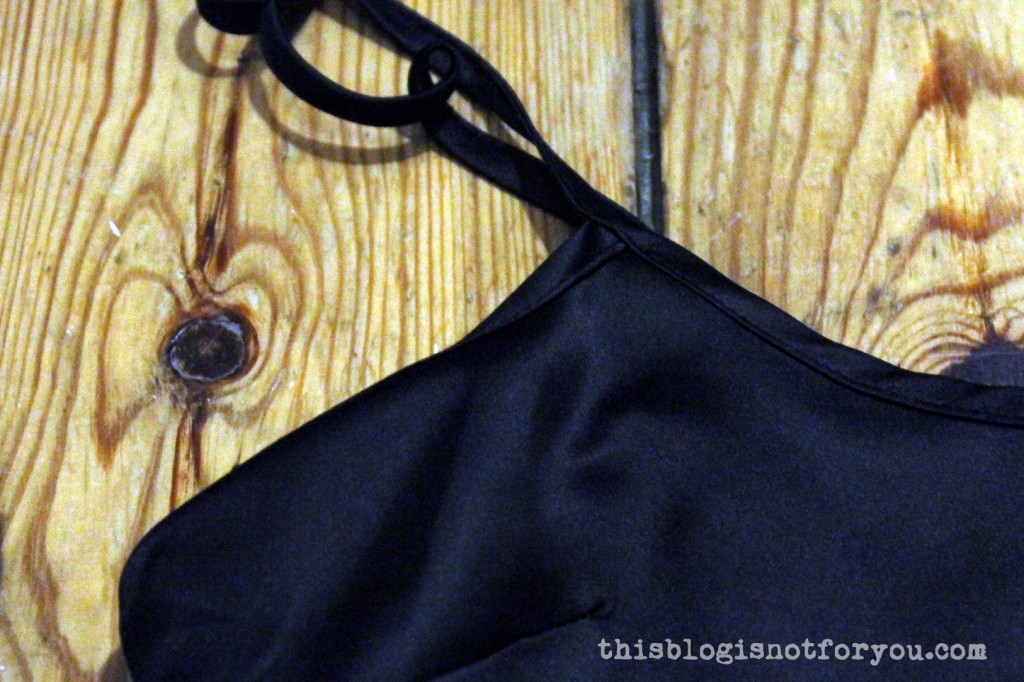
The straps are creating by simply stitching the binding together at the open side.
The ends of the straps are sewn onto the left side of the binding in the back. You can orientate yourself at your bra straps.
Now the skirt panels:
The length is really up to you. I made 3 tiers, each about 40 cm long since I wanted to gather the pieces like a petticoat. I didn’t do that in the end and now have two weird-looking seams that were absolutely unnecessary. If you just want to have a straight skirt, measure the length from waistband to your feet.
(Make sure to make the panels wide enough, so you can walk properly. Everything less than 150cm in cirumference might be problematic and you’ll walk like a geisha. My panels are 70cm each, that’s just about fine, but I’m thinking about altering that. I can’t run in this dress!)
Now comes the fun part. We want the skirt panels to be shirred at the waist. (Alternatively, you can insert a wide elastic band, if you want to avoid the shirring)
To determine the width of the skirt panels, measure your waist. Shirring will make the fabric shrink in width so you need to add some extra width. As a rule of thumb you need to multiply your measurements with 1,5/2. The more lightweight the fabric is, the more width you need to add (because it will shir easier). I used chiffon and multiplied by 2.
Cut the fabric in half, so you have a front and back panel.
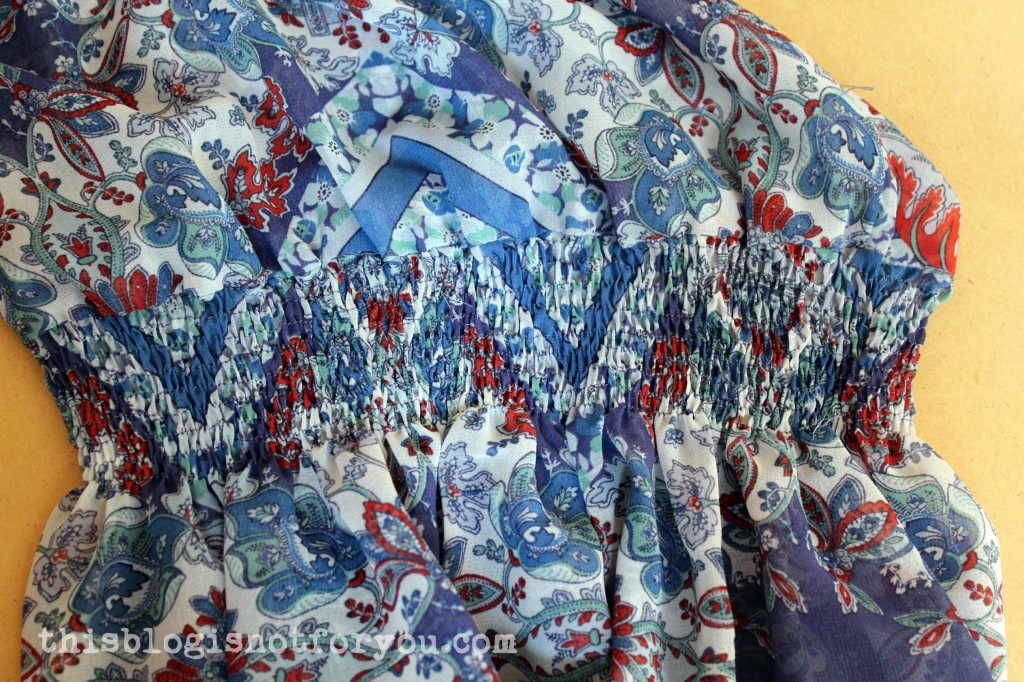
I left some seam allowance and then sewed 9 rows of elastic shirring, each about 0.7cm/0.3inch apart (orienting myself by the edge of my straight stitch presser foot).
Here’s a quick tutorial on shirring, if you don’t know how to do it. Try! It’s not hard at all. There are millions of other tutorials on shirring out there. Google it and make yourself familiar with the technique before you start.
For sewing the 9 rows I used 2 complete bobbins of elastic thread.
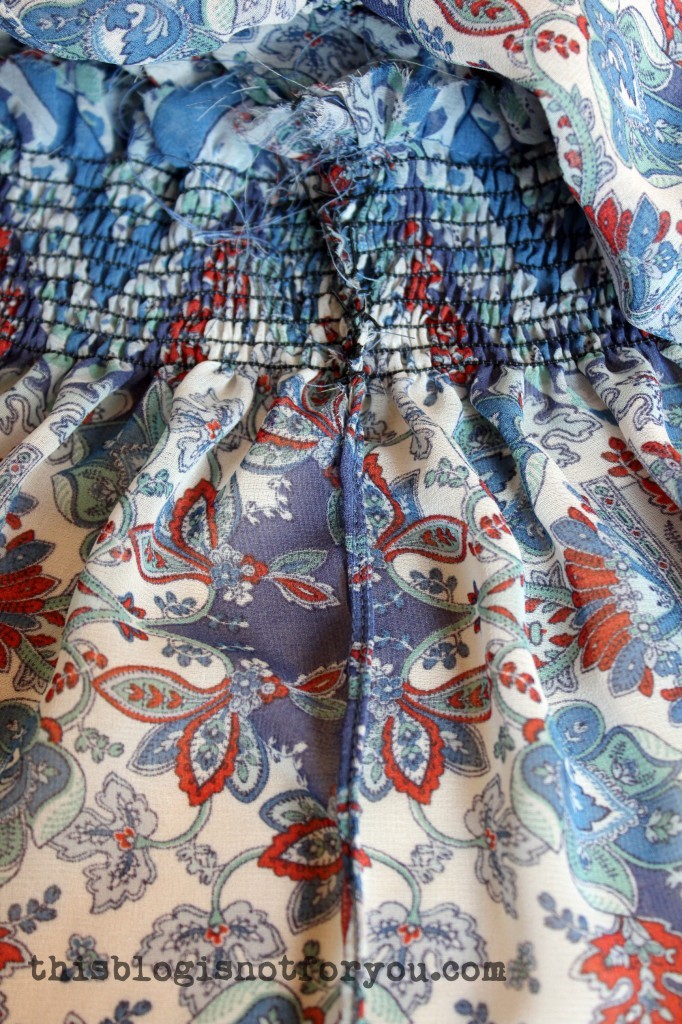
Sew the shirred panels together at the sides. In the pic above you can see the baby seams. The shirred part I simply stitch together and finished with a zig zag stitch.
Sew the shirred skirt onto your bodice piece, right sides together. You will need to carefully pin everything in place first. With both pieces pinned together, you will need to gently stretch the shirred part as you are sewing so that it is the same length as the bodice fabric.
By pressing the shirred fabric, the shirring will pull in nice and tight. Don’t pull the fabric, just press the iron down lightly.
Looking good!
If you made one long skirt panel, you can skip the next part.
If you made tiers (I recommend gathering them to create more width on the bottom), sew the tiers together. Then sew the side seams.
Pin the tiered part onto the bottom of the shirred panel and sew together.
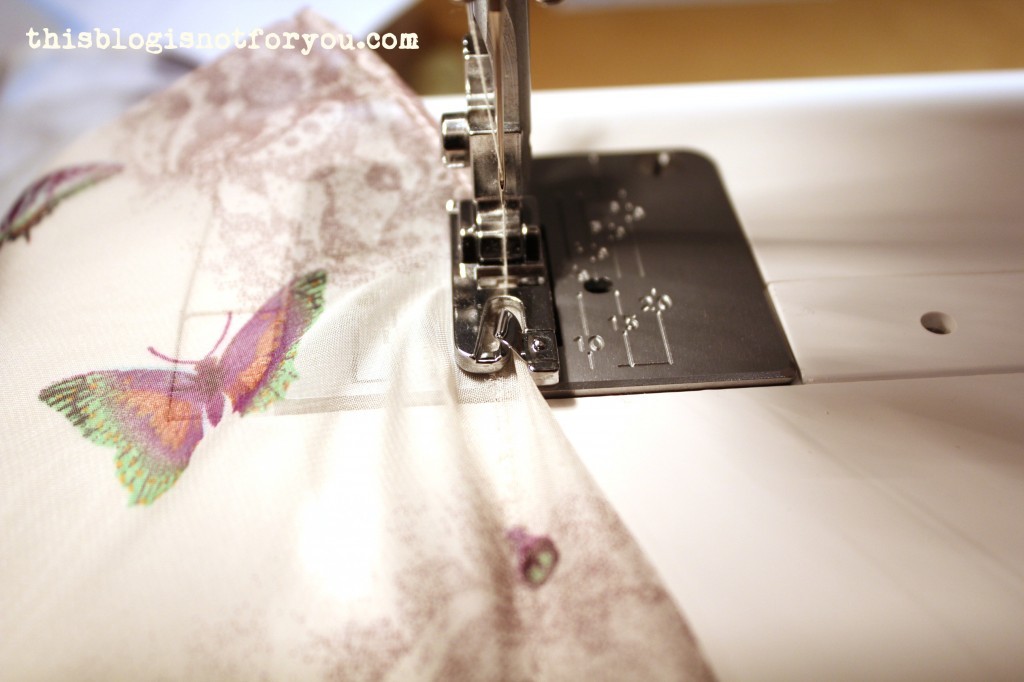
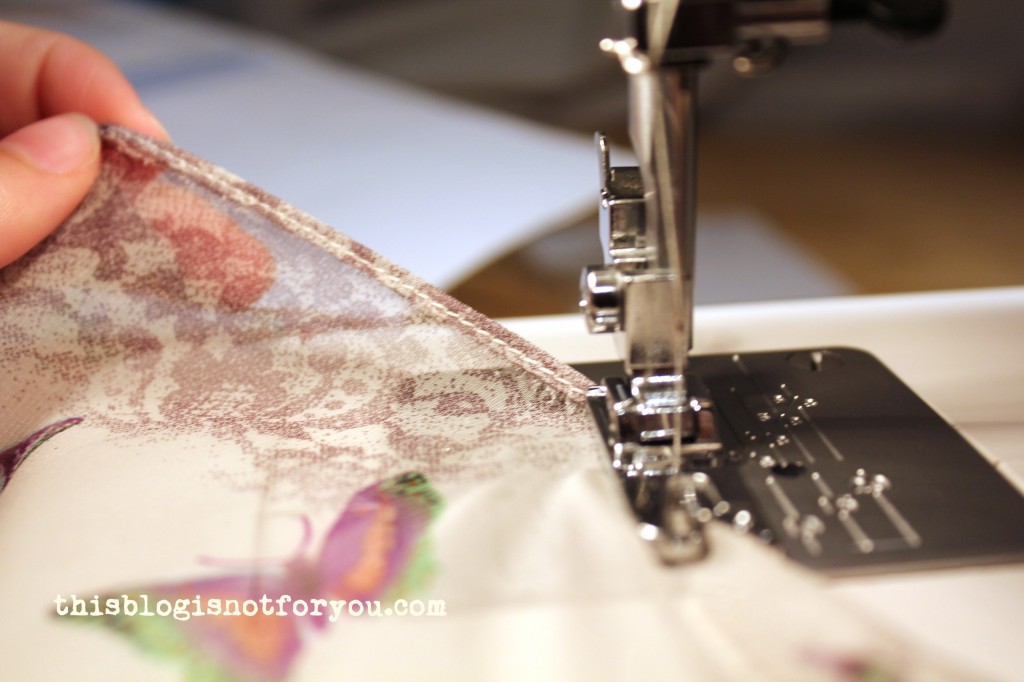
I hemmed the dress using my narrow hem presser foot. It’s the perfect way to finish a chiffon hemline:
Phew! Are we done? I think so!
If this was way too confusing, don’t hesitate to ask questions in the comments.
When you’re done, please share our creation in the comments. I’d love to see it!
Believe it or not, I finally managed to sew a maxi dress! I never had one and always wanted to make one (just buying one is way too easy and boring!). I already had bought fabric for at least 3-4 different ones, everything already planned out in my head. But – oops – summer is almost over. Bummer.
It was a super busy summer and for some reason I worked on so many things, but forgot my maxi dress plans.
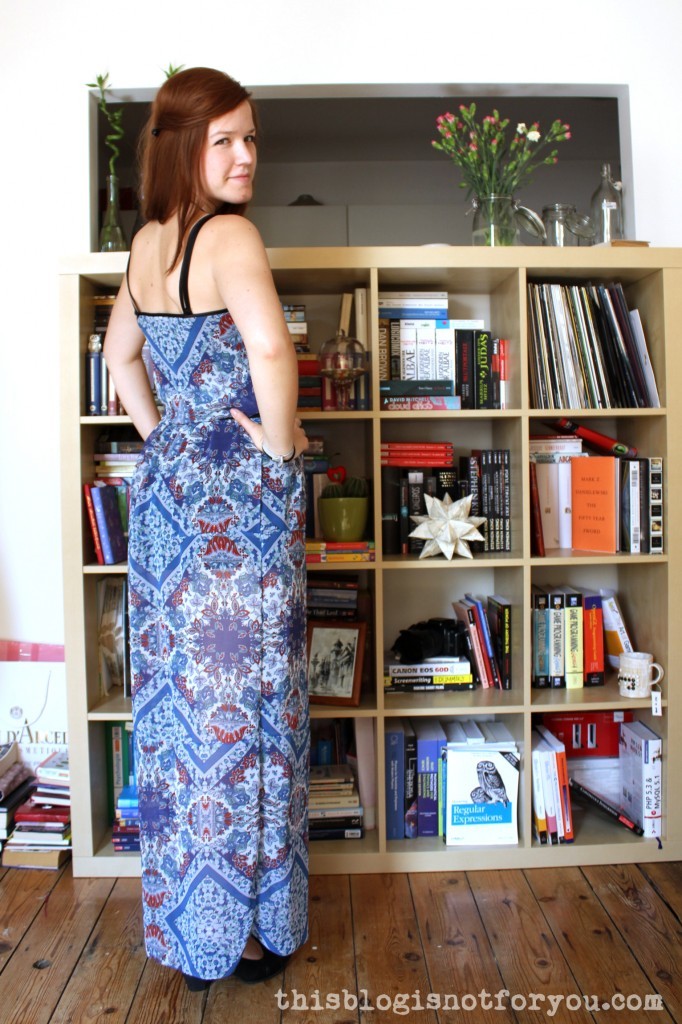
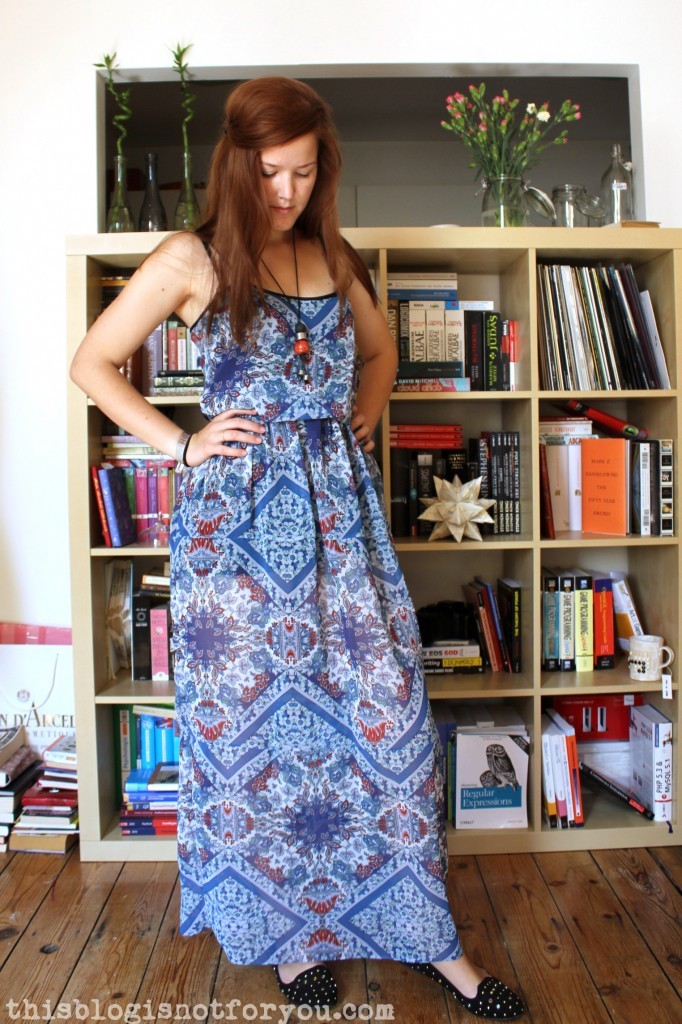
Well, I finally got around to making one but not even using the fabrics I bought. I used a pretty blue-ish chiffon I got for my birthday from Mr Thisblogisnotforyou’s sweet grandma, who also had bought matching thread and sewing machine needles (thank youuuu!). Isn’t that sweet?
I made this dress without a pattern. How I did that? I’ll explain this in an extra post as this time, I took millions of pictures during the process and maybe not everyone is interested in this, I figured. If you’re not – you can just skip the next post 🙂
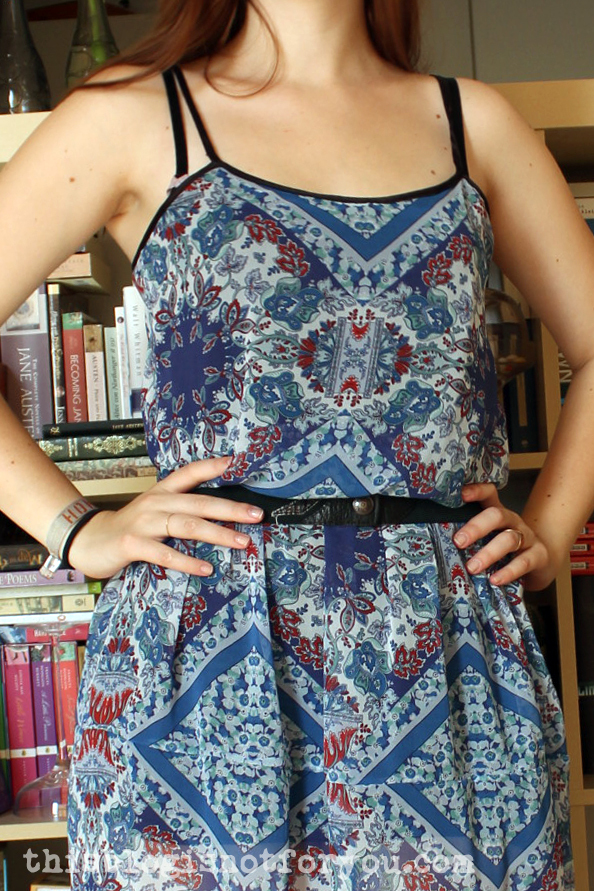
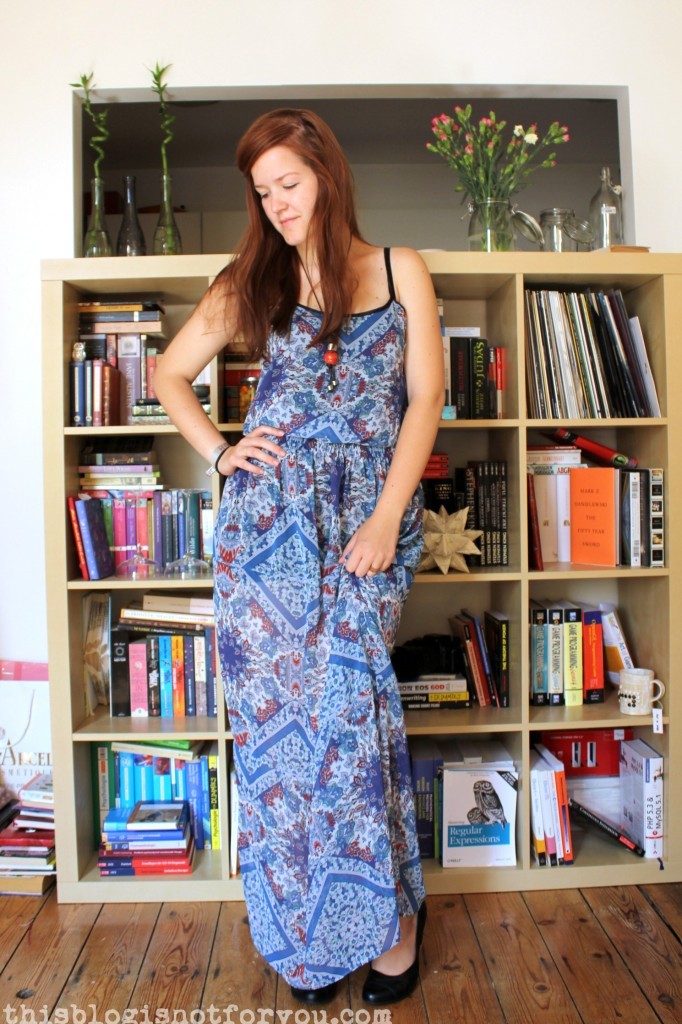
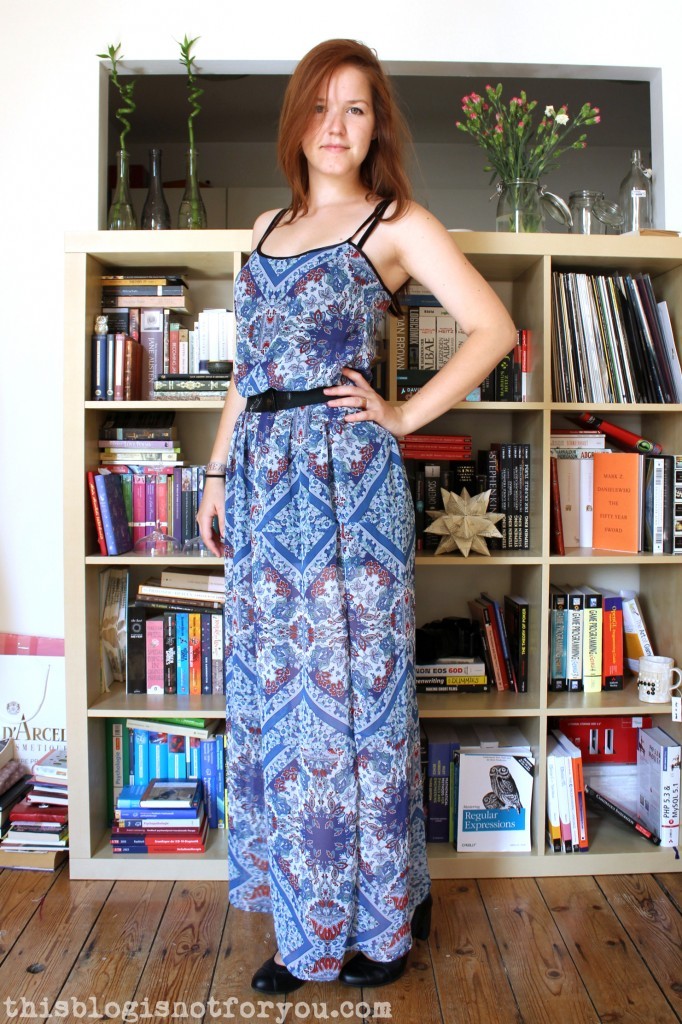
I used elastic shirring at the waist, which actually was a really clever idea, I have to admit – with the shirring I can alter the length of the dress by raising or lowering the shirred waistband. This is really helpful – now I can wear high heels or flats with the dress without it being too long or too short.Flats!Heels!My favourite black vintage leather belt. I love this look the most.Brown belt with my new thrifted shoes 🙂 ( I forgot to adjust the length of the dress in this pics, ooops! Well, this way I can show off these shoeeees!)
Knotted at the hip 🙂
The “I’m so fabulous” pic. No, seriously, I hate taking pictures with selftimer. I always feel so stupid and then make funny faces. As soon as Mr Thisblogisnotforyou is back, that’s his job again (the picture taking, I’ll still be the one making funny faces).
Anyway, if you like to know how to make this dress – stay tuned! Another “sort-of” tutorial is on its way. And you’ll hear the story of the dubious underdress 😉
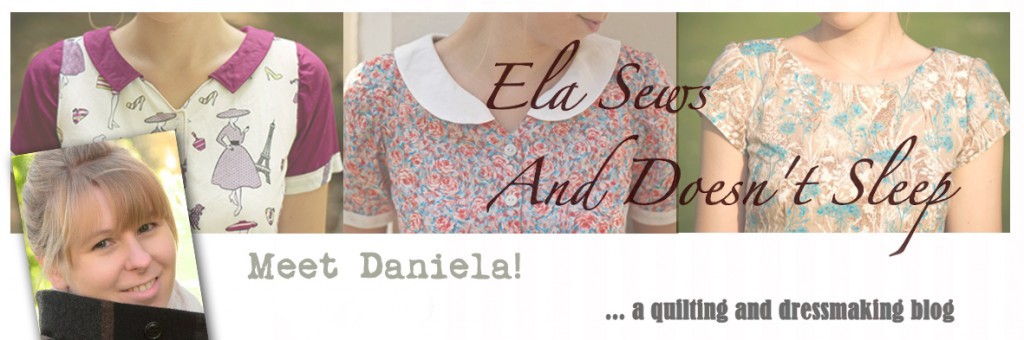
Hi everyone! I hope you all enjoyed Sabrina’s feature! I’m very excited about the feature today, as I’ve met this little lady in real life! 🙂 I met her at a London blogger meet up and was delighted to have found a fellow German seamstress living in London! Pretty cool, eh? You will be surprised when you learn that she just recently started blogging – you absolutely can’t tell! Her blog, her pictures and her makes are amazing and if you’re a big fan of sewing, quilting, knitting or guinea pigs – you must check out this blog!
Hello I am Daniela from “Ela Sews And Doesn’t Sleep”. I am so excited that Charlie has invited me to be featured on her blog. Thanks a lot for this opportunity Charlie.
Just let me give you a quick heads up about me. I am 29 years young and in my final month of my practical work for my PhD in biology. I will start writing up in October and will spend loads of time at home then in front of my computer. So that will be a complete change of my life 😉 I live together with my boyfriend and two guinea pigs in London in a little house with a garden. I am lucky enough to have my dedicated sewing space, where I have my sewing machine, fabrics, cutting mats and haberdashery set up. I started sewing seriously about 8 months ago, after having given up on sewing 3 years earlier. I love to sew dresses and skirts and whenever I get frustrated with the fitting process I will take out a quilt and do some free motion quilting. So my blog is not only about my adventures in dressmaking but also about quilting and soon to be come about knitting as well.
Q: For how long have you been blogging and why did you decide to start a blog?
I started to blog only 4 months ago – so I am still a blogger newbie 🙂 I started to blog because I wanted to share my sewing progress and get some input from other makers. When I started to sew (and it still is like this), I couldn’t stop talking about sewing. How much fun it is, what I want to make – you get the idea. The problem was I had nobody to talk to, to exchange ideas with. Not that it stopped me from telling all about it to my boyfriend, friends and colleagues. But after a while I noticed that they became pretty bored – not my boyfriend though 🙂 So, I started to think about blogging.
Two month further I started my blogEla Sews And Doesn’t Sleep. And up so far I haven’t regretted it. I am getting input and motivation from other bloggers and I even made friends when attending a bloggers meet-up.
Q: What was your first ever blog post about? How do you feel about it now?
A bit embarrassed? I could have just started with writing about one my makes or a little tutorial, but I thought I need some kind of an introductory post. And then I was sitting there and had not really an idea how to start. It was not that easy to come up with something when the only thing you want to announce is: Hello I am here 🙂 .
Q: What was the first blog you regularly read?
That was Tilly and the Buttons. I stumbled upon it (and on the world of sewing blogs) when I was looking for info about the Great British Sewing Bee. I have actually read all of Tillys’ posts because I wanted to know how she became such an amazing seamstress after such a short time.
Q: How and when did you learn how to sew?
The first time I touched a sewing machine was 4 years ago. It was during the term summer break that I decided to sew little cuddle houses for my guinea pigs (see my blog post here). So I bought fabric, batting and thread, printed a tutorial and convinced my grandma to show me how to sew. My grandma had an old Veritas sewing machine, which was actually produced close to where I live. She showed me how to wind a bobbin, to thread a needle and most importantly how to sew 🙂 I then dug up my mum’s old sewing machine, which had been neglected for 15 years and brought it to a service shop. Then I tried to sew at home, but somehow the thread tangled and I thought the sewing machine was still broken. So, I called in the service center to complain and was told the machine is working alright. I then went there with my sewing machine and a very old tailor showed me how to use such an old sewing machine properly.
Q: What are you doing when you’re not sewing or writing blog posts?
Mostly working (see below). I have also started to knit and I just love to cuddle up with my knitting next to my boyfriend on the couch. I also love to watch detective movies on Saturday nights. My favorite ones are Agatha Christies Poirot (I have the whole DVD collection), Morse and Lewis (I just love Oxford).
Q: What does a normal day in your life look like?
Very busy and far too short! I get up 6:30 in the morning, have some breakfast and feed my piggies and leave the house at 7:30. Then I have a lengthy tube ride, in which I try to catch up on the newest blog posts, before I arrive at work at 8:15. I try to not leave work later than 5:30 to have some time for myself in the evening. Having had dinner, it is usually already 19:30, which leaves me with 1.5 hours of sewing, knitting or cuddle time. I try to stop doing anything sewing related at around 9:00 because otherwise I can’t fall asleep when going to bed at 22:00. Even reading about sewing or being on pinterest keeps my imagination going and I can forget about sleep.
Q: Do all of your friends/family know that you are a blogger?
Most of them know, but I don’t think anybody is reading it 🙂 My family does not speak/read English, so for them I usually put pictures on my Flickr page. And I guess for my friends, they are just not into sewing.
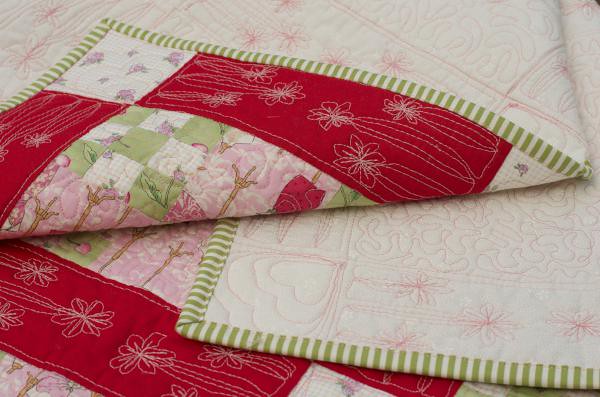
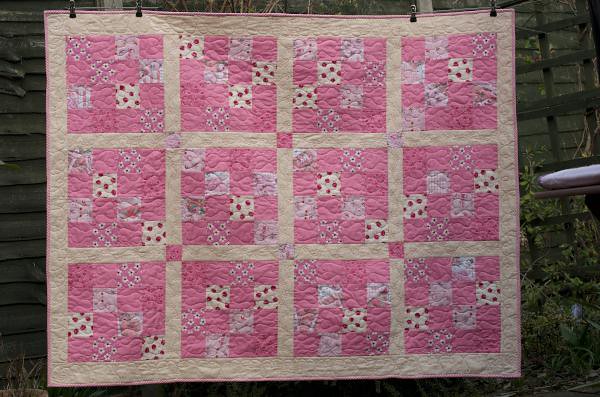
Q: What are you working on at the moment?
There are so many different projects I am working on. The most important one is a Birthday Quilt for my mum. I started to work on it in March and have to finish mid October so that it is ready when I am going home. I just started to quilt it and it takes up a lot of my time. Because it is a Birthday present, I can’t post anything about it on my blog. You never know, my mum could stumble on it by coincidence.
I am also participating in the Fall for Cotton challenge, where I am going to sew a vintage dress made from cotton only. And as if that was not enough, I have also started to knit a lace scarf.
Q: What is your go to pattern brand?/ Or if you’re not using patterns, what is your favourite tool/technique to work with?
That’s an easy question! Colette Patterns! I do have the Colette Sewing Book and 4 other patterns. I just love the playful style and great descriptions. But I am trying to venture out a bit and also have the Kelly Skirt Pattern from Megan Nielson and a jersey dress pattern from Maria Denmark. Simplicity and McCalls are also in my stash.
Q: If you had 500 dollar/euros/pound to spend on your blog/hobby, what would you buy?
A mannequin, overlocker, more Colette patterns and fabrics!!!! I would run out of the money quite fast I suppose!
Q: What can we look forward to seeing on your blog in the future?
More me makes 🙂 And hopefully some knits. And as Christmas is approaching, I am planning to do some tutorials to give you ideas for Christmas presents. As soon as I am done with my mum’s quilt, I will get started on that.


 We used transfer paper to transfer the picture onto the shirt. This one leaves very pale yellow lines on the fabric you can easily paint over.
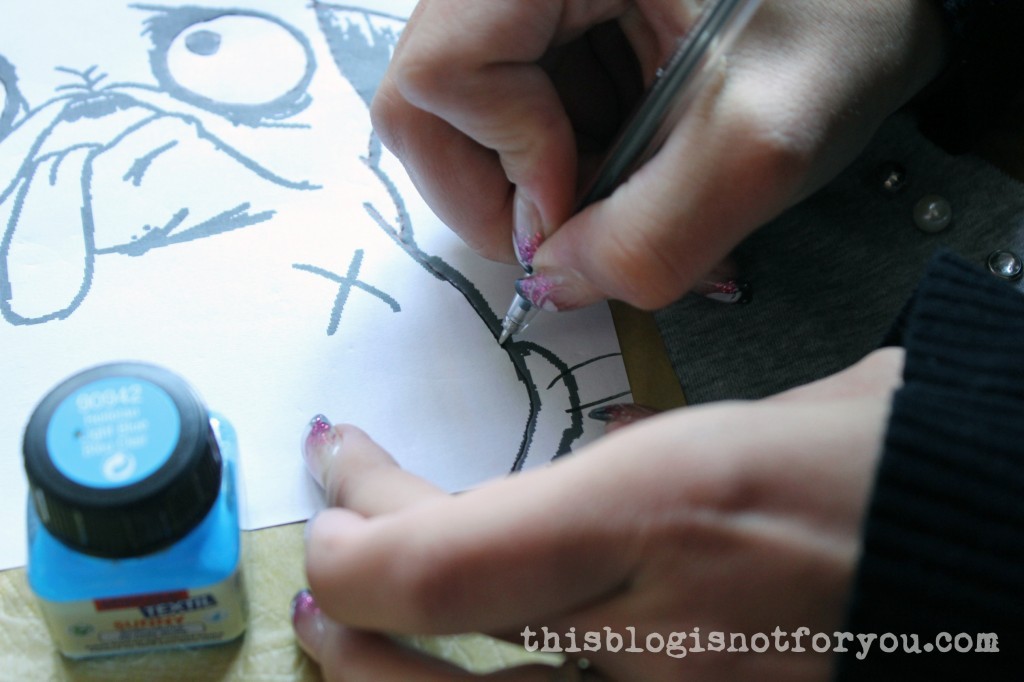 We traced the yellow marking lines with a fabric marker and then used black fabric paint and a small paint brush.
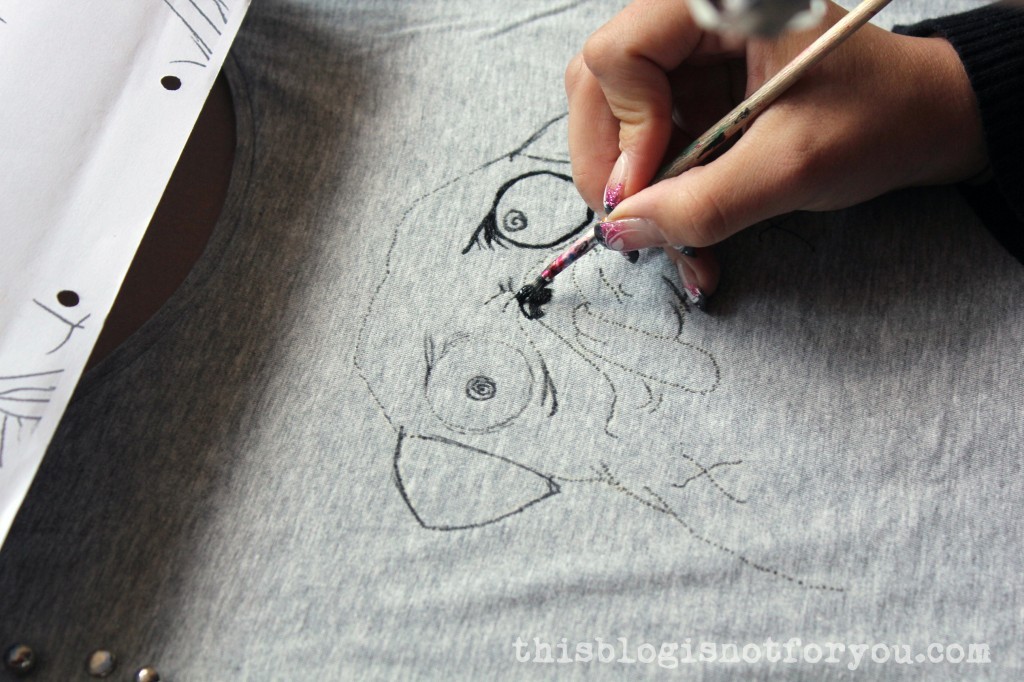
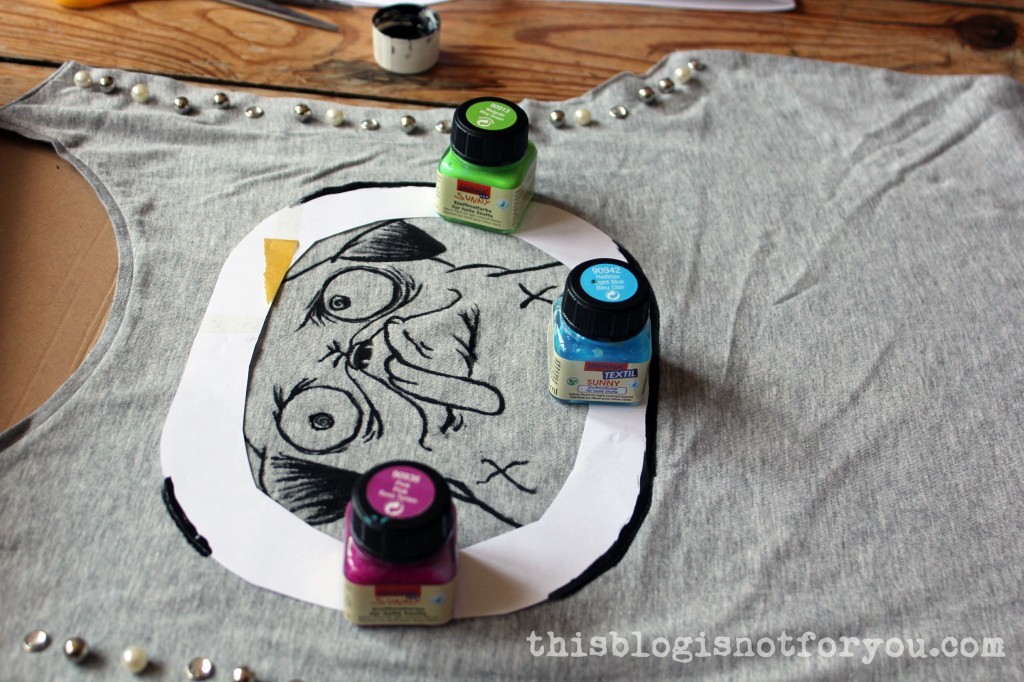
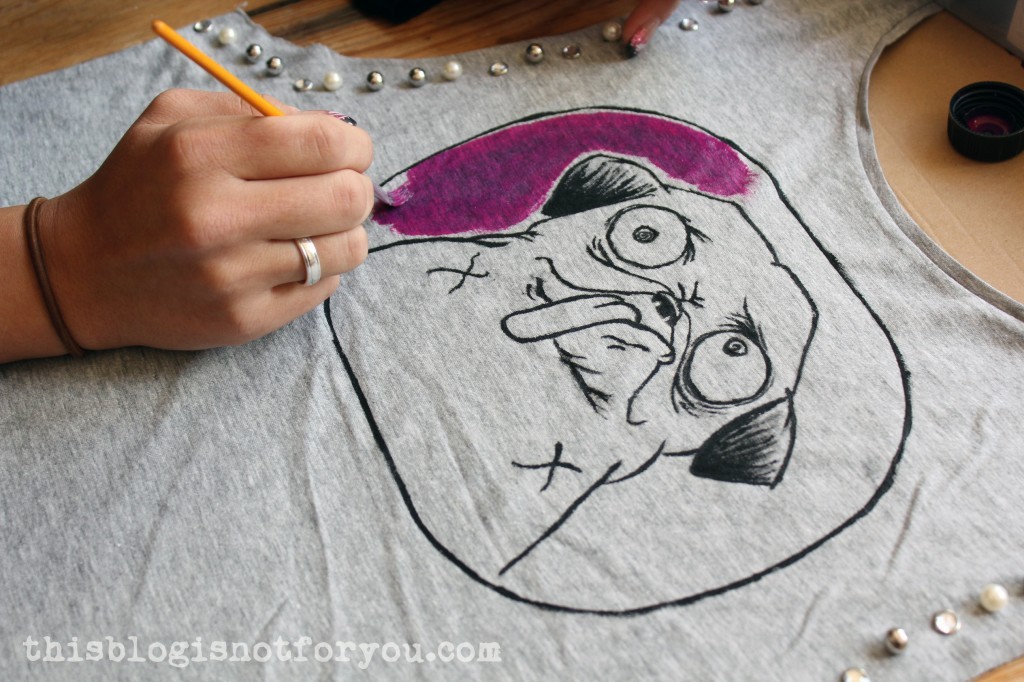 After painting we left it to dry and then ironed it, left side up.
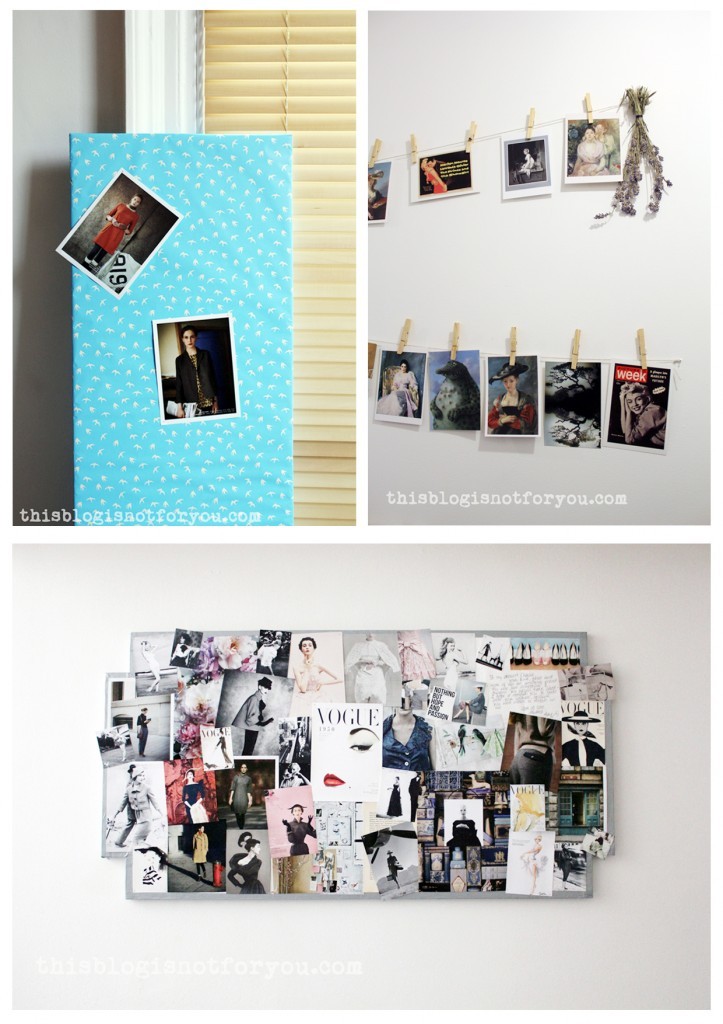 Hi everyone!
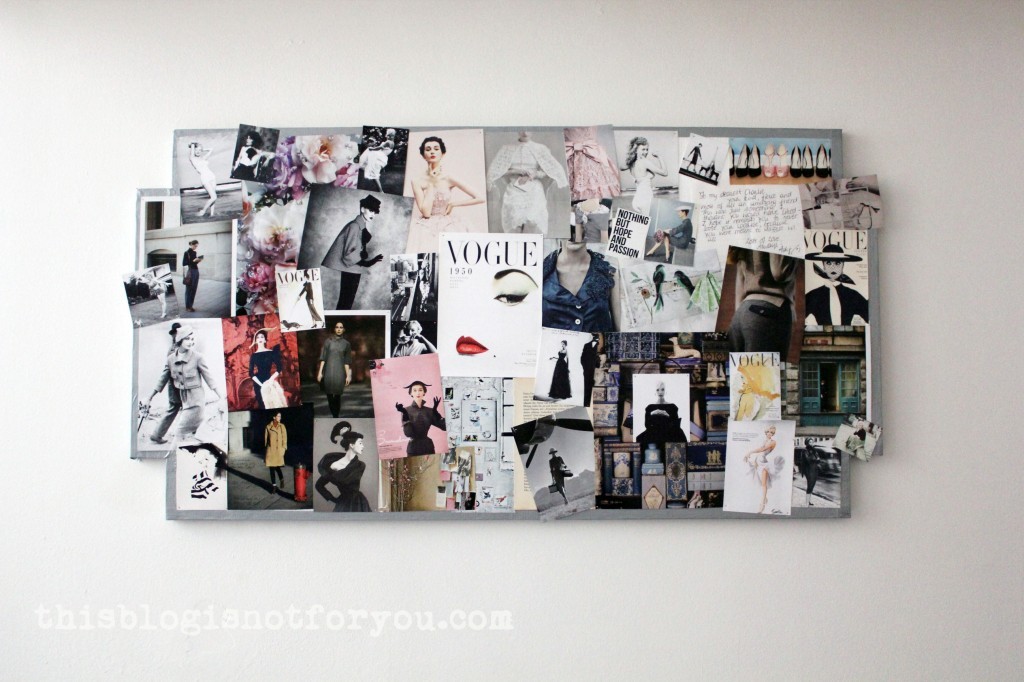

 With this one I used some cardboard (also left from our IKEA shopping trip), duct tape and wrapping paper.

 I hung up only one row at first to see where it would hang, before starting with the second row.
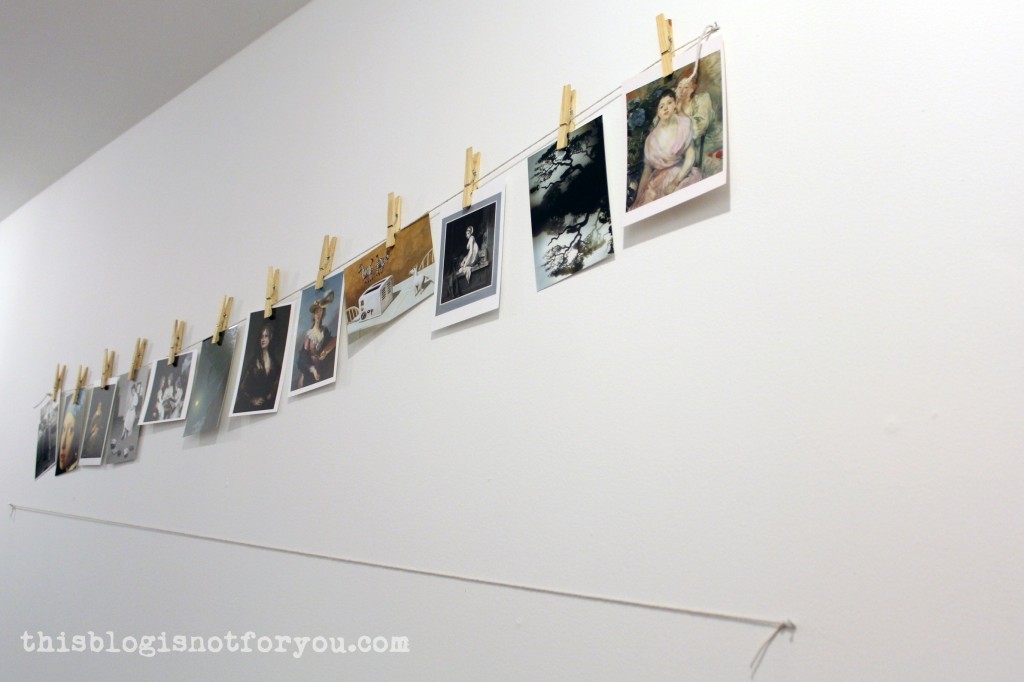


 I loosely pinned the fabric (left side facing me) onto the dress form to see where the print would look best.
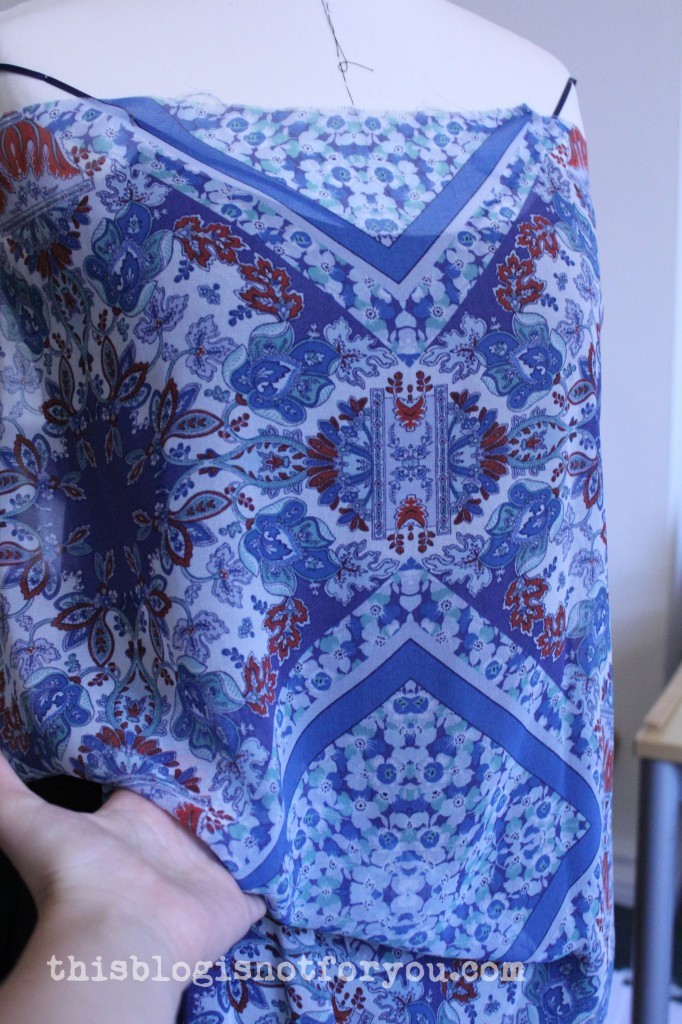 I decided to make the waist fitted and the bodice part a bit longer, so that it would cover the shirred waist and would loosely hang, looking almost like a separate part.
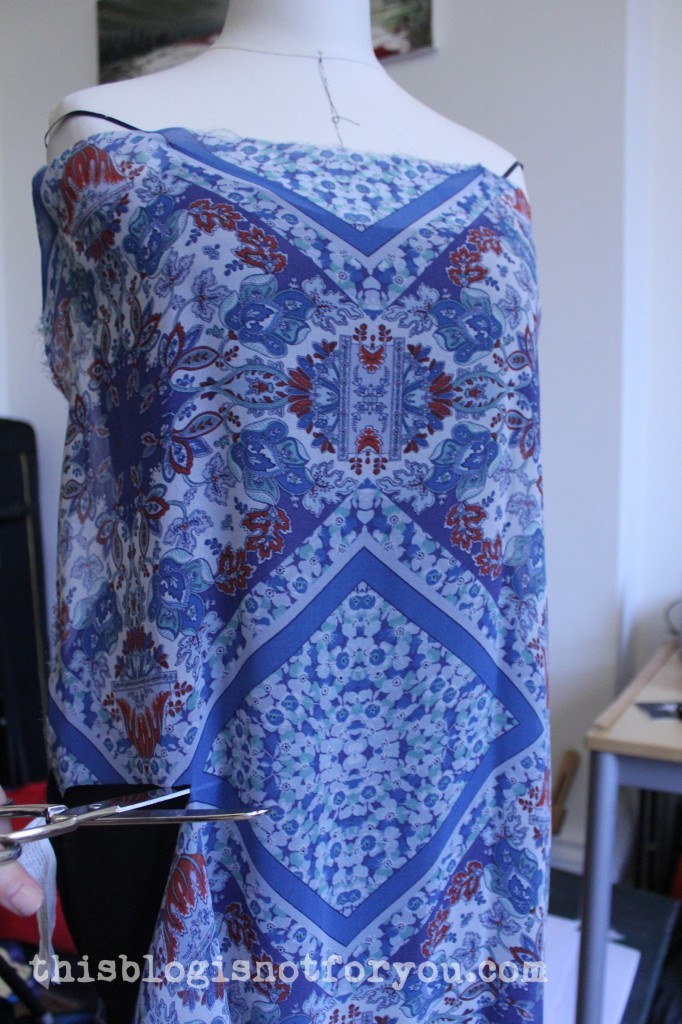


 Flats!
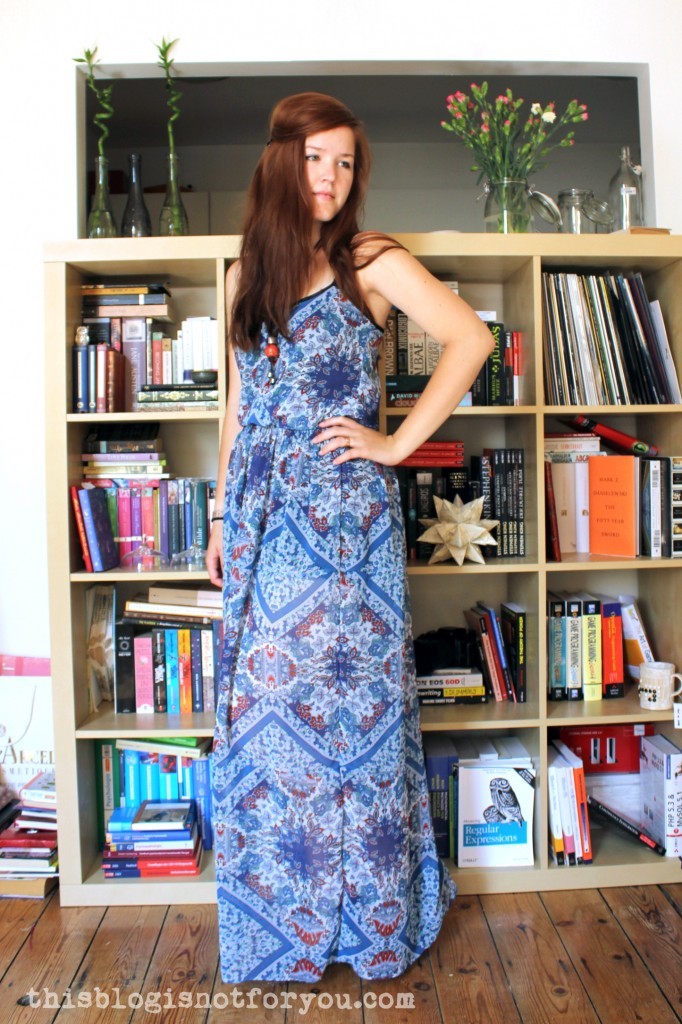 Heels!
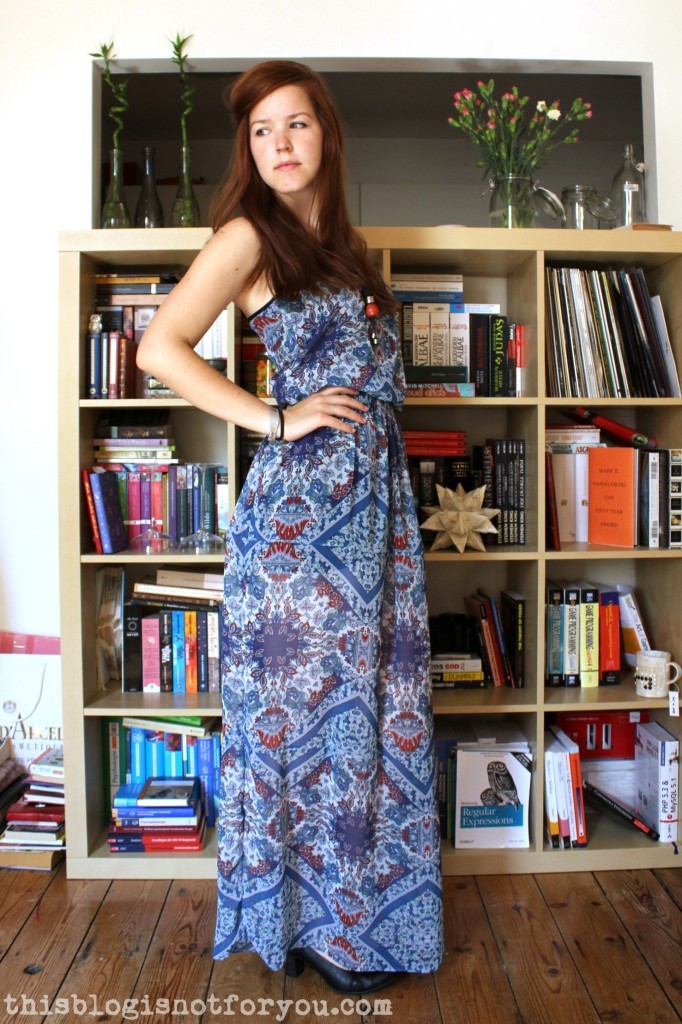
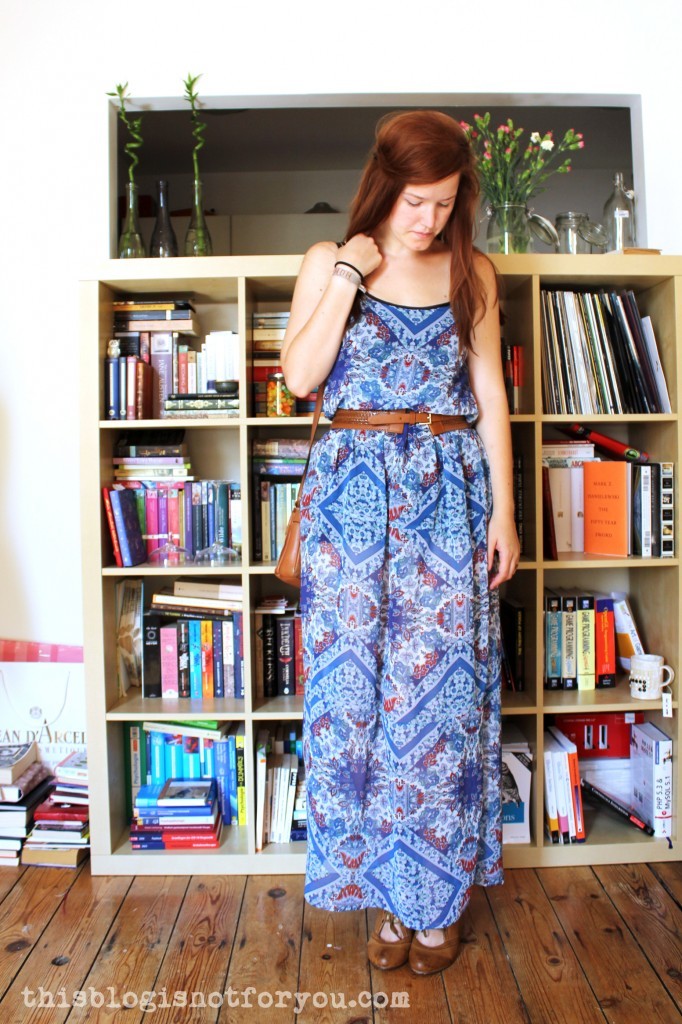 Brown belt with my new thrifted shoes 🙂 ( I forgot to adjust the length of the dress in this pics, ooops! Well, this way I can show off these shoeeees!)
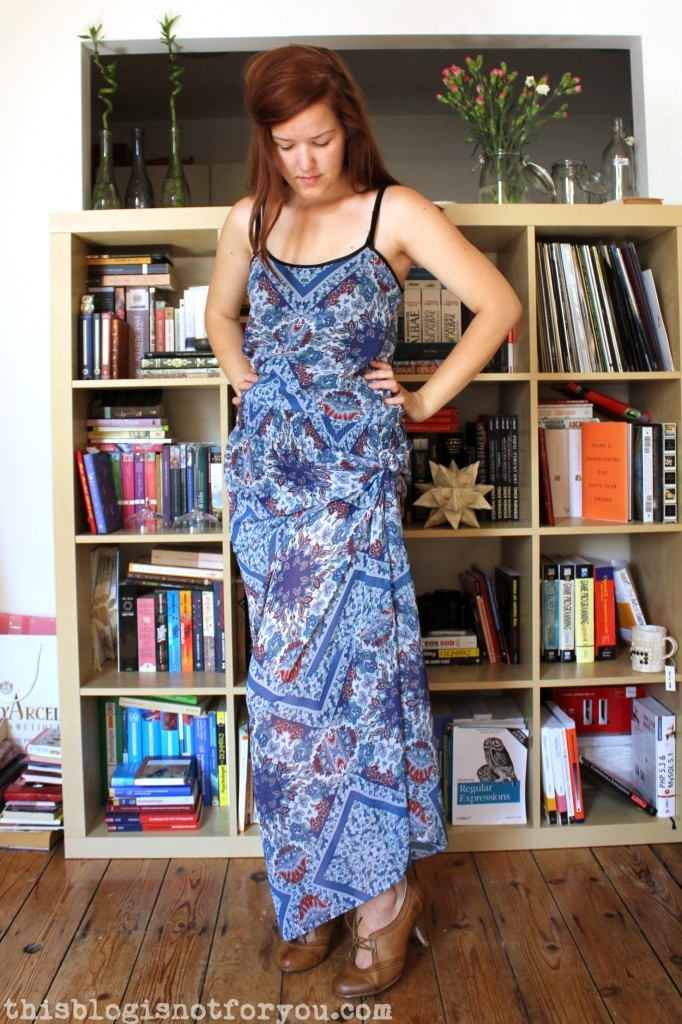

 Hi everyone! I hope you all enjoyed