Hi! Thanks for stopping by and welcome to part 5 of my new Blogging Basics series!

…you’re an absolute Blogging Newbie
…you just started blogging and you feel like you could need some helpful tips and tricks
…you have been blogging for a while but somehow feel like you might have missed out some vital steps
…you have been blogging for years but somehow you have trouble getting people to read your blog and subscribe
Last time we talked CONTENT. Today is all about time management and how to invest your time wisely.
INVEST YOUR TIME WISELY
#1 Save your drafts.
Sounds very simple, but is important. You’ll never know what your PC is up to. So better save your drafts while writing and when you’ve finished. This will prevent many nasty surprises and saves a lot of time you otherwise have to spend on starting from scratch if something unexpected happens (power blackout, computer crash, your kid’s love for the power button, just saying).
#2 Backup your blog.
Have you made a backup of your blog? If not, time to get cracking!
There are evil forces out there such as viruses, newly-installed plug-ins and updates etc. that could break your blog. (There are 953405809385 million reasons why things like that can happen und sometimes it’s harder to fix the problem than just using your backup to resurrect your blog.)
Make sure that you don’t just copy/download your files but make a backup of your database, as well. This is where the actual content is stored.
#3 Get organized!
Do you sometimes have awesome blog post ideas, but always tend to forget them before you have enough time to write them up? Do you sometimes think that your blog has gathered some dust and desperately needs a new post, but you panic the minute you sit down to write something because you can’t think of what to write about?
Things like that happen and they don’t only happen to you. But you know what? It doesn’t have to be like this. Blogging should be fun. In order to have fun you should take it more seriously.
Getting organized is the best way to do this. It is essential for having a high-quality blog with regular posts that is far from gathering any dust.
What I find most helpful is having a well-organised blogging-planner notebook. I found one thrifting, in which I write down all the ideas I have for future posts or craft projects. I organize them in different categories and briefly write down some bullet points and to-do’s. (Buy this, take picture of that, etc)
I also print out a monthy blog planner and plan ahead. It’s good to know in advance when you’ll write up or publish your blog posts. By writing stuff down you save a lot of time trying to remember everything or having to start from scratch because you forgot everything.
There are some helpful blog planner printables out there you can use.
#4 Have a “blog agenda”.
Sounds cool and is incredibly helpful.
In the same notebook I mentioned above I have a section for my blog agenda. It’s basically a neatly organized longterm to-do list for all sorts of things I have to do, sort out or research in the future (layout ideas, doing some research about certain features or plug-ins, etc). Basically everything that is not blog-post related and often isn’t very urgent but important to keep in mind.
It’s also very useful when you stumble upon information that could potentially be very important for the future, but isn’t relevant at the moment. For example, if you read someone’s post about monetizing your blog you might find really useful information about Google Adsense, affiliate links etc. This certainly isn’t relevant if you just started your blog, but it’s good to keep those things in mind if you’re thinking about making money with blogging. Write down keywords and notes like “find out more about affiliate links” in your agenda category “ads”. This way you make sure, important information doesn’t get lost while you’re keeping your mind clear of things you don’t have to worry about at the moment.
#5 Write articles in advance.
Writing blog posts and articles in advance is useful in two ways: You will get rid of time pressure and your content quality will increase immensely.
By having a handful of posts ready to be published your blogging routine will become more relaxed. Find some time (weekends, holidays, one evening a week) and write up some posts you’re planning to publish in the near future. Make a weekly or monthly plan of when you want to publish them. All that’s left is proofreading and the publish button.
This way you’ll have some time to get a bit of distance which makes is easier to look at your writing more critically (every editor will probably tell you that). With plenty of time for proofreading and reviewing your own posts, the quality of your content will increase, as well.
#6 Don’t make commitments you can’t fulfil.
With making commitments like having regular features, starting a weekly link party/blog hop, hosting regular giveaways, accepting sponsors etc. you raise expectations. This is generally not a bad idea. By fuelling expectations readers will probably be likely to come back to your blog. The disadvantage is that you put yourself under pressure and potentially disappoint readers (or sponsors) if you can’t live up to the expectations you’ve raised.
With that in mind think about whether what you want to do matches the amount of time and other resources you have. If a weekly feature is too demanding, make it a monthly feature. Having your own link party every week sounds appealing, but if it’s too much pressure it might be better to postpone the idea. Making a sewing tips series just because it will attract many readers could backfire when you think your sewing skills still need improvement.
Before making any commitments or raising expectations, always assess whether
– you really want to do this
– you have enough time resources
– you’re absolutely sure that you’re “ready”.
#7 Don’t let Social Media/Social Networking put pressure on you.
If you’ve started your blog only recently, let some time pass by until you start dealing with social media.
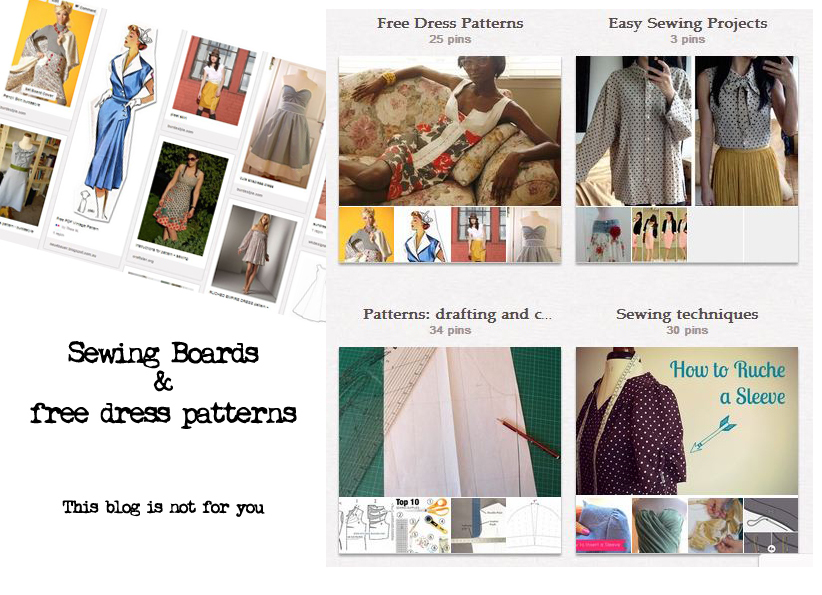
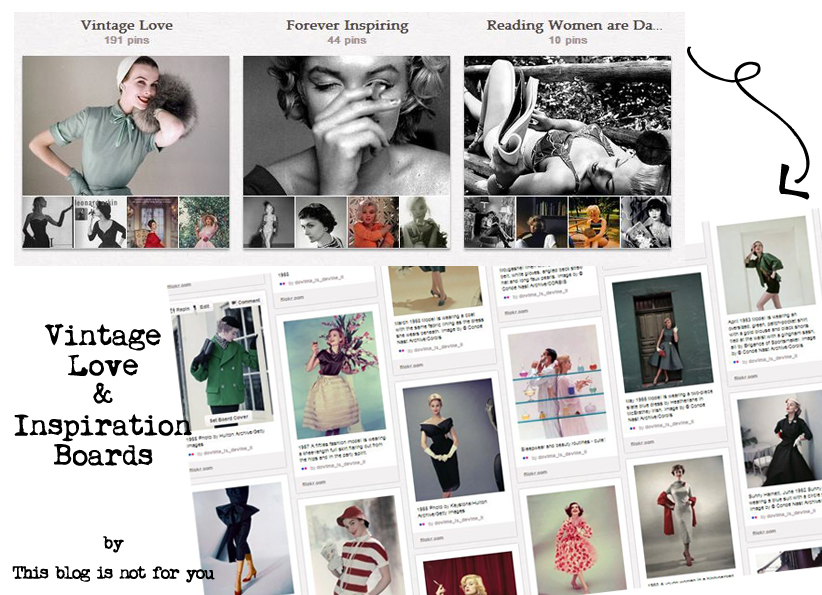
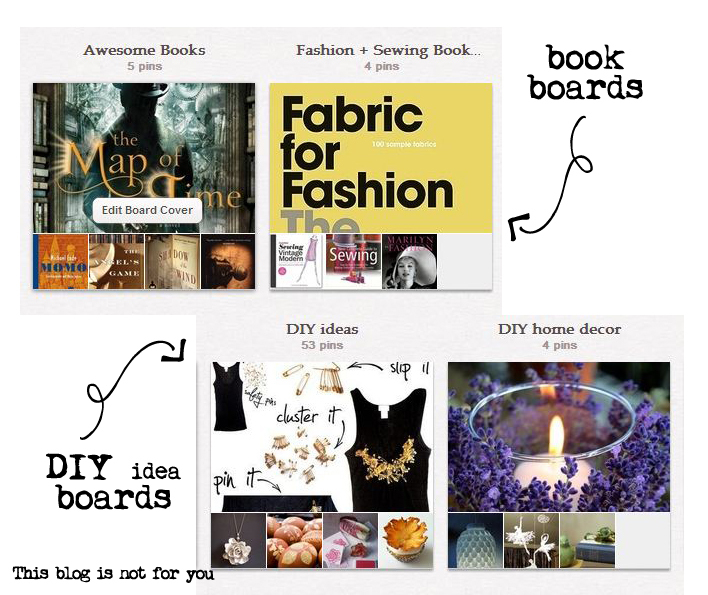
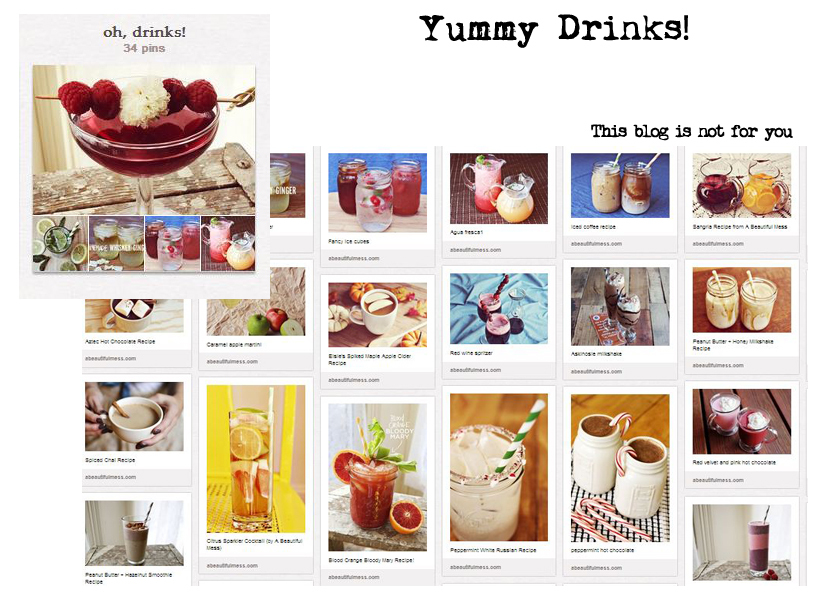
All the other bloggers have an incredible social media presence, I know. Don’t let this put you under pressure. Social media is incredibly time consuming. Keeping a Pinterest page, a Facebook page AND your Twitter up to date robs you of so many resources you should invest otherwise as a blogging newbie.
You really don’t need to have a Facebook, Pinterest, Twitter and whatsoever account in the beginning. Read this last sentence again. You won’t need this before you don’t have a big enough readership. In the beginning it’s more important to invest your time in SEO (search engine optimization), building up blogger friendships, growing traffic and improving your content instead of twittering for nothing.
#8 Your blog is not your life!
Your blog is a hobby, a creative outlet and for some it’s also a small source of income.
What your blog is not: the centre of you whole existence.
If you want your blog to be successful, you have to take blogging seriously. Nevertheless, visitor stats and comments should never set the norm of whether you’re having a good or a bad day and how you feel about yourself. Bring that to mind every once in a while and try to distance yourself a bit (mentally, emotionally) from your blog if you notice you’ve been a bit too obsessed with it lately. Stop watching your visitor stats. Instead, spend some time offline.
Furthermore, keep in mind not to use your private email-address as a contact option on your blog. Give yourself the opportunity to be able to retreat into a “no blogging beyond this point”-area whenever you need to do so.
What your blog is not: your best friend.
When you start blogging, you have to define how much privacy you want to keep. Some people decide to have a personal blog, which automatically brings about more personal posts. Regardless of whether your blog is a personal one or not, as soon as your intention is writing for a larger audience you should keep some privacy. It’s always good to start off with less information about yourself and introduce more and more of your personality after a while (as much as you feel comfortable with). Keeping your target audience in mind helps you to decide what to include in and what to exclude from your blog.
Some people blog about really everything. Everything they would probably tell their best friend. Sure, your best friend might be interested in this (and probably reads your blog, as well). On the other hand it’s not only incredibly time-consuming to write everything up but can also be seriously boring to read for your audience.
To sum up, take a step back every once in a while and keep in mind whom you’re writing for, what might be uninteresting for your readers and why you’re writing at all.
#9 Have patience.
Successful blogging needs time. Your traffic, subscribers etc won’t grow over night. Investing an incredible amount of time in your blog might grow your readership faster than others’, but it won’t make you happy in the long run. It might even lead you to be stressed out, lose all motivation and joy and give up blogging.
Invest your time wisely, take a step back every now and then and be patient.
Read Part 1 {Get People to Look at you}
Read Part 2 {Layout}
Read Part 3 {Content #1}
Read Part 4 {Content #2}
Read Part 5 {Invest your time wisely}
Read Part 6 {Grow your traffic}
Read Part 7 {Make your blog legal}
Liked it? Have feedback? Please do tell me!
And stay tuned…Part 6 of my Blogging Basics is coming up next week! The next part will be all about growing your blog’s traffic! x


 Three things that happend in the past two weeks:
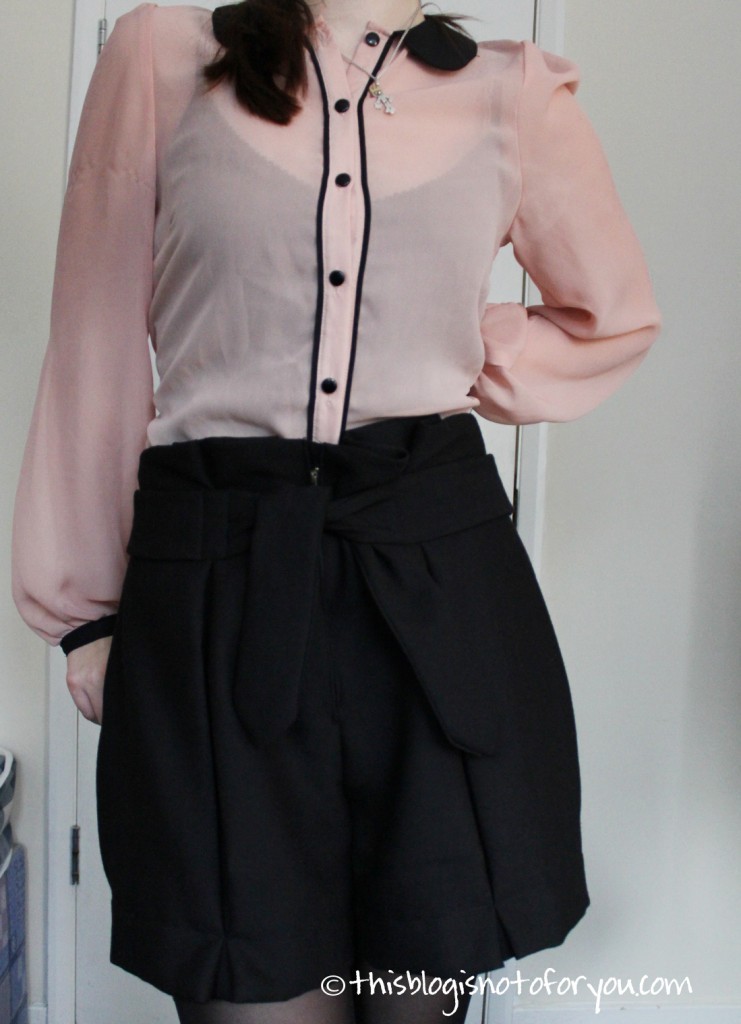


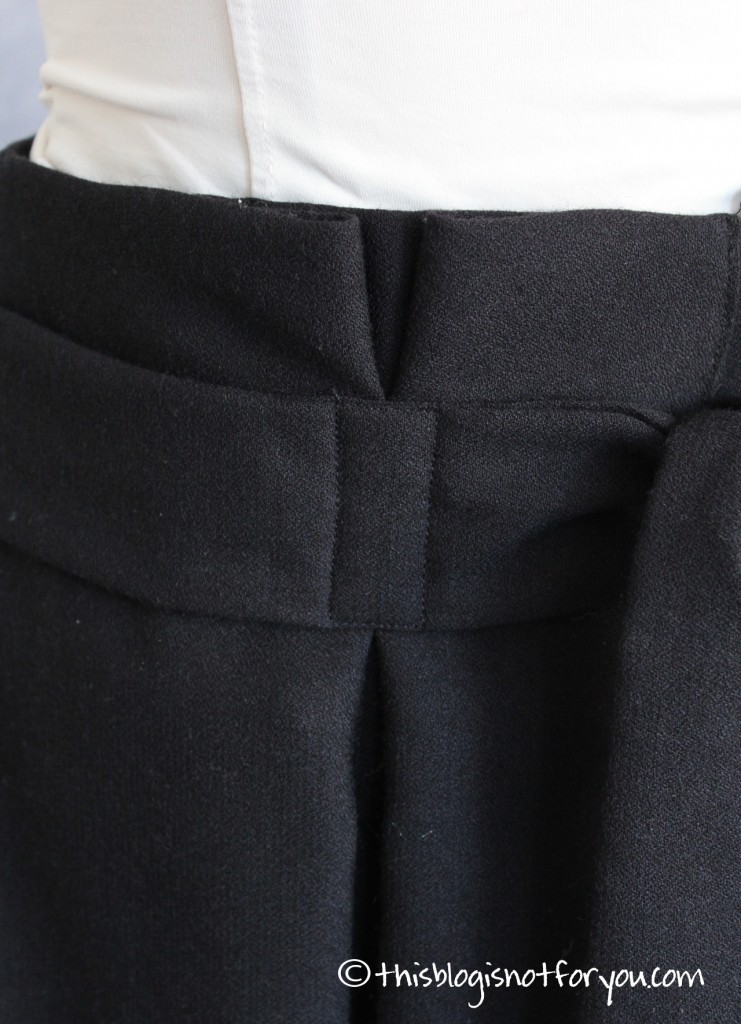
 I love the sewed on tie belt.
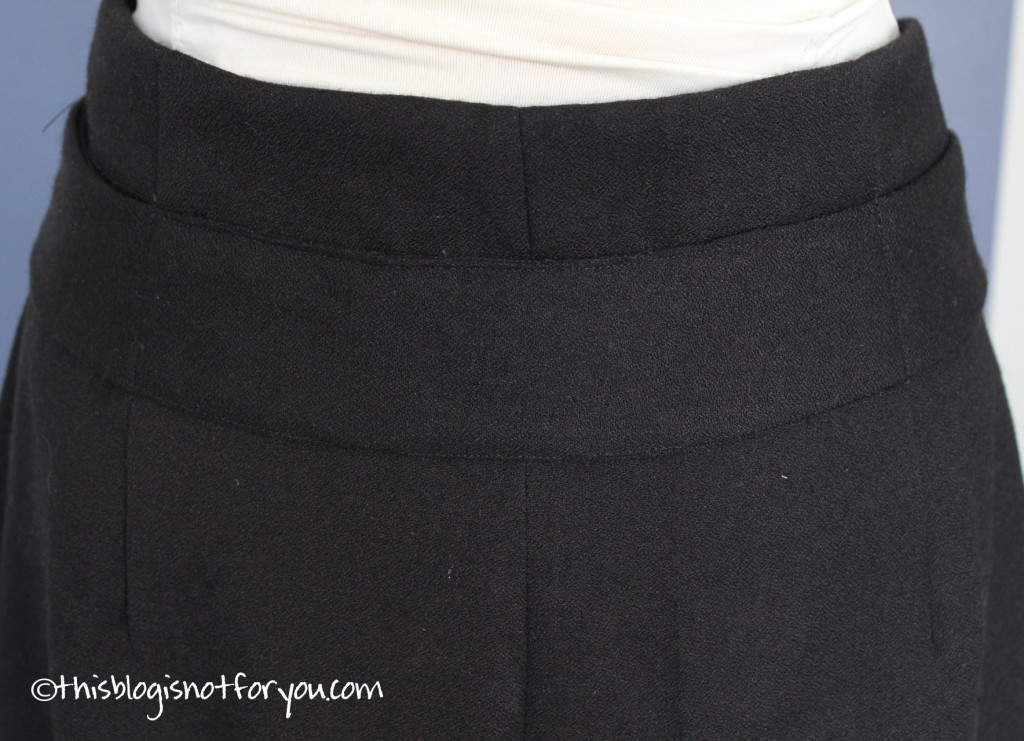
 I even made the effort to make the bias binding myself. For that I used the leftover fabric of the grey sheath dress. I love when garments are as pretty on the inside as on the outside, but sometimes I just don’t make the effort (I want to get it done!). This time I did and I looove it.
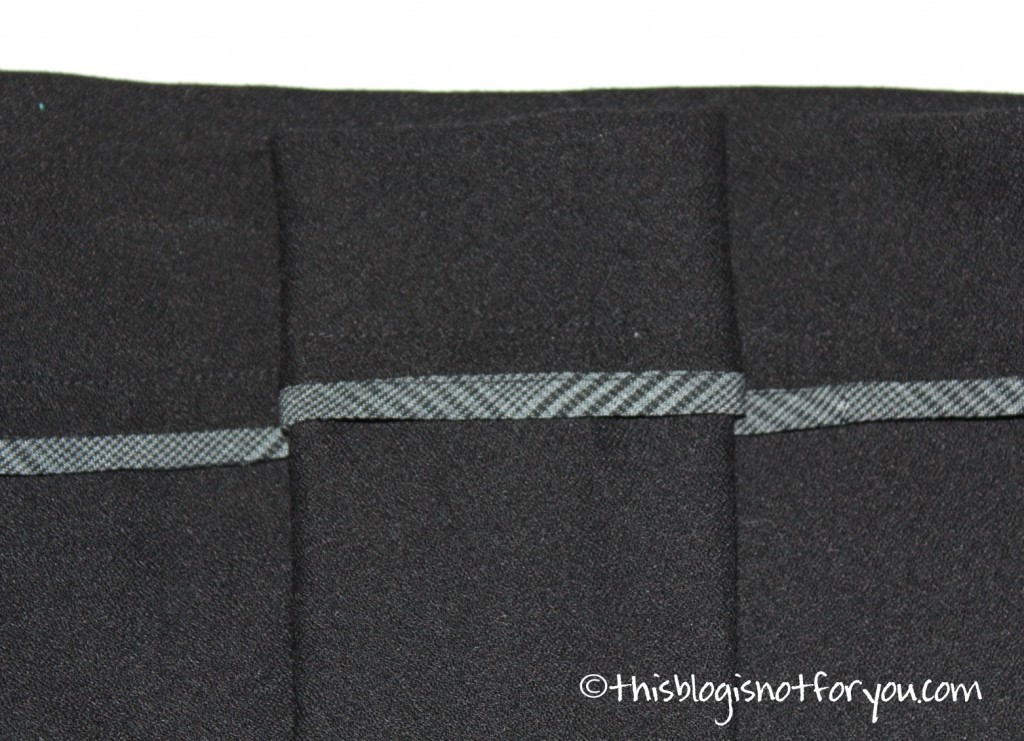
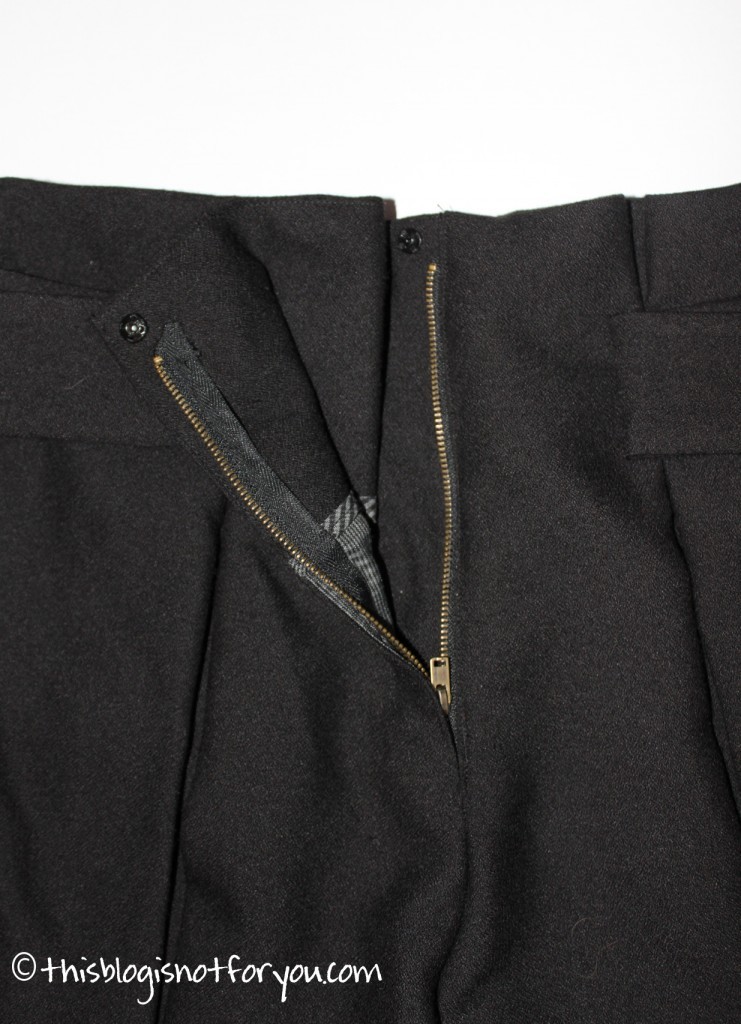 The shorts have a zipper, a flap & button, press fastening AND the belt. I’m pretty sure they won’t fall off 🙂
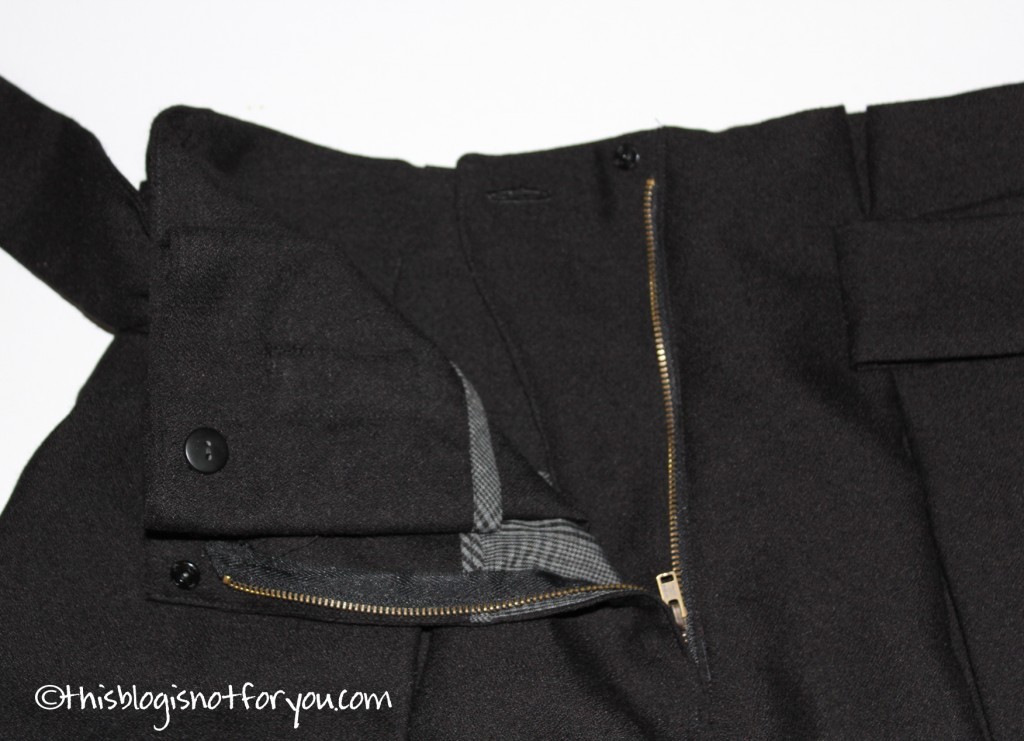
 Pretty close, don’t you think?
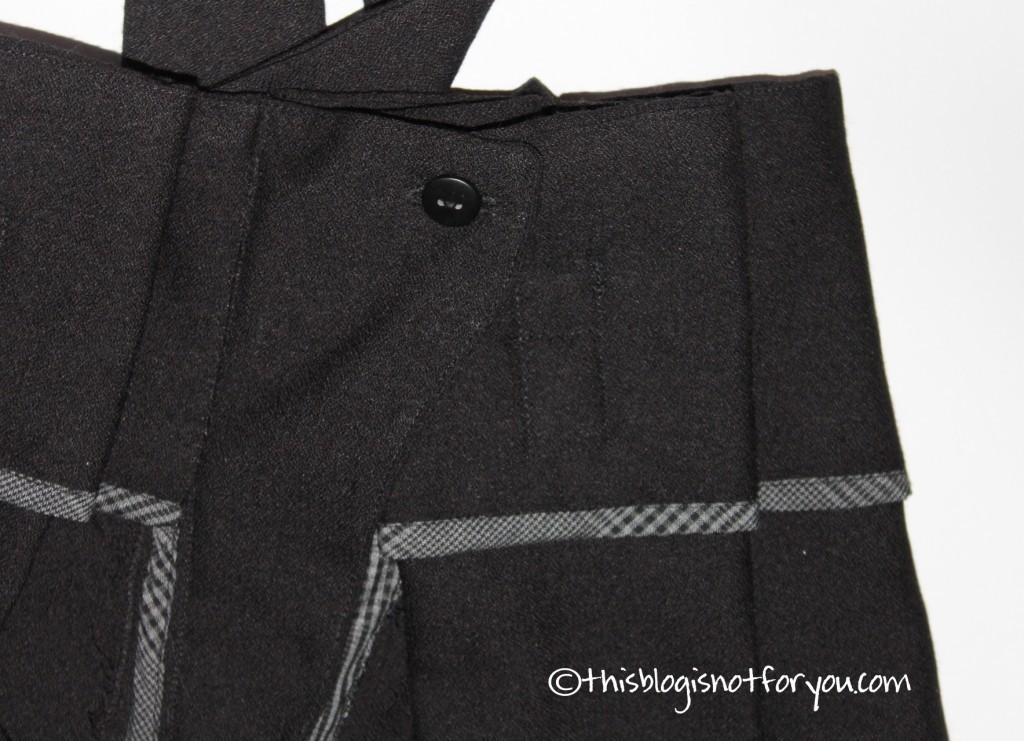
 I issued a challenge to myself (we all love challenges, don’t we?). Well, it isn’t one of those 30-day-challenges that one sees everywhere these days. Although I really like those – there’s an end in sight.

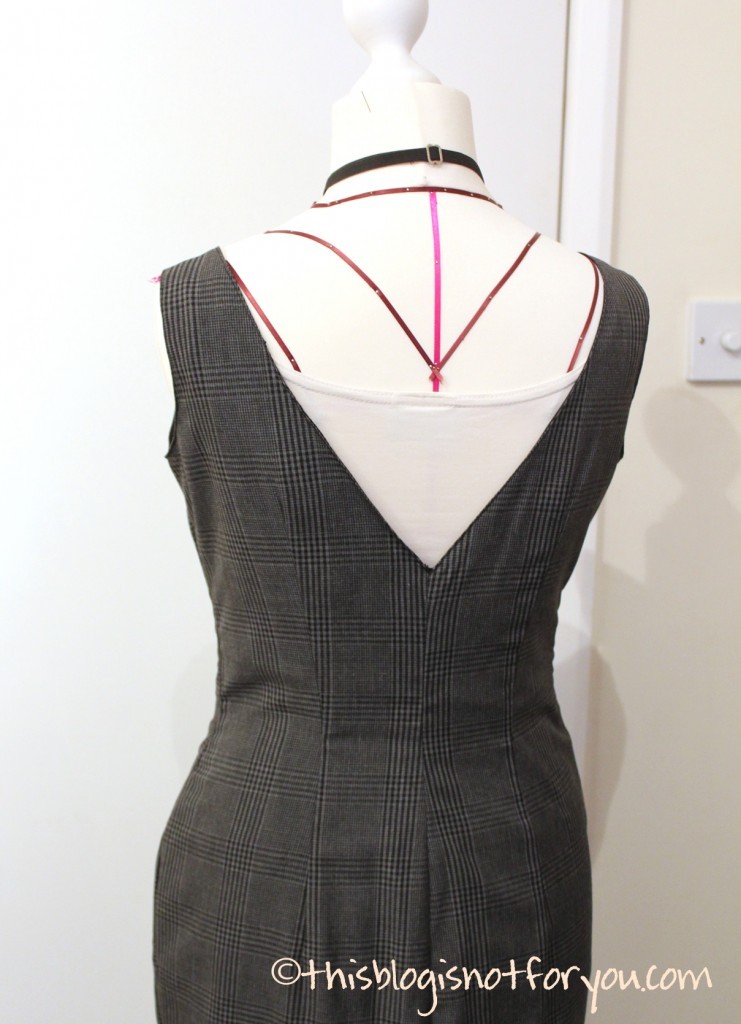 I especially like the back.(The creme-coloured top doesn’t belong to the dress, it’s just something the Judy likes to wear.)
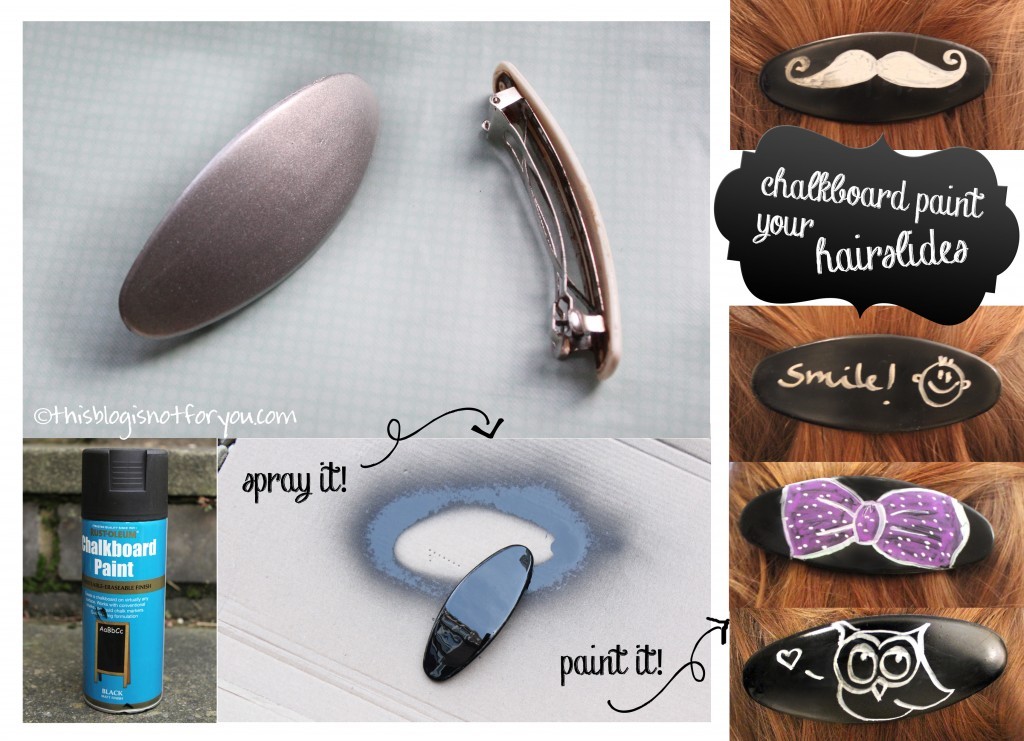 Here’s another chalkboard project! It’s super quick and super simple and so much fun!