Hi! Thanks for stopping by and welcome to part 4 of my new Blogging Basics series!

…you’re an absolute Blogging Newbie
…you just started blogging and you feel like you could need some helpful tips and tricks
…you have been blogging for a while but somehow feel like you might have missed out some vital steps
…you have been blogging for years but somehow you have trouble getting people to read your blog and subscribe
Last time I told you some blogging basics on your blog’s CONTENT. Since that post was getting wayyy to long (so much to say about content – yes, it’s important!), I decided to split it into two parts. Here’s the second one!
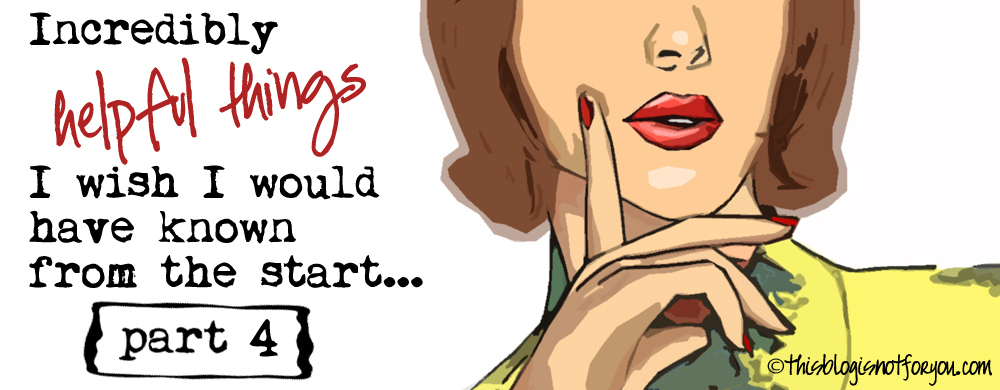
Part 4: Content (continuation)
#10 Avoid plagiarism & copyright violation.
Don’t copy ideas from other blogs. If you really like something and want to write about it yourself always reference, quote and provide a link back to the original source. It’s not only about infringing copyright but about being fair and respecting the ideas of others.
Besides, just copying is such a bore. Be creative, be innovative!
#11 Shorten your paragraphs.
Write in paragraphs. The shorter, the better. Writing in 500-1000 word blocks scares away readers. Using subheadings helps break up long text blocks. Pictures are also great for splitting a long text into shorter paragraphs. They also improve your posts layout a lot.
If your blog post becomes wayyyy too long, consider breaking it up in Part 1 and 2. Having sequels also helps getting people to come back to you blog.
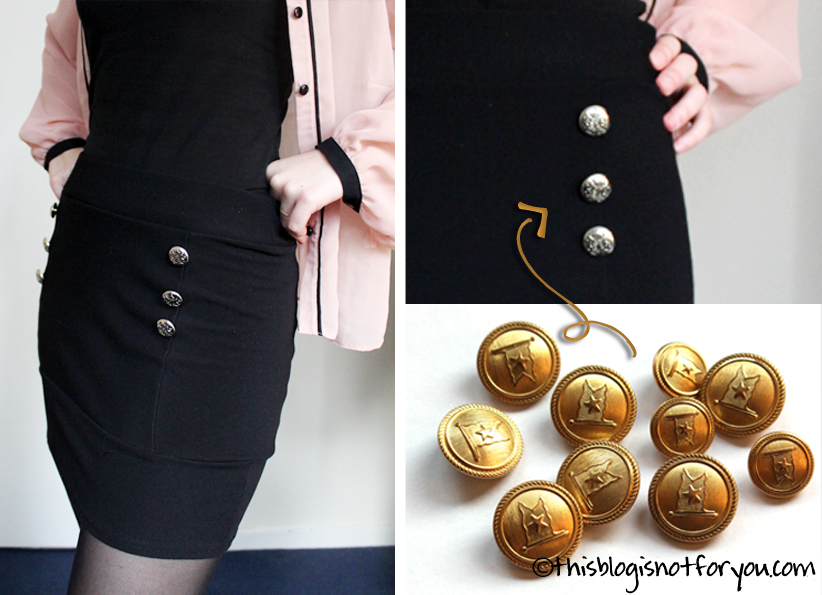
#12 Picture quality matters.
As mentioned in my post about Layout, picture quality matters. Using pictures in your blog post is a really good thing. Looking at a magazine or website, the eye always wanders over the pictures first.
Use a good camera and try to improve your photography style over time.
Good photos are the icing on the cake for a good blog post. Be careful however a bad photo can ruin the best writing.
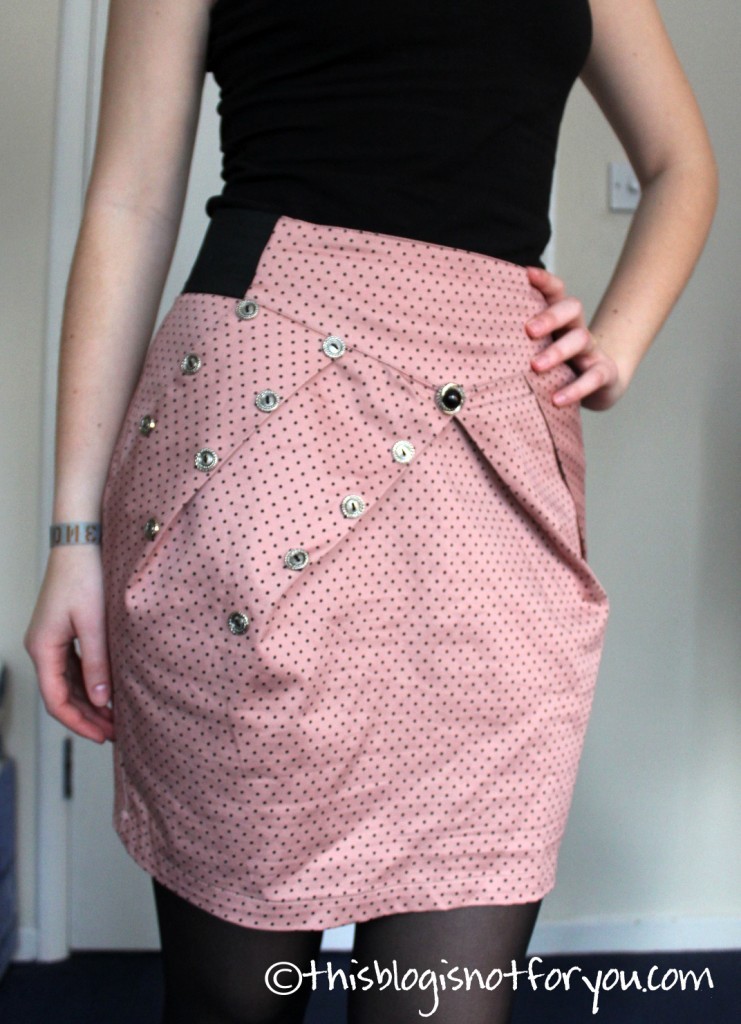
#13 Using pictures as cover for your posts/ photo captions.
When possible, I always try to use a cover picture for my posts. As mentioned before, pictures are a real eye-catcher. If you’re using a post teaser plug-in (what I really recommend, no more scrolling like crazy!), it’s helpful to get people to click on your article.
Good pictures always are a good hook.
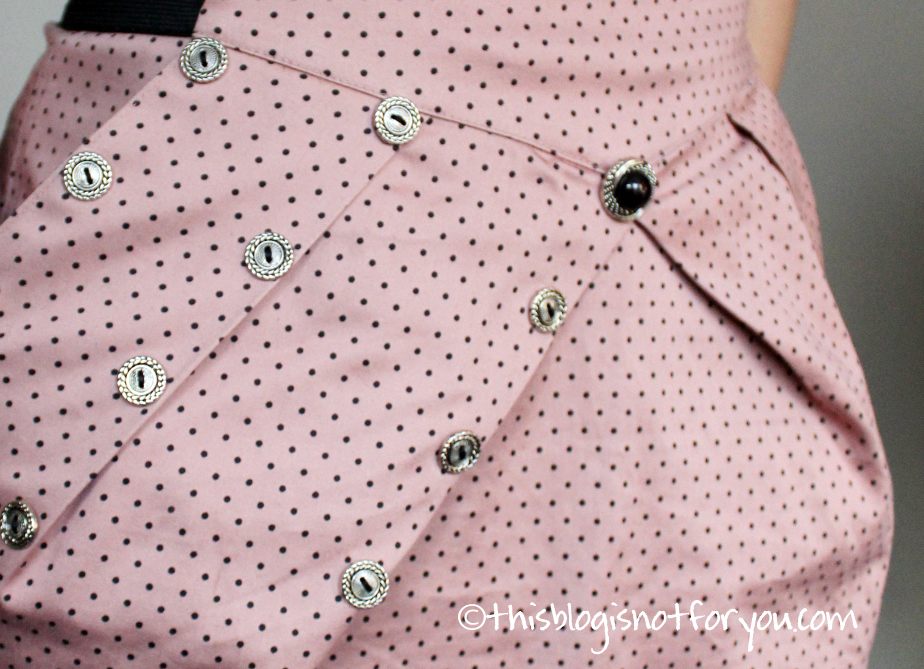
#14 Get attention.
Nail your headlines. Keep them short. The title should consist of keyword phrases upon which the column is focused. It should be easy to understand, clear, content relevant and interesting.
When I started blogging, I liked having headlines that were some sort of quote, a book title or name of a movie related to my post’s content. I still think it’s nice but it’s also really distracting. People are more likely to read an article when they know what it’s about.
Having keyword phrases in your headline is also really helpful for search engine optimisation. Search engine optimisation (sometimes called SEO) is how search engines like Google look for your blog.
To support a good headline, you can use pictures as post cover. It’s also nice to include captions. You can easily add them with Photoshop or other software. Choose a nice, legible font and add some spice to your headline.
#15 Use keyword phrases when linking up.
I don’t always think of it myself, but you should try to use keyword phrases or action words for links instead of “click here”.
Always make sure the links you set up work and open in a new window. Otherwise, you run the risk of people forgetting how to get back to your blog.
#16 Proofread! (!!!)
Always, always, always proofread your posts.
I know. Sometimes you just want to get done. You have spent enough time on editing the picture already. But high quality content won’t be high quality if it’s full of spelling mistakes and grammar errors.
Sure, sometimes tiny errors hide somewhere in the text. That happens, and it’s ok.
But if your posts are teeming with spelling and grammar errors, your readers will have the impression that you just don’t make the effort to read your own writing or that it has been written on the fly. Why should they spend their time reading what your not taking the time to write.
What helps is writing your blog posts a week before publishing them. This gives you more than enough time to proofread and edit.
#17 Stay true to yourself.
I think it’s really important to be who you are. Refocus your content and get inspired, but:
Do not blog about things you do not feel comfortable with. If you write something and you really don’t enjoy it, that comes through in the writing.
Create a blog you’d enjoy reading. Create a blog you would love. Write articles you would love to read and share.
Blog from your heart.
Read Part 1 {Get People to Look at you}
Read Part 2 {Layout}
Read Part 3 {Content #1}
Read Part 4 {Content #2}
Read Part 5 {Invest your time wisely}
Read Part 6 {Grow your traffic}
Read Part 7 {Make your blog legal}
Liked it? Have feedback? Please do tell me!
And stay tuned…Part 5 of my Blogging Basics is coming up next week! The next part will be all about time management! x


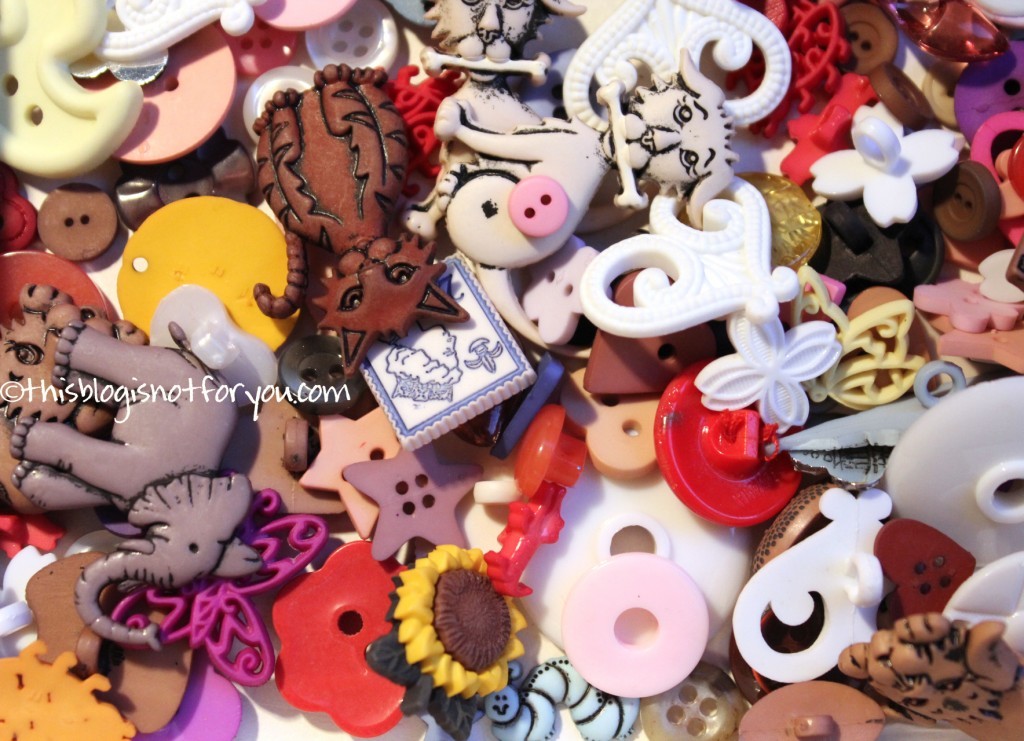
 I especially love these. The black/white would be great on a b/w dress.
 Cute for shorts or a white/dark blue blouse.
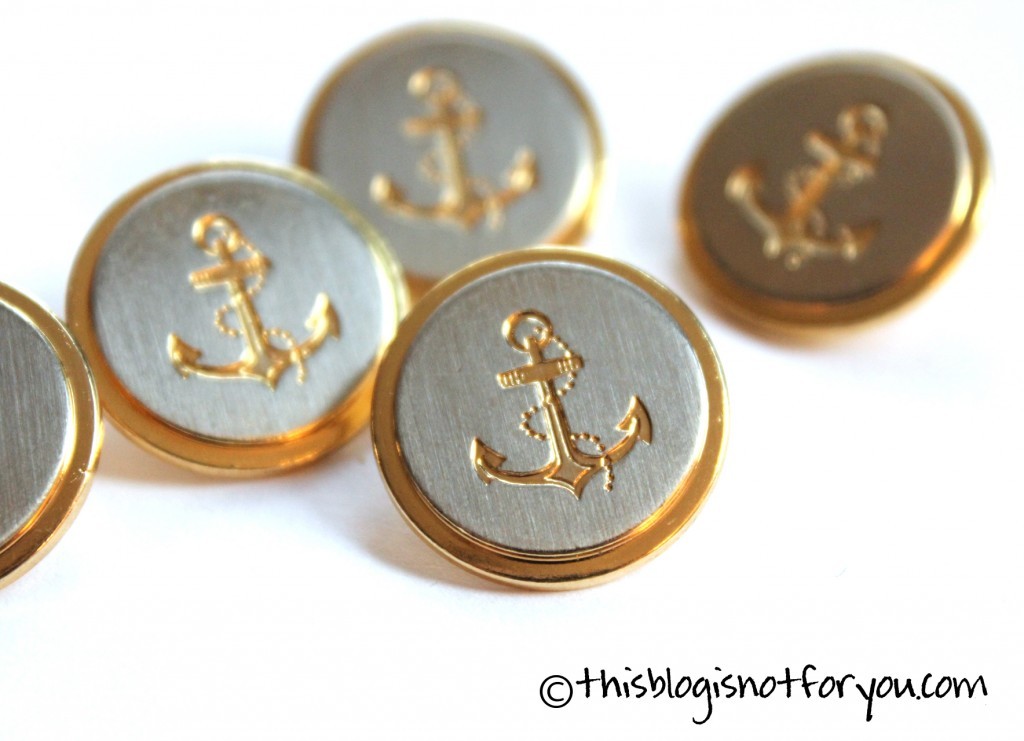 Definitely my favorites! They are quite heavyweighted, but the anchors are just adorable.
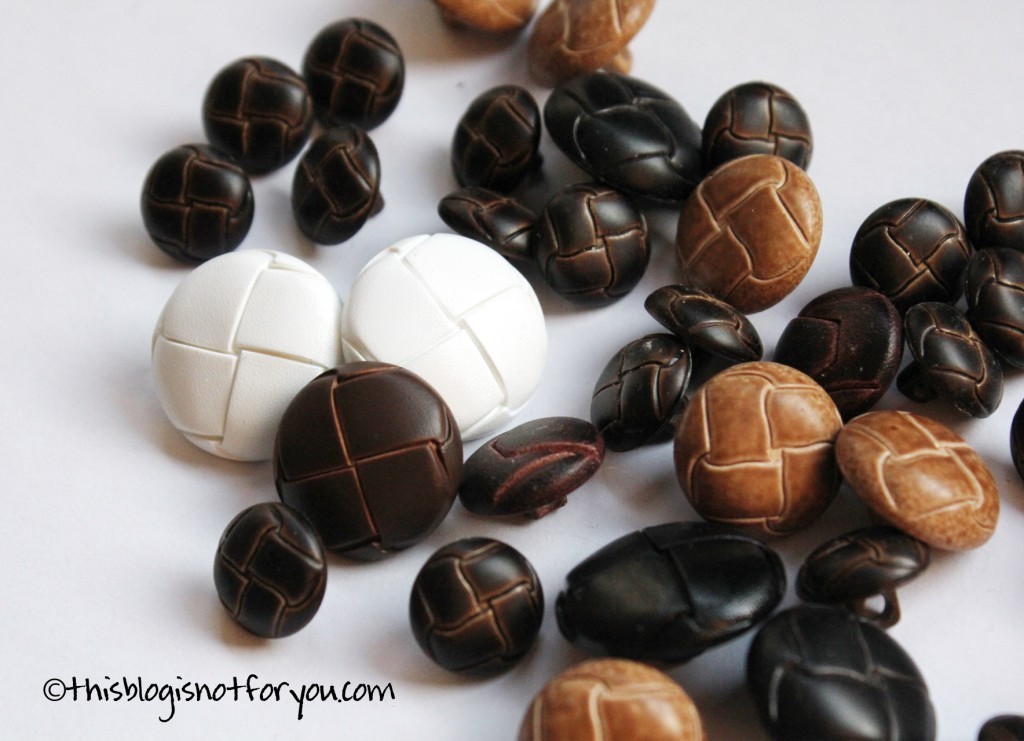 I’ve so many of these leather buttons but I am still searching for a project idea. Any ideas?
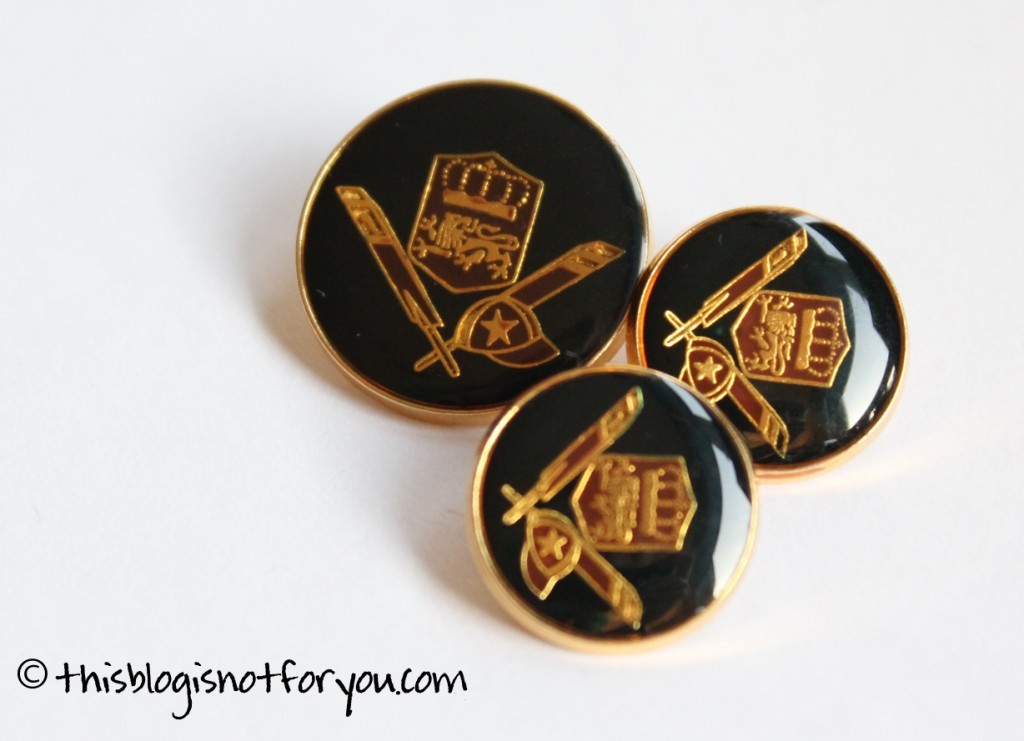 For a detachable collar or necklace?
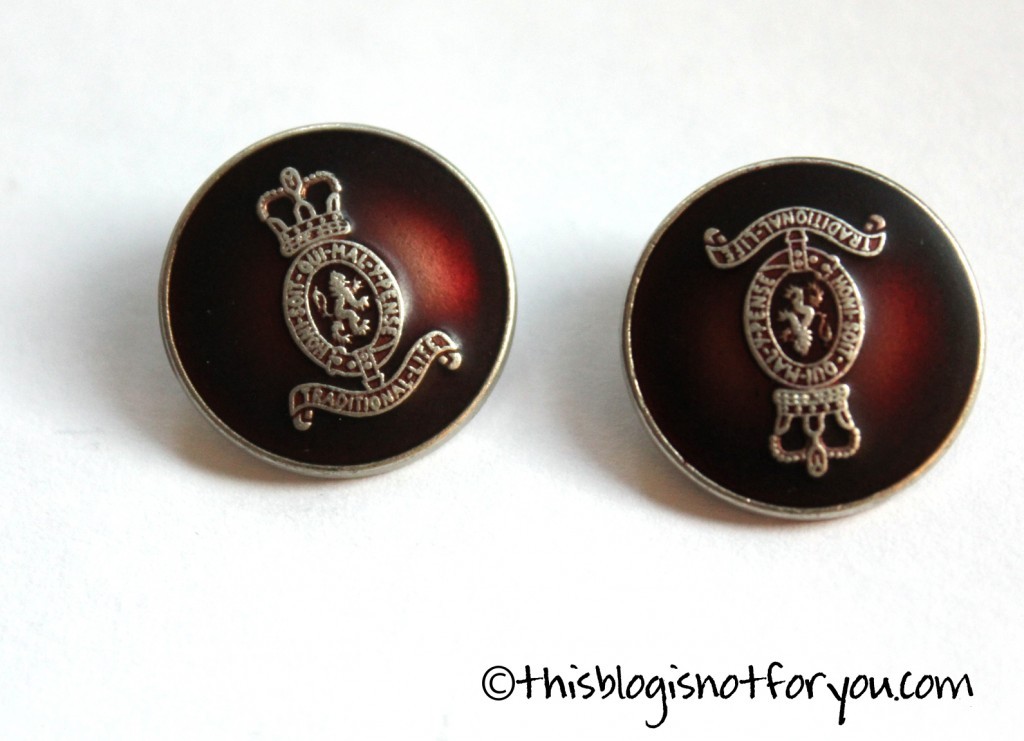
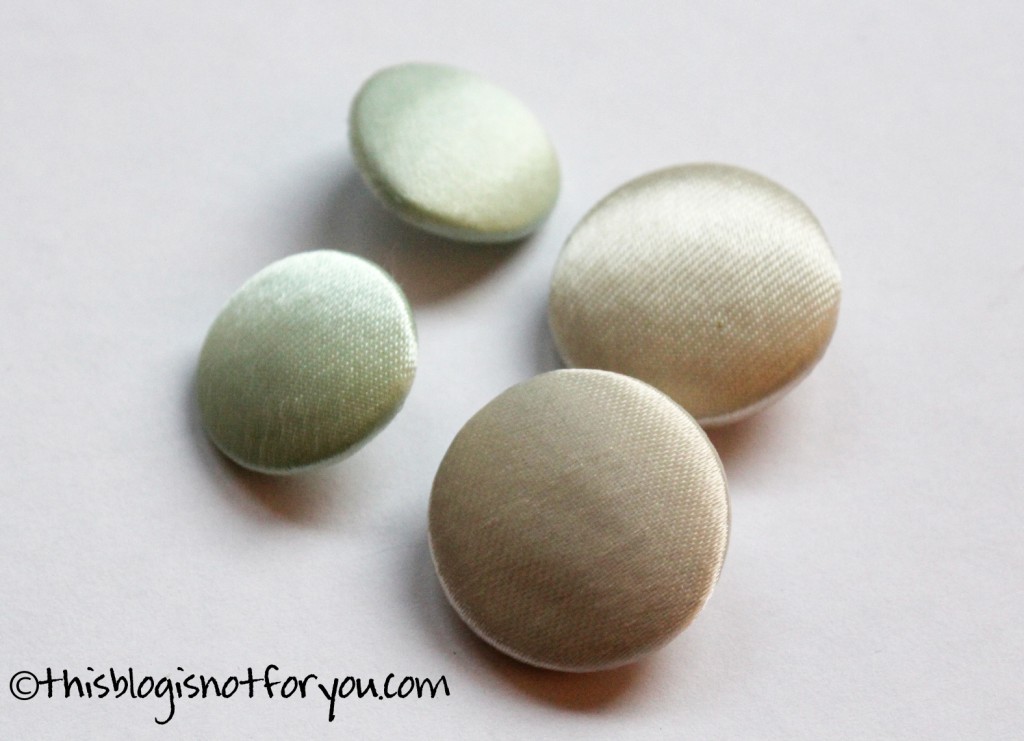 I love these, especially the creme coloured ones. Unfortunately, I have only two of them…
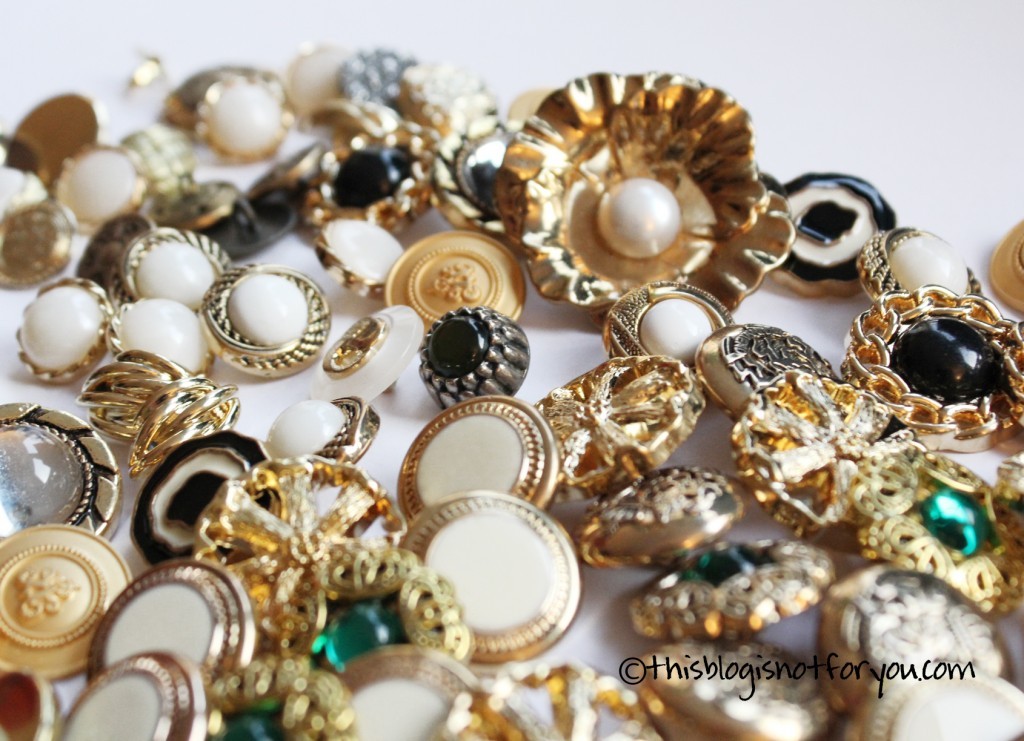 I have so many lovely gold/silver buttons and had a look around for some craft/sewing inspiration. This is what I found:


 I especially love the last one. (I have exactly the same buttons!!)
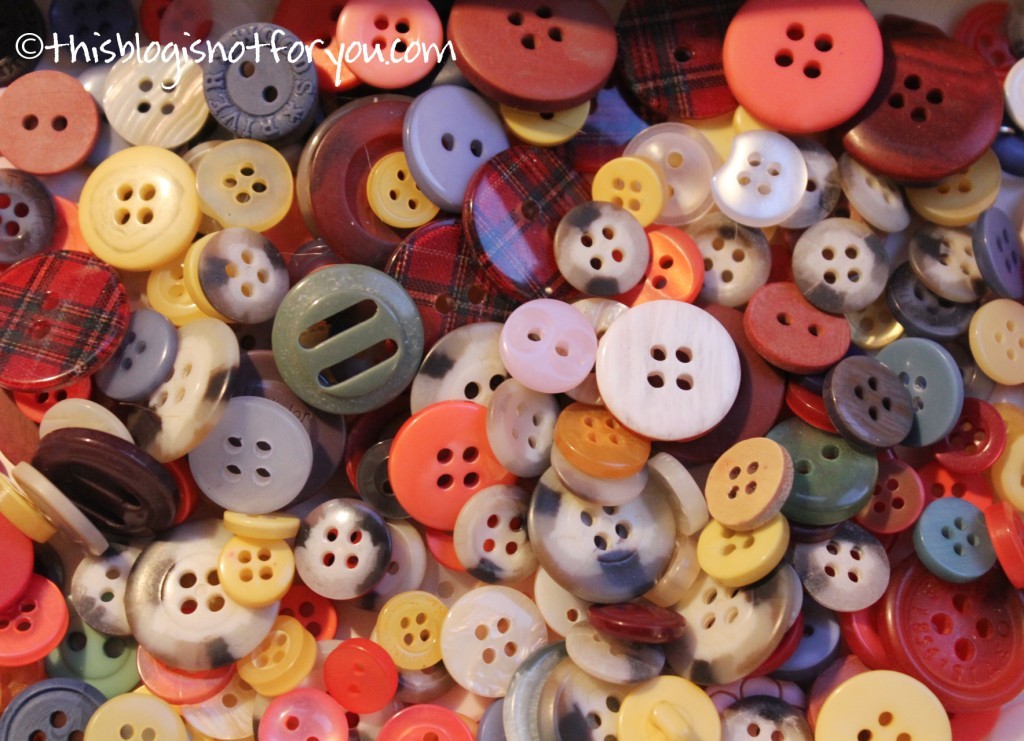
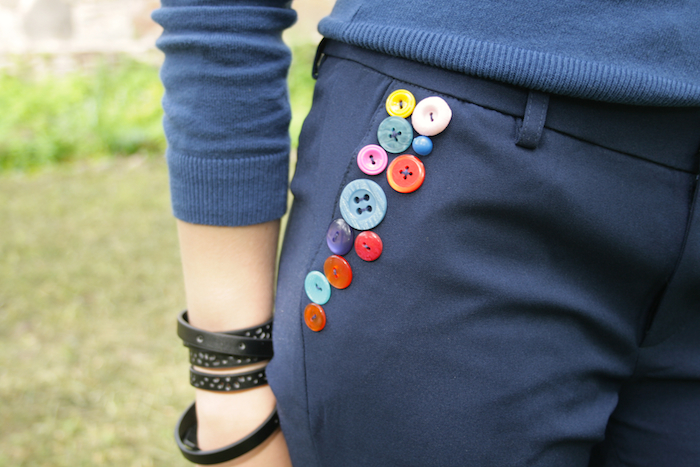


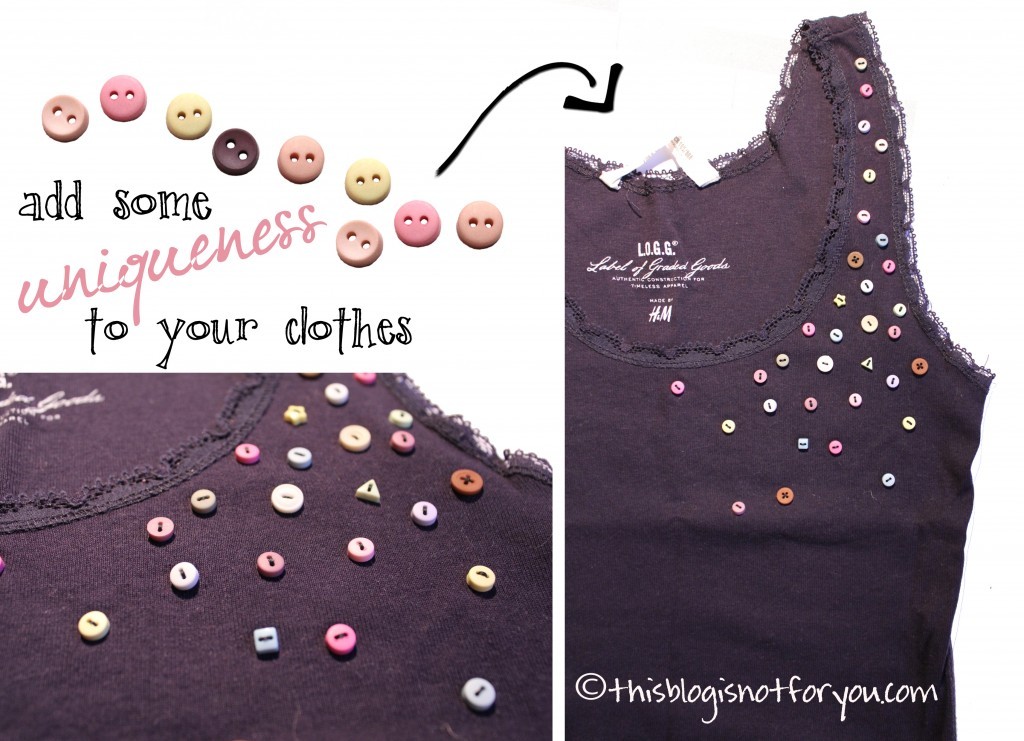
 When I went through my button collection on the weekend, one of the things that annoyed me was that I so often don’t use pretty buttons for my crafting or sewing projects just because I didn’t know I would have had enough matching ones.
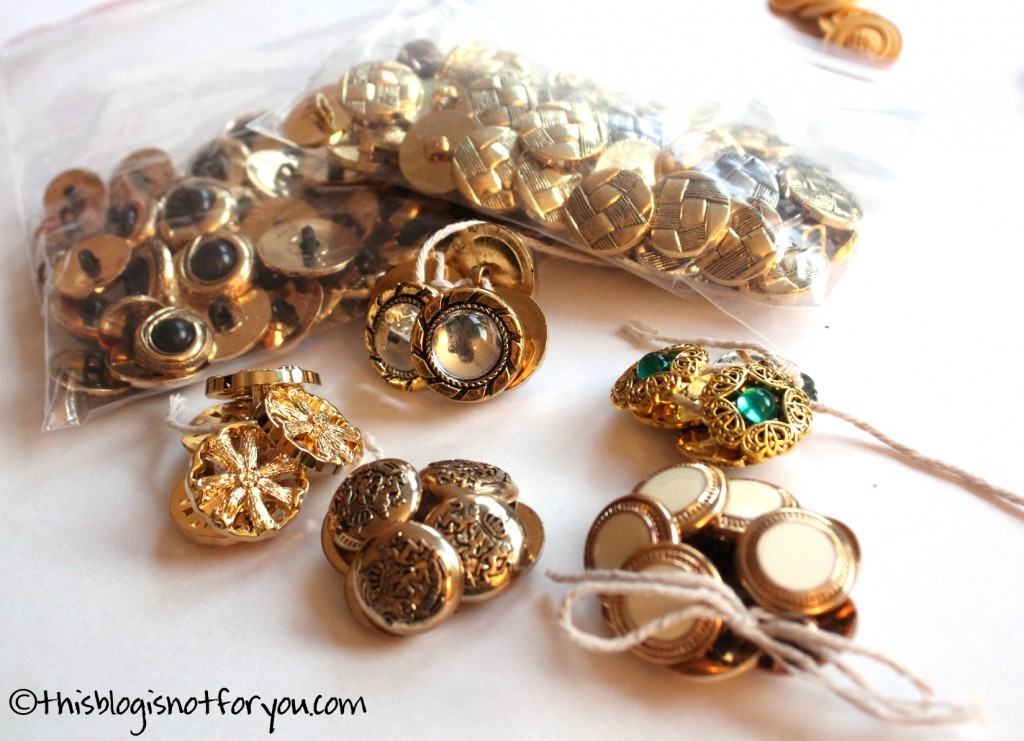 When there were no more than 2-3 matching buttons I just used a paperclip to keep them together. Very simple, very quick. Now with just one quick glance I can make out whether there are enough matching buttons whenever I need some for a project.
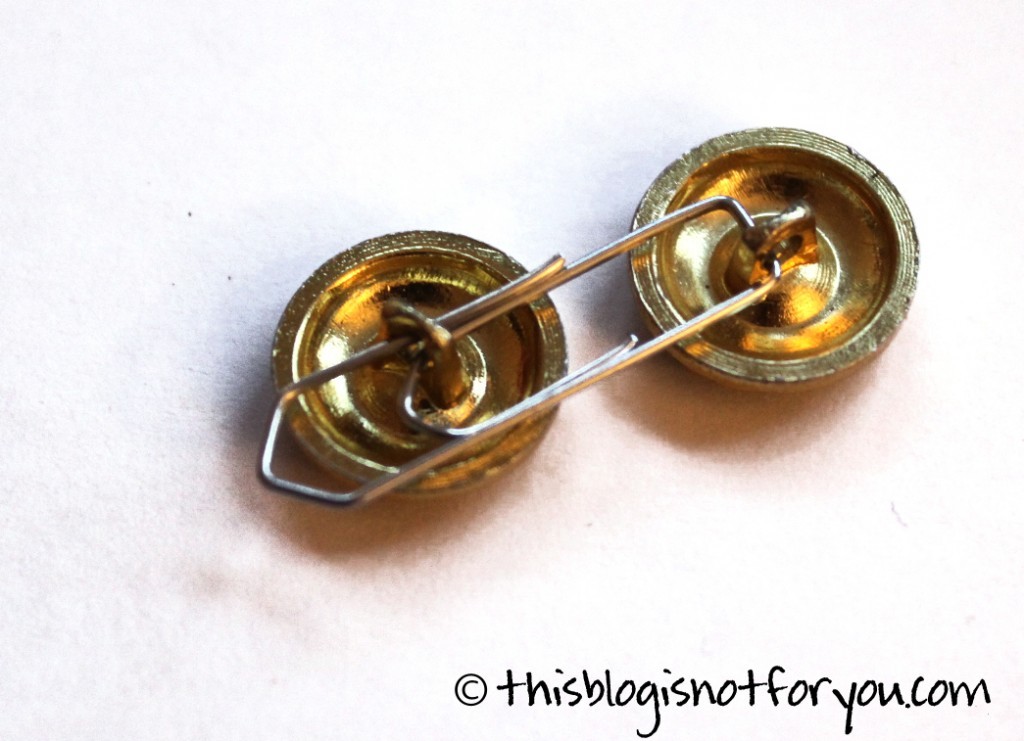


 As you