Self-drafted bridesmaid dress
 Hi my lovely readers!
I hope you all had a wonderful Christmas!
Now that the holidays are over, I can finally post some pictures of the bridesmaid dress I made for my best friend whose sister is getting married. It was a Christmas gift and she wanted the dress to be a surprise, that’s why I had to keep the pictures secret.
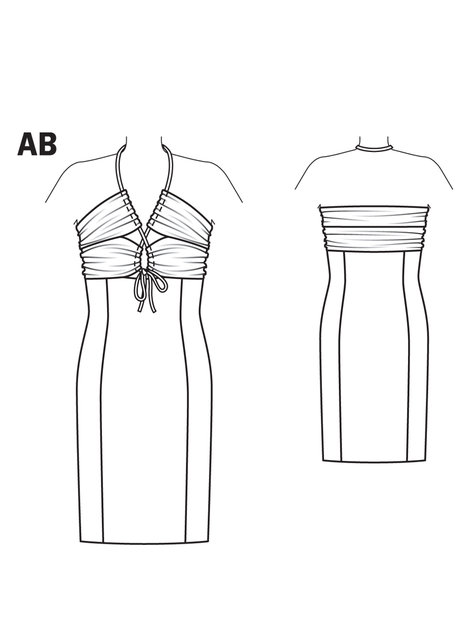
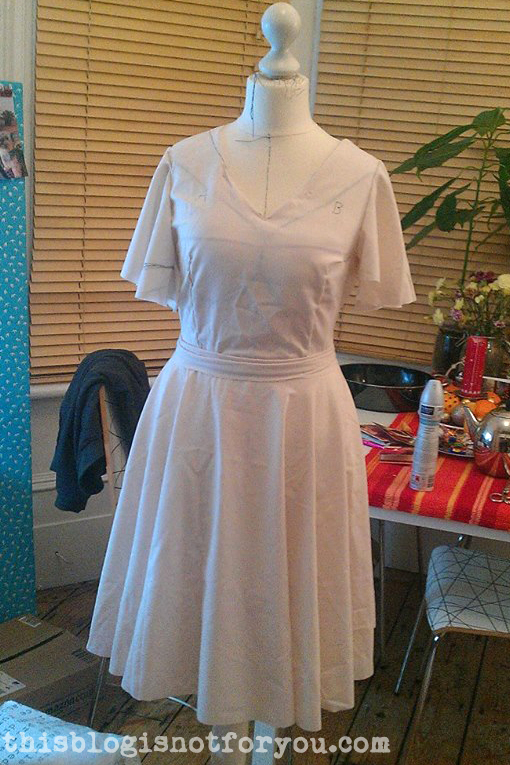
 I used a simple Burda bodice pattern to get some orientation, but had to move all the darts and the waist and shoulder lines to match my friend’s measurements. The circle skirt and sleeves are completely self-drafted.


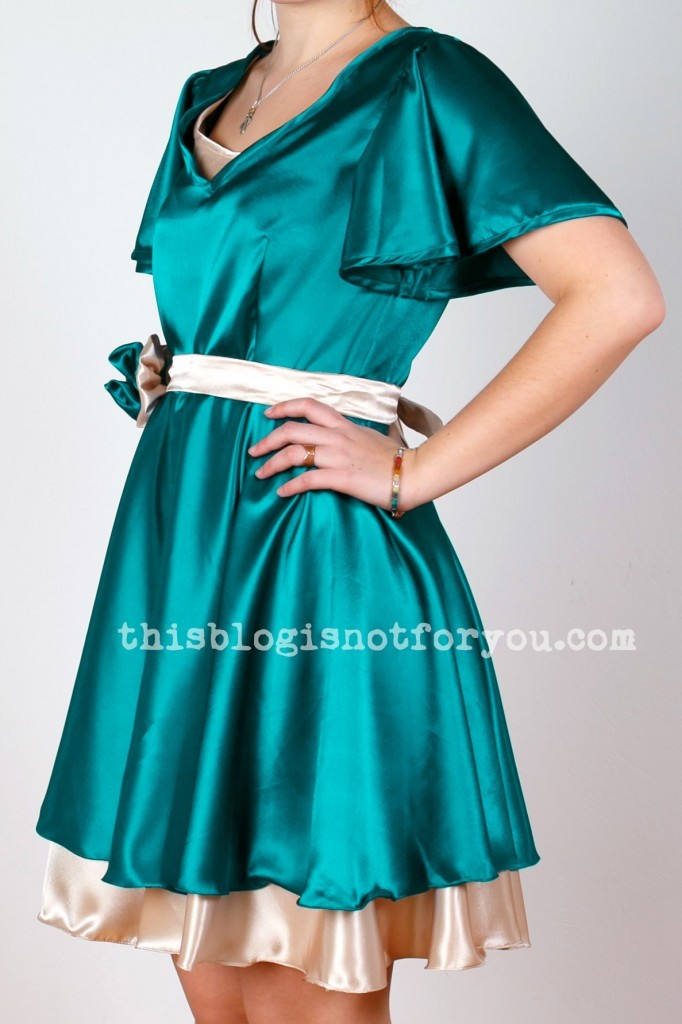
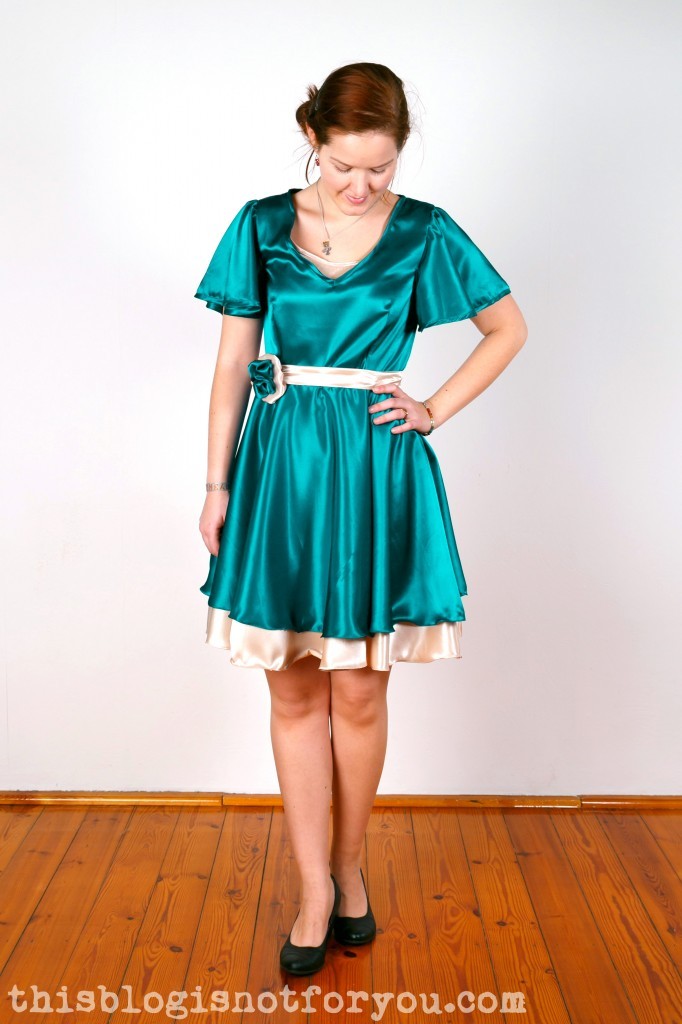
I tried different options for the skirt (e.g. gathered or box pleats), but in the end the full circle skirt looked so much better with the half-circle sleeves.
 I used a turquoise-blue silk satin and the same fabric in creme-white for the lining, belt and underskirt.
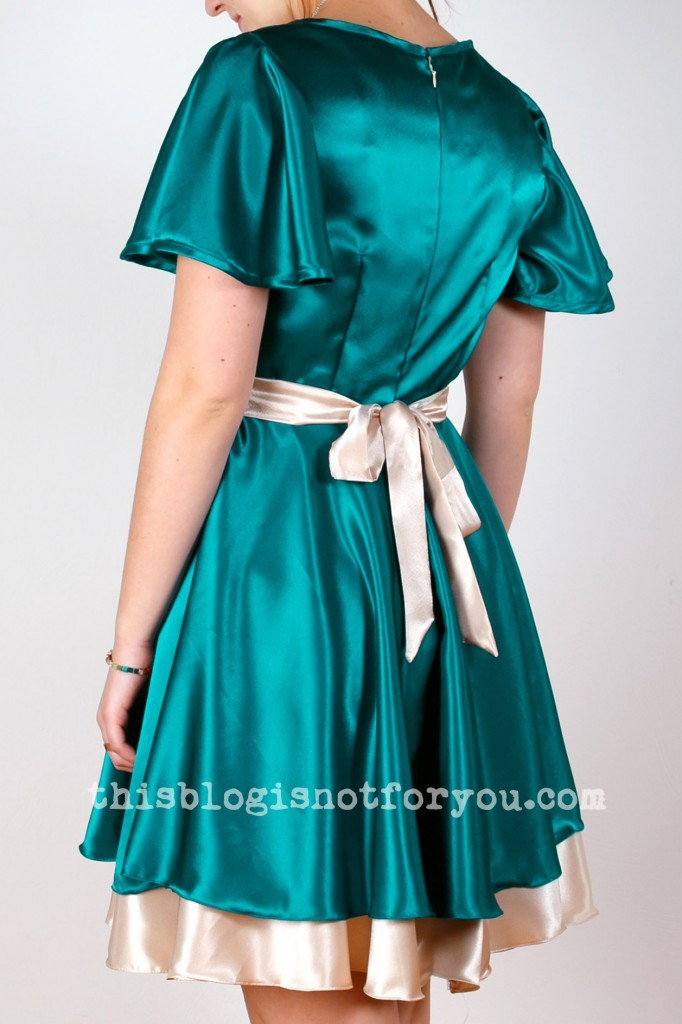
  The dress has got a creme-white invisible zipper in the back and an additional hook and eye closure.
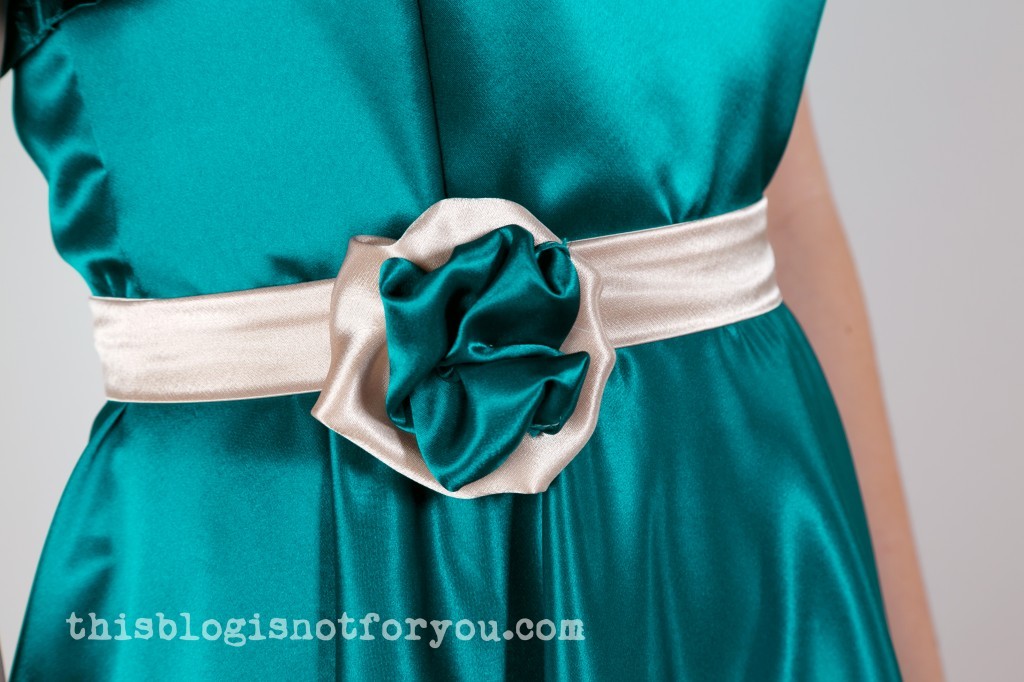 I made a little flower for the belt which can be removed or used as hair accessory.
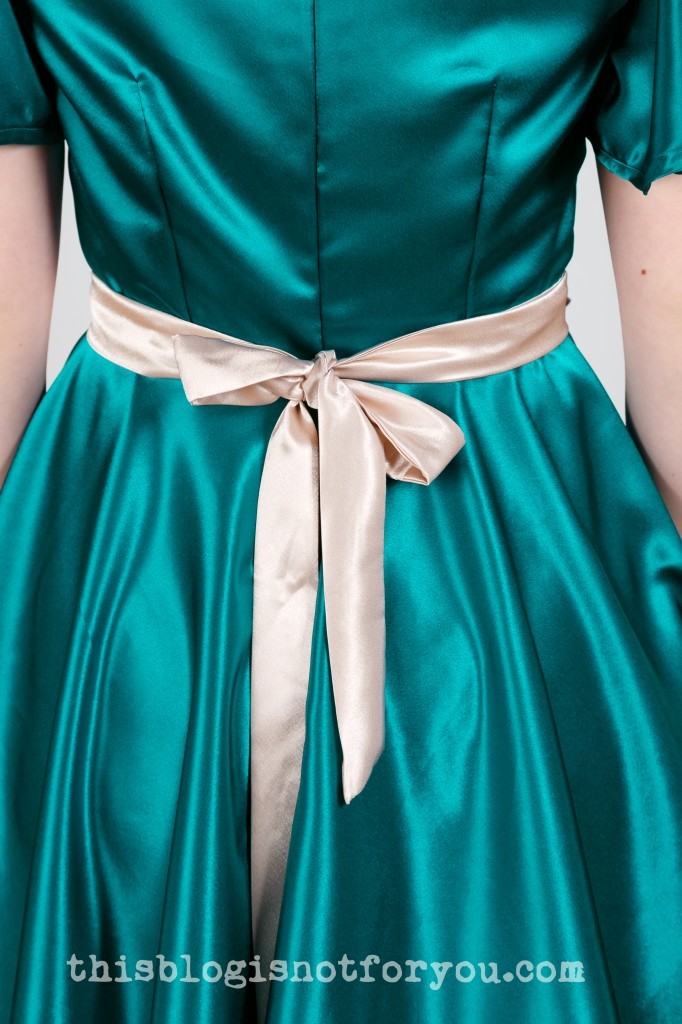
The belt is detachable as well and the bow can be also worn in the front, e.g. with the flower on top.
Hemming this rather heavy fabric was horrible, especially since I never hemmed a circle skirt before. In the end I used the narrow hem foot as nothing else seemed to work. The hem either puckered or rolled up. I tried to handsew a invisible hem, but the cirlce skirt was giving me a hard time and I had to get out the seamripper after two hours of swearing.
The narrow hem still rolls up a bit, but I kind of like it better now, as it gives the hem and skirt a rose petal-like shape which goes well with the sleeves, I think.
If anyone has any tips for hemming heavy satin-like fabric, pleaaaaase let me know how you deal with this!!!
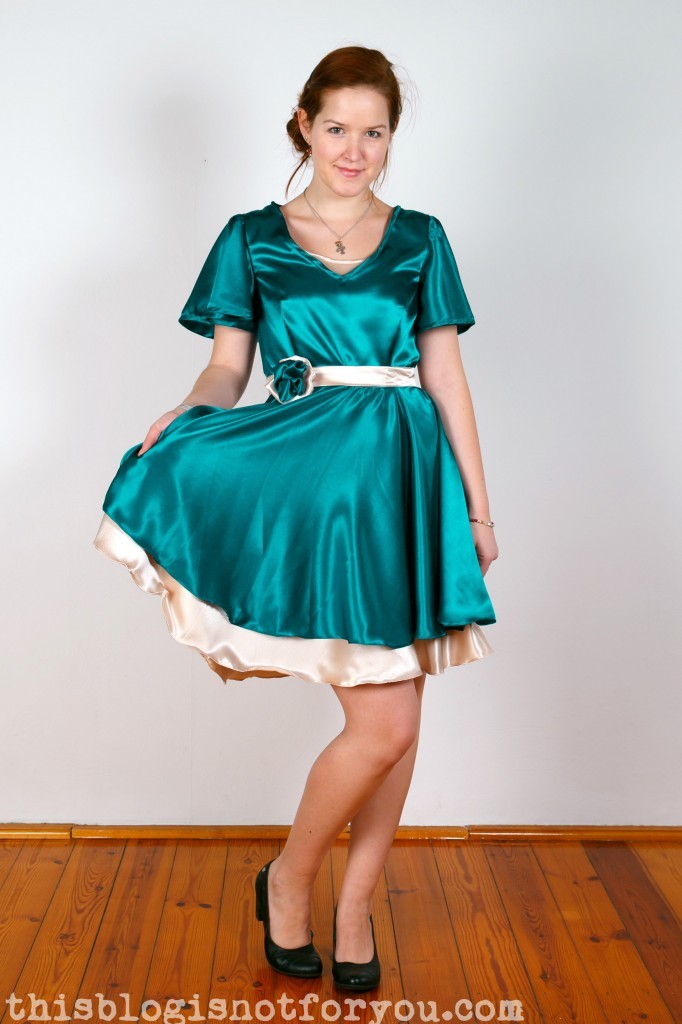 The dress fits my friend perfectly and I (and my bestie, as well) are super happy with the result. (Btw, this dress is #17 of my 27 Dresses Challenge!)
I have more pictures of the sewing process, but my internet connection is really bad as I’m still on holiday. I will probably upload a second part in the next few days for those of you who are interested in the making of!
I have thousands and thousands of sewing projects planned (I probably won’t be able to finish in a million years) and I hope to bring my 27 Dresses Challenge to an end (and finally buy an overlocker)!
What do you have planned for the new year?
Happy New Year everyone! x
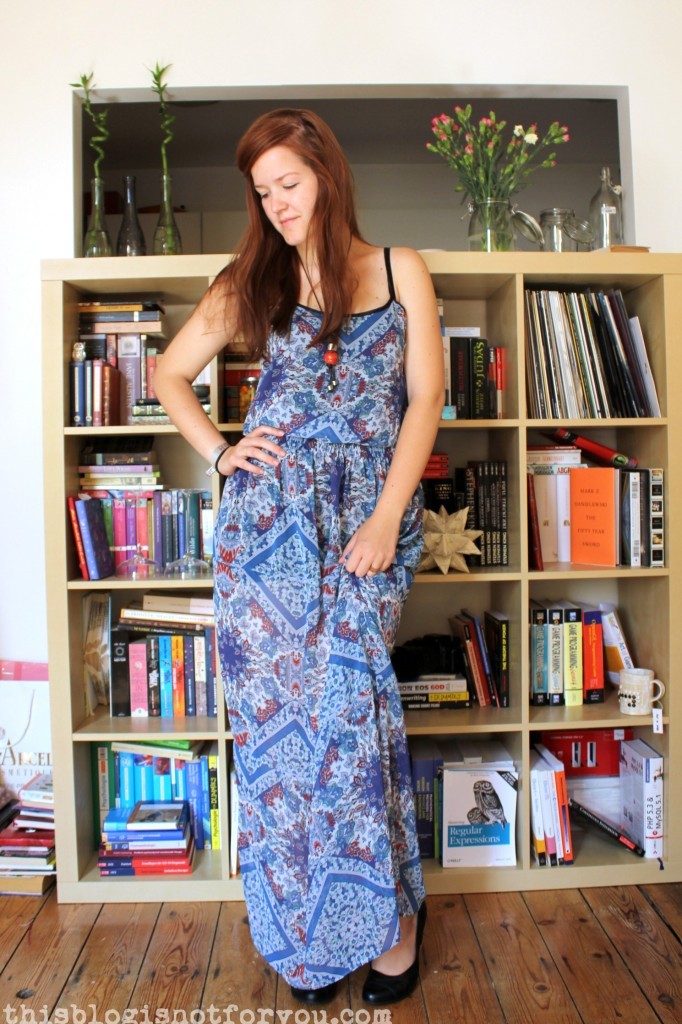
 Hello there! Finally! A sewing-related post :) It’s been a while!
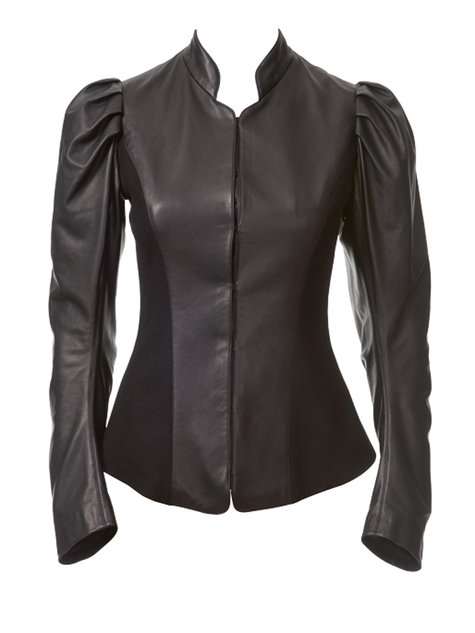
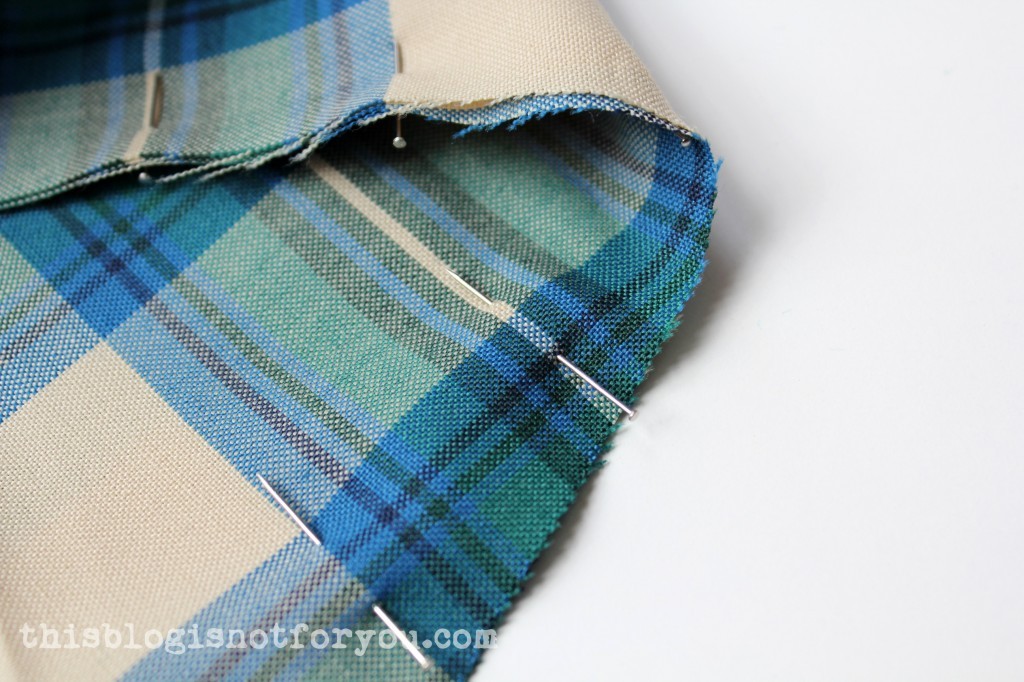


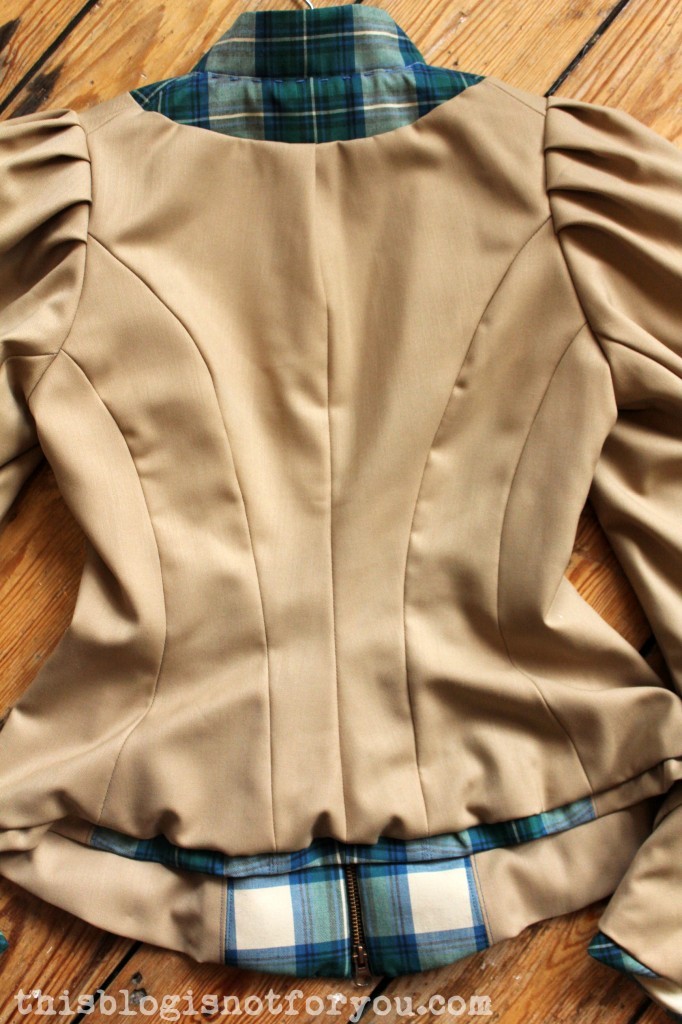
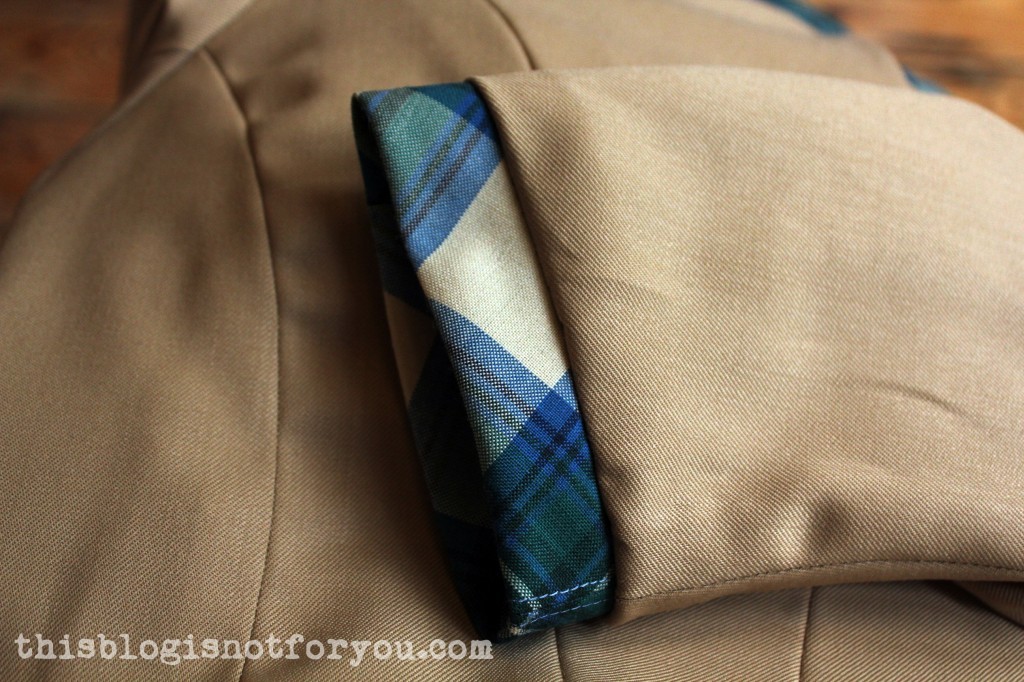

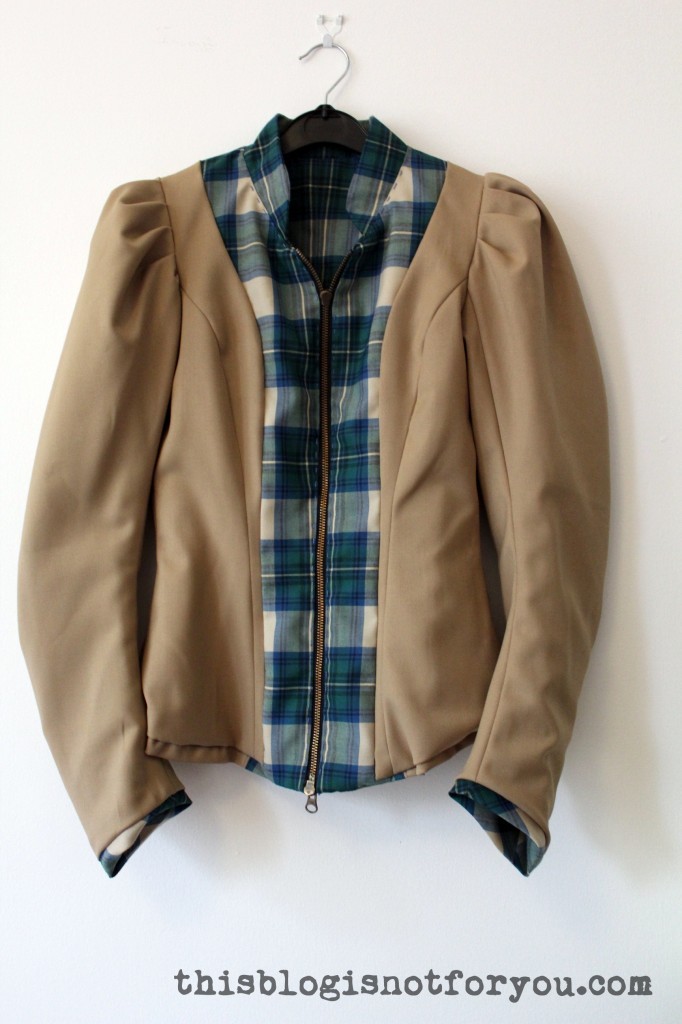
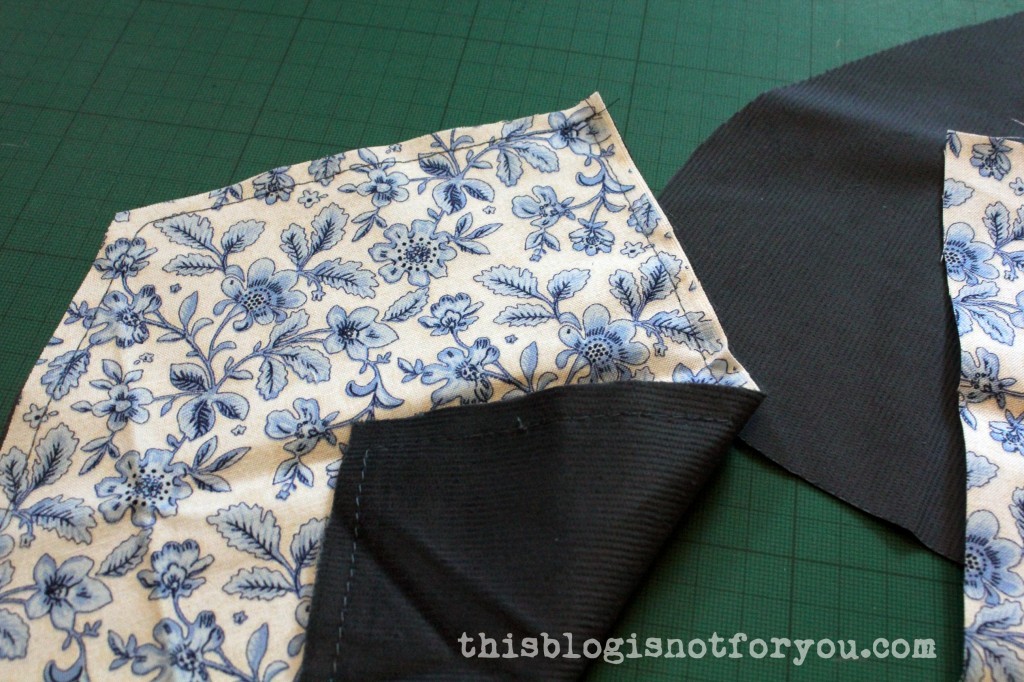
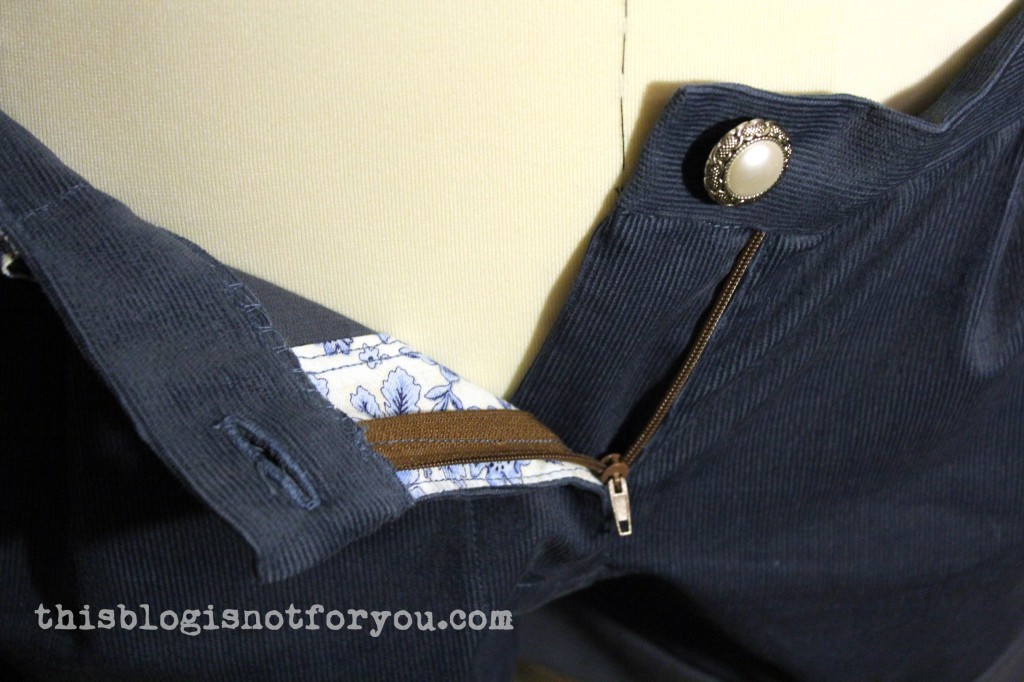
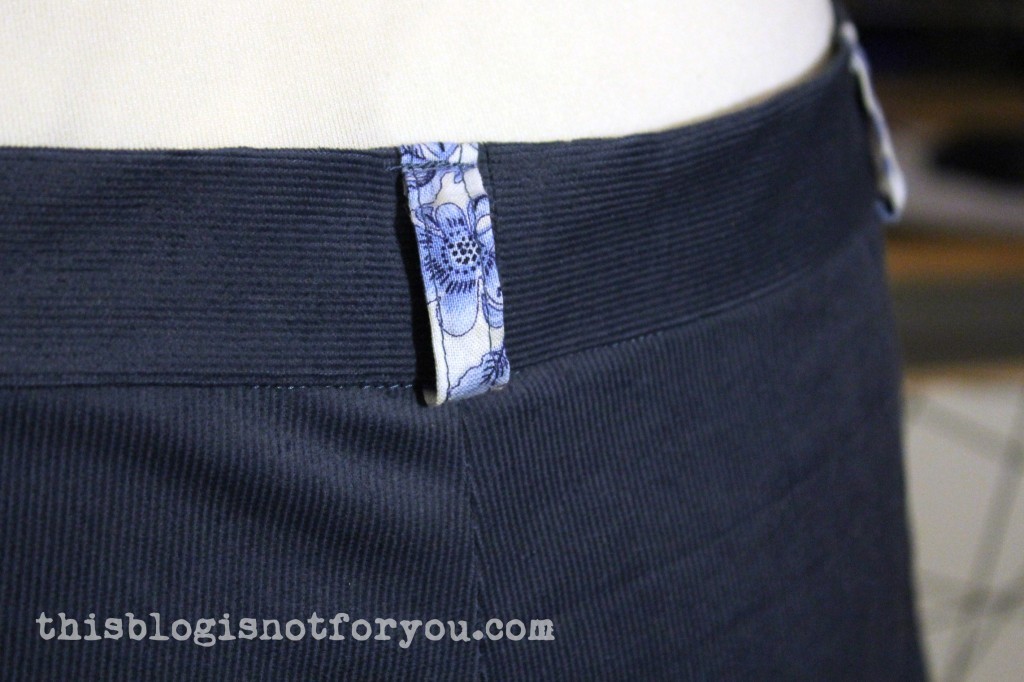
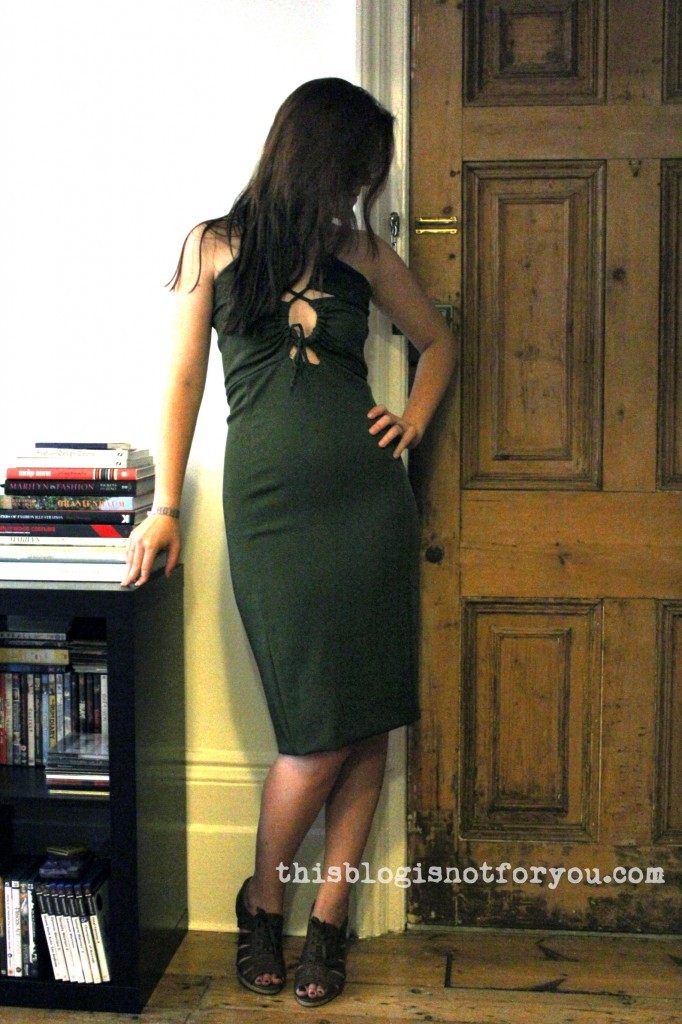
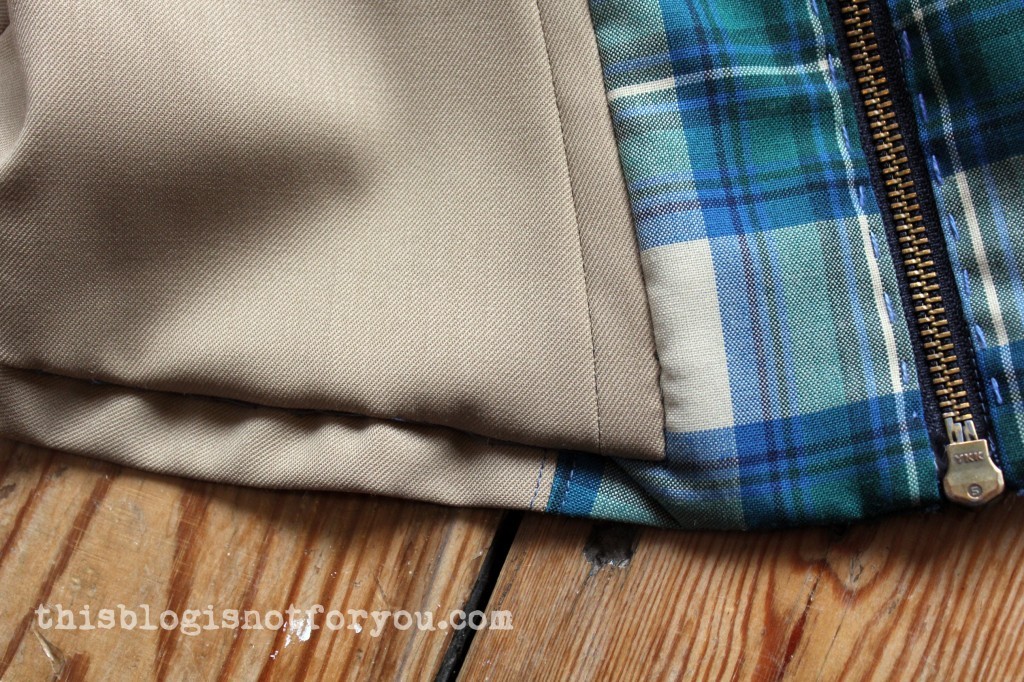
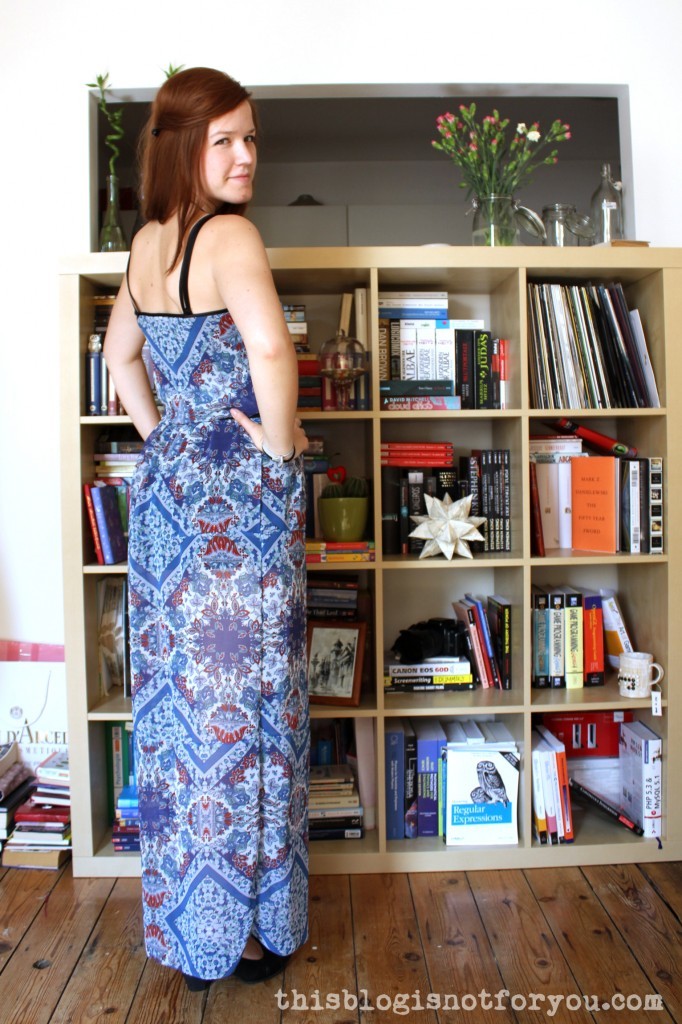
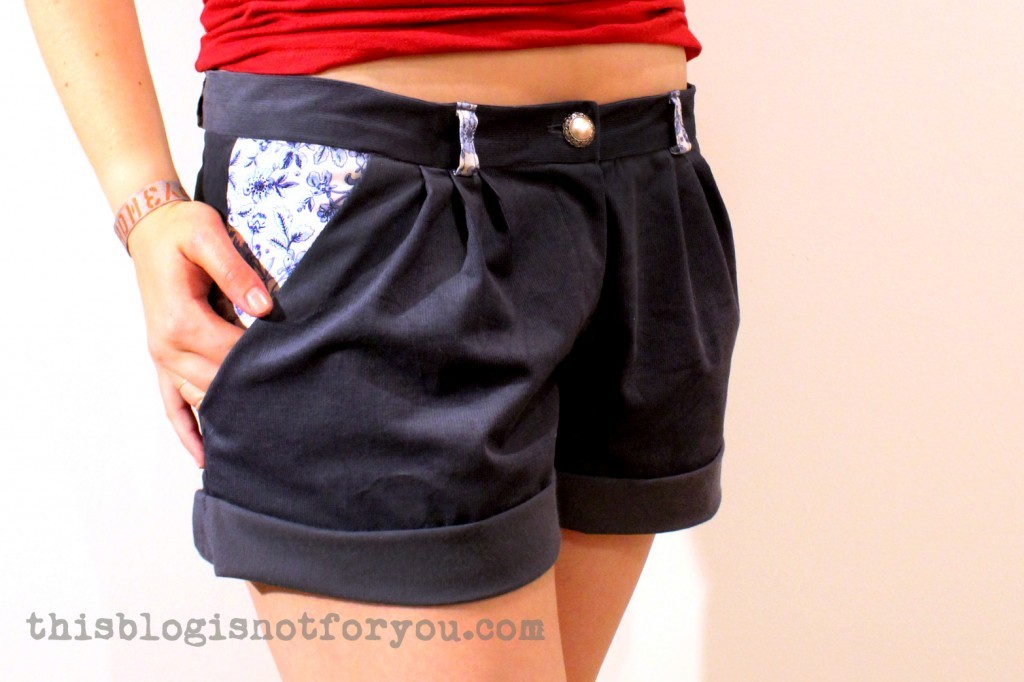
 I embellished the facing with blue embroidery thred instead of edge-stitching it to the seam allowance.
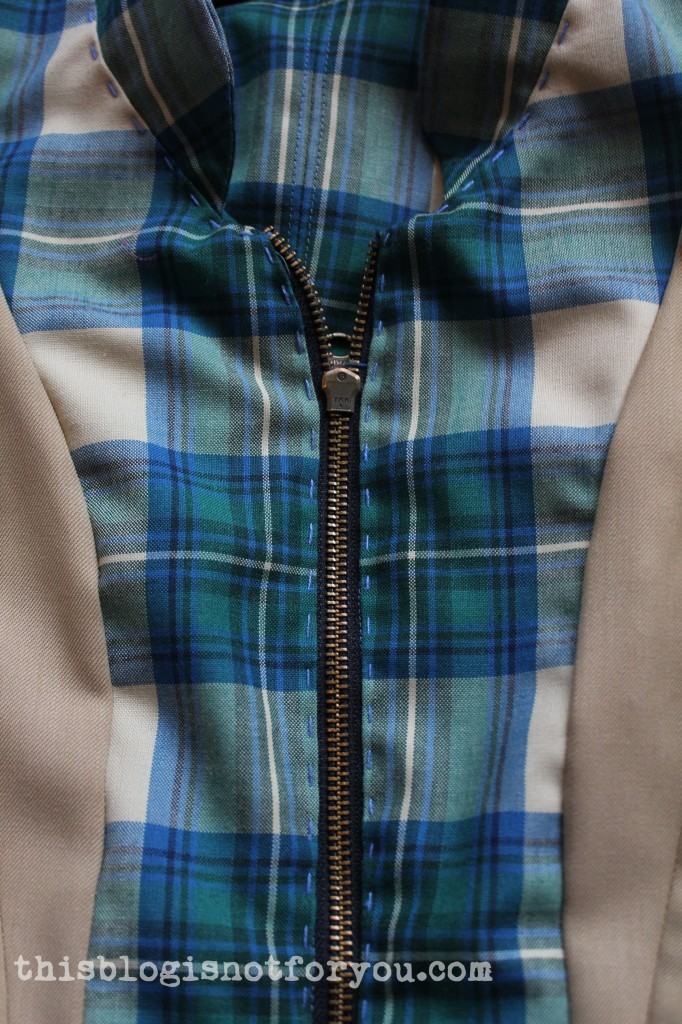

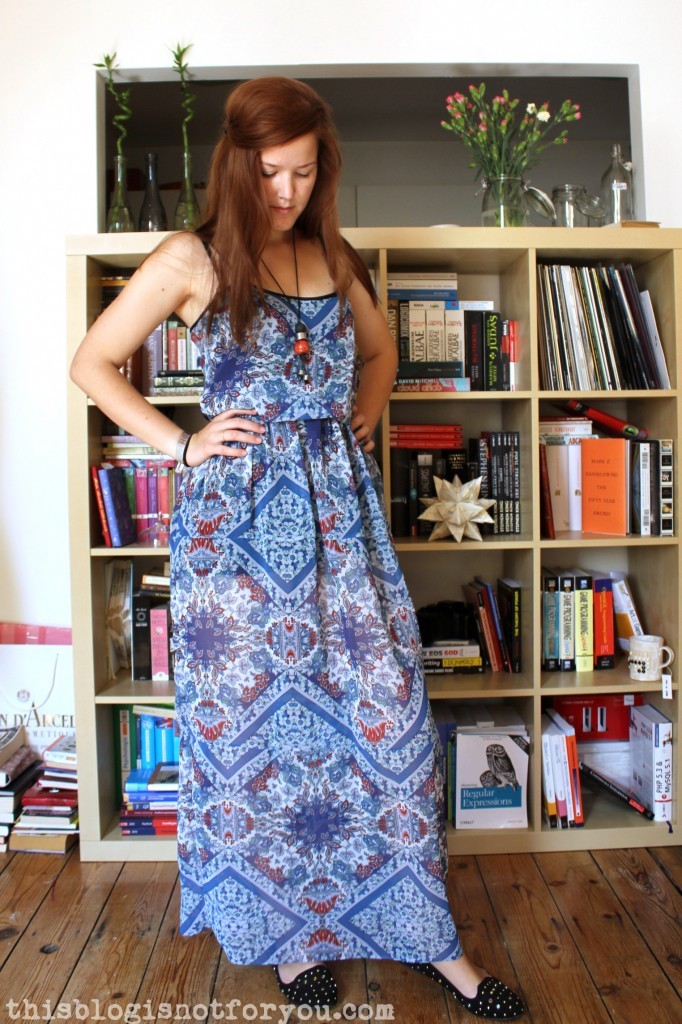 Flats!
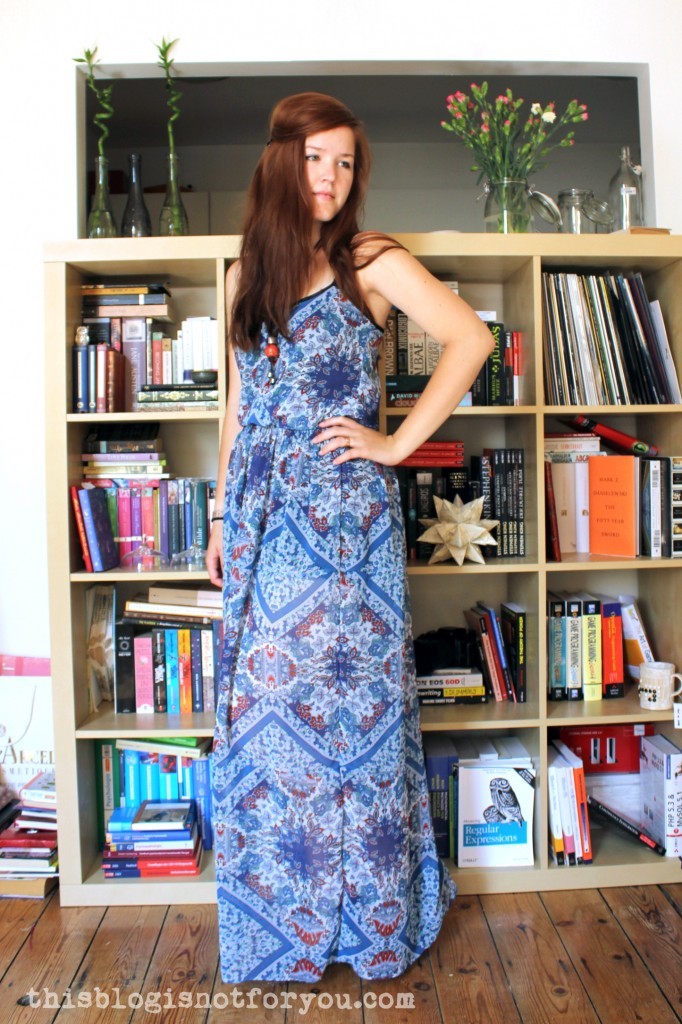 Heels!
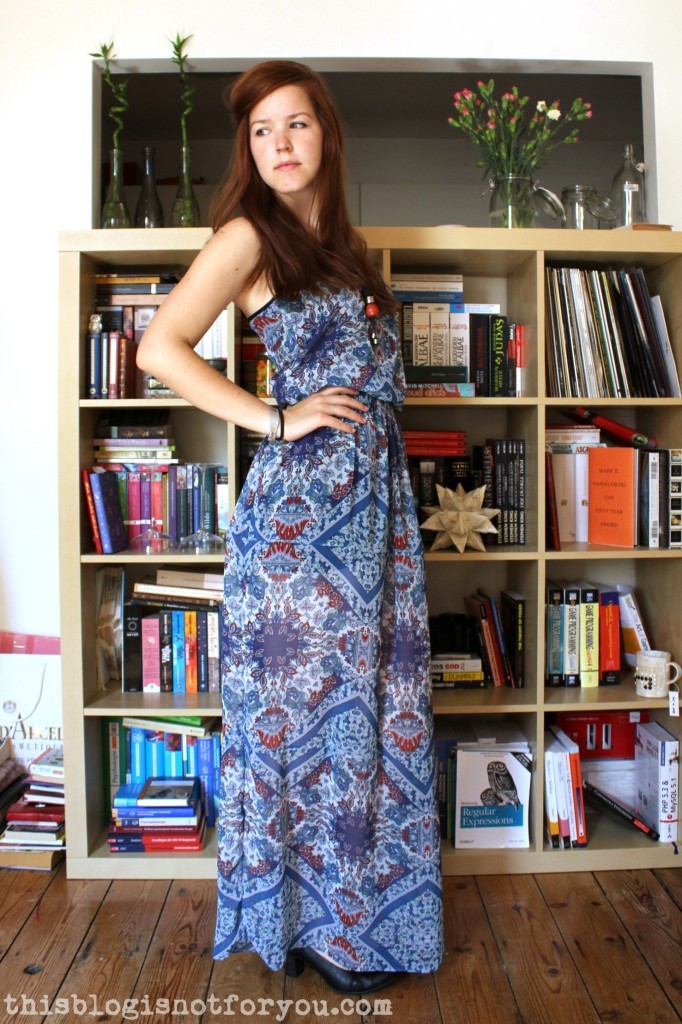
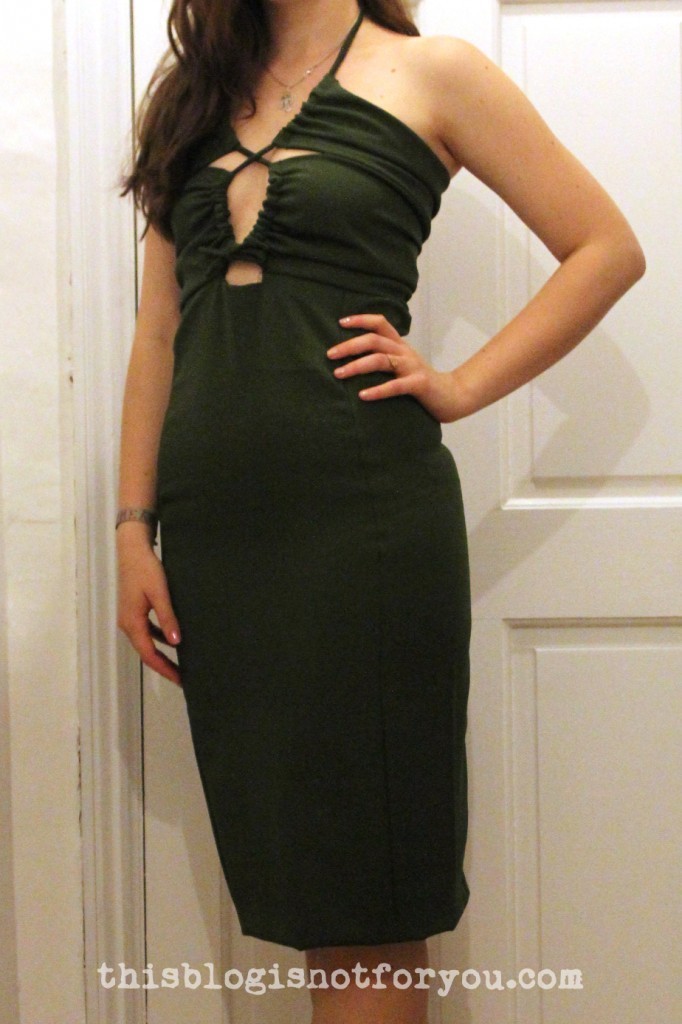
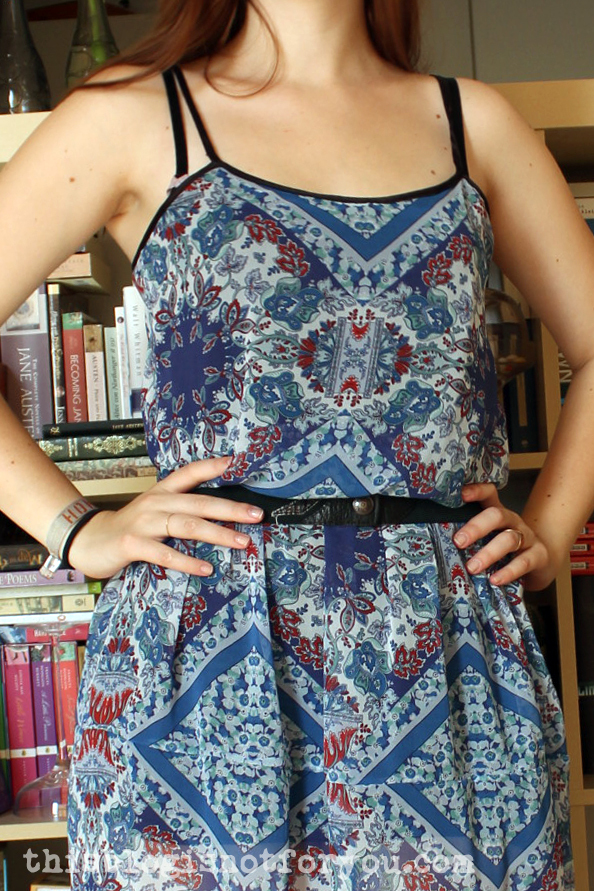 My favourite black vintage leather belt. I love this look the most.
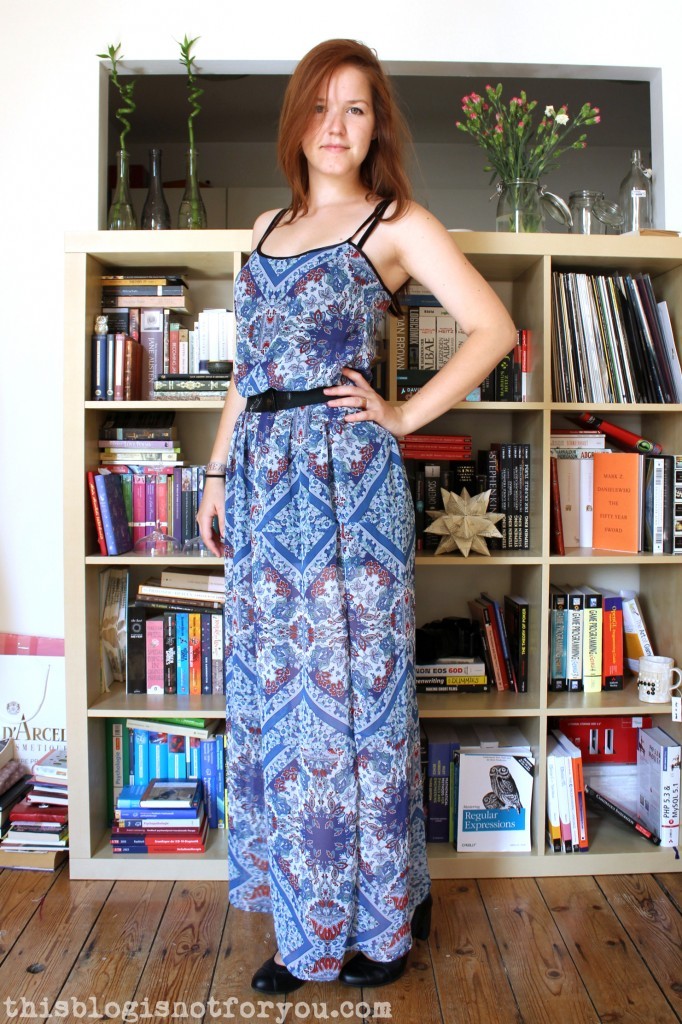
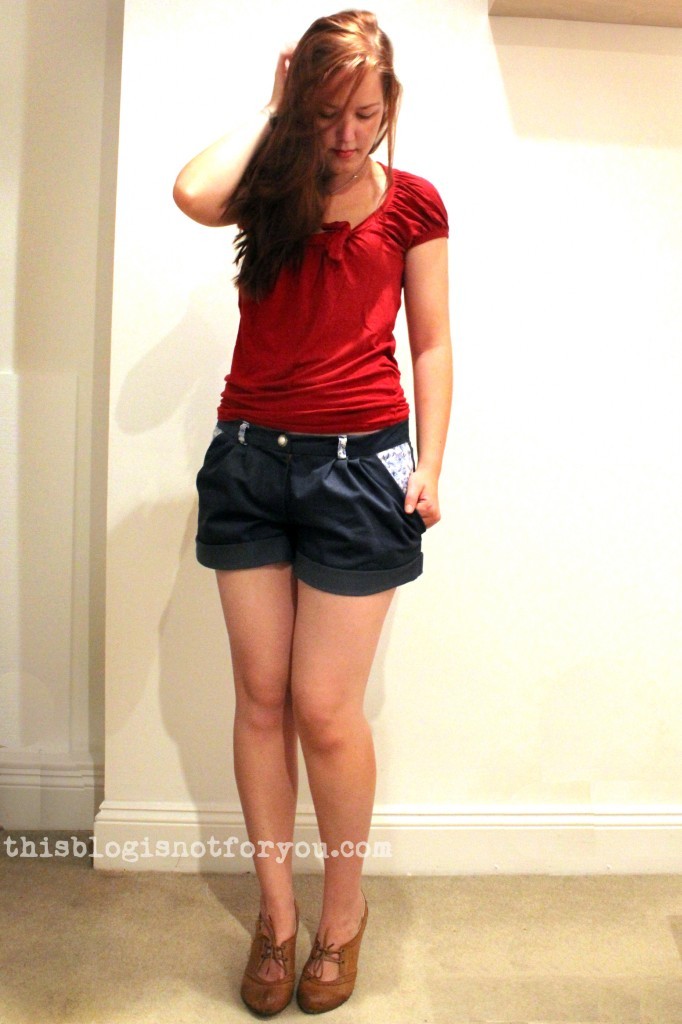
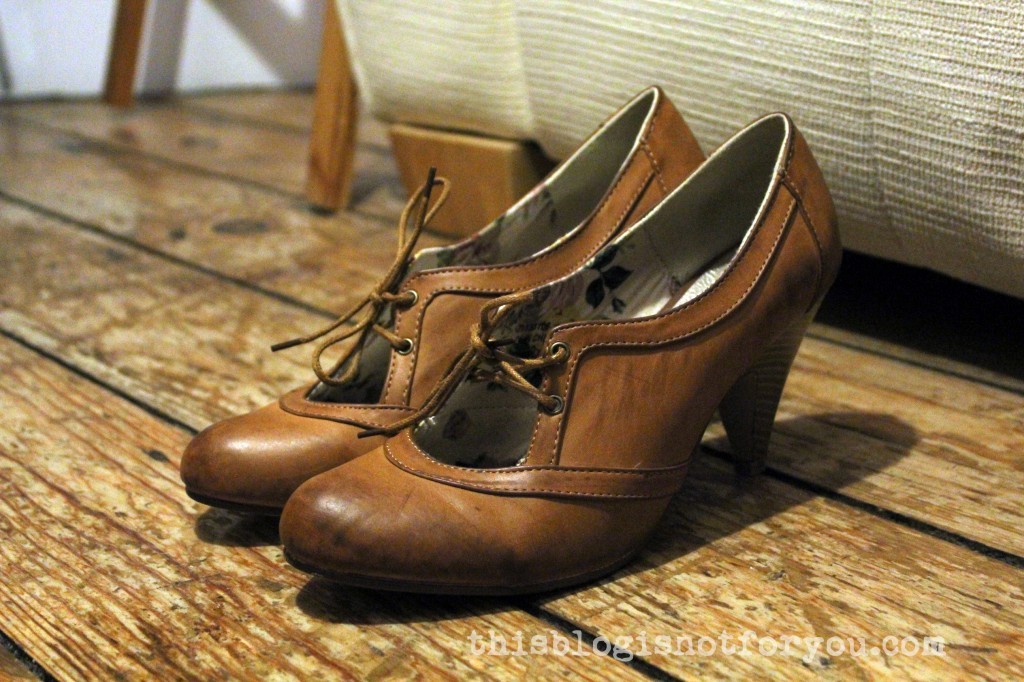
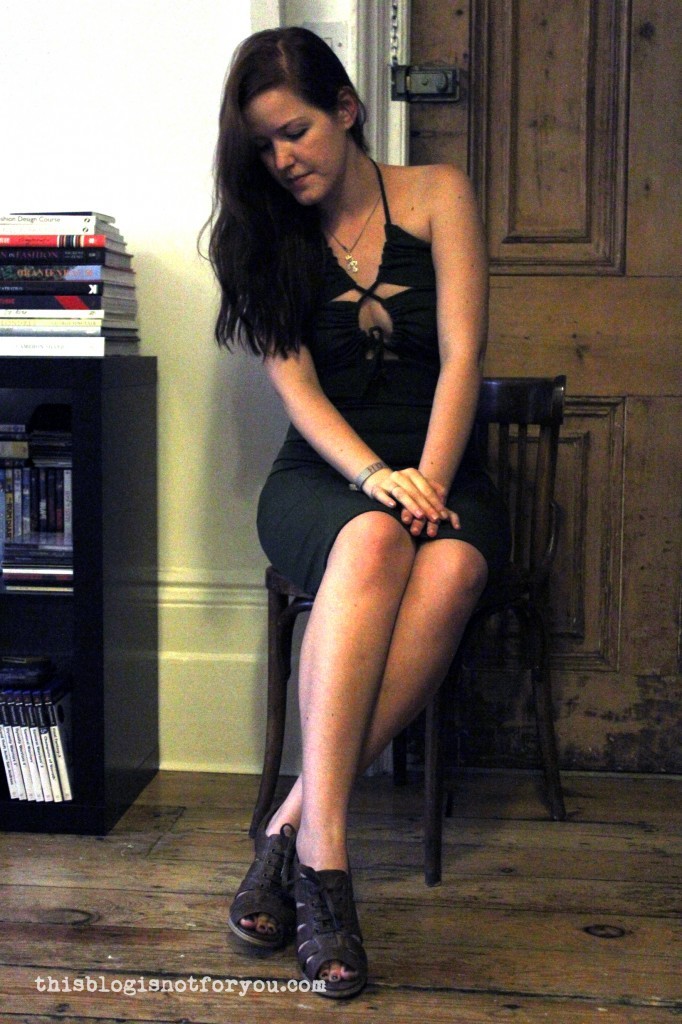
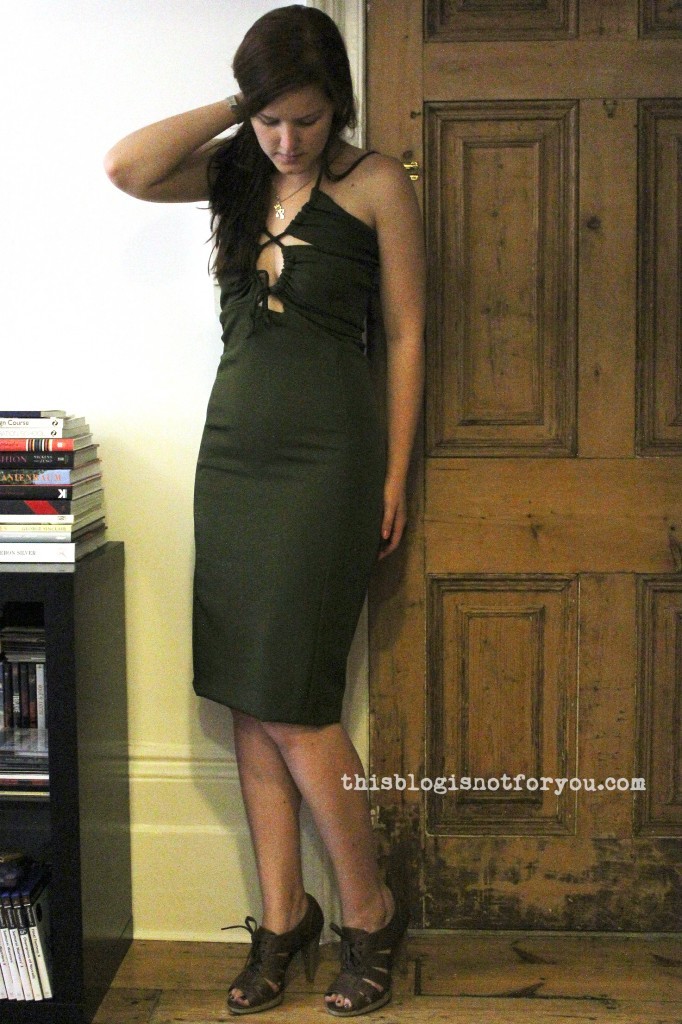
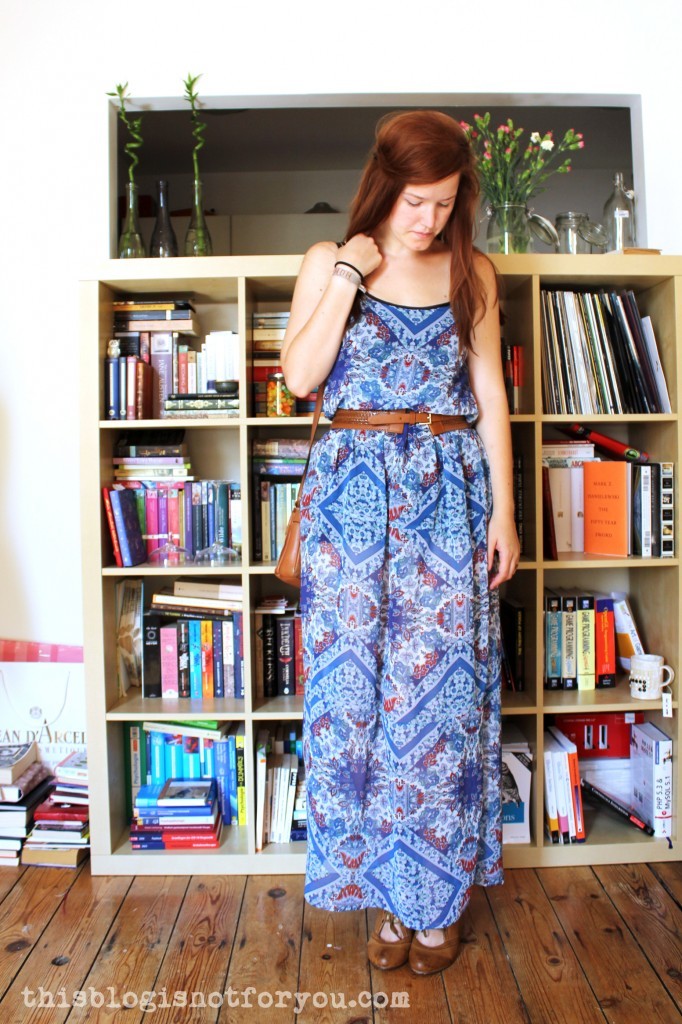 Brown belt with my new thrifted shoes 🙂 ( I forgot to adjust the length of the dress in this pics, ooops! Well, this way I can show off these shoeeees!)
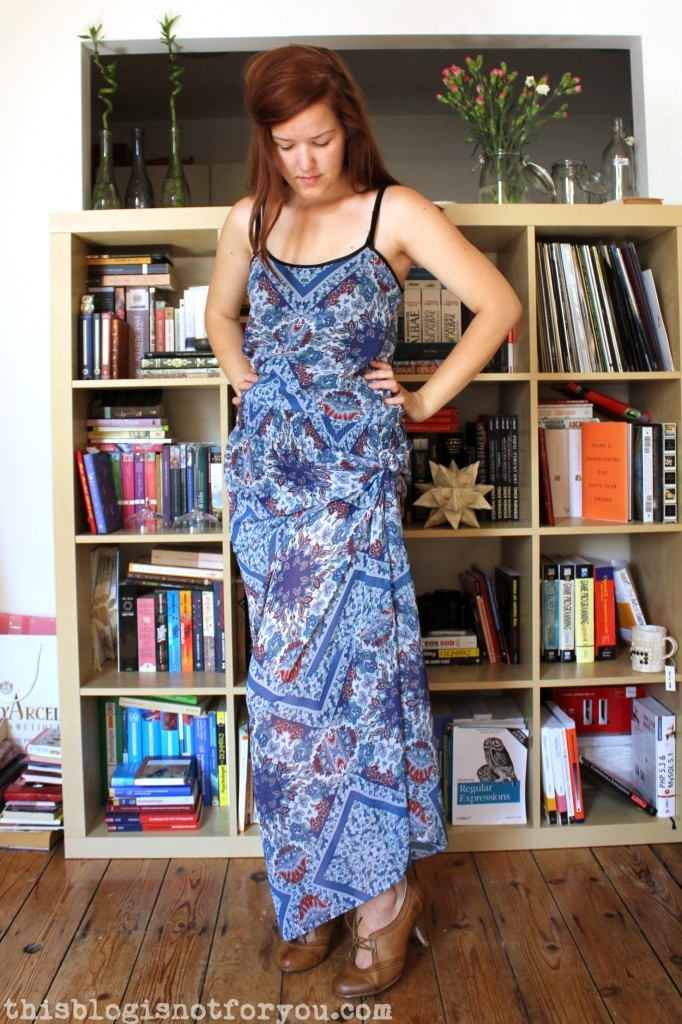

 Hello everyone!

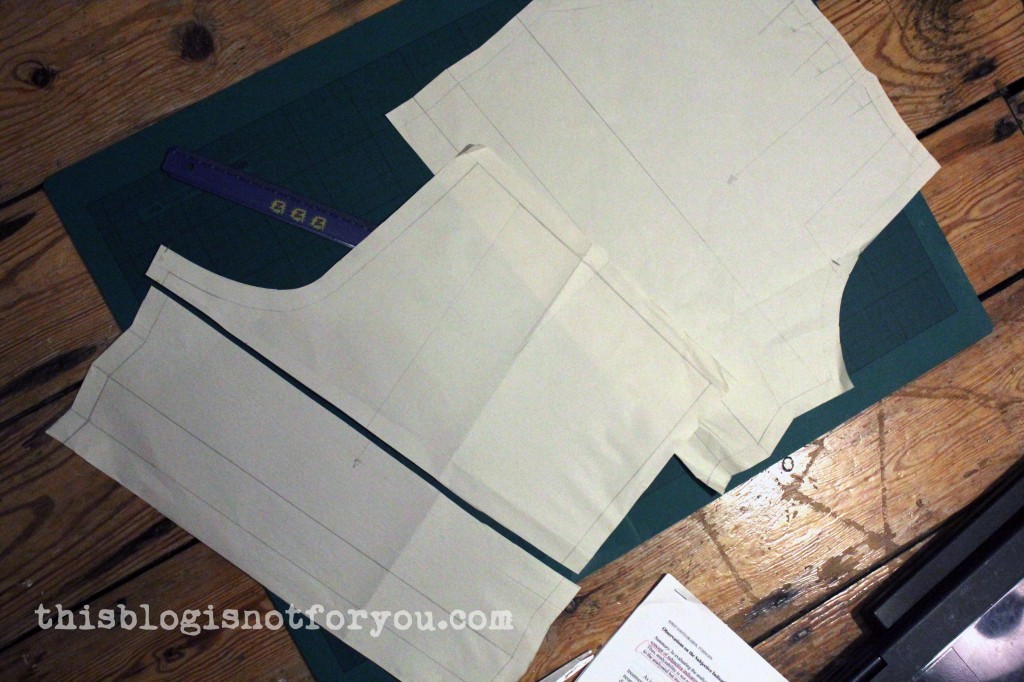
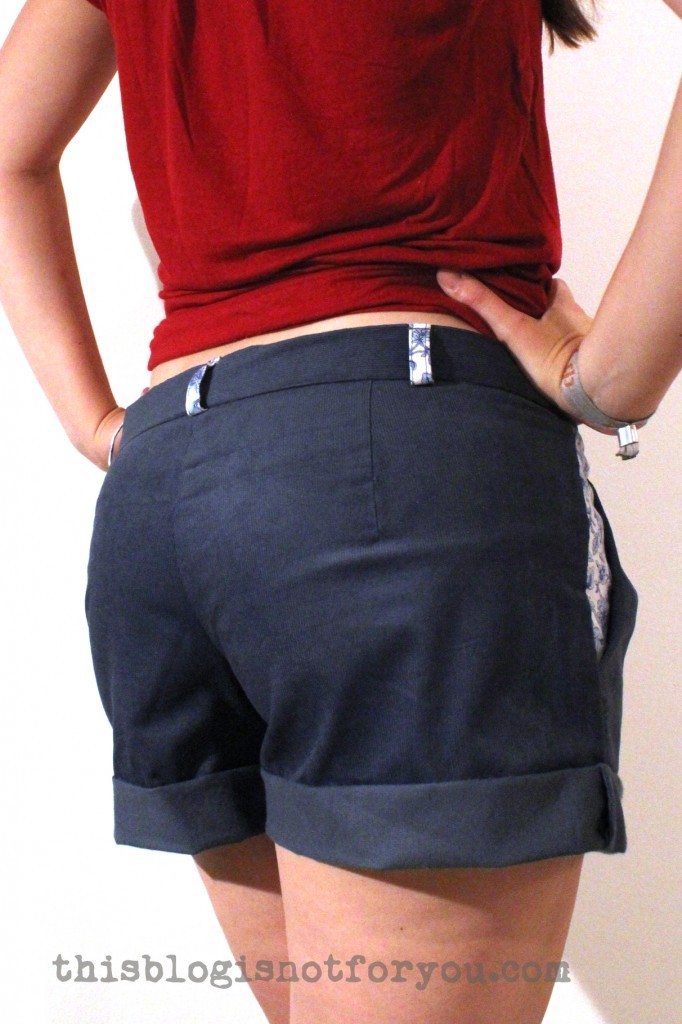
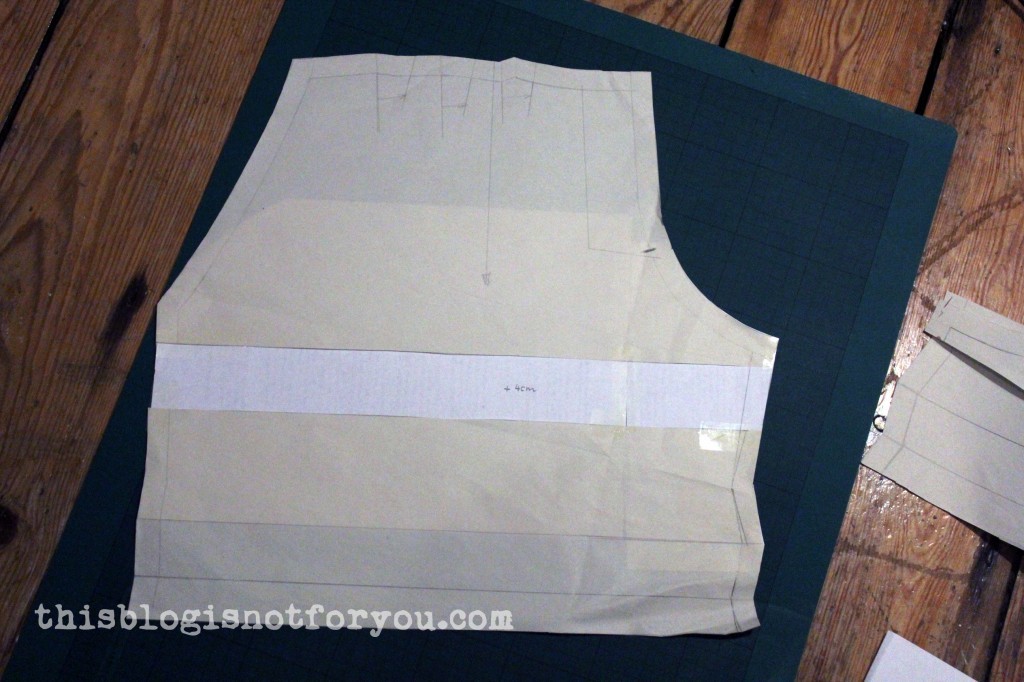 I then cut out the muslin and sewed everything together, just to notice that the shorts looked really bad and way too long. Due to the pleats they just made my butt look huuuge. I didn’t take pictures of the muslin, and trust me, you really don’t want to see this.