Donna Karan Dress in Teal Knit Fabric


If I had to describe my style, I’d struggle. There’s a certain style that I have in mind or how I dress in my head. Garments that I adore and outfits I’d love to wear. And then there’s how I actually dress, which is miles away from the vision in my head. Anyone else have that problem? The seamstress is me promises to work on that.
If I had to sum up the style I have in mind, the style that inspires me, I’d say the ladies of Suits. Anyone else who watches Suits? I’m a pretty big fan – the story is pretty good, Gabriel Macht is pretty hot and I just love the outfits of Rachel, Donna and Jessica. This is how I would dress if I had a job where dressing like this would be appropriate.
Since I got my hands on the Sew Over It pencil skirt pattern, I slowly started to sew more Suits inspired outfits. Pussy bow blouses and pencil skirts go well together. So when I found this Donna Karan pattern, which is the exact dress that Jessica wears in the series, I needed to try it.


Being part of their blogging team, all the materials needed for this projects are courtesy of the awesome people at White Tree Fabrics.
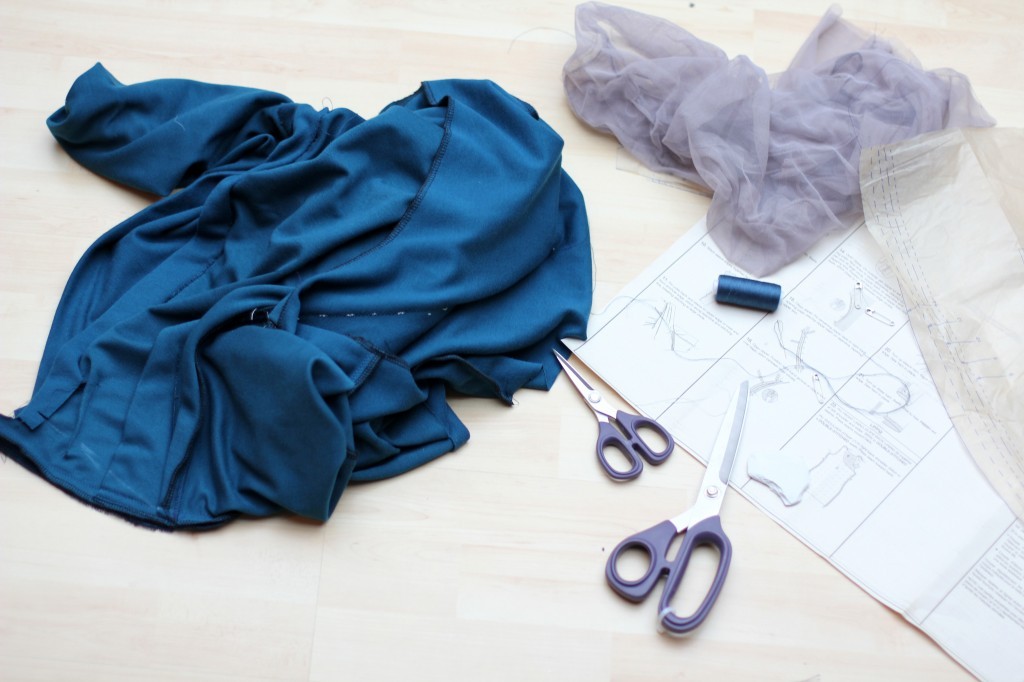
THE FABRIC
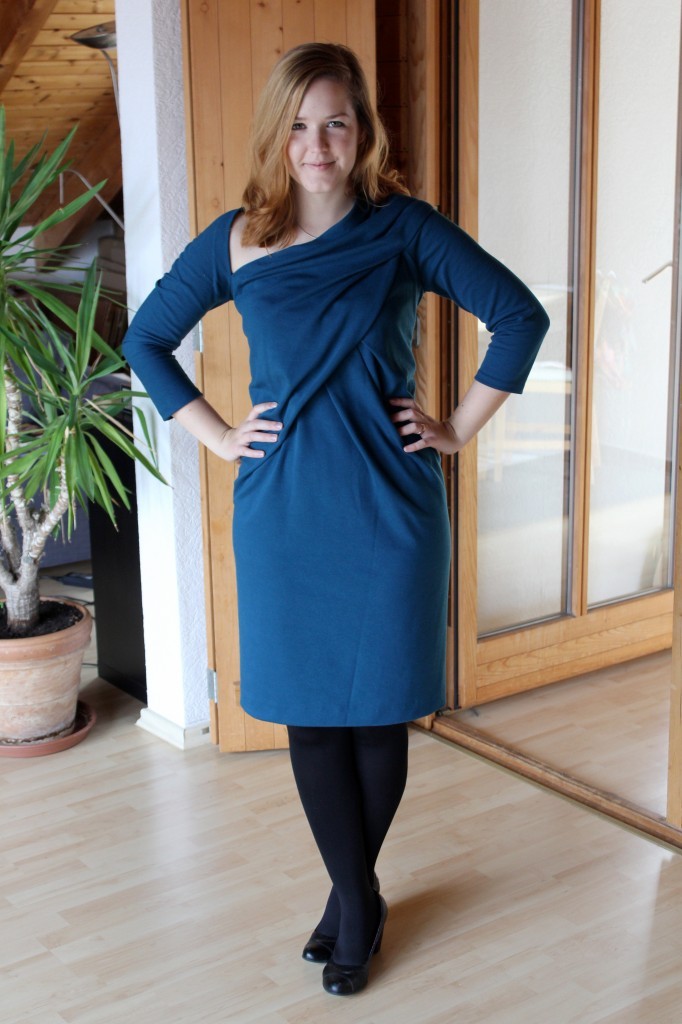
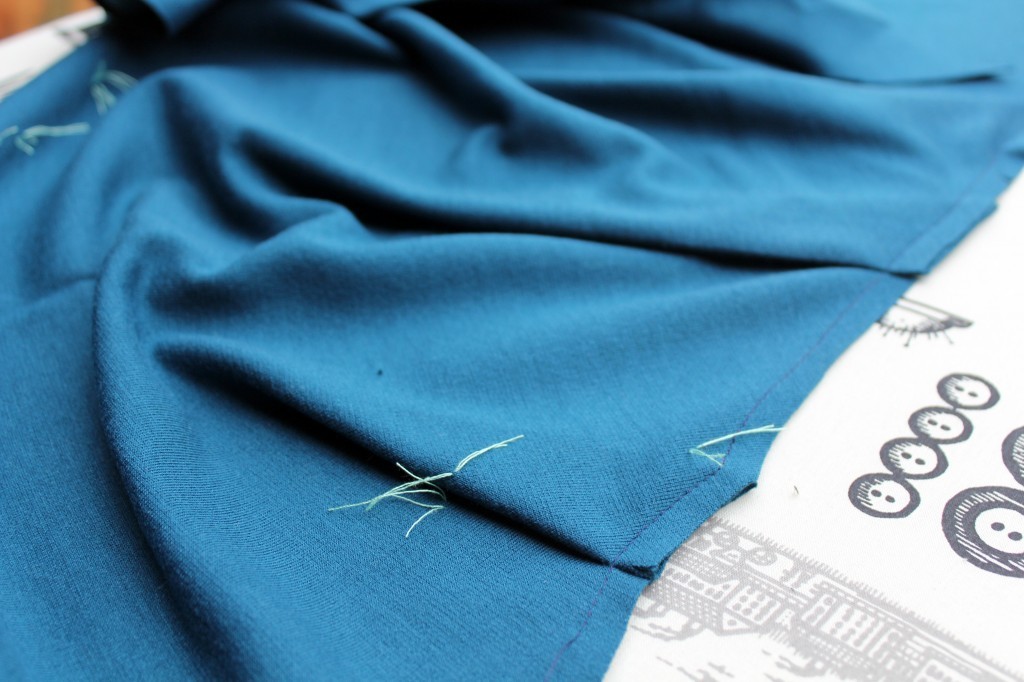
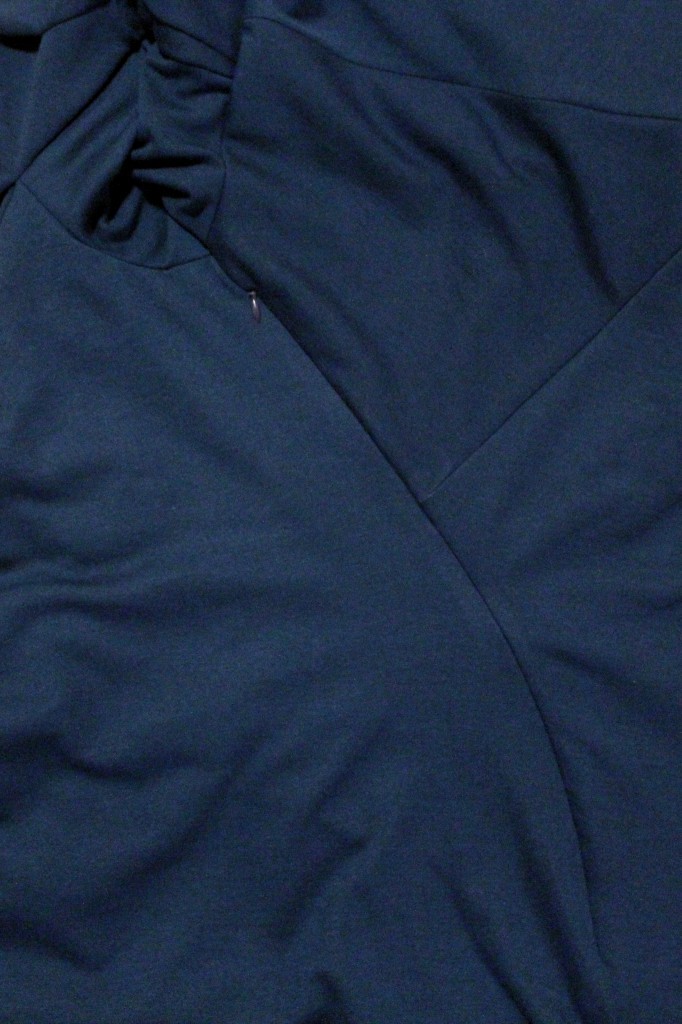
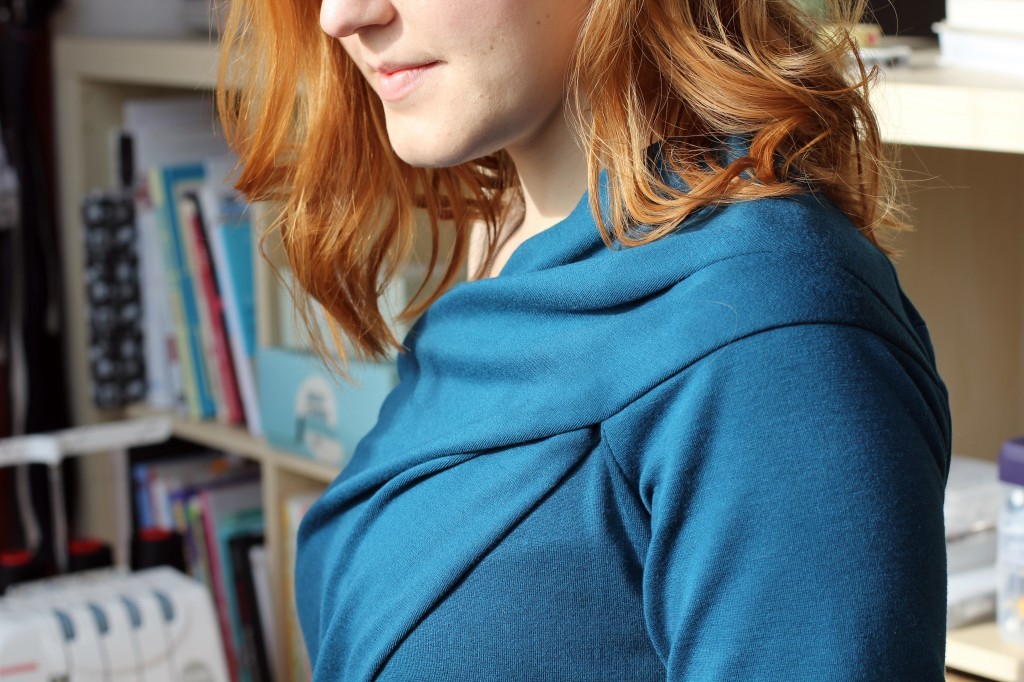
The pattern requires a two-way stretch fabric, such as double knit or wool jersey. I picked a teal ponte roma knit fabric, which has a really lovely quality. It’s looks a bit like royal blue in the pictures since teal always is quite hard to photograph. For the lining I went with the instructions on the back of the pattern and got some grey tricot/mesh fabric. I must have misunderstood the type of fabric which was required. The mesh was great, super stretchy and sewed really well, but was way too lightweight and stretchy to support the heavy knit fabric. I was a bit upset at first, but did a bit of research on tricot fabric. Apparently when I looked it up at first, I found it was similar to mesh and often used in sports wear. Recently I stumbled upon another sort which was more like a stretchy but quite stable jersey, also used to make sports wear. So when you read “tricot” being suggested for lining, go with your guts and pick something that a similar weight to your fashion fabric.

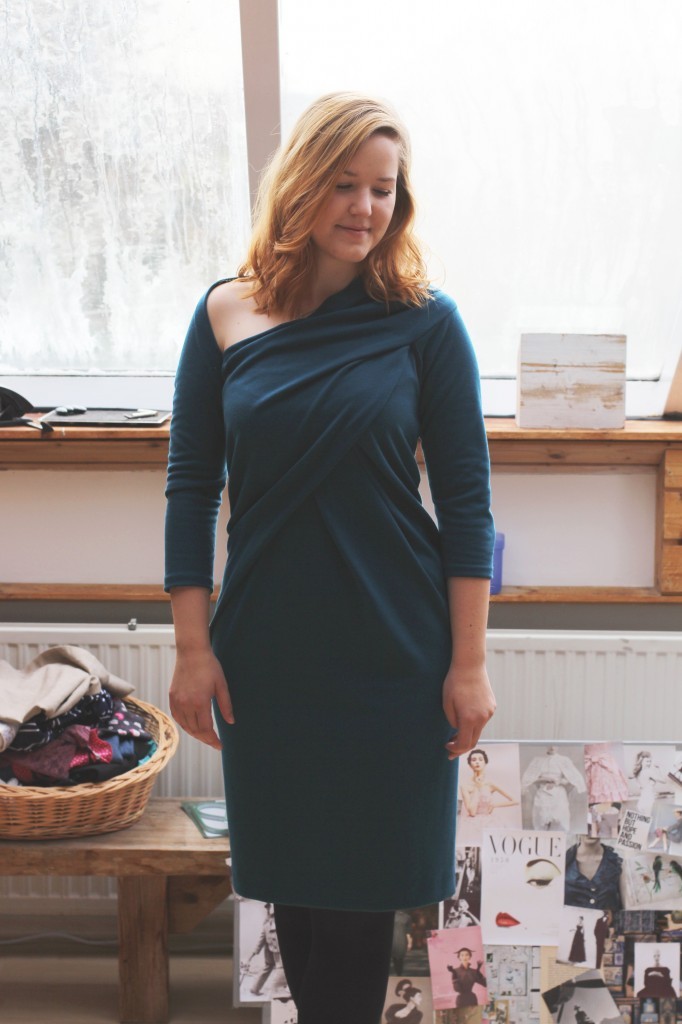
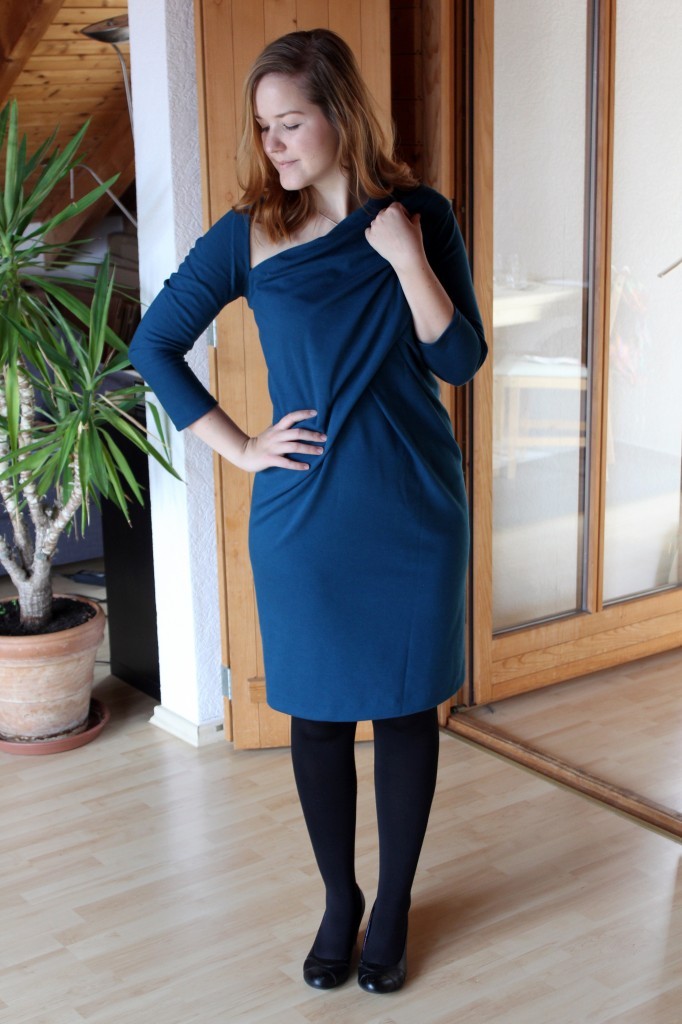
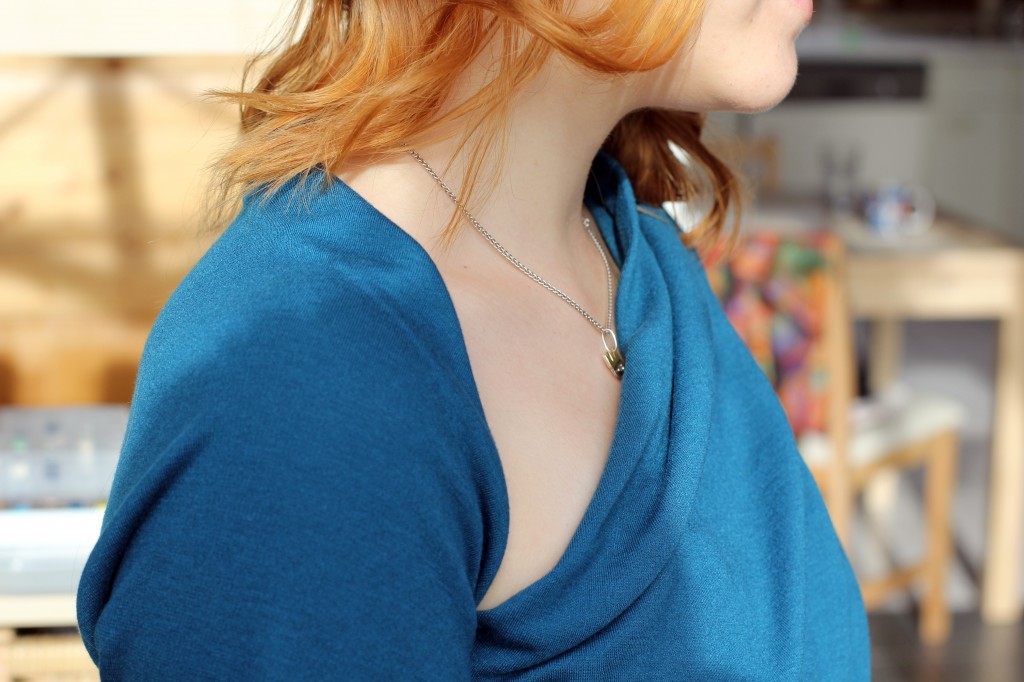
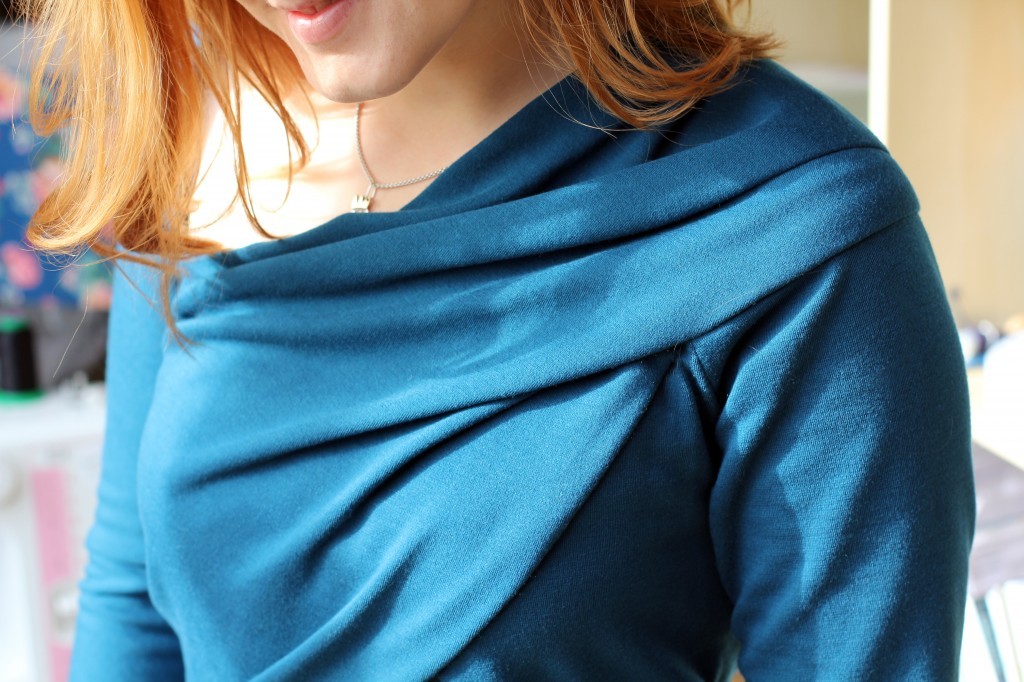
The drape of this dress depends on the lining. The big fold in the front is created by stitching the finished dress to the front lining. This obviously didn’t work with a four-way-stretch fabric, so I decided to use the very last scraps of ponte knit I had left. I only had enough to cut out the bodice, but the knit dress doesn’t really require a full lining anyway. It was Make it work time again.
It turned out alright and really made a difference to the whole fit of the garment. I really recommend sewing in the lining before tackling fit-issues around the bust and below, because you won’t know whether the fit is right before stitching both dresses together.
(I also scrapped the right shoulder strap on the lining and created a single-sleeve top, because however I tweaked it the strap would show through the cut-out.)
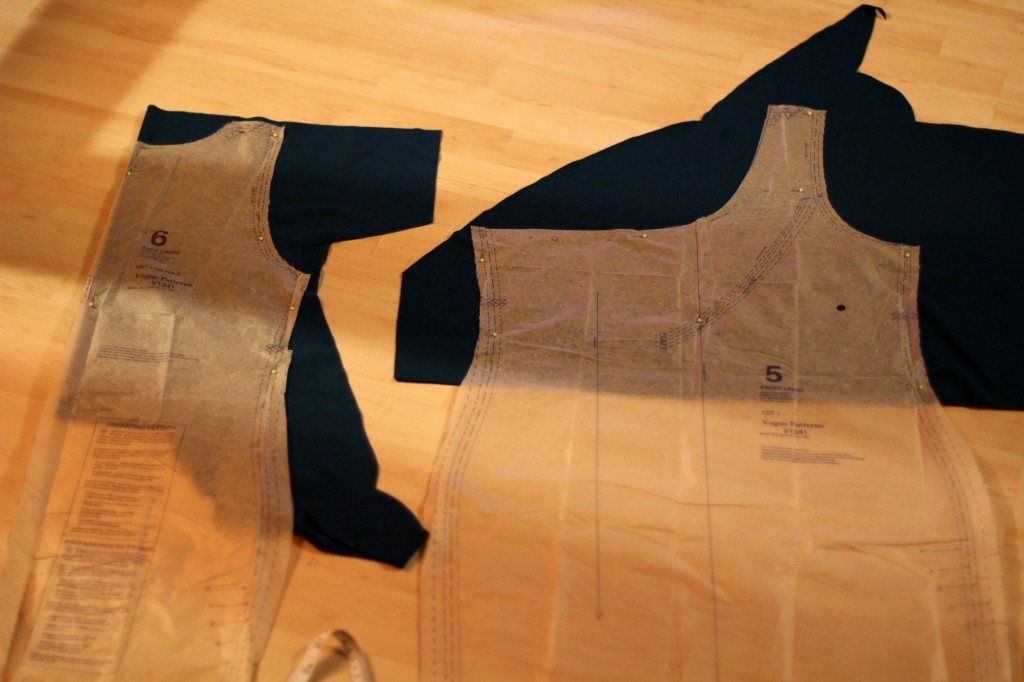
THE PATTERN & CONSTRUCTION
So, let’s talk about the pattern. This is a Donna Karan for Vogue designer pattern (V1341). I thought it would be quite complicated and was mostly concerned about the fit.
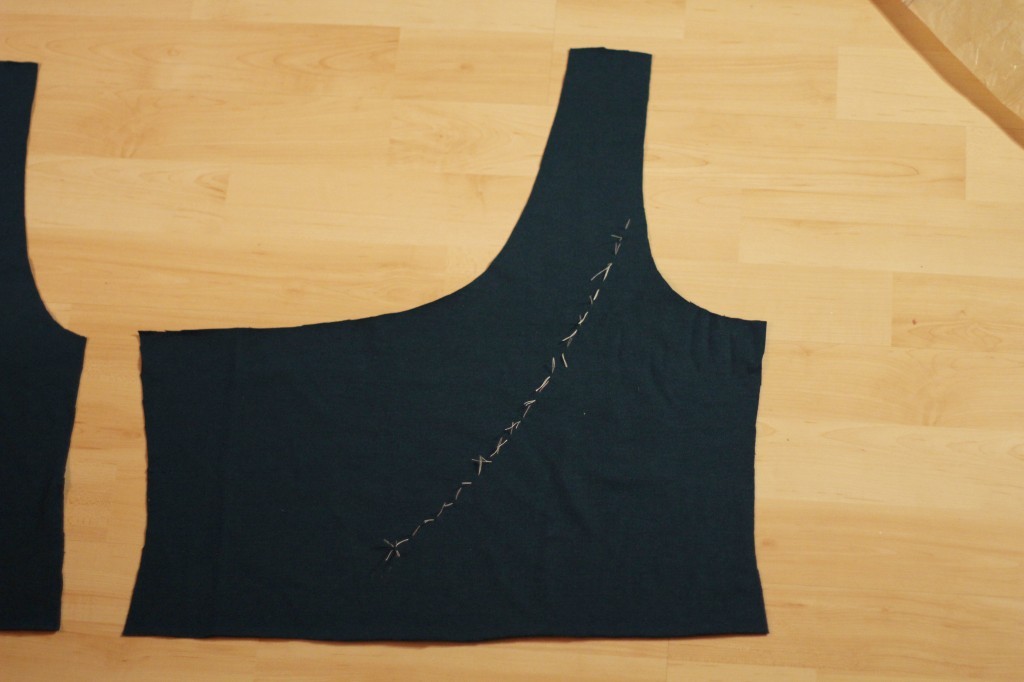
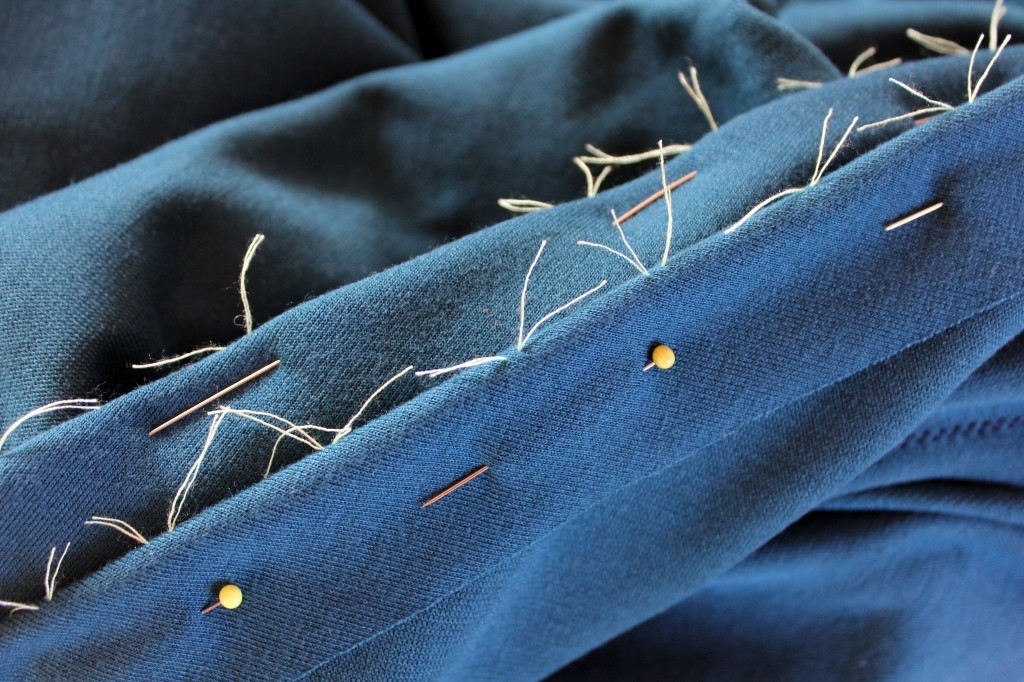
The construction was actually not that hard. Marking the fabric properly (I used tailor tacks) and following the instructions carefully is all it needs. It’s not that hard. There’s pleats, tucks, darts, we all know these. There’s just loads of them. I actually really enjoyed the construction and took time to get all the details right.
FITTING ISSUES
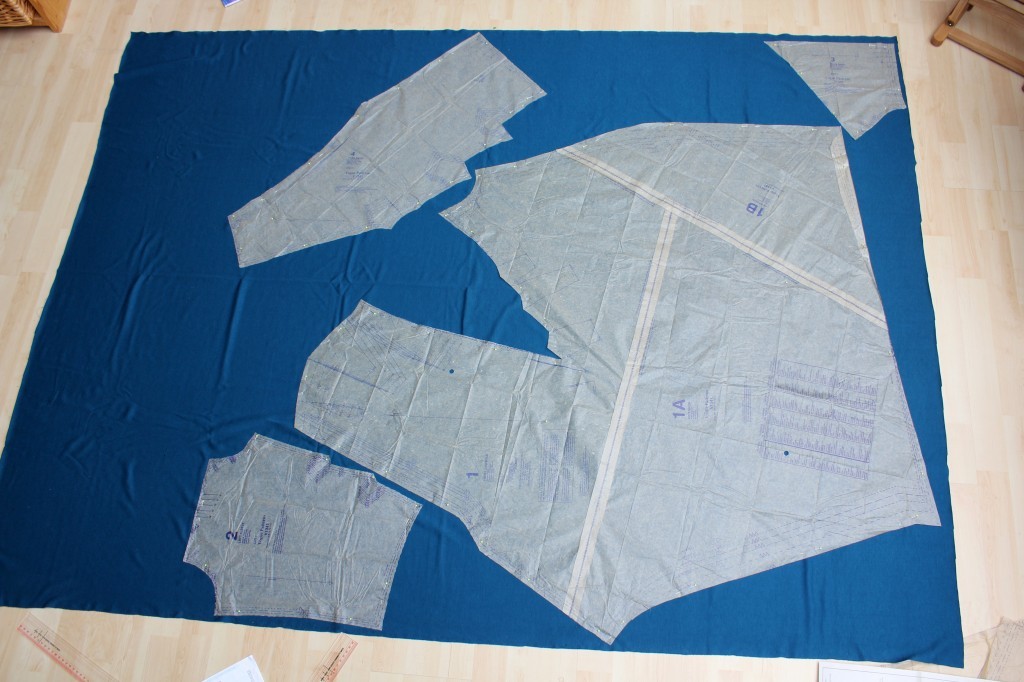
The only issue is that the flat pattern is quite hard to understand. With all the pleats and darts and folds is super difficult to see where the waist, hip or bust line run. I therefore couldn’t measure the pattern before I started and had to trust the Vogue measurement chart. Someone once told me that Vogue patterns run quite large, but I took extra care and cut out a size 12 graded to size 14 for the skirt.
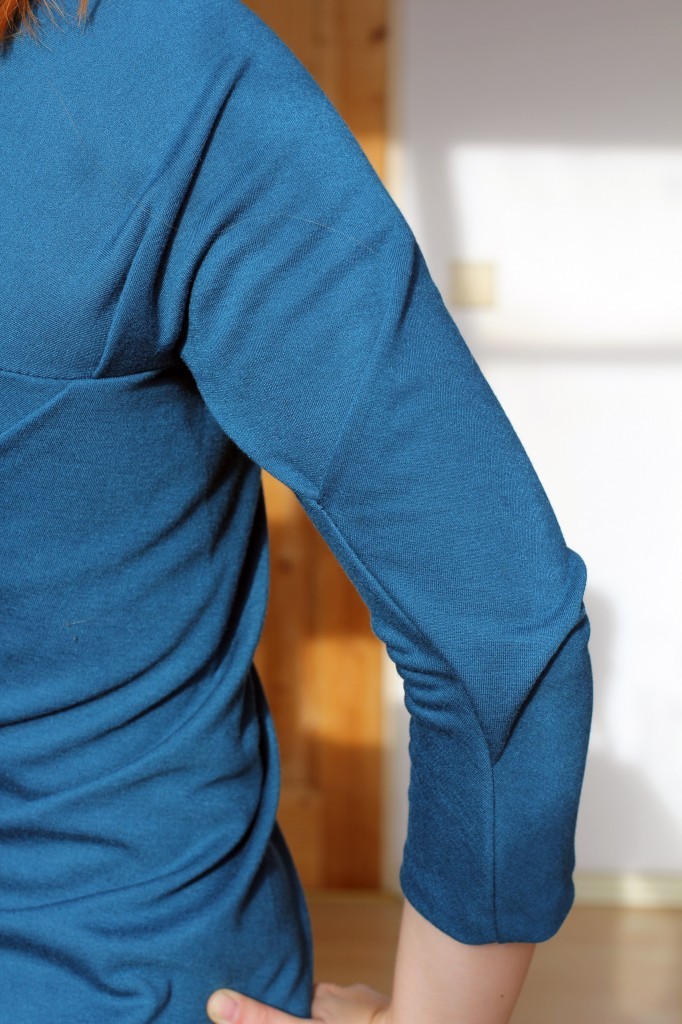
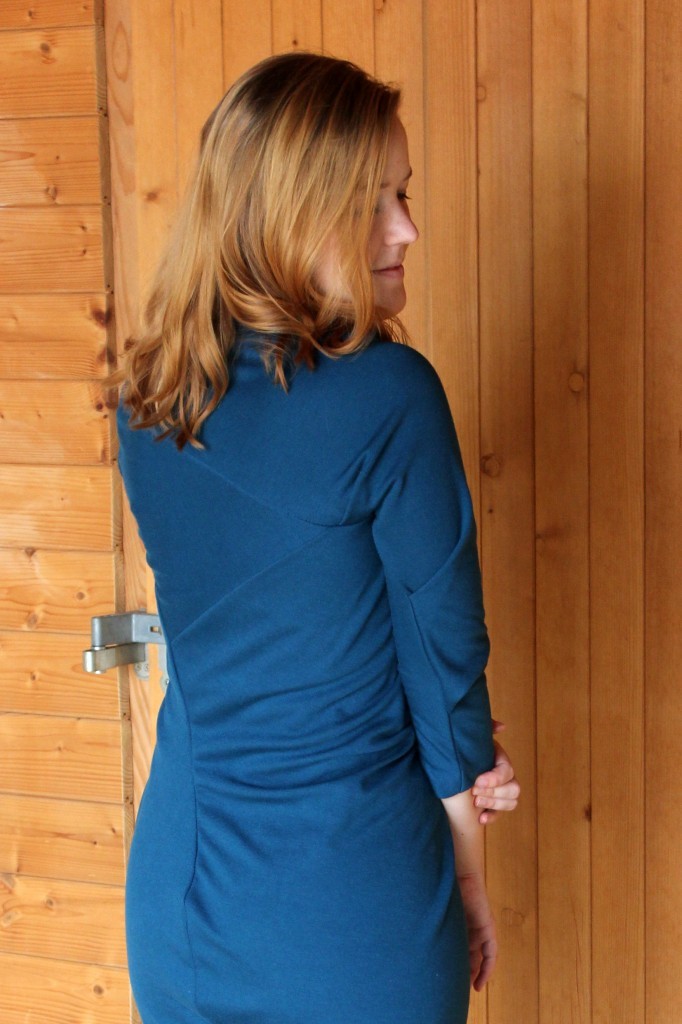
Although the fabric has some stretch the dress was a tad tight around the sleeves, but was much too large in the back.
The back seam runs diagonally across the back, so I had to insert an invisible zip in a curved seam. It’s the prettiest, neatest invisible zip I’ve inserted so far, but in the end I cut it out again because there was so much excess fabric in the back. If you’re making this pattern with a knit fabric, try without a zip first, you probably won’t need one.
After taking in the back the fit was much better. I finished the dress and put it on. The neckline wasn’t right. It was way to large and bulking up at my neck. This Vogue model must have massive shoulders for the neckline to sit that straight! Or maybe the fit issue is concealed by the weird pose she is striking.
Anyway, I took a good 5cm out of the left shoulder seams at the neckline both in front and back and this seemed to help a lot. I could have taken it in even more, but I wanted to keep the little dart at the shoulder.
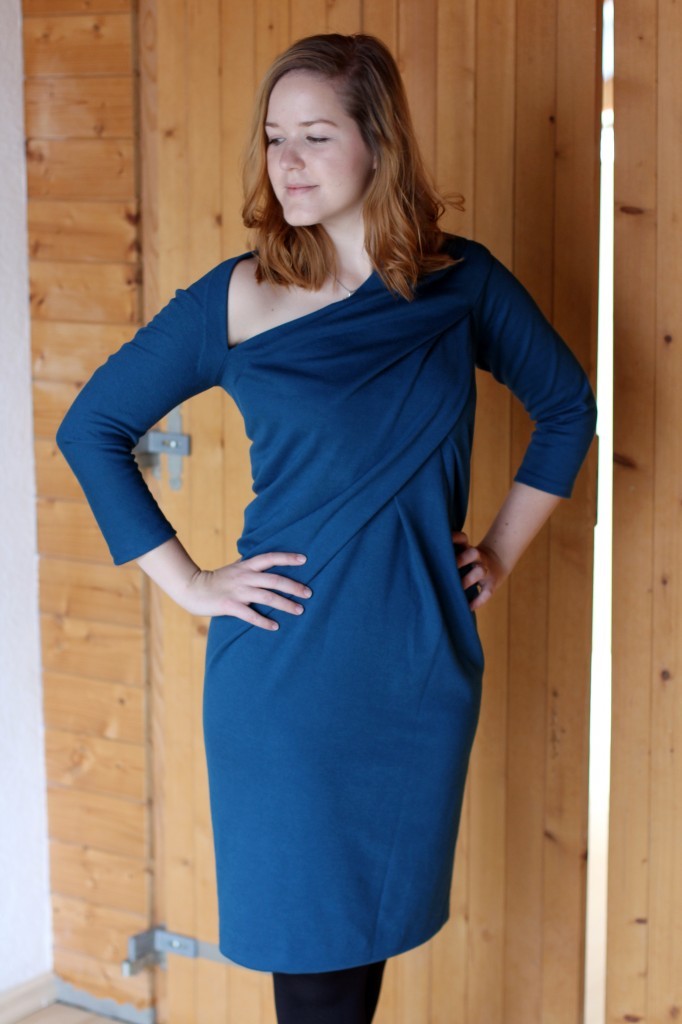
Although this dress was a bit of a nightmare to fit, I am quite happy with the end result. It was challenging but taught me a lot about tackling fit issues and understanding drape.
The colour of this dress is simply gorgeous and it’s so comfy! The Mr really loves it, which is a bonus.
Will I make it again? I might. It’s quite a fascinating pattern and now that I know what to look out for, it might be a bit easier to make next time. I’ll see how often I get to wear it. If I wear it frequently I might as well make another one in a different colour. Maybe bright red next time?
xx
Charlie
Happy sewing!
♥
facebook/bloglovin/pinterest
twitter/instagram
Stay in touch!
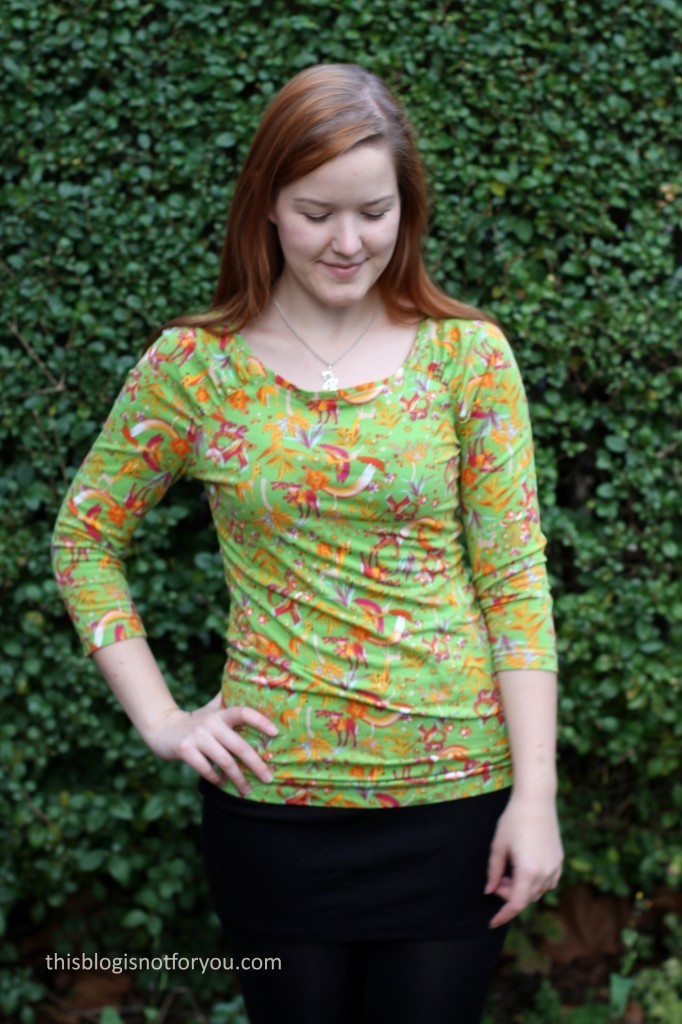 Hello gang! Life has been so busy lately that I don’t even have the time to share my makes on time anymore! I made this jersey shirt in October.
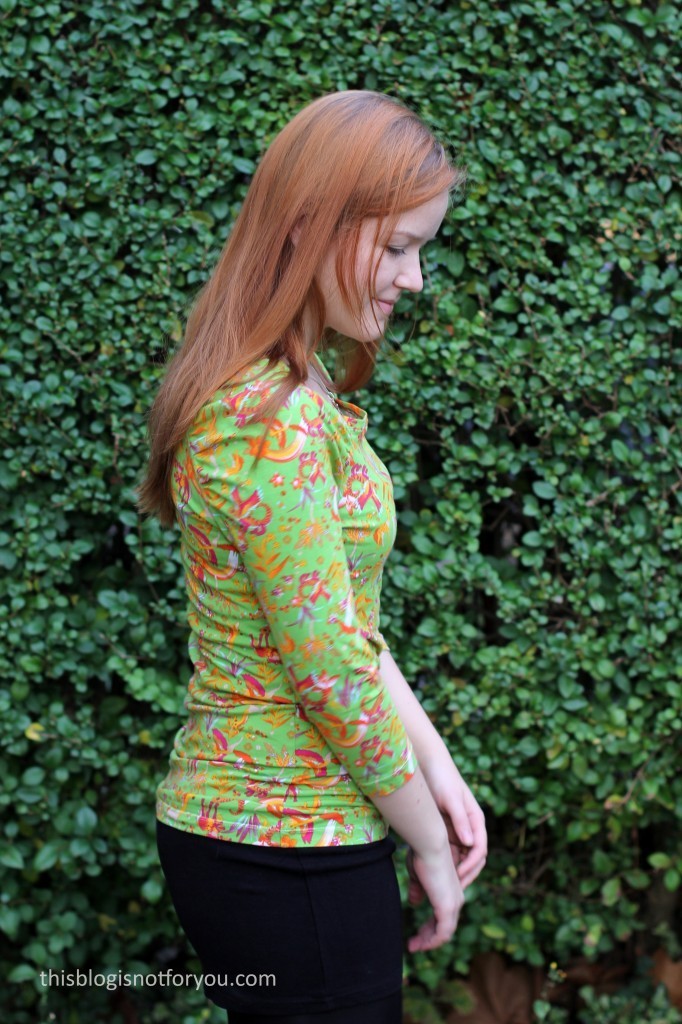
 The Fit:
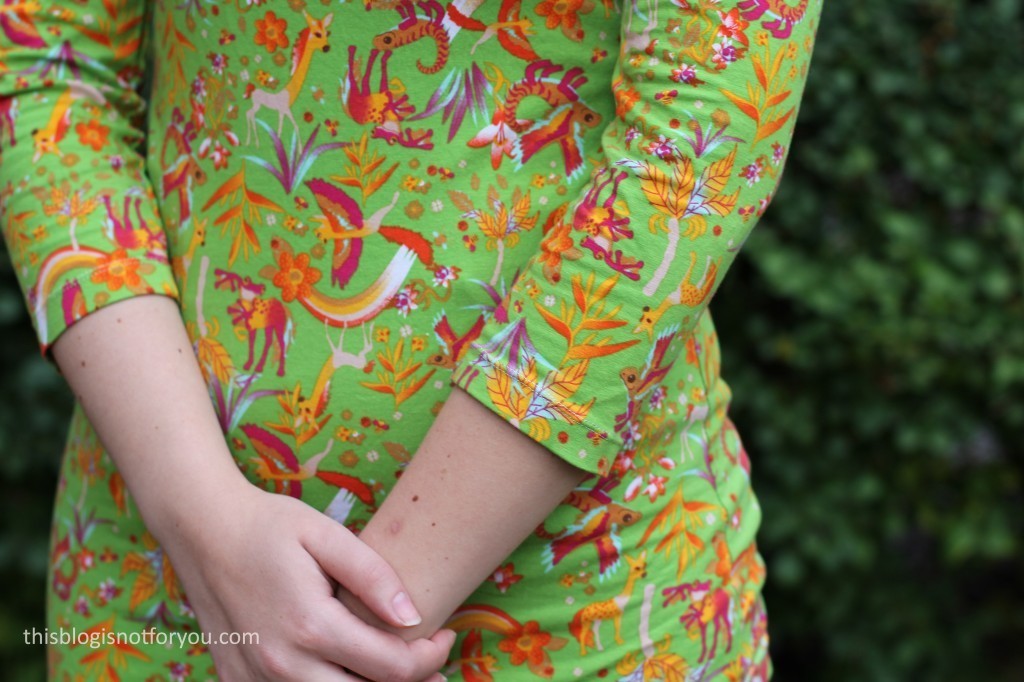
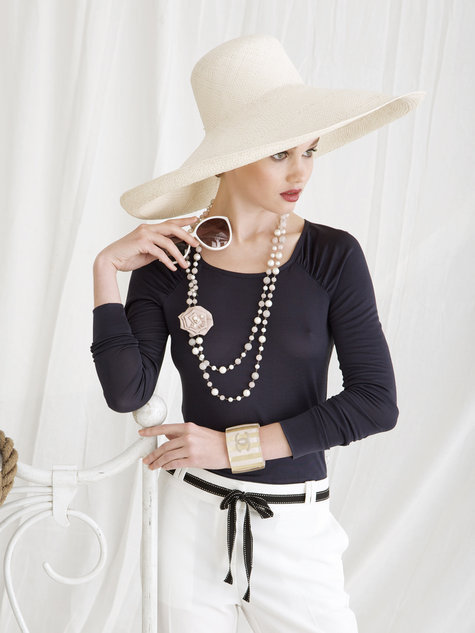
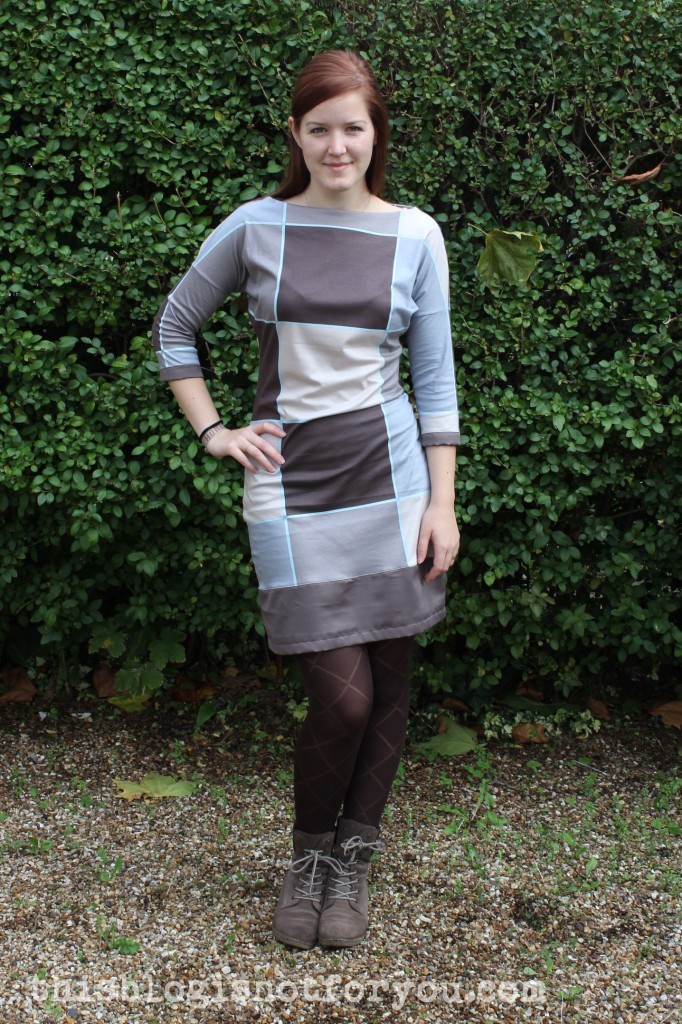
 Hi everyone! May I present? Madame Coco in all her glory.
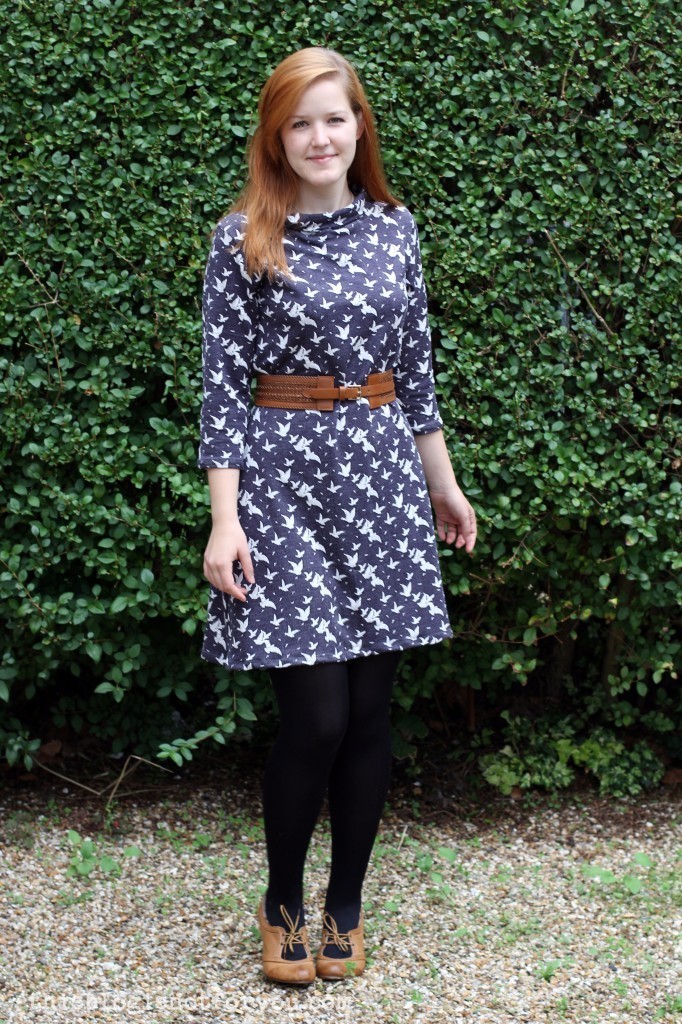 The fabric: I bought this soft and cuddly knit fabric on Walthamstow Market for £1.50/m. If you read and follow
 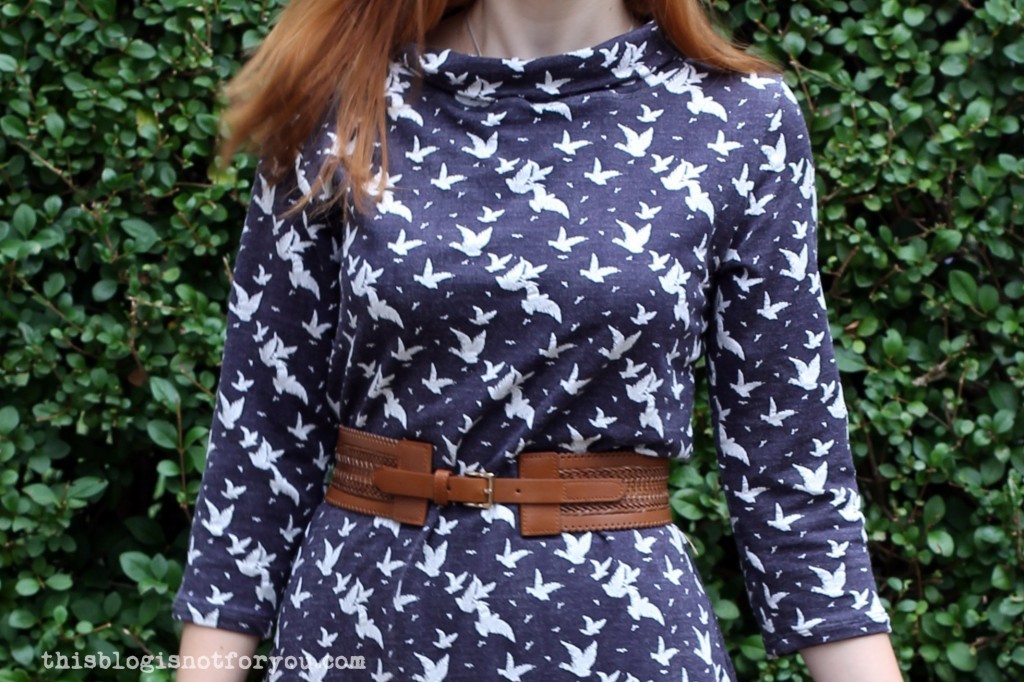 The fit: For some reason I do have fit issues with Tilly & the Button patterns, they often turn out to be too small. This time the Coco ended up being a bit on the wider side, which is probably due to my fabric choice. I chose a fabric with a lot of stretch which is probably why it is a bit too loose. Apart from that the fit is quite good.
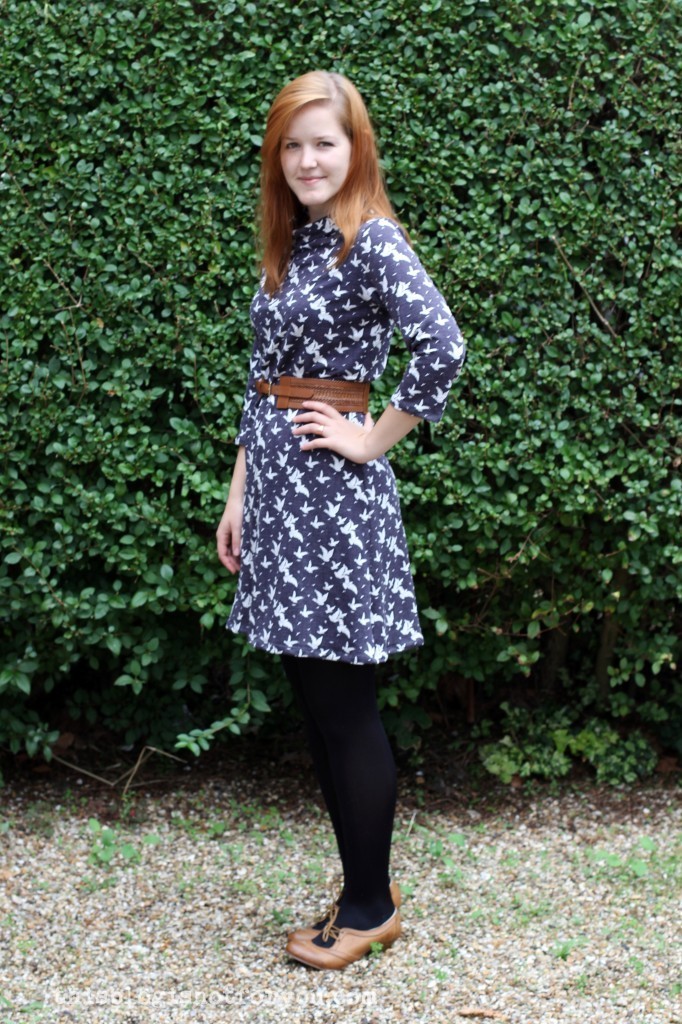 Lately, I have been sewing like a mad woman and I can’t seem to stop. I just got new patterns, new fabrics, hundreds of project ideas and a day off today. I don’t know where to start, my head is at risk of exploding. Sometimes I wish I could work on 5 projects at the same time.
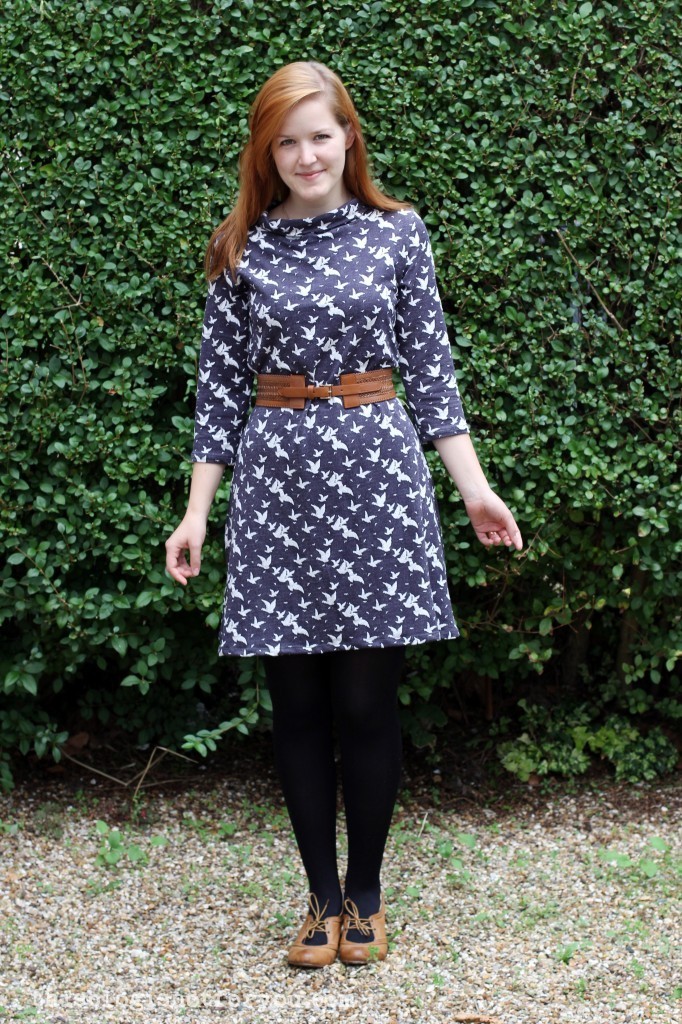

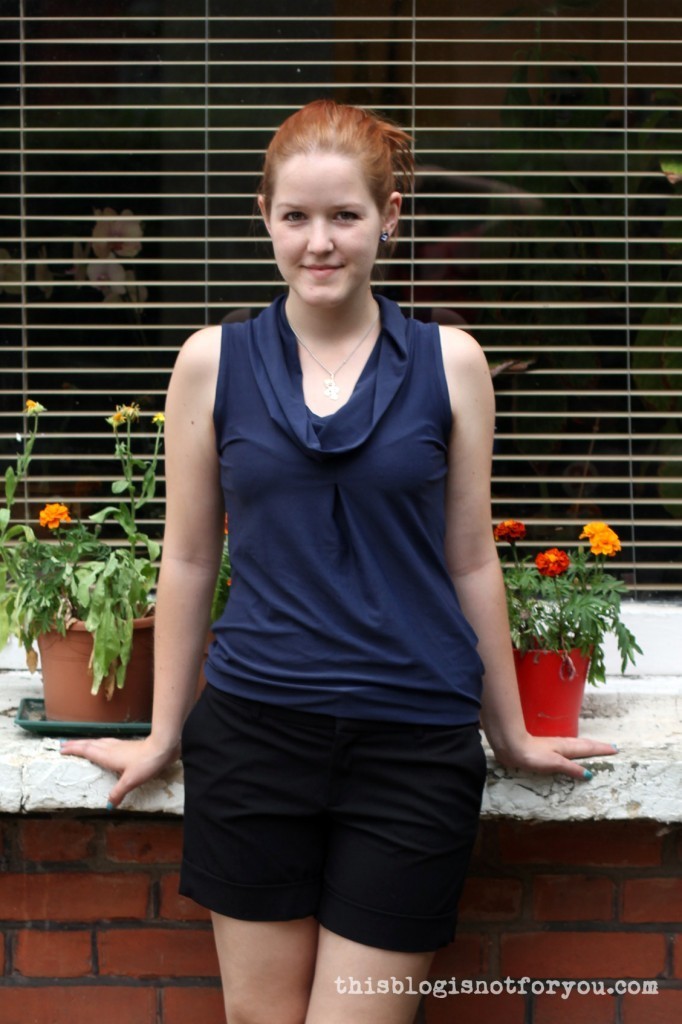
 I used navy blue Lycra jersey fabric (which almost looks a bit like lightweight bathing suit fabric) and used the wrong side, so that the slightly shiny side is on the inside. This way around it almost has a cooling effect and is super comfy to wear in this hot weather we have at the moment.
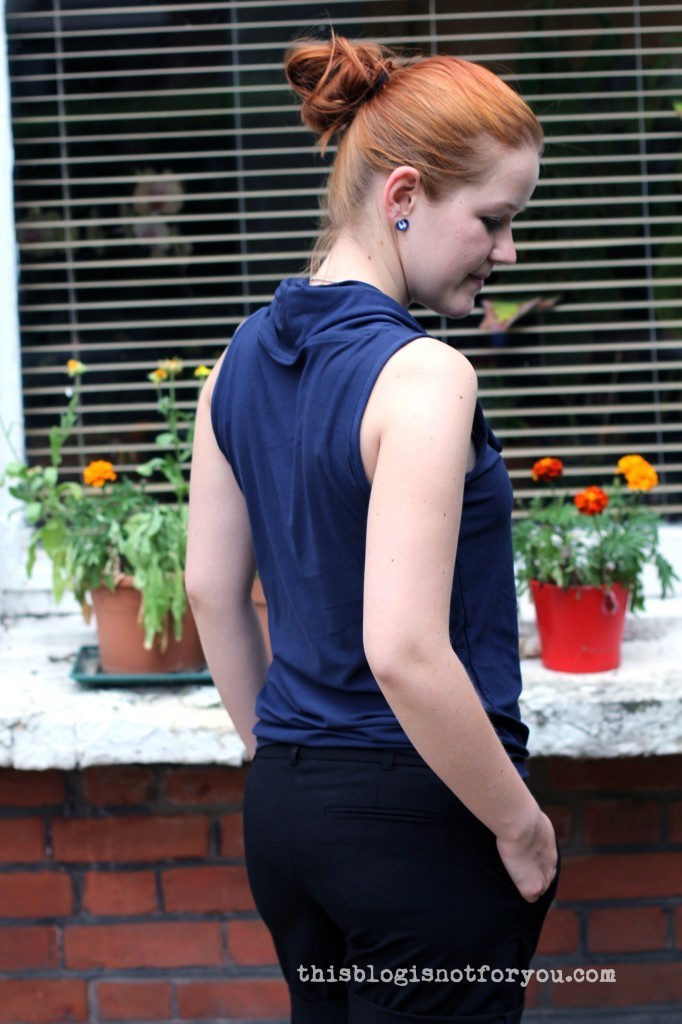
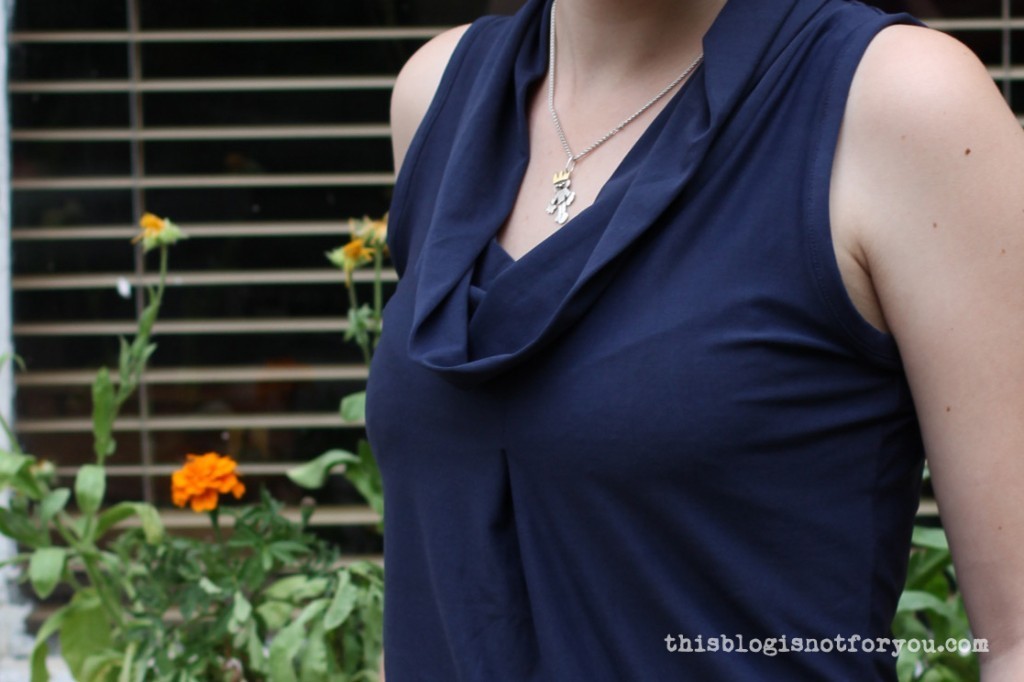
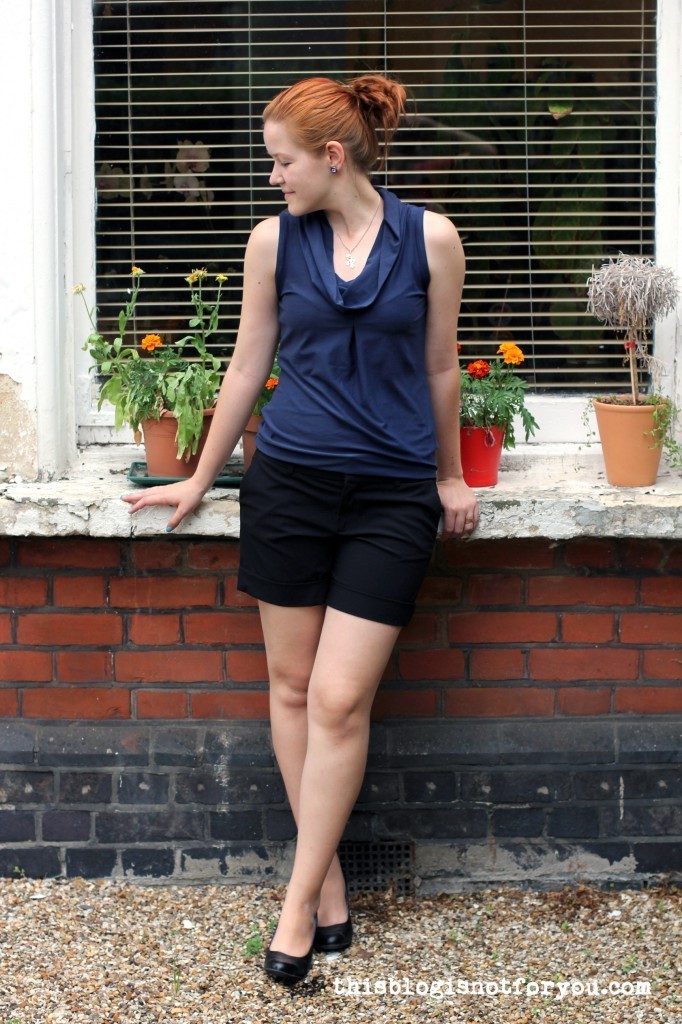 I love the result and was almost a bit sad that it wasn’t for me. Luckily, I have loads of the fabric left and am already dreaming about making a navy cowl neck dress.
 So before starting on the actual dress, I did a five minute refashion on this old shirt.
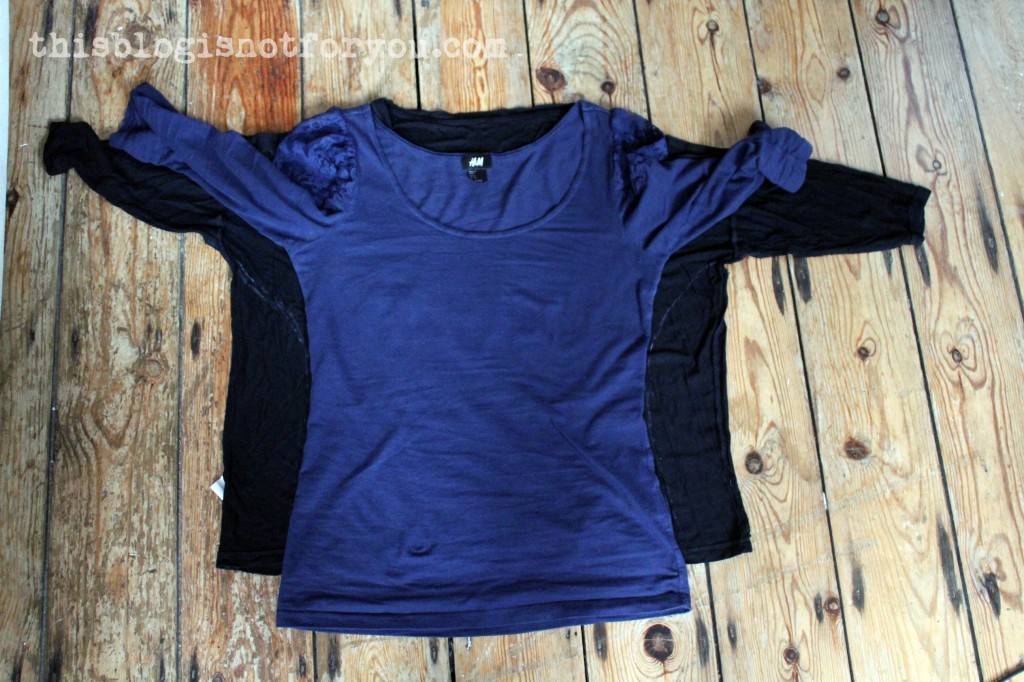 I took another shirt that fits me well and used it to mark the lines of the side seams with chalk, keeping the batwing sleeves.
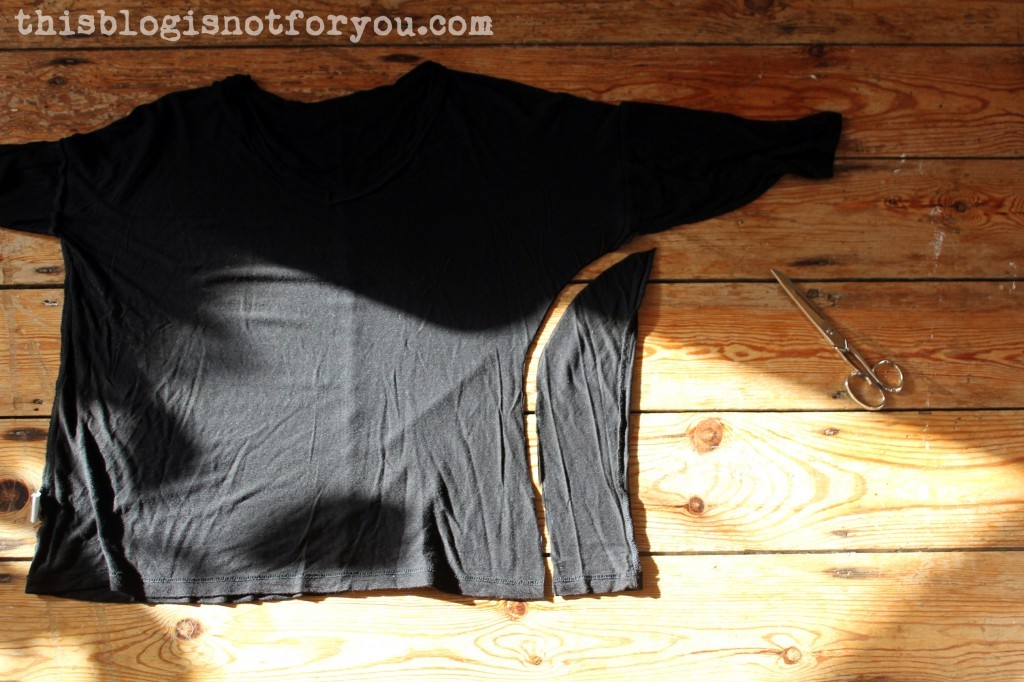 I cut only one side and used the chopped off piece as a template for the other side.
 Chop, chop! I sewed the side seams and ….done!
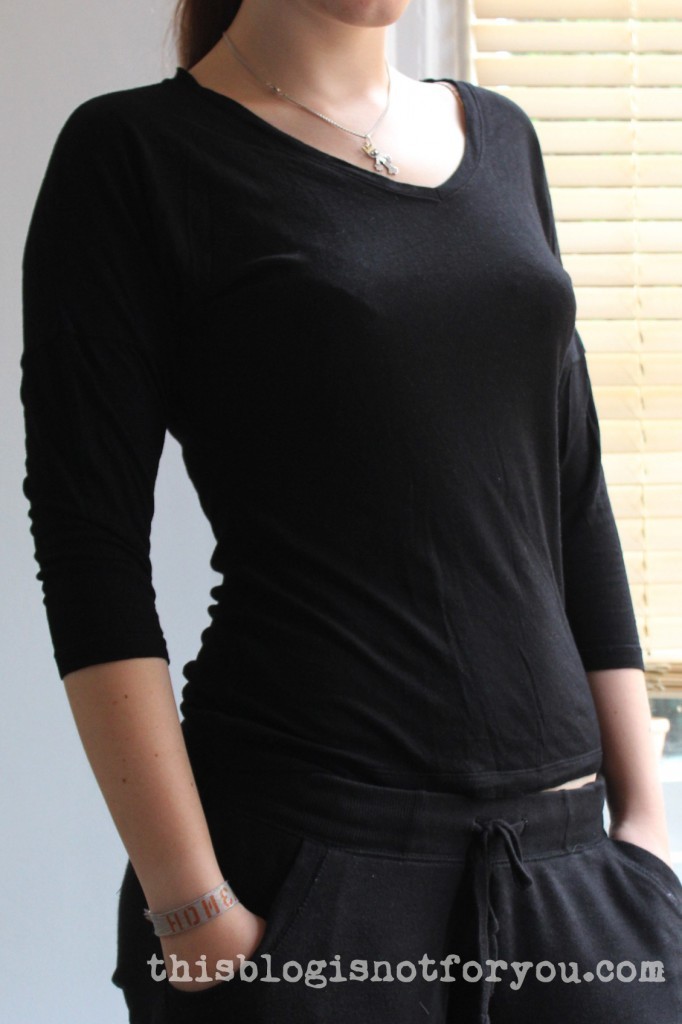 Much better, don’t you think?
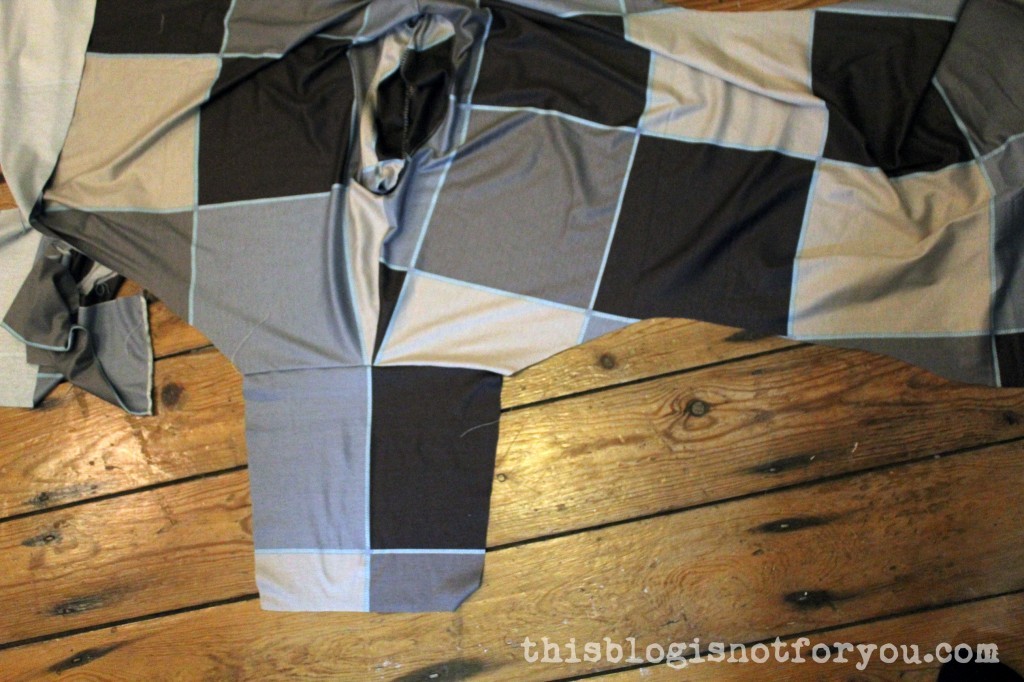
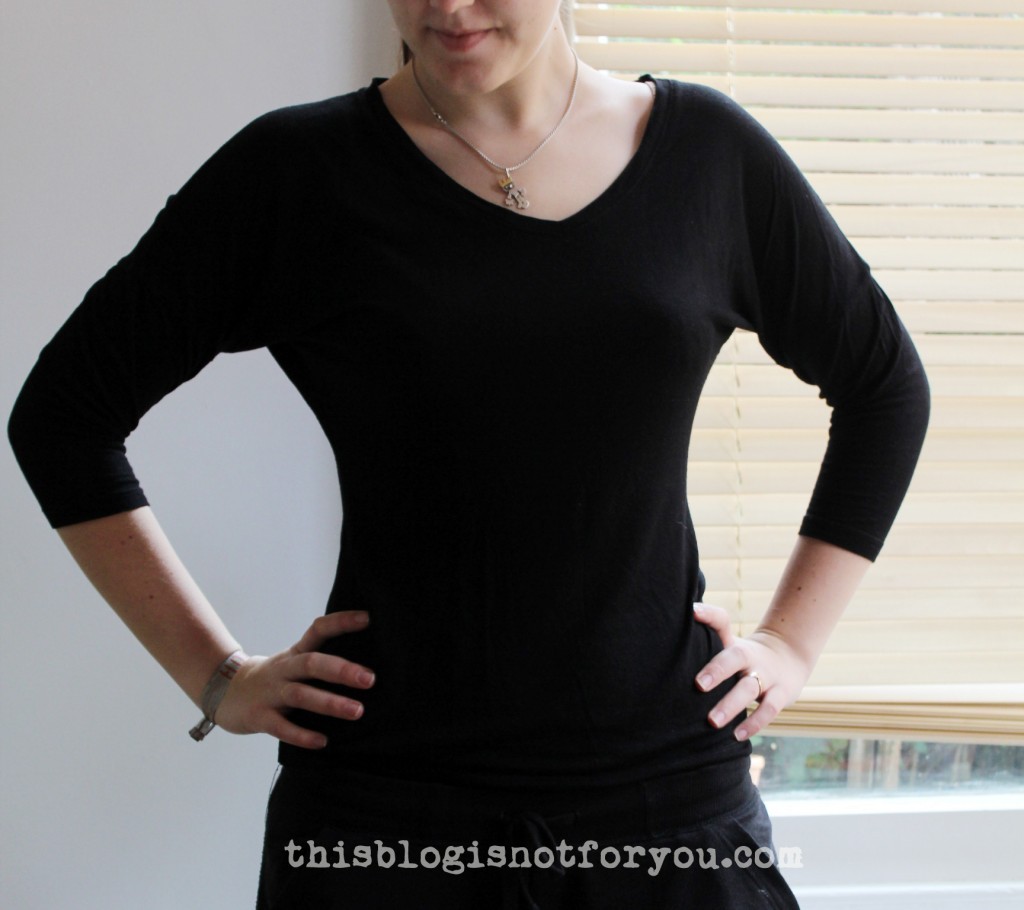 I placed the shirt on top of my spread out fabric and basically just cut around it. The sleeves were in two pieces, the shoulder seam ends somewhere mid upper arm.
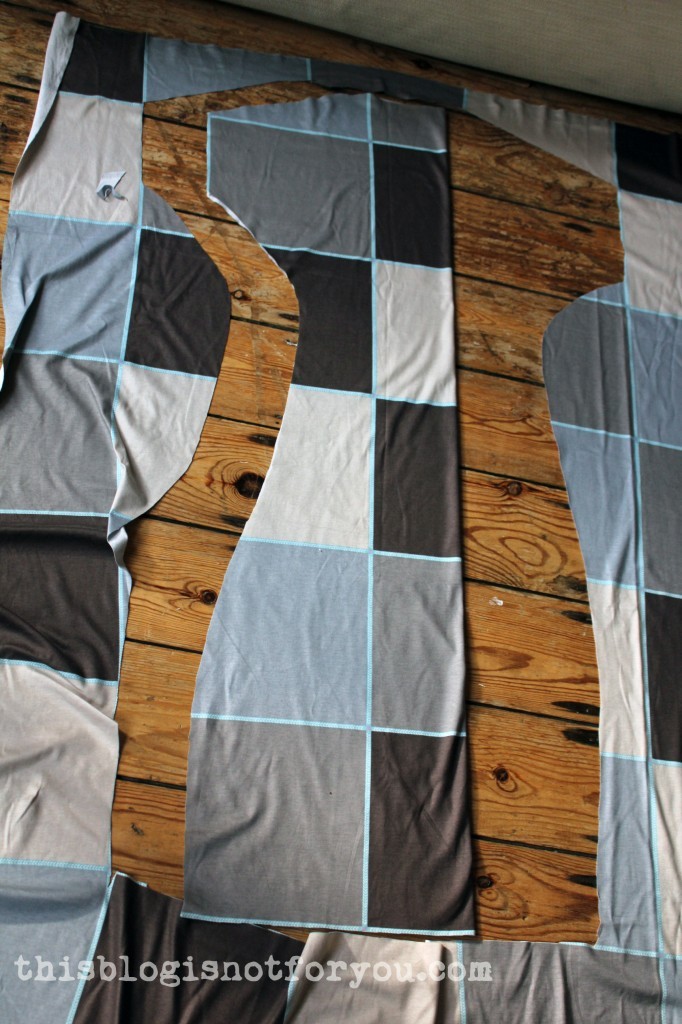 I folded the cut out front panel in half to make sure everything was symmetrical.
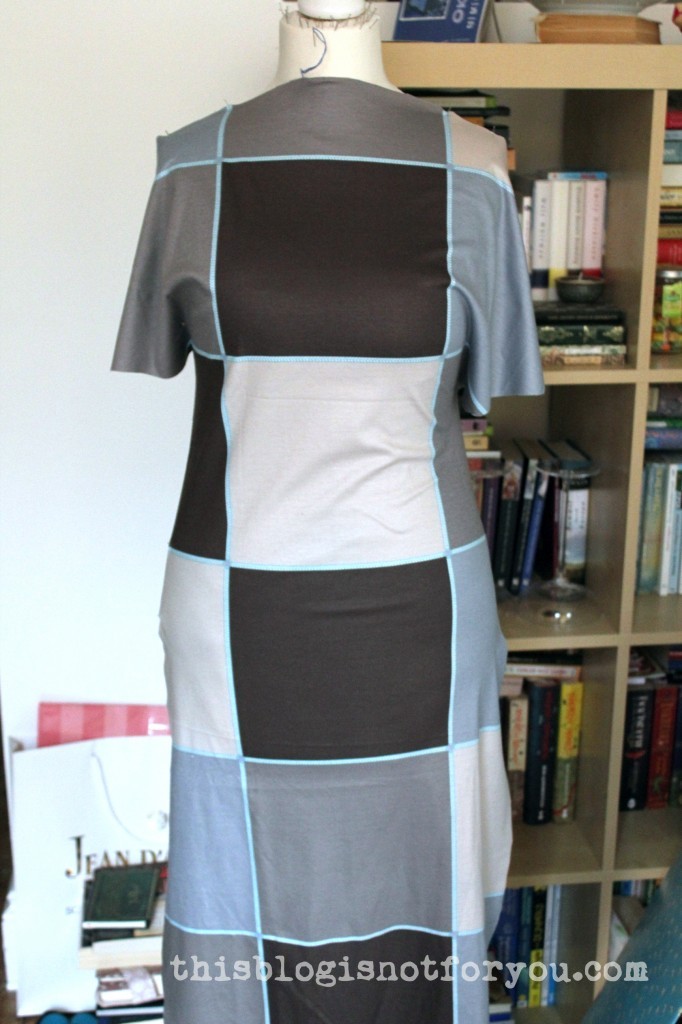 Pinned onto the dressform to figure out the neckline. Chop, chop!
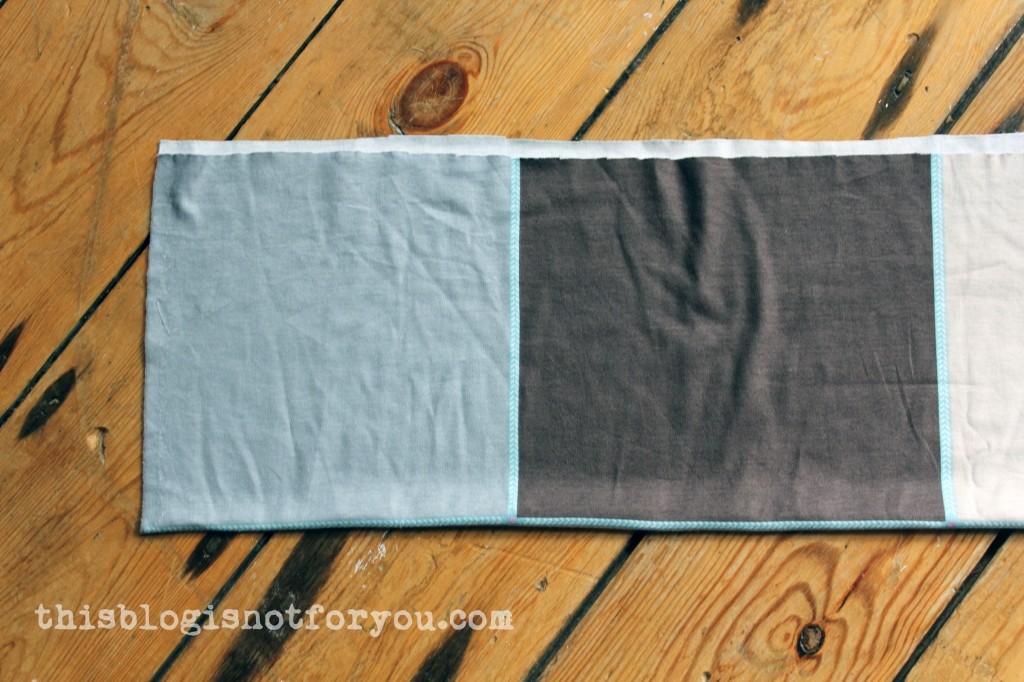 For the sleeves I used two rectangular pieces and cut on fold using the shirt’s sleeves as template.
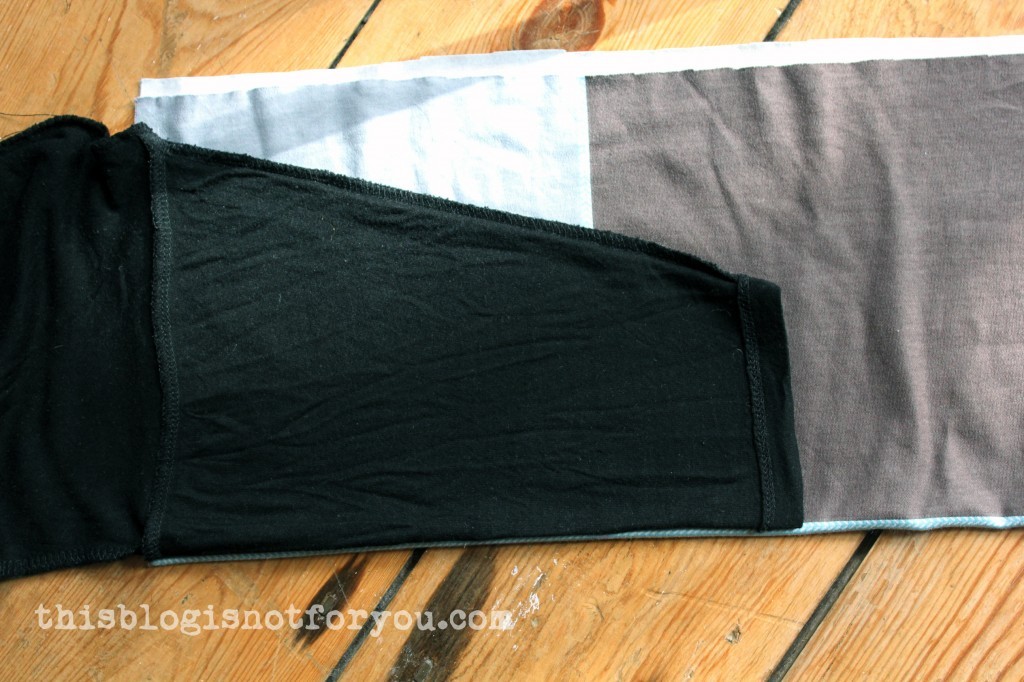 After figuring out and cutting the neckline, I cut out and sewed the facing for the neckline.
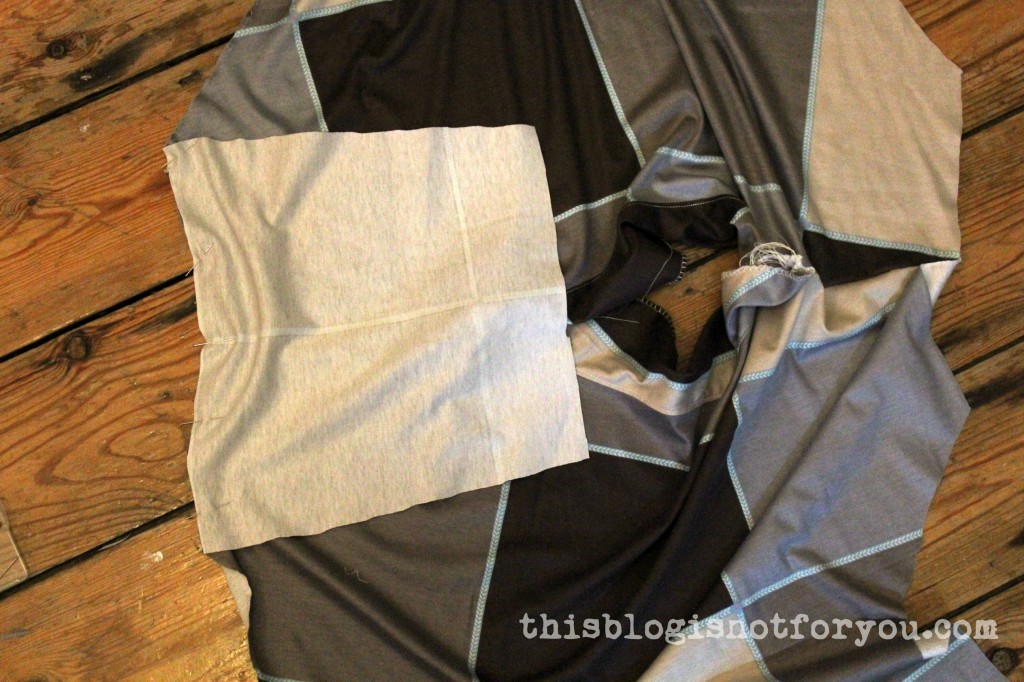
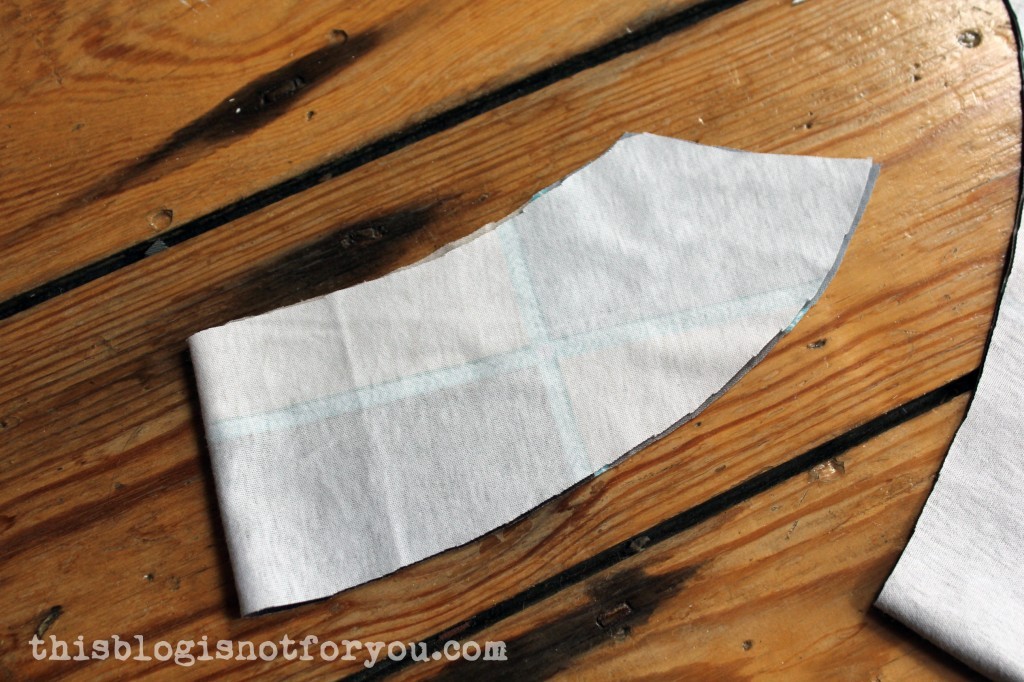
 Next, sewing the shoulder seams together. Then sewing the neckline facing onto the dress.
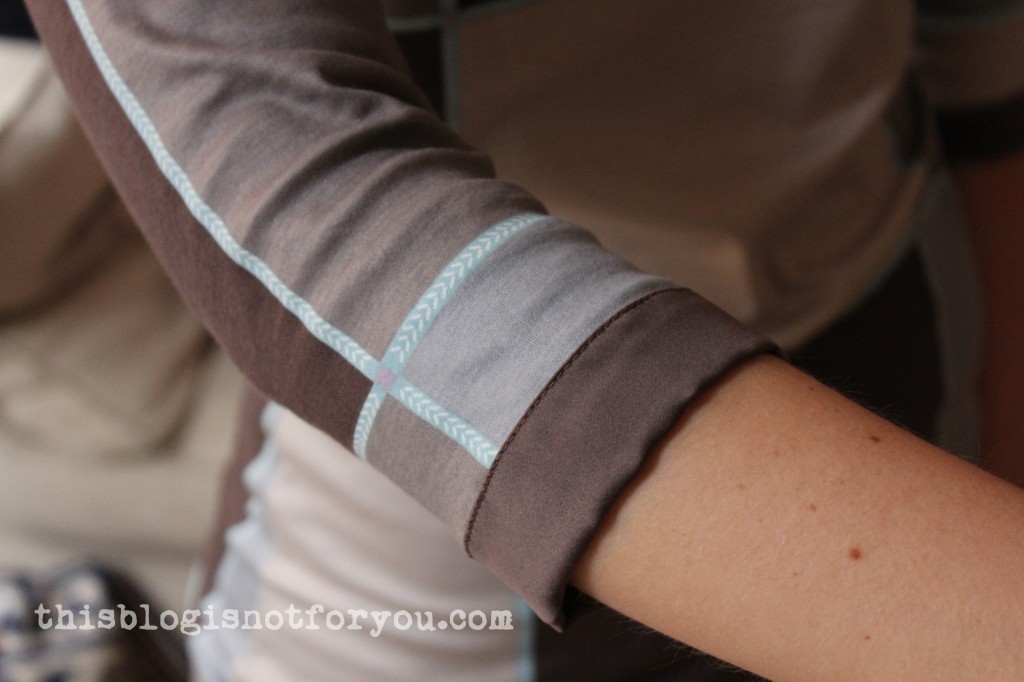
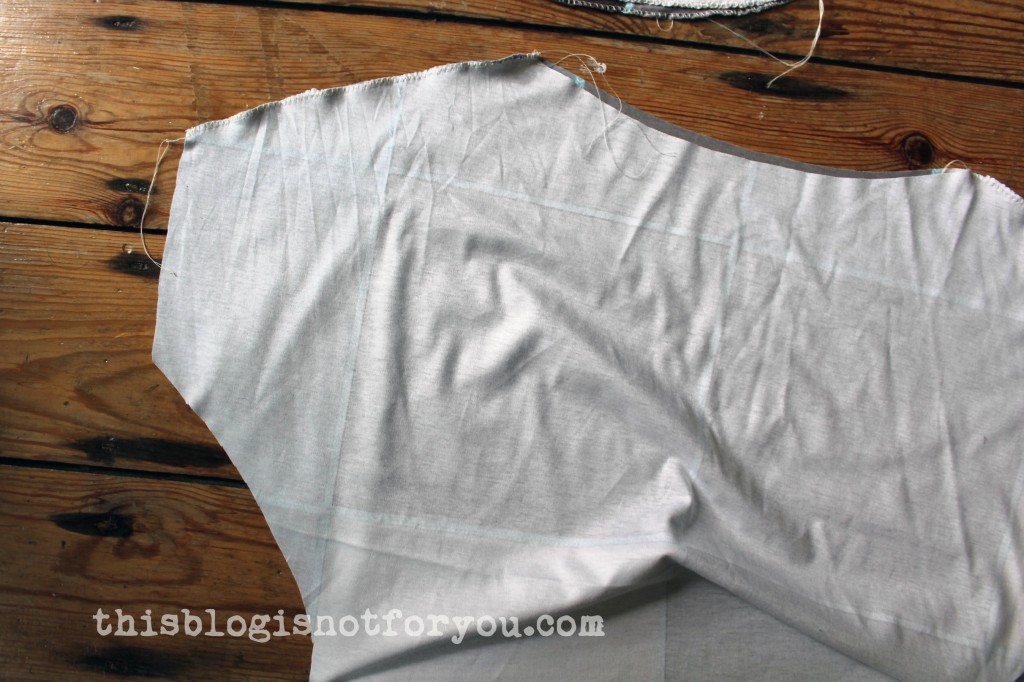 Adding the sleeves (this version still had the full-length sleeves, but I decided to shorten them during the process).
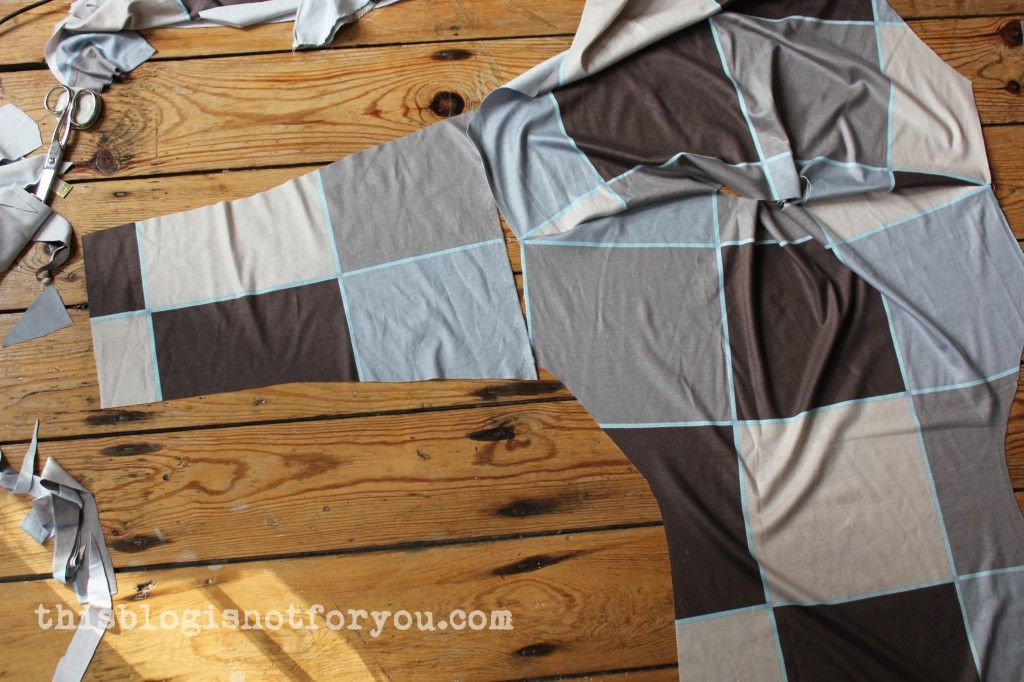
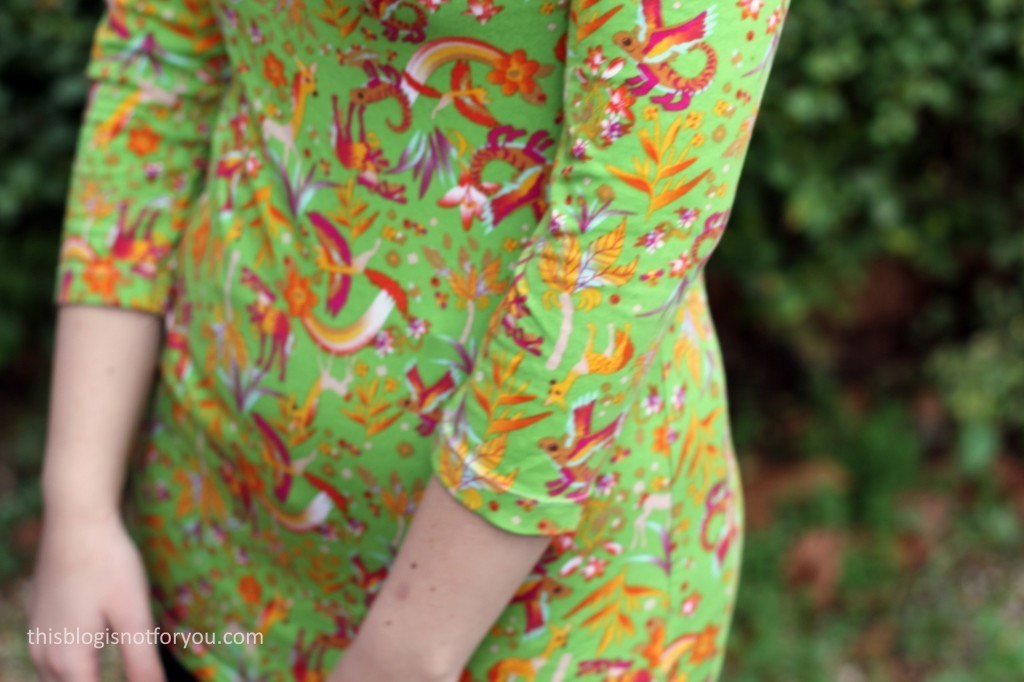
 Here the (final) version with shorter sleeves. Next, sewing the side seams – one long seam starting at the sleeves all the way down to the hem of the dress (no setting in of sleeves – yay!).
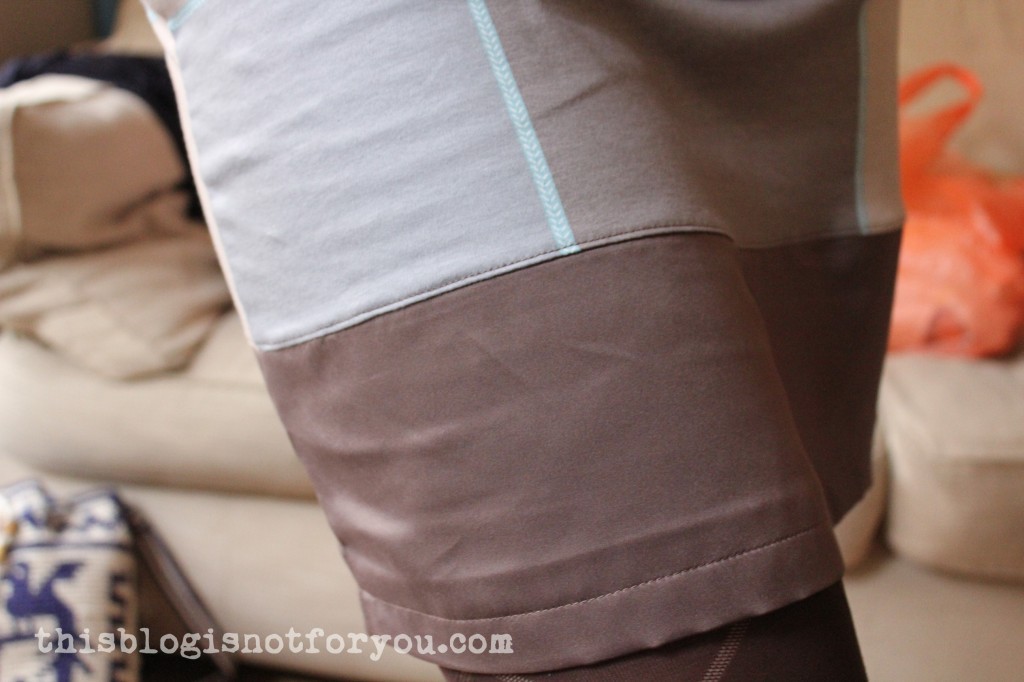

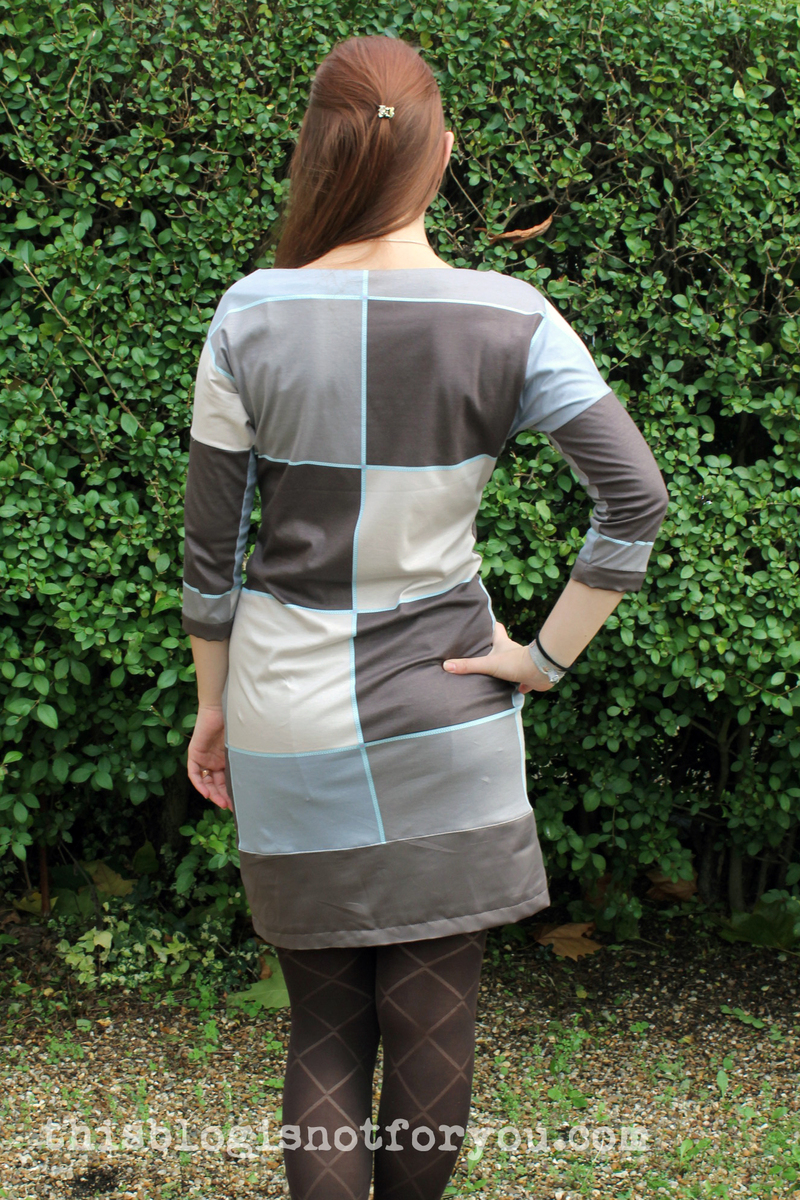
 I wore the dress twice already, once on the plane while flying to Berlin last weekend. It’s super comfy and I can see it becoming one of my favourite dresses.