
MERRY SEWING EVERYONE!
Hello sewing-friends! Hope you’re having a great festive season!
My mum-in-law gave me a handmade (!) sewing (!) advent calender, which is absolutely awesome! Every day I get a new suprise sewing supply, notions or fat quarters of beautiful fabrics. It’s the best gift ever! Too bad it ends on the 24th – it really could go on for ever. It never was so easy to get out of bed in the morning!
But that’s not the only reason why December rocks. Not only do I love getting together with my family so very soon, I am starting a new job in January and until then I’ve got a couple more weeks off. And you know what that means. I am in a total sewing frenzy. I am almost done with finishing handmade Christmas presents, so the selfish sewing IS ON!
This sounds really bad, but it makes me very happy.
I’ve made more garments than I can blog. Maybe I can get around to posting them during the holidays, but I also might be very distracted by Plätzchen and mulled wine and will probably completely forget about it.
Aaaanyway, back to the actual reason why you’re reading this post: I finally gave in and jumped on the Agnes-train, just like all of the other sewing bloggers out there. I don’t know why I hesitated so long. I guess, because the pattern is so very basic and therefore quite expensive. But I don’t mind supporting independent pattern businesses and by now I’ve made 5 different Agnes’ – so the pattern is definitely worth buying!
I often underestimate basic patterns, but when I finally buy them, they often are mind-blowingly good! Basic patterns are easy to sew, to adapt and very time-efficient. Best example is Agnes (or Ultimate Pencil Skirt, Coco, Lottie Blouse etc.): I’ve made five different versions and not two are the same.
THE PATTERN & FIT
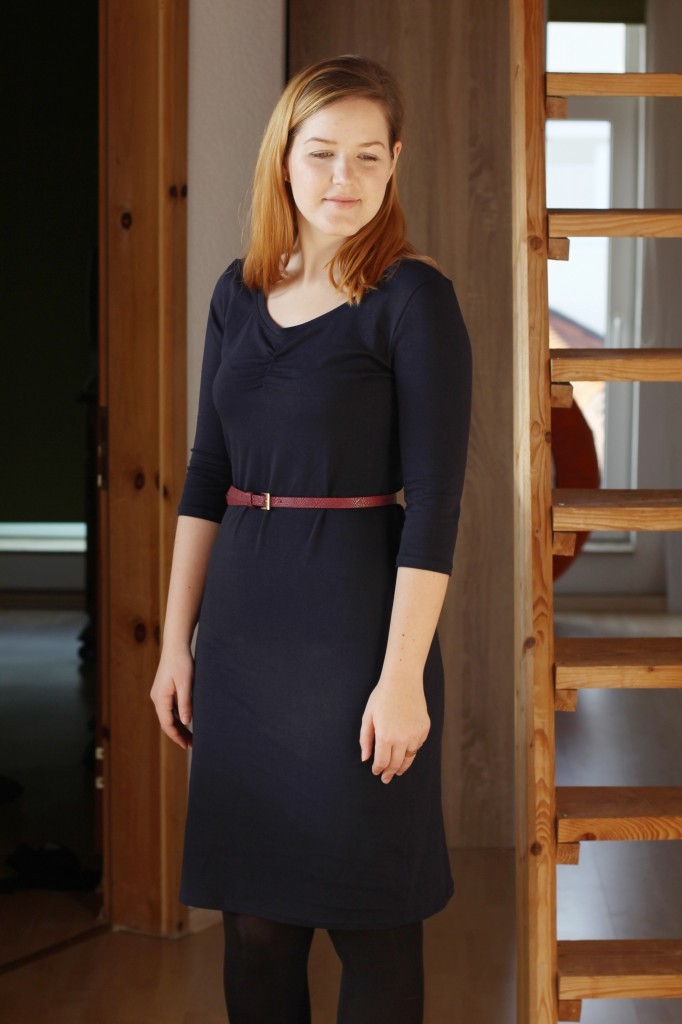
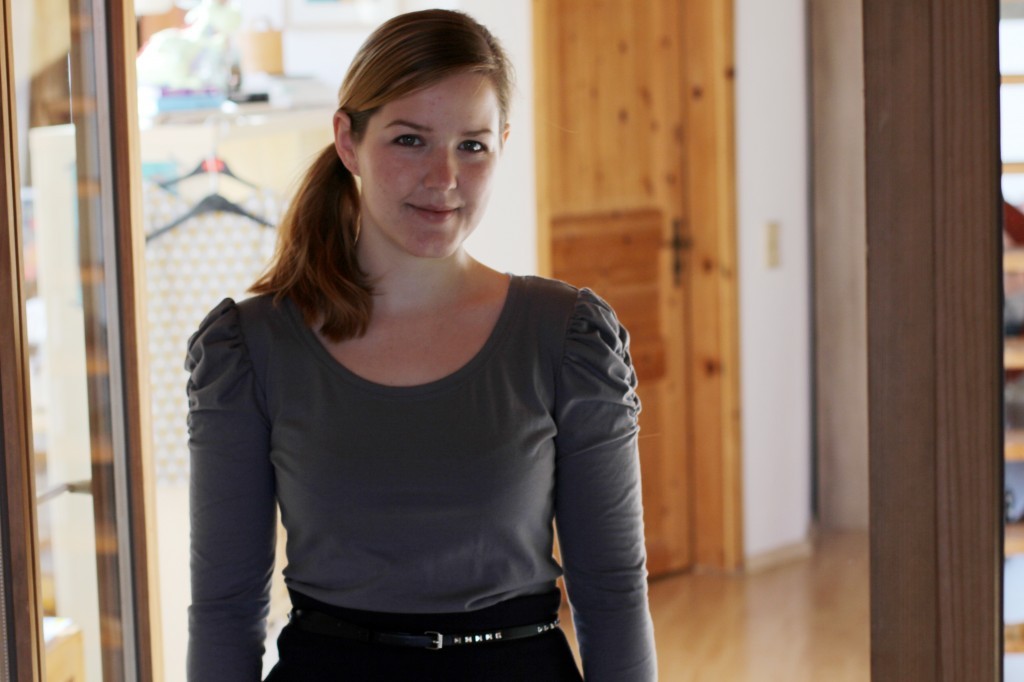
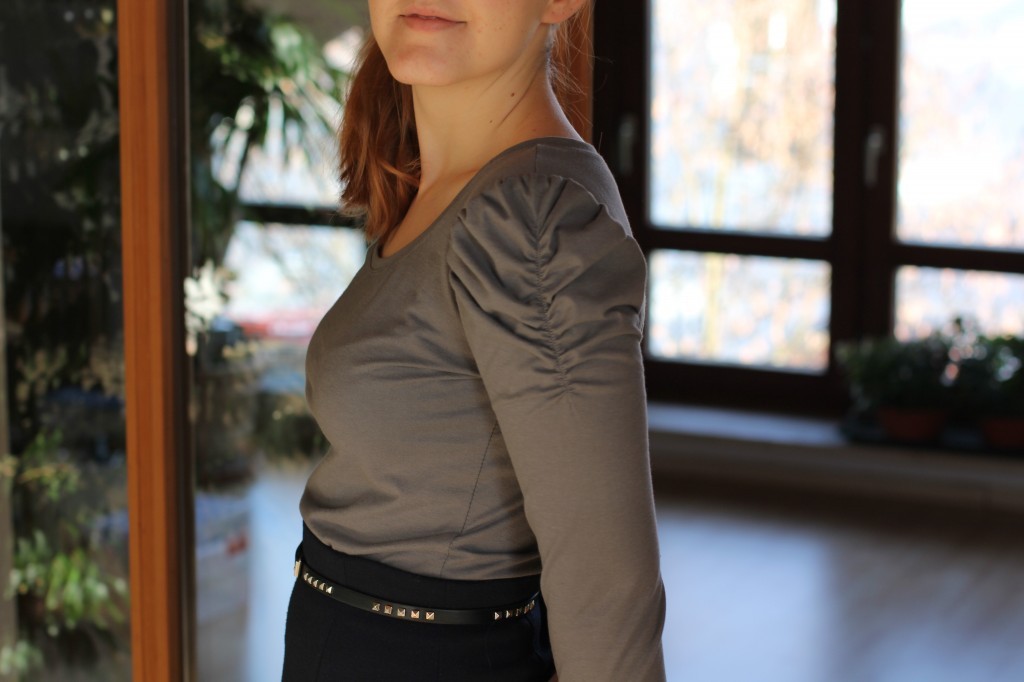
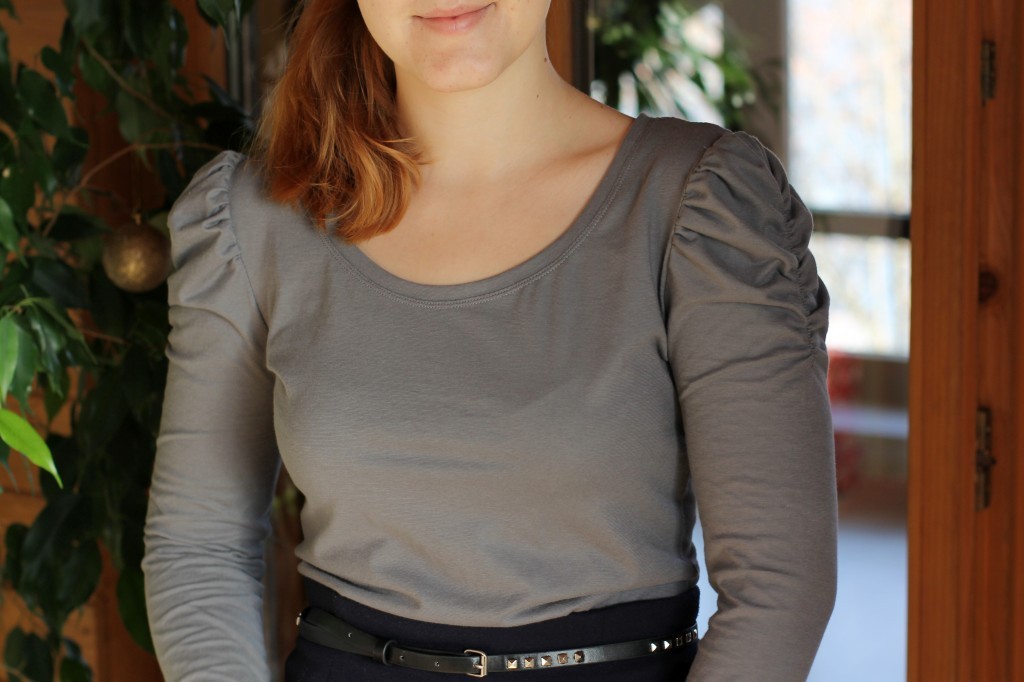
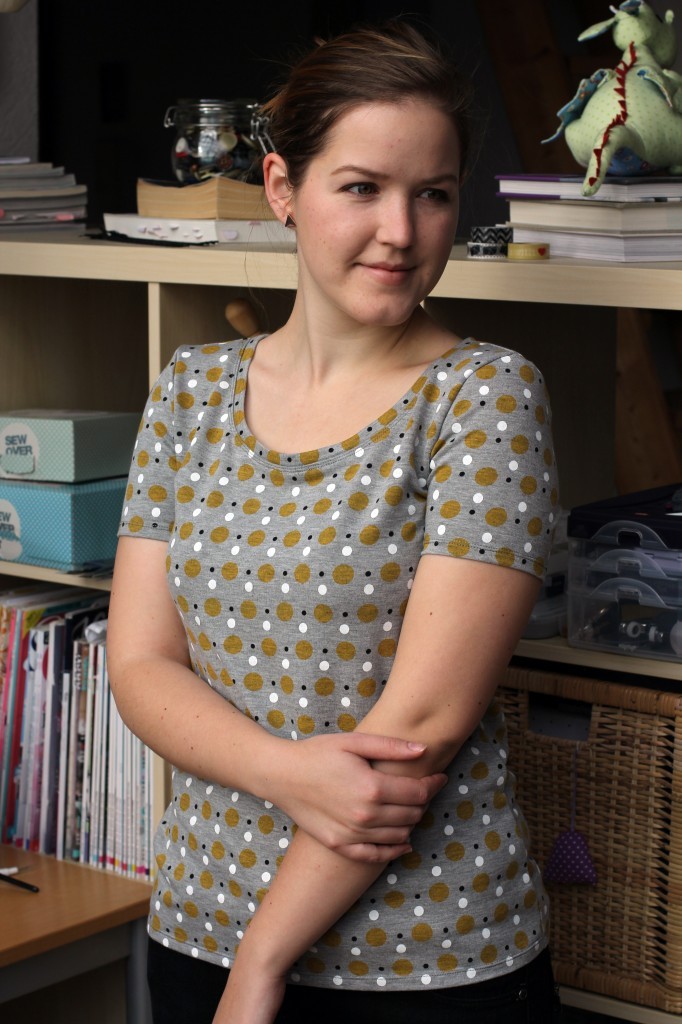
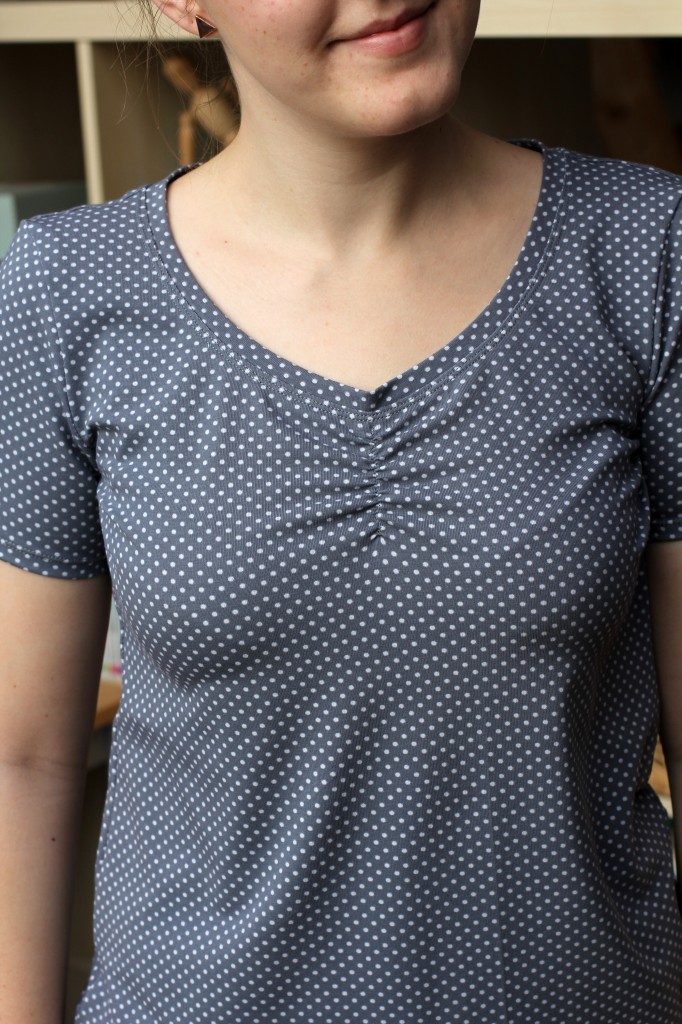
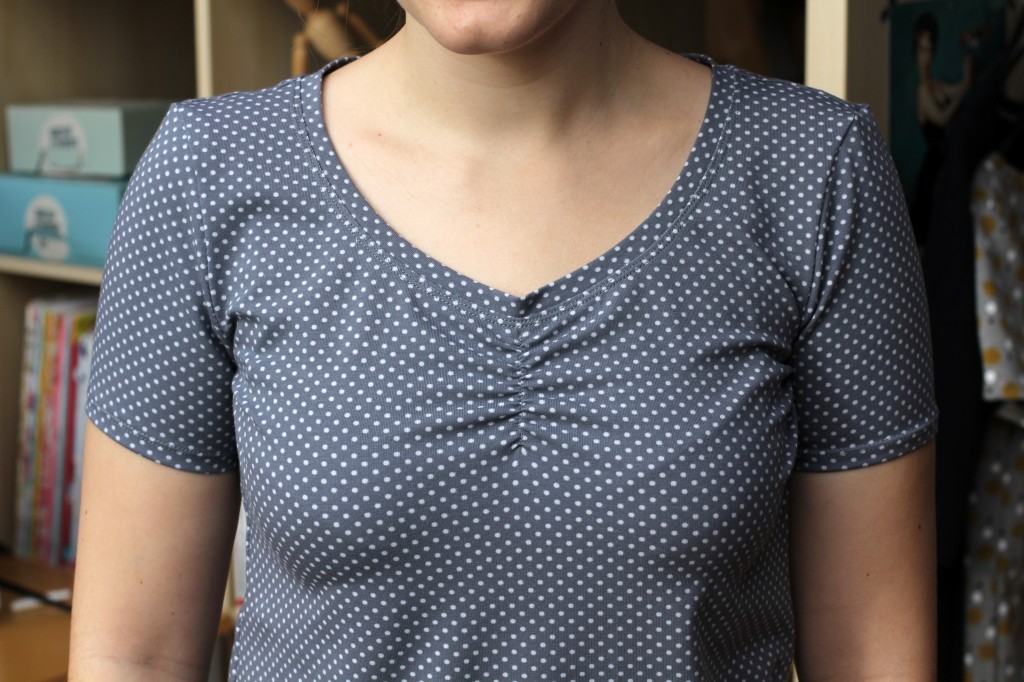
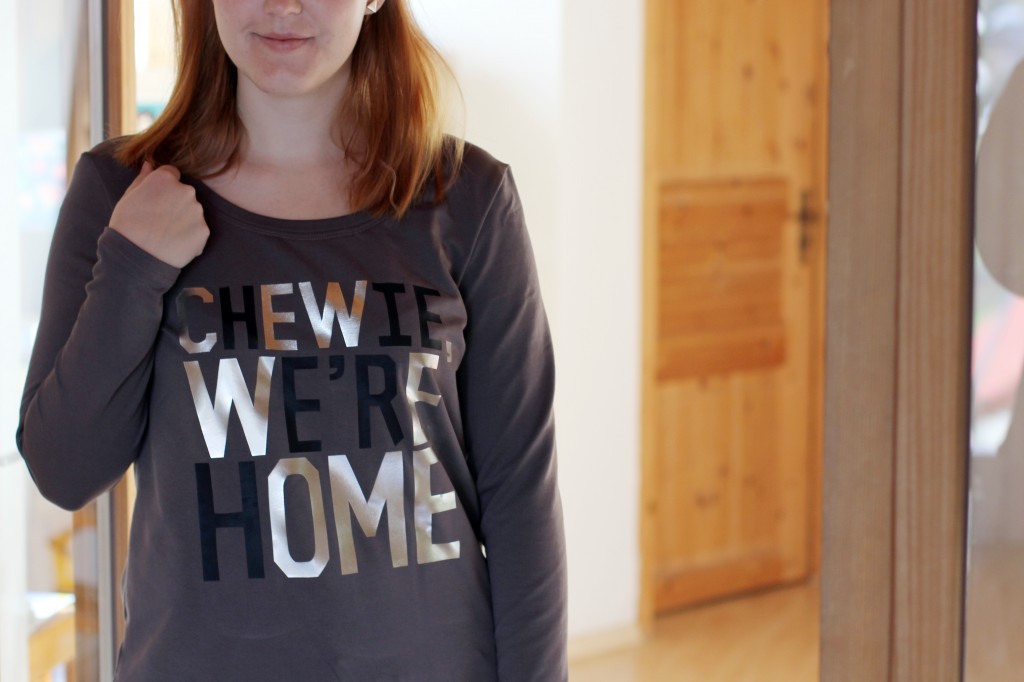
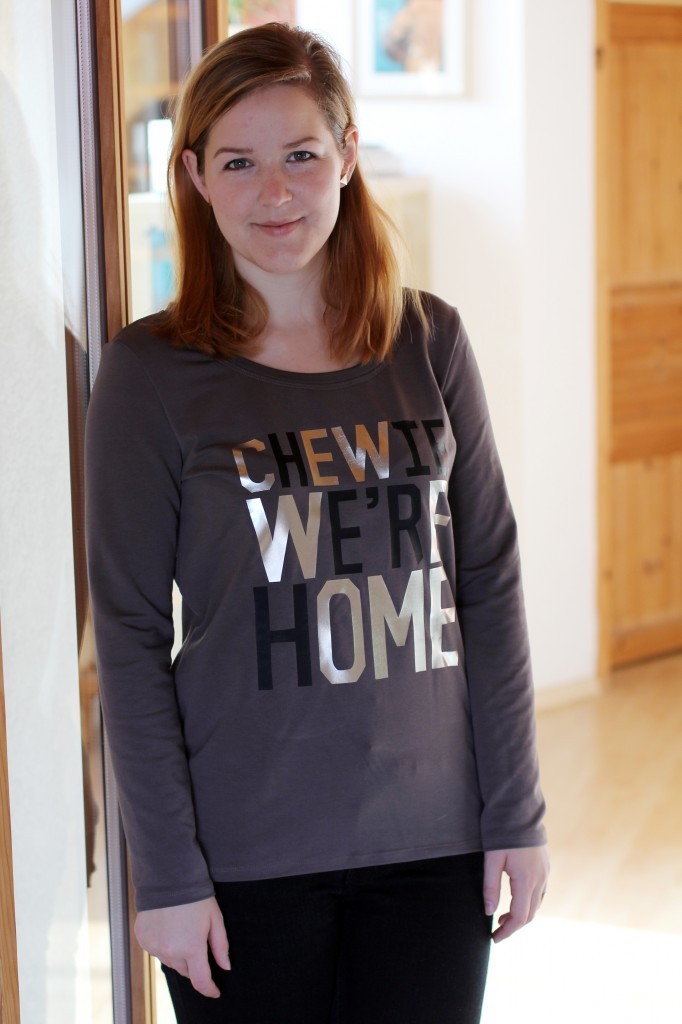
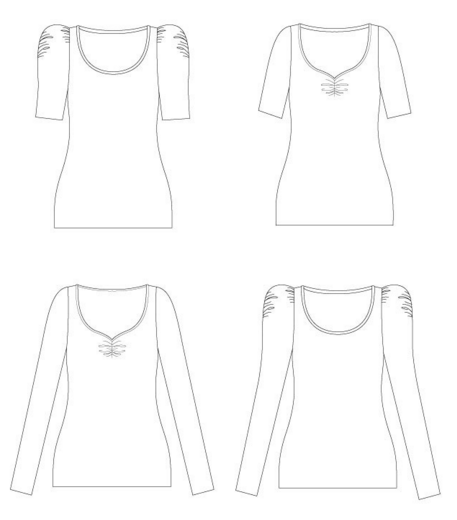
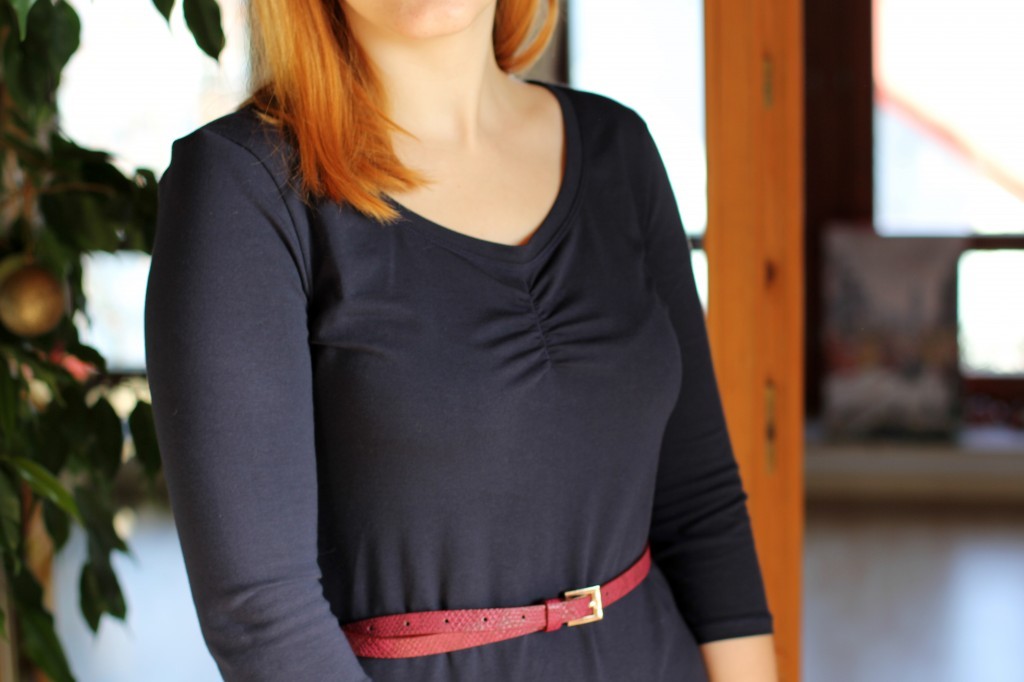
The pattern is the Agnes Top by TILLY AND THE BUTTONS (courtesy of WeaverDee.com). I made the long-sleeved version with a ruching detail on the puff sleeves.
This is the very first one I made, more or less a muslin, but a very wearable one. I had some fitting issues with Tilly’s patterns in the past, so I decided to make one from inexpensive fabric remnants before cutting into the good fabric. I think I used less than 1 metre of fabric.
I knew from reading other blogs, that the pattern runs quite small. According to the envelope it has quite a bit of negative wearing ease. I didn’t want it to be too tight, so I went with a larger size where the finished garment measurements are the same as my measurements. I cut out a size 4, which astonishingly fits me really well. (According to the pattern I am a size 3: 34in at the bust. Size 4 is 36in at the bust, but the finished garment measurement is 34in. Keep that in mind when deciding about how tight you want your top to fit.) Apart from making the sleeves a tiny bit wider, I did not have to change anything else in the following Agnes’ I made.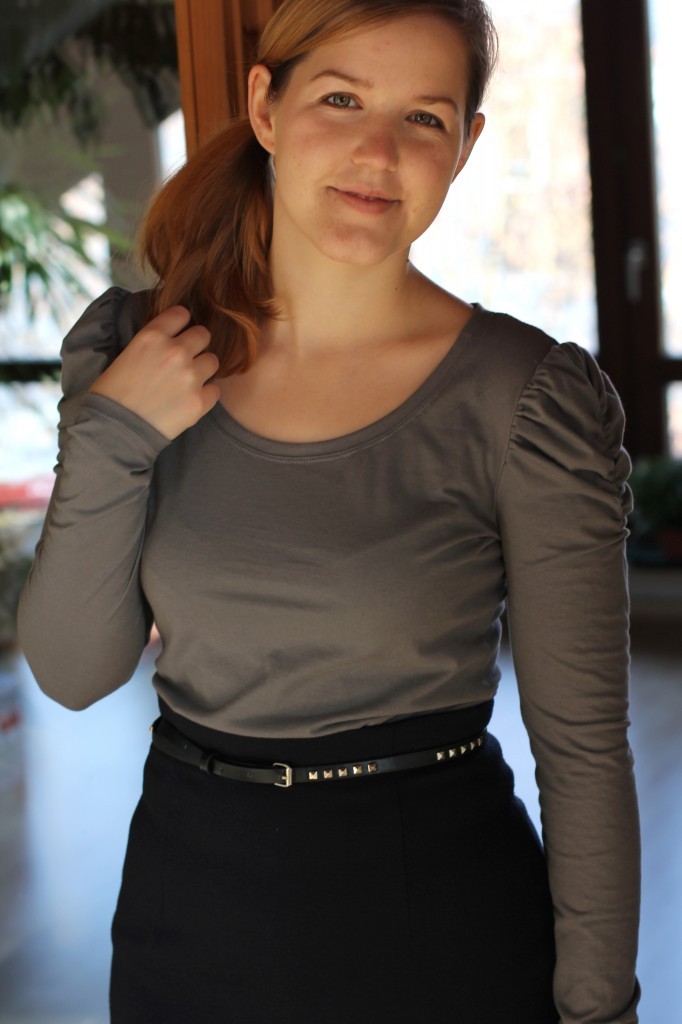
CONSTRUCTION
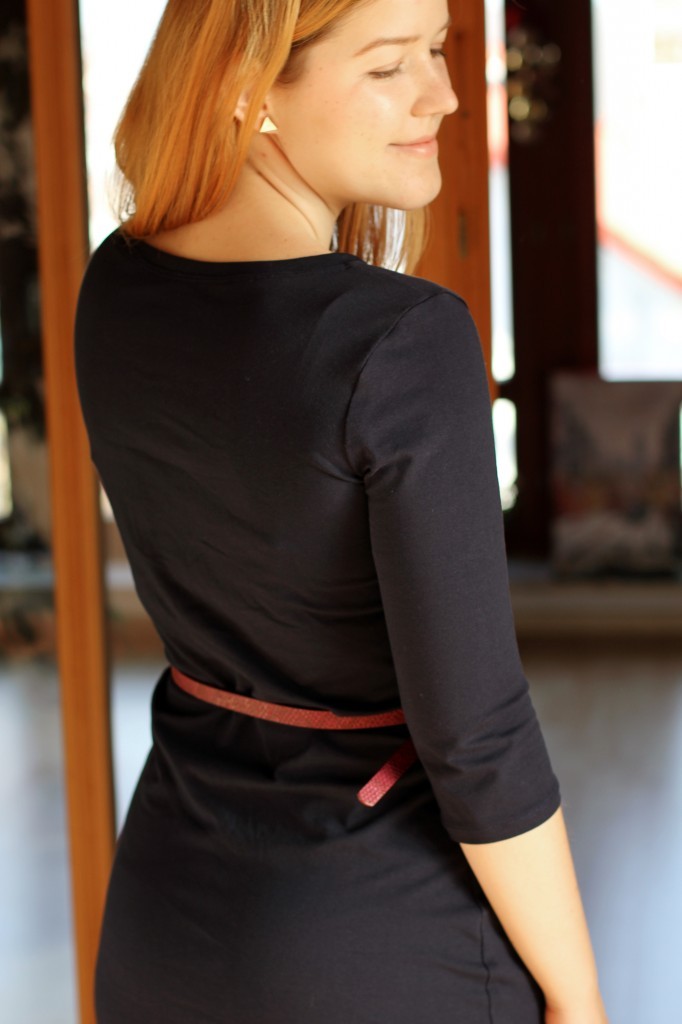
The top is super easy to assemble, no major sewing challenges really. If you are new to sewing, the neckband might be the trickiest bit. For me that was my biggest worry, but it turned out quite well on the first try. For the later versions I shortened the neckband pattern by 5mm (so 1cm over the whole length) and now it sits perfectly flat. After making 5 Agnes’ I now consider myself a neckband pro. I never felt so good!
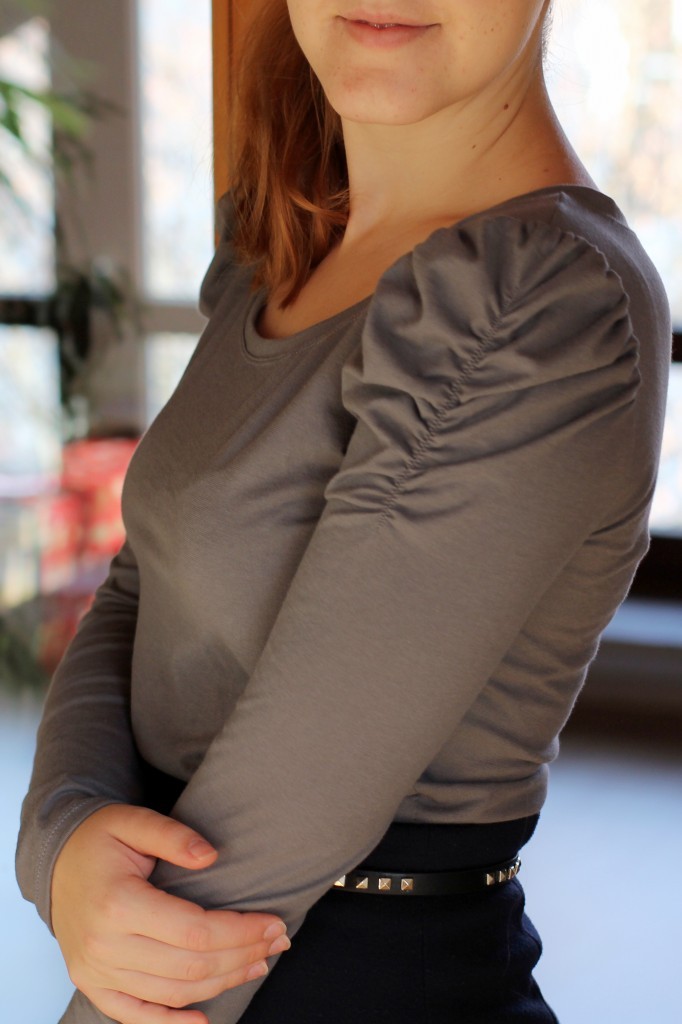
The sleeves are constructed in flat, which is my favourite technique for knit fabrics. It’s just so much faster than a set-in sleeve. The sleeves are ruched by a small piece of elastic, which is stretched while you sew.
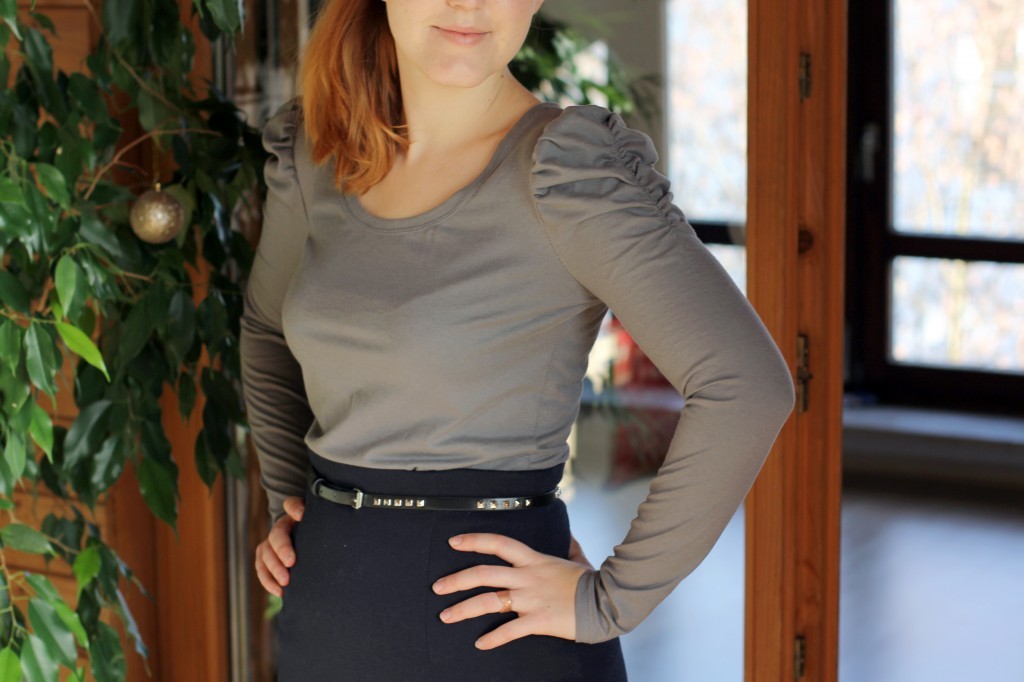
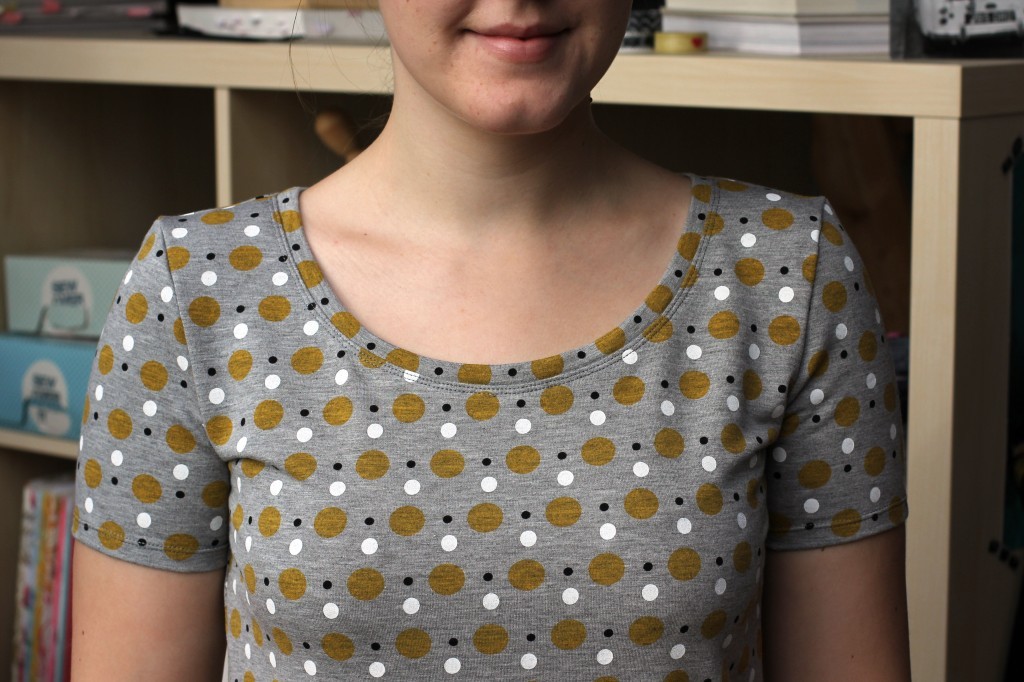
I like a puff or ruched sleeve, but both in one are a bit too much for my taste. It makes my shoulders look quite massive, not quite the romantic look I was aiming for. Unless you consider football romantic. It wil probably look really lovely on a petite figure (someone like Tilly herself) but I will stay away from this look, I think.
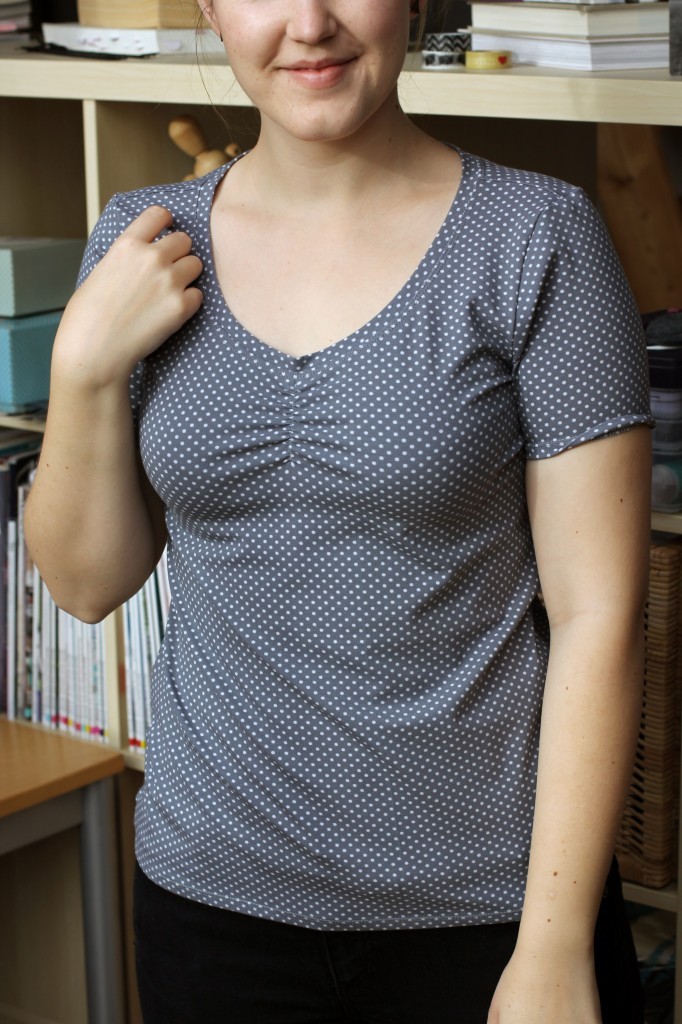
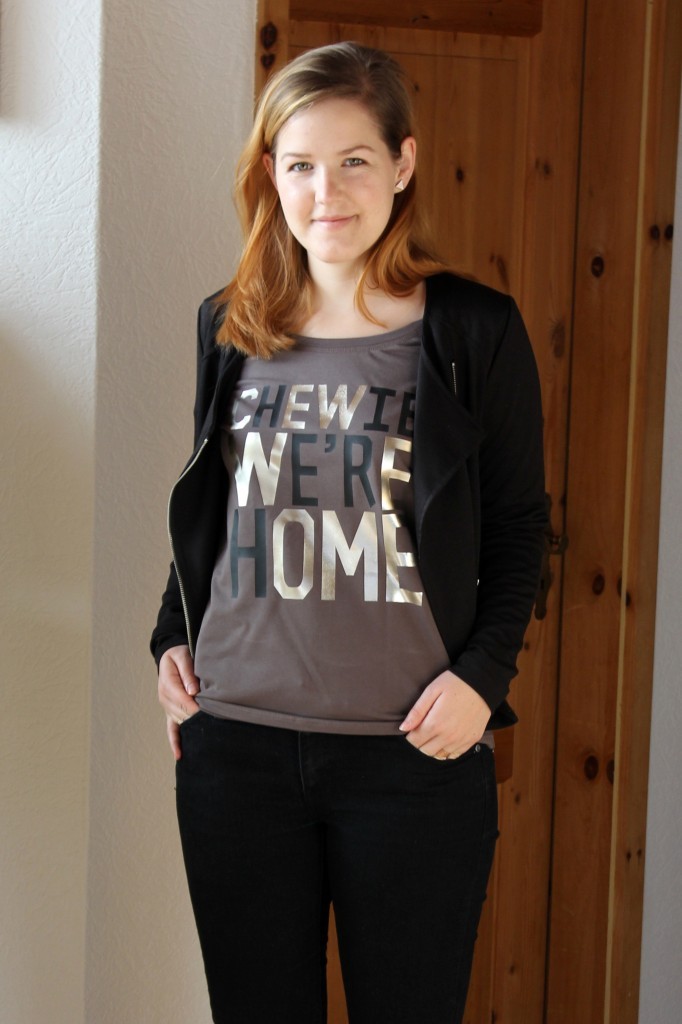
It looks alright with a simple, close-fitting skirt, so it will definitely get some wear now and them. I scrapped the ruched sleeves for all the other versions and I am super happy with those.
Will I make it again? Well I know that I already have! And there sure as hell will be more. Although I love more challenging projects, this pattern is pure instant-gratification! It’s very versatile as well and it doesn’t use up much fabric – perfect stash buster pattern. Overall grade: 9/10.
xx
Charlie
Happy sewing!
♥
facebook/bloglovin/pinterest
twitter/instagram
Stay in touch!

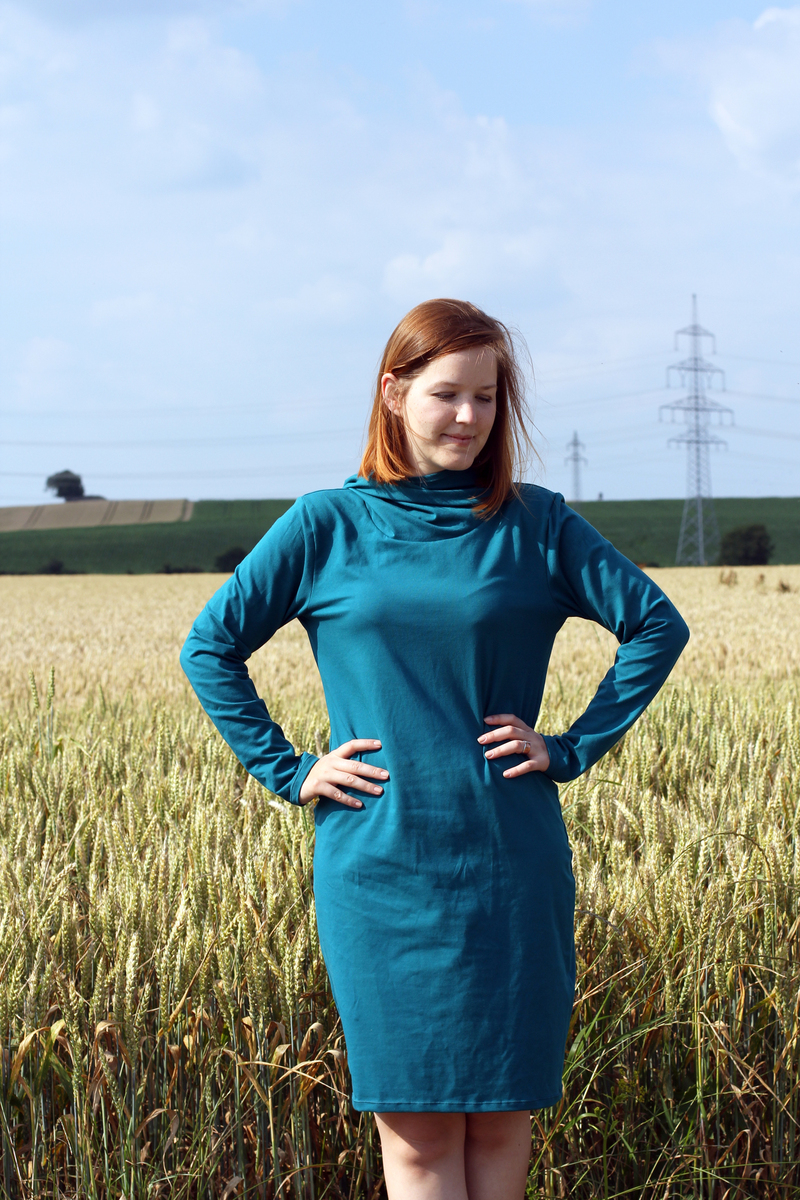
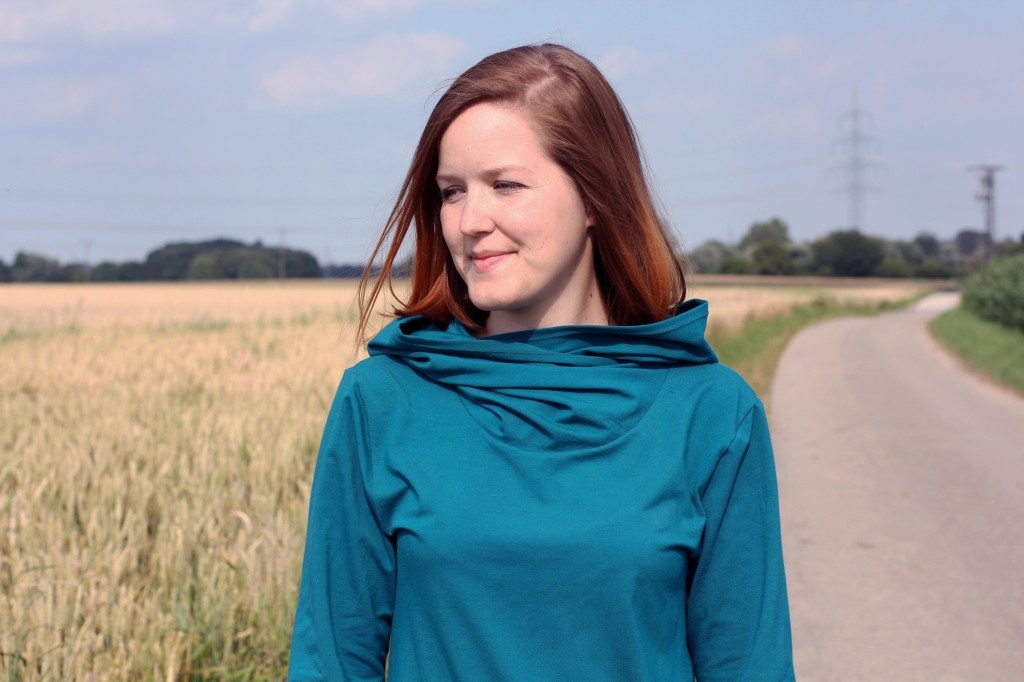


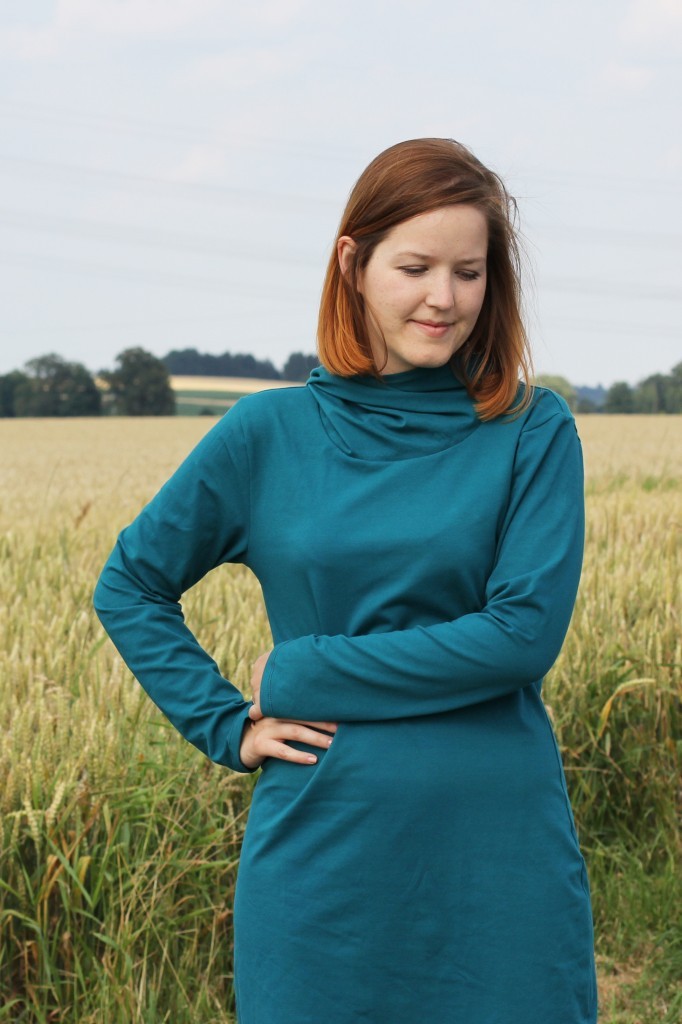
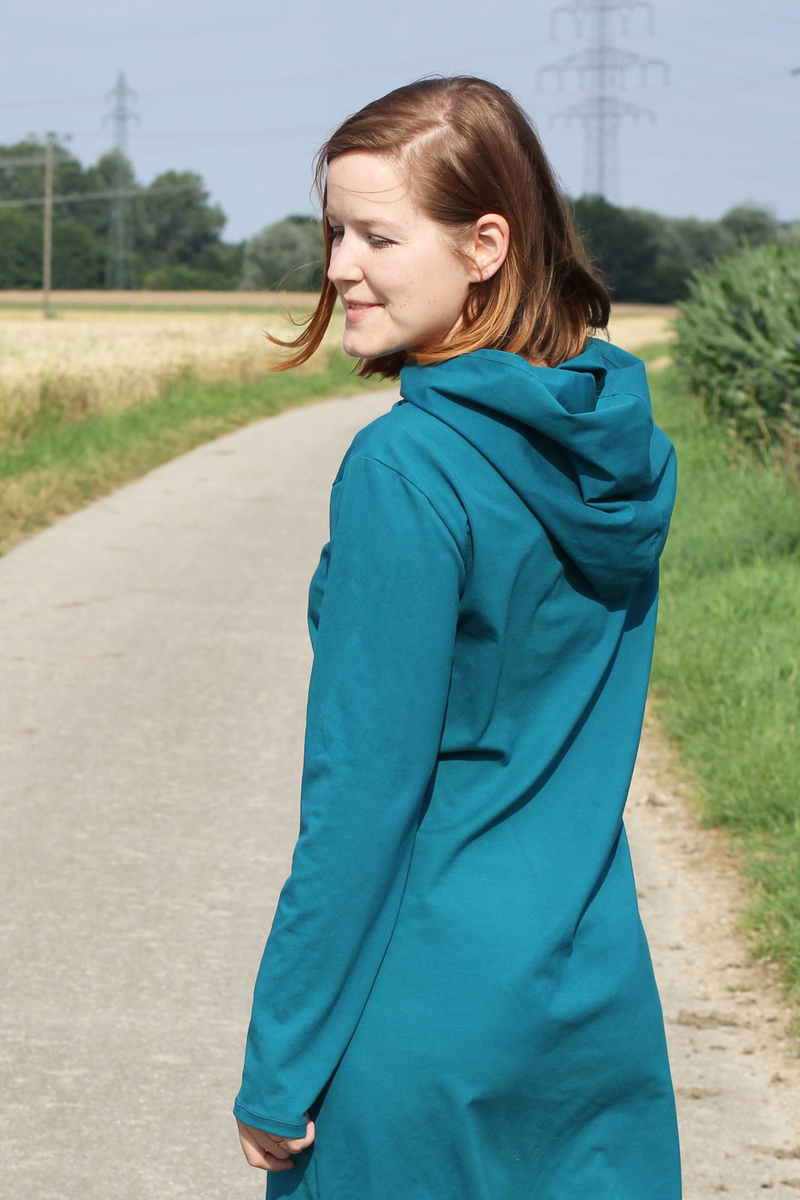


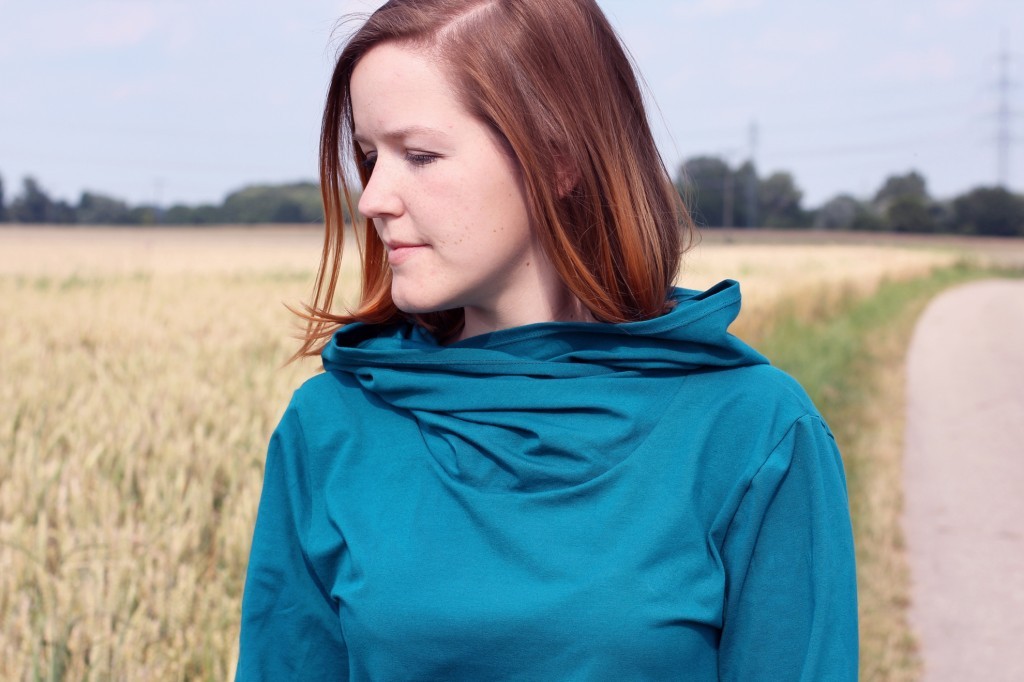
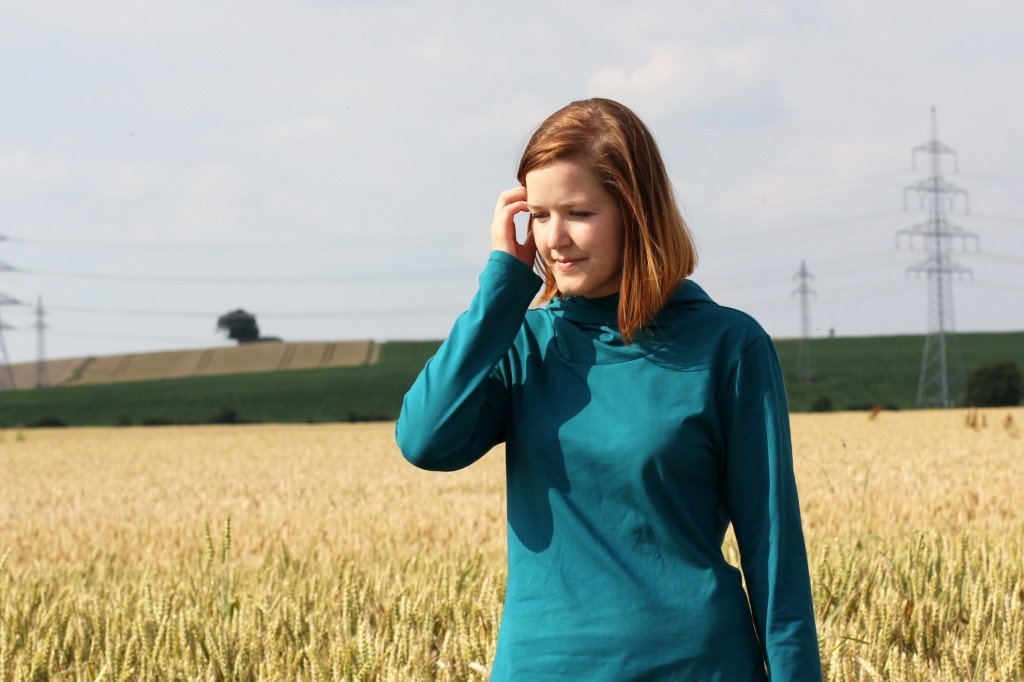 The Anika dress is a really easy and quick to sew pattern that comes in two versions: you can either make it with a collar or a hood. Both collar and hood cross over at the front which looks really cool if you ask me.
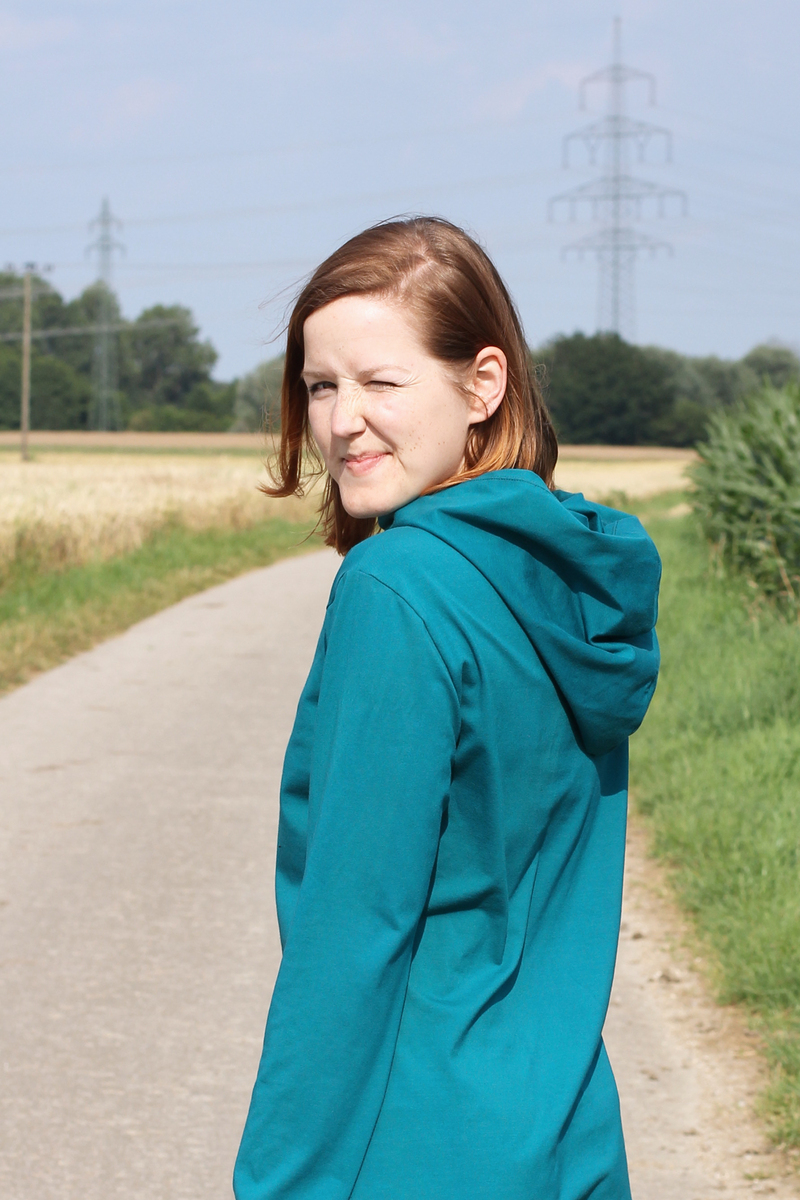


 The fabric is a gorgeous teal one-way stretch knit fabric, courtesy of Zierstoff. The lovely ladies over at Zierstoff headquarters offered to send me some of their fabric so I was able to make the exact same dress as the one in the sample pictures.

 The two Tilly & The Buttons Agnes tops I’m showing you today were Christmas presents for my bff. So, please ignore the fit! We are similar sizes and shapes but the tops were ultimately made for her and not a perfect fit on me.
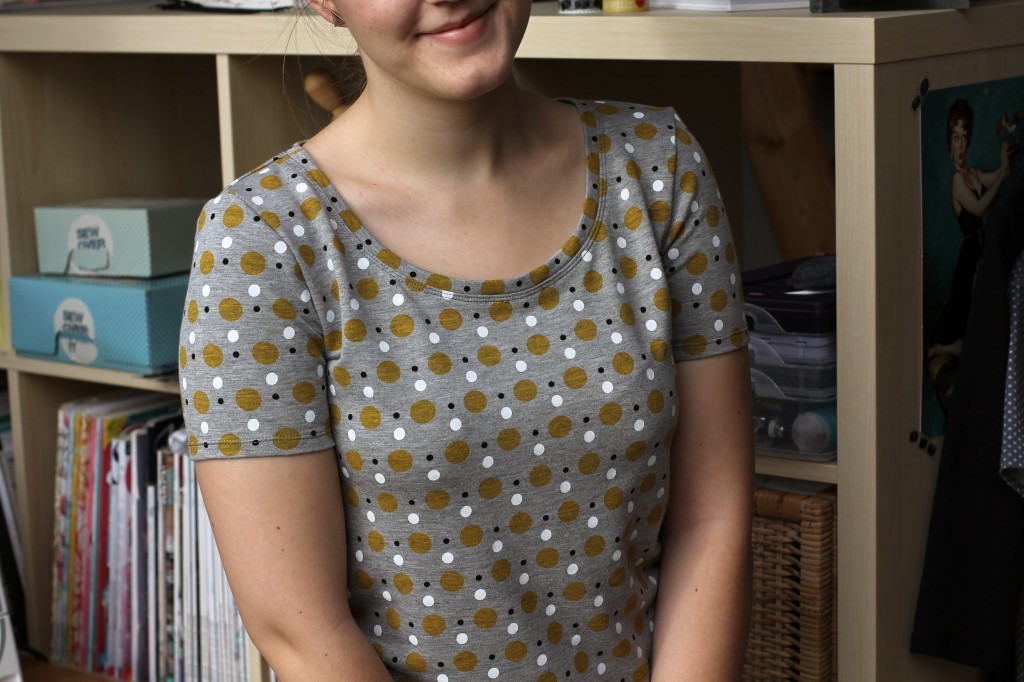
 The Fabric:
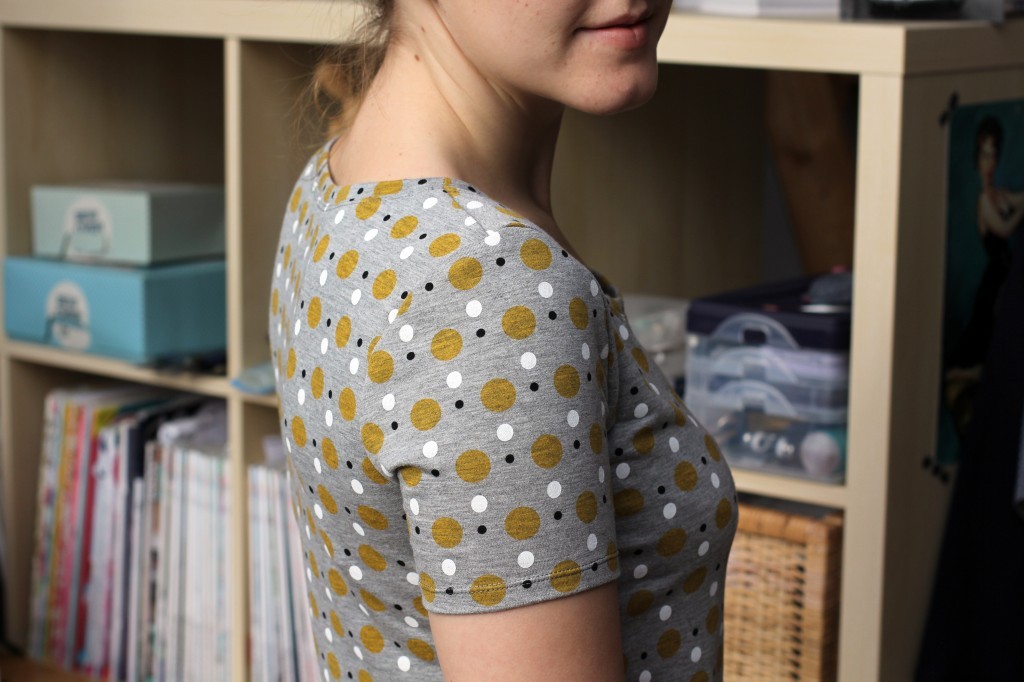
 Anyway, I had already bought the second & safe fabric, so I made another one. These tops are so easy and quick to sew, it didn’t even make much of a difference.
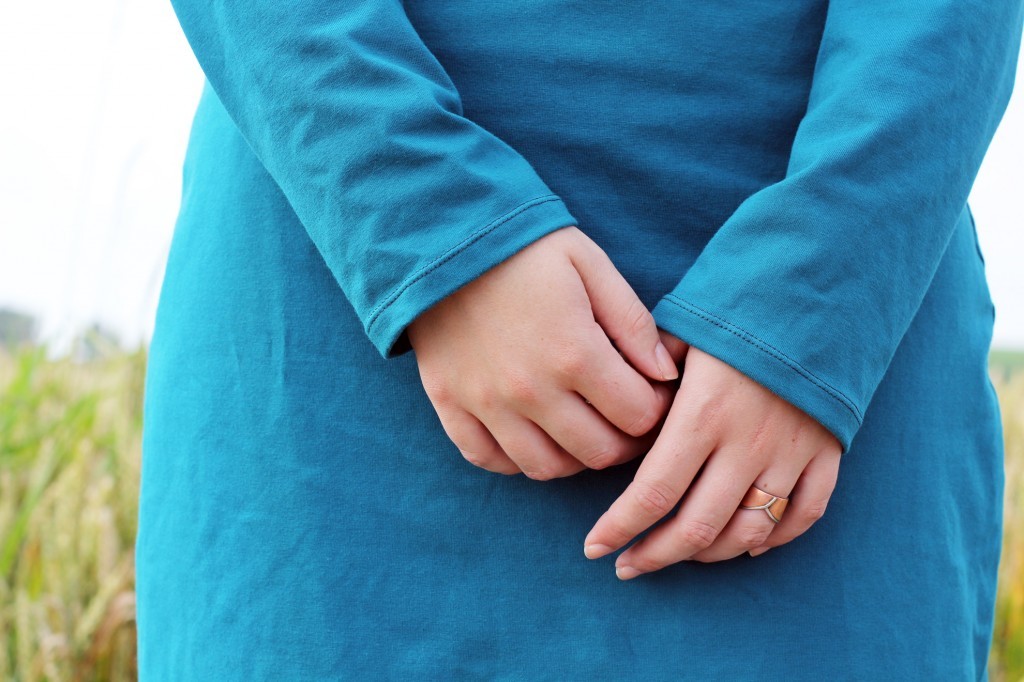
 (Ignore the turned up sleeve, I don’t know how to dress myself!)
 Happy Holidays everyone!


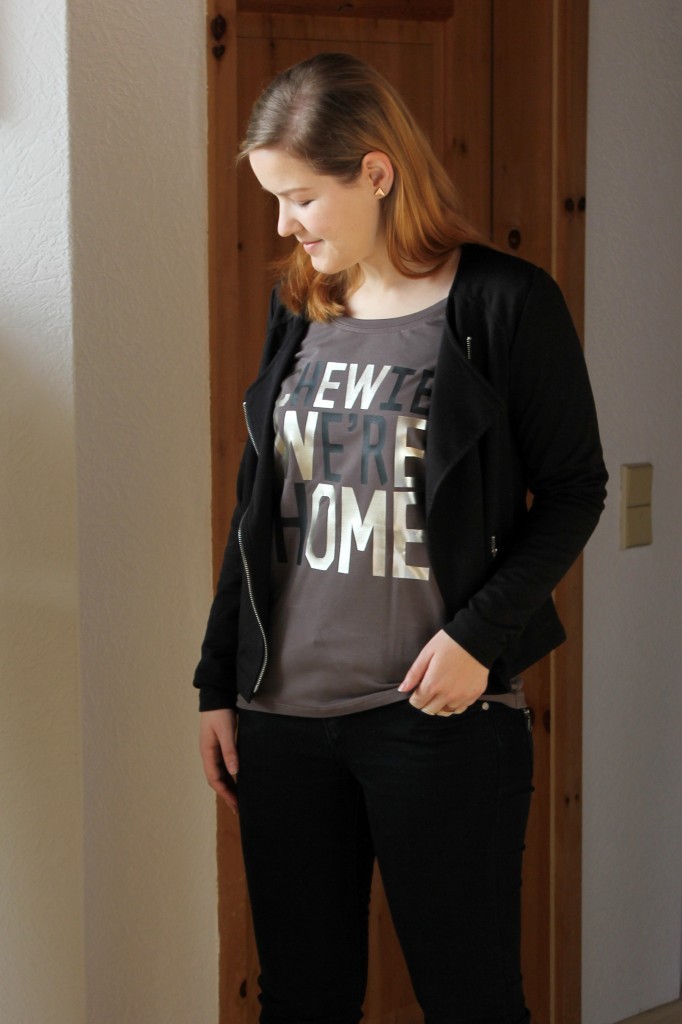
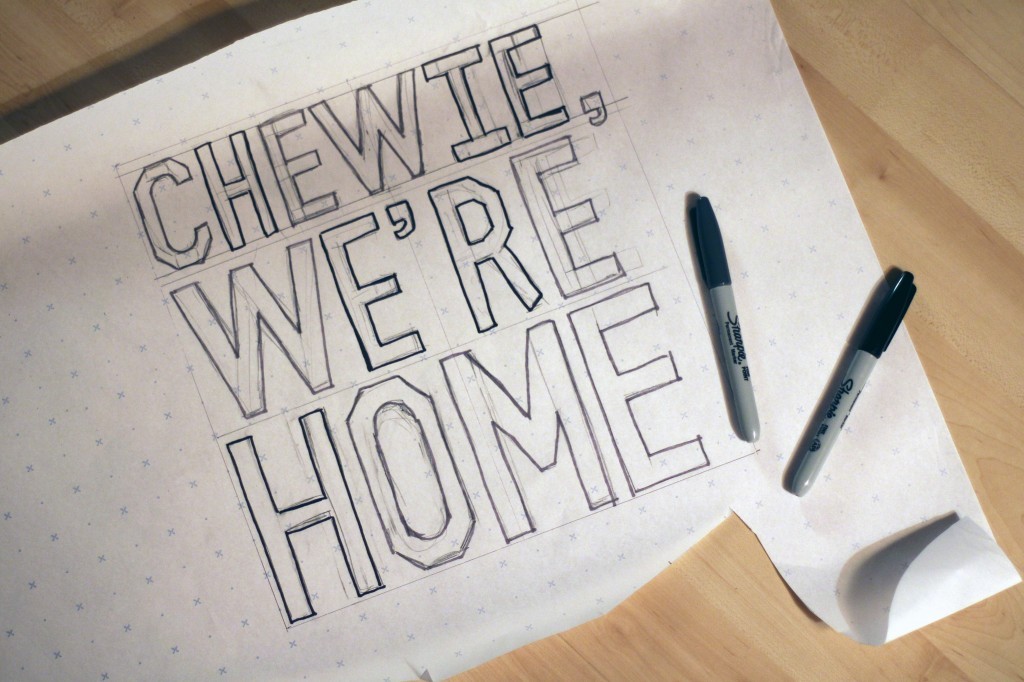 Start of by sketching out the shape or letters you want to create. Alternatively, you can use Word or Photoshop to create a layout you can print off and cut out.
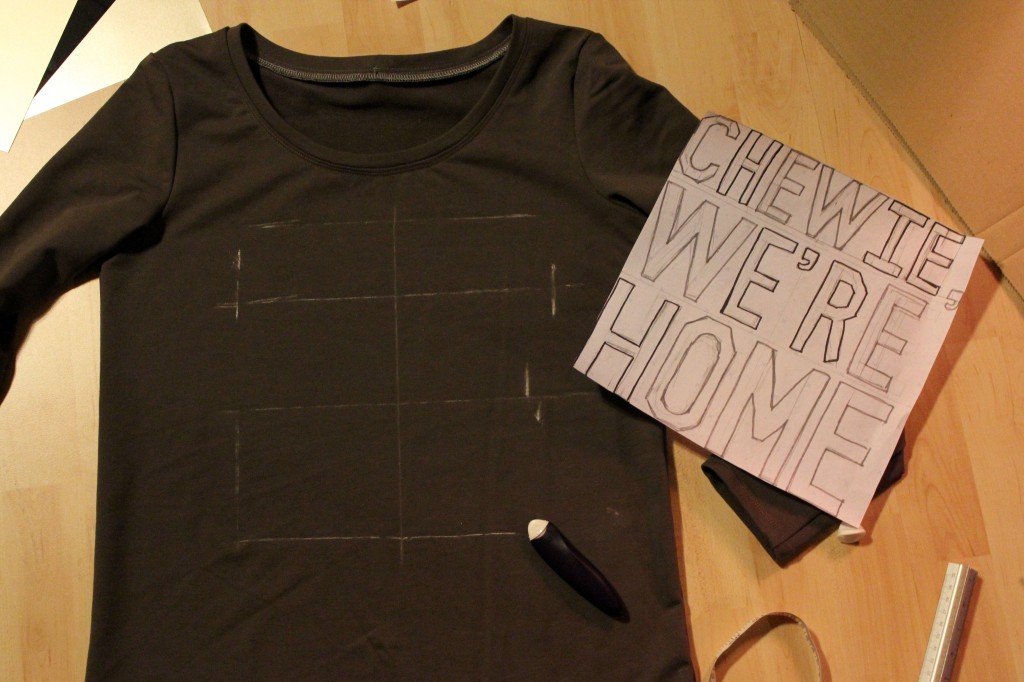 I used the sketch to check if the size was right and to mark the position on the shirt.
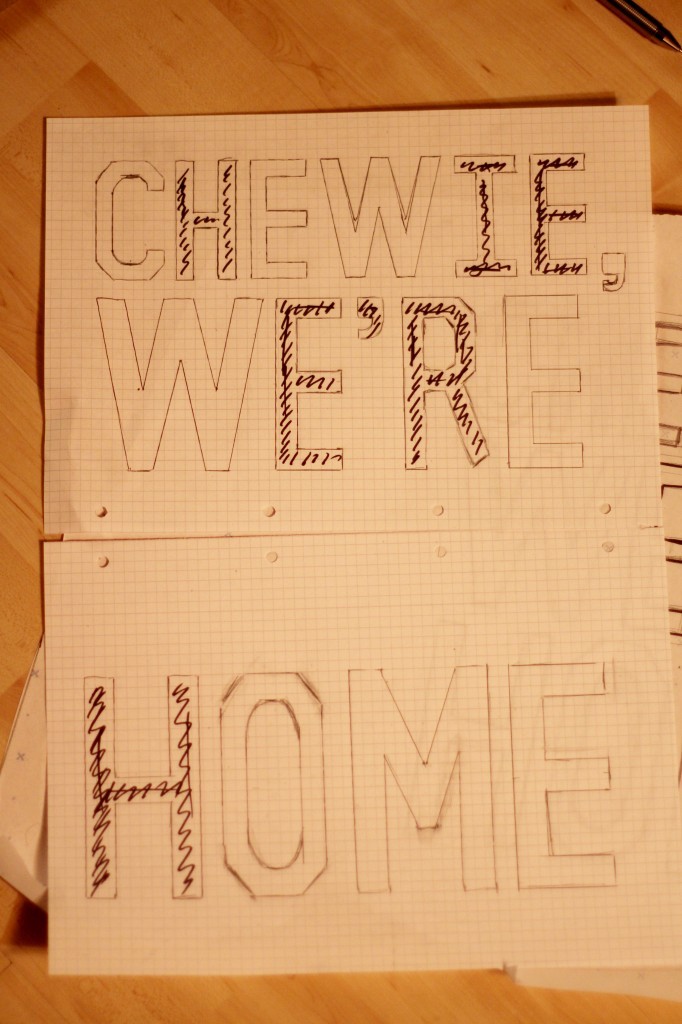 Because I couldn’t find a good font and sketched my own, I copied them onto squared paper to make sure they were even and all the exact same size. I positioned them on the shirt and used chalk for markings.
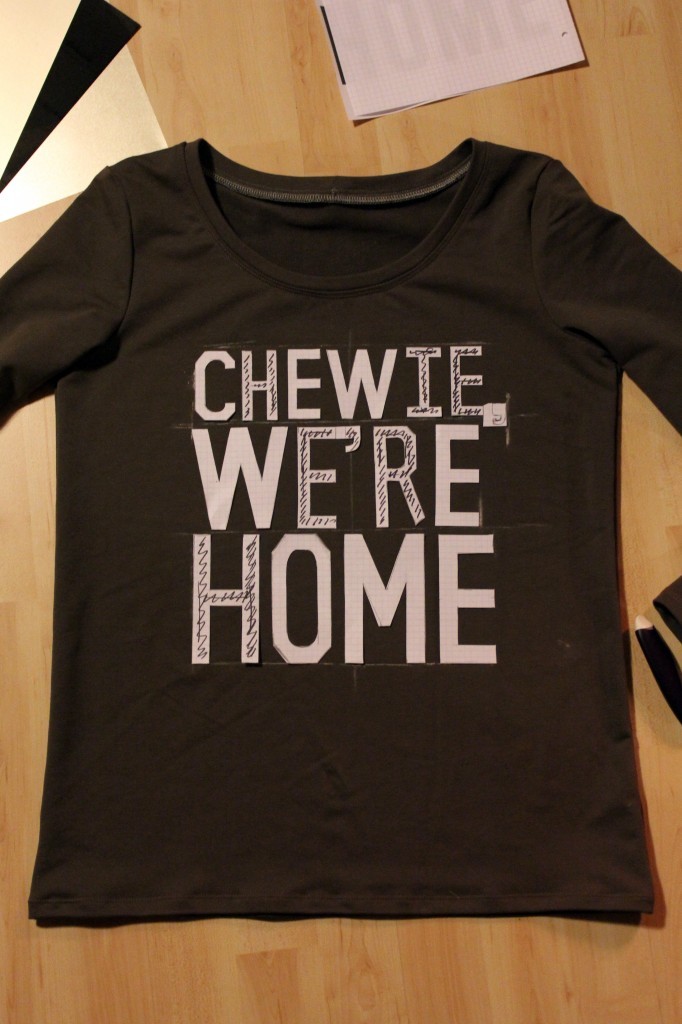 When transferring the template onto the foil, make sure everything is mirrored. Draw the shape onto the matt side of the foil, you can use pen or pencil. If you don’t want to mirror your letters, you can try to draw them onto the “right” side, but since it has a protective film it might be a bit tricky and the ink of your pen might come off and ruin your iron.
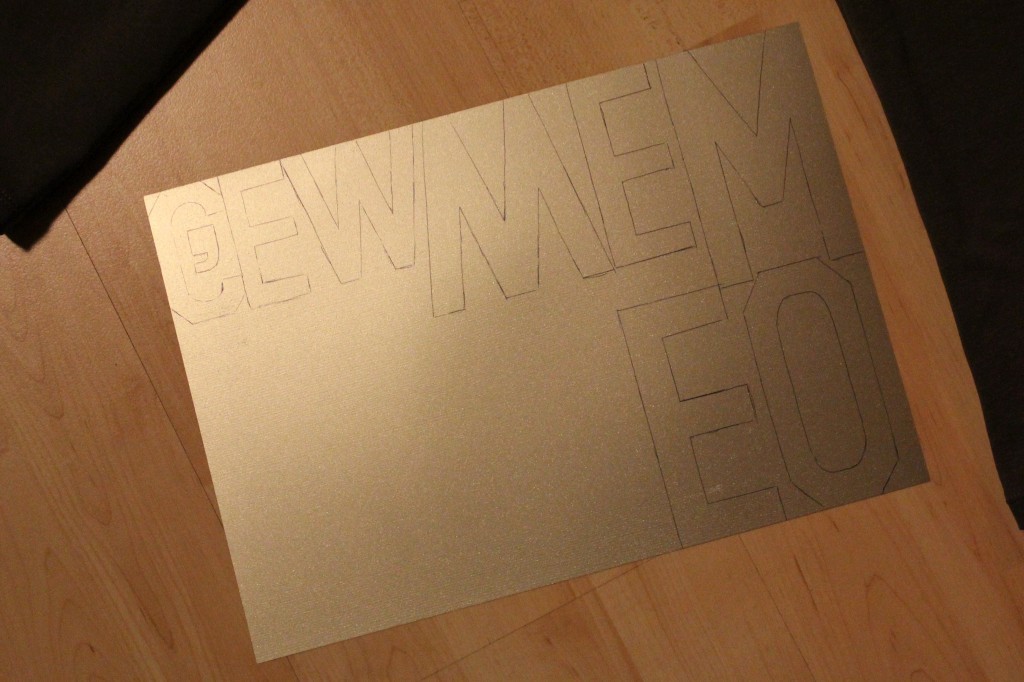 Cut out the letters, place the onto your shirt and press the iron onto them one by one to prevent them from slipping out of positon. Don’t remove the protective film until all the letters are firmly applied and have cooled off.
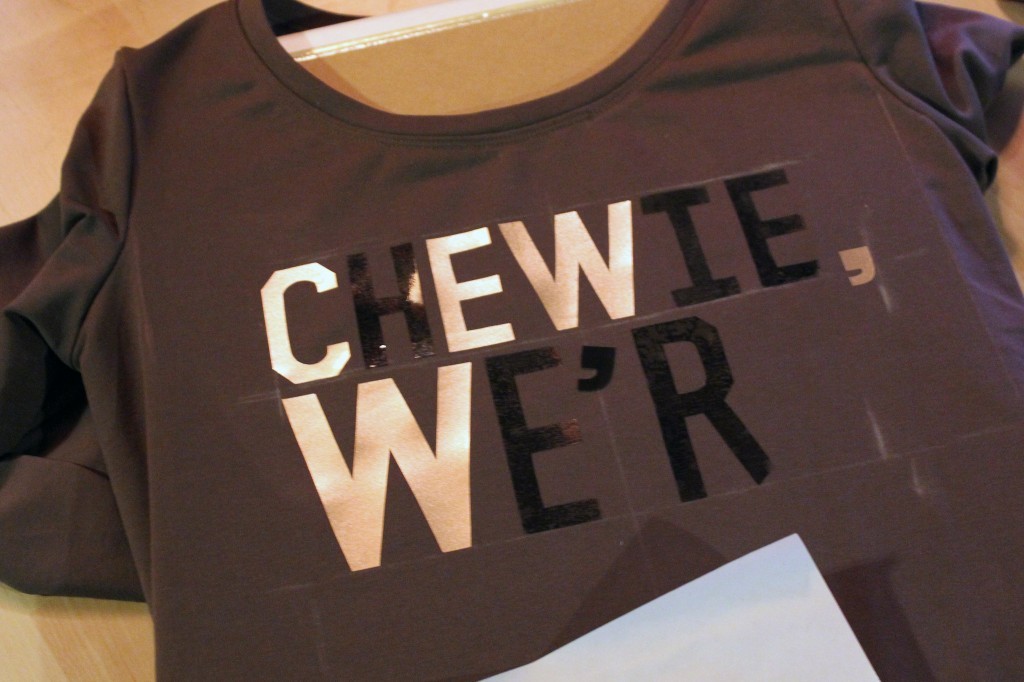
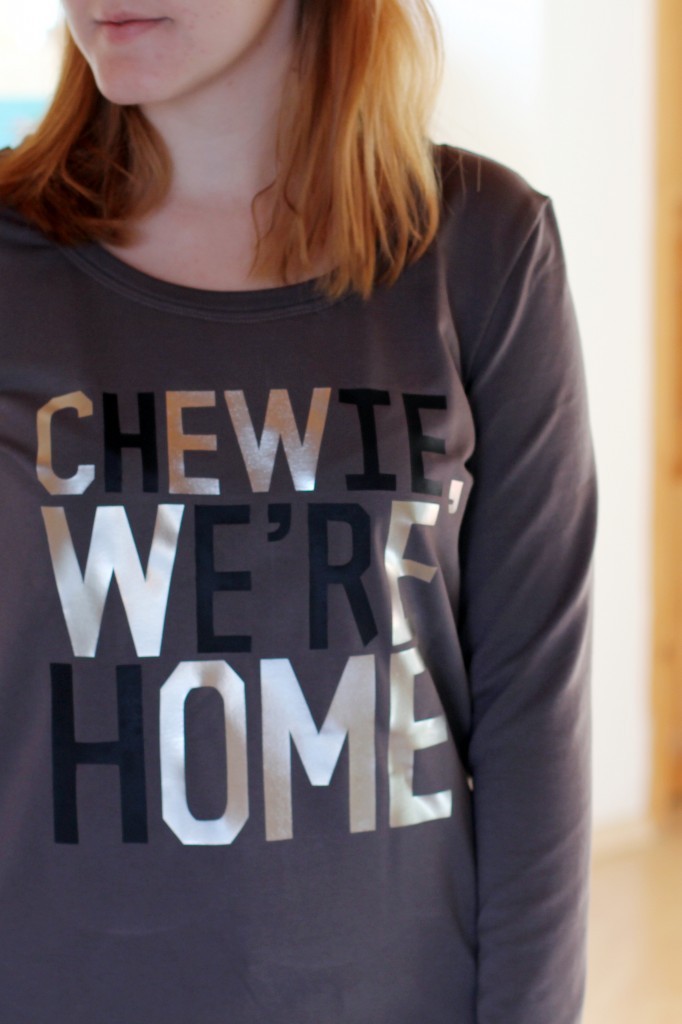
 You can now remove the plastic film and use the extra sheet of protective paper that comes with the foil to set the glue a second time. Never iron without the paper after that otherwise the foils sticks to your iron and the whole this is ruined. You can wash the shirt at 60° and iron it from the wrong side if necessary.
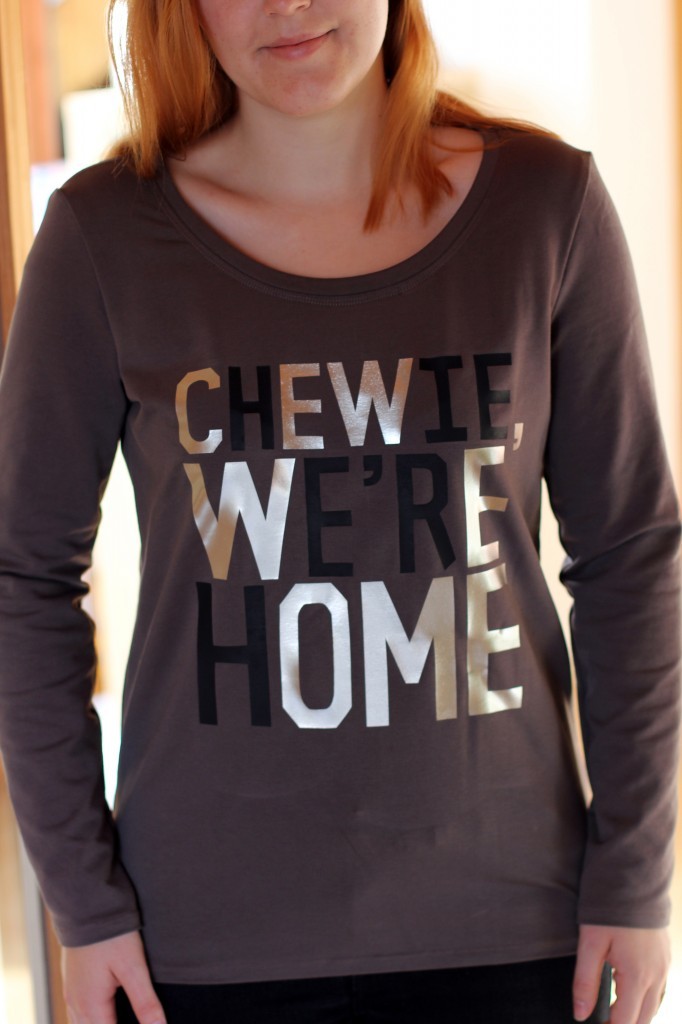

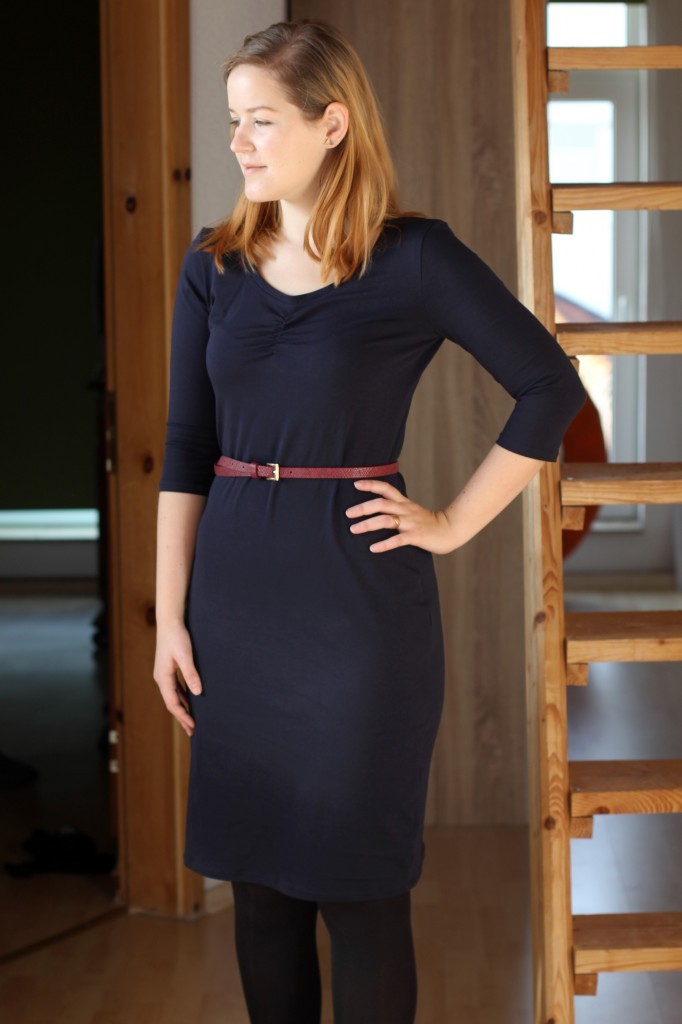


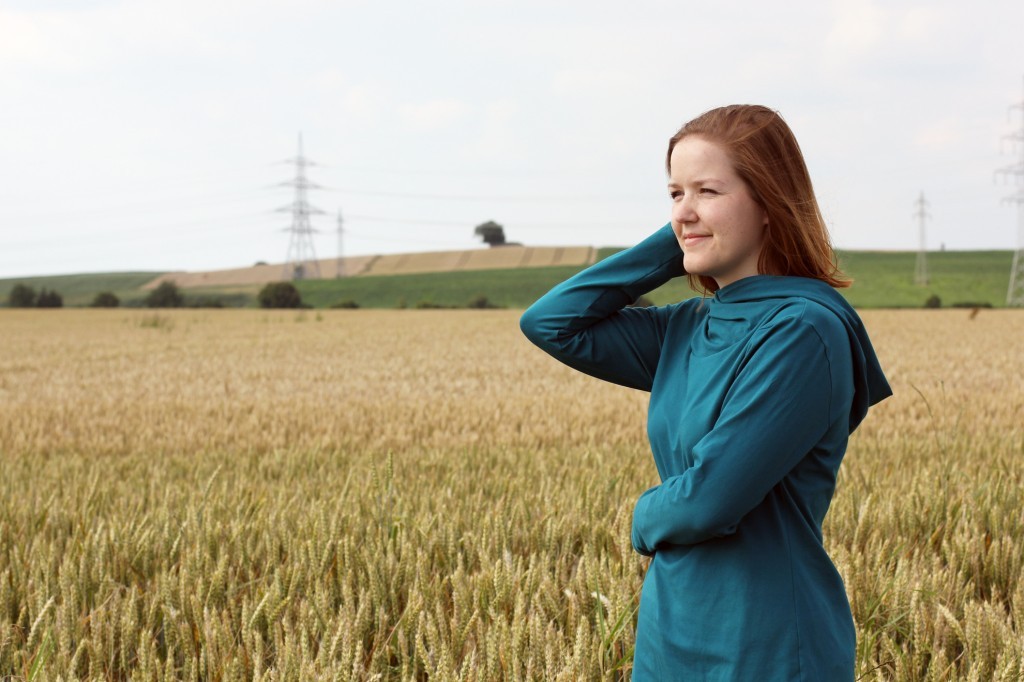
 The dress is super comfy and looks great with tights and is also great for layering with a cardi or jumper. That is something you might want to keep in mind if you are planning to make the puff sleeves. They do look quite bulky once you wear a cardigan on top.