first cardigan (which is actually the second)

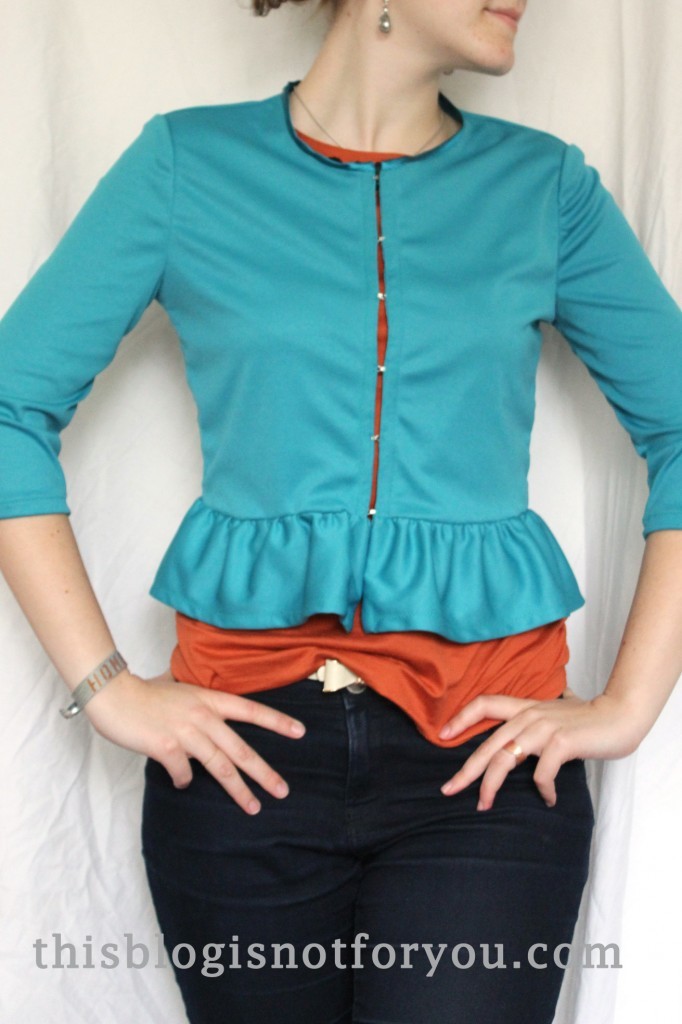
Finally, here are the pictures of the jersey cardigan I made back in May/June. It’s #10 of my 27 Dresses Challenge and I made it for someone else this time!
I used the Burda pattern #109B from the May issue this year (5/2013) and it is probably the first time I managed to sew something in the same month the issue was out.
I couldn’t find the #109B pattern as download but the burdastyle.com website has the pattern for 109A for a fiver, which is basically the same pattern with short sleeves (and it suggests a button closure, the 109B pattern uses hooks):

It is also the first cardigan I’ve sewn so far and at the same time my second, I guess.
A little while ago I showed you pictures of the ugly dress and promised to confess some more of my sewing mistakes. This is one.
When dealing with stretch fabric, concentrate! I basically cut it out in the wrong direction, started sewing everything together. After hours and hours of sewing I started to get a bit worried since the cardigan was getting way to tight. This was really weird because Burda patterns normally end up being a bit too large. I was swearing my head off, first blaming the pattern, then the fabric (“it’s not stretchy anymore!”). Well, after a while I noticed that it was stretchy, just not where I wanted it to be stretchy. 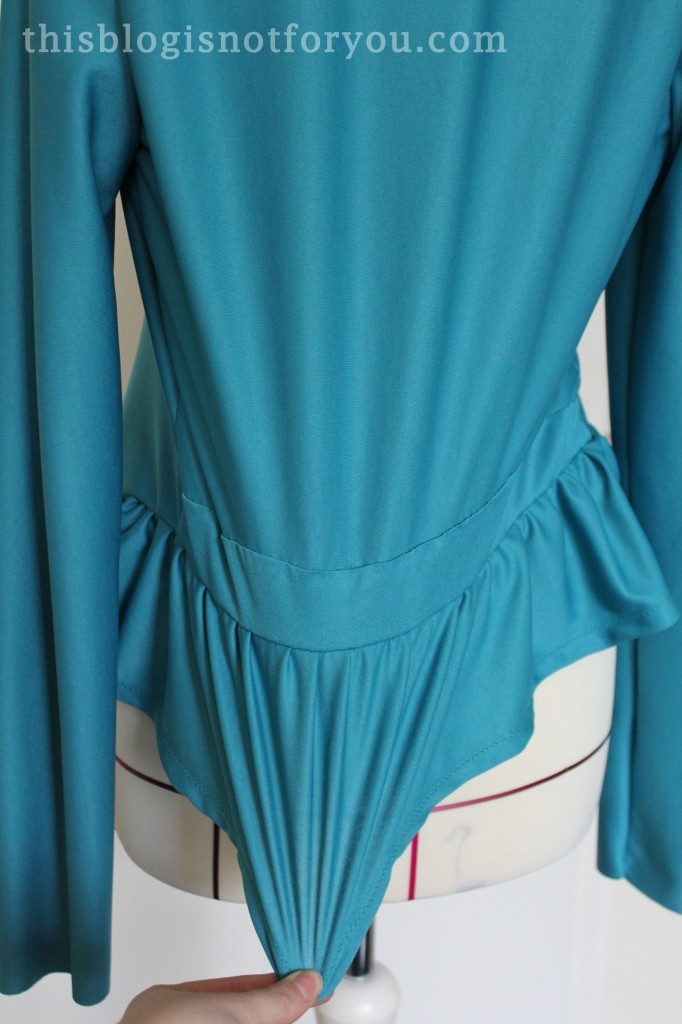
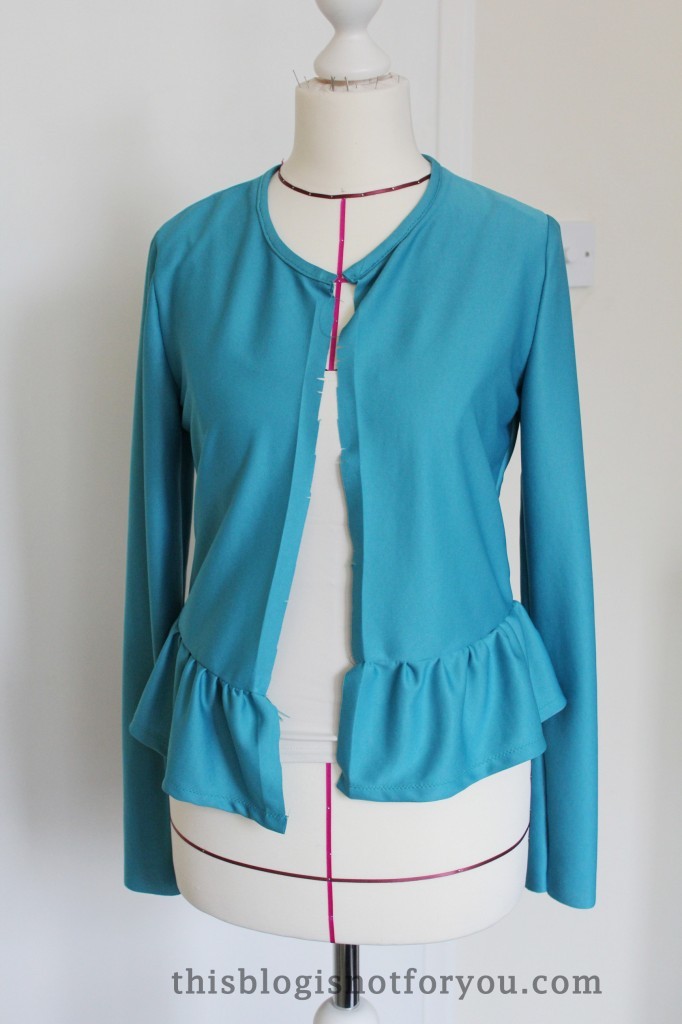
See? Nice and stretchy lengthways, but no stretch at all in the crosswise direction. FAIL. You can see how lopsided it looks on the dummy. In the first picture you can the the sewing annoying mistake I made. Sewing the peplum onto the bodice, I accidentally caught some fabric from the back panel and had to open the seam again. This wouldn’t have been so bad if it wasn’t for the jersey fabric. Unpicking the seam left ugly little holes in the fabric. ARGH! I managed to solve the problem sewing on a piece of fabric that looked a bit like a belt, to hide the holes. This had to be done with hand sewing, since I didn’t want to top stitch and make it even more obvious.
The worst part? Realising that all my effort had been in vain after noticing that the problem was that I screwed up when cutting out the fabric. ARGH!
Even worse? Realising that I didn’t have enough fabric left to make another one. As mentioned before, it was for someone else (a birthday present) and I had to get it done on time – not enough time to go back and buy new fabric!
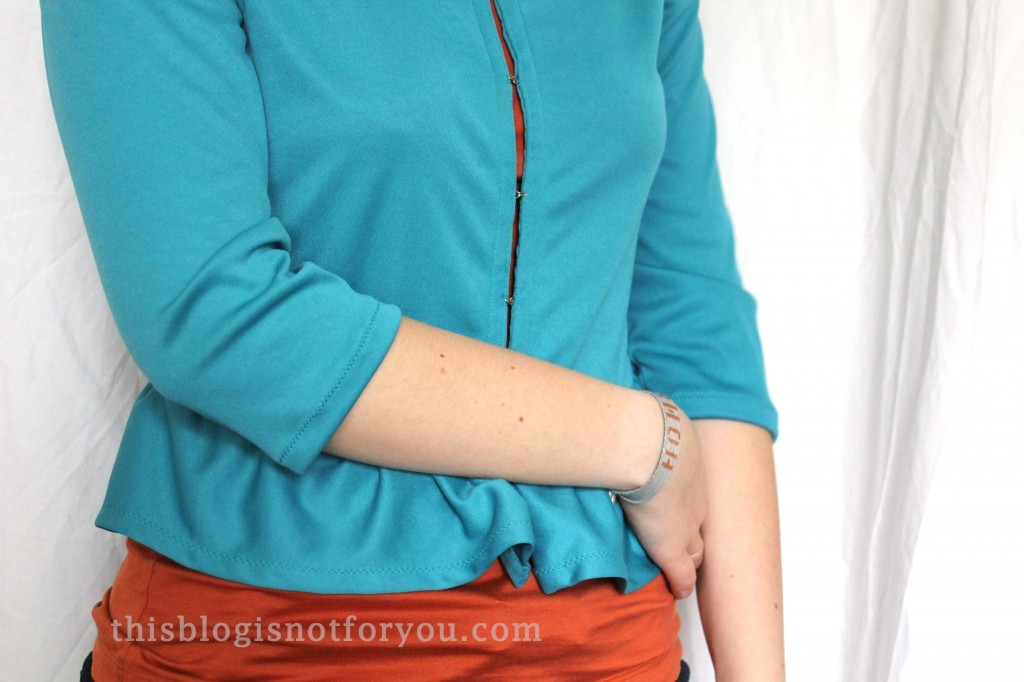
In the end I decided to shorten the sleeves so that the pattern pieces just fit on the piece of fabric I had left. After thinking you were almost done, starting all over again is NOT FUN.

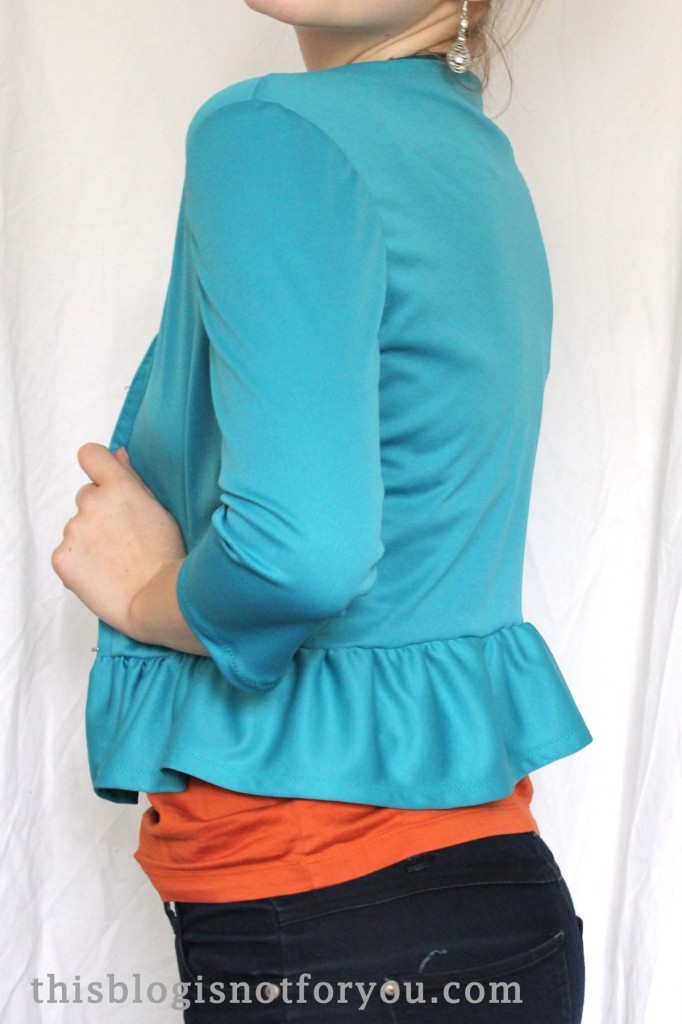
I managed to finish it anyway and am quite satisfied with how it turned out. There’s some puckering at the sleeves, but apart from that it’s ok (and really comfy).

I finished the seams at the sleeves with a narrow zig zag stitch.
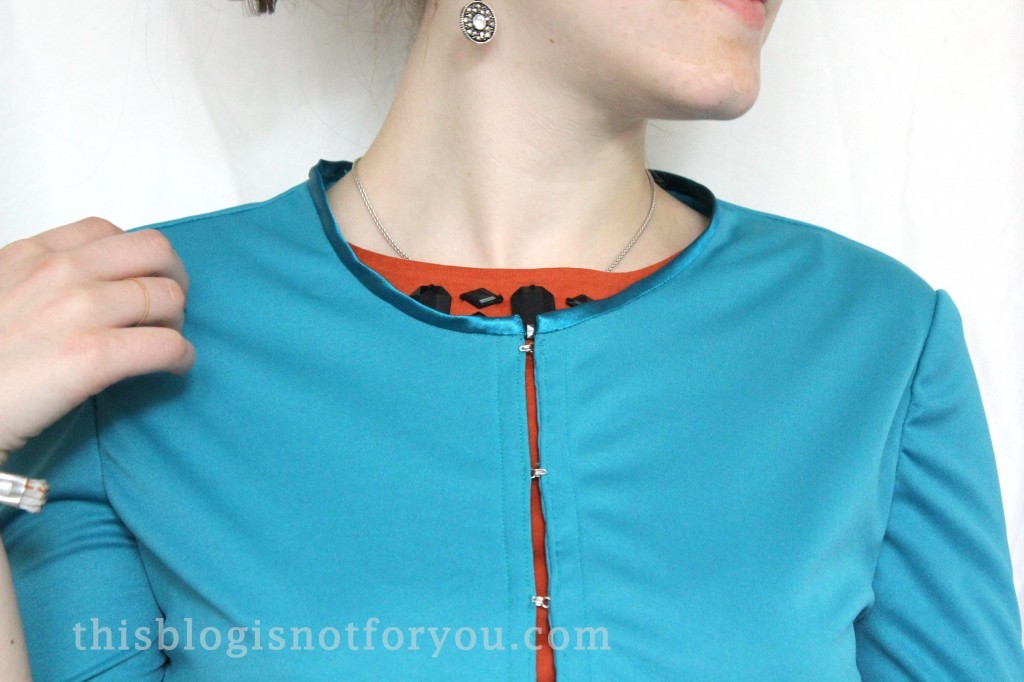
I found some matching bias binding I used for the seam finish at the neckline.
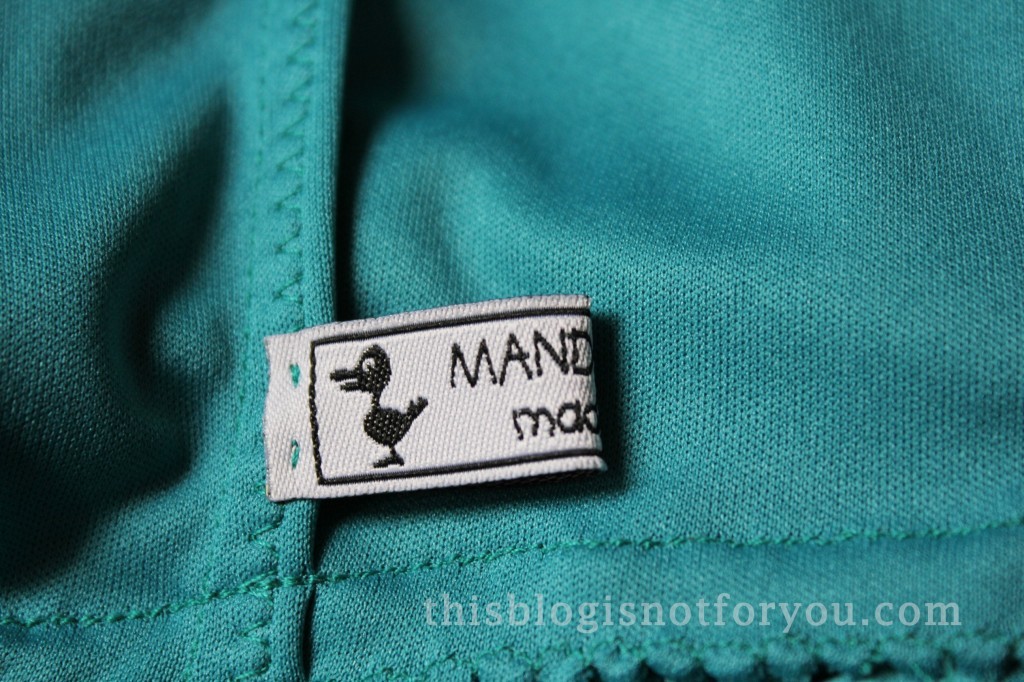
Last but not least, I added my little tag by sewing it on one of the side seams.
Phew, done!
Did any stretch fabric horror stories happen to you?
PS: I’m still on the look out for some under 200 follower blogs I might like to nominate for the Liebster Award. I have some favourites, but I always love discovering new blogs! If you have any suggestions, just leave a link in the comments! xx

