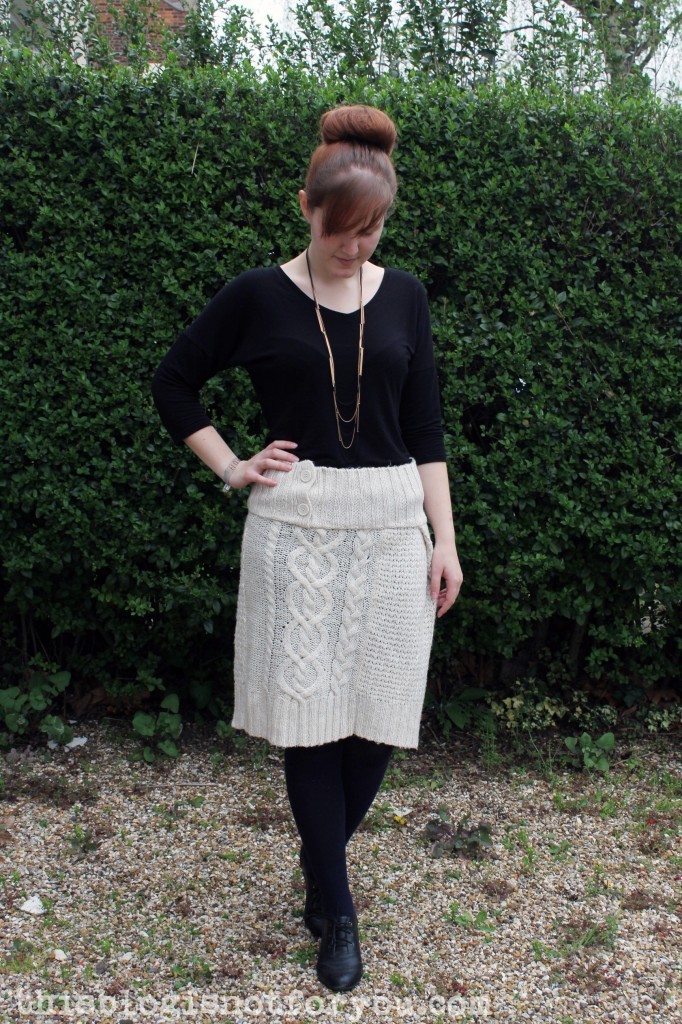
Refashion It! Wool Sweater to Skirt

refashion wool sweater by thisblogisnotforyou.comIt’s spring and time to get rid of all these sweaters you haven’t worn in years! Before you throw them away, why not try a quick refashion? This way having lived a long boring life in your closet your sweater might at least have a chance to lead a short exciting life as a skirt before it gets replaced by all the lovely summer dresses we can’t wait for.

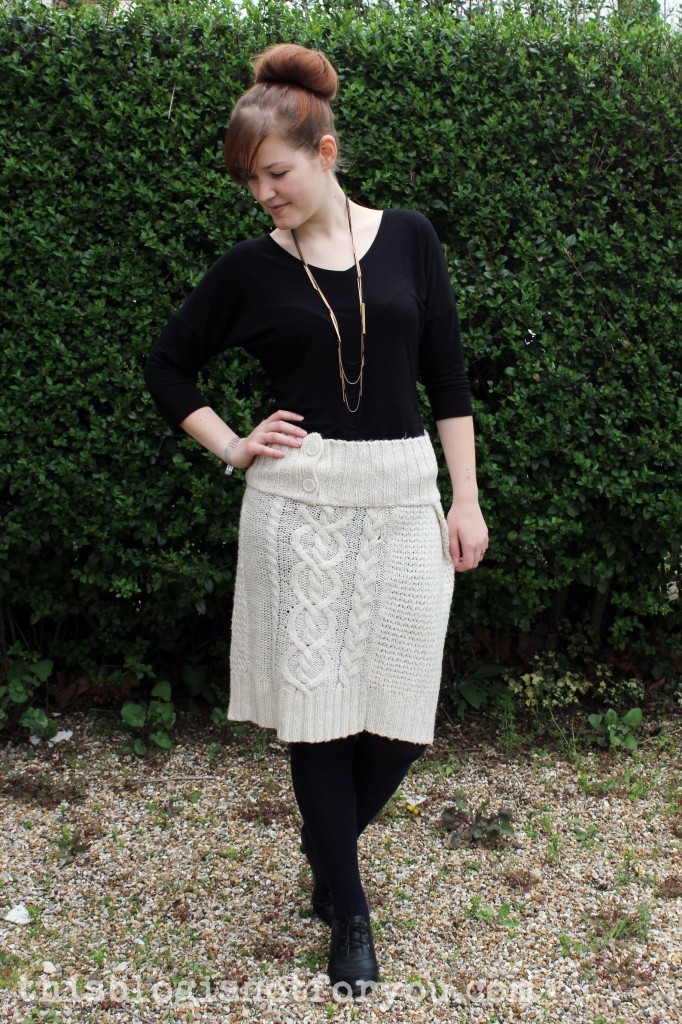
I actually did this project weeks (months?) ago, when the weather was much colder, but somehow it took me ages to take some pictures of the finished skirt.
refashion wool sweater by thisblogisnotforyou.com
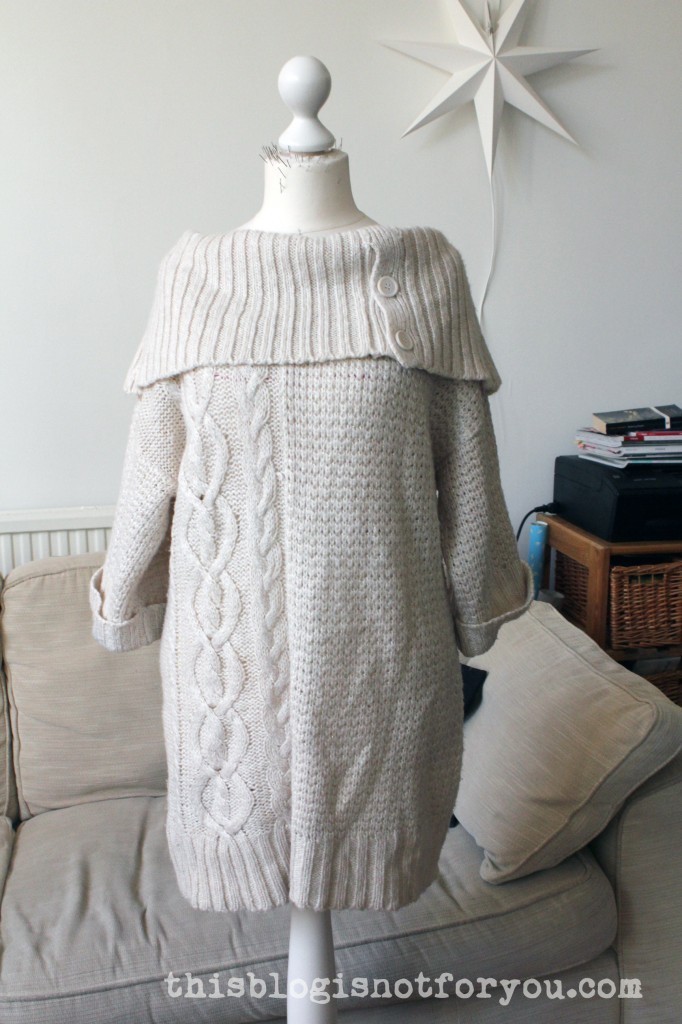
I got this sweater in a charity shop for 2 pounds. It’s 100% acrylic and not too comfy on the skin so I decided to make a skirt out of it.refashion wool sweater by thisblogisnotforyou.com
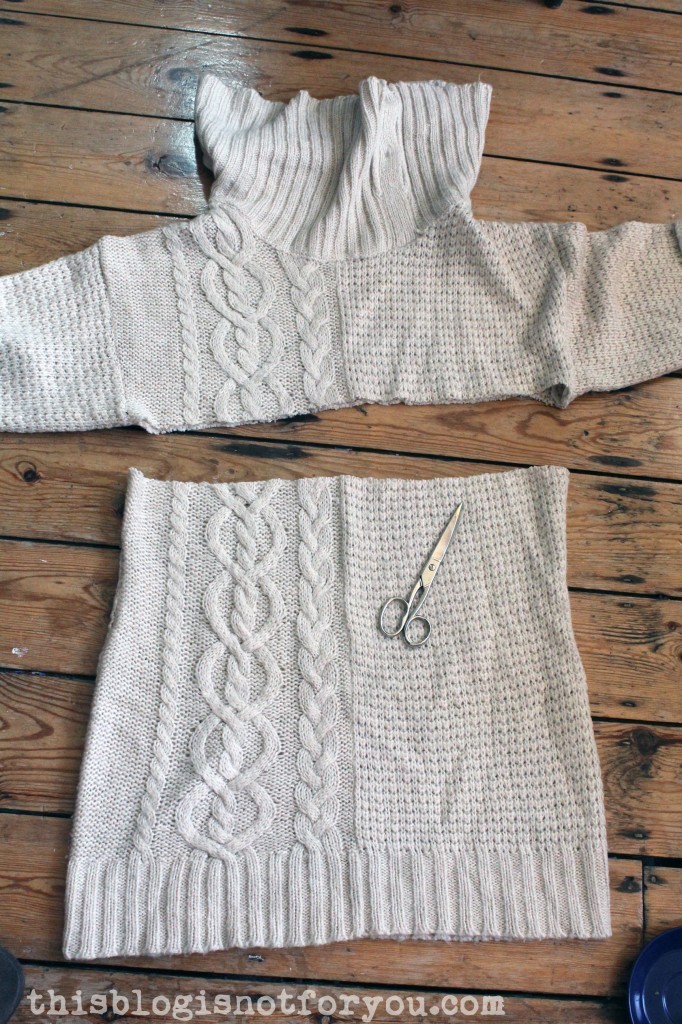
First, I got out my scissors and chop, chop! This is absolutely my favourite part! After this there’s no way back. In the beginning cutting garments apart was absolutely terrifying, now I thoroughly enjoy it. Hmm. What does this say about me?

Anyway, I cut off the top of the sweater (right under the sleeves as seen in the pic above) and experimented with the fabric on the dressform. I sort of had an idea in mind, but a great part of this project is improvised, really. Some things you have in mind might not work out, time to get creative!

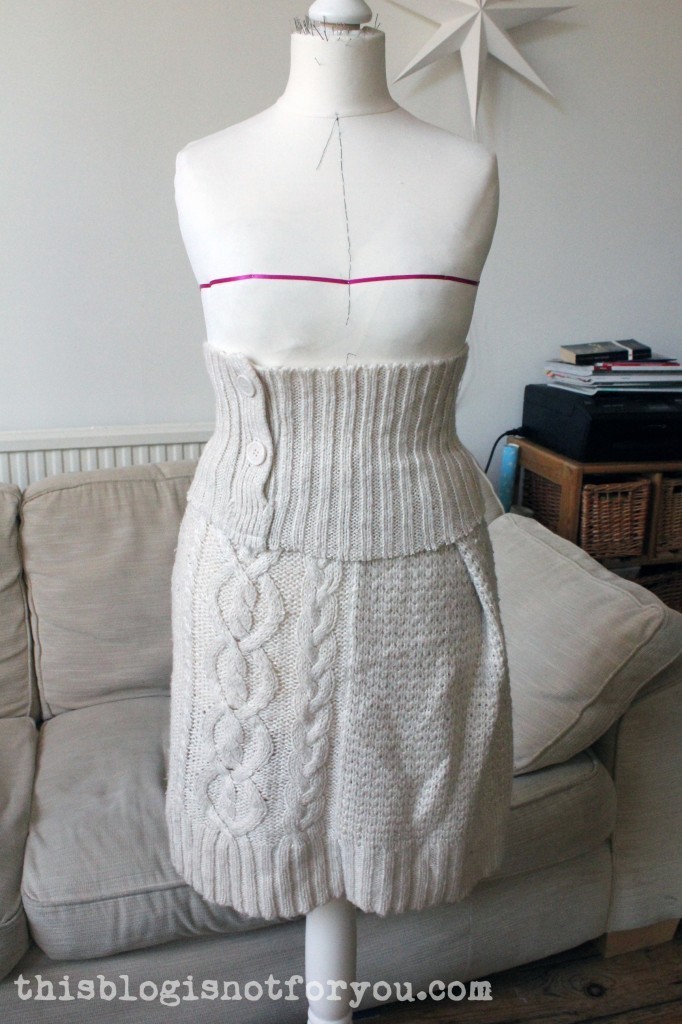
Here’s the front in progress…

refashion wool sweater by thisblogisnotforyou.com…and here the back:refashion wool sweater by thisblogisnotforyou.com
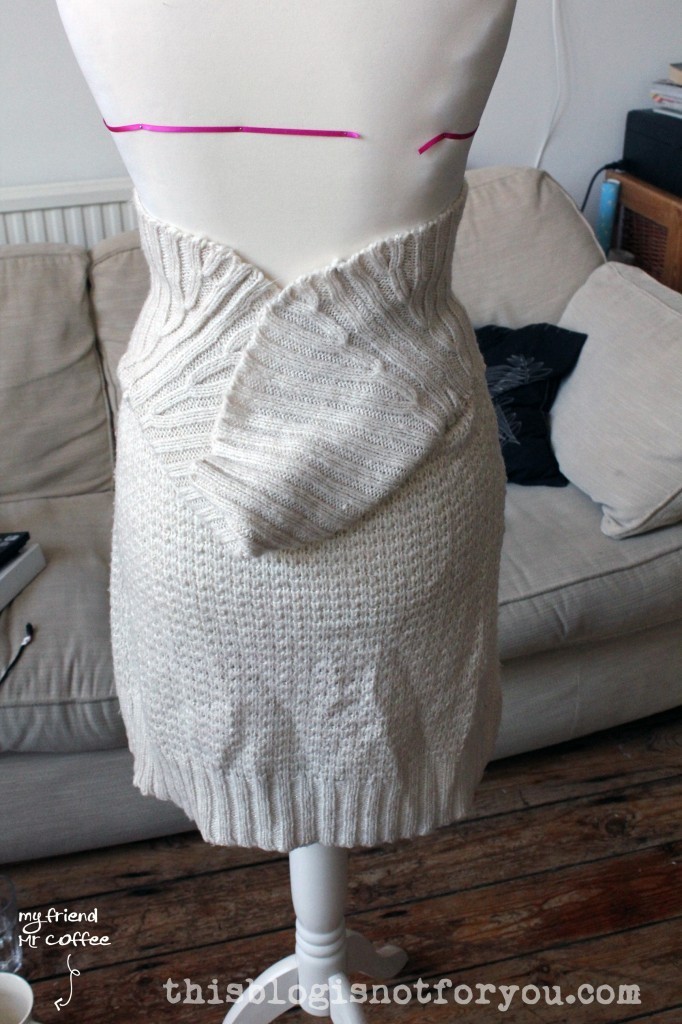
I used the collar to create a waistband. After everything was tucked and pinned into place, I used thick embroidery thread to baste all the layers together.refashion wool sweater by thisblogisnotforyou.comI cut off the excess fabric, neatened the edges with a zigzag stitch and sewed everything together.refashion wool sweater by thisblogisnotforyou.comDone! (Wowsa, that was quick!)refashion wool sweater by thisblogisnotforyou.com
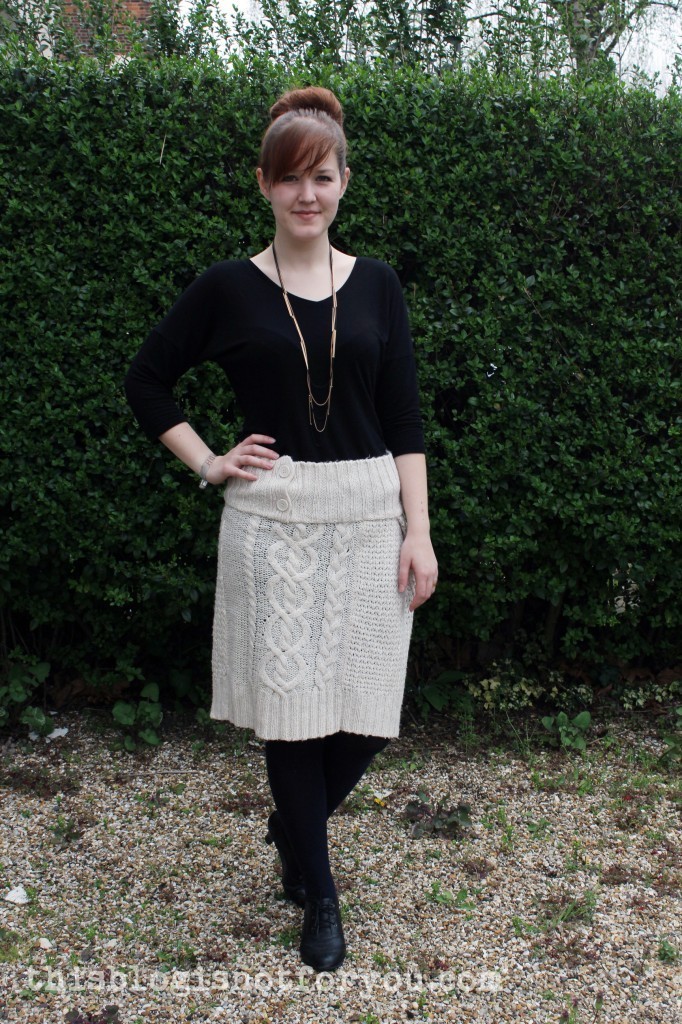
I might add some elastic to the waistband as it easily stretches out of shape and widens a bit when I wear it (so it sits much lower than intended). I bit of elastic will hopefully fix this.refashion wool sweater by thisblogisnotforyou.comrefashion wool sweater by thisblogisnotforyou.com


Happy sewing!

facebook/bloglovin/pinterest
Stay in touch!

Refashion it! The Bambi Shirt & Tips for stamping fabric

hand stamped Bambi tee by thisblogisnotforyou.com

hand stamped Bambi tee by thisblogisnotforyou.comhand stamped Bambi tee by thisblogisnotforyou.com
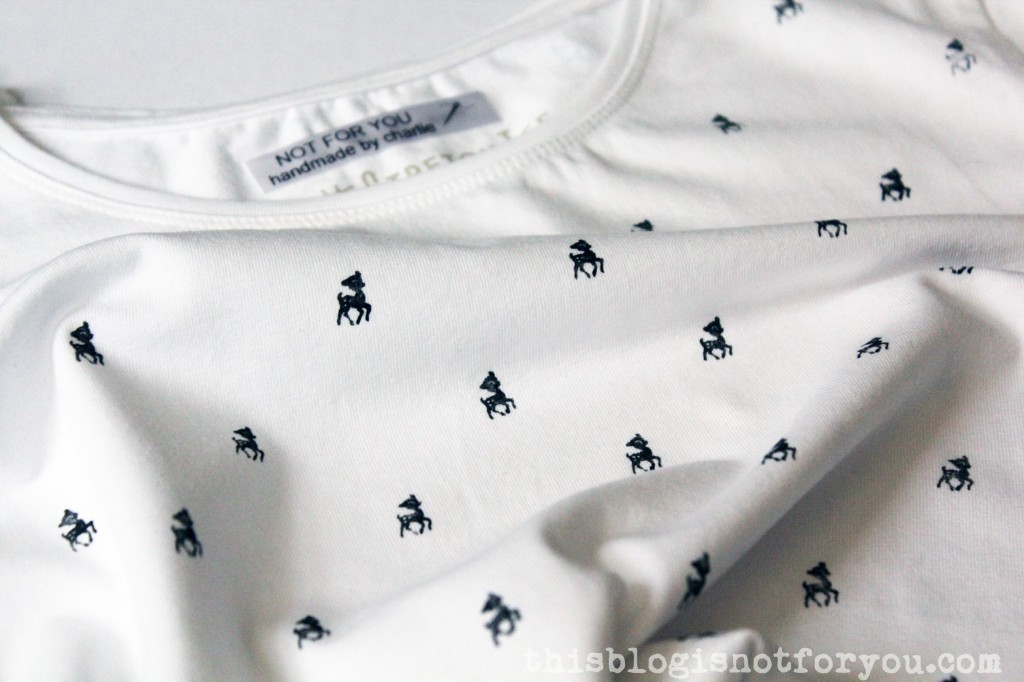
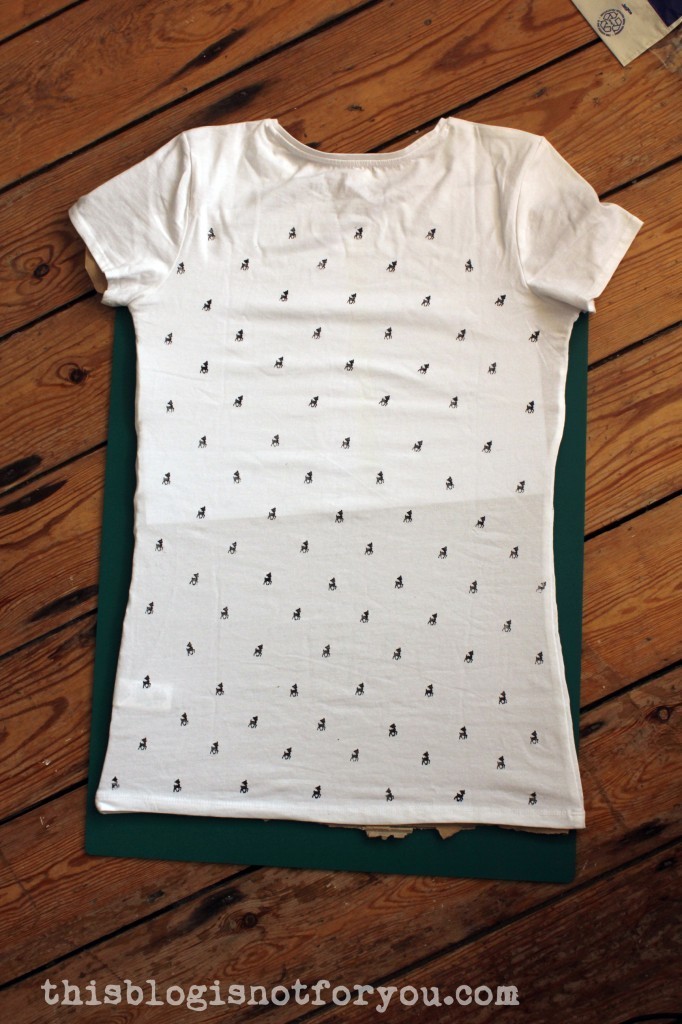
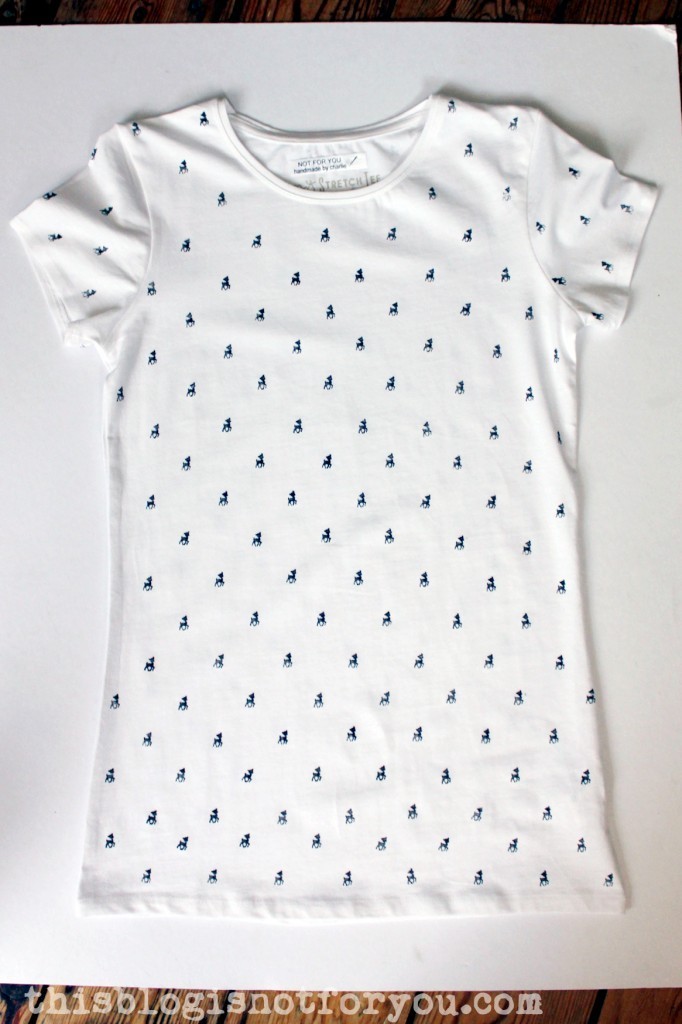
I recently bought a white tee and refashioned it for my best friend’s birthday (yes, the one who also was lucky enough to get a made-to-measure bridesmaid dress for Christmas!).

I bought a tiny Bambi stamp on Amazon. I have loads of textile paint left from the time when I spent my days stamping totes and tees (pre-sewing machine days!) and used a basic black paint for light fabrics which I bought in Oslo years ago. This paint is tried and tested many times and I know that it lasts forever without loosing its colour.
hand stamped Bambi tee by thisblogisnotforyou.comhand stamped Bambi tee by thisblogisnotforyou.com

Yay! I finally have new labels! I used to have woven labels which you had to sew on (and I still have loads left), but I really wanted some that relate more to my blog, so I got these which are printed and you can simply iron them on. You can machine wash them by 40°. I might use some of the old woven ones for delicate fabrics, though as I’m not so sure if they will stick to the fabric if ironed at lower temperatures.hand stamped Bambi tee by thisblogisnotforyou.comhand stamped Bambi tee by thisblogisnotforyou.com
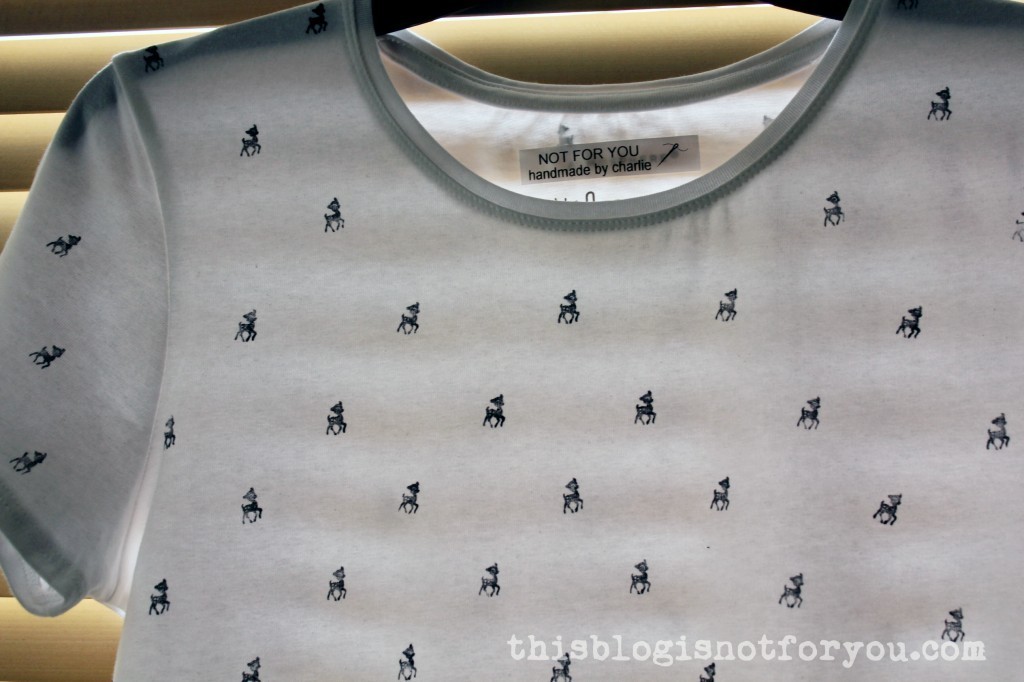
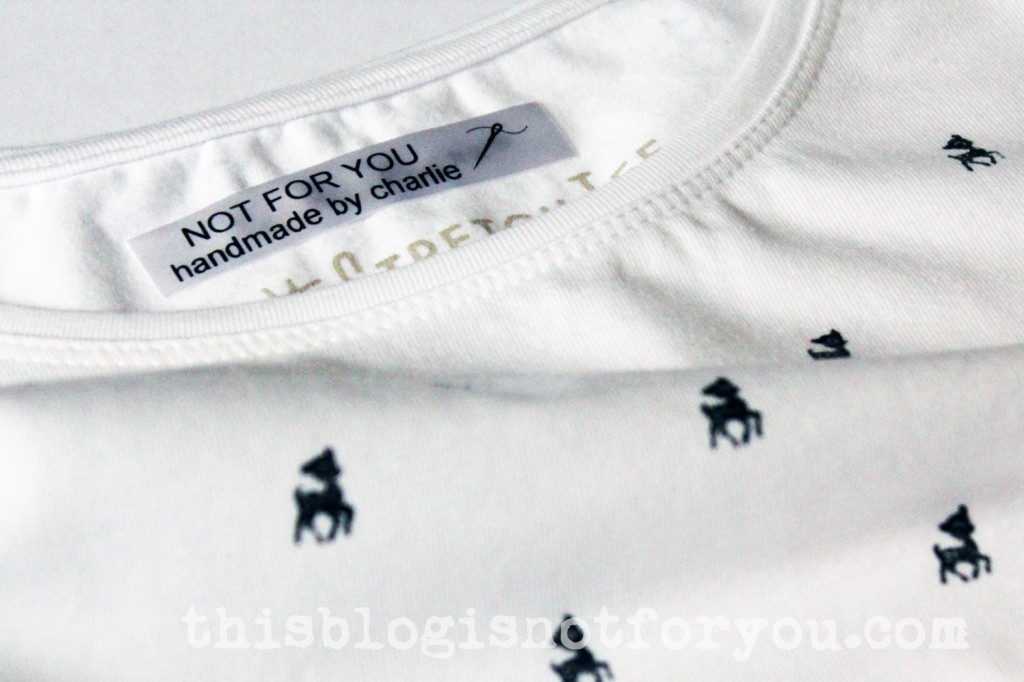
Stamps need to be cleaned before the paint dries. There will be stains that stay, but that’s fine as long as all fluff and paint gets washed off.

10 Tips for Stamping a Tee

hand stamped Bambi tee by thisblogisnotforyou.com

Before you start, practise, practise, practise! It’s best to try stamp and paint on a piece of scrap fabric which is similar (in colour and structure)  to the one of your shirt.

1. Wash your fabric/tee. The colour lasts much longer if your fabric is pre-washed.

2. Place some cardboard between both layers of fabric. Don’t use newspaper as the ink might leave stains on light fabrics. I placed the tee on the cardboard and traced & cut around it. This really helped to keep the fabric even while stamping.

hand stamped Bambi tee by thisblogisnotforyou.com
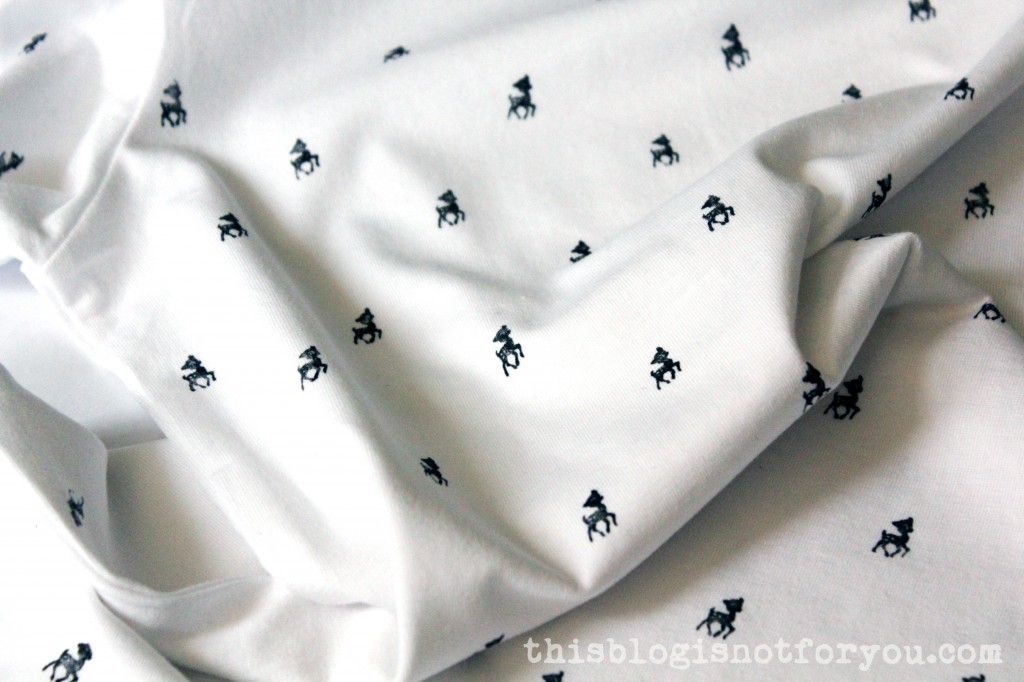
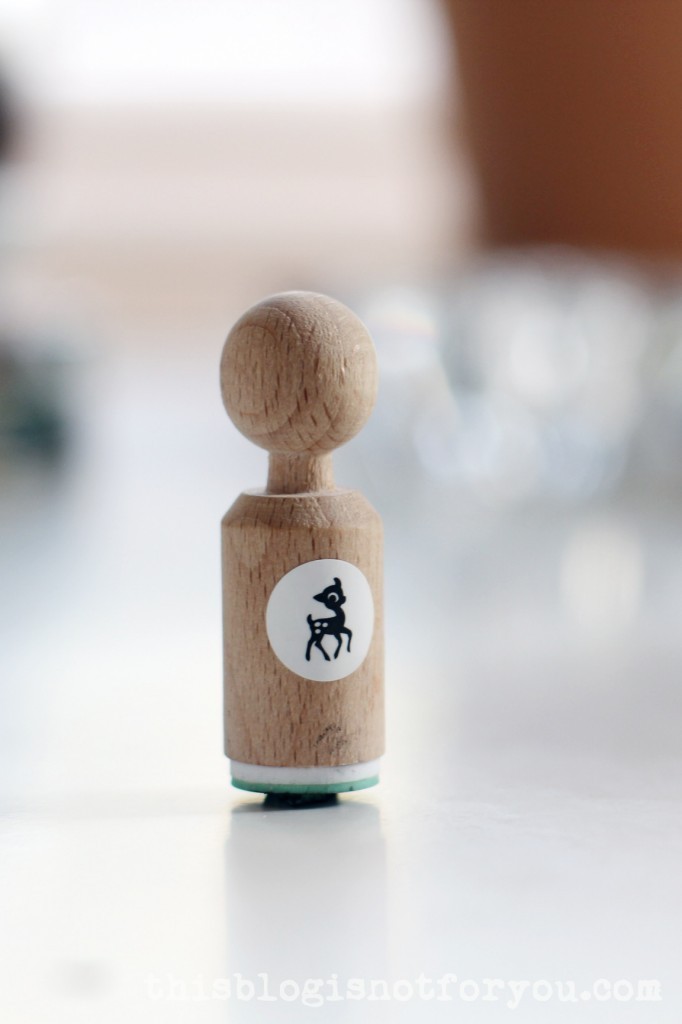
3. Don’t mix the fabric paint with water. You can do that, if the paint is water-based, but if you want to have a neat and sharp print which looks stamped, I recommend using the paint as it is. You will only need a tiny amount anyway and mixing the paint with water might lead to a slightly blurry outcome.

4. Apply the fabric paint to the stamp with a small dry brush. I prefer this to dipping the stamp directly into the colour. The outcome will be much better, neater and uniform.

5. Less is more. Don’t use too much paint, otherwise the image will get blurry and you won’t be able to see the details.

6. Apply a little paint to the stamp after each step to make sure that the contrast of the motifs is consistent.

7. Make sure to clean the stamp every once in a while with water. Leave to dry for a few minutes before continuing. This is to remove any fluff or dried on colour which could make your design blurry and uneven.

8. Press the stamp down with a quick, well-aimed movement and try to avoid shifting the stamp or fabric.

9. If you are stamping the whole tee in a continuous pattern, start at the back of the tshirt working your way from bottom to top (same in the front). This way you will have perfected the method when you reach the neckline. It’s important that neckline, shoulders & bust area look good, because that’s where the image/motif will be most visible. Give the paint enough time to dry before you turn the shirt over.

10. Iron the fabric from the wrong side for about 5 minutes to set the colour. After that your print is washable (have a look at the instructions on the paint).

hand stamped Bambi tee by thisblogisnotforyou.comhand stamped Bambi tee by thisblogisnotforyou.com

I loved this little stamp so much! So be prepared to see more Bambi tees on le blog in the future! I might even try to make a stamp myself using a rubber eraser – we’ll see! 🙂


Happy sewing!

facebook/bloglovin/pinterest
Stay in touch!


Refashion It! Leather Coat to Leather Bag

Leather Coat Refashioned into Leather Bag by thisblogisnotforyou.comFinally.

After weeks of hurting fingers, broken needles and a lot of frustration, I finished my leather coat refashion. The outcome? A leather bag!

It was certainly not an easy and quick refashion project, that much I can tell you. Especially since it was my very first time sewing with real leather (rant ends here).

I found these two beauties in a thrift store a few weeks ago (6 pounds each!):
Leather Coat Refashioned into Leather Bag by thisblogisnotforyou.comLeather Coat Refashioned into Leather Bag by thisblogisnotforyou.com

(Is there a tree in my flat? Sort of.)

Quite a bargain! The coats are way too big for me, so there was plenty of leather and lining to use. For making the bag I only used the bottom leather panels of both coats and some of the lining from the pink coat.

I made the pattern for the bag myself and, as you can see, found a way to recycle the patch pockets of the pink coat. I love that the bag is big enough to carry a binder around (Not that I do that every day, but whenever I need to take one with me I realise that none of my bags are large enough.)
Leather Coat Refashioned into Leather Bag by thisblogisnotforyou.com
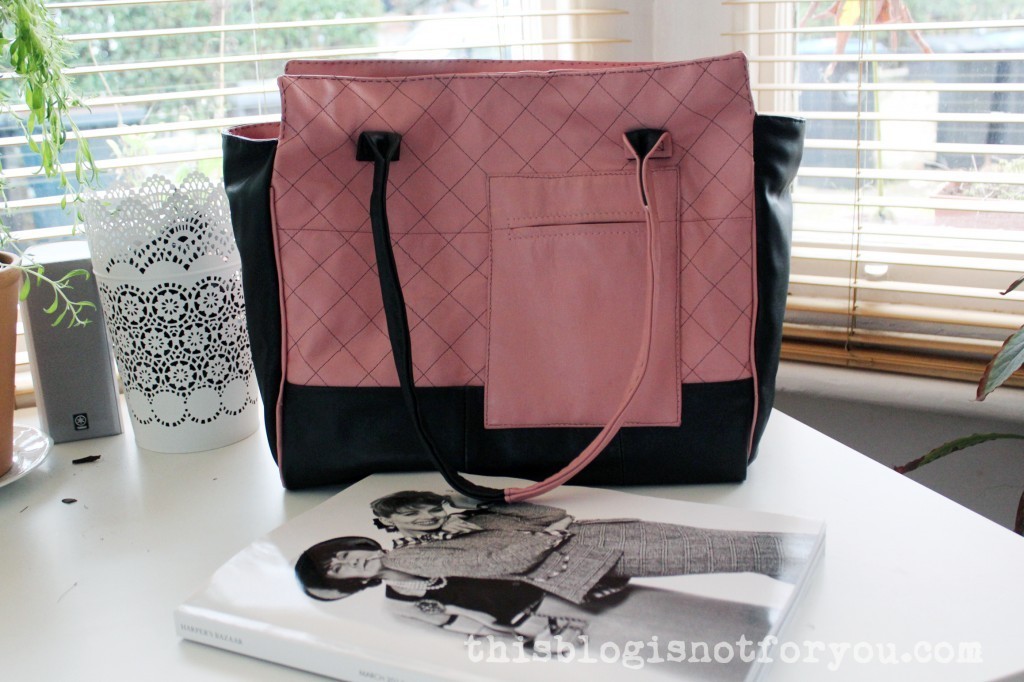
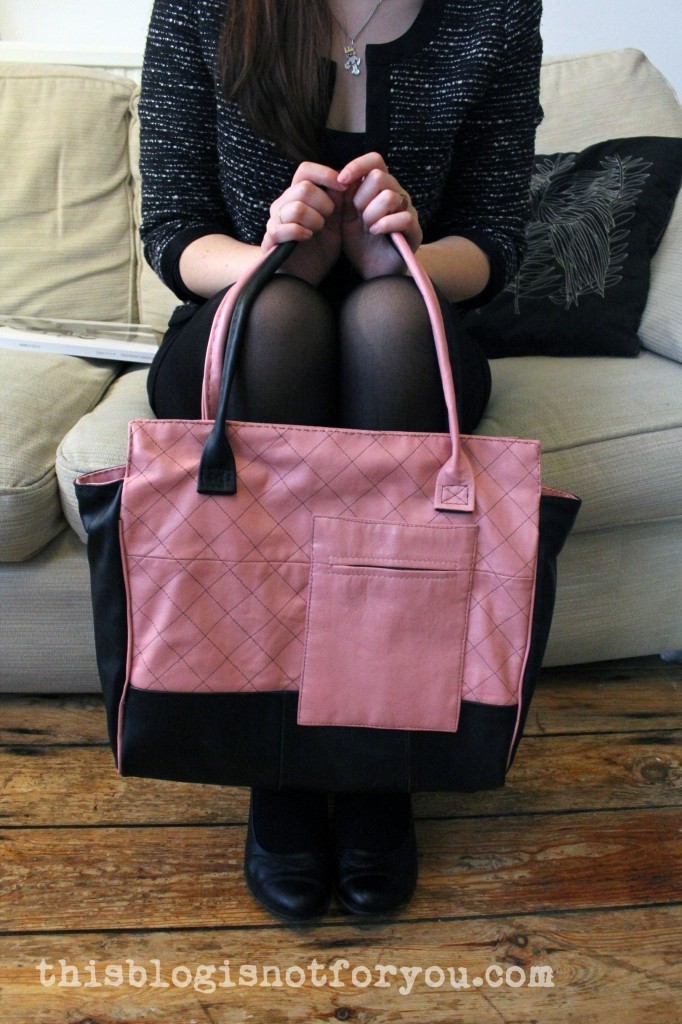
The bag unfortunately doesn’t count into my 27 Dresses Challenge (ohhhh….) and it’s also not for me to wear. SO WHAT’S THE POINT OF GOING THROUGH ALL THIS?

I made the bag for my little sis’ birthday (Yes, I must love her very much). I’m not really the pink bag type of girl, but she loves everything black and pink. Hopefully, it doesn’t fall apart, hehe. The bag was shipped off to good old Germany yesterday and hopefully won’t get lost on the way (I still don’t trust Royal Mail.)

I won’t post a tutorial on making the bag, but I have taken quite a lot of pictures during the process. So keep your eyes peeled for a making-of post in the next couple of days. I will then also post some pics of the innards and details! If anyone is interested in the pattern of the bag, leave me a comment. If there are a few of you who would like to try and make the bag without proper instructions, I might post the measurements of the pattern pieces.

FYI, my fingers stopped twitching over the weekend (Gosh! I was getting really concerned!) – I’m now fully recovered from the leather disease, yay! But I have plenty of leather left and already way too many ideas for further projects. So this definitely wasn’t the last time you see me masochistically tormenting my hands like this!

Leather Coat Refashioned into Leather Bag by thisblogisnotforyou.com

Happy week everyone!

PS: There’s still plenty of time left to join our Hollywood Sewalong!!
PPS: Who’s watching the Sewing Bee? Some seriously cool refashions this week!

facebook/bloglovin/pinterest
Stay in touch!

DIY chalkboard hairslides

DIY chalkboard hairslides by thisblogisnotforyou.com
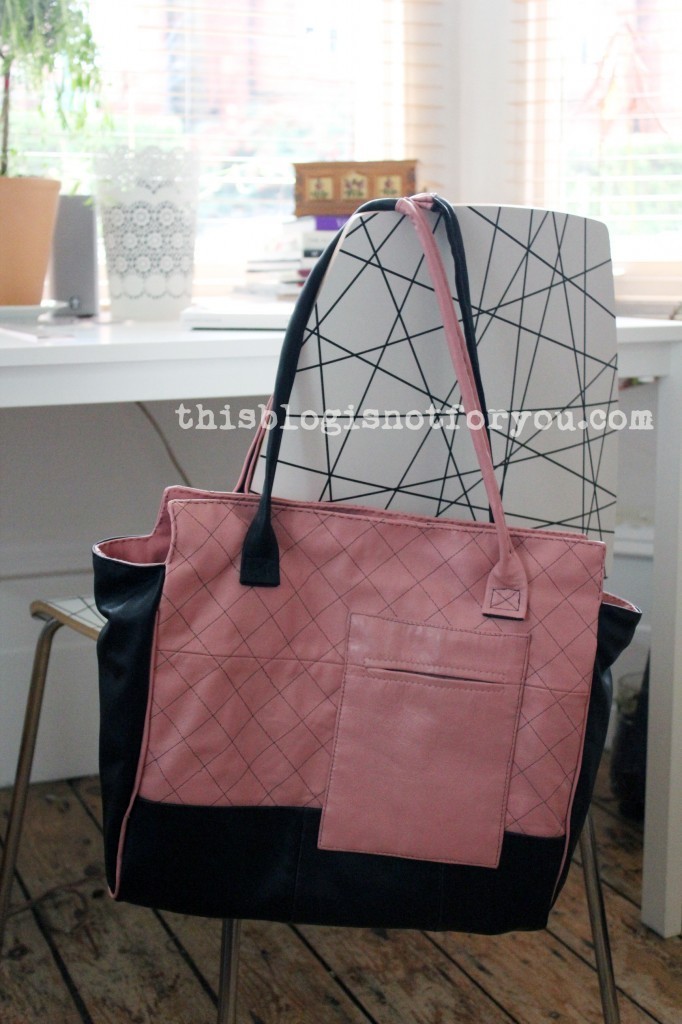
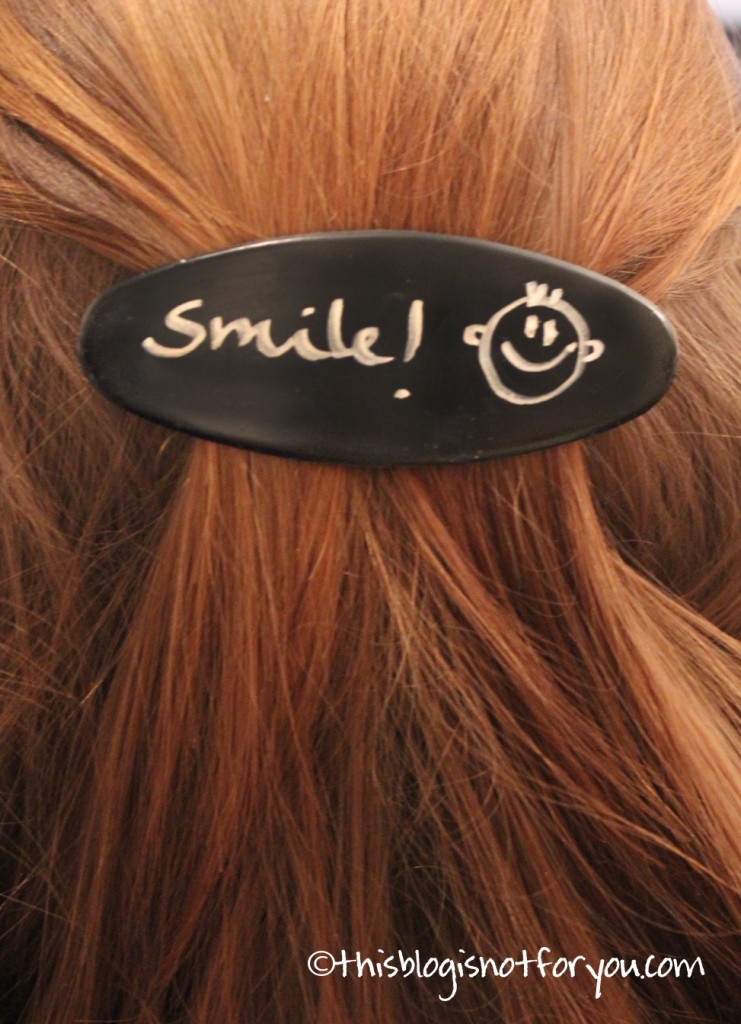
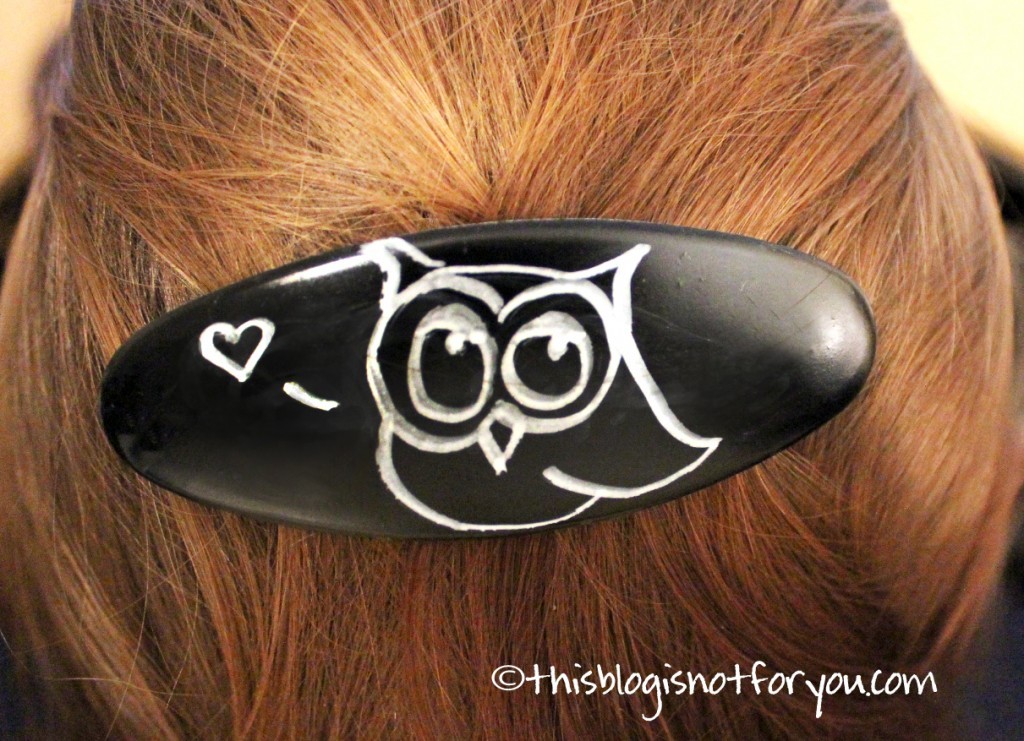
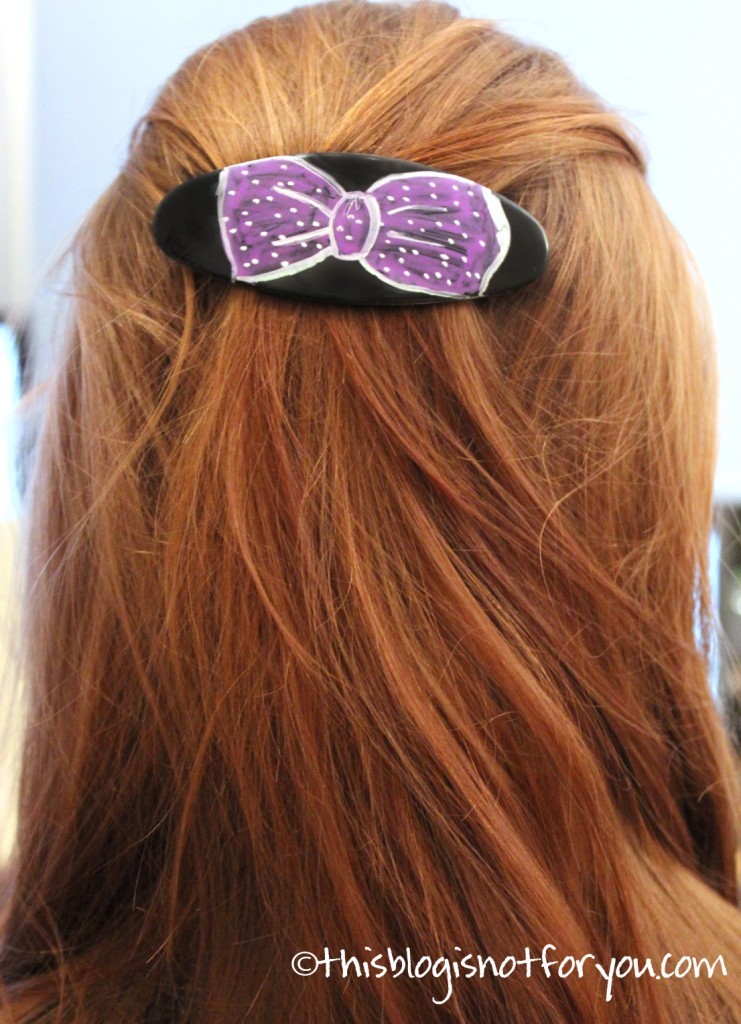
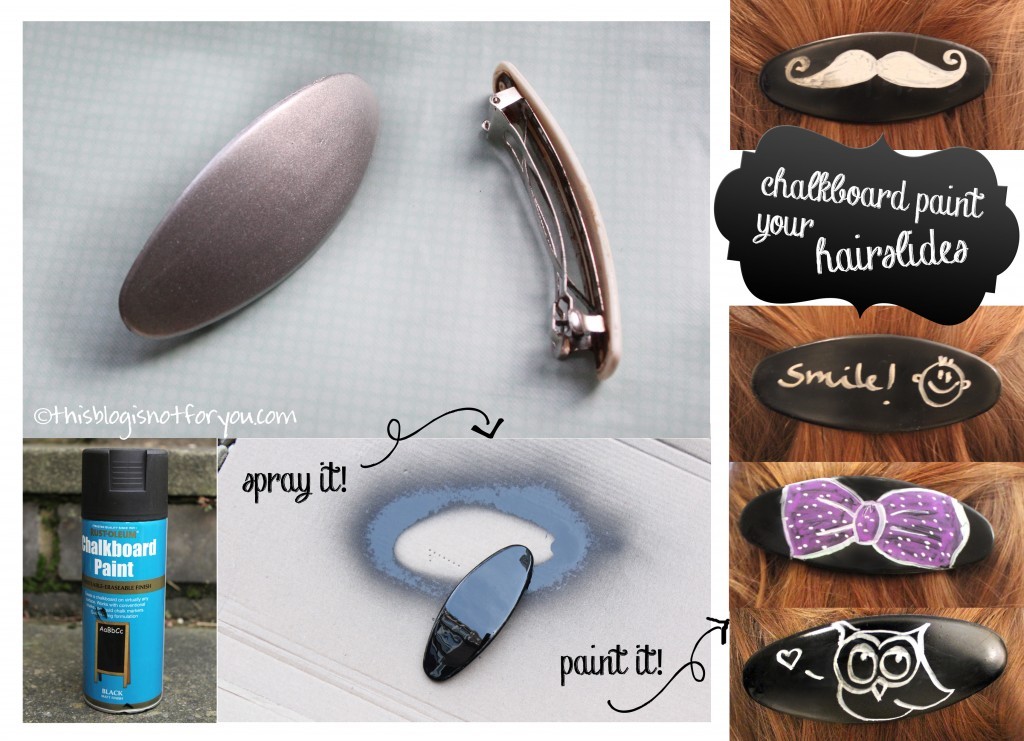
Here’s another chalkboard project! It’s super quick and super simple and so much fun!
Just find some old hairslides or clips (I’m pretty sure you have them!) and spray paint them with chalkboard paint. In my last chalkboard paint project I explained briefly how to do this (please don’t spray inside the house!!)

The fun part is painting the hairslides after the spray paint is dry. (Let it rest for a few hours or over night, depending on how many layers you put on – just to be on the safe side! You don’t want to have permanent fingerprints on it – although that could be a fun DIY idea…) For painting them I used liquid chalk markers, you can easily get them online or in craft stores and they are quite inexpensive. Sure, you could use normal chalk instead but it smudges very quickly.

Let the pictures speak for themselves:

thisblogisnotforyou.comthisblogisnotforyou.com

We {love} Buttons – craft ideas with buttons

Wow, third button post in two days – I certainly love buttons 🙂

Recently, I got some really awesome retro ones from the boyfriend’s grandma. They were so pretty that I had to take pictures of them:

we love buttons - thisblogisnotforyou.com
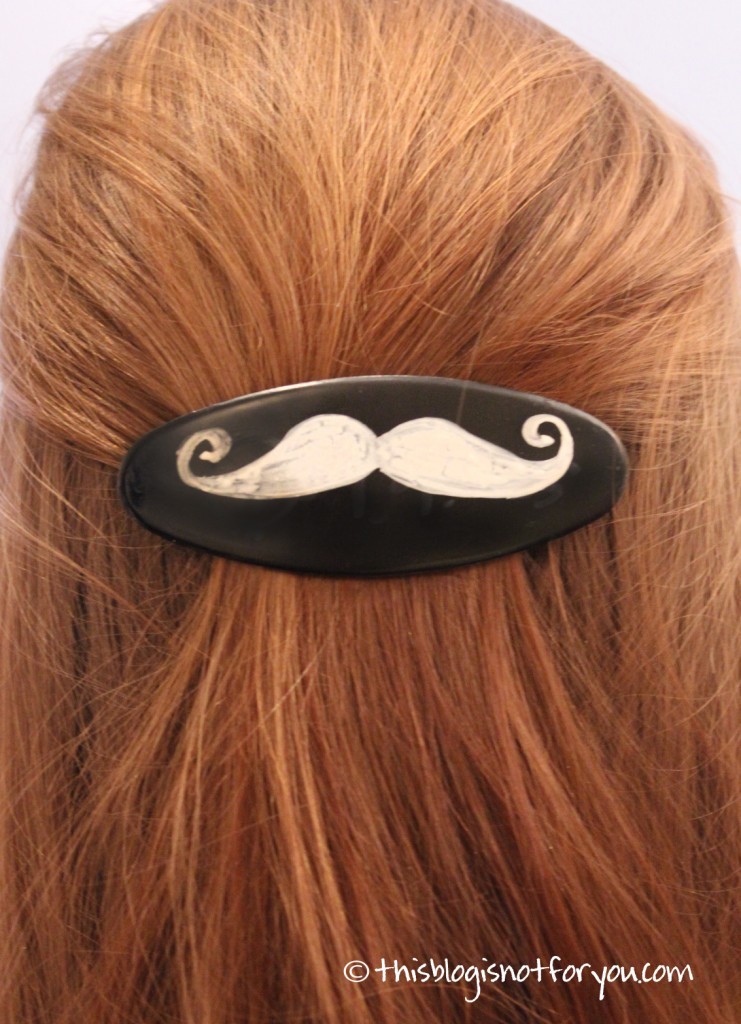
I especially love these. The black/white would be great on a b/w dress.

we love buttons - thisblogisnotforyouCute for shorts or a white/dark blue blouse.

we love buttons - thisblogisnotforyou.com
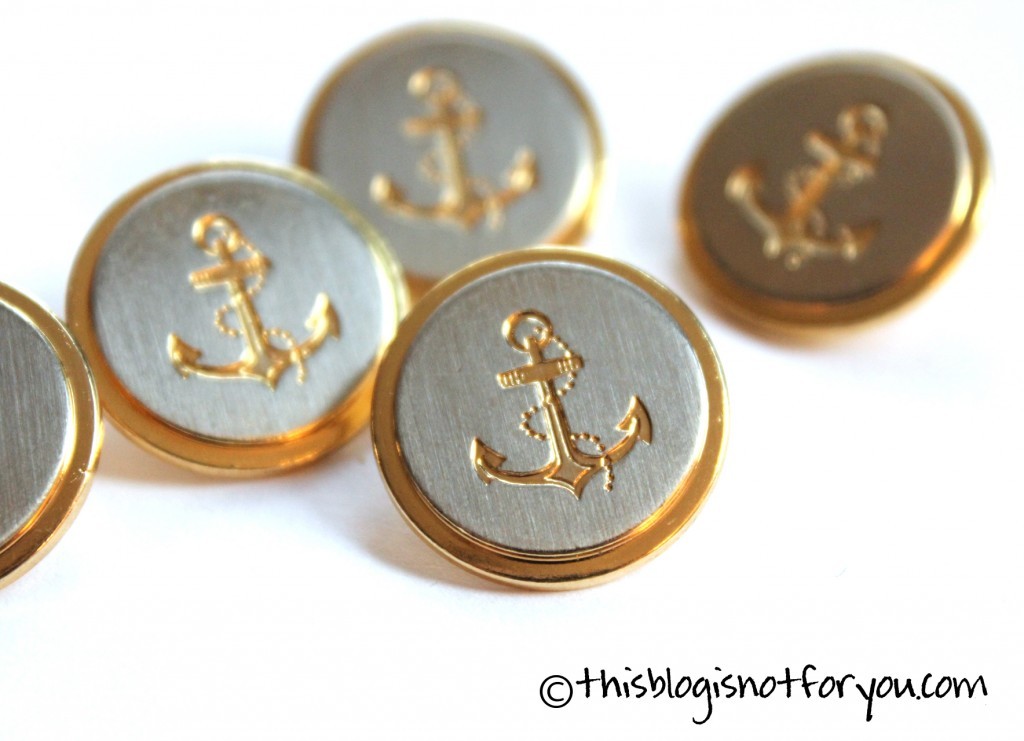
Definitely my favorites! They are quite heavyweighted, but the anchors are just adorable.

we love buttons - thisblogisnotforyou.com
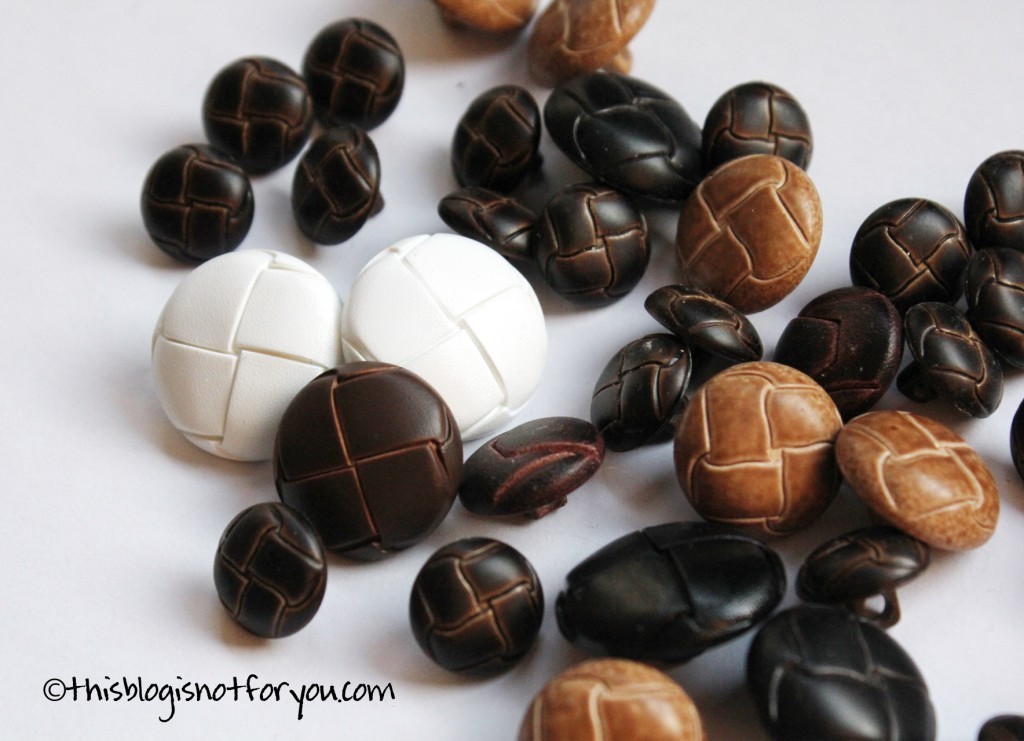
I’ve so many of these leather buttons but I am still searching for a project idea. Any ideas?

we love buttons - thisblogisnotforyou.com
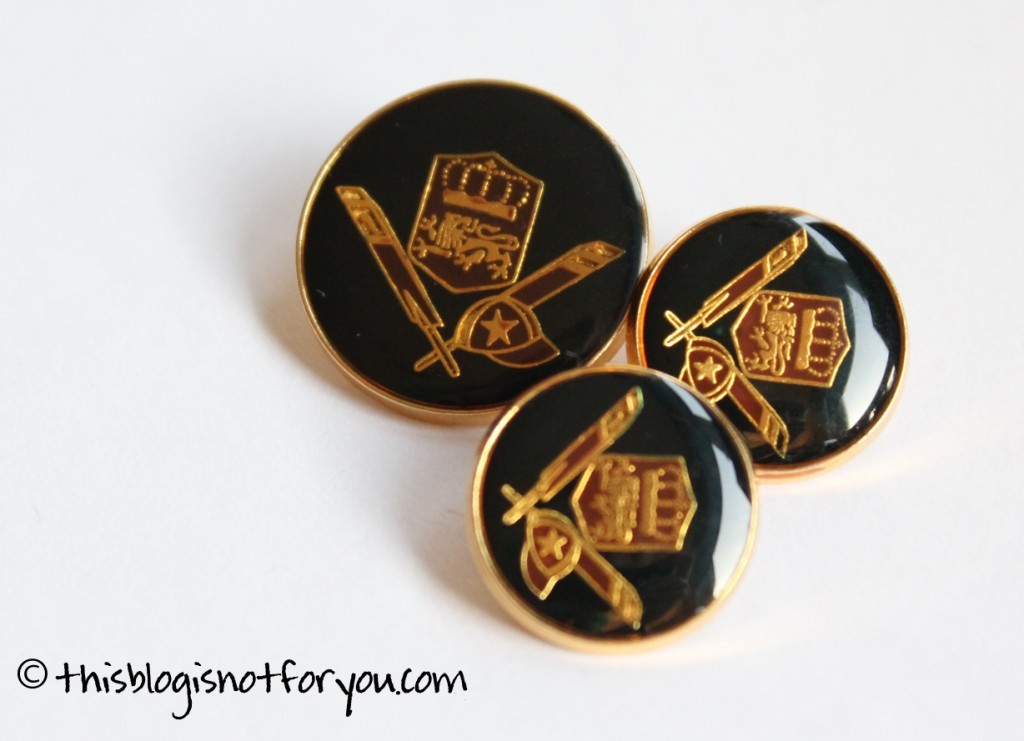
For a detachable collar or necklace?

we love buttons - thisblogisnotforyou.comwe love buttons - thisblogisnotforyou.com
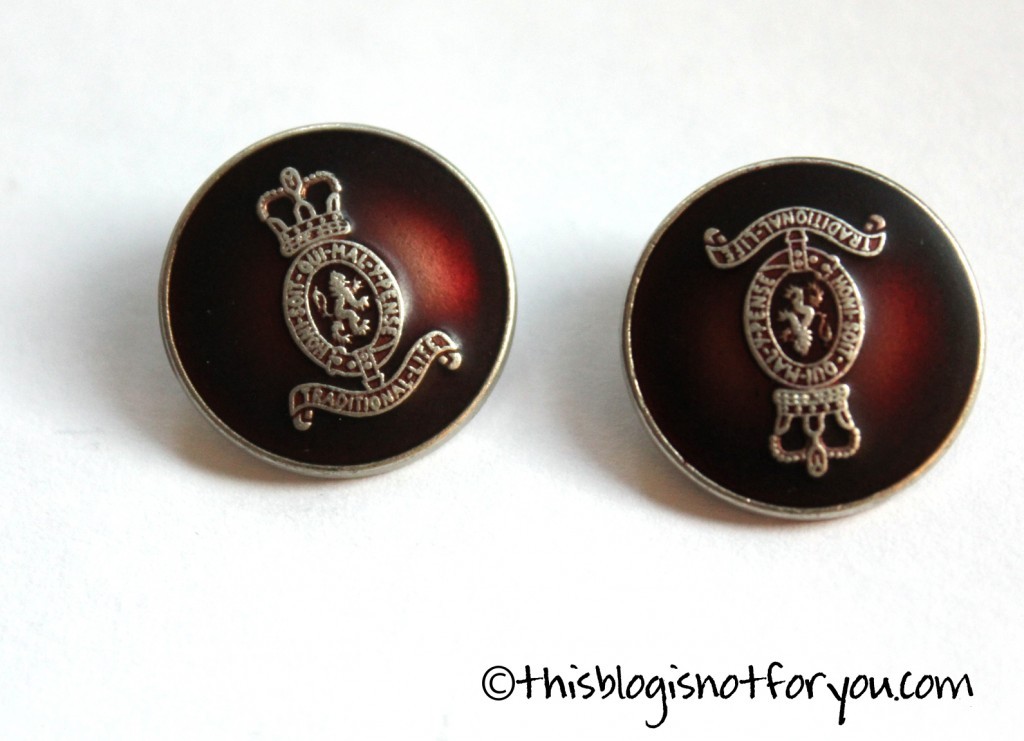
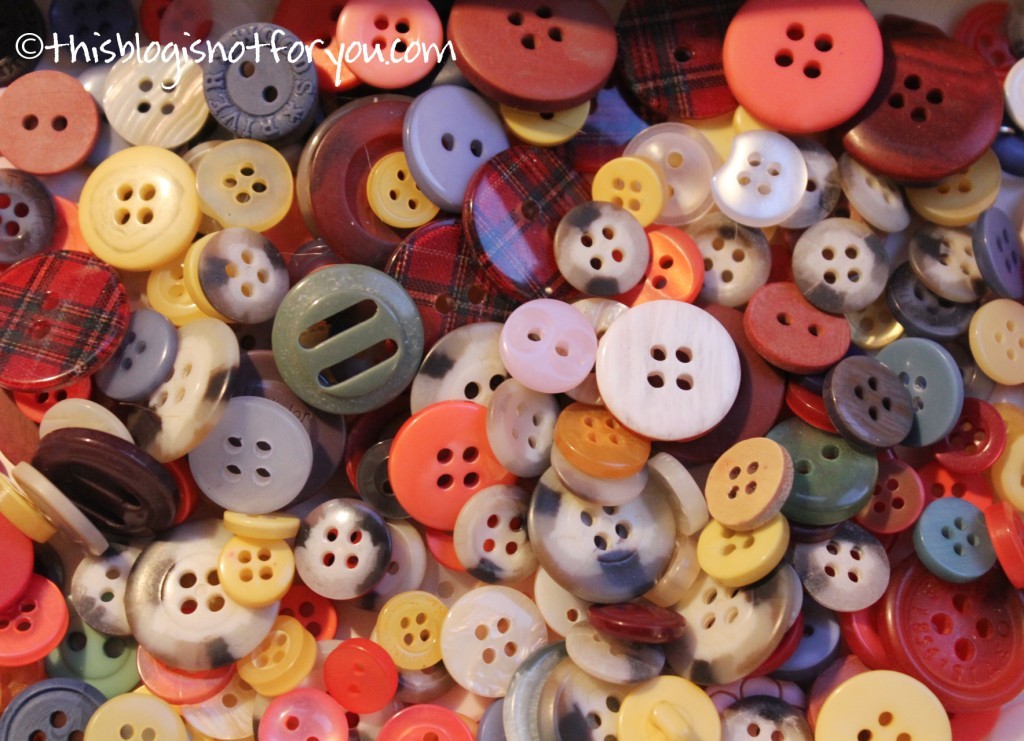
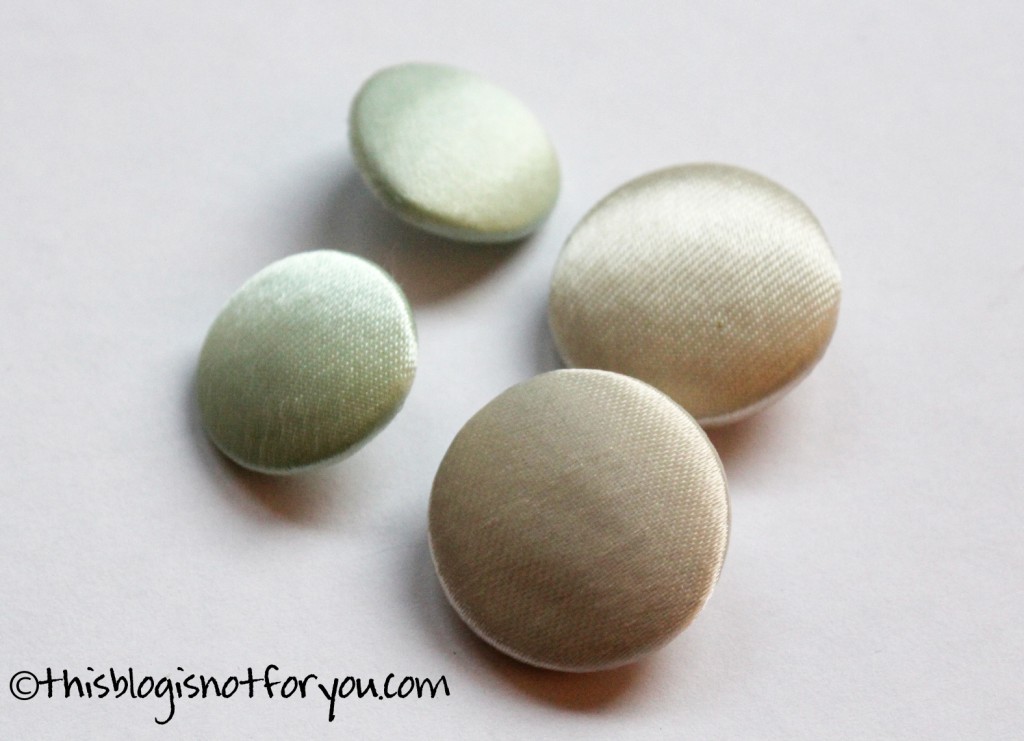
I love these, especially the creme coloured ones. Unfortunately, I have only two of them…

craft ideas with buttons by thisblogisnotforyou.com
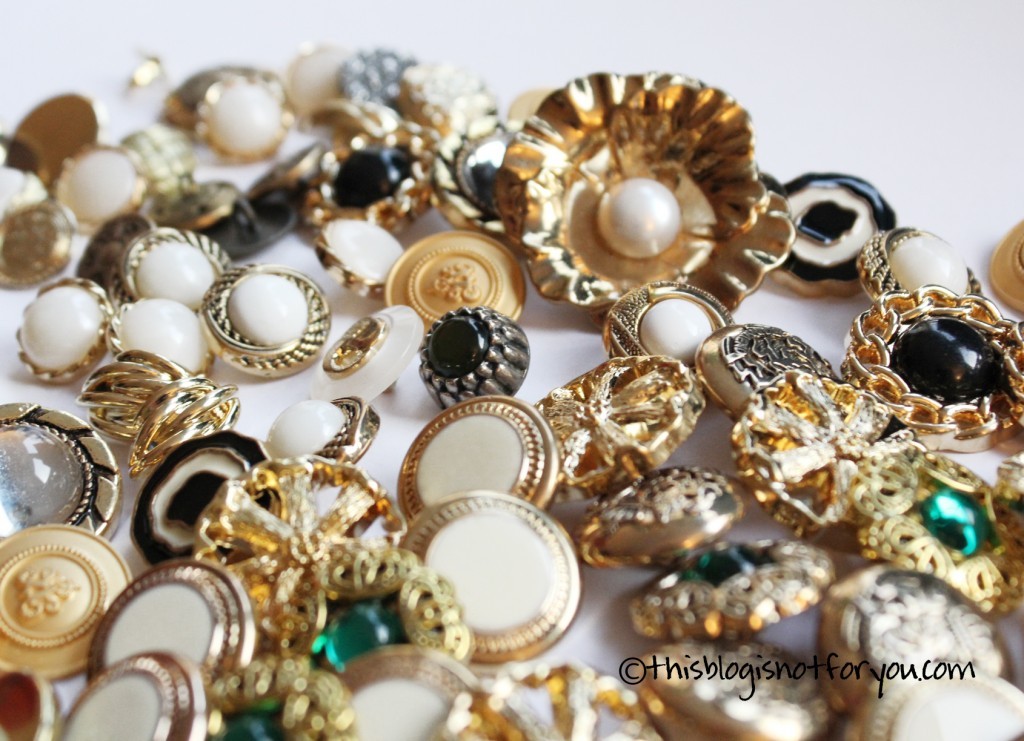
I have so many lovely gold/silver buttons and had a look around for some craft/sewing inspiration. This is what I found:

Project Inspirations for Gold/Silver Buttons


I especially love the last one. (I have exactly the same buttons!!)

craft ideas with buttons by thisblogisnotforyou.com


craft ideas with buttons by thisblogisnotforyou.com
I also have loads of buttons in different sizes and colours. Here’s some inspiration I found:

Project Inspirations for Coloured Buttons

Hapa’s Eco Renewals has refashioned a pair of blue pants. Nice idea for all the colourful buttons I have left.

There will be definitely some button projects coming up in the near future 😉
Here are some ideas I’ve done so far:

refashioning clothes with buttons
Zipper and Buttons Bracelet
Buttons and Beads Braclet