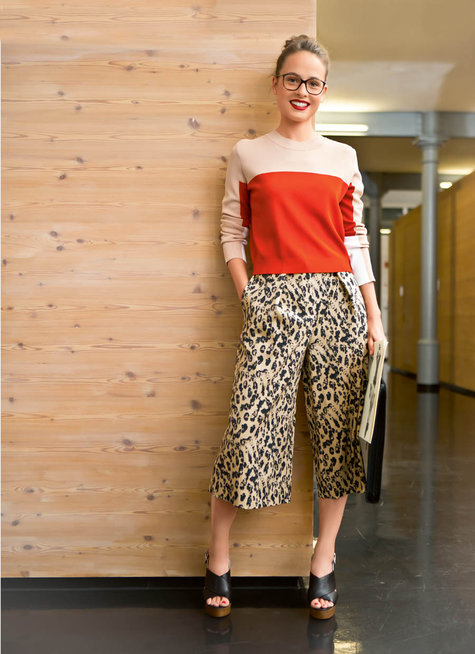
Burda Style Midi Culottes 04/2015 #113A

 Burda Style Midi Culottes 04/2015 #113A by thisblogisnotforyou.comHello everyone! Hope you are all having a fantastic weekend! Mine has been great so far – had my last day at work on Friday followed by leaving drinks in the evening which was fun and pretty sad as well! Yesterday we hit Walthamstow market and I went a bit crazy fabric and notions shopping, because, who knows, there might be no fabric in Germany! (Or that’s what I kept telling me). And today I’m resting my feet and will tidy up and sort out all my sewing stuff in preparation for the big move.
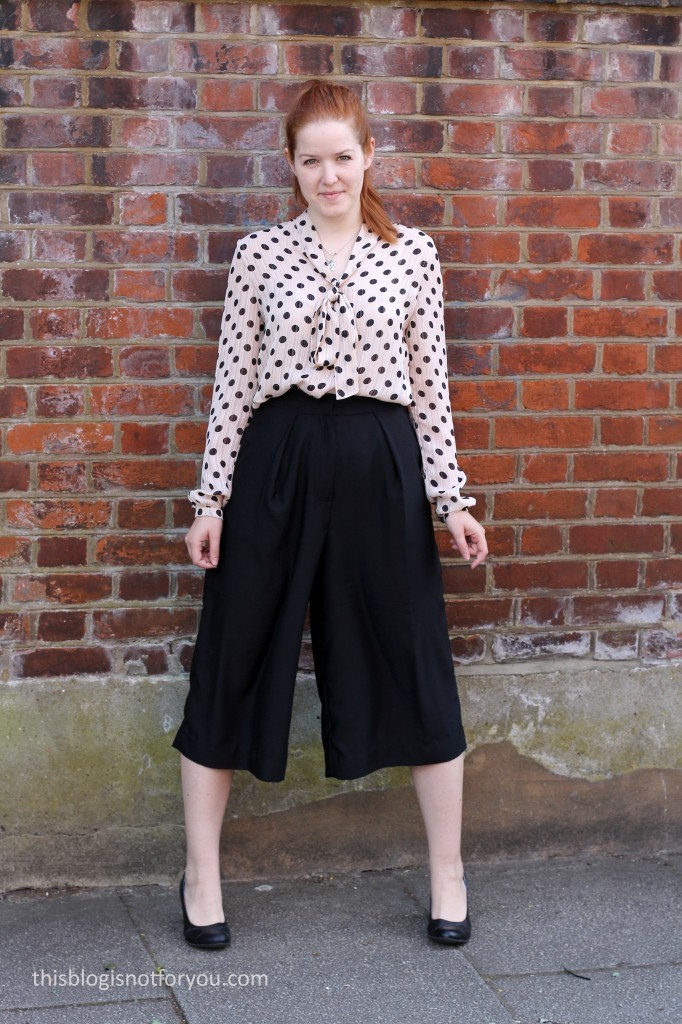
Ahh, and did I tell you that I spontaneously made a Dirndl dress (including handmade Dirndl blouse and apron) last week because we had a fancy dress fundraiser at work? Well, I did, and it was pretty crazy as I had slighlty underestimated how much work that would be. But hey, I ended up with a pretty fab costume, lots of compliments and an actual Dirndl dress which I might even wear again in the future should I ever go to Oktoberfest. Anyhow, this project isn’t photographed yet, but you can head over to my Instagram (see sidebar) to see the end result! Burda Style Midi Culottes 04/2015 #113A by thisblogisnotforyou.comBut let’s talk about these culottes now! The moment I saw the pattern in Burda Style magazine I wanted to make them. I wasn’t sure whether they would be flattering or practical, but they just looked too comfy and cool.
Pattern and Construction:
source: burdatsyle.com
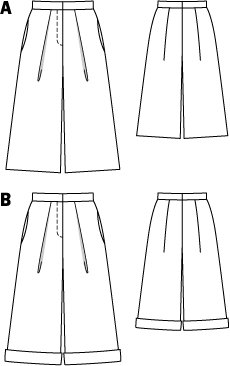
source: burdastyle.com

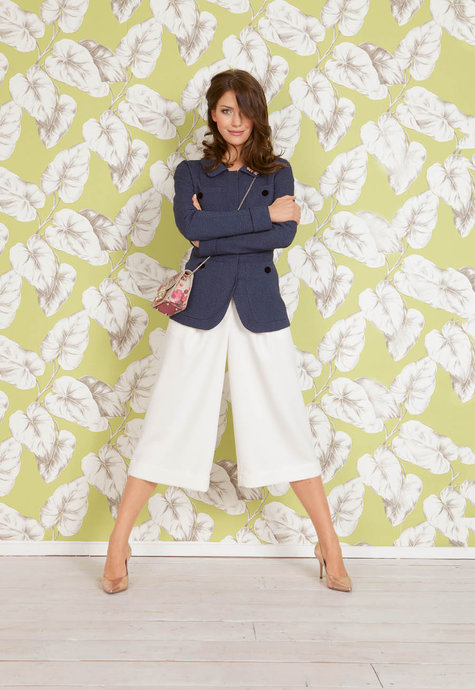
The pattern is Burda Style Midi Culottes 04/2015 #113A.  Burda Style seems to have a thing for culottes now, as they only just had another pattern in the March issue.

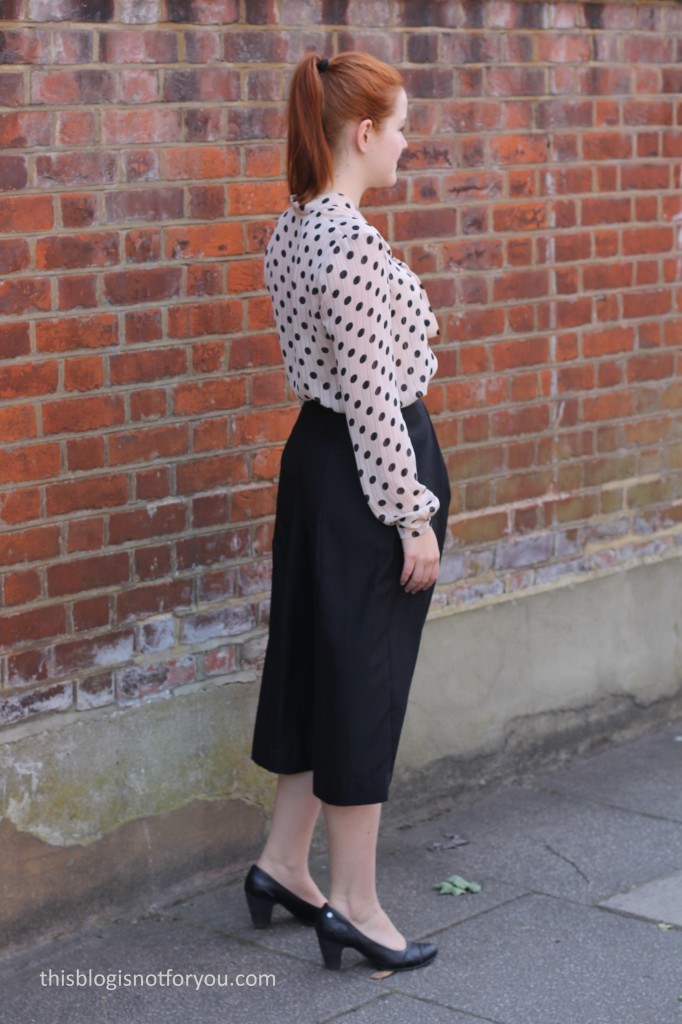
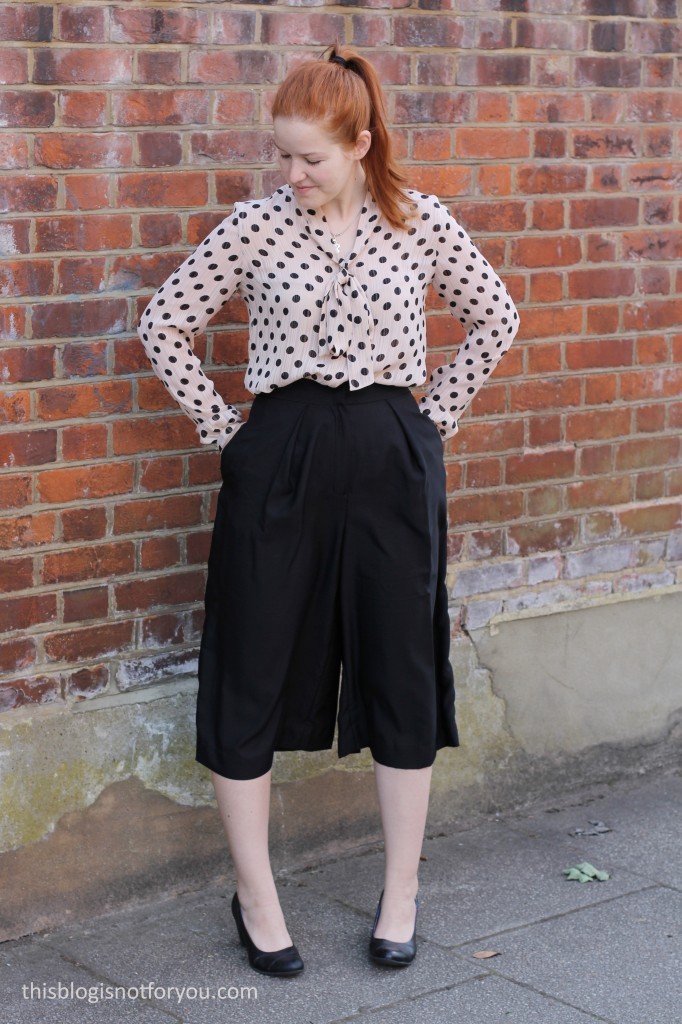
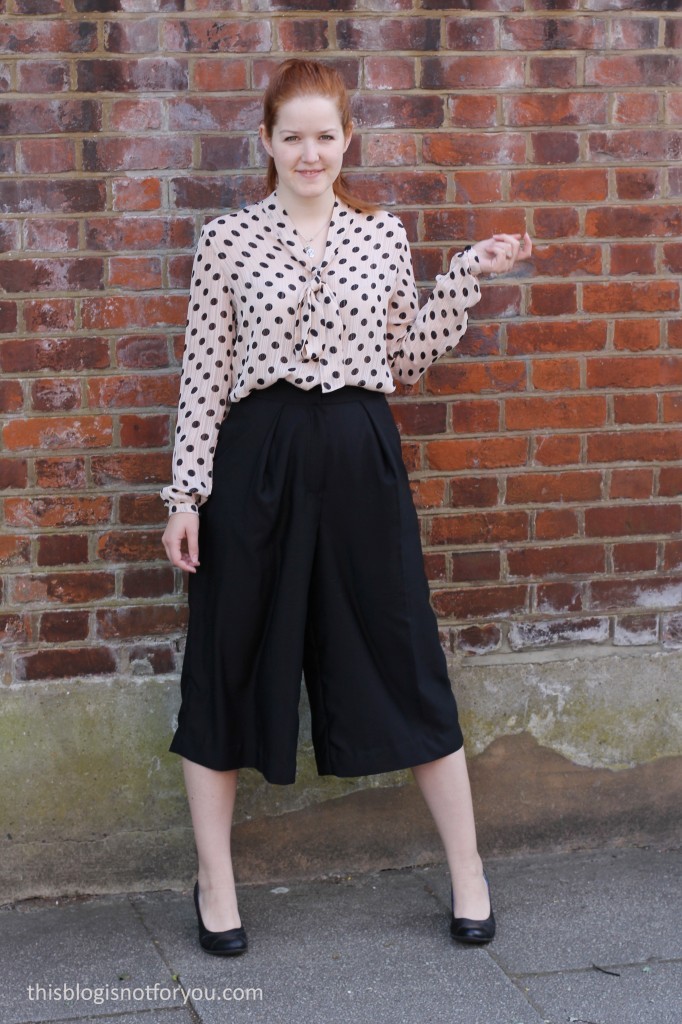
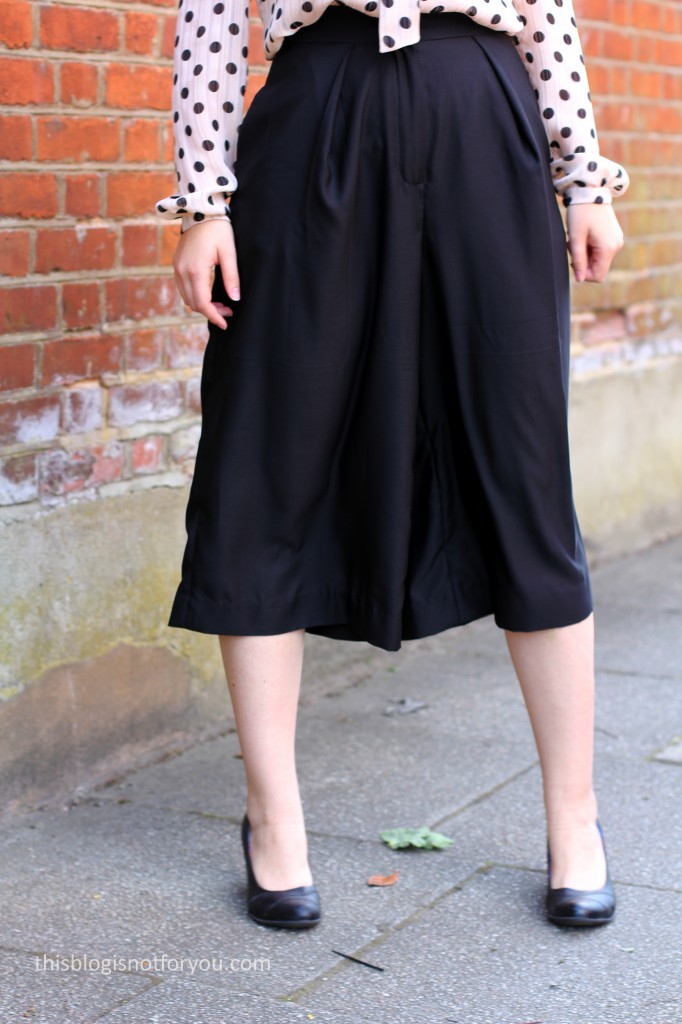
The pattern came together very easily, the fit was spot on. I didn’t grade up as usually, as it’s a wide fit and went with size 10 (EUR 36) which I normally use for Burda Style bodices. The waistband sits on the natural waist. The culottes lay flat on the top thanks to the pleats and then flare out. They almost look like a midi skirt, it’s only when you start walking and people see it actually trousers.

The pattern inludes pockets (I looove pocketses!) and has a front fly which is the only slightly more complicated bit of the construction. Luckily, this pattern is featured in the magazine with detailed and illustrated instructions, so everything came together smoothly.
 Burda Style Midi Culottes 04/2015 #113A by thisblogisnotforyou.comThe Fit:

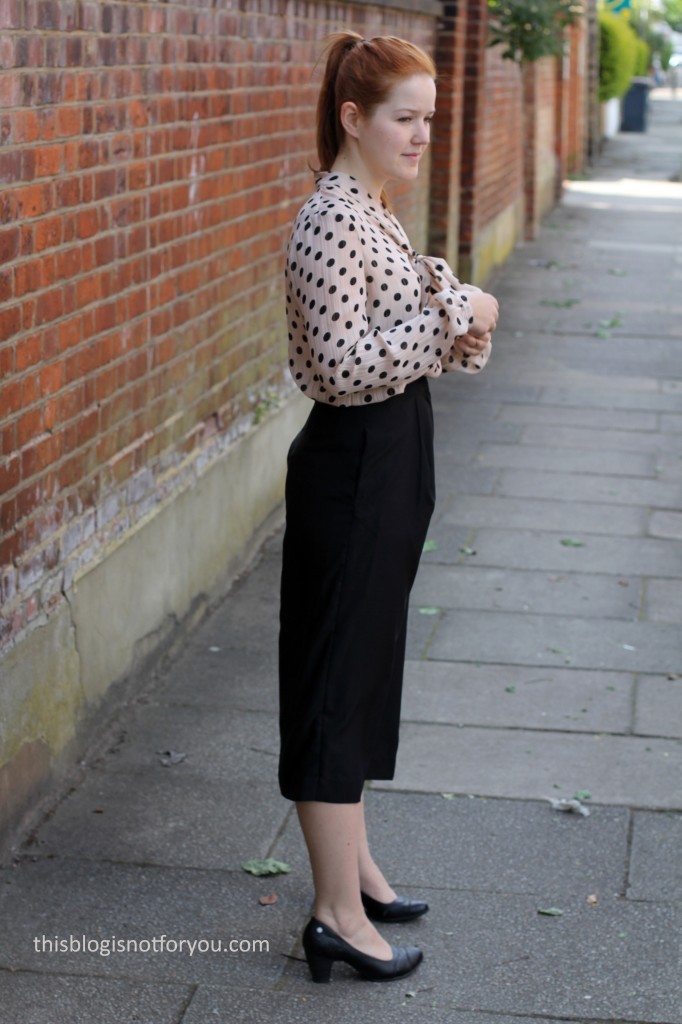
As I said, the fit was pretty much spot on. They are very flattering, also you can’t really see that in the pictures. (I really need to give those pleats another good press.) I love the high waist. The midi length might not work for everyone, but I think shortening the culottes might make them look a bit awkward. Although midi length often is on the verge to looking a bit frumpy and old-fashioned, it really works with these culottes especially when you wear them with heels. Burda Style Midi Culottes 04/2015 #113A by thisblogisnotforyou.com Burda Style Midi Culottes 04/2015 #113A by thisblogisnotforyou.comFabric and Notions:
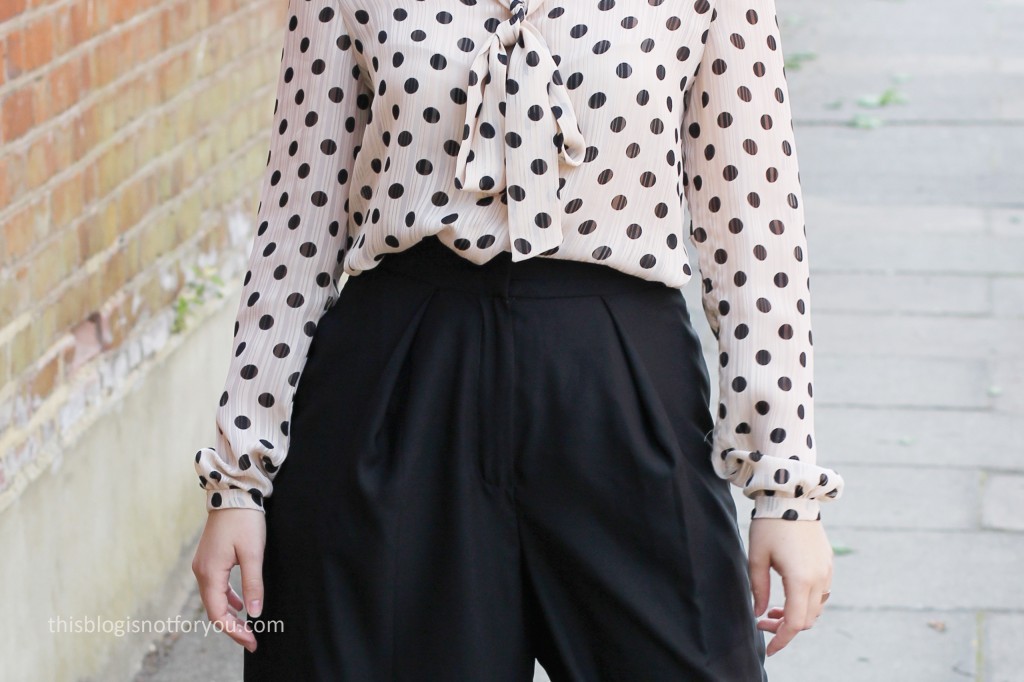
lightweight polyester (charity shop), polyester thread (Isacord), extra fine (70) sewing machine needle (Hemline on Amazon), overlocker to finish fabric edges, trouser hook with rivets (Weaverdee.com), 9 inch zip

The fabric is definitely not the perfect choice for this garment, but I wanted to make a wearable muslin first and this fabric was cheap and on hand. It’s a very, VERY light-weight polyester, which you can see in most of the pics as it  only was a bit windy that day and the culottes basically wouldn’t hang straight.

The fabric is actually a 5m sari shawl (that’s probably not the right technical term for it) that I got in a charity shop for only a few quid. The fabric drapes beautifully and is super comfy, but I will definitely go for something with a bit more volume next time. I bought a pretty navy blue polyester-cotton-blend in Walthamstow yesterday which I will probably use for another one.
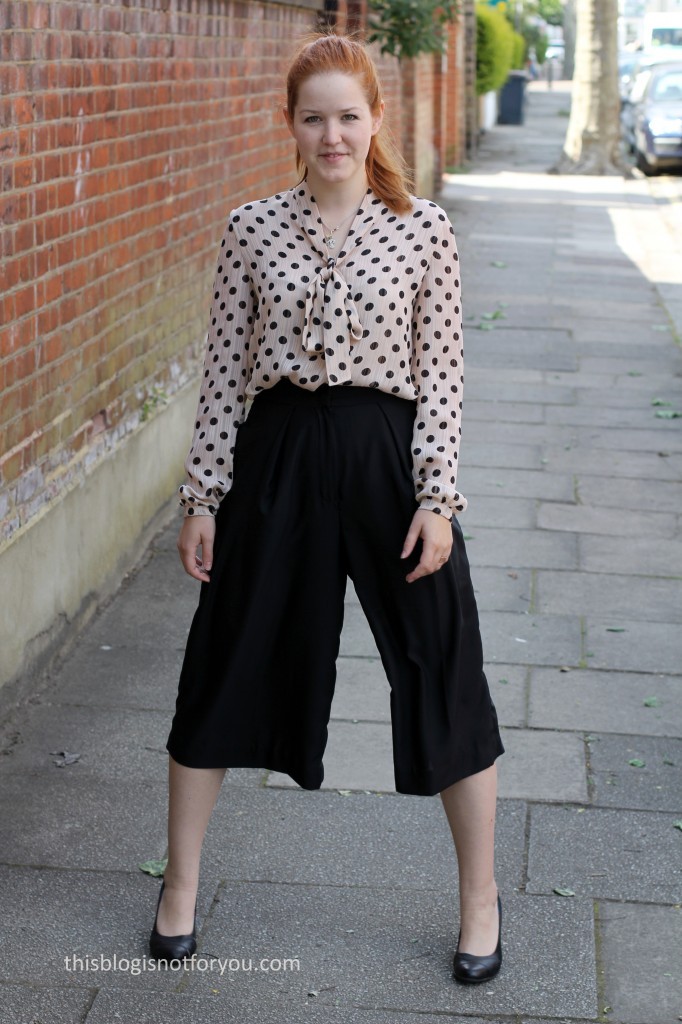
 Burda Style Midi Culottes 04/2015 #113A by thisblogisnotforyou.com Burda Style Midi Culottes 04/2015 #113A by thisblogisnotforyou.comSo overall, I’m quite happy with how they turned out. Obviously, the fabric isn’t quite right, but it sort of works. I think they look quite elegant – the Mr. says I look like a pirate in them. Well, I don’t mind that. Yoho! Burda Style Midi Culottes 04/2015 #113A by thisblogisnotforyou.com
Will I make it again?

Yes, I’m pretty sure you’ll see another one soon! It wasn’t an overly complicated project and it’s good for practising sewing a front fly! I already have fabric for another pair of culottes.

What do you think of the culottes trend? Do you like it? Would you make some yourself?


Happy sewing!

facebook/bloglovin/pinterest
twitter/instagram

Stay in touch!
Introducing WeaverDee.com

weaverdee_BLOG_
Hello, my sewing friends! Today I wanted you to get to know WeaverDee.com, my new sponsor!
WeaverDee.com is a brand-new sewing & craft online shop which only launched this month.
WeaverDee.com is a family run business that is primarily online, but customers will have the option of booking machine demonstrations by appointment, which would take place at their location in Middlewich, Cheshire. This advice of course is also on offer by phone or online, I especially love the Sewing Machine Jargon Buster A-Z  and  the Sewing Machine Buying Guide that you can find on their website. This is really super helpful stuff if you want to buy a sewing machine.
weaverdee_BLOG3
WeaverDee.com stocks items like
  • Gutermann sewing and embroidery threads
  • Sewing machines, Embroidery machines, Overlockers: Brother, Janome, Husqvarna Viking, Elna, Bernina
  • Feet and accessories for machines
  • Sewing Patterns (over 4000 designs): Simplicity, Vogue, New Look, McCall’s, Kwik Sew, Butterick, Burda
  • YKK zips
  • pins, needles
  • HORN Sewing furniture
  • Fabrics
  • Buttons
  • Various quality sewing tools such as; marking tools, tracing tools, awls, seam rippers…
  • Dress forms / dressmakers’ dummies
  • Ribbons
  • Bias bindings
  • Elastics
As the shop is super new, the range will expands more and more over the next months.
weaverdee_BLOG5
They have a 20% sale and free UK deliveries until tomorrow (Monday 18th) at midnight! So pop over and have a look around! If you can’t make up your mind that quickly (sorry for the late notice!) then there’s still time to enter the prize draw to win a Bernina sewing machine (what a sexy lady!) until 31st May!
I got a few sewing supplies(just in the nick of time!) and some lovely cotton which will either become a summer top or casing for one of my handmade notebooks (will blog soon!).
Happy shopping (and sewing)!
Charlie x


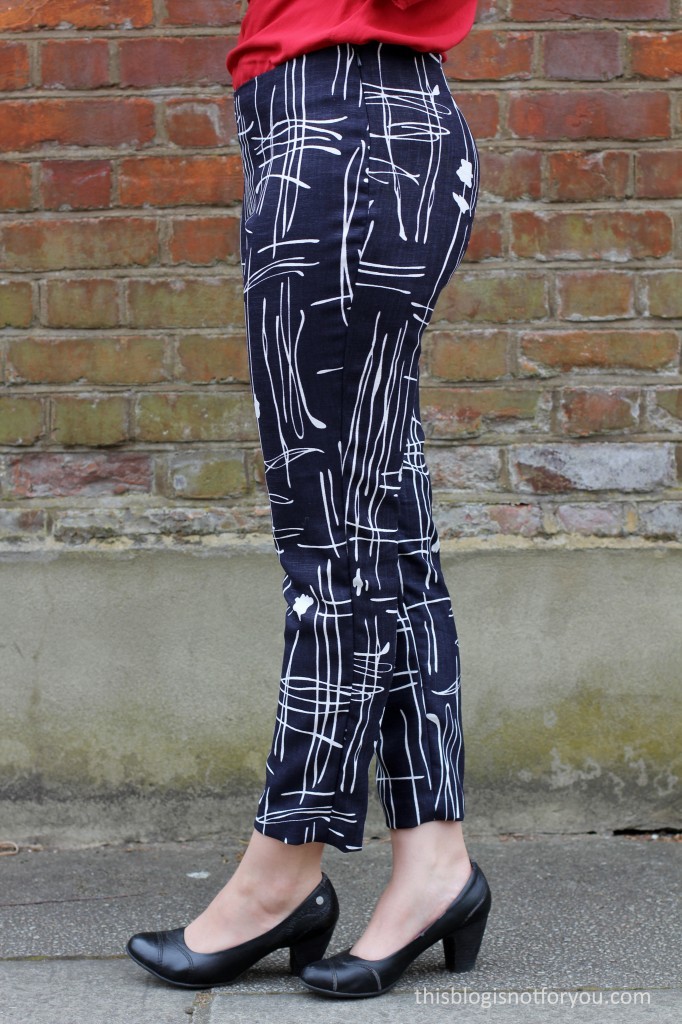
My first pair of (Ultimate) Trousers

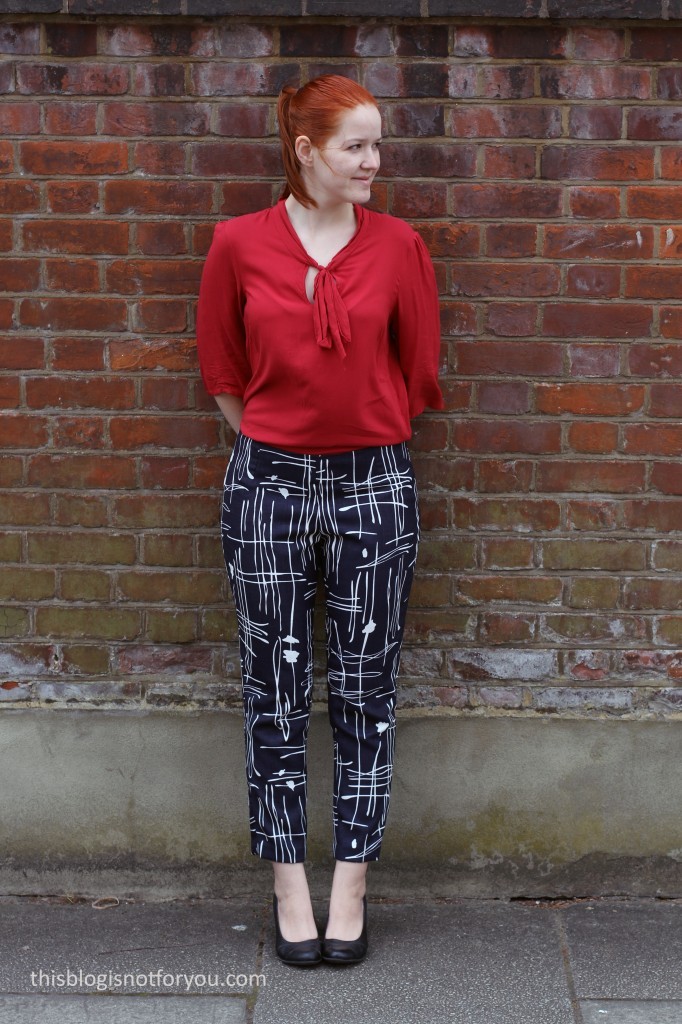
sew over it - ultimate trousers by thisblogisnotforyou.com

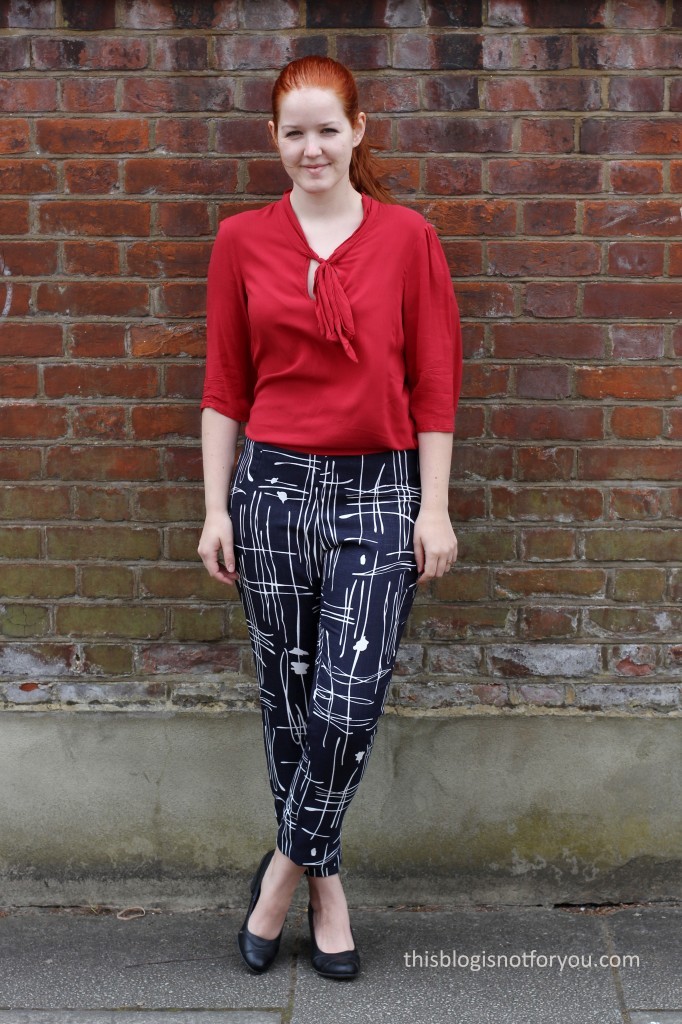
Hallo, meine Lieben! You won’t believe it! After so many years of sewing, I’ve finally made my first (wearable) pair of trousers! (Not counting any shorts I’ve made.) Traumatised by hundreds of very unhappy experiences shopping for well-fitting trousers I decided at some point that sewing trousers was very difficult and frustrating and certainly nothing I wanted to try.

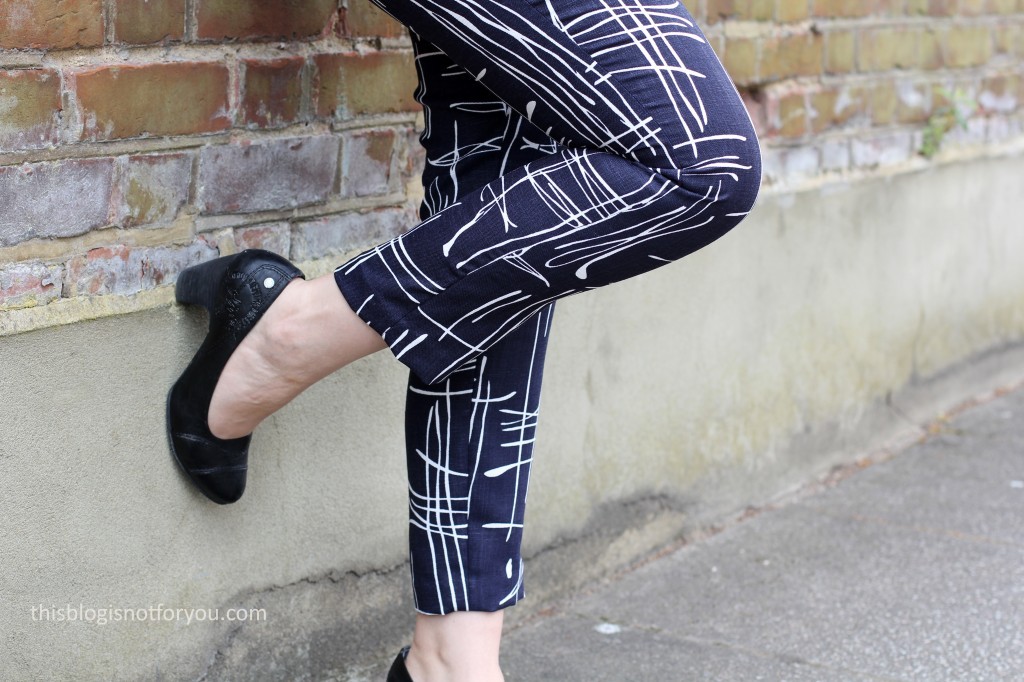
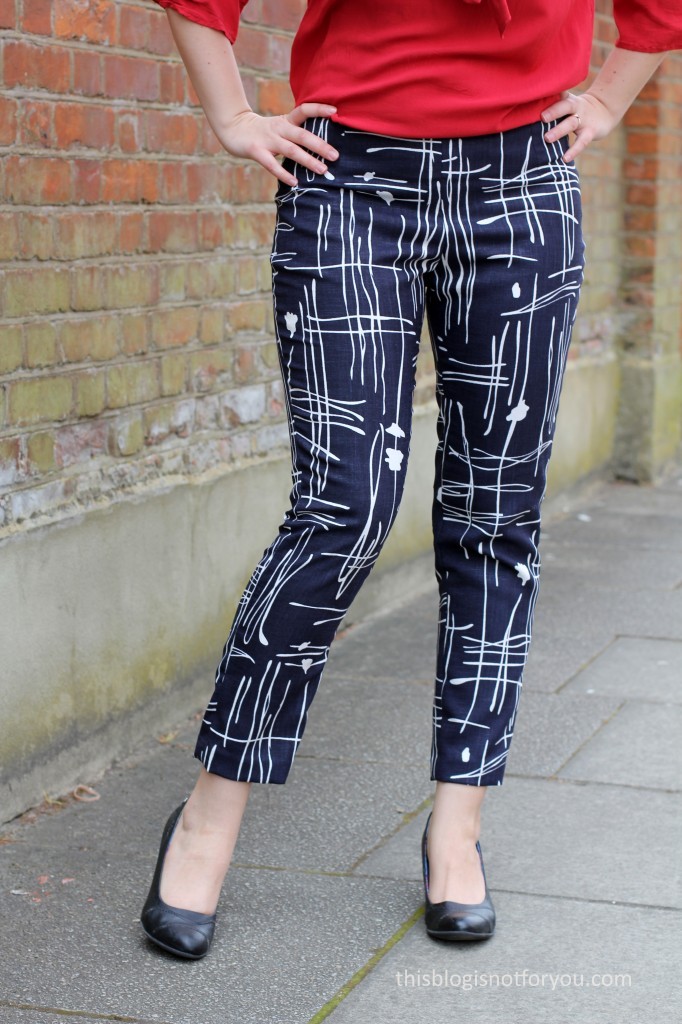
After testing one of their patterns, Lisa from Sew Over It kindly send me her Ultimate Trousers pattern which promised to be a super easy sew, so it went on my to-sew list. About a year later, I’ve finally given it a try and even went as far as making a muslin (a step which I happily skip more often than not). The muslin was a bit meh and I made a couple of very simple changes here and there and suddenly I ended up with some lovely trousers that actually fit me. Who would have known. sew over it - ultimate trousers by thisblogisnotforyou.comsew over it - ultimate trousers by thisblogisnotforyou.com

The Pattern:

As mentioned, I used the Ultimate Trousers pattern by Sew Over It, which is available as PDF(£8.50) or paper pattern (£14). I think it’s well worth the money, as it’s a simple, classic cut that it very easy to fit and which could be used as a base if you want to draft something more complicated. I’ve got a feeling that this will be my TNT trousers pattern for many more projects to come.

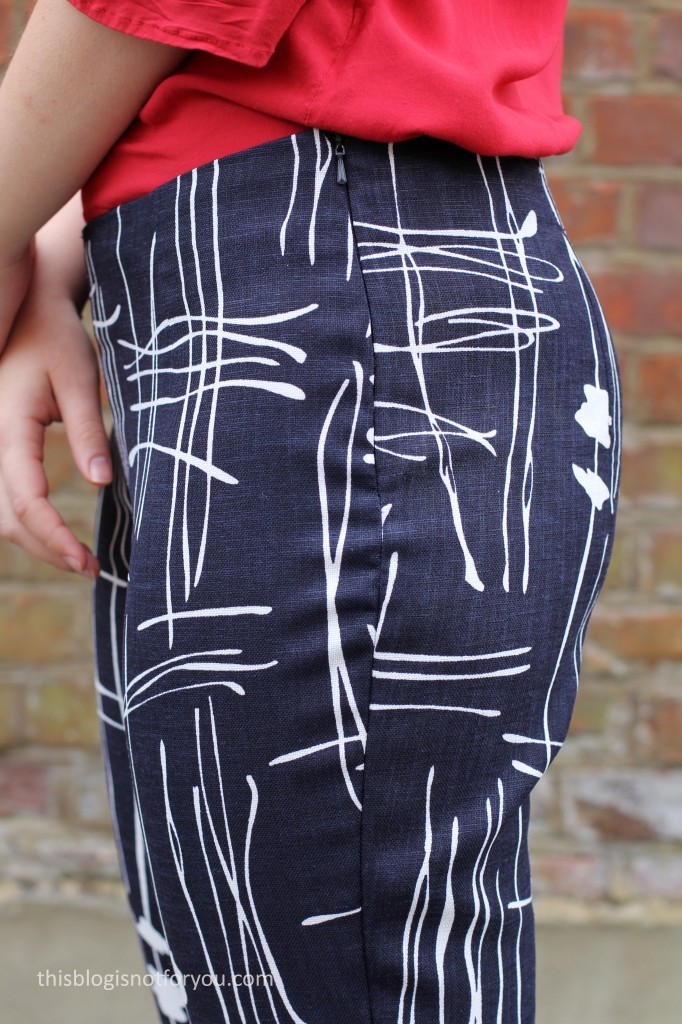
The pattern comes with detailed and illustrated instructions and it only took me a couple of hours from start to finish. There are no complicated front fly or pocket techniques to tackle, just a very simple invisible zip that’s inserted in one of the side seams. There’s no waist band, but facing instead.

I didn’t make any major changes to the pattern, just some tweaks here and there to adjust the fit.
sew over it - ultimate trousers by thisblogisnotforyou.comsew over it - ultimate trousers by thisblogisnotforyou.com

The Fit:

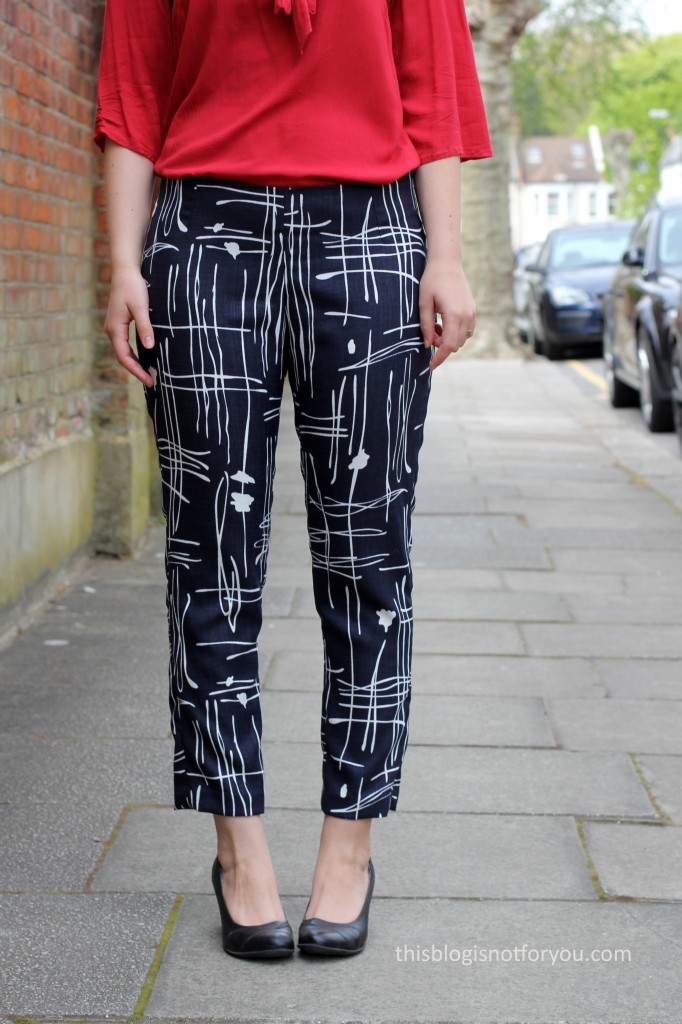
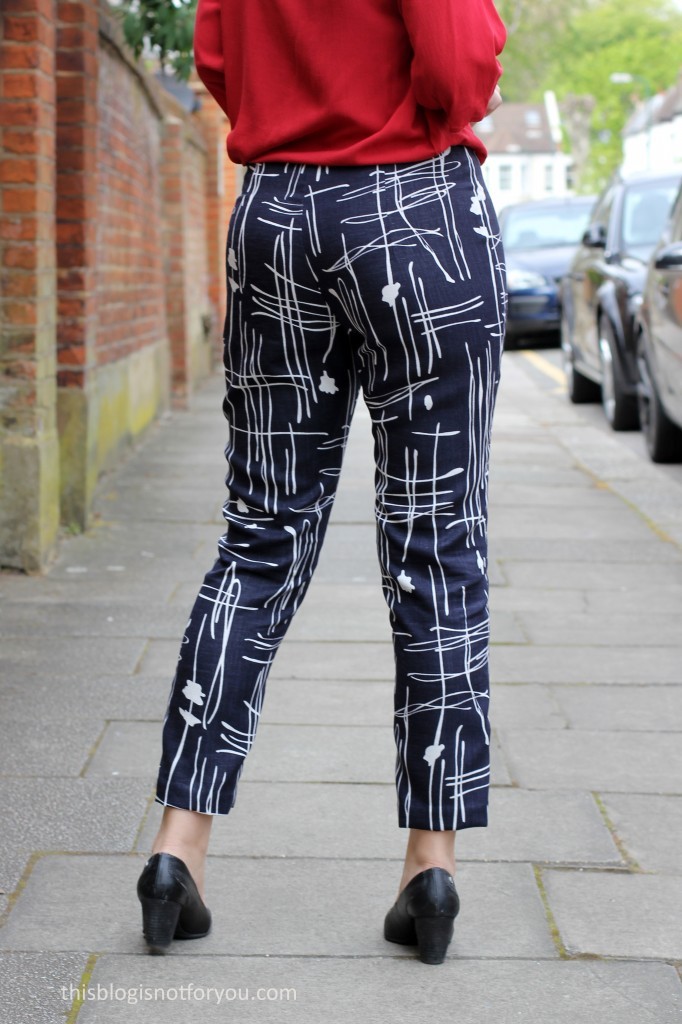
The fit was almost spot on, I just had to grade my size up a bit at the hip as I couldn’t close the zip on my muslin. This was quite a simple and quick fix and I didn’t even bother to make another muslin. With all the grading this pair of trousers is probably something between size 12 and 14, I guess. At first the trousers were a tad tight, but I knew that they would widen a bit after a couple of wears (which they did, yay!), so I didn’t make any further changes.

Would I make any more changes next time? Hm, maybe, maybe not. I’m pretty happy with the result. I think depending on the fabric, I might give a bit more wearing ease next time. And should I be super motivated, I might try a sway back adjustment. But that’s not very likely to happen.

sew over it - ultimate trousers by thisblogisnotforyou.com

I wonder why I ended up with a puckering zip? Maybe I should try clipping the seam allowance at the hip curve. Could also be my inability of accurately inserting a zip when having had too much coffee. sew over it - ultimate trousers by thisblogisnotforyou.comsew over it - ultimate trousers by thisblogisnotforyou.com

sew over it - ultimate trousers by thisblogisnotforyou.com

sew over it - ultimate trousers by thisblogisnotforyou.com

The Fabric:

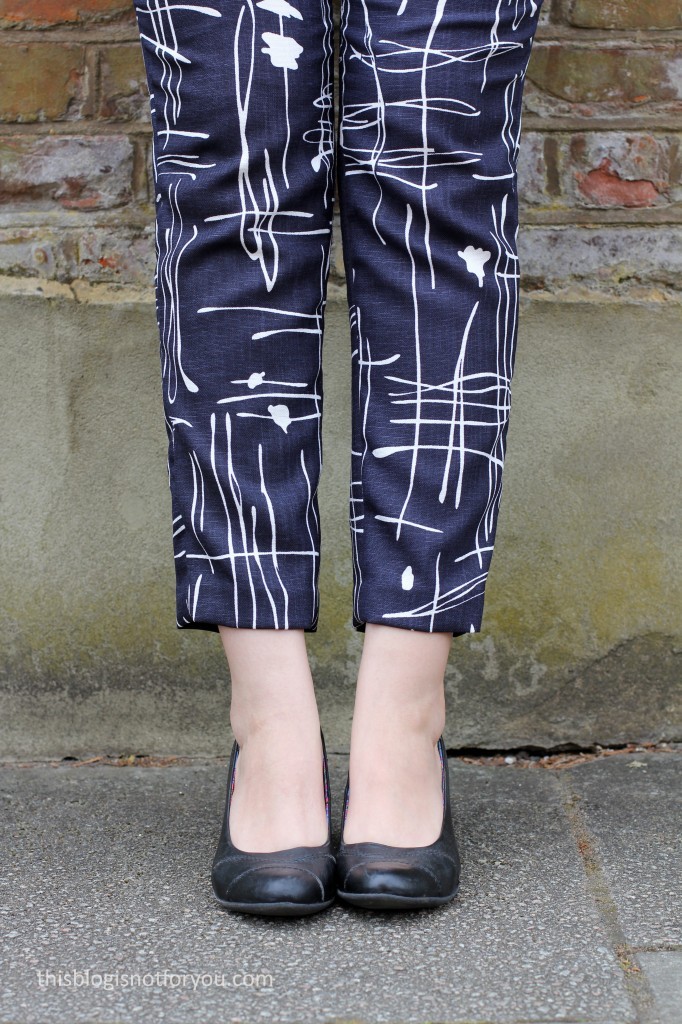
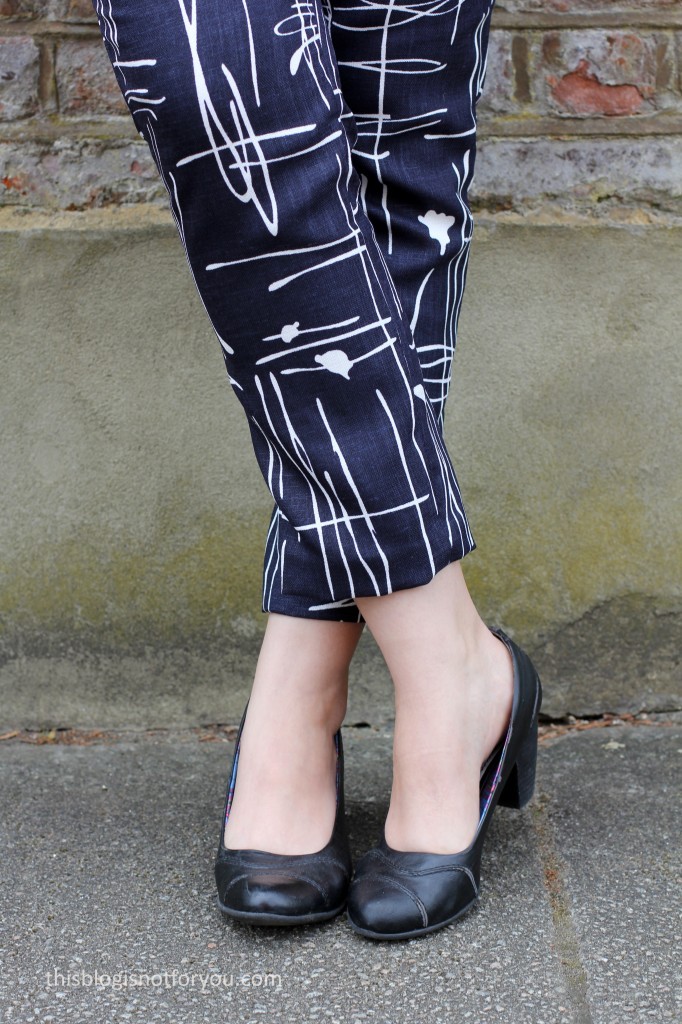
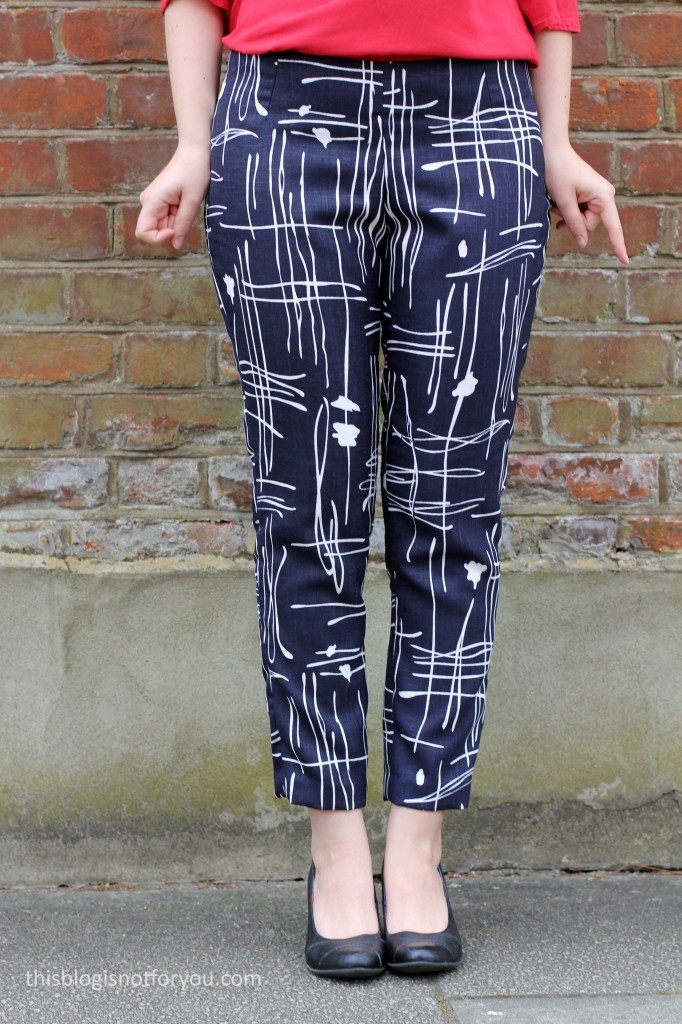
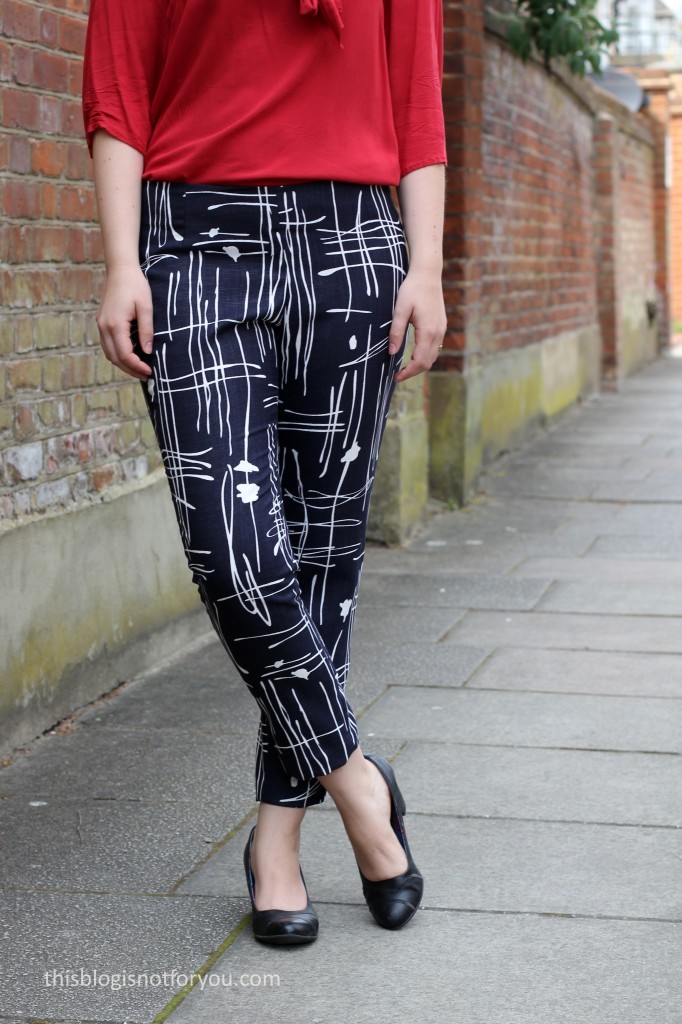
I actually bought the fabric at Lisa’s new Sew Over It sewing cafe in Islington. I found it in the remnants box and it turned out that it was some fabric that Lisa had used for her own pair of Ultimate Trousers. There was just enough left to make another pair. To be honest, I have no idea what kind of fabric this is, almost looks like linen, but I’m pretty sure there’s polyester involved here. It’s lovely to wear and was easy to sew. It frayed quite a bit, but nothing that my little overlord couldn’t fix.

Sooo. Let’s talk about pattern placement. Or, what happens if you completely ignore it. I thought the pattern was random enough but now I ended up having awkward crotch stripes that could even be interpreted as scratches or hair, if you’re adventurous enough. What can I do about that now? I try to ignore it and hope others do, too.

sew over it - ultimate trousers by thisblogisnotforyou.comsew over it - ultimate trousers by thisblogisnotforyou.com

blouse: Lottie Blouse, handmade
shoes: S.oliver

Will I make it again?

I’m pretty positive that I will. I’m just too happy about finally having a go-to trouser pattern, so I’ll better make use of it.

So, what are your thoughts on trouser-making, trouser-making phobia and crotch stripes?


Happy sewing!

facebook/bloglovin/pinterest
twitter/instagram

Stay in touch!

A Lady Skater Peplum Top

peplum top by thisblogisnotforyou.com

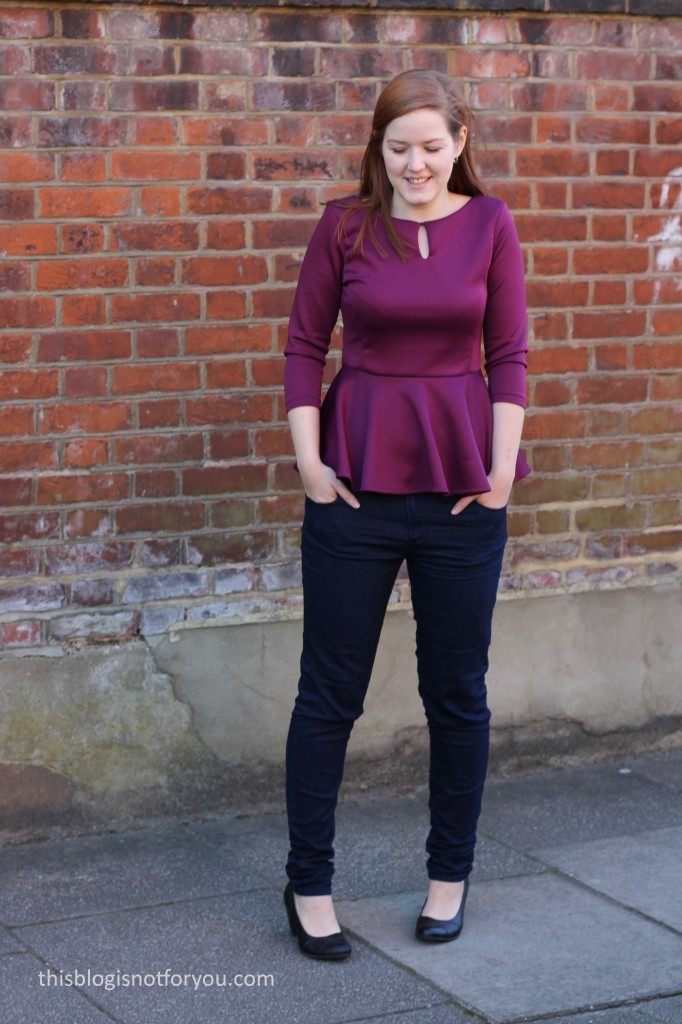
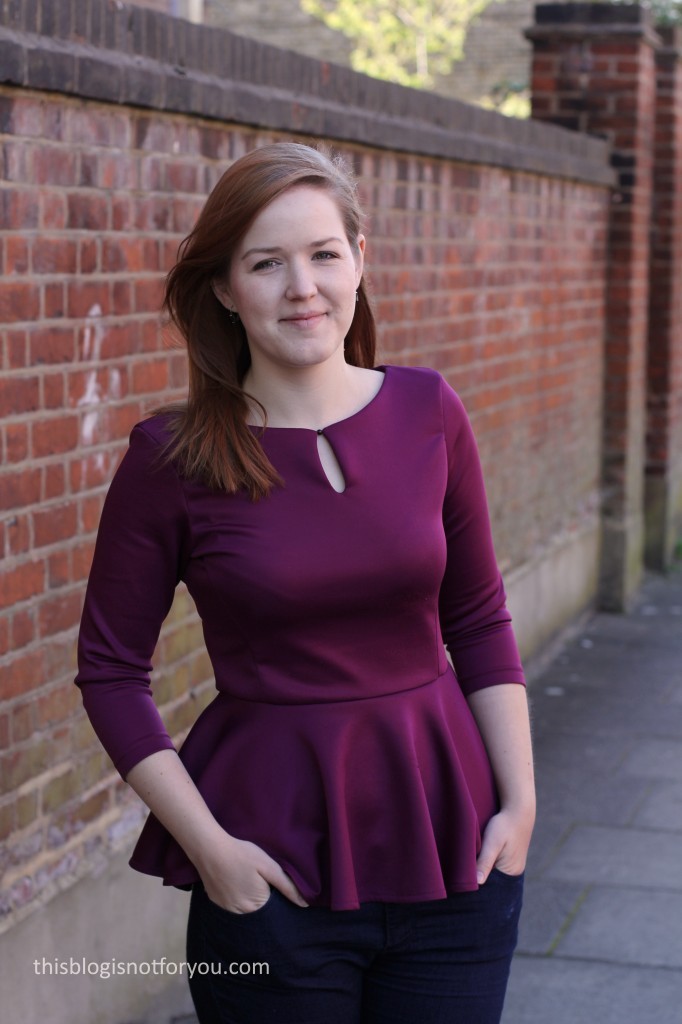
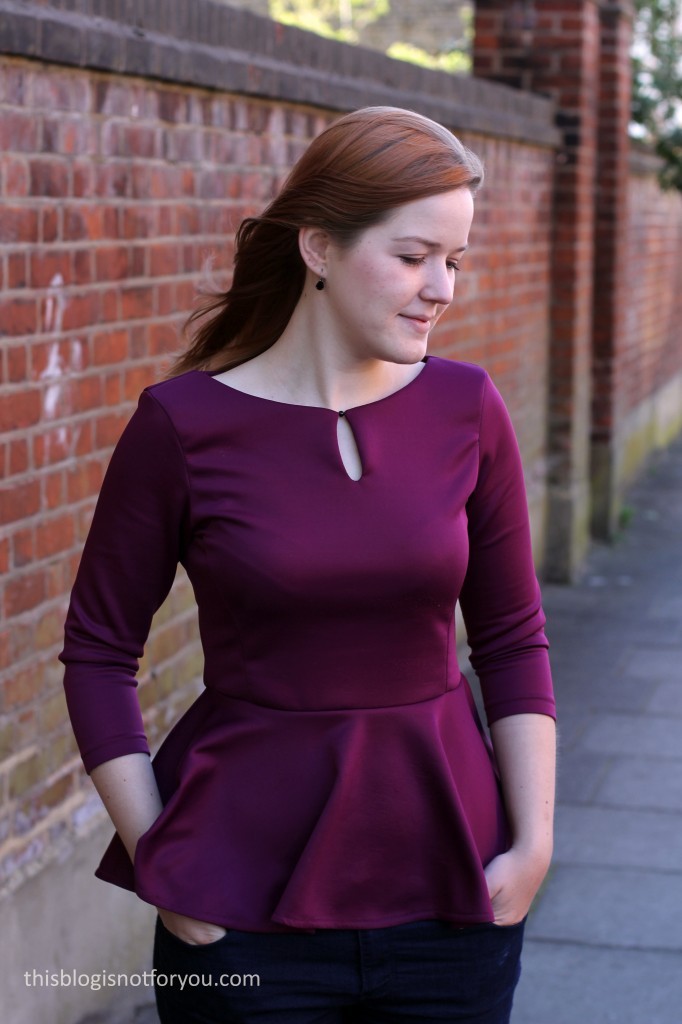
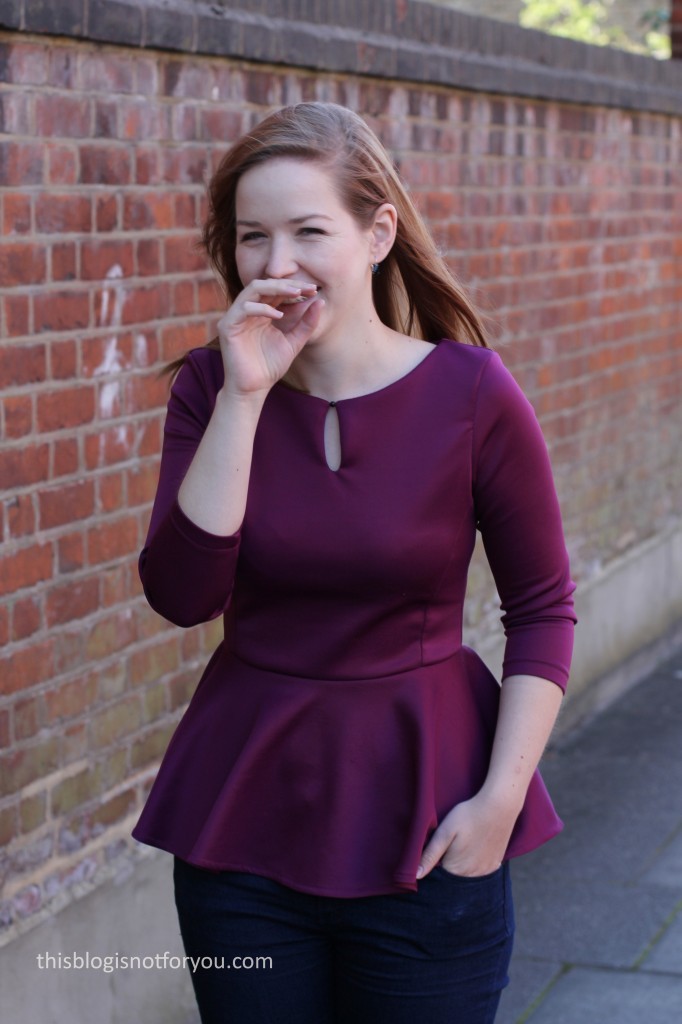
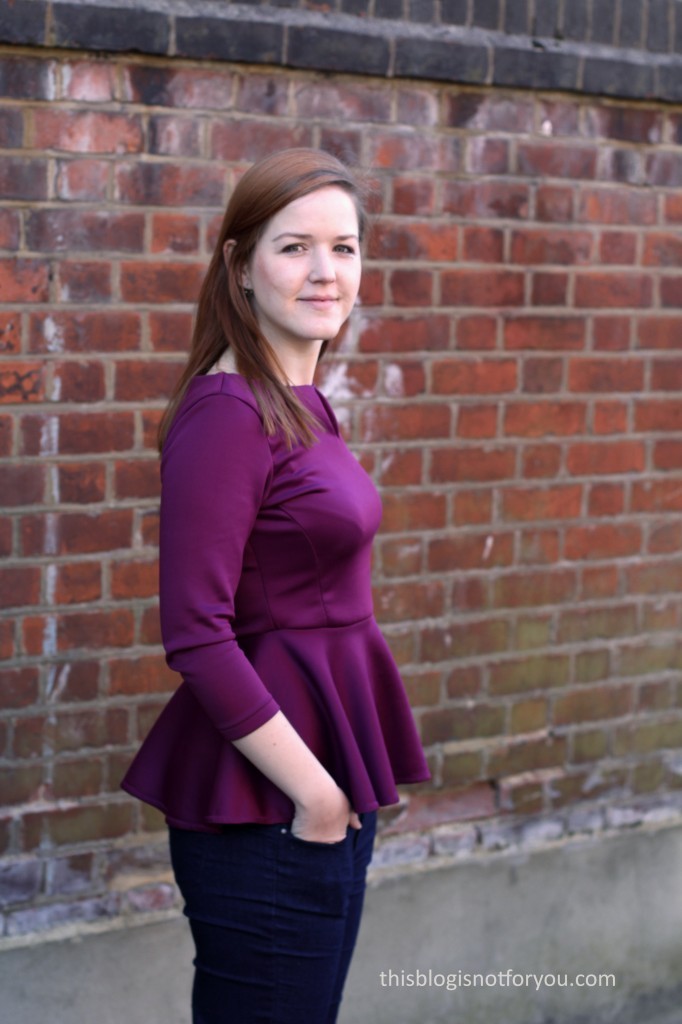
Hello, darlings! Hope you’re enjoying the sun as much as I do! I took the opportunity to take some pics of one of my latest make, a scuba jersey peplum top.

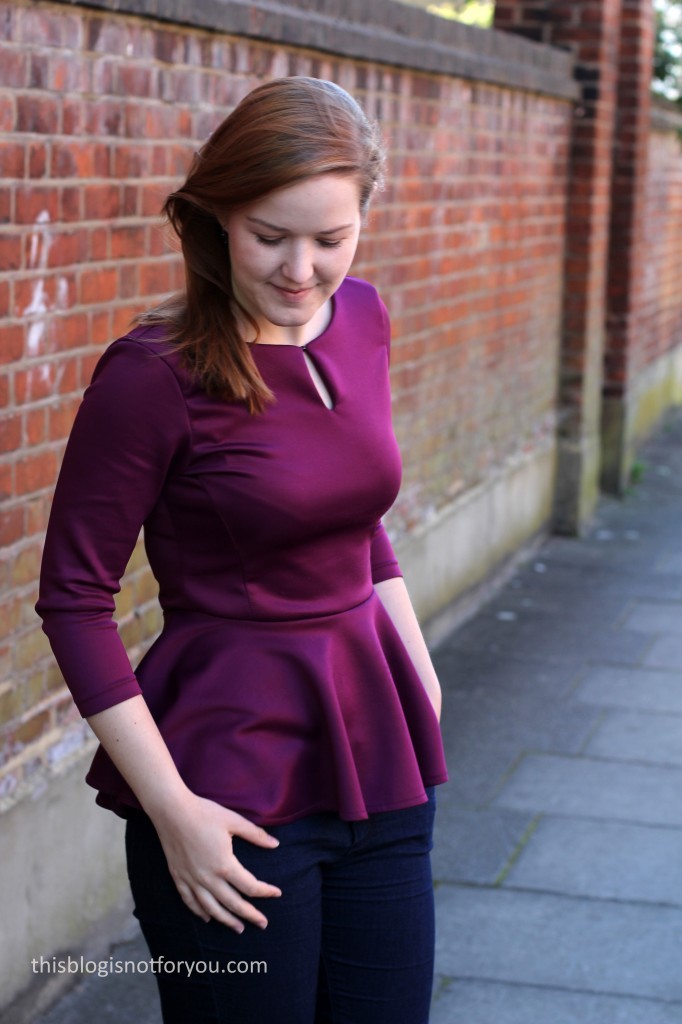
It’s my first time playing around with a peplum silhouette. I’m not too convinced that the shape is flattering for me, but all in all I’m quite happy with this top.peplum top by thisblogisnotforyou.comThe Fabric:

I bought this scuba jersey on Goldhawk Road, for just around £3/m. I only bought 1m as I was initially planning on making a mini skirt with it. The fabric is very soft and stretchy and surprisingly comfy to wear. At first, I was afraid I would sweat a lot in this, but it’s actually not as warm as it looks. Unfortunately (and not surprising for the price), the fabric’s quality is rubbish. After the first wash the fabric was fuzzy in some places which is quite annoying as it stands out quite a lot on the slightly shiny fabric.

I love the modern look you get when using scuba jersey. It’s just slightly more elegant than normal jersey fabric. And it’s a dream to sew with! It cuts easily, doesn’t fray and is more stable than normal jersey.peplum top by thisblogisnotforyou.com
peplum top by thisblogisnotforyou.comThe Pattern:

For the bodice I used my TNT Lady Skater Dress pattern (by Kitschy Coo), which I have used so many times already. I often use it as a jersey sloper and change it a bit here and there to create new shapes. This time I re-used my previous Lady Skater pattern hack, the one with the princess seams and boat neck.

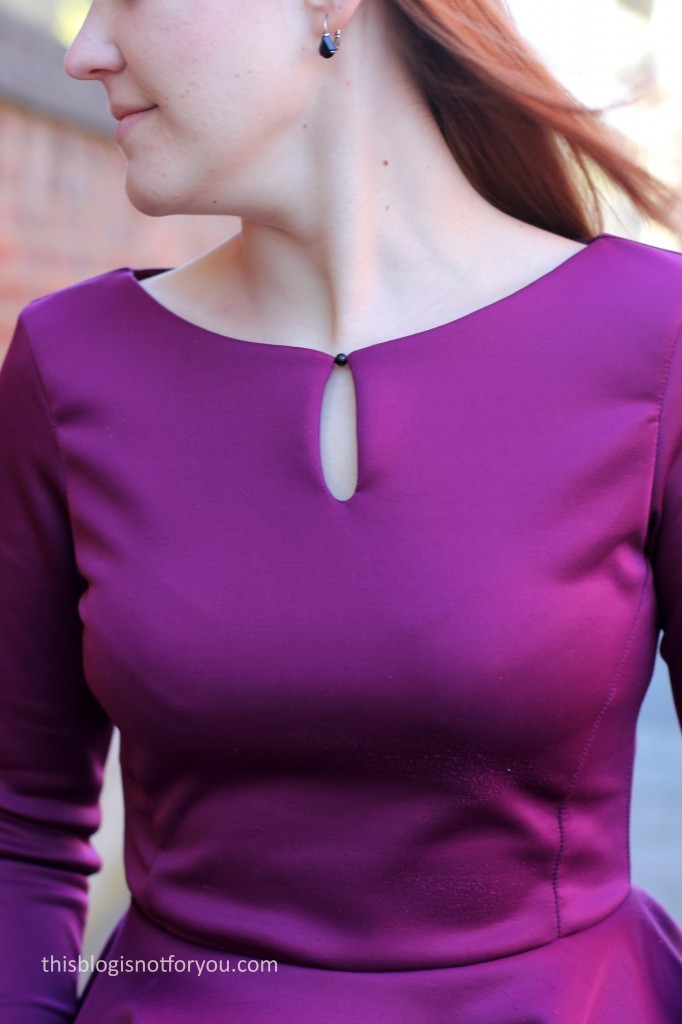
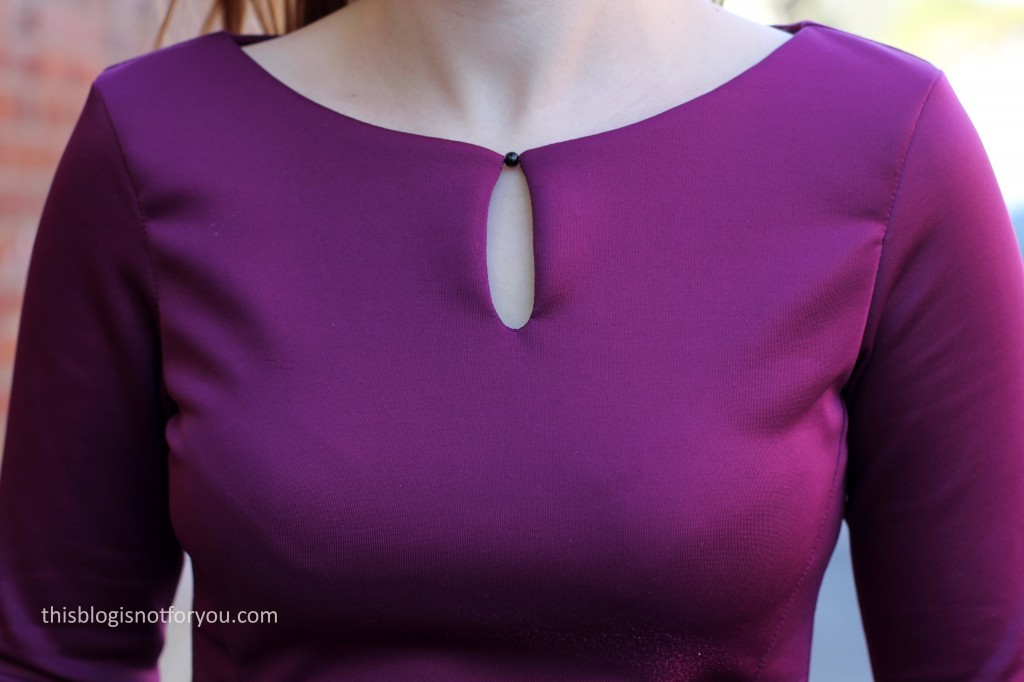
I raised the waist by a couple of inches and added a keyhole detail to the front neckline. I also added a full circle peplum to the waist.

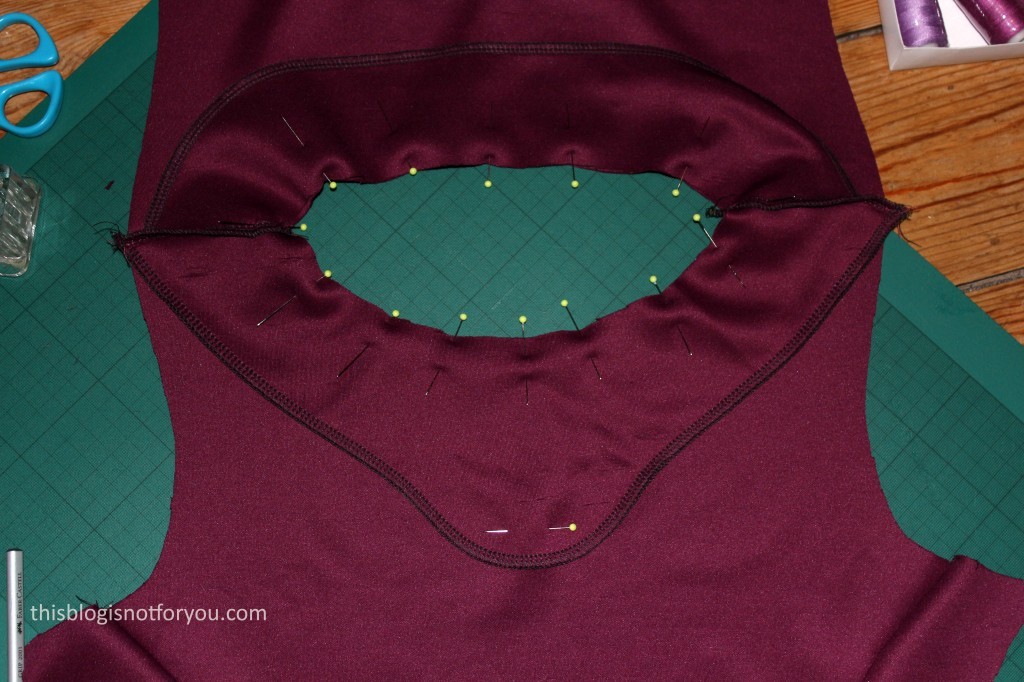
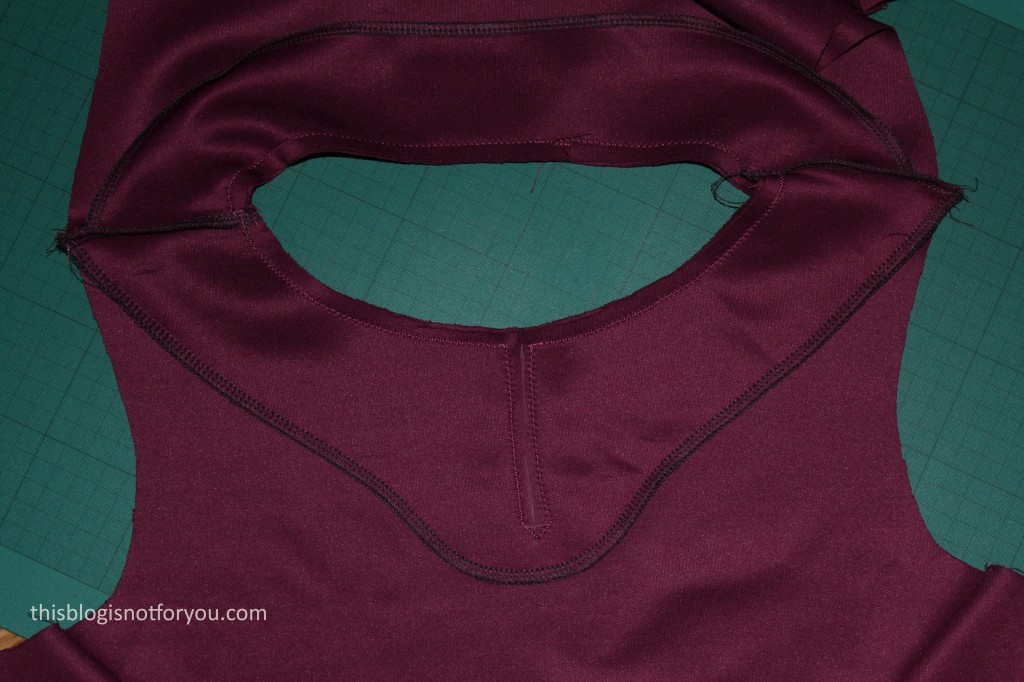
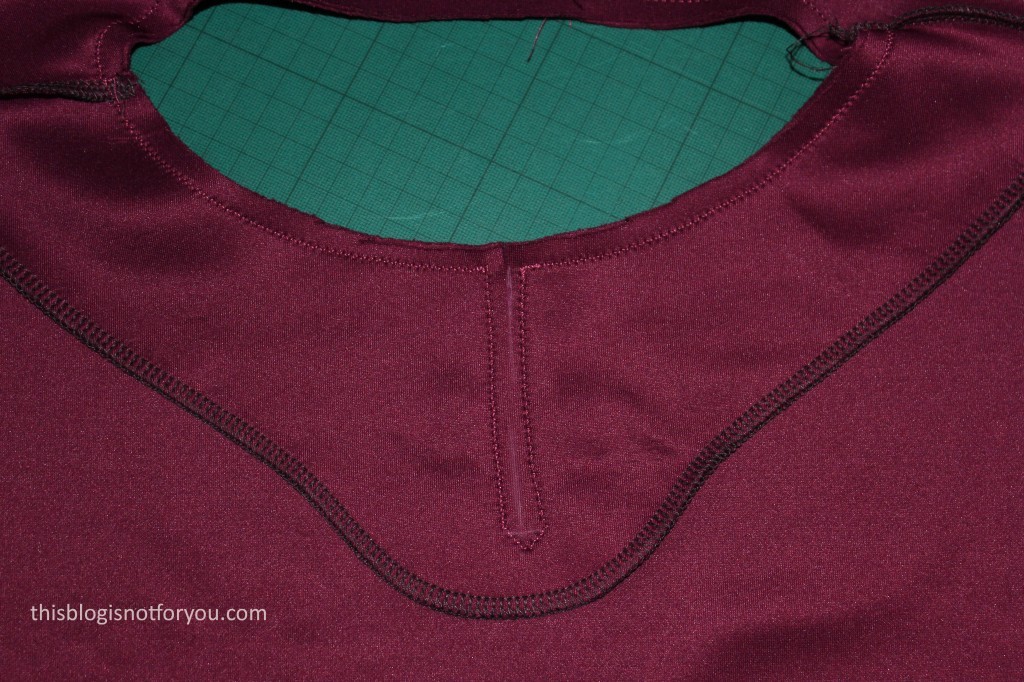
peplum top by thisblogisnotforyou.comI used facing for the neckline and to finish the keyhole detail:
peplum top by thisblogisnotforyou.compeplum top by thisblogisnotforyou.compeplum top by thisblogisnotforyou.com

I cut down the centre, between the two seams, carefully clipping the corners to remove bulk. The corner are attached together with a tiny glass pearl and some hand-sewn stitches. It’s a very simply method, but it’s quite effective and looks very pretty and elegant.

peplum top by thisblogisnotforyou.compeplum top by thisblogisnotforyou.compeplum top by thisblogisnotforyou.compeplum top by thisblogisnotforyou.compeplum top by thisblogisnotforyou.com

Will I make it again?

I love the fabric and quite like the colour. But I’m not too convinced that I like the silhouette. I love peplum shapes on others, but it doesn’t do me any good. Maybe it’s the proportions? Should the peplum skirt be a bit shorter? The bodice longer? I don’t know.It’s just not as flattering as I thought it would be. Could also be that’s it’s not the perfect shape for people with sway backs. Whatever it is, I will probably steer clear of peplums for a while!peplum top by thisblogisnotforyou.com

Now I’m looking forward to tomorrow – I have a brand-new Vogue pattern stash waiting for me to trace and muslin. What are you doing? Have a great weekend everyone!


Happy sewing!

facebook/bloglovin/pinterest
twitter/instagram

Stay in touch!
A Nascha Skirt

nascha skirt by thisblogisnotforyou.com

Hey folks! Hope you had some awesome Easter Holidays! I was back home in Germany, choking on chocolates, which also explains why it’s been a bit quiet in my sewing corner. In my defense, I have made a couple of things, but  haven’t photographed any yet. Which is also partly due to my current obsession with book binding. Yeah, you’ve read right. I’ve discovered a new hobby (I am a hobby collector!) and, as always, am obsessively spending every free minute with it. No worries, my heart still belongs to my sewing machine.

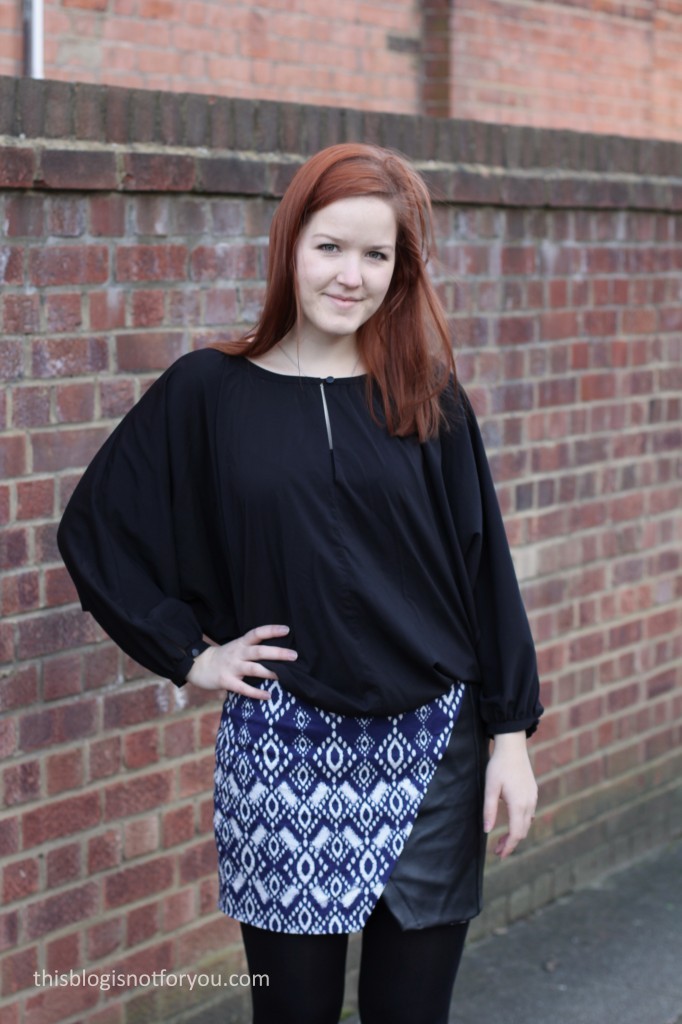
My aunt is a bookbinder and I hope I can learn a bit here and there from here this summer. Anyway, I’ll share some projects with you soon! But first things first: my Nascha Skirt!nascha skirt by thisblogisnotforyou.comThe Pattern:

I’ve made this Nascha Skirt a while ago, but was too lazy to sort out and edit the pics. The Nascha Skirt has always been on my to-sew list since I came across Named patterns and I bought the pattern a little while ago.

The pattern was a bit tricky to work with. I downloaded the PDF pattern and thought it wouldn’t take too long to assemble a skirt pattern. For some reasons the different sizes are not nestled, which means you won’t find all sizes on one pattern sheet. The sizes are grouped (EUR 36 & 38, 40 & 42 and so on). Unfortunately I had to grade between 36 waist and 38/40 at the hip, which made it really difficult to work with this pattern. I had to print off and assemble both sheets (36/38 and 40/42), cutting out the patterns pieces and layering them for grading. Annoying and time-consuming. The rest of the pattern was fine, but I was quite disappointed that the pattern wasn’t very pear-shaped-lady friendly.

nascha skirt by thisblogisnotforyou.com

The Fabric:

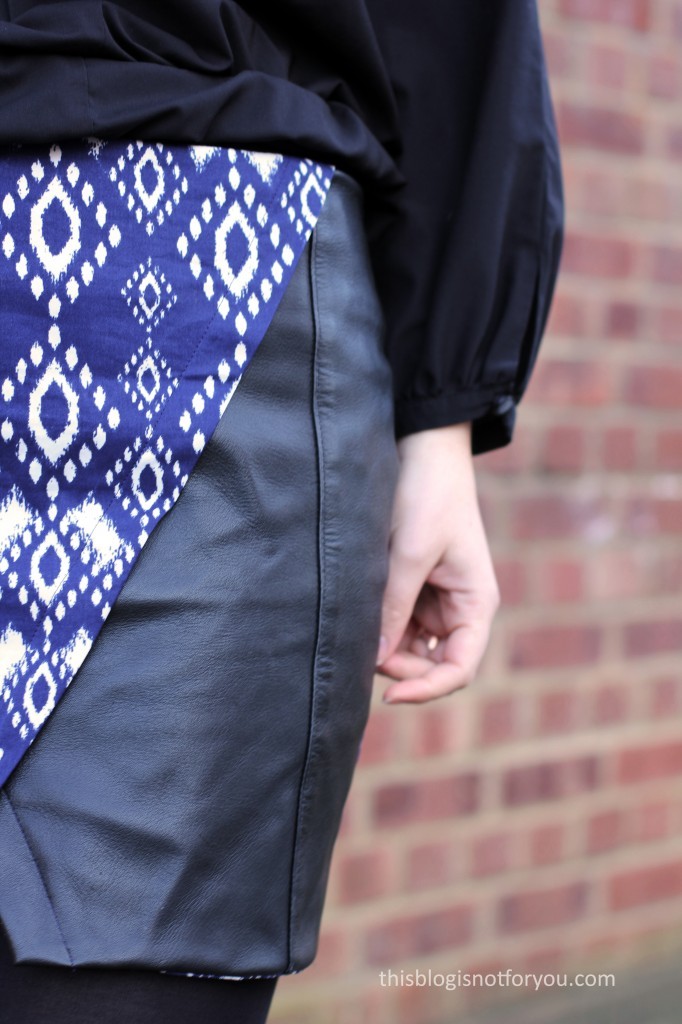
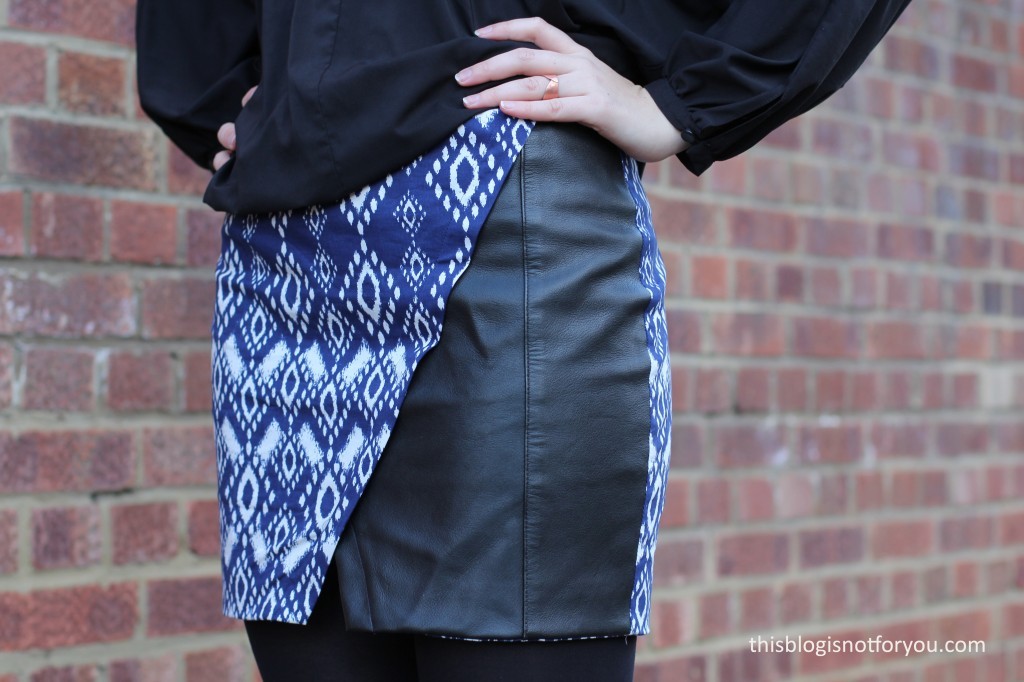
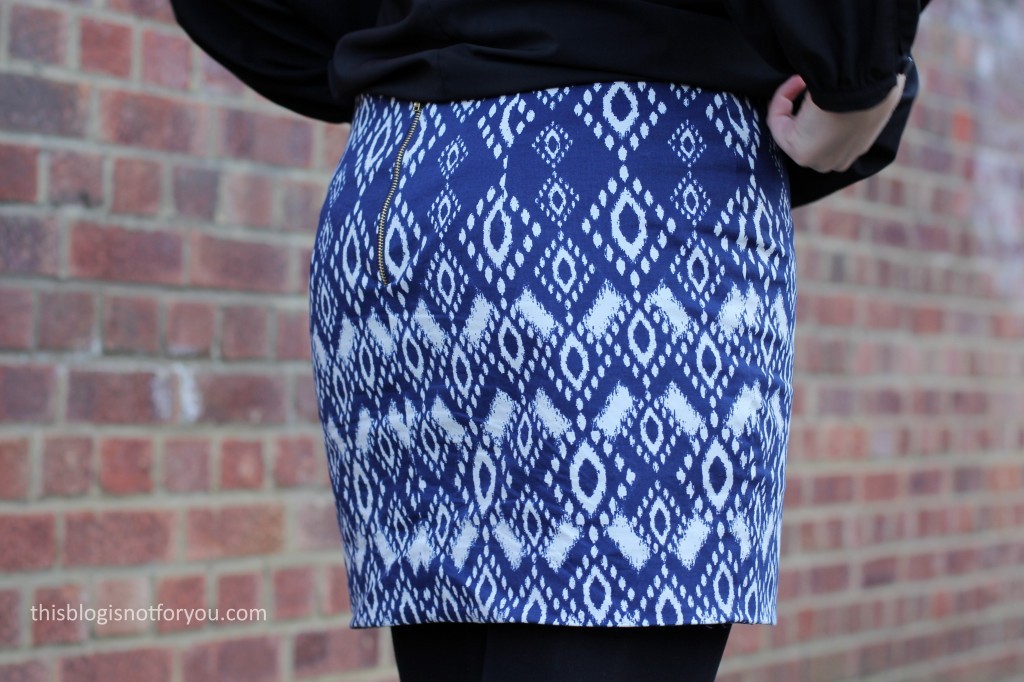
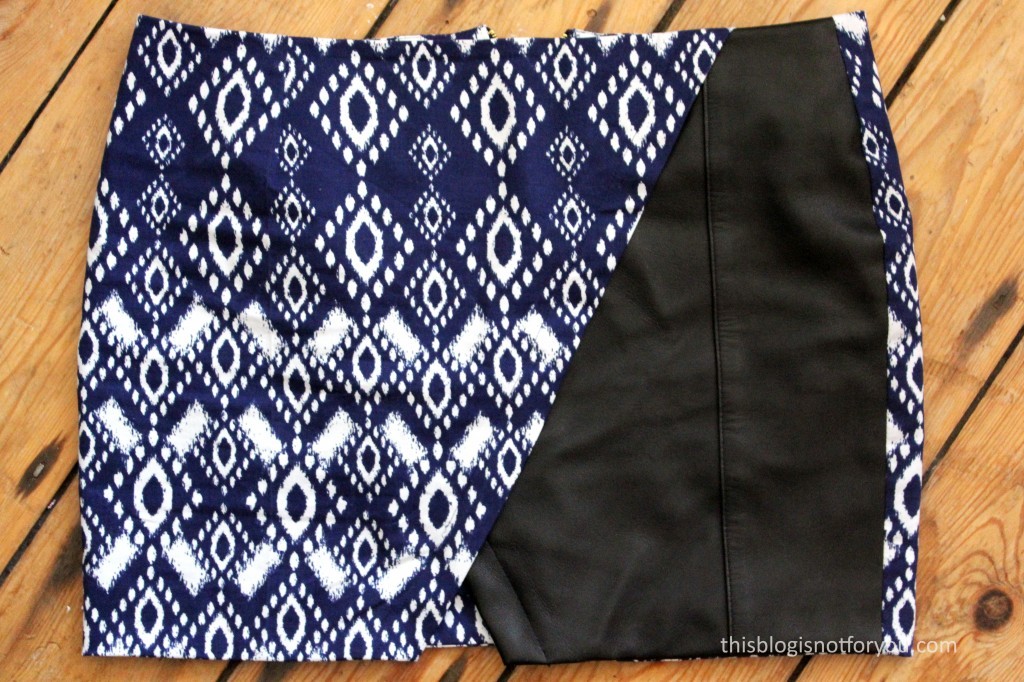
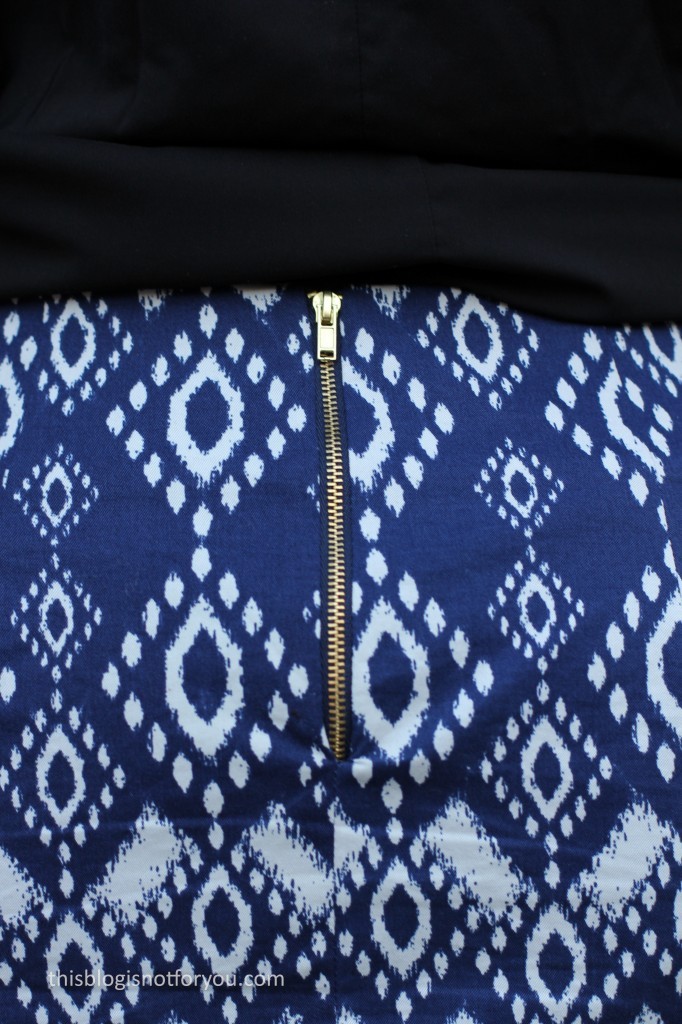
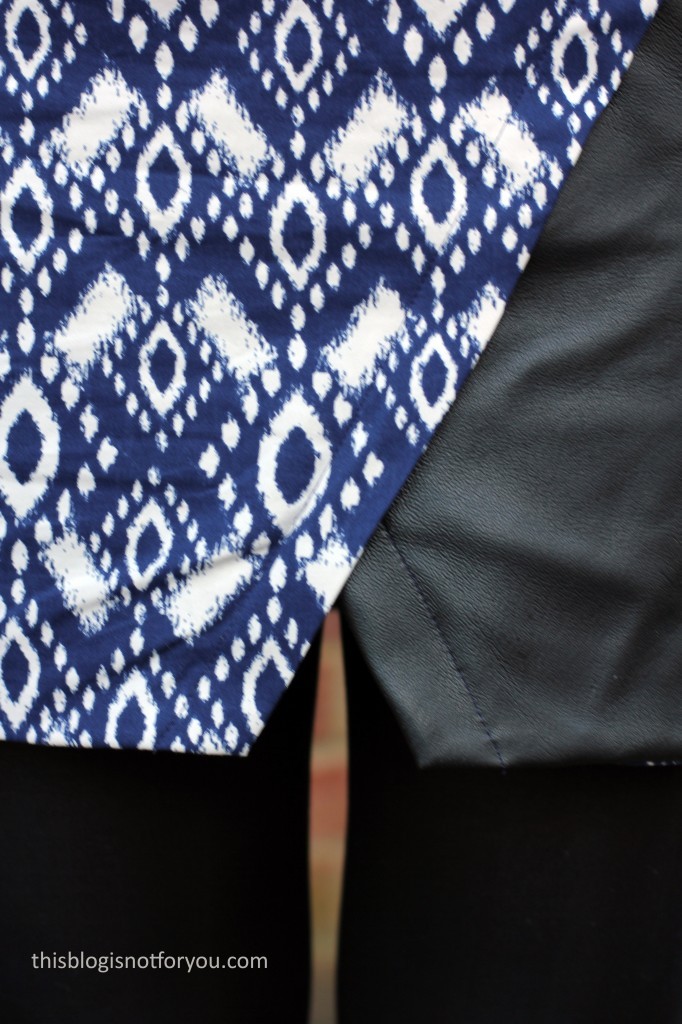
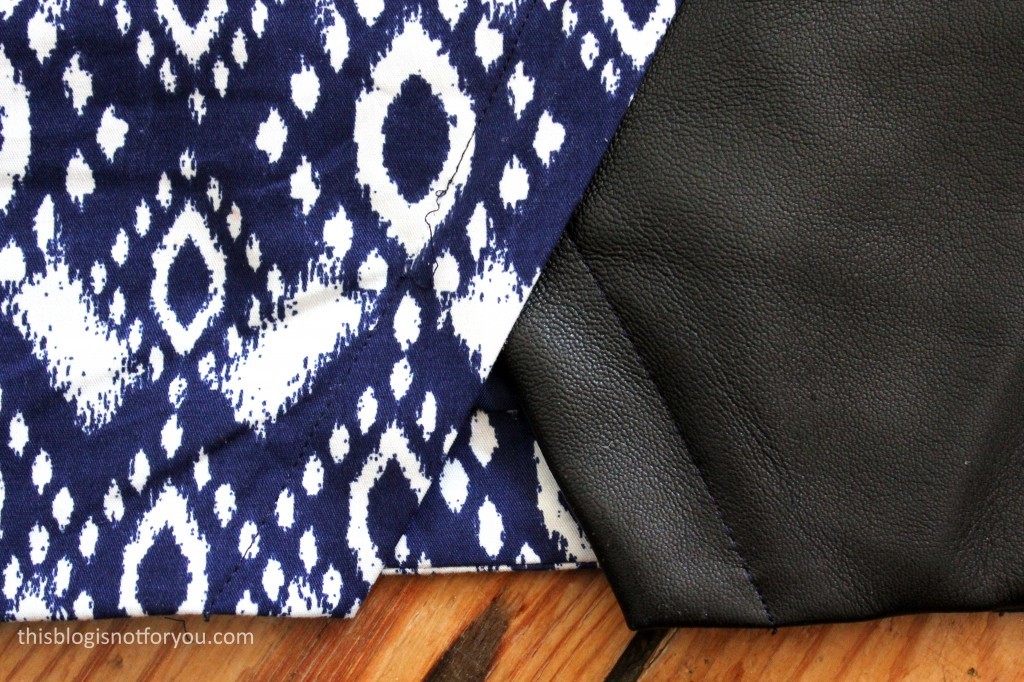
I bought the blue & white aztec print fabric in Birmingham at last years blogger meet-up. I only bought 0.5 metres of it as I wanted to use it for a very simple mini skirt. The Nascha Skirt pattern recommends using more fabric, but I was determined to make it work. With a little bit of squeezing it would have been enough, but I had the idea of adding a contrasting panel. I had leather left over from my last skirt refashion. The leather pieces weren’t large enough so I had to work with what I had and had to integrate one of the seams.

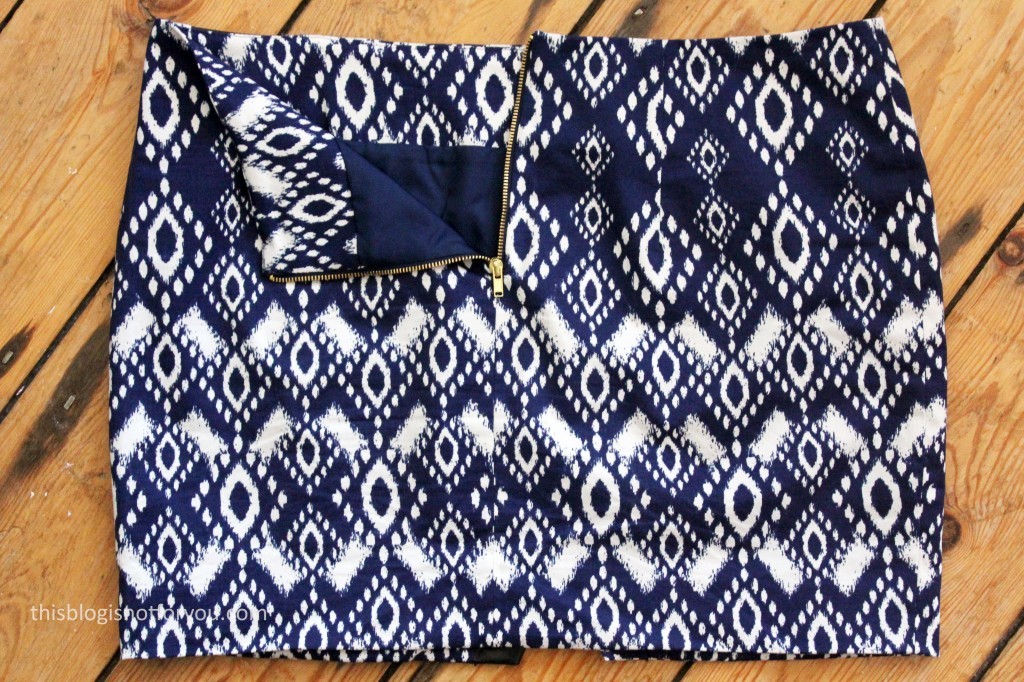
The aztec print is a stretch-cotton sateen and worked really well with the leather. It was easy to sew with. The only tricky bit was hiding the facing as I couldn’t press the leather. It still shows a bit, but I don’t mind it that much.nascha skirt by thisblogisnotforyou.com

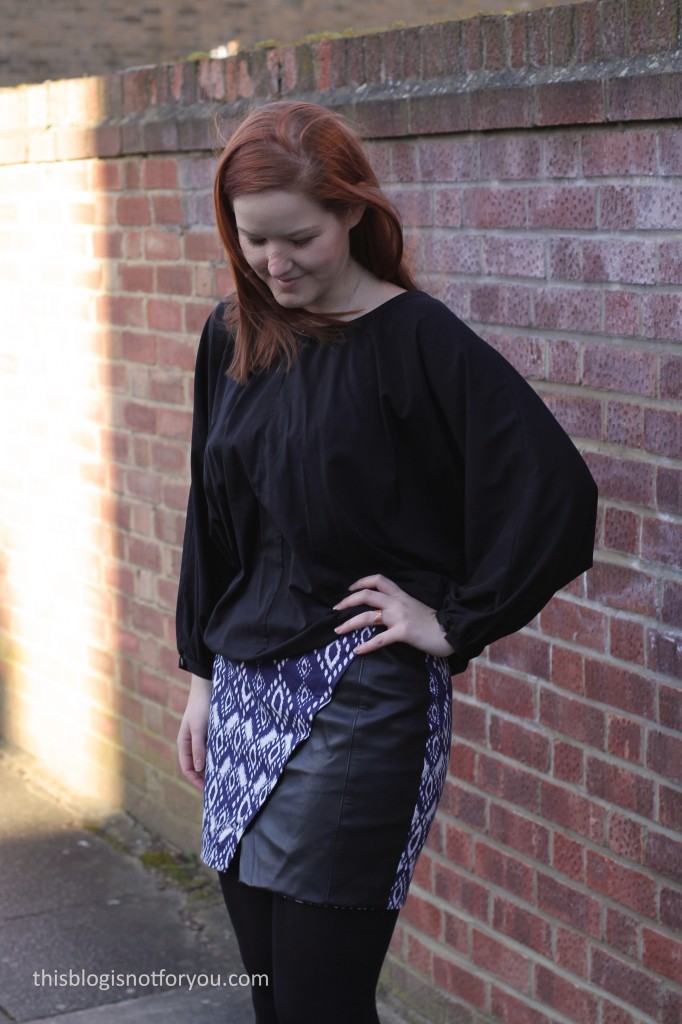
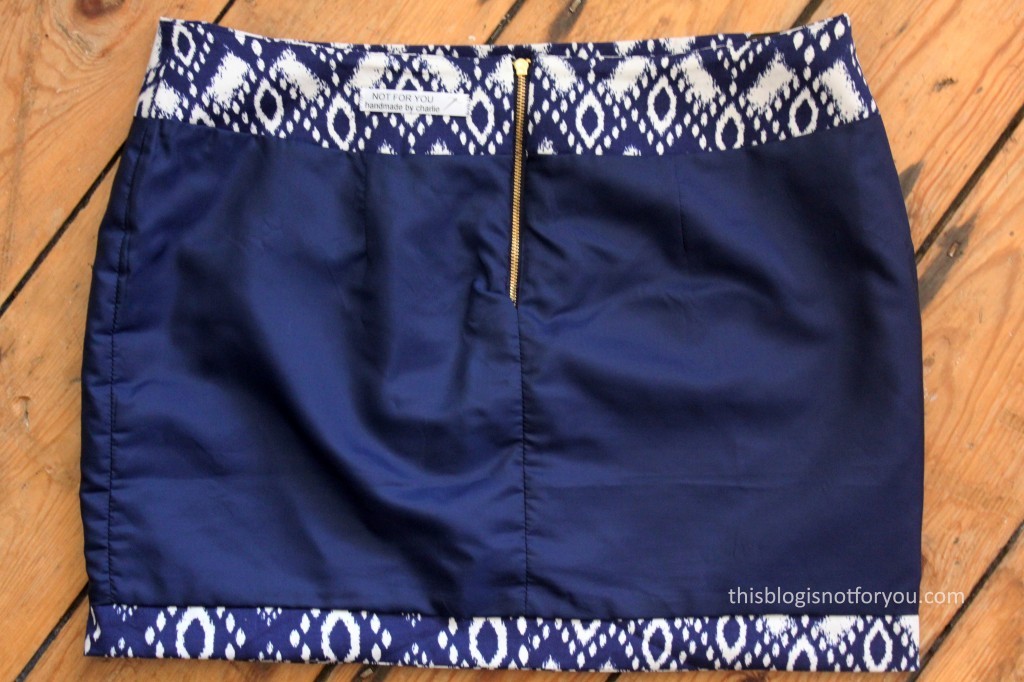
nascha skirt by thisblogisnotforyou.comI used a golden exposed zip in the back. For some reason I have never really used exposed zips. I am quite an expert now on inserting invisible ones, but I was a bit nervous about the exposed zip. It did work out better than I expected and I quite like the golden contrast. The fabric bits of the zipper are navy and match the fabric, so you can only really see the metal bits, which I really like.nascha skirt by thisblogisnotforyou.comHere’s a close-up of the front detail of the skirt. I was a bit worried that I wouldn’t be able to hide my modesty, but it was fine in the end. The skirt is still really, really short though!nascha skirt by thisblogisnotforyou.comnascha skirt by thisblogisnotforyou.comnascha skirt by thisblogisnotforyou.comThe skirt had both facing and lining and I how it looks on the inside. Almost pretty enough to wear it inside-out, non? I lined it with navy blue polyester fabric, from my vintage stash.nascha skirt by thisblogisnotforyou.comGuess what happened the first time I wore it? The top-stitching at the front detail ripped. I kind of expected this to happen and was very careful, but apparently not careful enough. When I crouched down to pick something up, the seam tore. The topstitching is only decorative, but it annoys me anyway! nascha skirt by thisblogisnotforyou.comnascha skirt by thisblogisnotforyou.com
Will I make it again?

I love mini-skirts, but this one is so short that I can’t wear it at work for example. I normally don’t dress up a lot at home, so this one won’t see the daylight too often. I love the design of the skirt, but for now one is enough!

Have you ever used a Named pattern?


Happy sewing!

facebook/bloglovin/pinterest
twitter/instagram

Stay in touch!