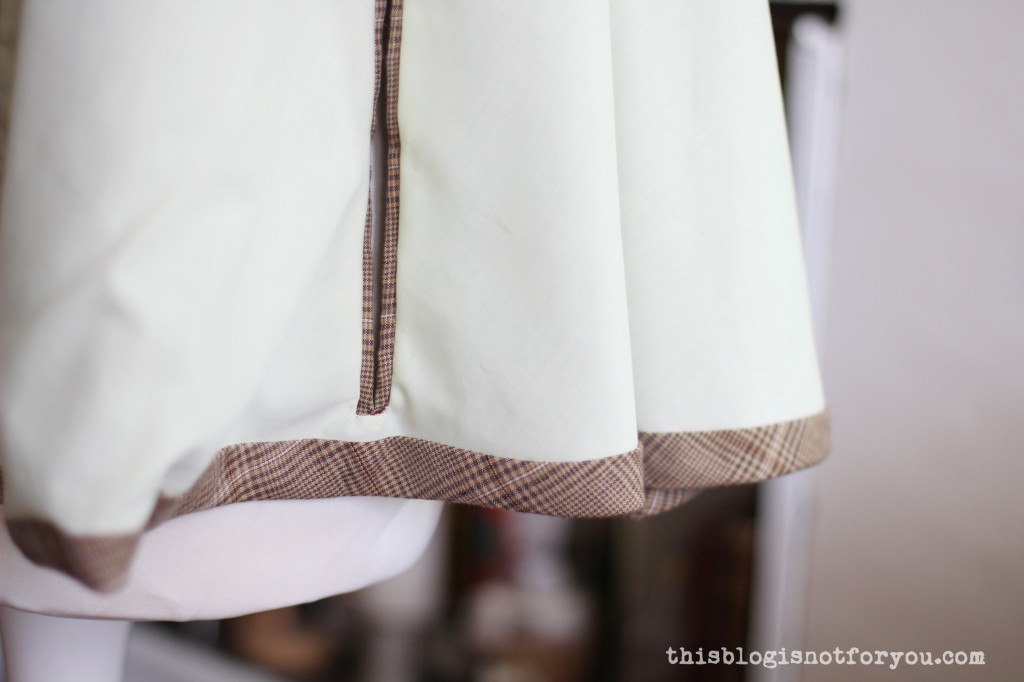
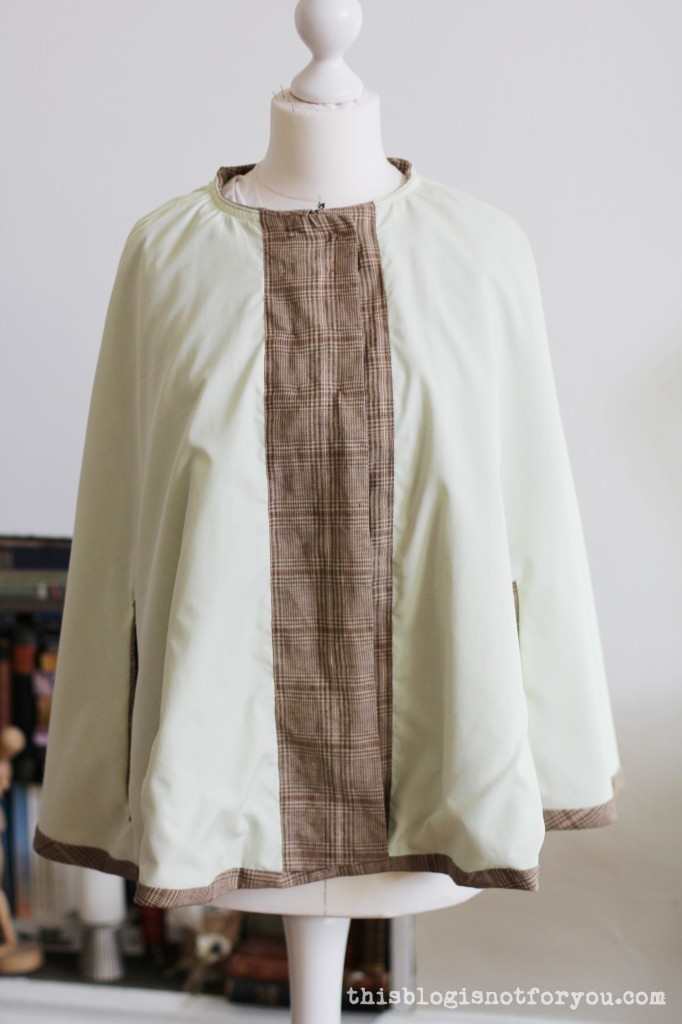
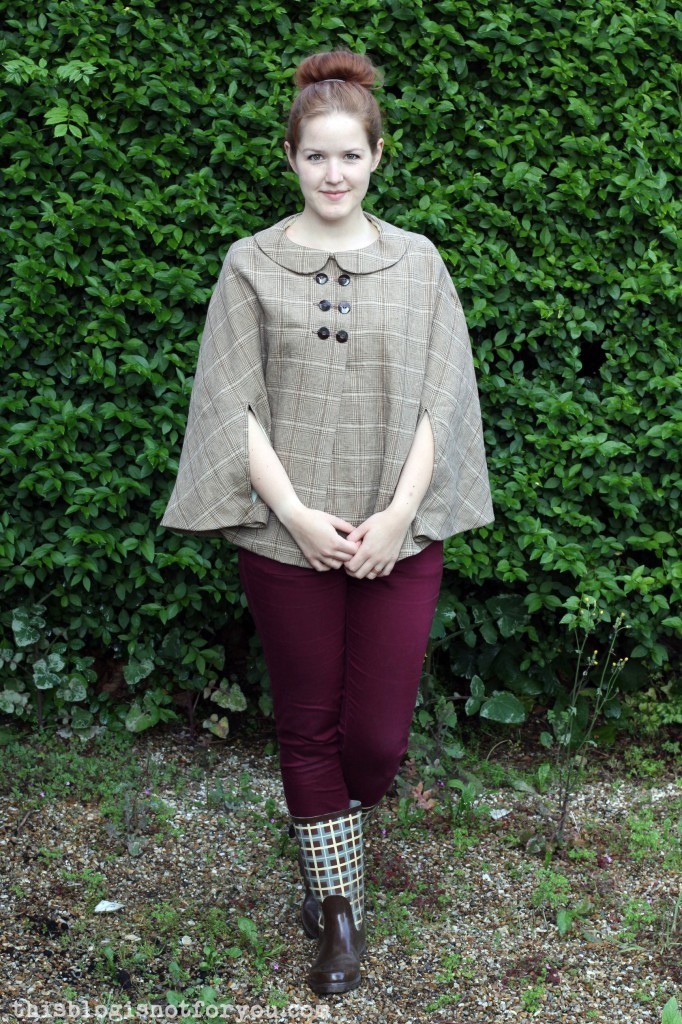
 Making the cape? Pattern assembled and cut out? Then it’s time to sew the cape and add a lining!
(But before we add a lining, you should have made up your mind about whether your cape will have a hood, a collar or none of the two.)
Sewing the Cape
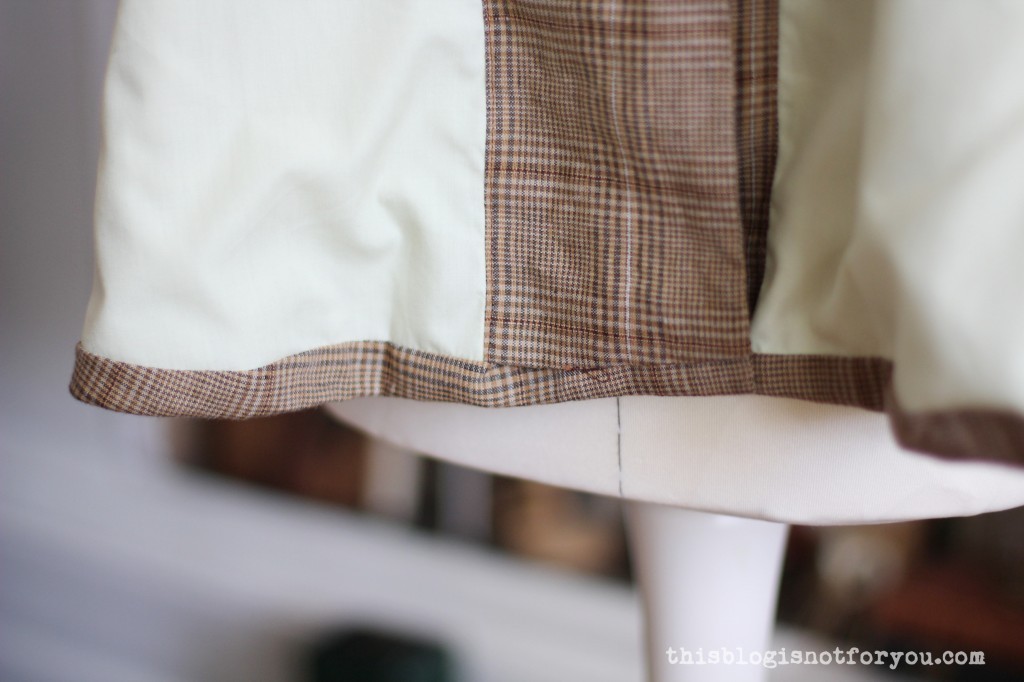
Before we start cutting out the lining fabric, we will cut out and assemble the cape first. You will find all the major steps with illustrations included in the pattern, but I’ve also taken some pictures while sewing this cape.
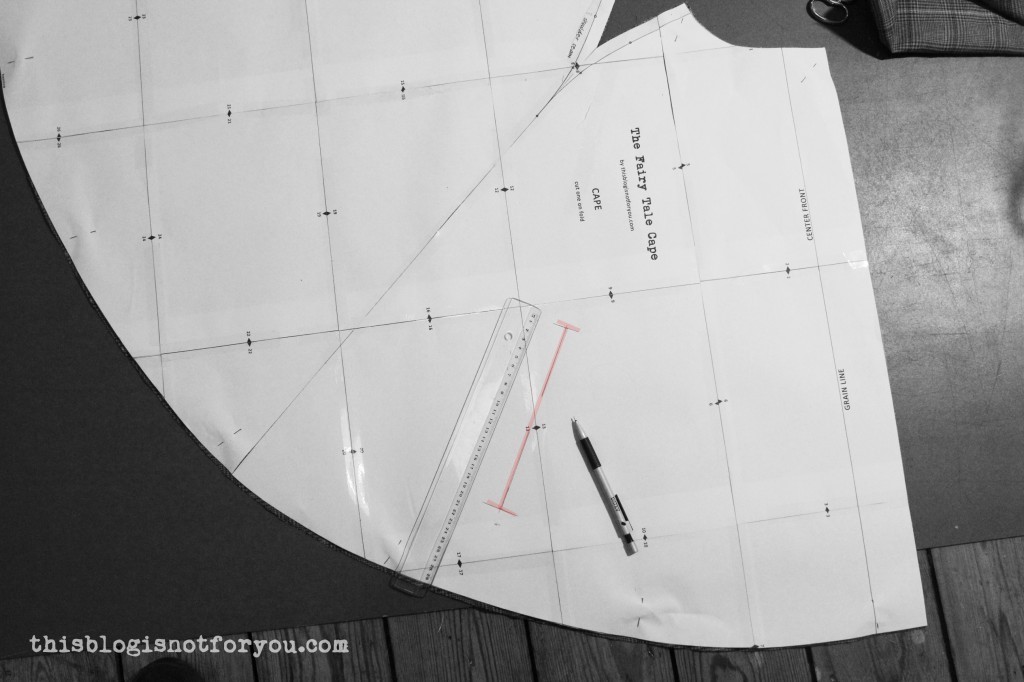
 1. Before you cut into your lovely fabric, have a think about pattern matching, if your fabric has some sort of a print. The centre front will be parallel to the grainline, the centre back will be perpendicular to the centre front.
If you’d like to match up patterns, it’s best to use the centre front as a guideline.
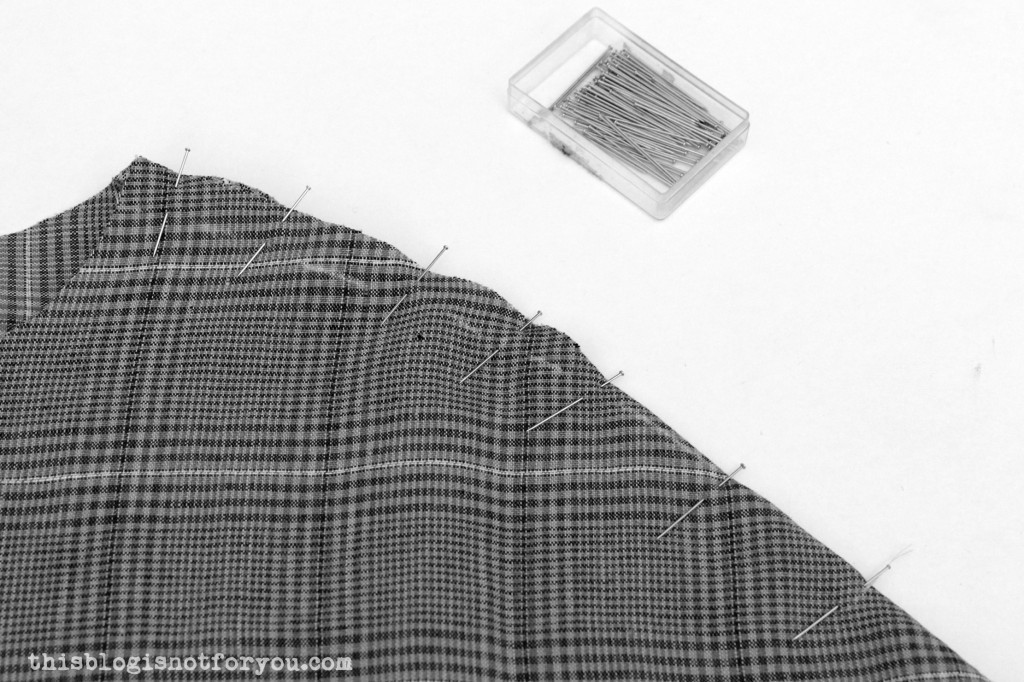
2. Pin pattern to fabric. Make sure you cut the cape on fold!  3. The first thing we will do is sew the shoulder seams. Pin the shoulder seams (right sides together) and stitch on the marked seamline (1.5cm seam allowance).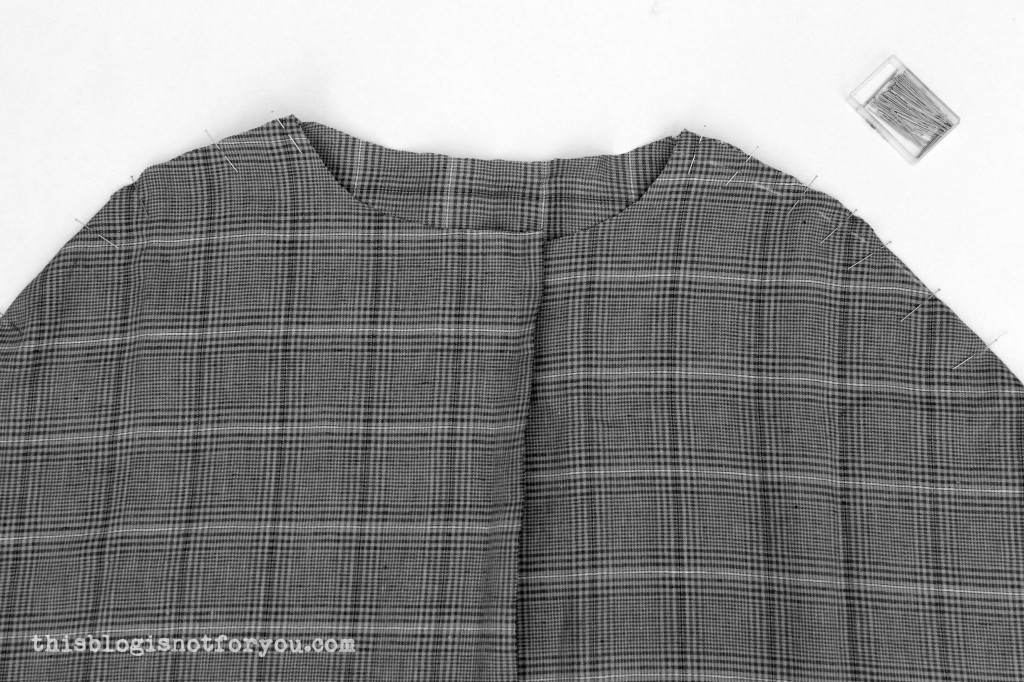
 4. Press seam open like so: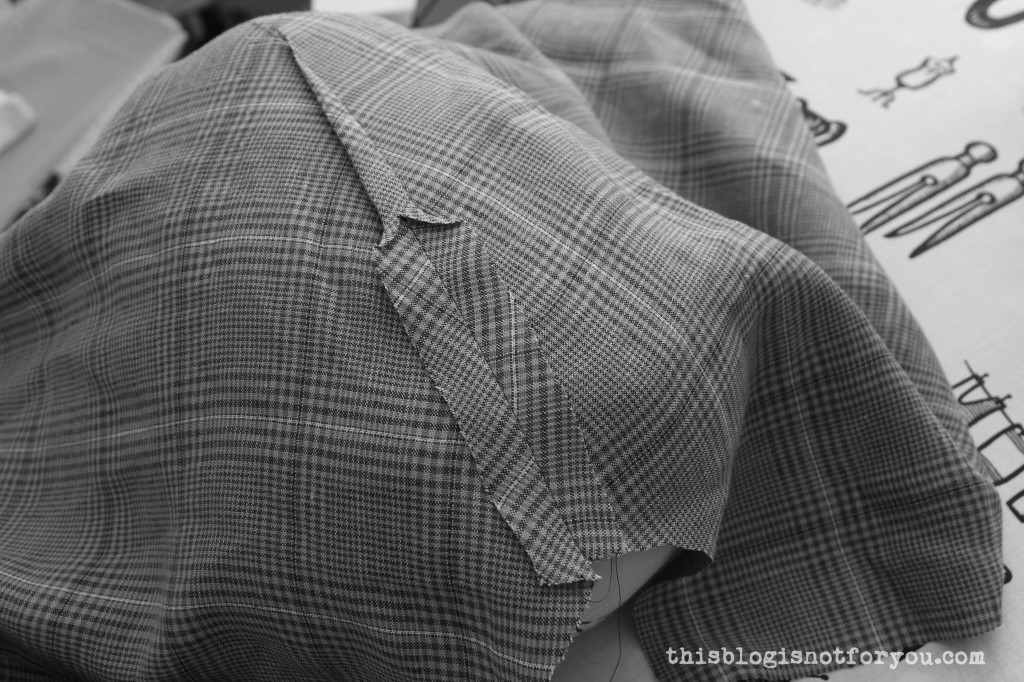
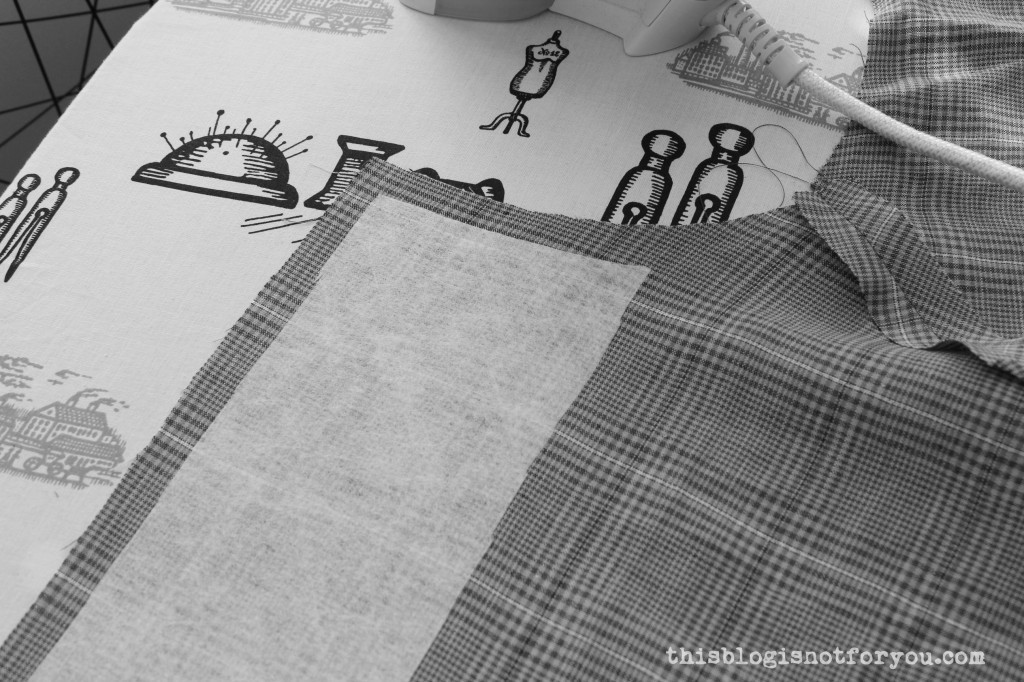
5. Cut out fusible interfacing to stabilise the front of the cape. I cut out one large piece, but you could also interface each buttonhole individually. I never know the exact position of my buttons and buttonholes until I’ve finish sewing a garment, so this is why I prefer cutting out a large piece and interfacing the entire front of the cape.
Using my cape pattern piece, I cut out an approx. 10cm wide piece of interfacing (minus seam allowance). I personally don’t apply interfacing onto the seam allowance in order to avoid extra bulk.
Using your iron, fuse interfacing onto the left side of your fabric and right front of your cape (which is the side where your buttonholes will be).
 6. This next step is completely optional.
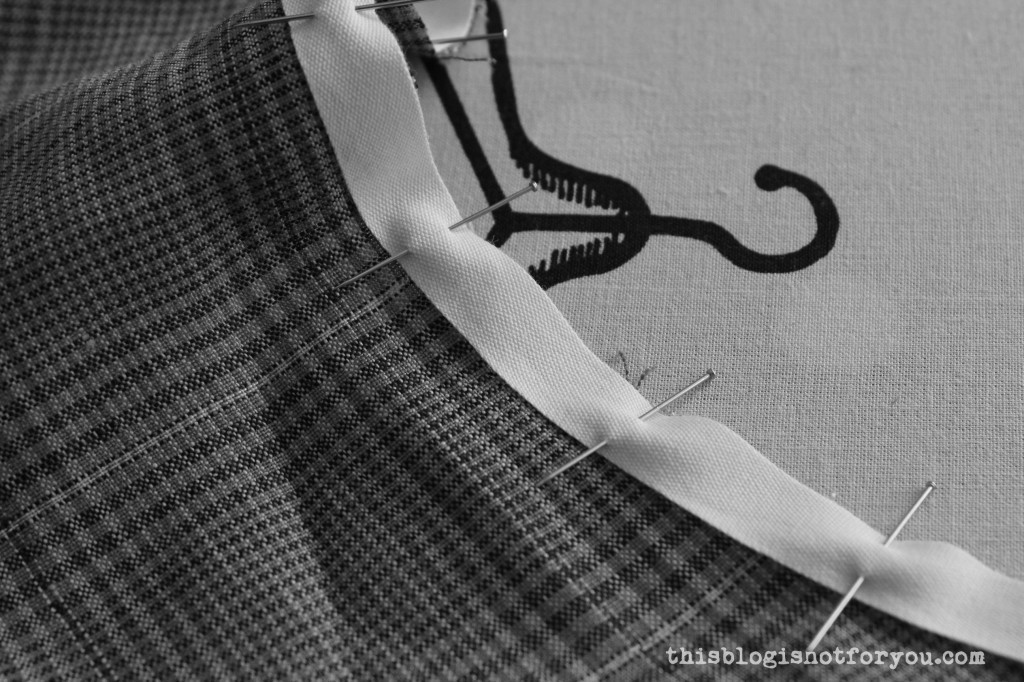
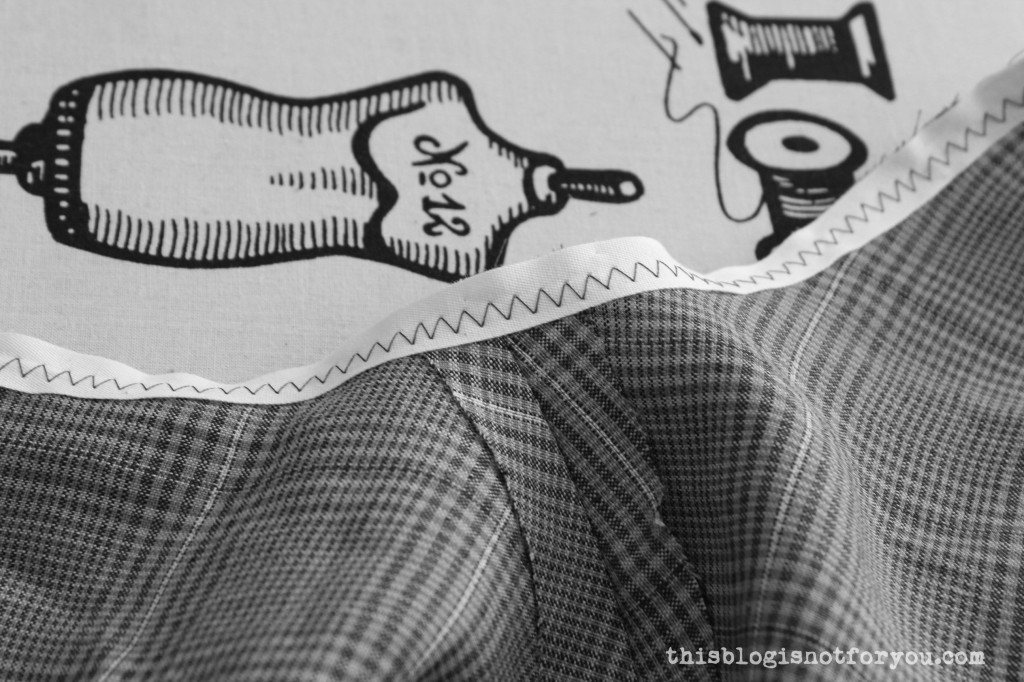
As the cape is partly cut on the bias and the fabric can stretch out easily, you might want to add clear elastic (if you are using knits/stretch fabric) or cotton tape to your shoulder and neckline seams before you proceed with sewing in the lining.
Stitch clear elastic/cotton tape to the wrong side of the cape neckline seam, making sure not to stretch the elastic at all. I recommend reinforcing the shoulder seams in the same way.

7. Now it’s time to attach the hood or collar.
Alternative 1: Peter Pan Collar
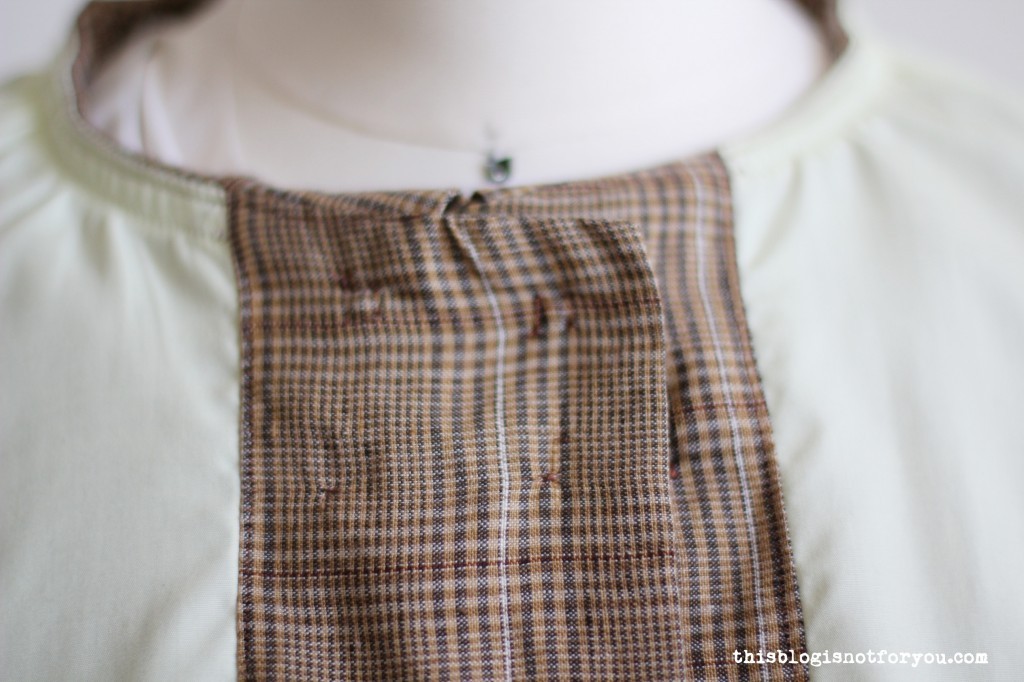
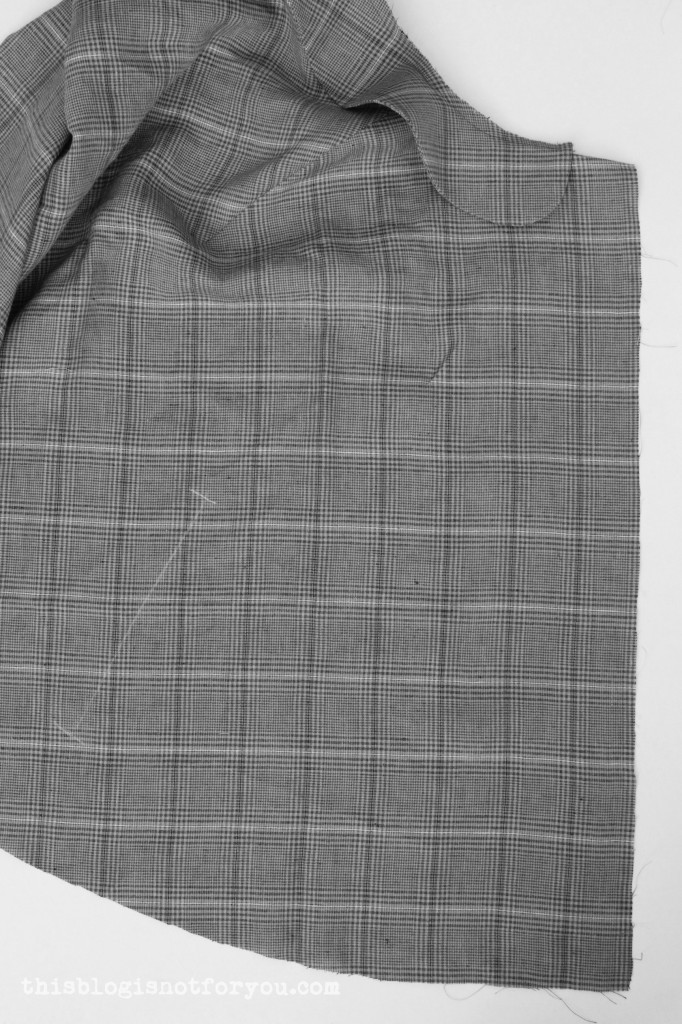
Sew on the collar onto the cape neckline, left side on right side (see below). Match up the collar with the center front and shoulder seams. Stitch within the seam allowance (approx. 1cm from the edge).
Alternative 2: Hooded Cape
Now I do not have pictures for this step, as I haven’t lined my other cape’s hood and added a Peter Pan collar when I sewed this cape.
But it’s pretty straight-forward:
- Cut out the two hood pattern pieces in your lining fabric and cape fabric.
- Pin and sew the darts on both of the hood parts. Press towards the back.
- With right sides together, stitch, serge or zigzag your two hood pieces together at the curved seam ending at large circle.
(Do this for both the outer fabric and the lining)
Then you simply sew together the two hoods you’ve created. You sew them together at the front opening (right sides together) leaving the neckline opening as it is. You can understitch or topstitch to keep the lining in place.
Turn inside out and continue to attach the hood to the lined cape. You can also baste the hood lining to the hood fabric at the neckline, so layers don’t shift. I would sew the hood onto the cape (right sides together), press the seam allowance down inside the cape.
8. If you are using wovens, put your cape on your dressform or a hanger and leave it hanging for a few hours or overnight. You can cut out the cape lining in the meantime.
As the cape is partly cut on the bias, the fabric might stretch out in these areas which can distort the shape of the hemline. Leaving it hanging gives it some time to stretch (some fabrics don’t if you’re lucky), so you can adjust the hemline before attaching the lining.
(I also recommend doing this with the lining, once it’s cut out.)
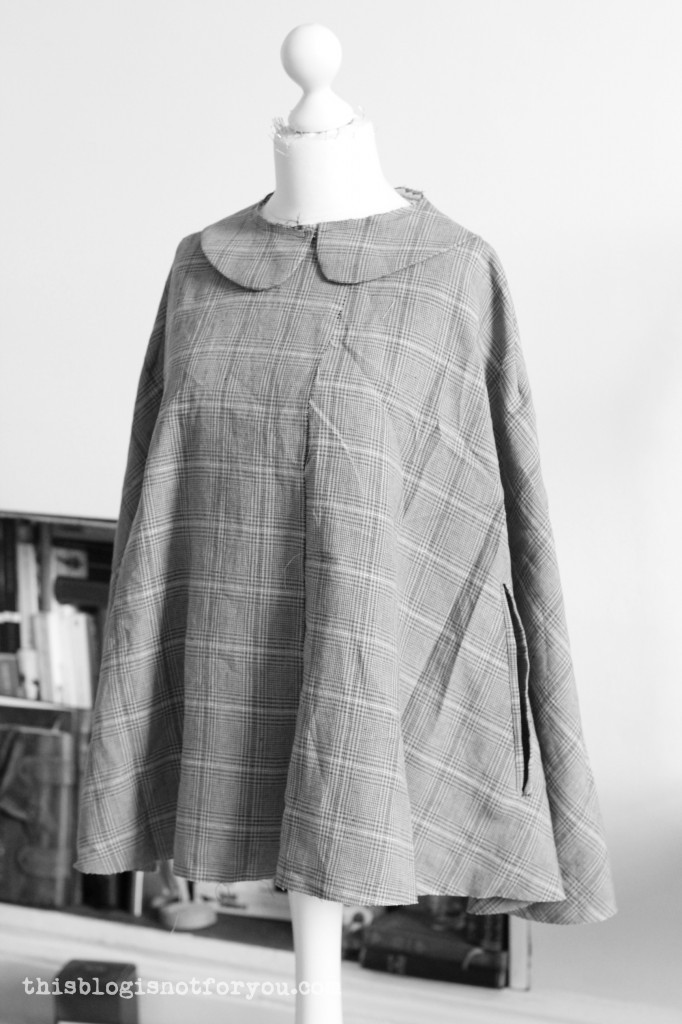
Here’s what my cape looked like the next morning.
Put your cape on a flat surface and place the pattern piece on it. Cut of the excess fabric.
armslits option
If you’d like to add armslits to your cape additionally to the lining, I’d recommend you pause at this point and wait for the next part of the sewalong in which I will show in detail how to sew the armslits. It’s much easier to sew the armslits when the lining isn’t attached yet.
(Although it’s not impossible to add the armslits after you’ve finished your cape.)
9. Cut out the cape lining.
Cut out the cape pattern piece in your lining fabric. Then trim off 2.5cm (1 inch) from the hem.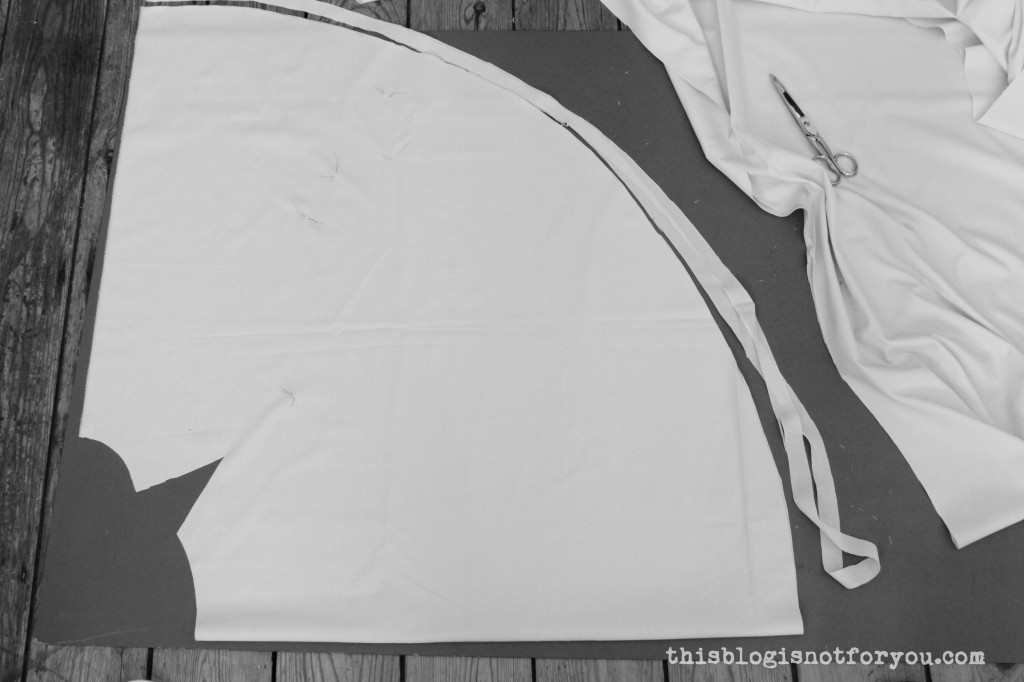 We want the lining to be a tiny bit shorter than the cape, so it doesn’t peek out at the hem later. We will be bagging the lining.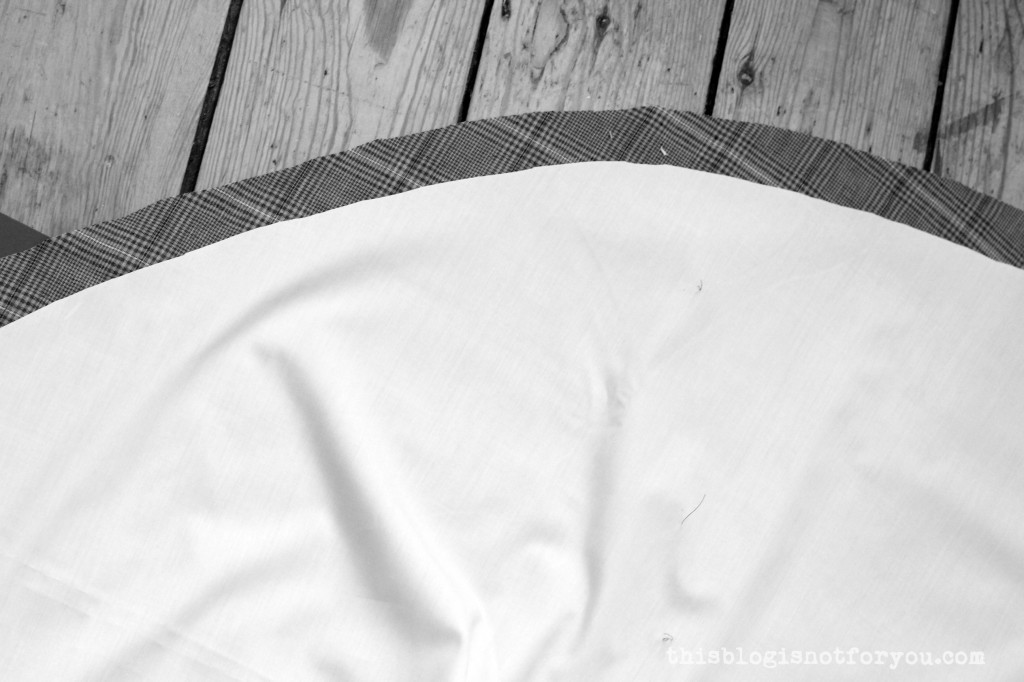
10. Again, this next step is optional.
I wanted to add a facing to my lining, cut out of the cape fabric. Using the cape pattern, I cut out the front edge (12cm wide, incl. seam allowance) twice. Cut off the same amount minus 1.5cm seam allowance (10.5cm for my facing) from the cape lining. (Hope that makes sense!)
Just keep in mind that, after you have sown facing and lining together, it should have the original size. (Check with your pattern)
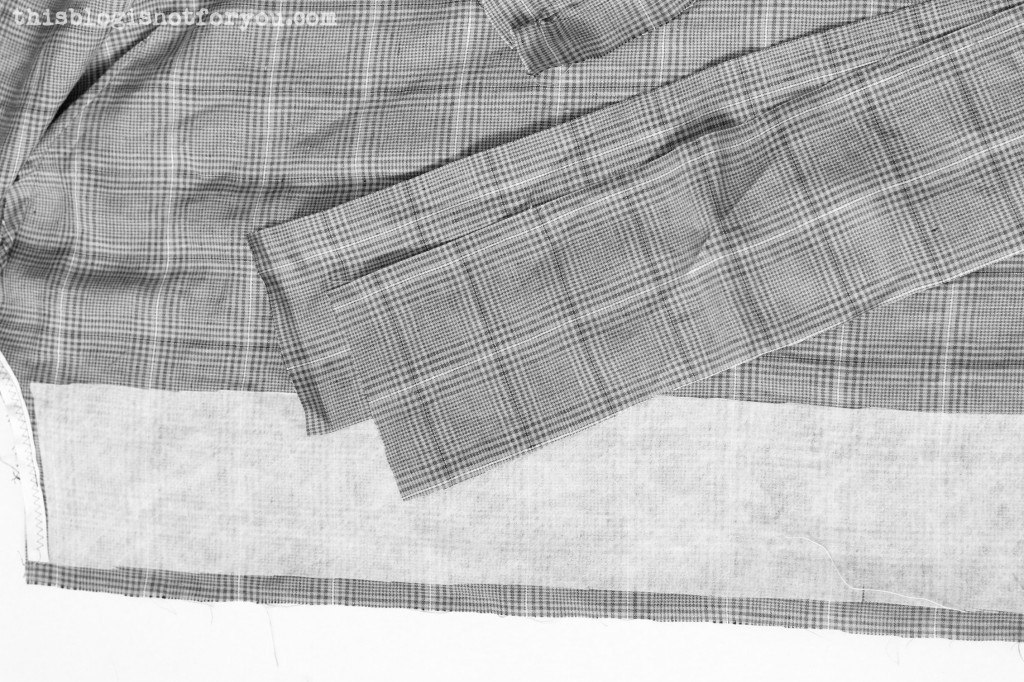
To sew the facing onto the lining, pin both together (right sides together) and stitch with 1.5cm seam allowance. Press seam open or towards the facing (if your lining is slightly see-through like mine and you don’t want the seam allowance to show).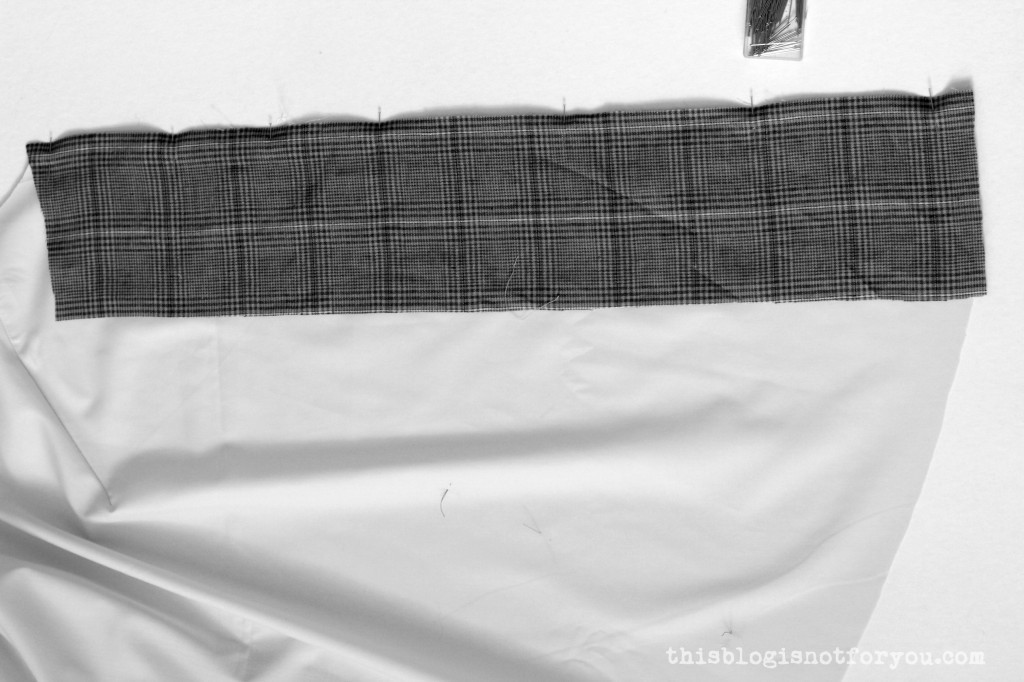
Alright. Now cape and lining are ready to be joined together!
11. Place lining on cape, right sides together. We will sew the hem first, to bag the cape.
Without shifting the two layers, pin both together at the hem. Stitch (1.5cm seam allowance).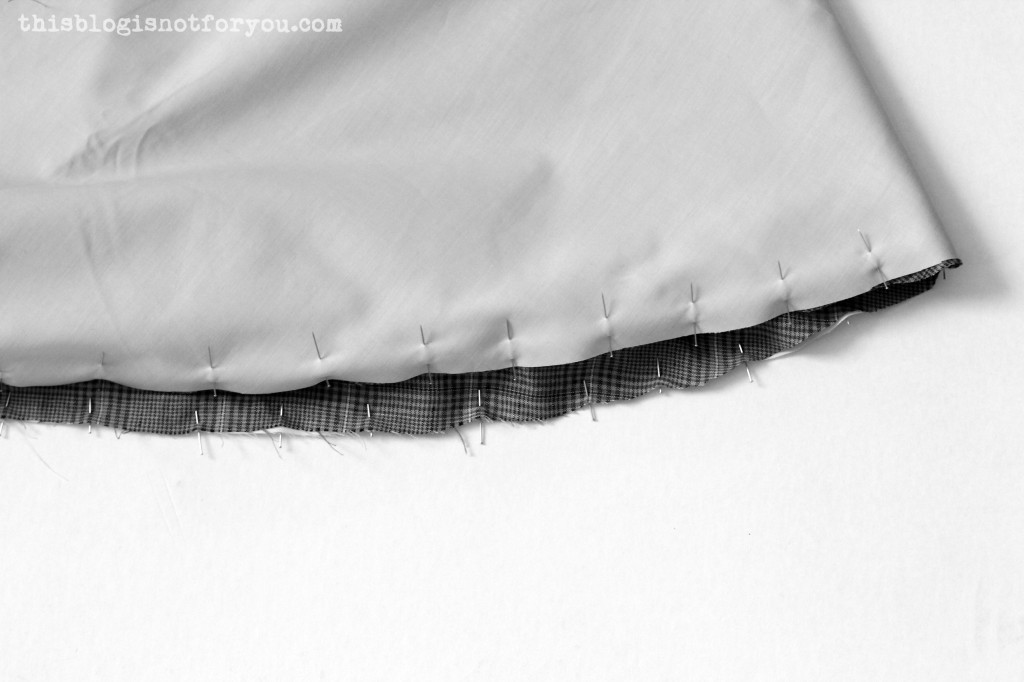
12. Now pin both layers together at the neckline. Since your lining is short than your cape fabric, you will find that the hem moves up into the cape. Make sure your cape lies flat and press the hem. 13. Breathe! You just finished the hem! The biggest and most difficult part is done!
Well, the hem is finished, but your cape will now look like this: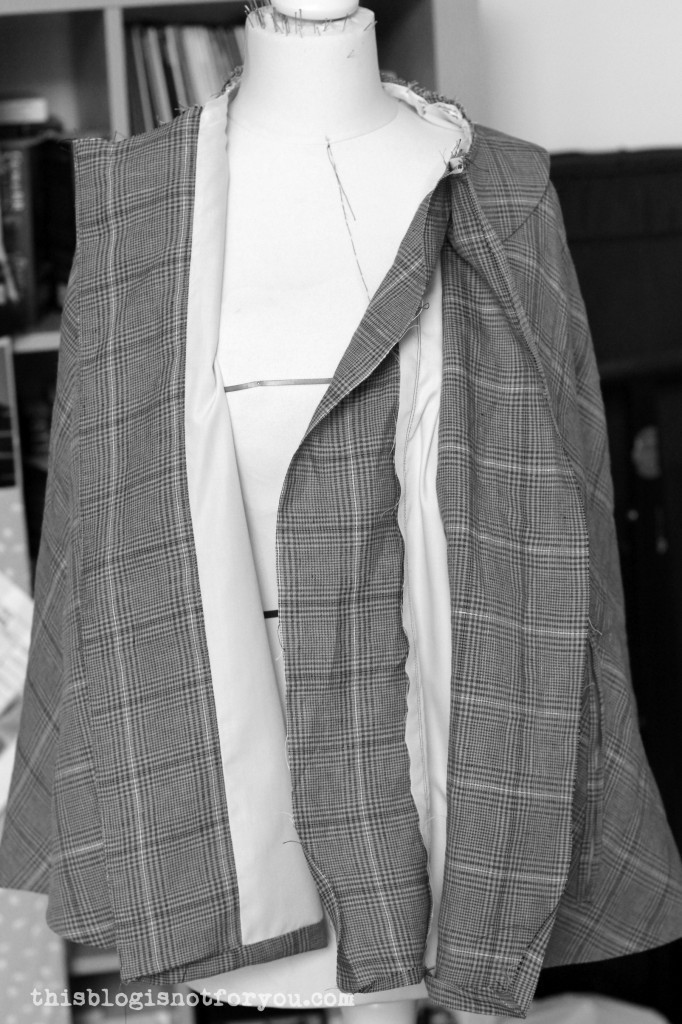
What a mess!
Turn the cape, so that the lining is facing you (Don’t turn it inside out yet, just put it on the dressform or hanger or floor the wrong way around). Like so:
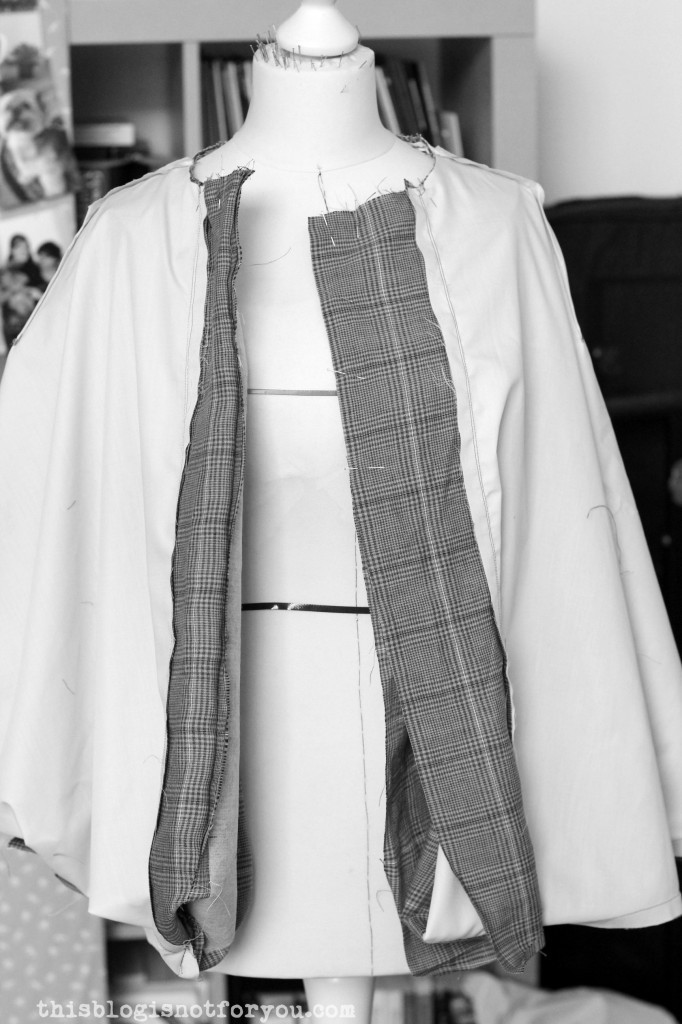
The collar or hood will now be between the two layers. 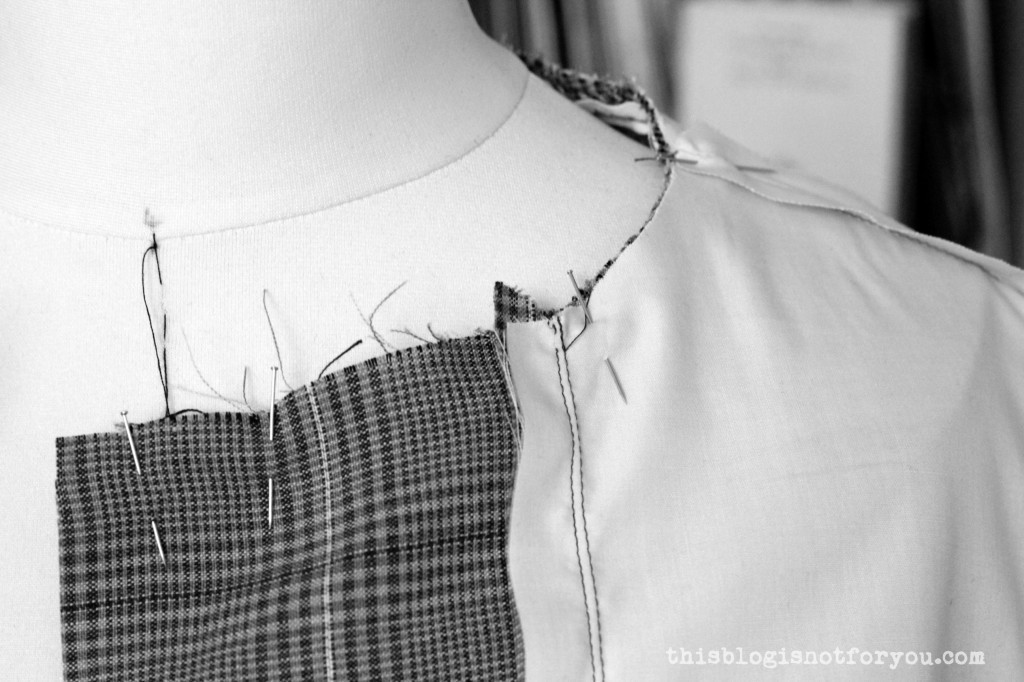 14. Pin along the neckline and front edges down to the hem, leaving a 20cm gap on one of the edges (we need this to turn the cape inside out later). Stitch all the way around the front edge and neckline making sure you don’t sew the gap closed. If you’ve attached the hood, make sure you don’t catch it while you’re stitching.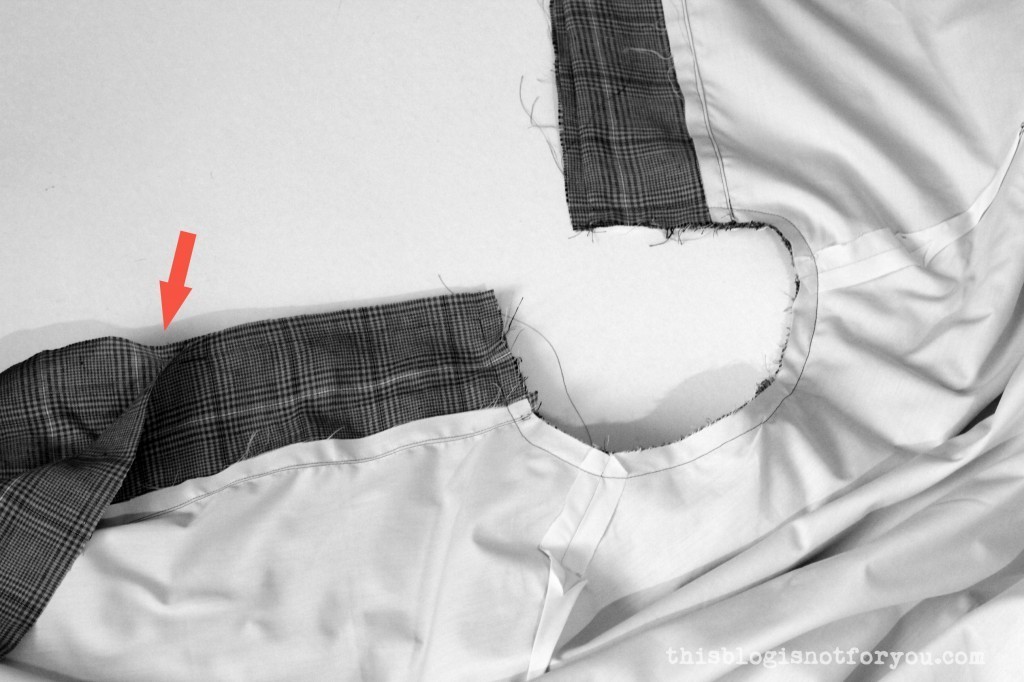
15. Trim of the corners in the front to remove bulk.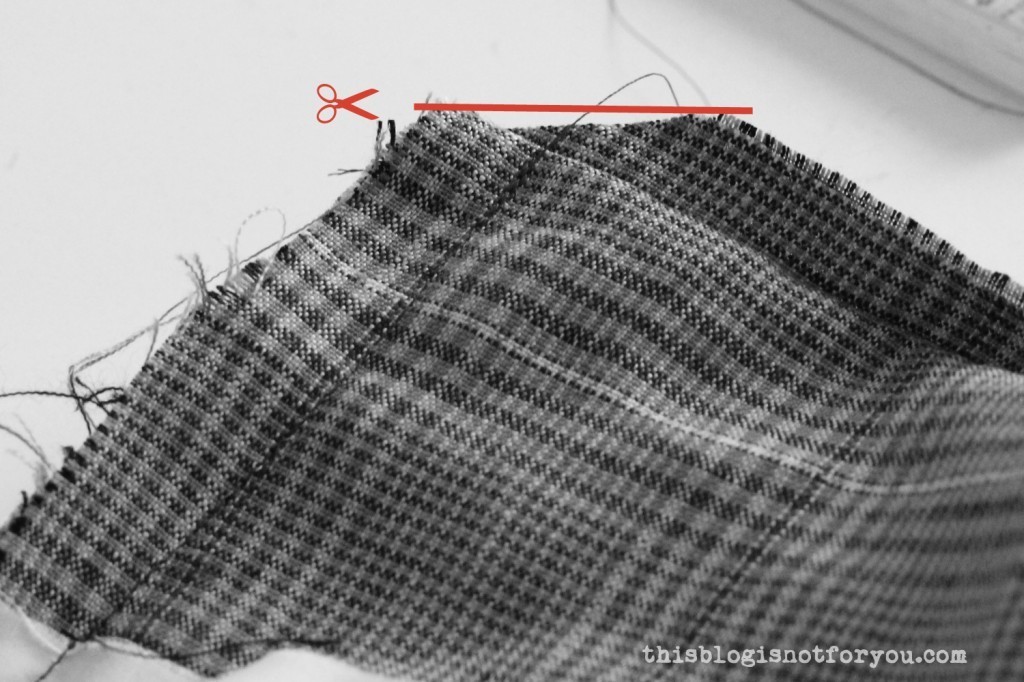
16. Turn the cape inside out and make a happy dance. You’ve almost finished! But what do we do with that silly gap on the facing in the front?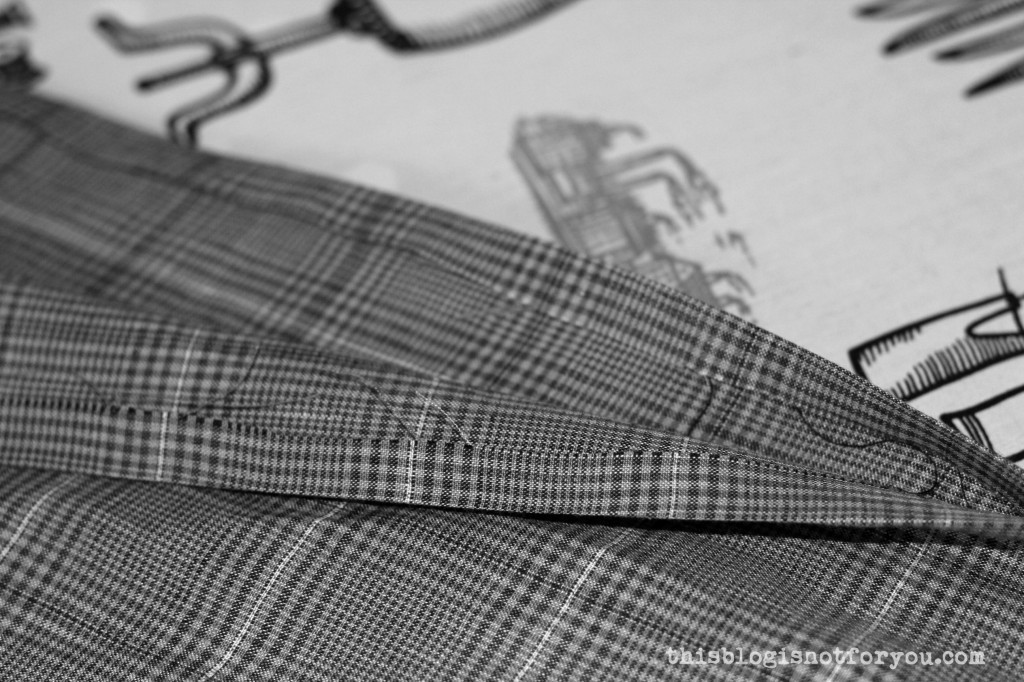
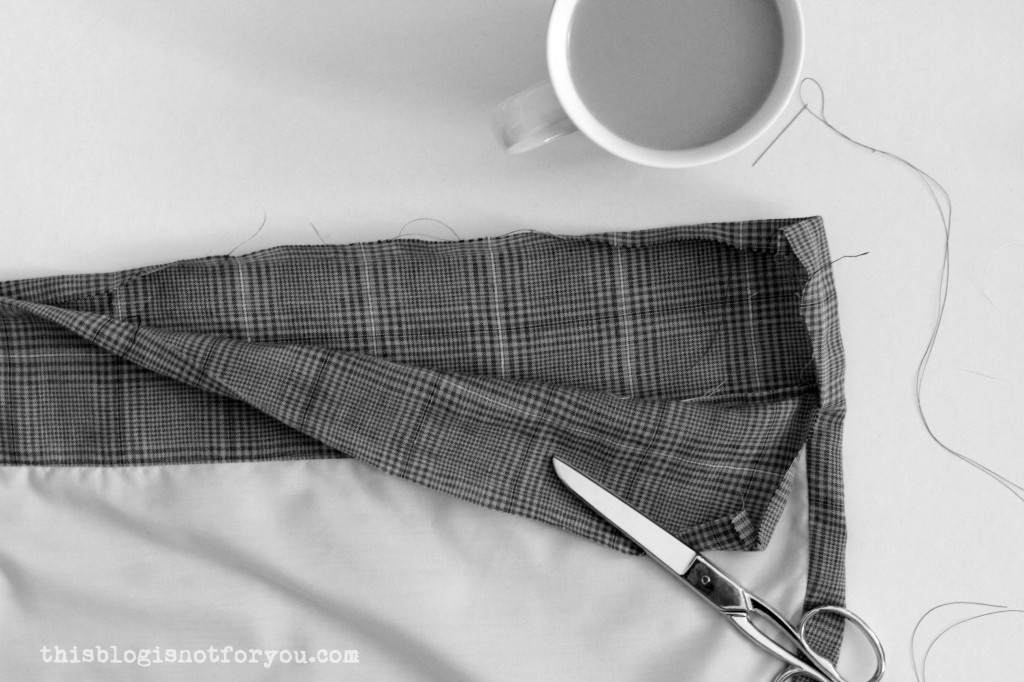
17. Grab a coffee. You know what’s coming.
.
.
.
Handsewing.
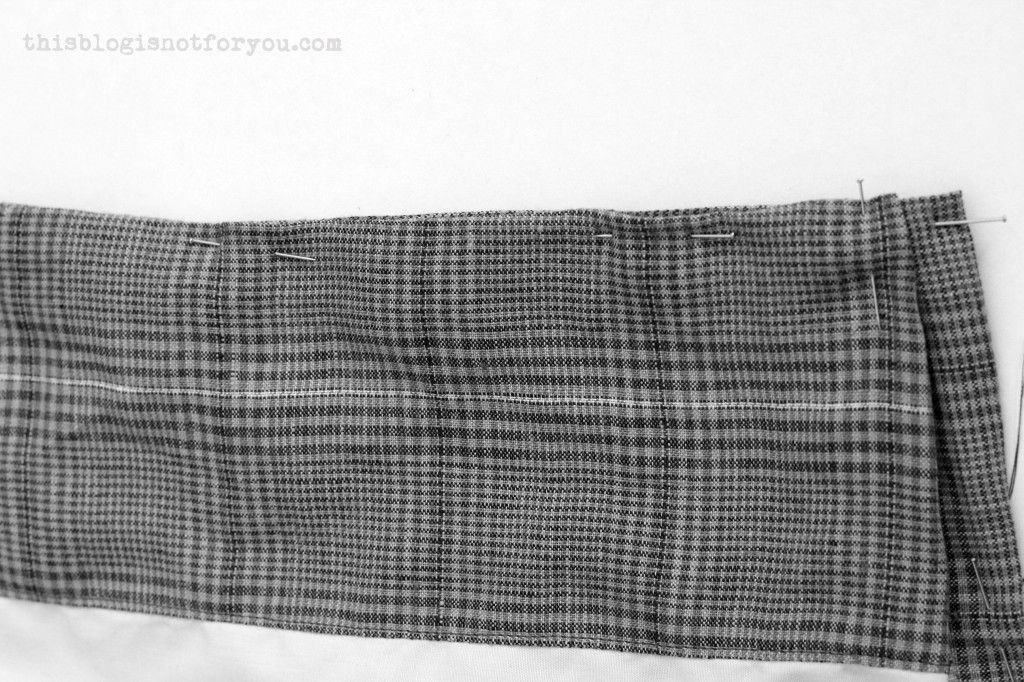
Press the seam allowance inside (either with your fingers or the iron) and then pin the facing to the cape. Attach by hand with a slipstitch.
Press.
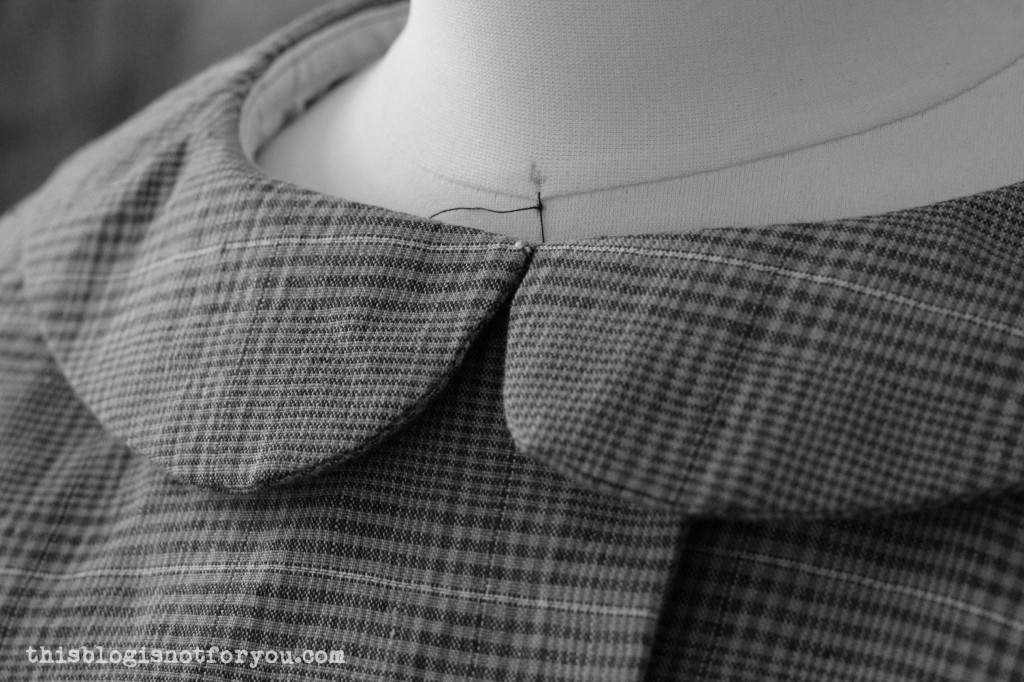
18. Now the only thing that’s missing is the buttons & buttonholes!
The buttonholes will be sewn onto the right front of the cape.
Since my cape has a pretty collar which would’ve otherwise covered up the first row of buttons, I used snaps on the top, which are almost invisible from the right side. My first row of buttonholes therefore starts a bit further down.
The size of your buttonholes varies and depends on the size of your buttons. There are many rules for determining the width of a buttonhole, I always go with diameter + height of button. Some people add another 2mm to that. Whatever works best for you.
If in doubt, sew the buttonhole onto a piece of scrap fabric first, to check whether it’s the right size.

19. Sew on your buttons.
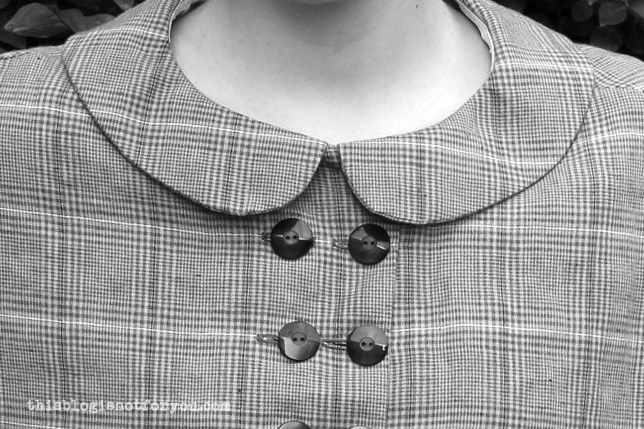
Congrats, you’re done!!
There will be a link party at the end of this sewalong where you can link up your fabulous capes!
The next part of the sewalong will be coming this week and covers:
Adding Armslits to your Cape
Happy sewing!
♥
facebook/bloglovin/pinterest
Stay in touch!

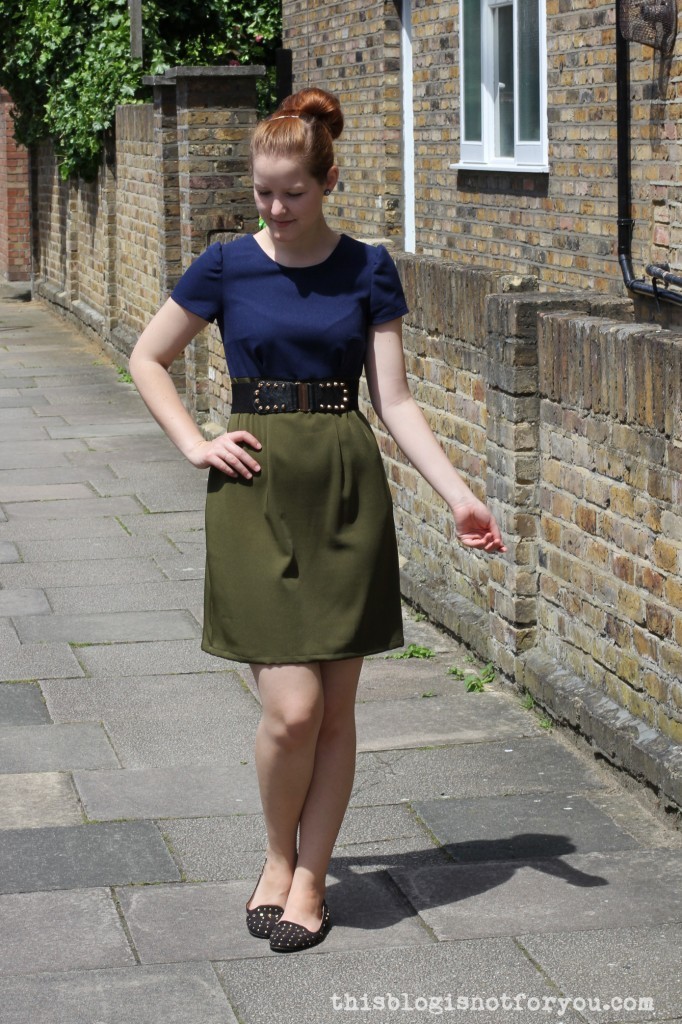 Two weeks ago I got Tilly’s Love at First Stitch in the mail and on the same evening read it from cover to cover. Although I love Tilly’s blog, I had my doubts about buying the book. I have so many sewing books that cover all the basics and as I consider myself an advanced seamstress by now, I thought this book just wasn’t for me. However I saw all these gorgeous Megans, Lilous and Mimis popping up over the interwebs and wanted to get a hand on these patterns myself.


 Sewing along and making the cape?
  1. Take your cape and pattern piece and mark the position of the arm opening as shown above. The position of the armslits really is up to you. I put mine closer to the centre front, others prefer it to be on the lengthened shoulder seam line.
 3. After marking the position of the arm opening (with chalk or tailor’s tacks), cut out four strips of your main fabric (or lining fabric if you prefer the contrast), two for each armslit. They should be approx. 4-5cm (2inch) wide and 3cm longer than your armslit measurement. So if your armslits are 20cm long, these strips will have to be at least 23cm long in order to include a seam allowance of 1.5 cm on each end.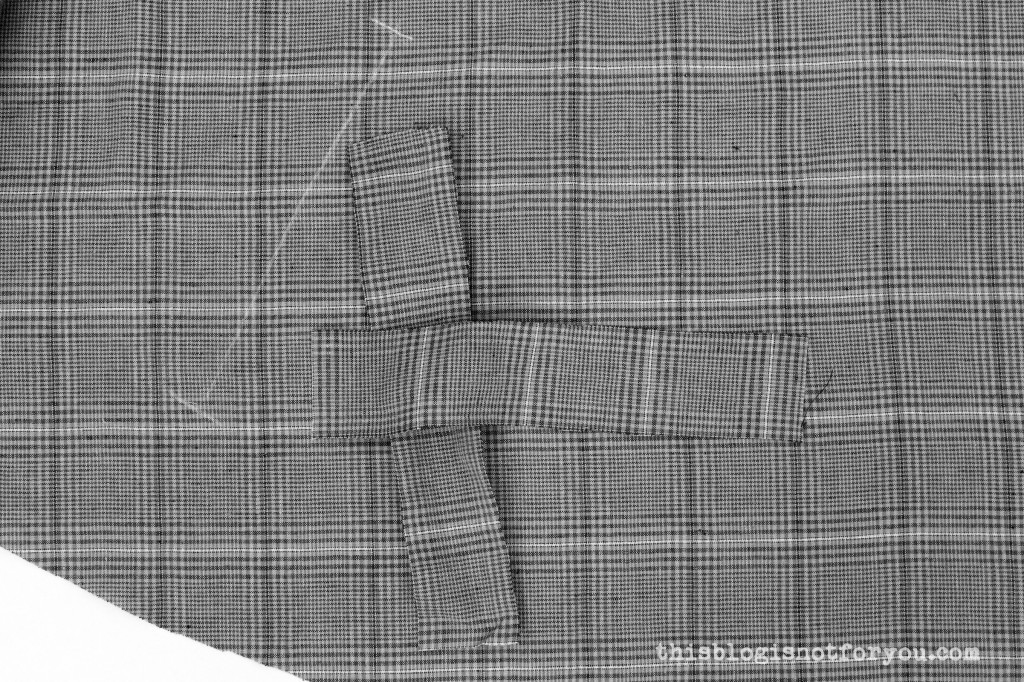
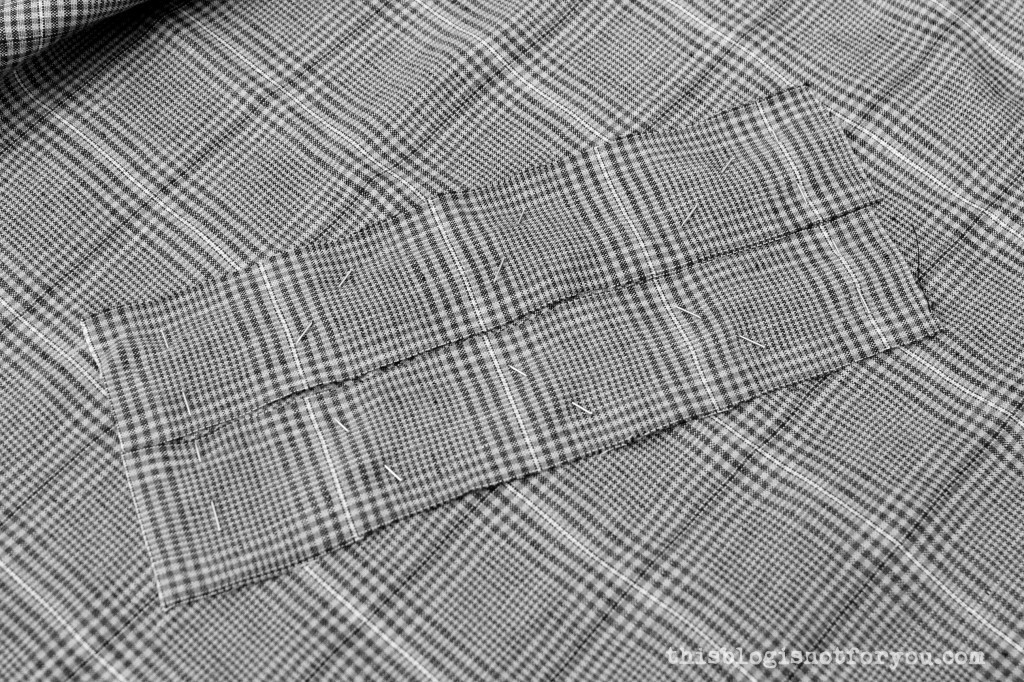 5. Turn your cape around, so that you are facing the left side of the fabric. Carefully stitch two lines approx. 7mm (2/8”) from the armhole marking, starting and ending your seam at the markings, as shown below.
 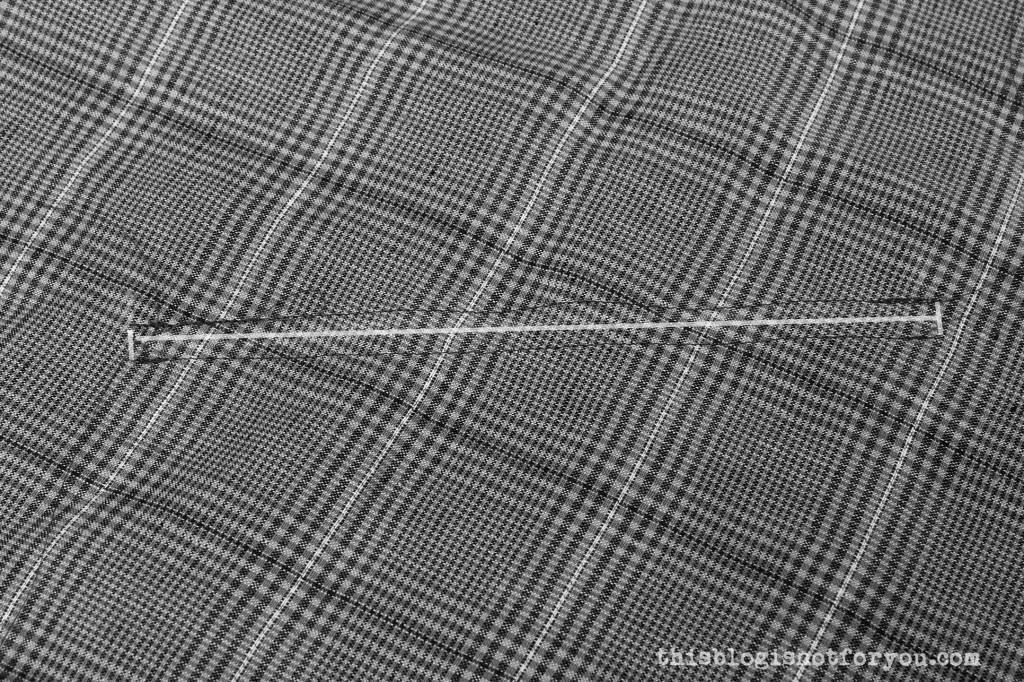 6. Cut the armslit open along the marked line starting and ending 1.5cm from the marked end of your line (see picture below).
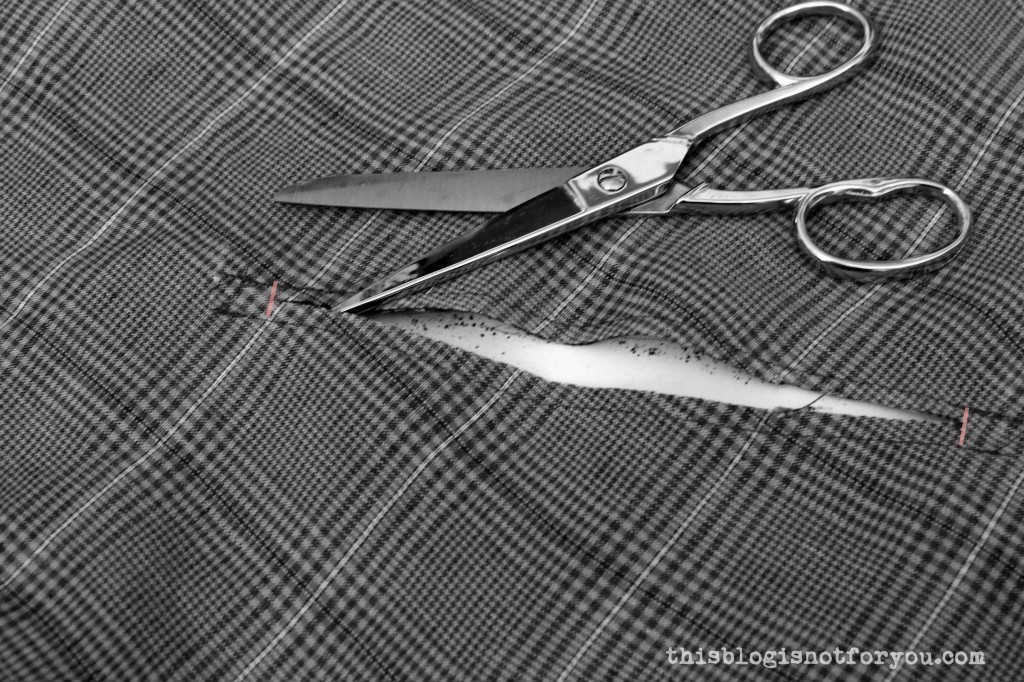 7. Cut diagonally towards the end of your stitching lines, so you will end up will small triangles.
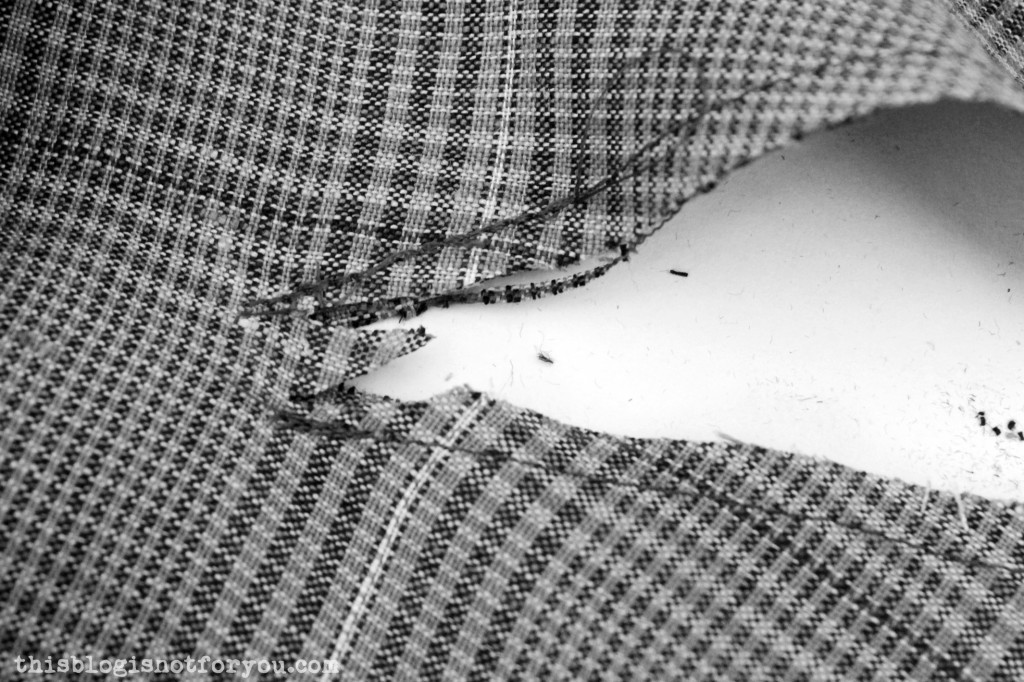 8. Push the fabric through to the other side and press.
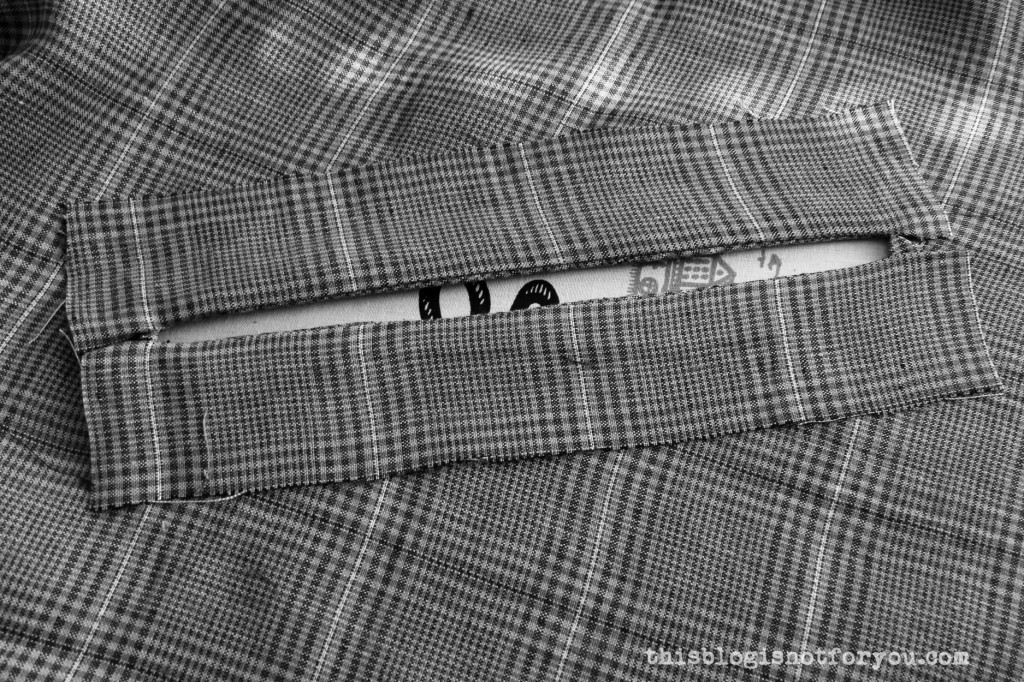 9. You could now simply understitch the facing. I decided to press the facing so that it shows through the opening on the other side.
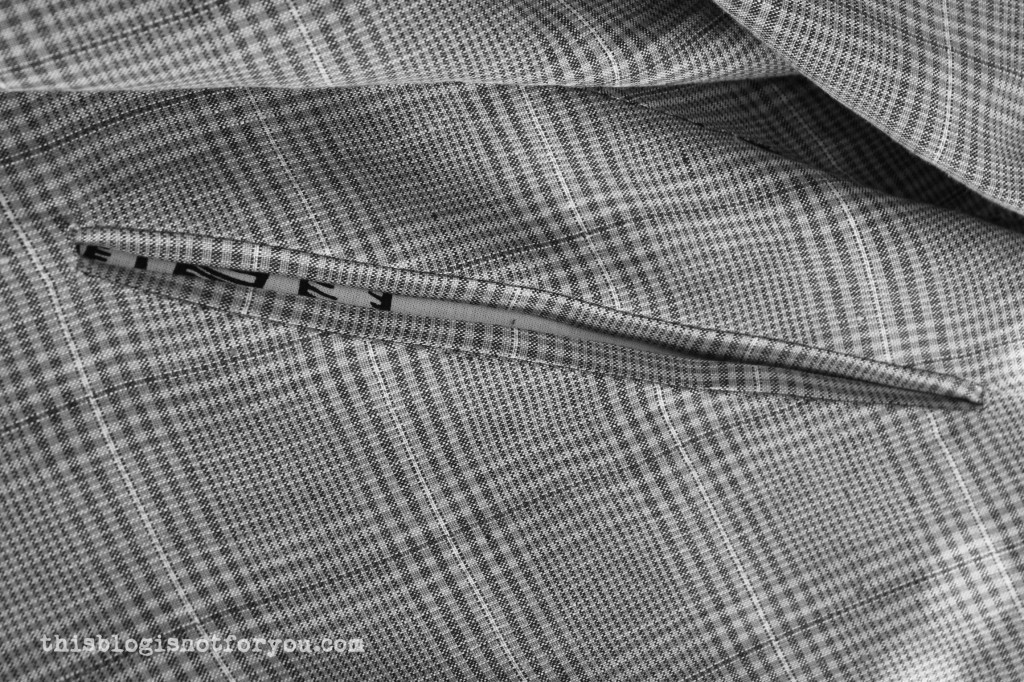 10. Stitch in the ditch to hold the facing in place.
 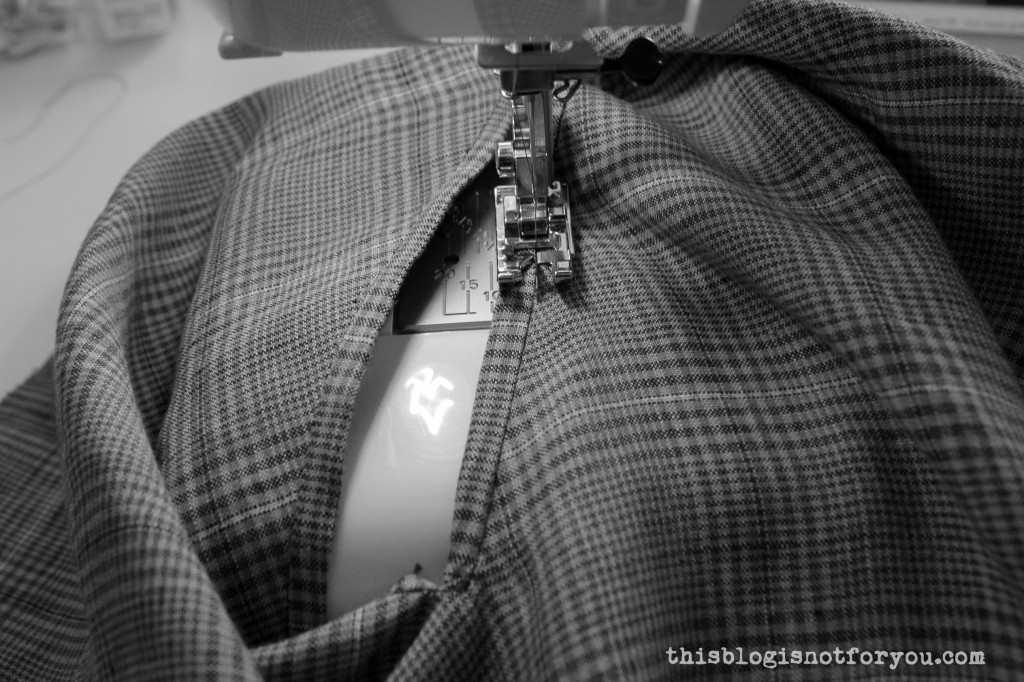 I used a special presser foot for that, but you can simply use a standard feet as well, stitching slowly on the previous seam.
 11. When you have understitched, topstitched or otherwise secured the facing, pin the small triangles in place and stitch them onto the facing’s seam allowance. You can either to that by machine or with hand.
  12. If you are not adding a lining to your cape, you can sew the outer edges of the facing onto your cape with wide catch-stitches.
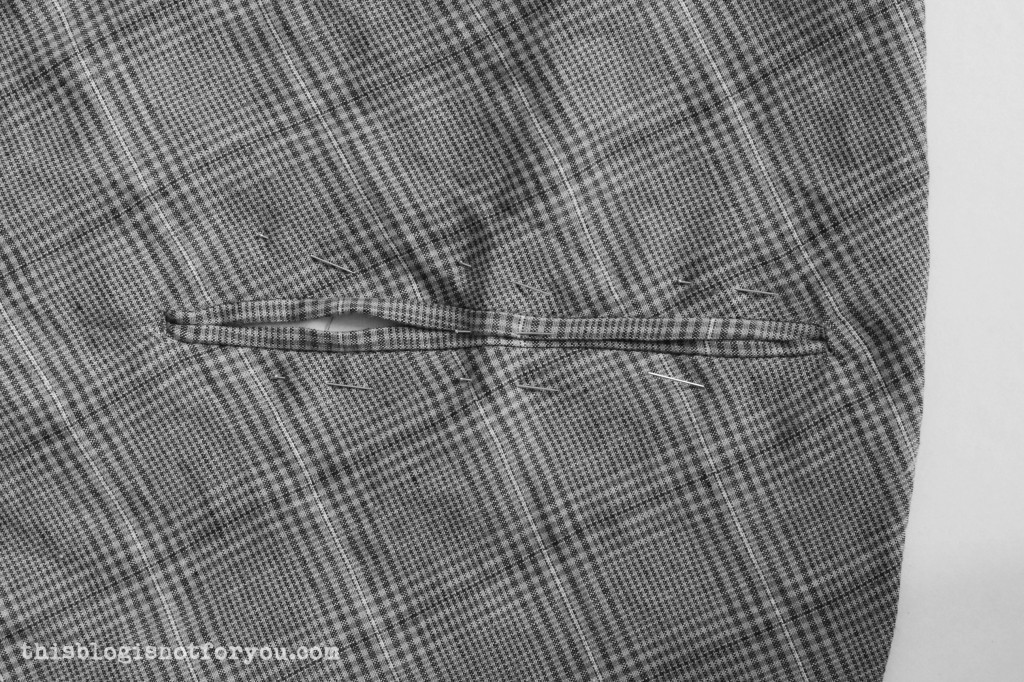 1. After your cape is lined and pressed, first pin the armslits closed and an then add some pins to hold lining and main fabric together along the opening. Make sure all layers are lying very flat before you pin (or baste) them together.
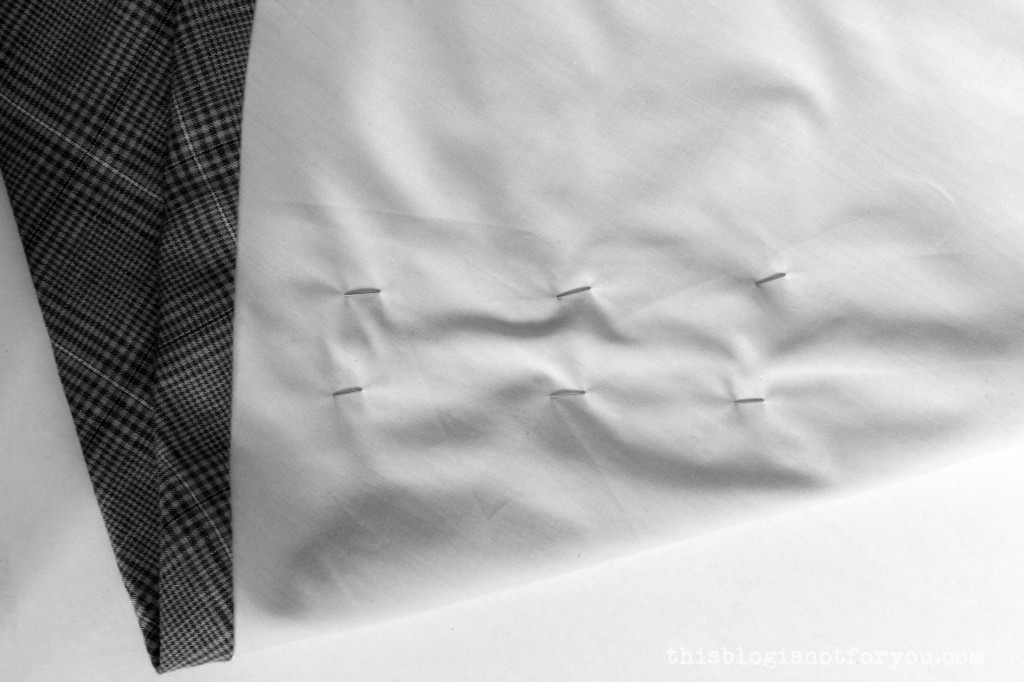 2. Take out the pins you used to close the opening and carefully cut the underlying lining open along the marked armslit line. (You can either mark the line before you sew in the lining, or before cutting, after you take out the pins.)
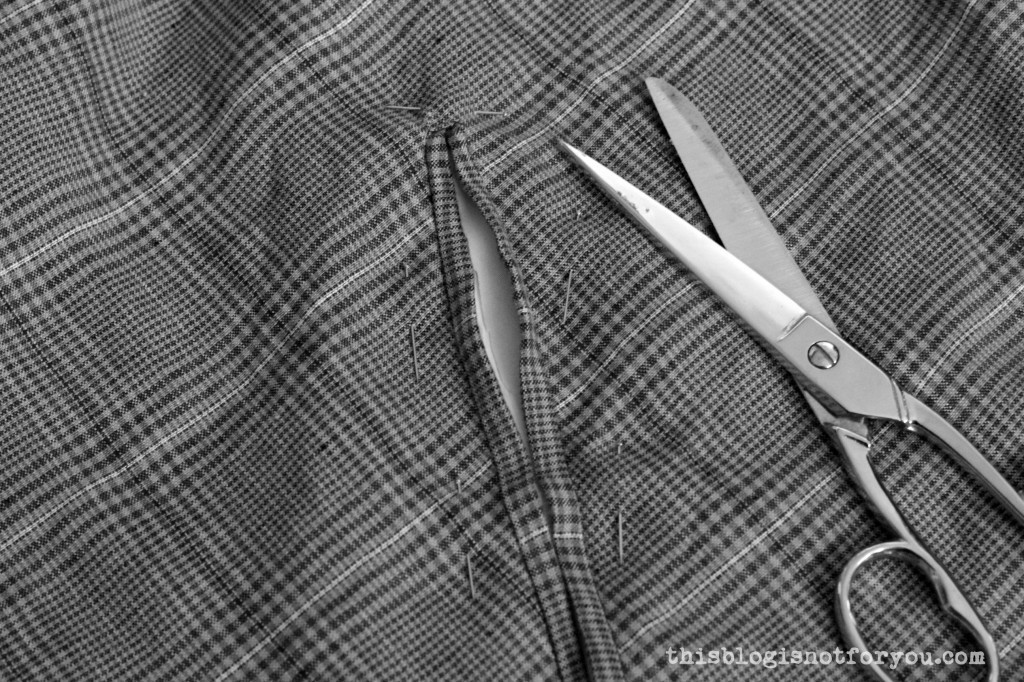 You make the cut in exactly the same way as before, ending the cut with the small triangles.
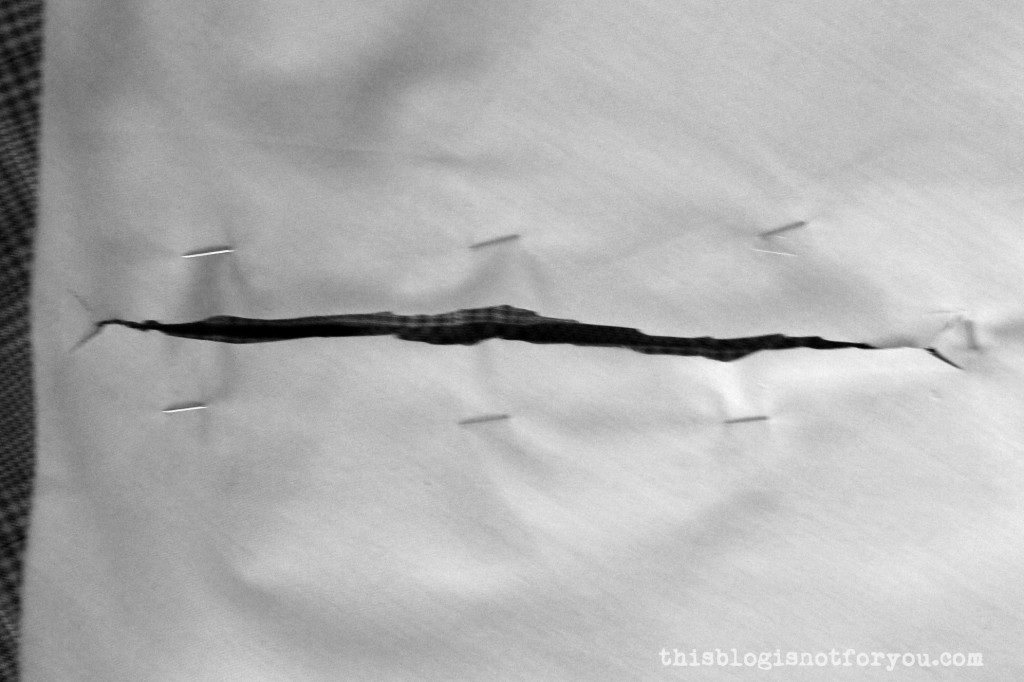 3. Push the seam allowance between the layers and pin everything in place.
  4. Using thread and a handsewing needle, slipstitch the lining to your facing. If you absolutely loathe handsewing, you can (from the right side) stitch in the ditch again, catching the lining. For a neater finish, I’d always recommend handsewing, though.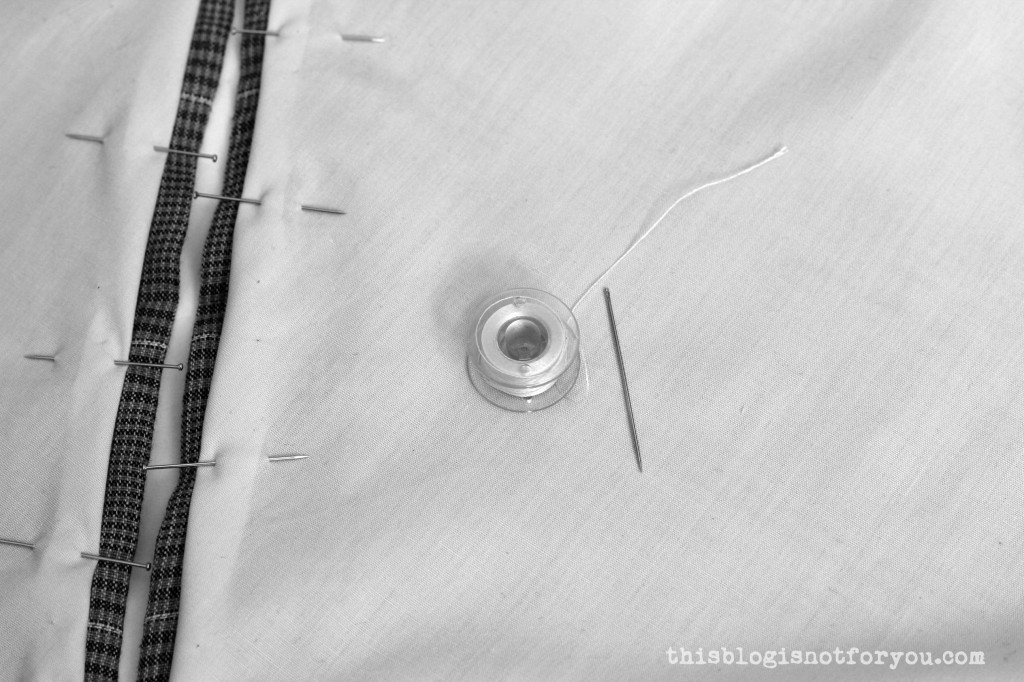
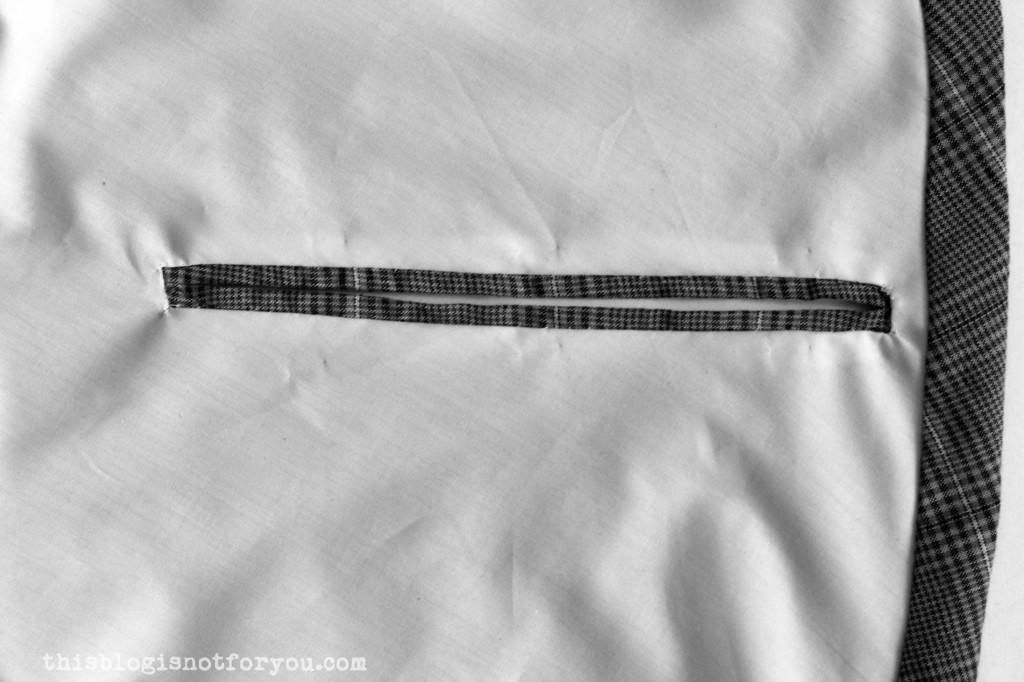 And you’re done! Congrats!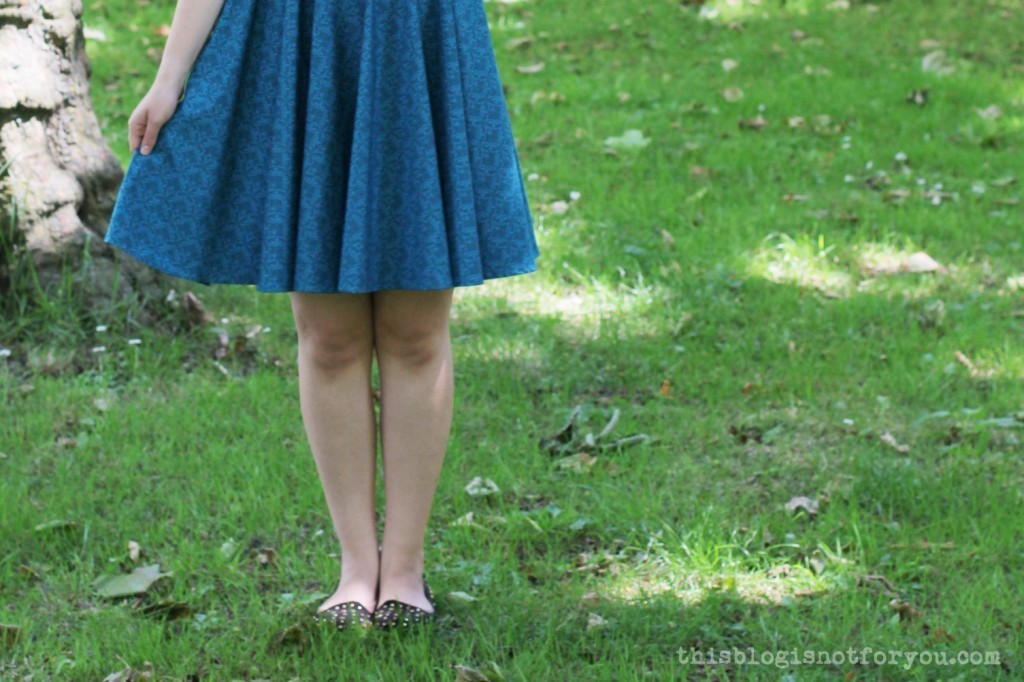
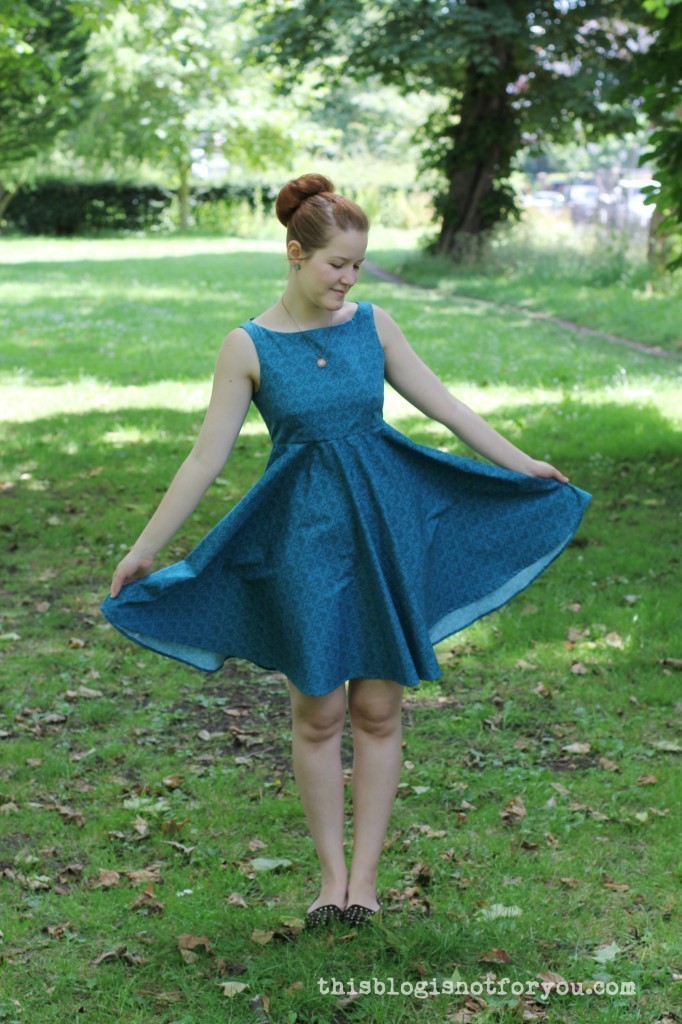




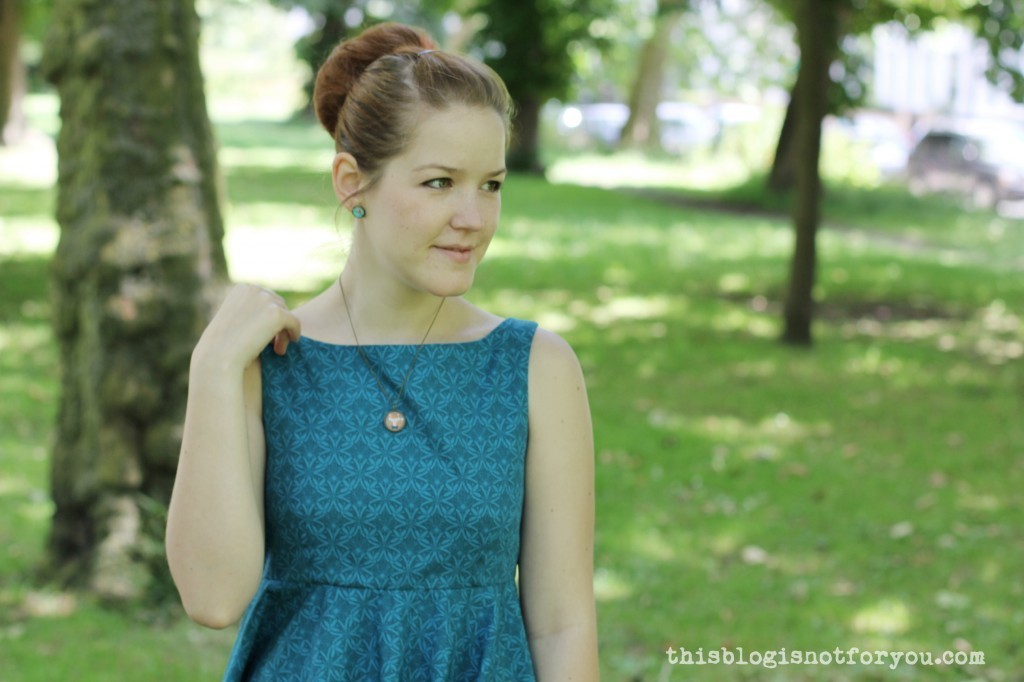
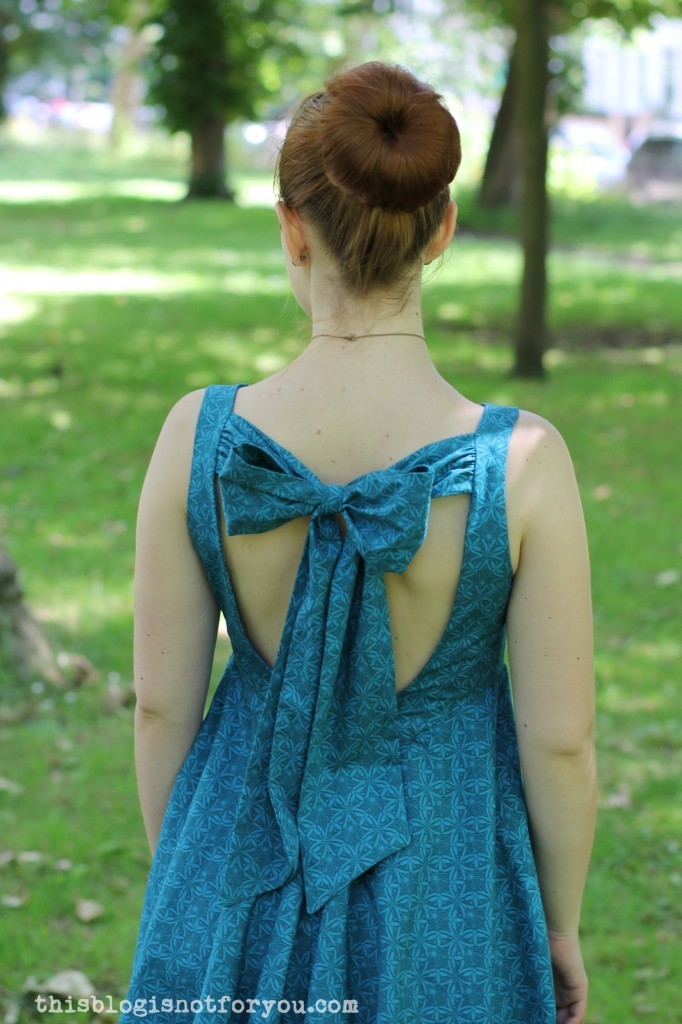
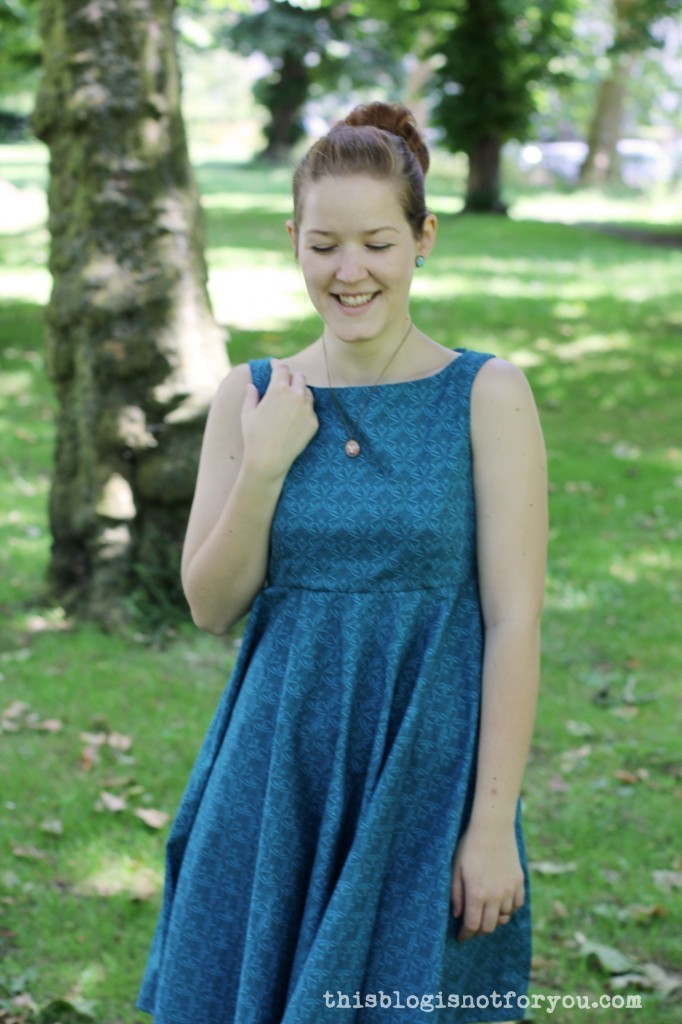

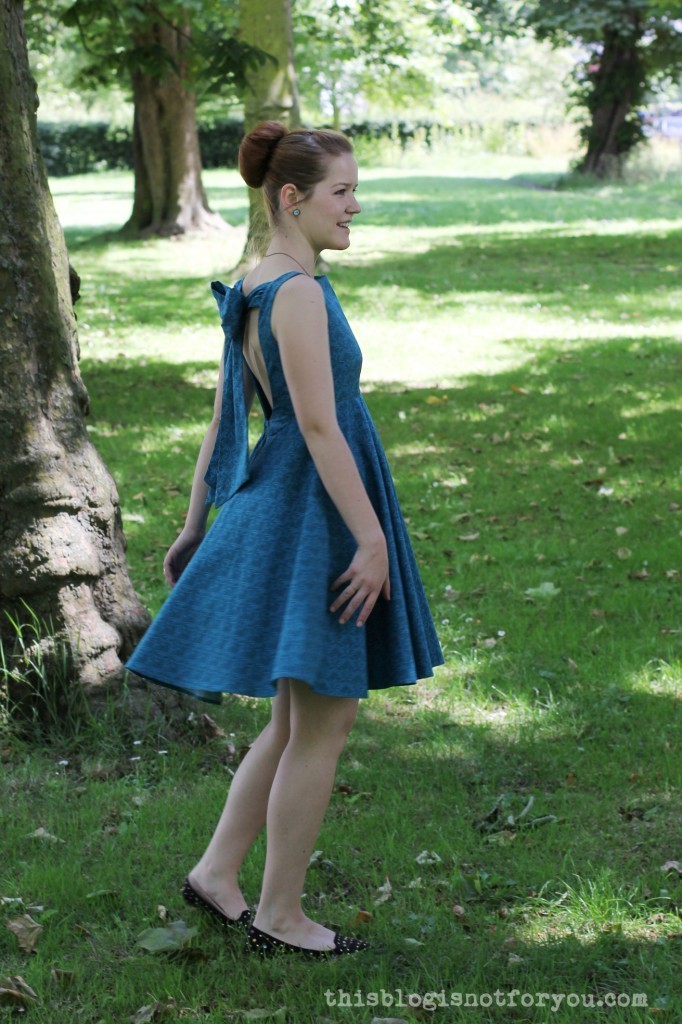
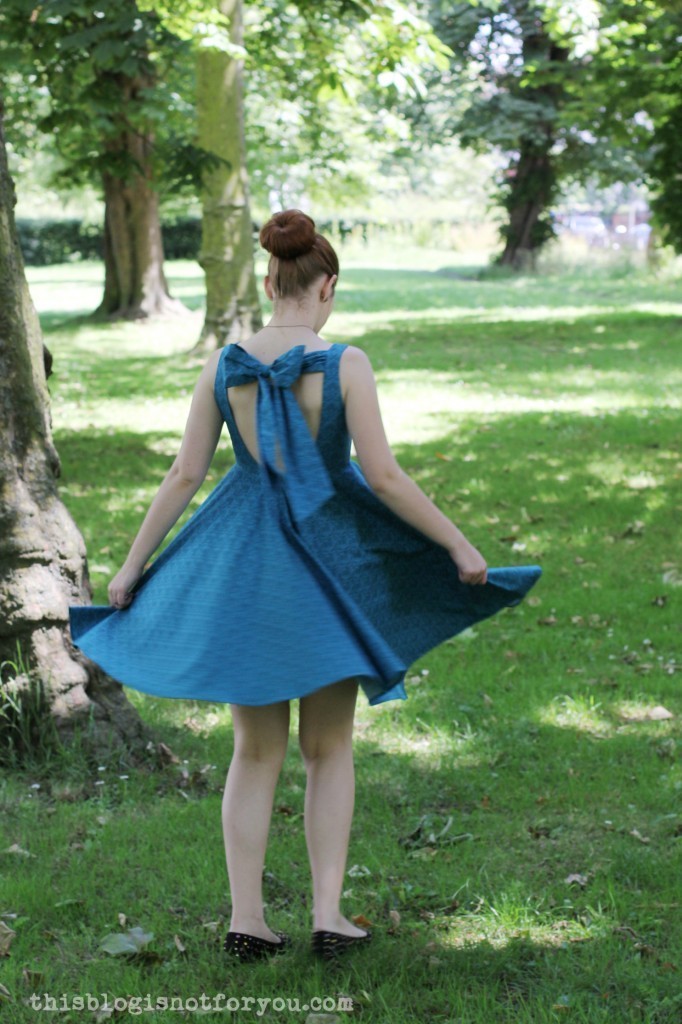

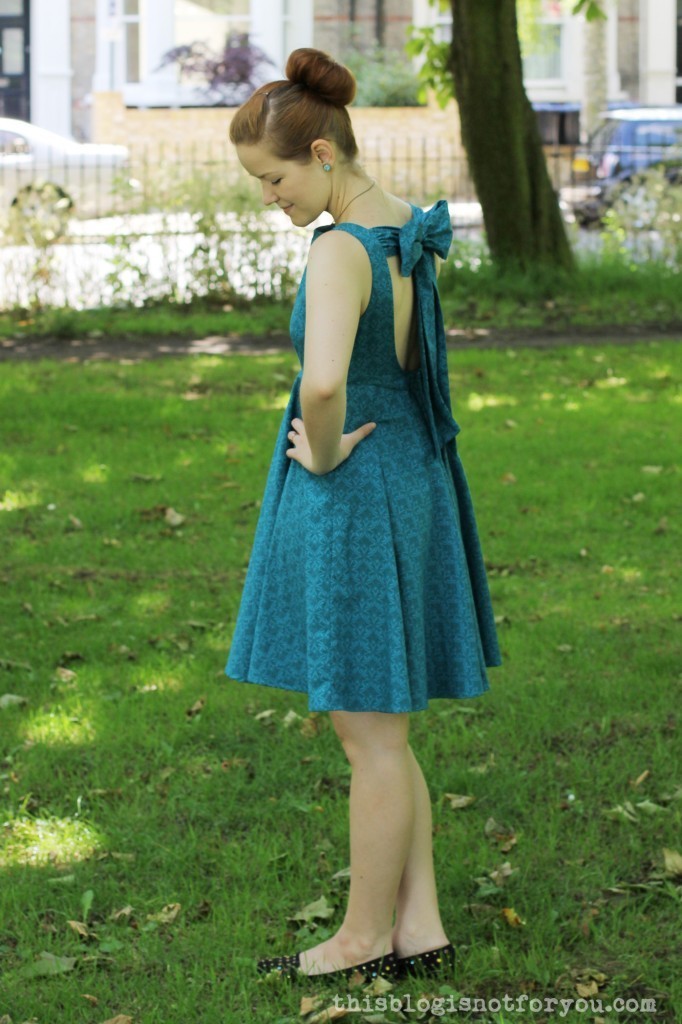
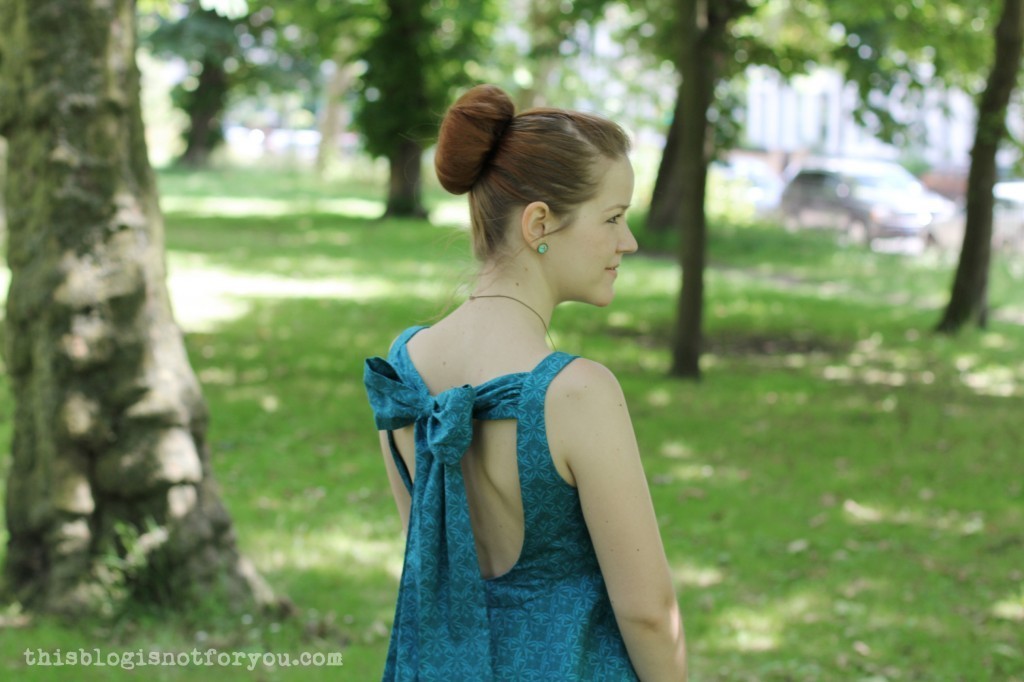
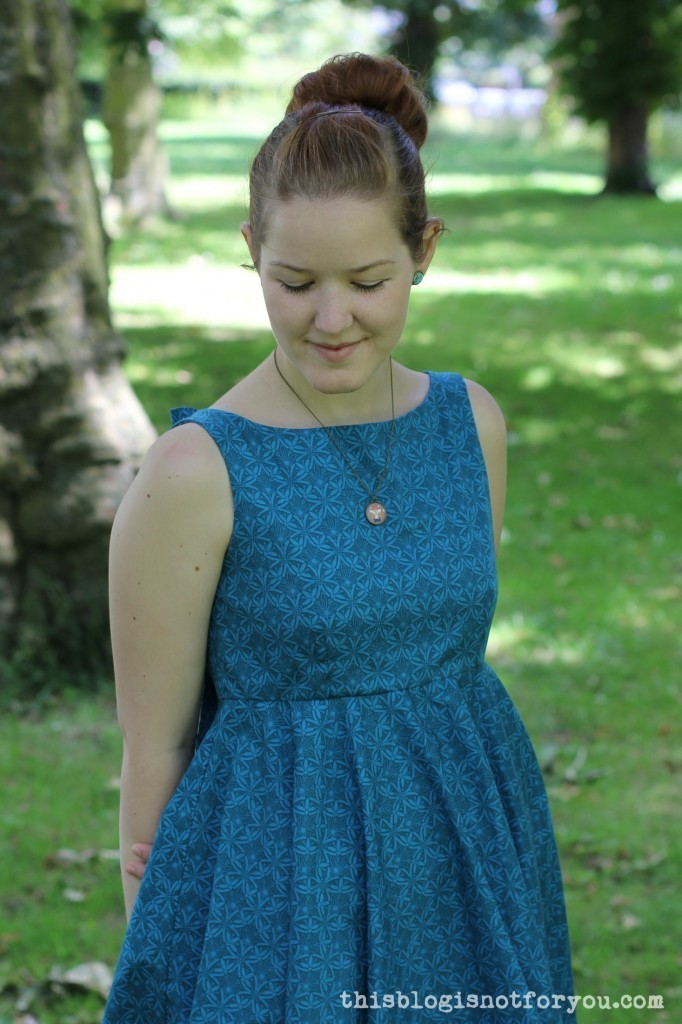
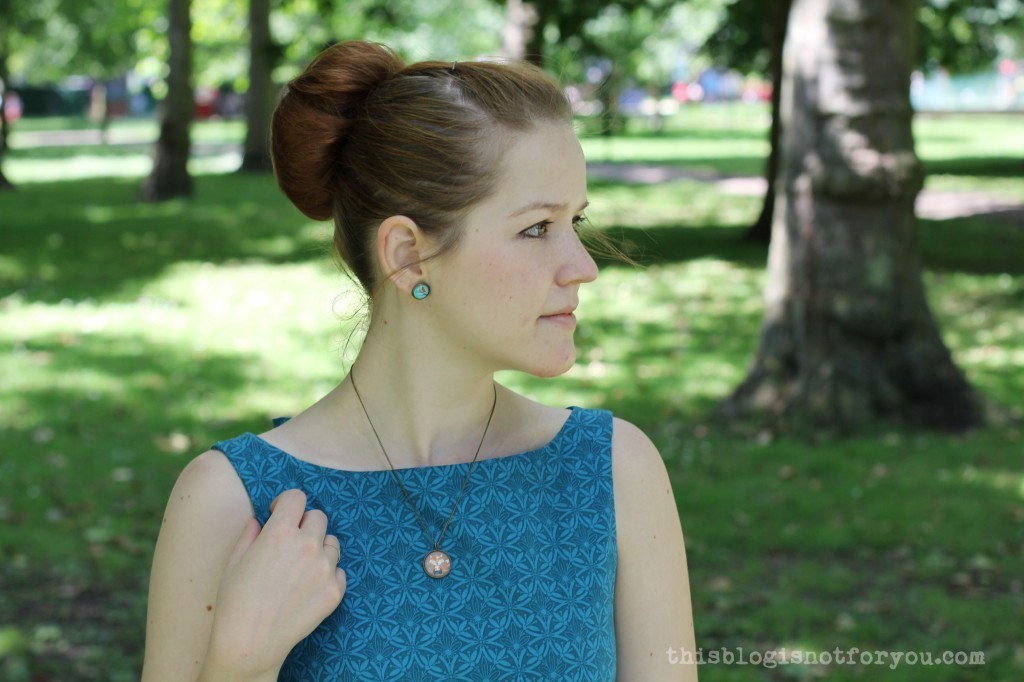
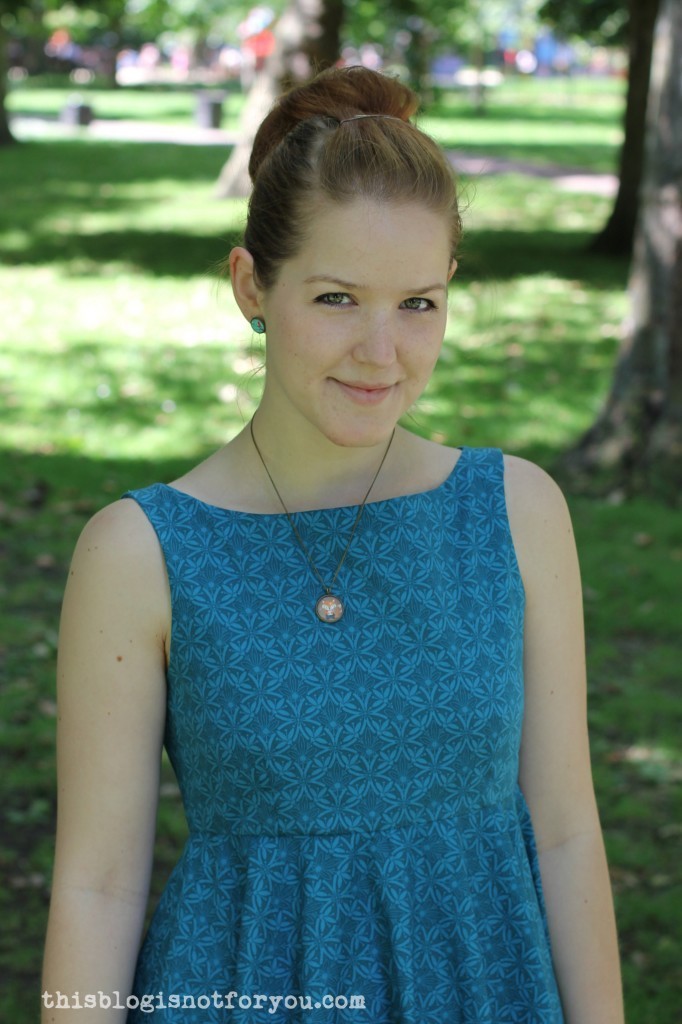
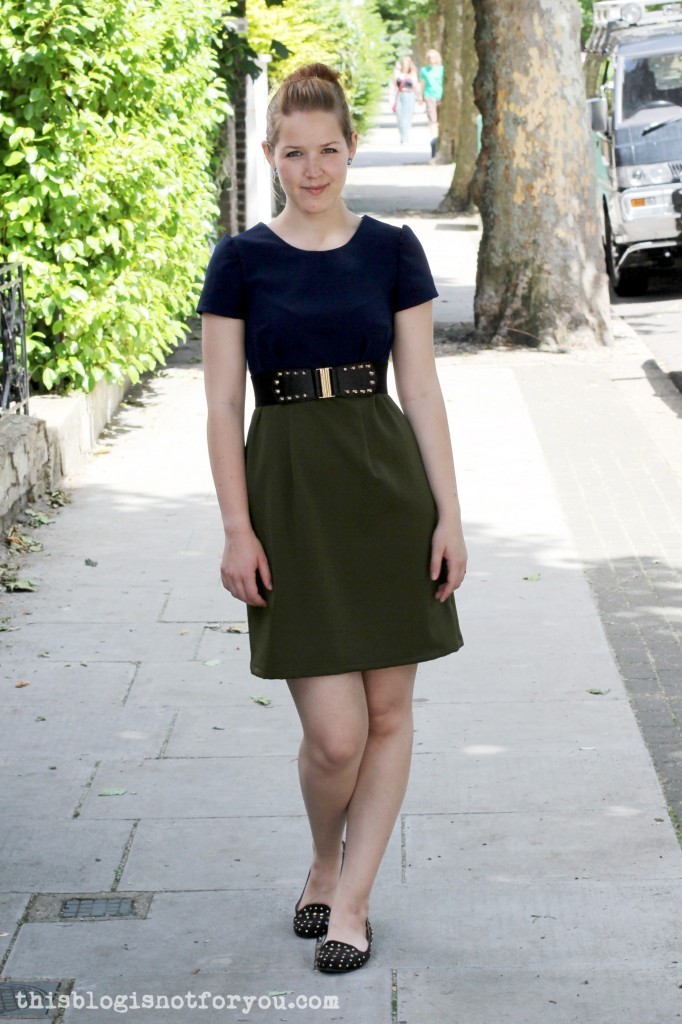
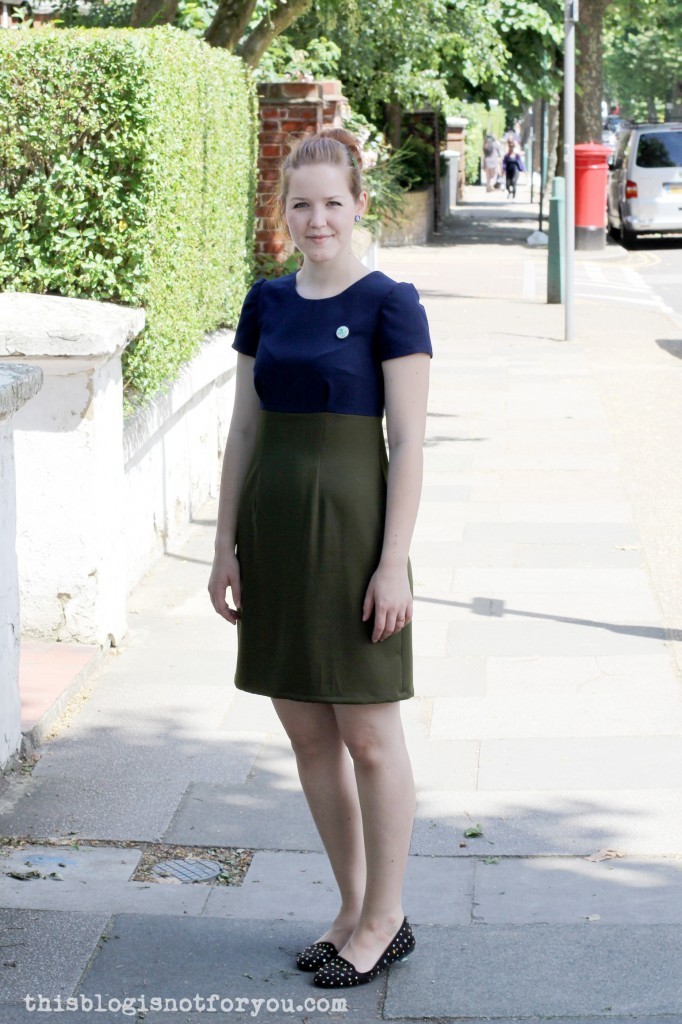
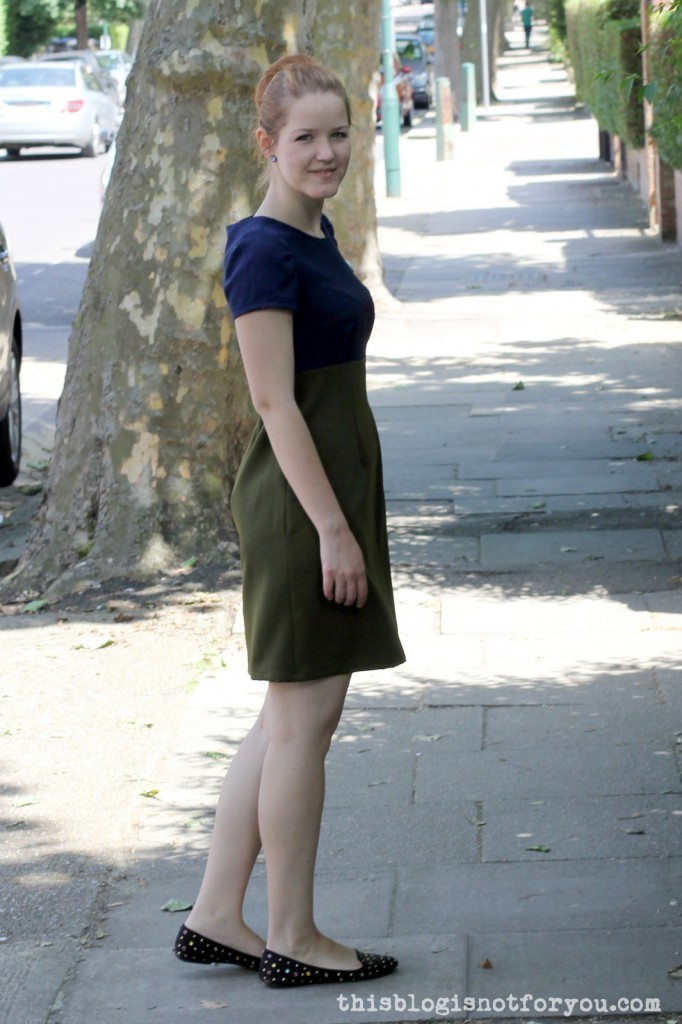
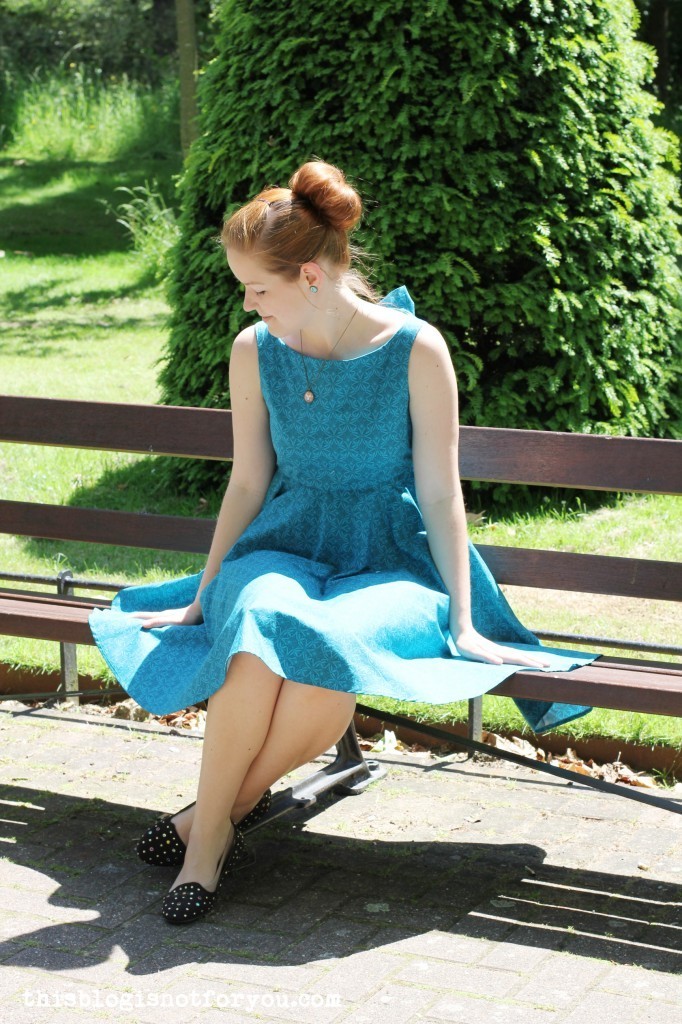 I just love this dress and hopefully will be able to wear it on many occasions this summer. I also love my new handmade jewelery – some of the materials are courtesy of my new sponsor, which I will introduce this week!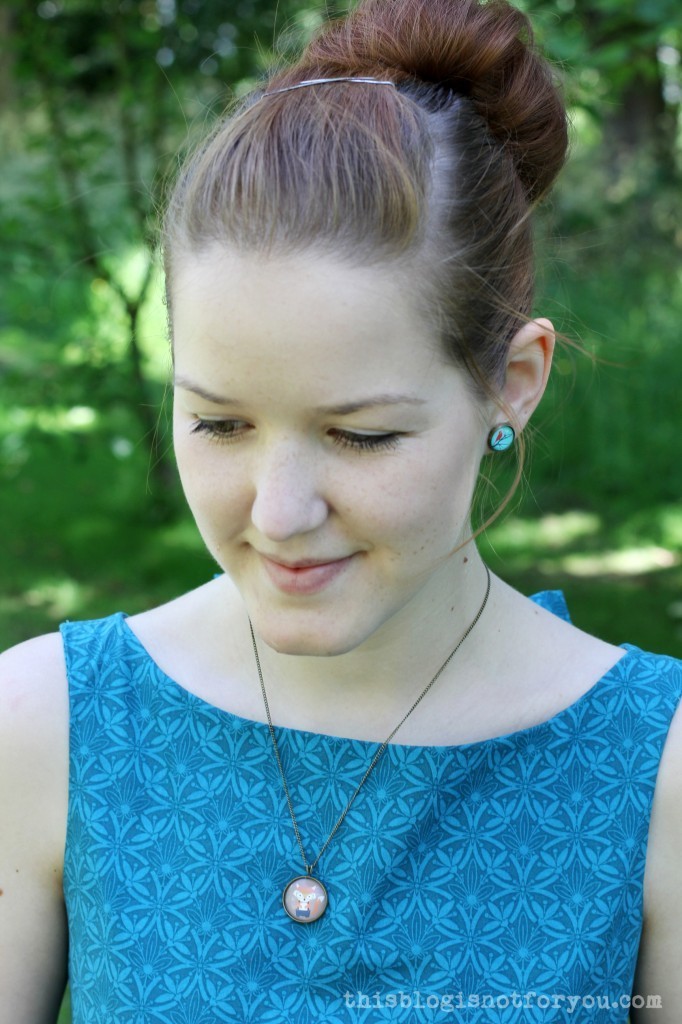

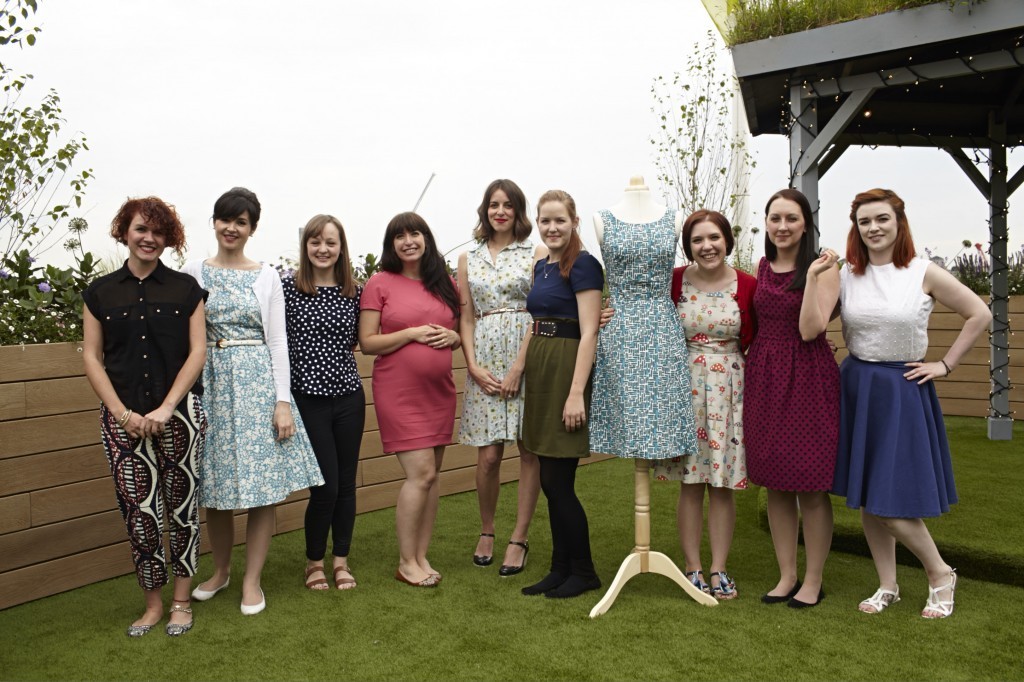
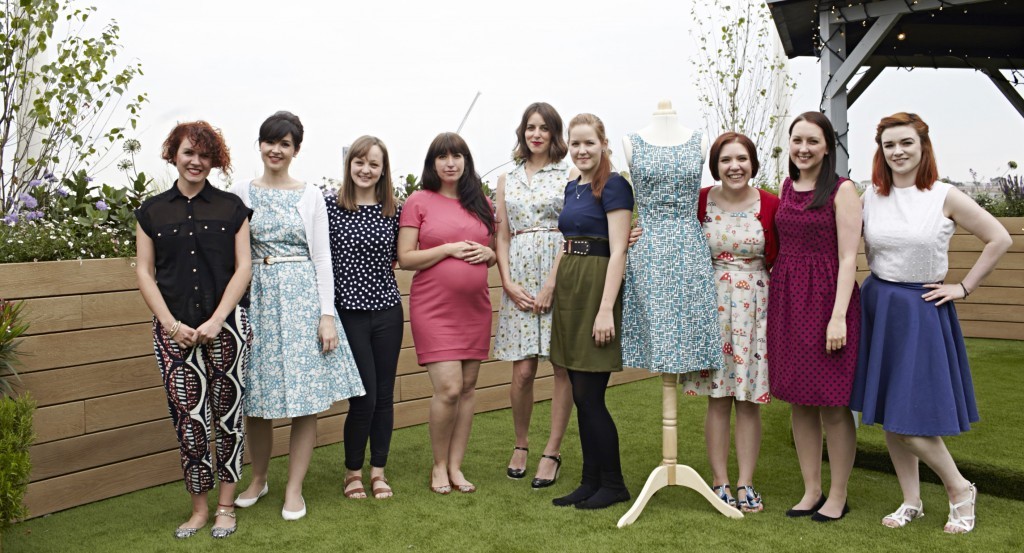 Left to right: Freya (who assisted Lisa during the day), Lisa, Fiona (
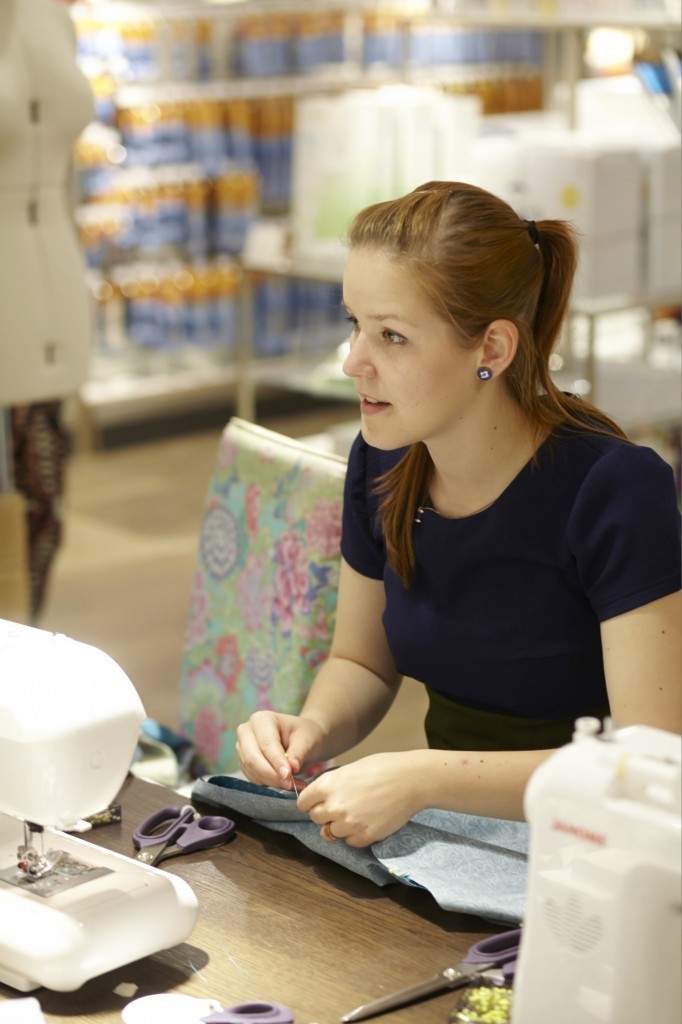
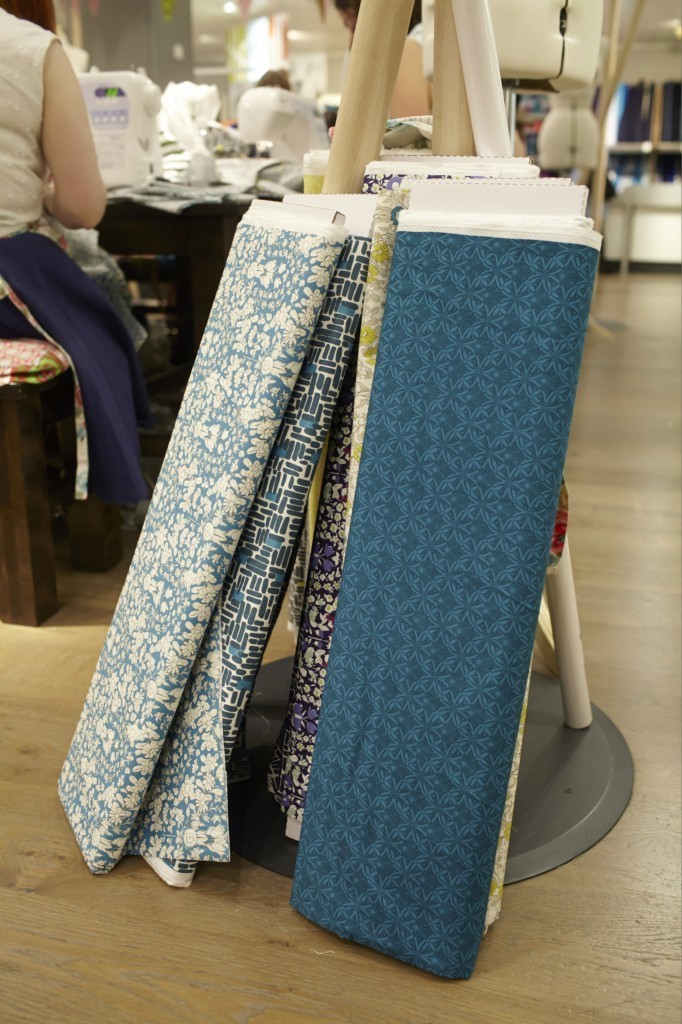
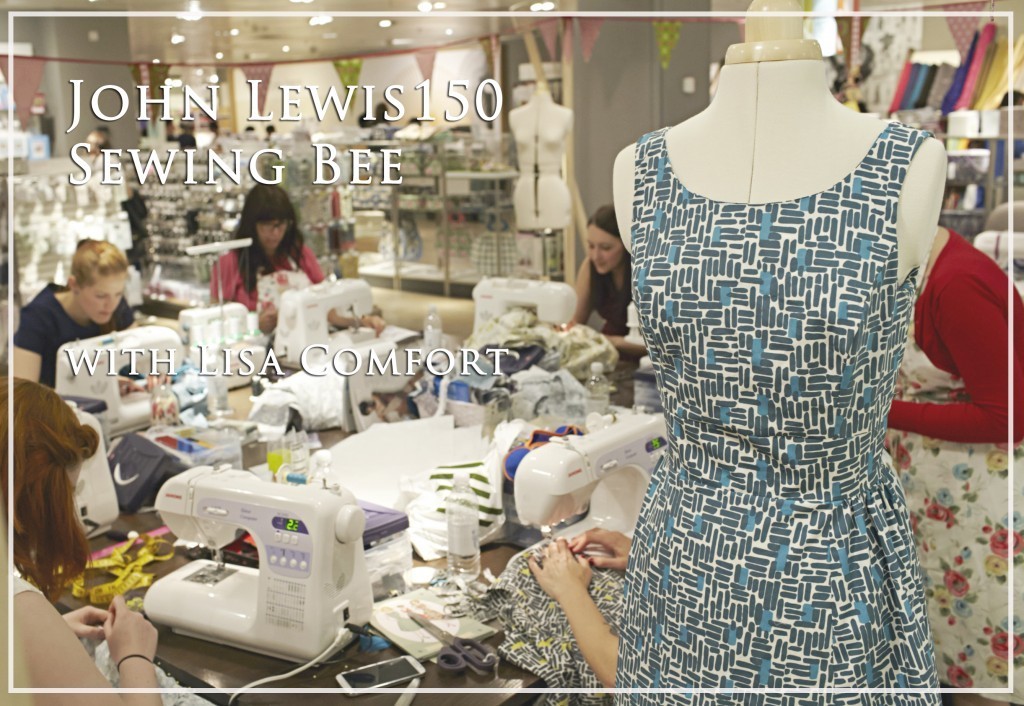
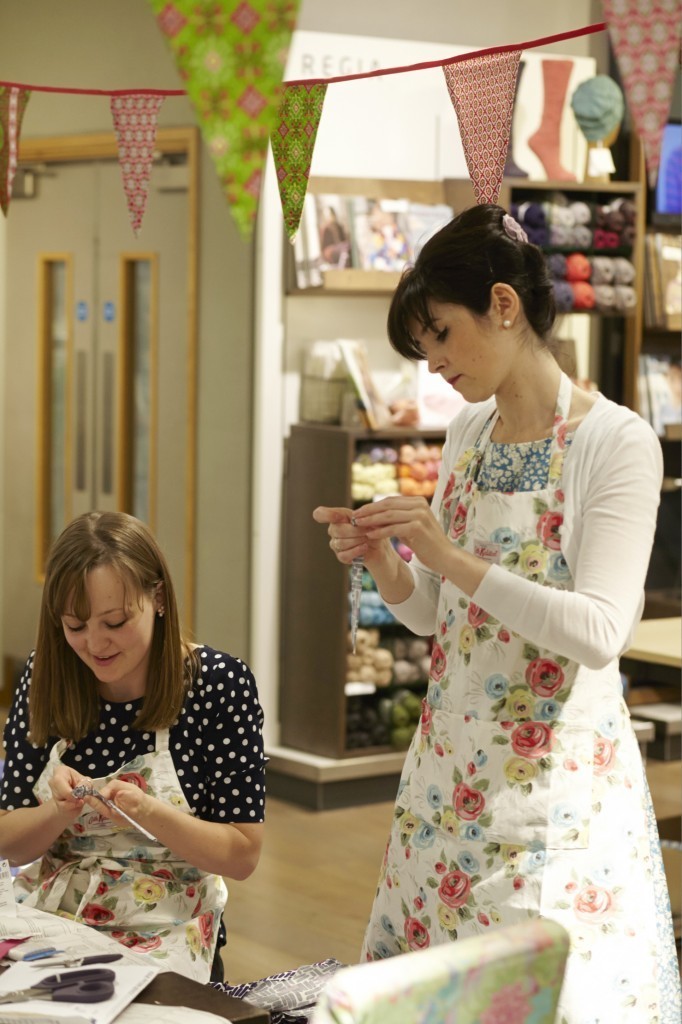
 To celebrate their anniversary, John Lewis brought back heritage fabrics from various decades and we were using these gorgeous John Lewis Commemorative 150th fabrics to make our dresses. Lisa had picked some cotton fabrics and patterns for us to choose from.
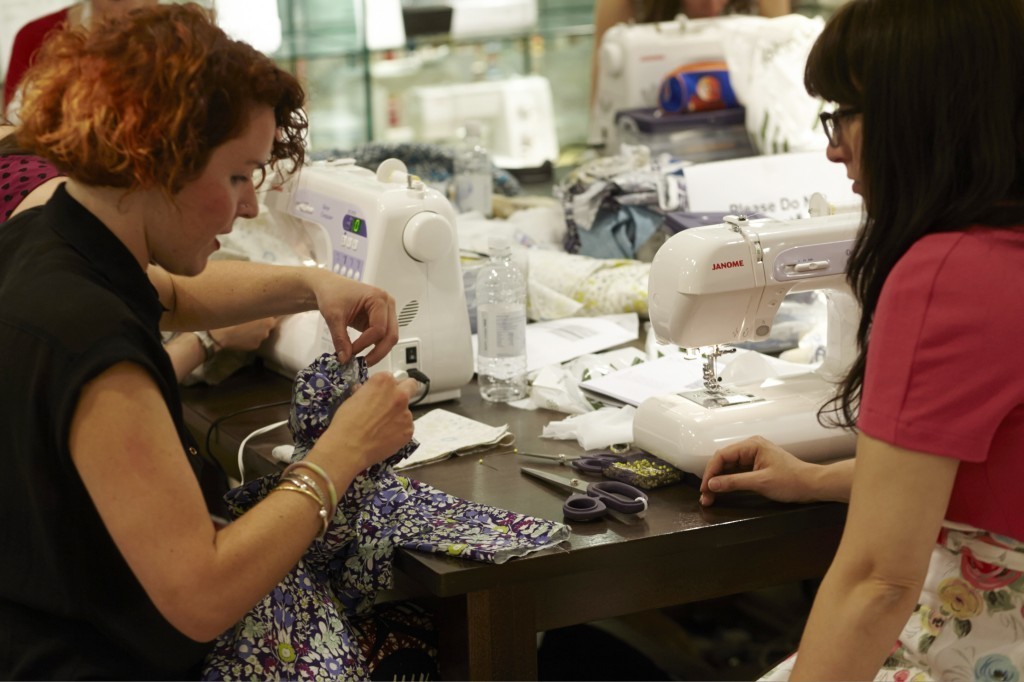
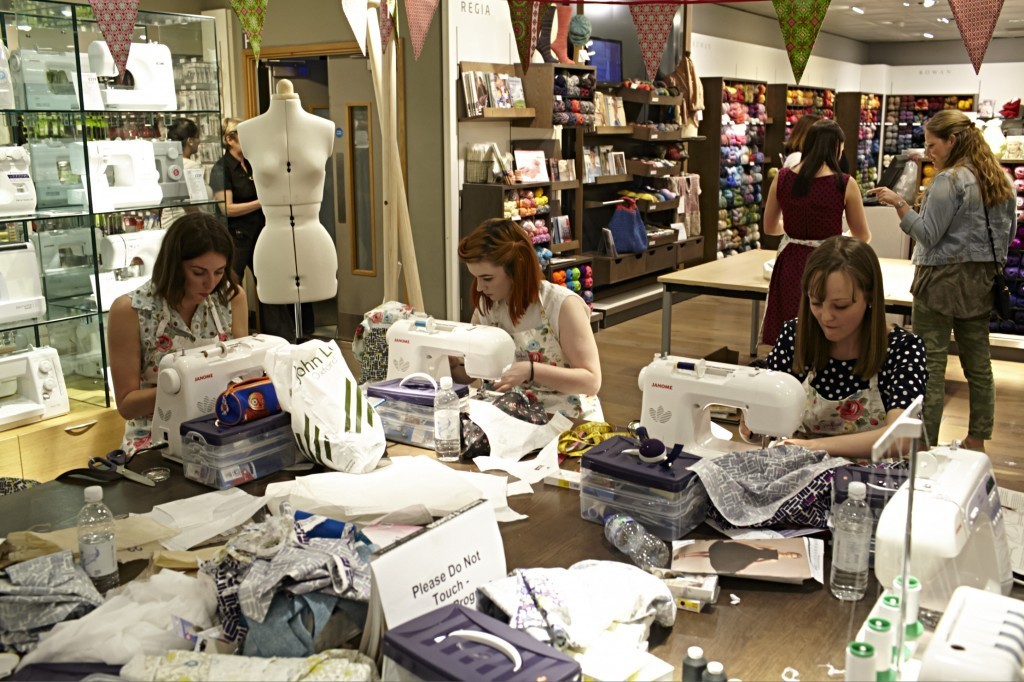 Sewing Bees are messy. Here’s the evidence.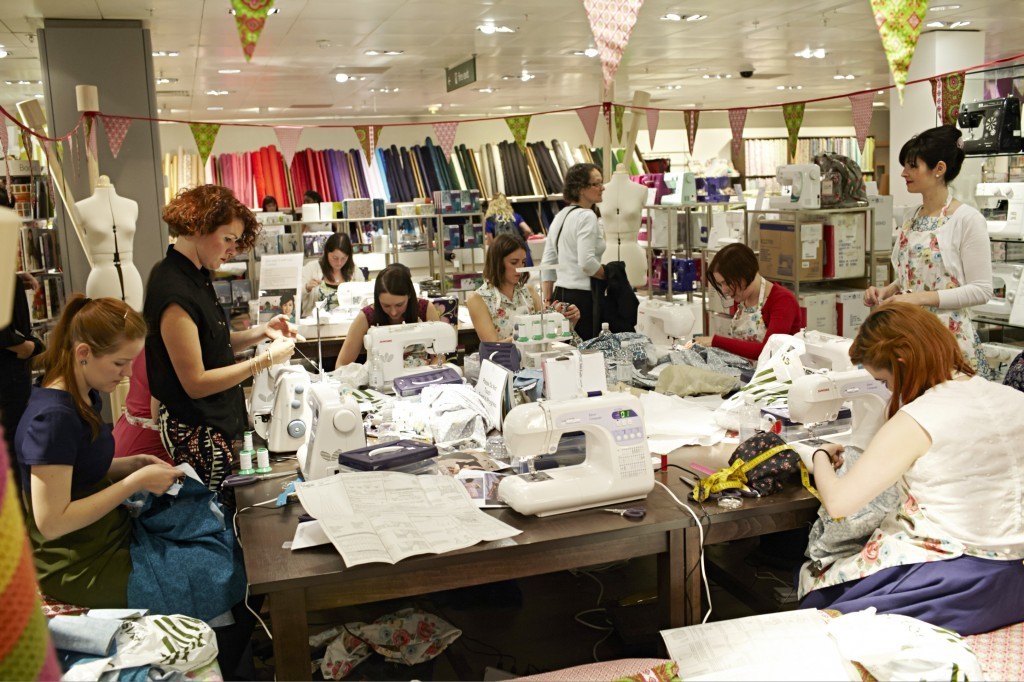

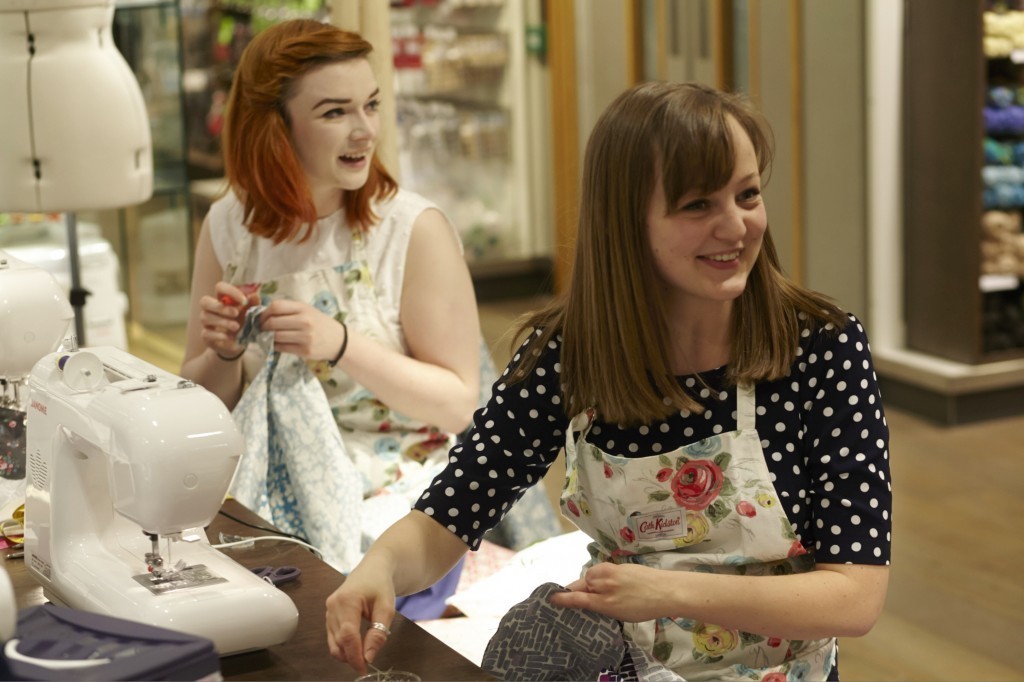
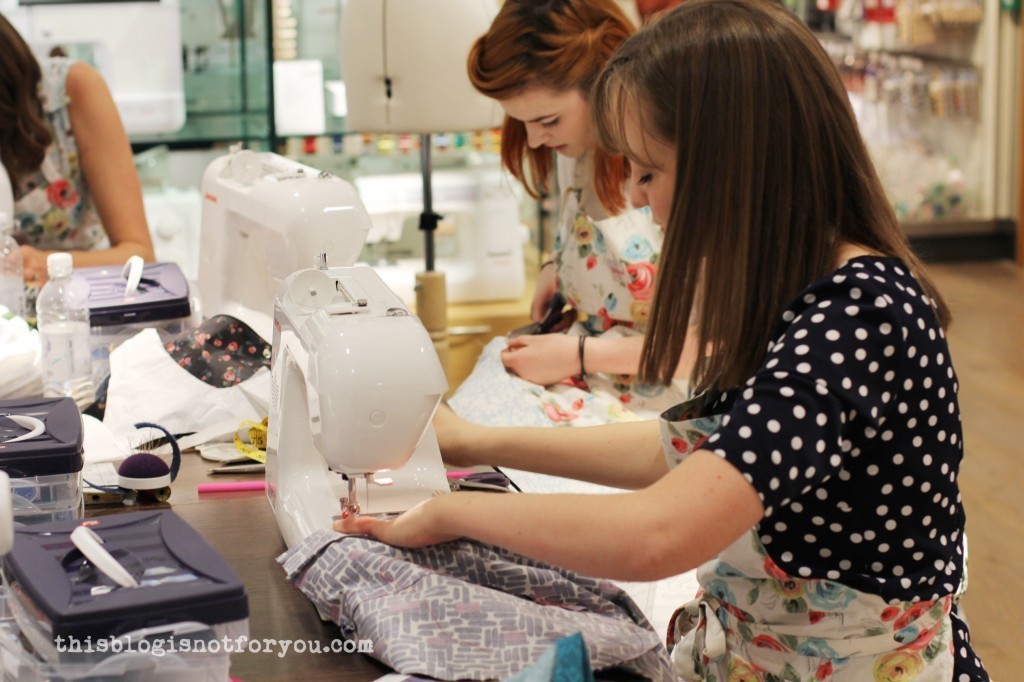 Fiona went for the purple/pink brick/’bacteria’ fabric.
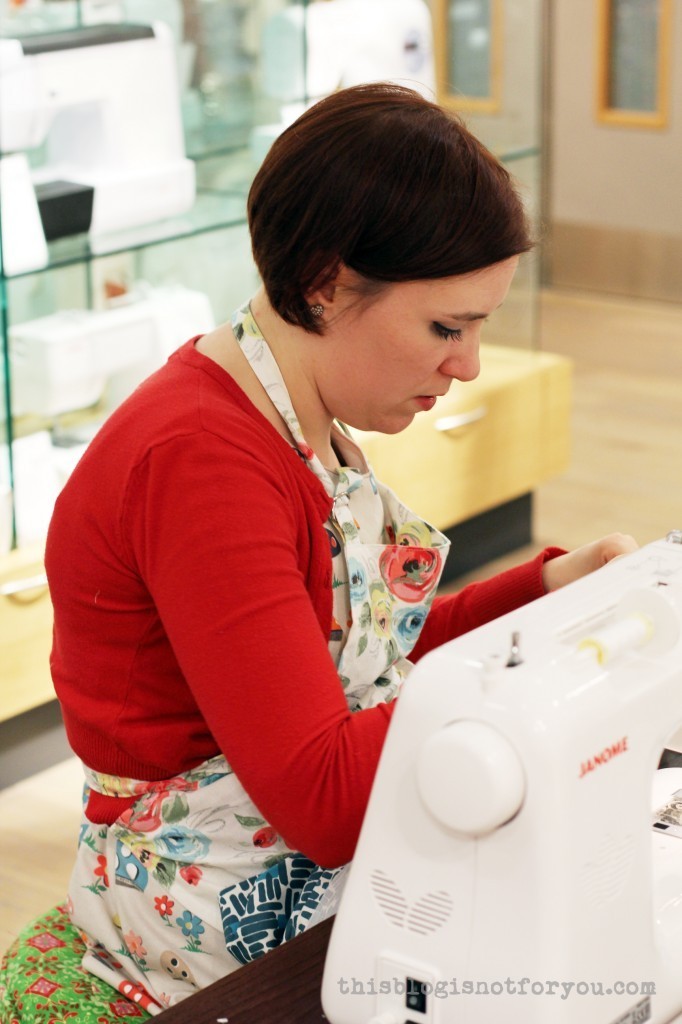 Roisin. Probably the fastest sewer in the world.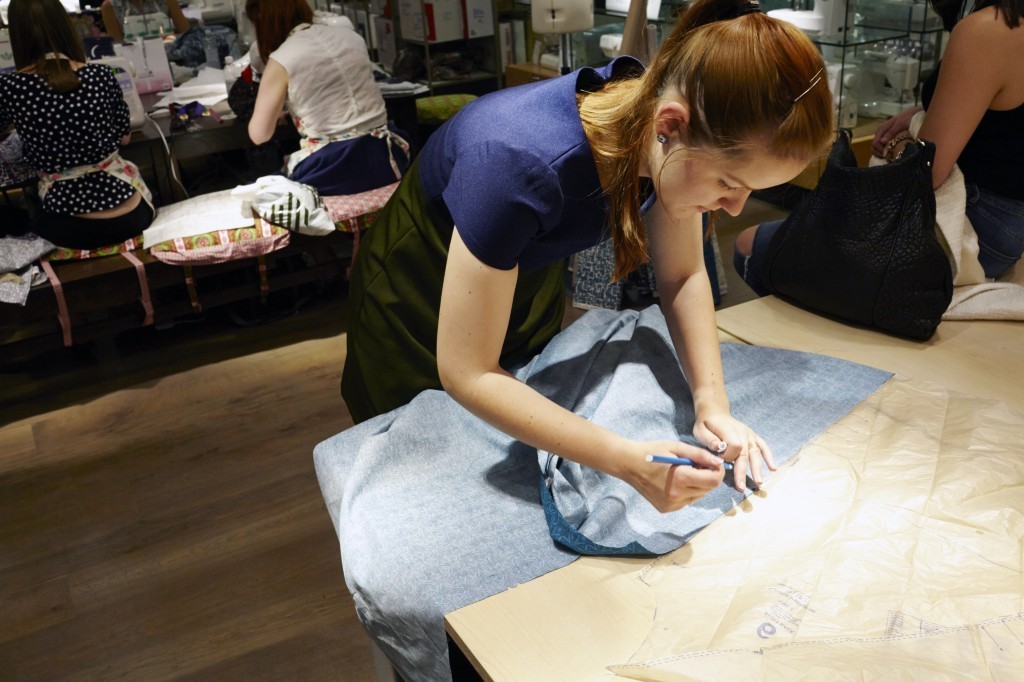
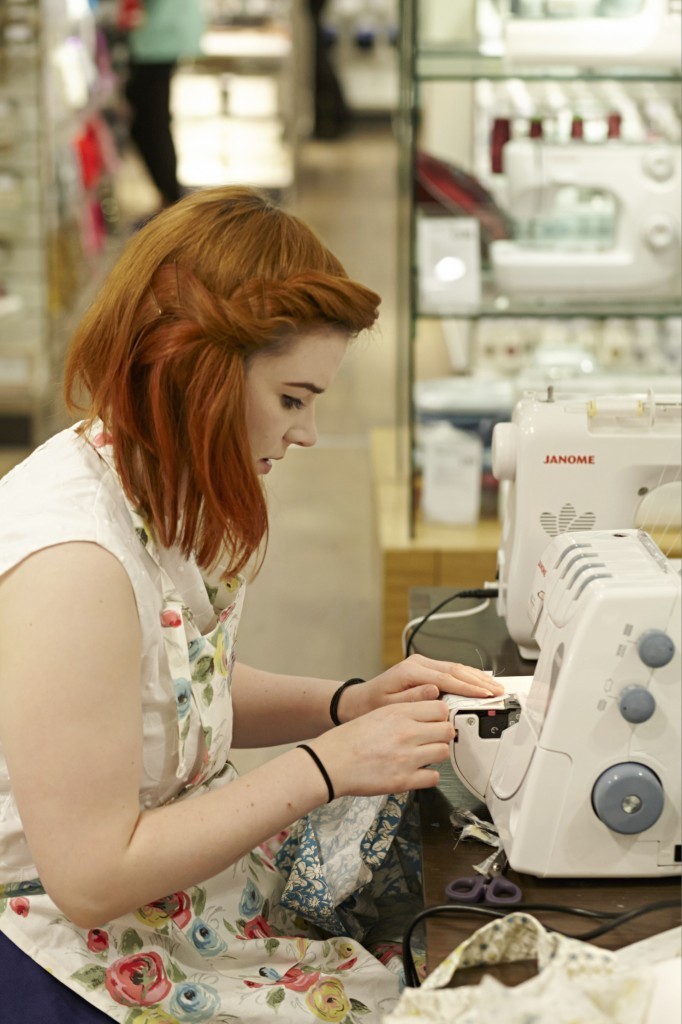
 Emmie decided to be dress twinsies with Lisa and made a Betty dress from a gorgeous flower print cotton.
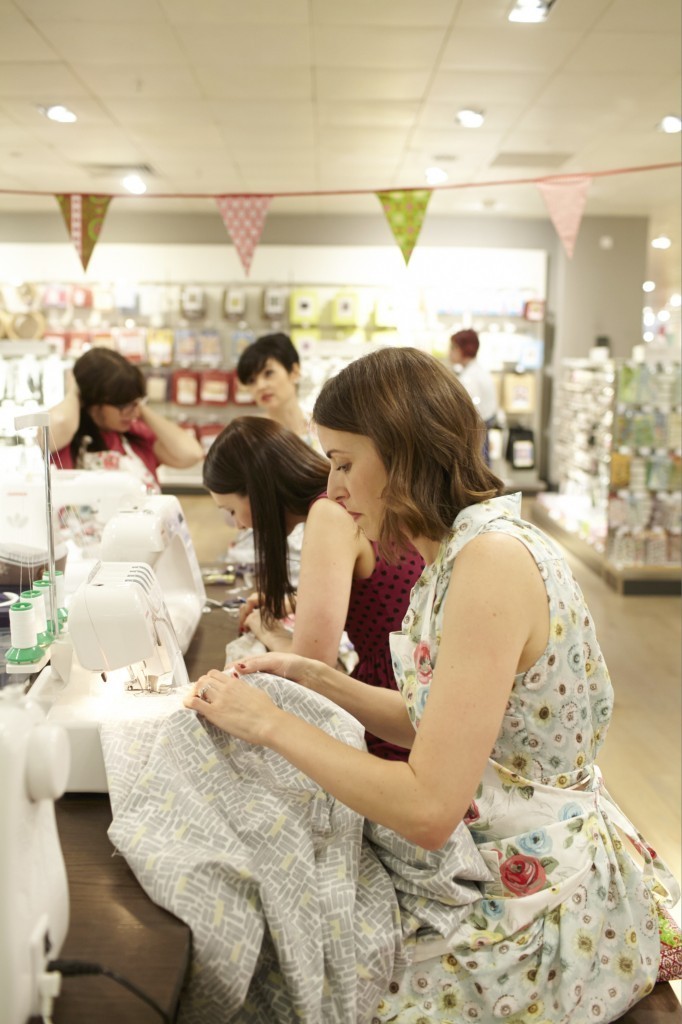 I don’t know how she did it, but Clare managed to baste all seams first, fitted the dress and still had an almost finished dress by the time we left. And I loved the McCalls dress she wore that day!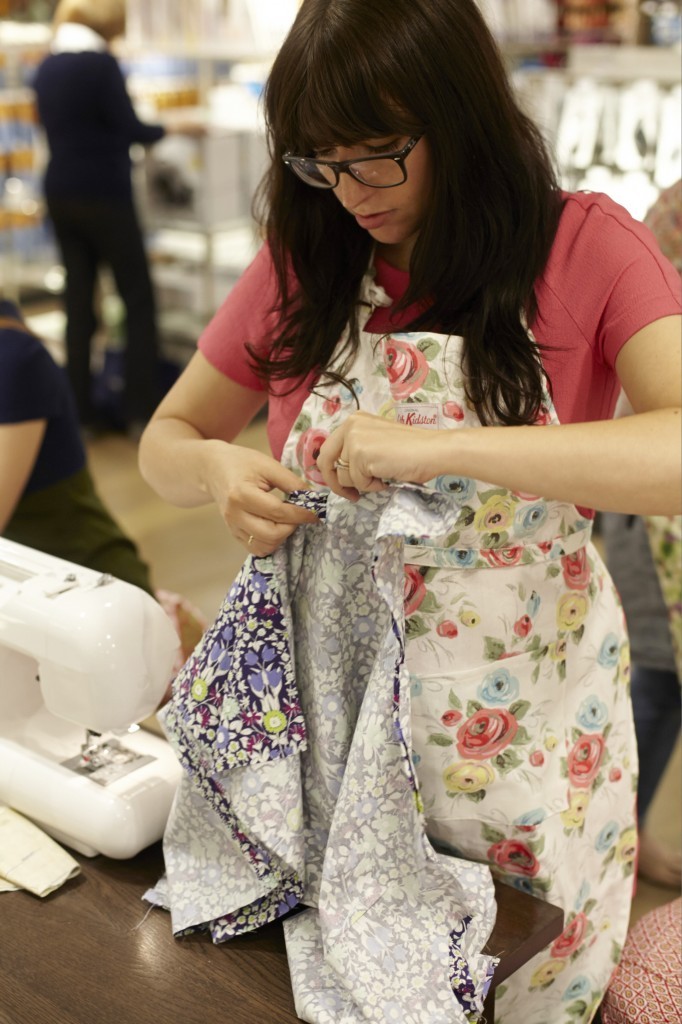
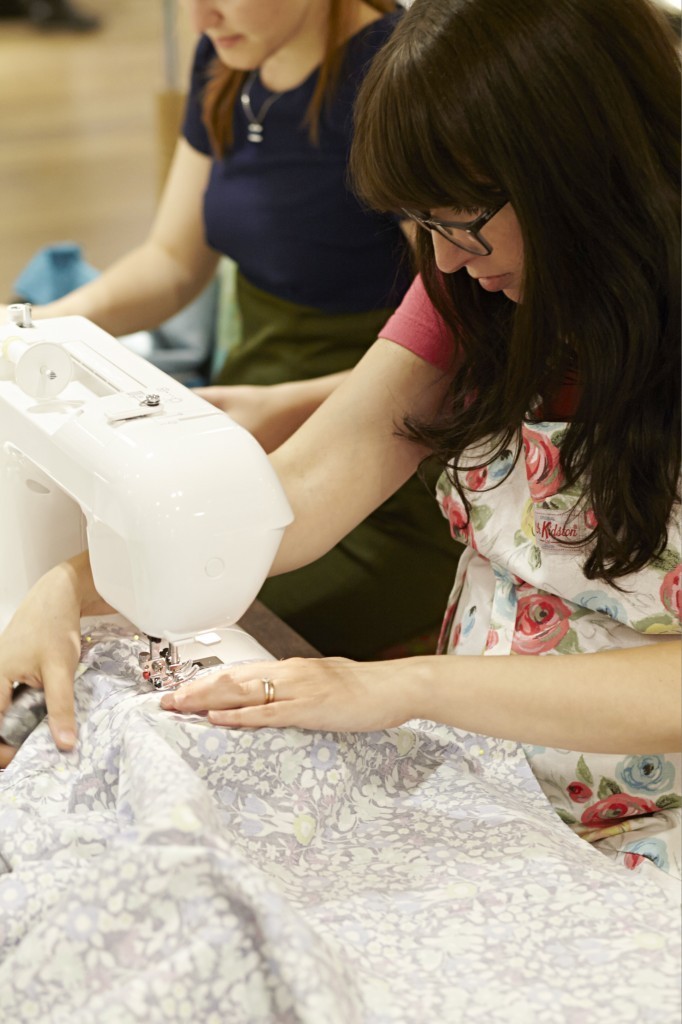 This awesome lady, Elena, was just so much fun to have around. I’m loving the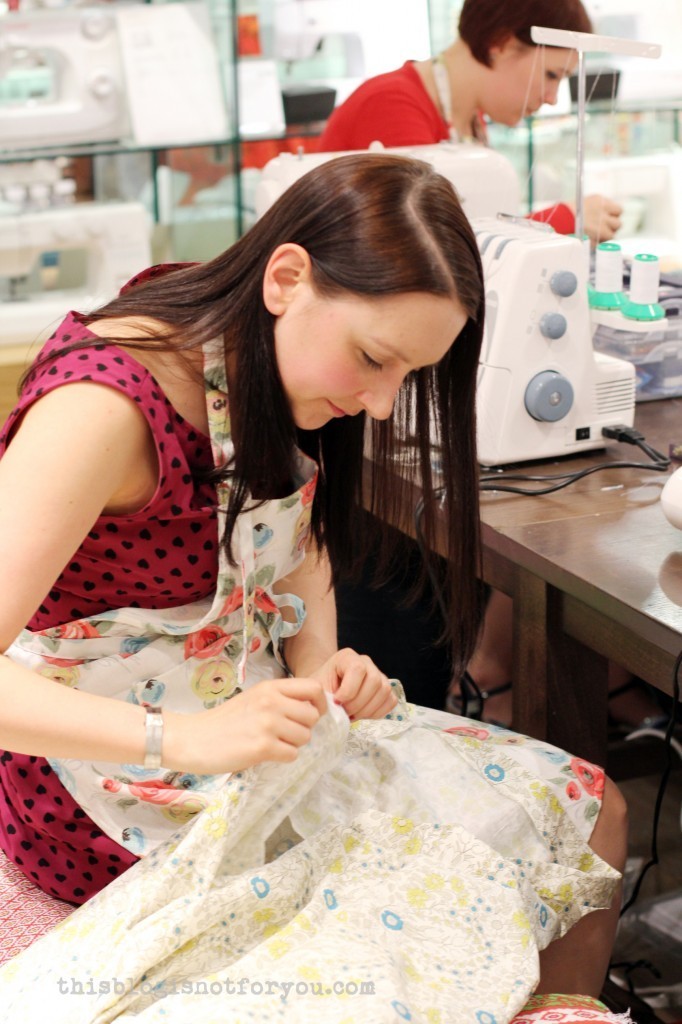
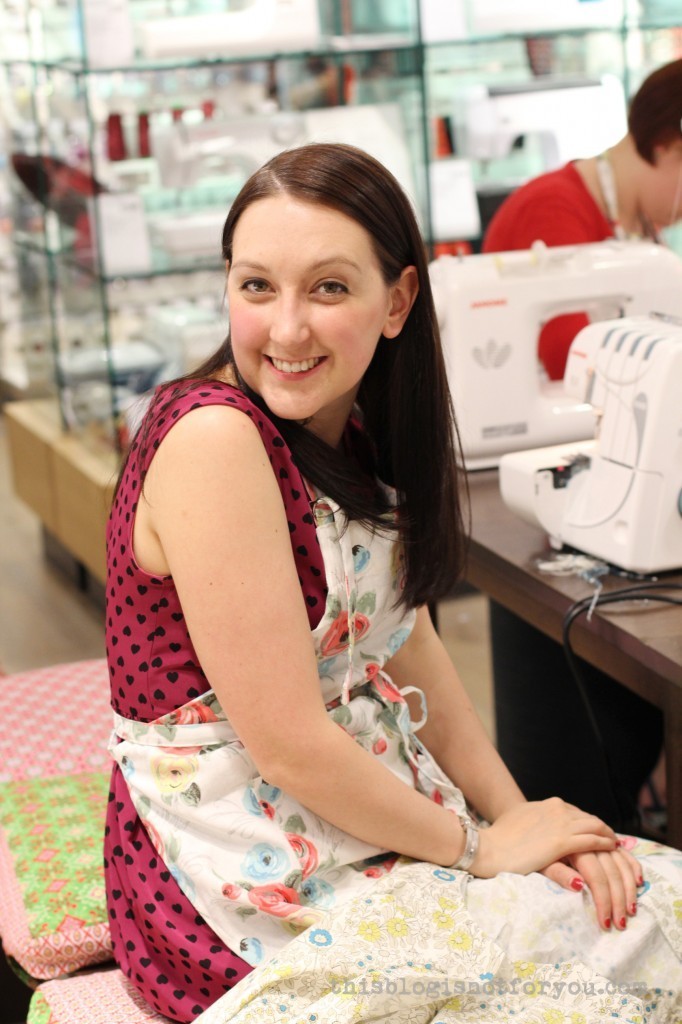 Amy chose the same Vogue pattern, but a completely different fabric. I can’t wait to see her finished dress!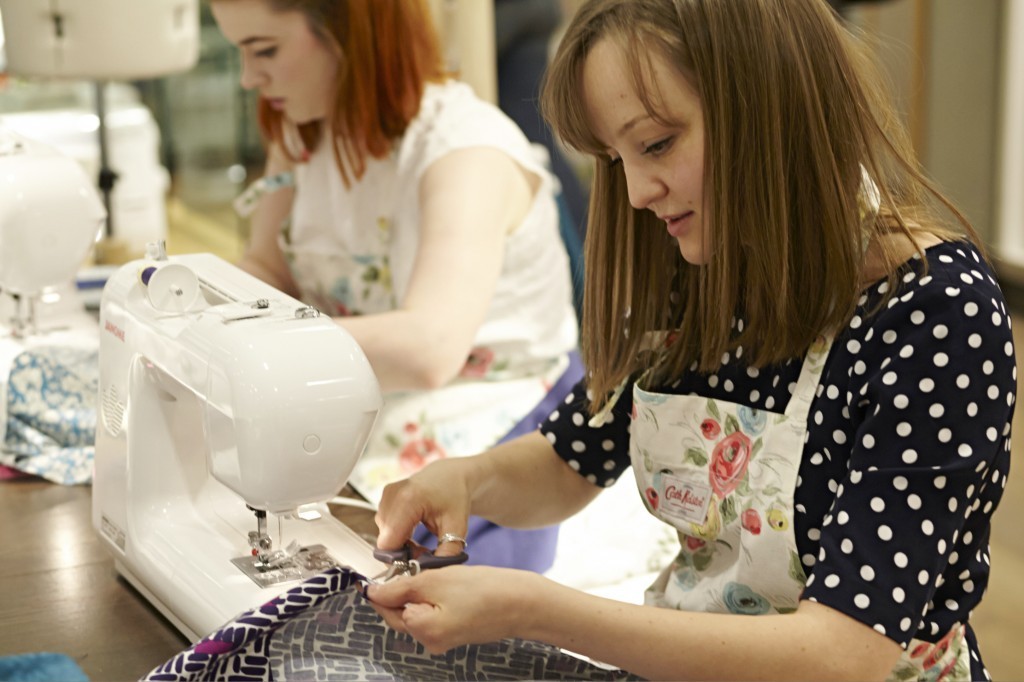
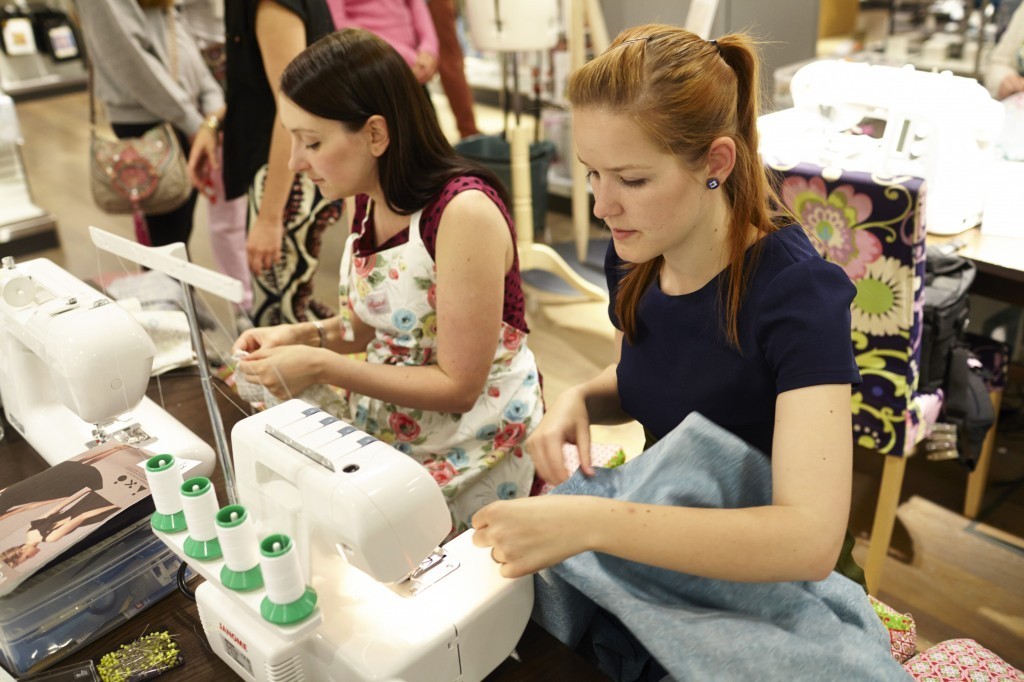 And yes! I was able to try out the Janome overlocker, which I probably fell in love with that day. I’m trying to convince the Mr to come with me on one of the next weekends and pay it a visit (and carry it home!).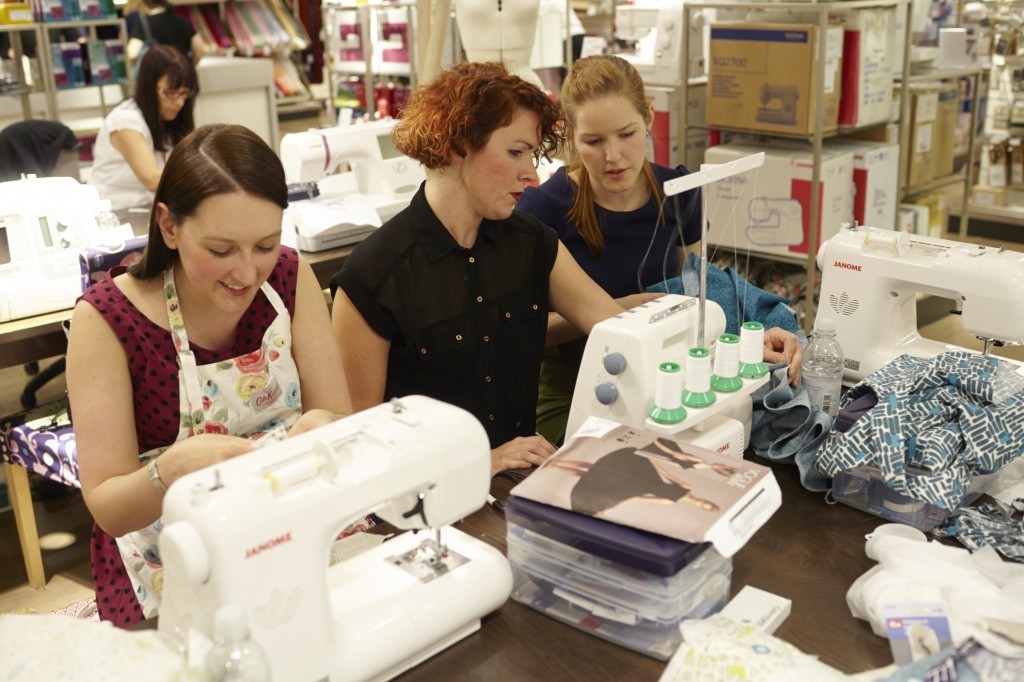
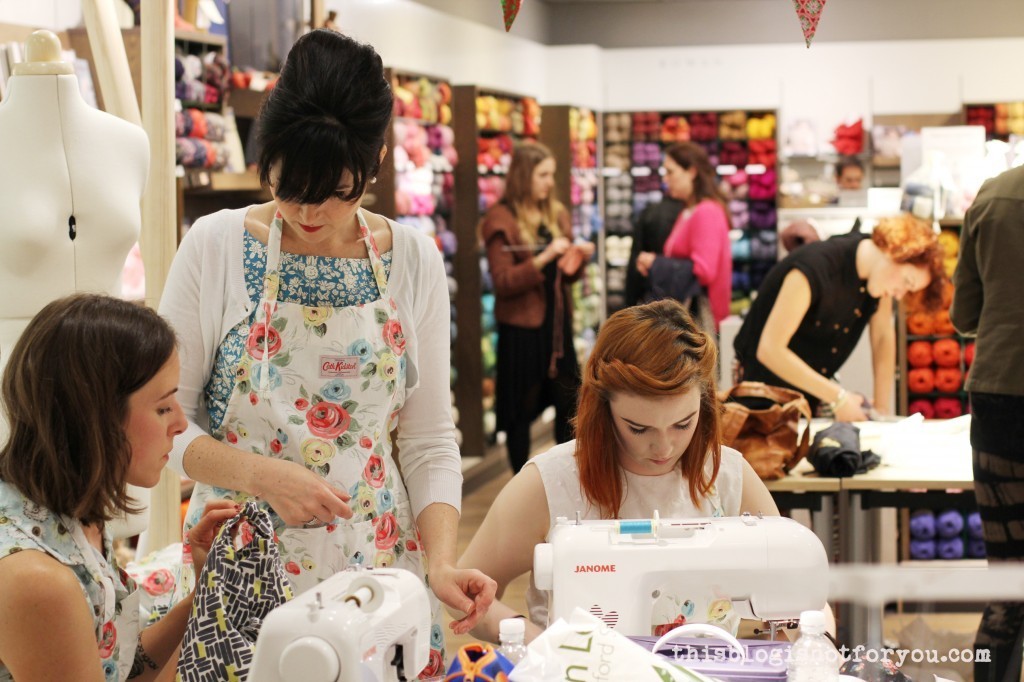

 Amazing Lisa was such a great help that day and was so kind to be our fitting buddy. If this woman approaches you armed with scissors or a seamripper, let her. She knows what she’s doing!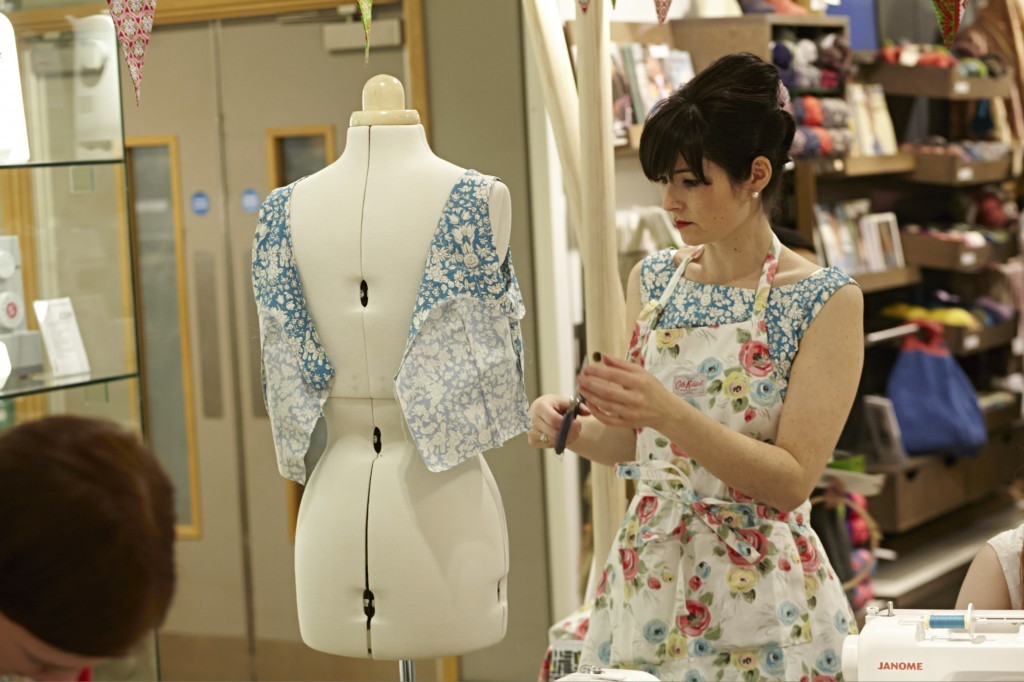
 Freya helped us out cutting fabric, interfacing and pressing while we were still sewing. Thank you, Freya!!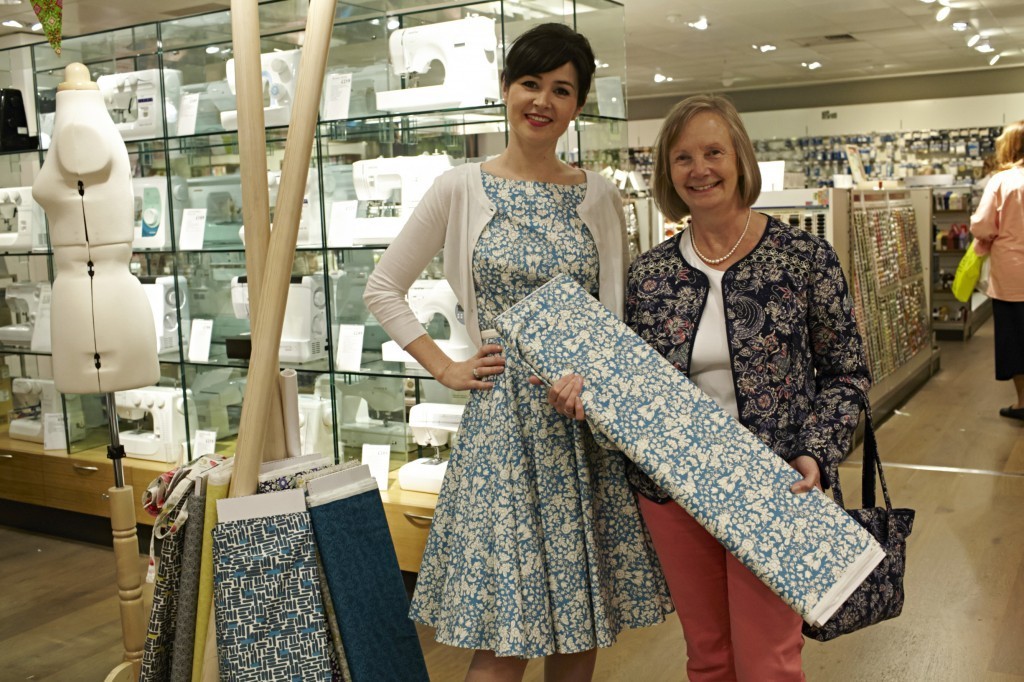
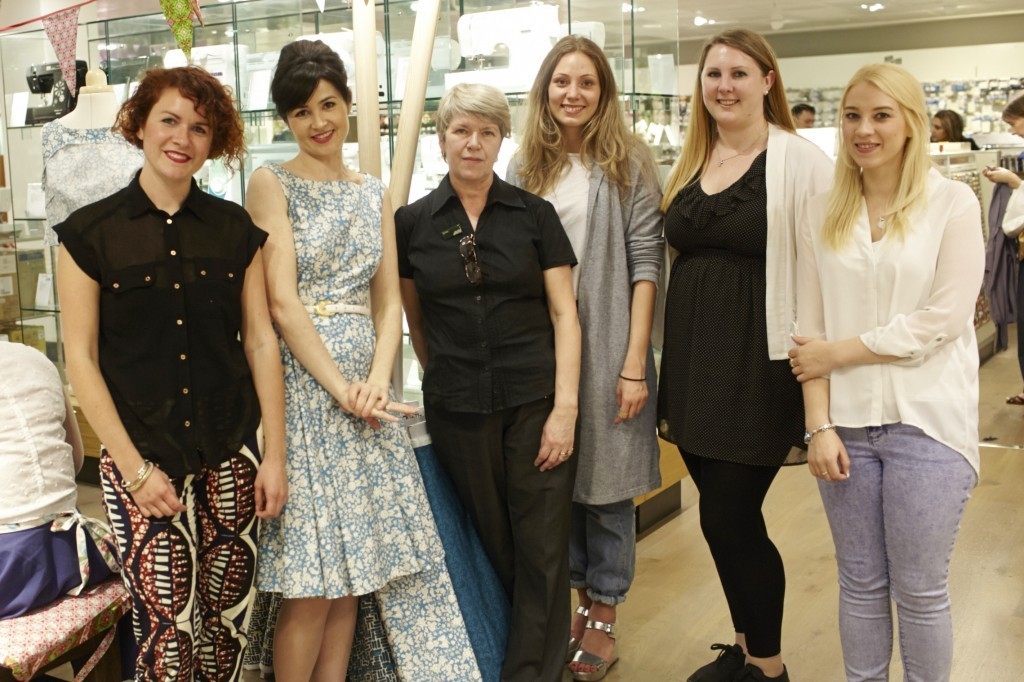 Freya and Lisa with the awesome JL team!
 Guess who was the only one with a dress on the dressform when the photographer came to take pictures? Yep. In Dolly-Clackett manner Roisin whipped up this dress in no time. Pretty impressive, me thinks. Never take part in the GBSB, should this lady be one of the contestants. You will hear her pull up the zip when you’re still cutting out fabric.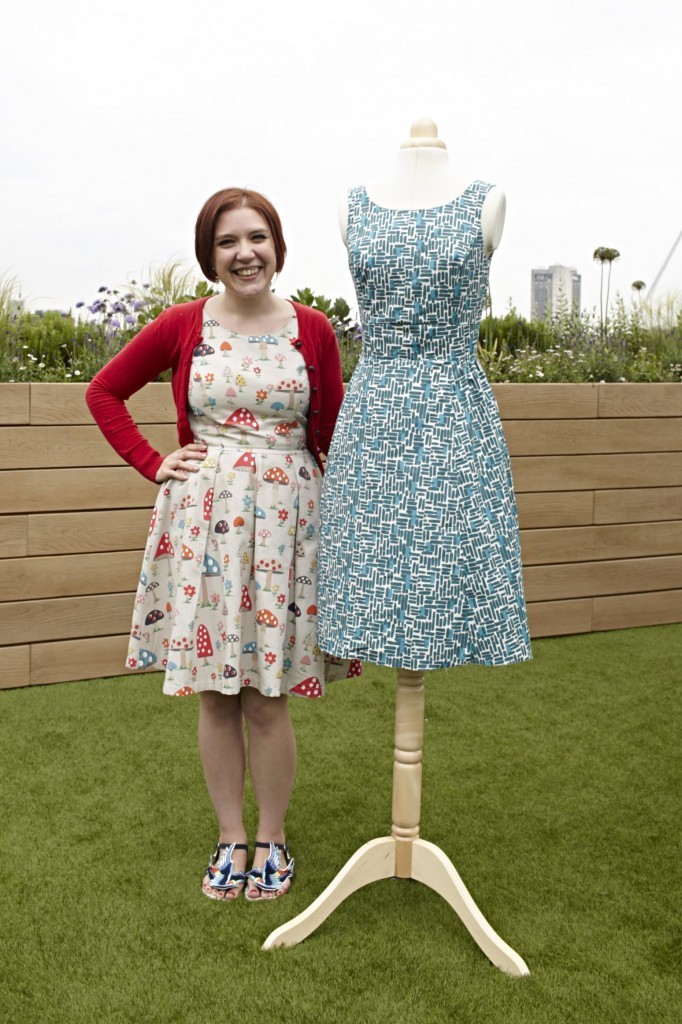
 We all loved our fabulous pinneys!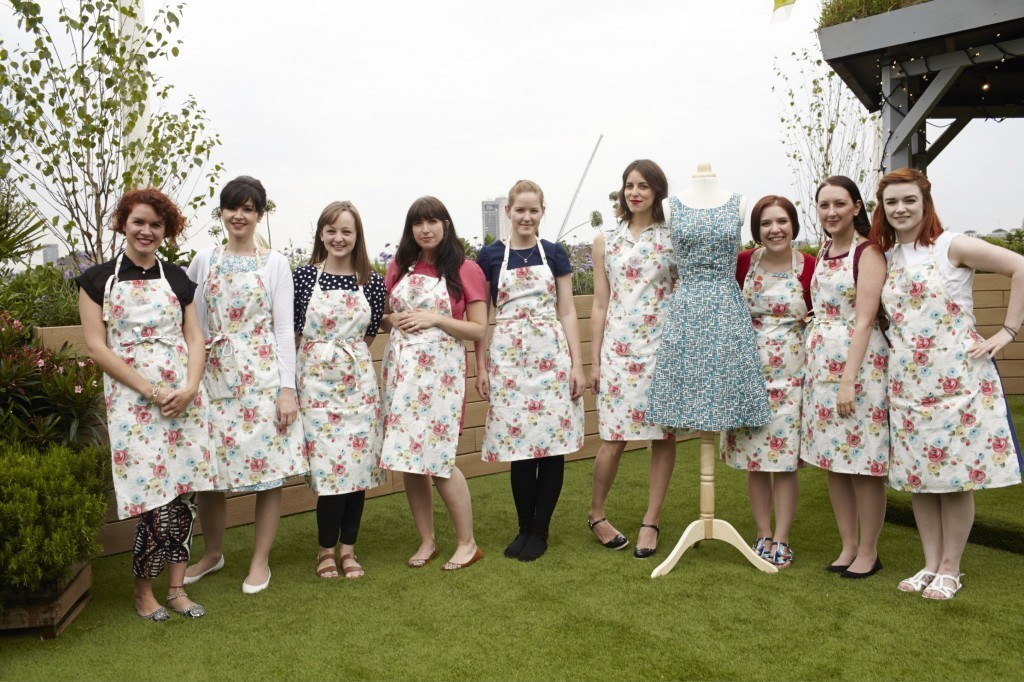
 We took the group photo on the new rooftop garden. It was pretty amazing up there. They even have a juice bar there!
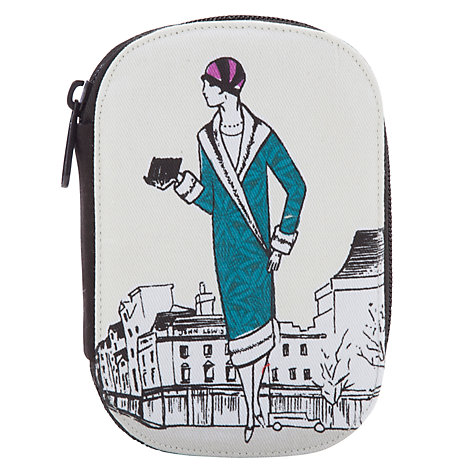
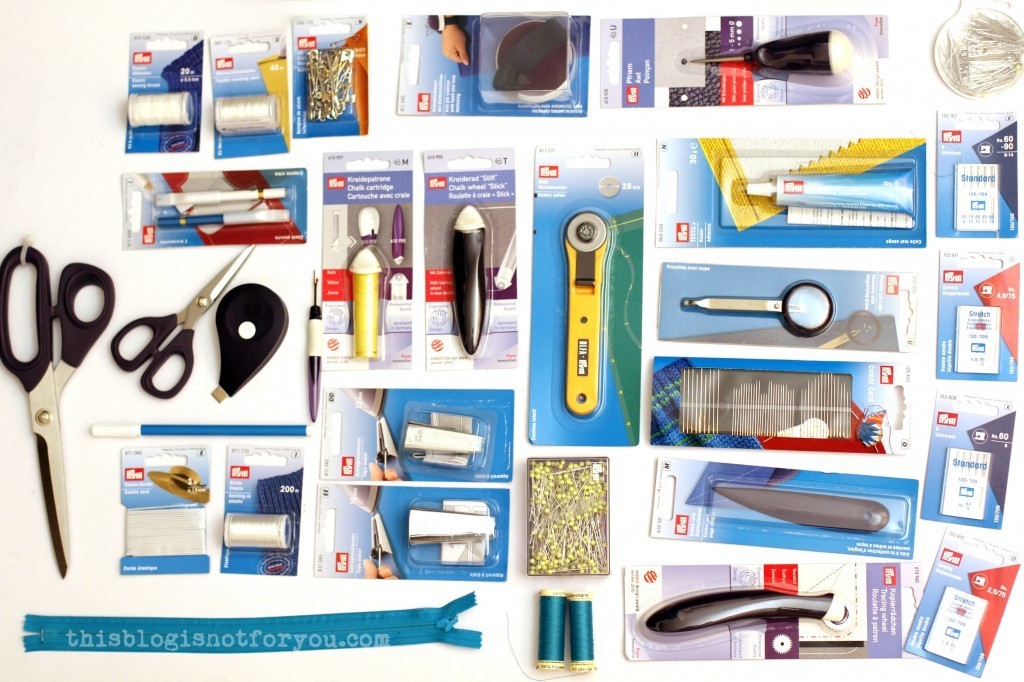
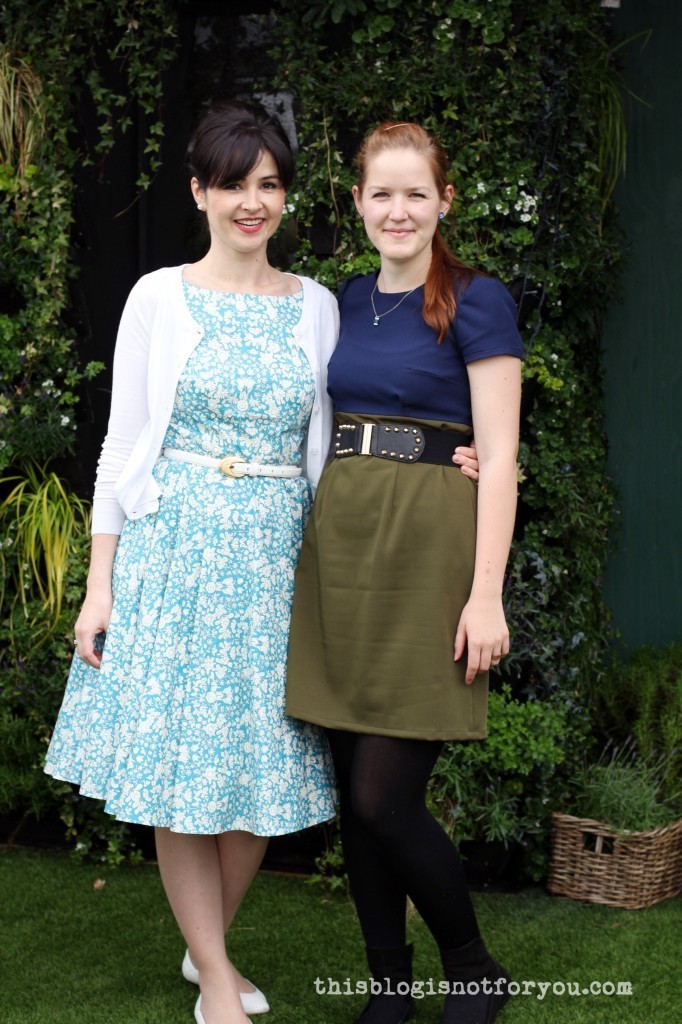 John Lewis provided a pretty freaking fantastic sewing box for everyone of us for the sewing bee. And the best part? We got to take it home!
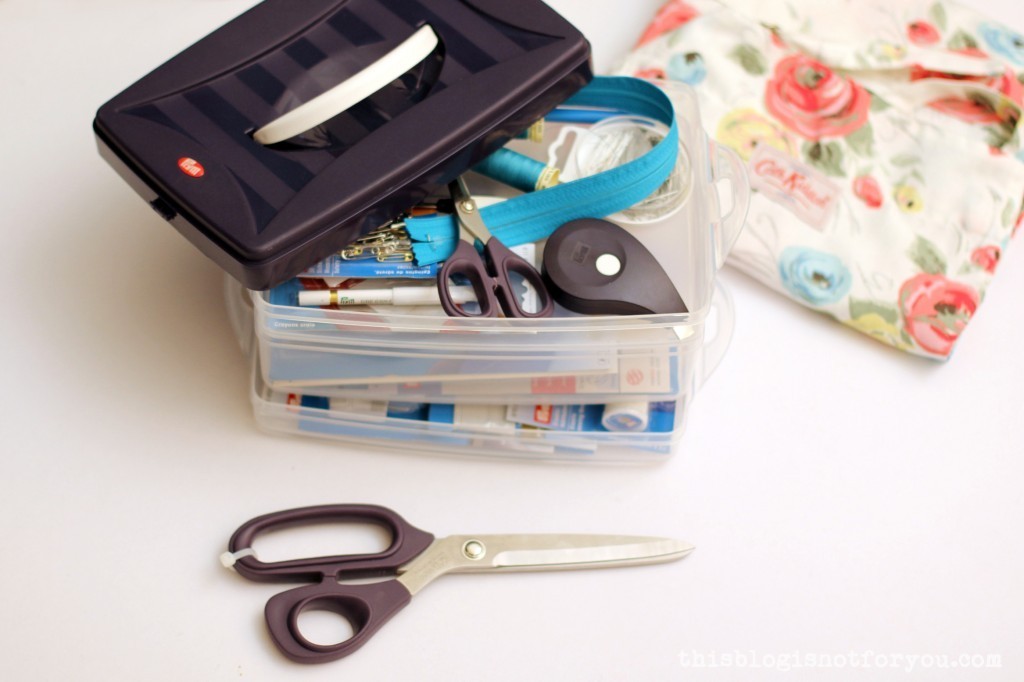 Loads (!!) of goodies in there (sorry, I had to show it off):
 I guarded it like a treasure chest on the train home.
 Such happy faces after a whole day of sewing like mad. Sewing really must be good for you!