Reversible Tie-Side Pinafore: Say Hello to Little Dress Kits!

***WARNING: The following post contains so much cuteness that it might blow your socks off!***
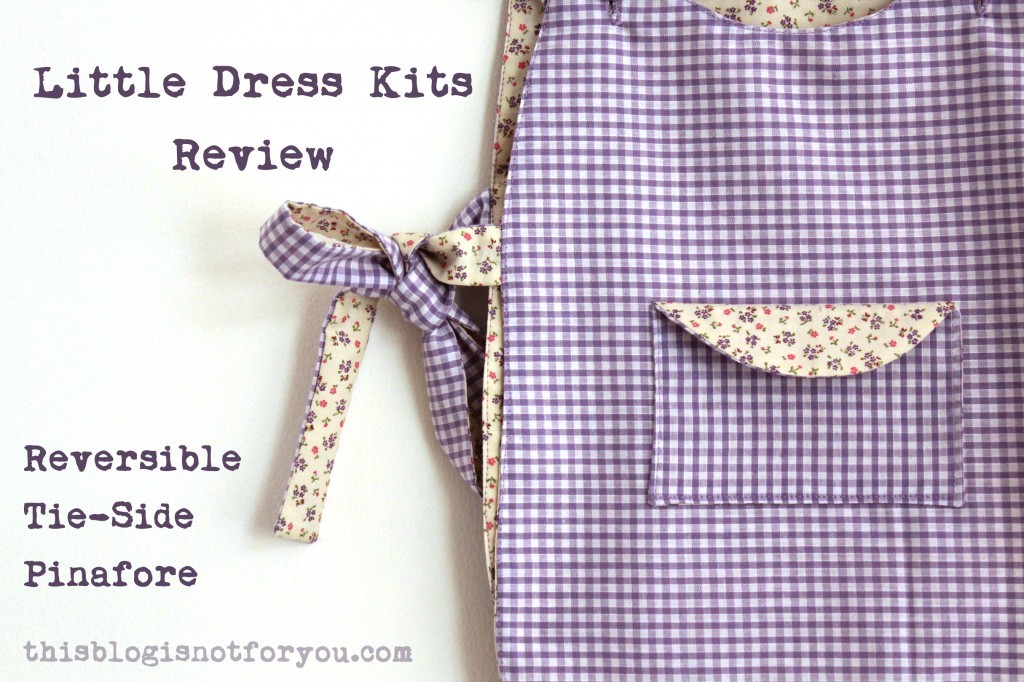
Little Dress Kits Review by thisblogisnotforyou.com

I’m super excited to present my very first review to you! The lovely Katie from LittleDressKits.co.uk contacted me recently and asked whether I wanted to review one of her lovely sewing kits. Of course! Her sewing kits are just adorable and range from Level 1 (Beginner) to Level 3 (Advanced).

I know that many of my readers who follow my blog don’t sew themselves, but really want to learn how to sew and don’t know were to start. That’s why I chose to review a Level 1 kit. I just wanted to see how easy it really was!

…It is super easy!

(And no – big no!- it’s absolutely not boring for someone who is used to sewing more advanced patterns! I had so much fun with the Pinafore kit that I made another one the same day!)
Little Dress Kits Review by thisblogisnotforyou.com

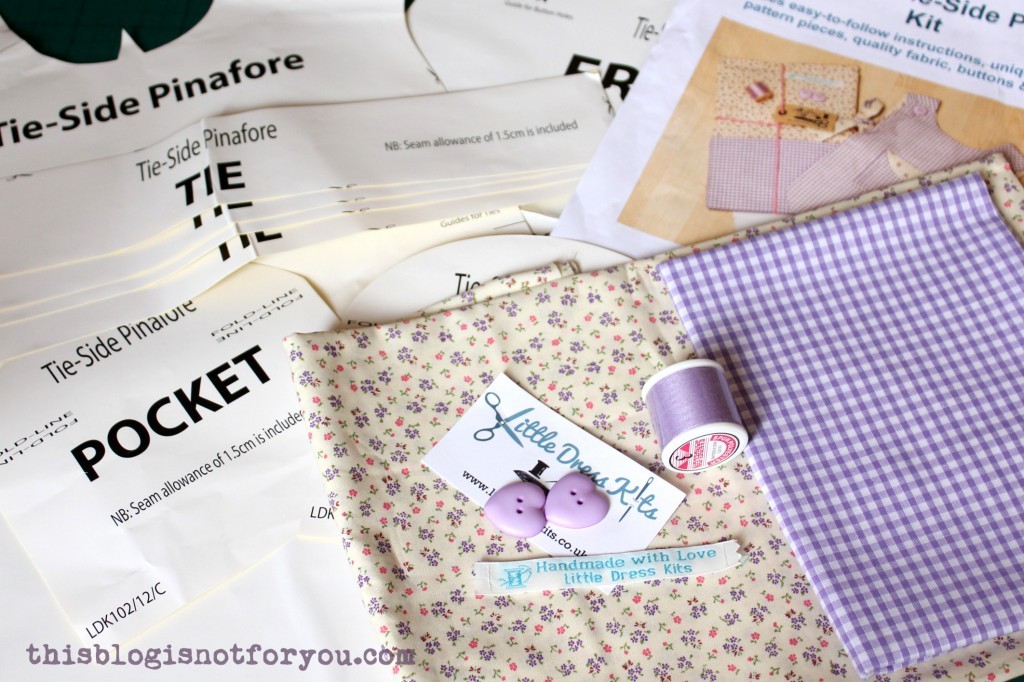
The kit contains everything you need (well, except for the sewing machine 😉 ). But even if you don’t have one, you could sew it by hand with a little patience.

The fabric is gorgeous lightweight cotton, matching thread and buttons included!

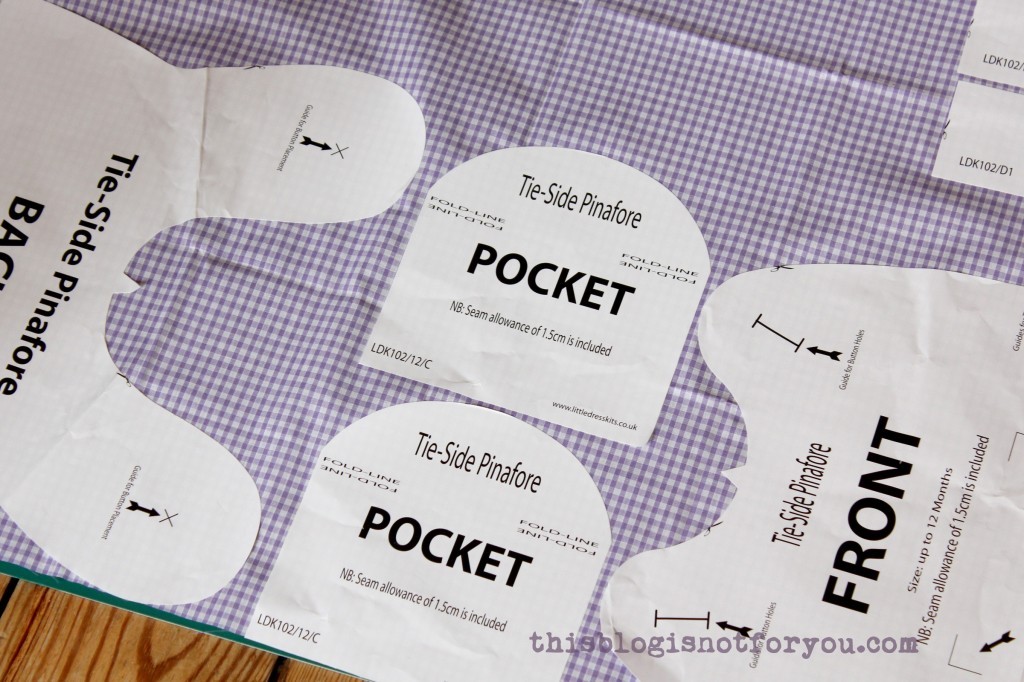
The best thing: Not only are the pattern pieces already cut out (seam allowance included!!) but: they come on adhesive paper – how cool is that? I’ve never seen something like this before, but now I wish every pattern was like this! You need no pins or pattern weights. You simply stick the pattern to the fabric, cut around it – done! (After cutting out the pattern four times, it was still sticky!)
Little Dress Kits Review by thisblogisnotforyou.com

It’s really great for beginners because you really don’t have to worry about seam allowance, fabric slipping away or tracing patterns. All you have to do is cut and sew!

The kit includes an instruction booklet, which is very clear and explains all the sewing terminology in a very simple way. Therefore, you also learn a bit about sewing techniques and terms while following the instructions. There are many pictures to guide you through the process, every step is carefully explained and won’t leave you clueless as many other pattern instructions do.
Little Dress Kits Review by thisblogisnotforyou.com

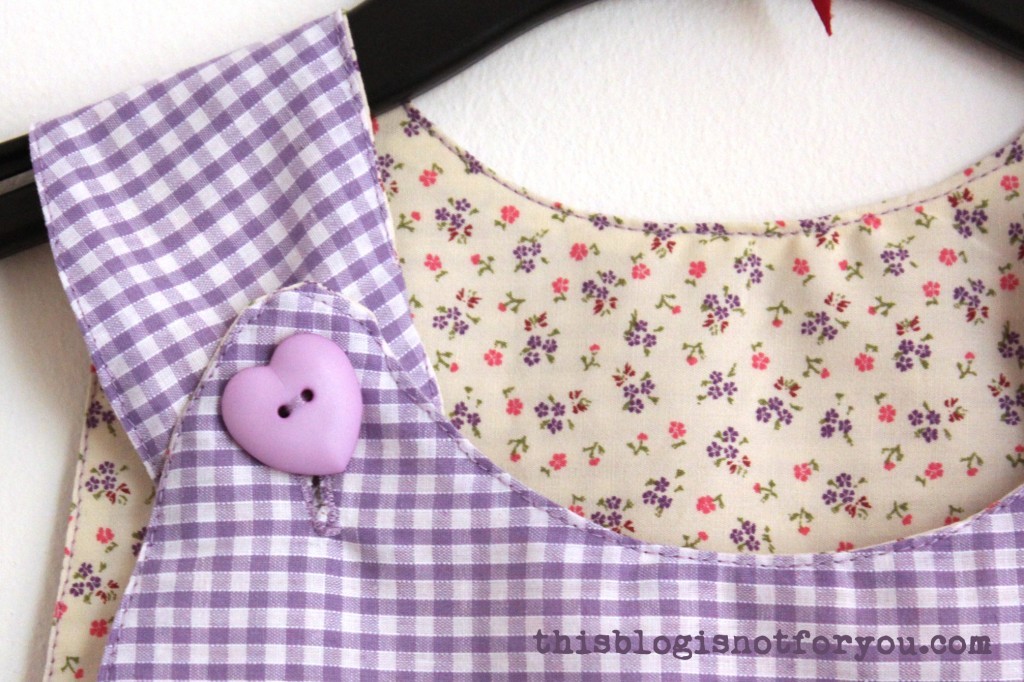
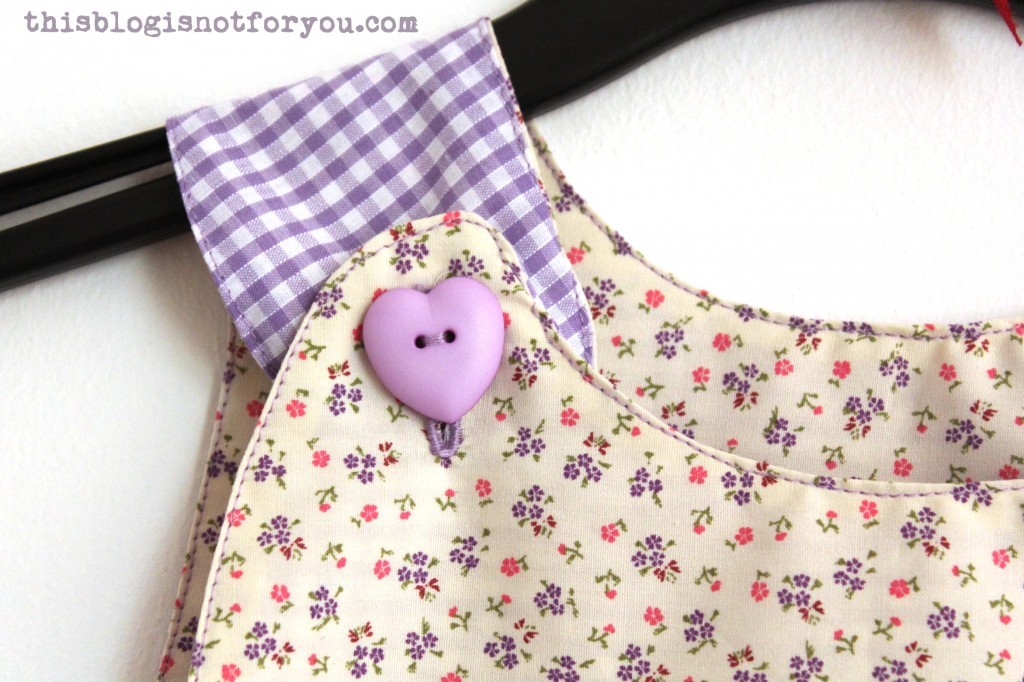
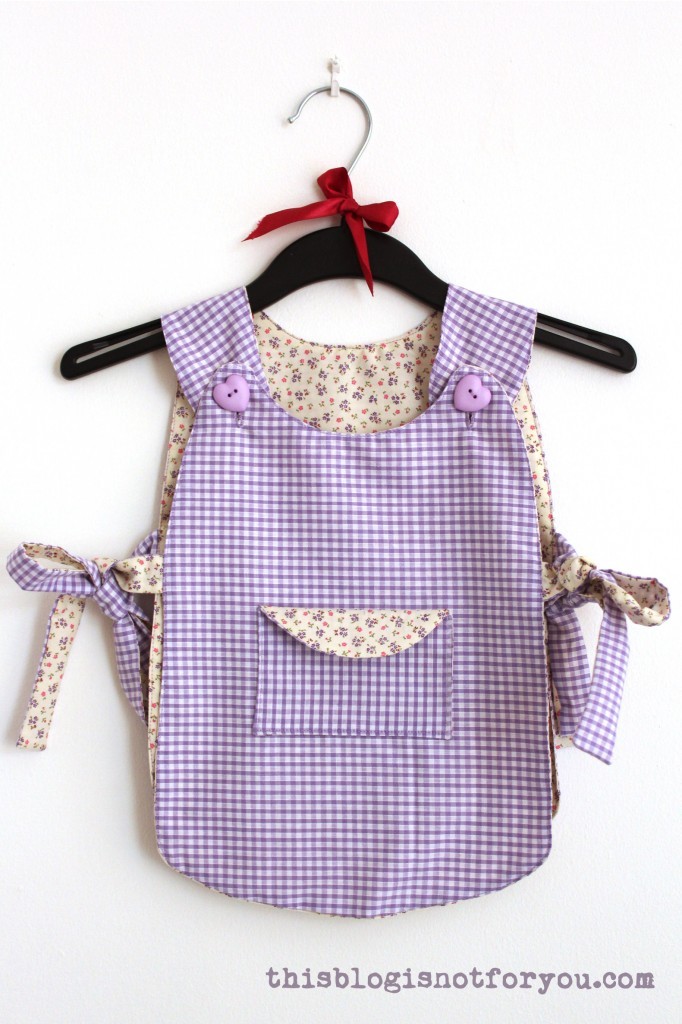
Isn’t it super cute? And the best thing: it is reversible! If baby decides to play Bob Ross with food on its shirt, you can simply switch sides before going on a playdate with Prince George. Voilá!
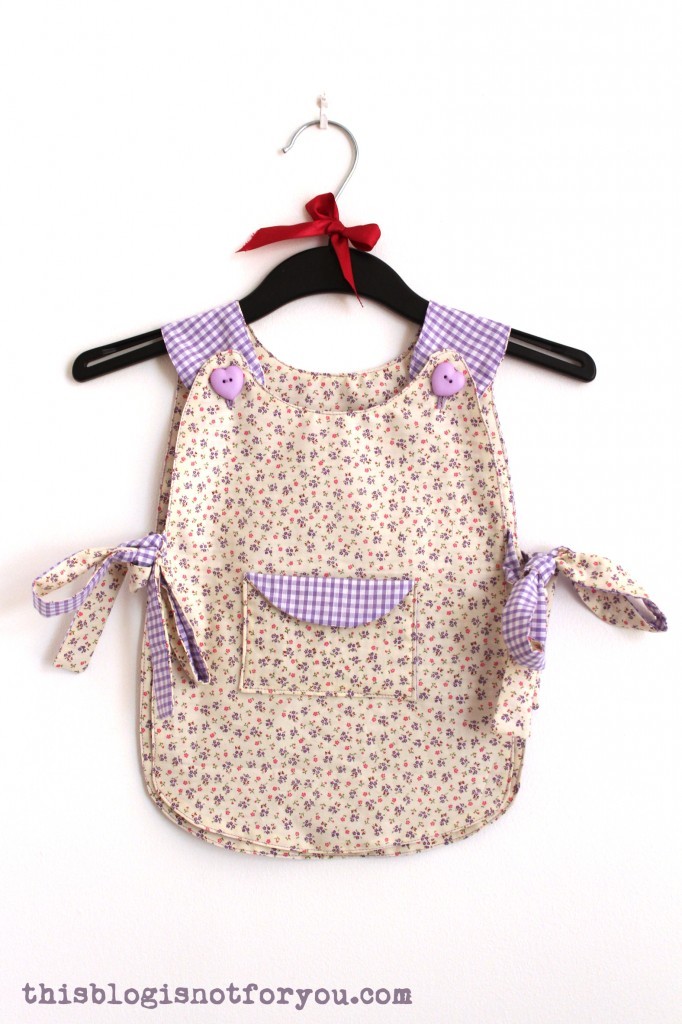
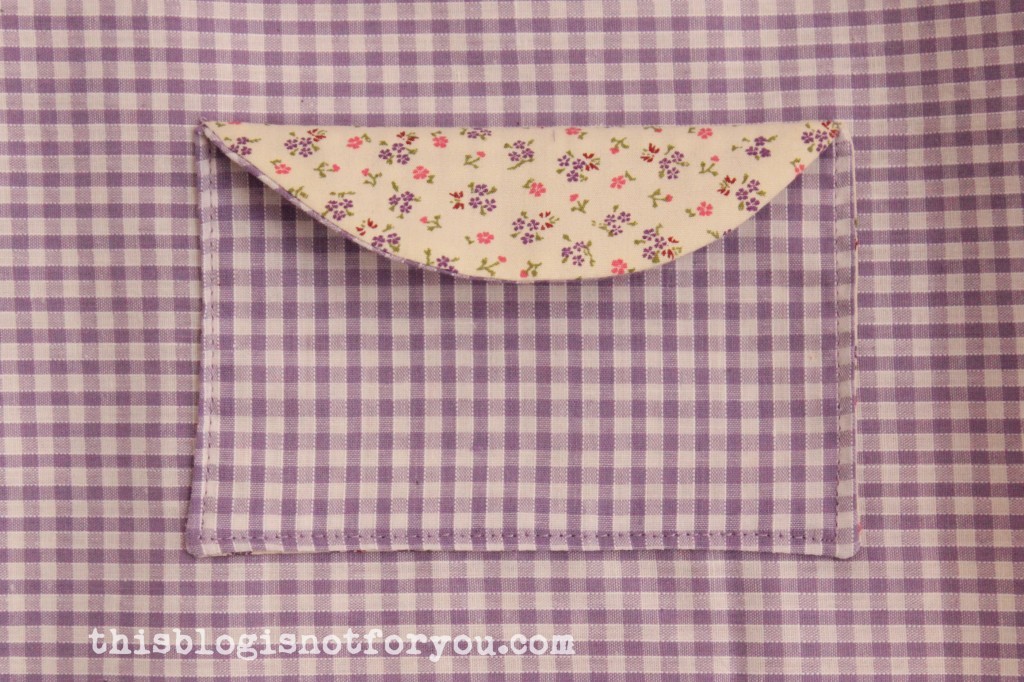
Little Dress Kits Review by thisblogisnotforyou.com

Little Dress Kits Review by thisblogisnotforyou.comLittle Dress Kits Review by thisblogisnotforyou.com

Little Dress Kits Review by thisblogisnotforyou.com

I normally don’t sew baby clothes – I’m neither a mom nor an auntie and I don’t have many friends with babies. But for my studies I’ve been doing a mother-infant observation and this is the perfect farewell gift for the end of term!

To sum up, I really loved the Little Dress Kit! I think it’s perfect for beginners as well as advanced sewing enthusiasts. You can use the pattern as often as you want and try different versions using all sorts of fabrics.

Little Dress Kits also has really cute kits and patterns for boys. Make sure to check out their blog and shop!
  facebook/bloglovin/pinterest
Stay in touch!

A draped butterfly shirt and a lot of handsewing {sort of tutorial}

draped butterfly shirt by thisblogisnotforyou.com

Hope you all have a great weekend! Mine was full of sewing so far, but now I finally have to get started with finishing my last essay EVER! (Sounds more fun than it actually is)

Anyway, I took a couple of days off of uni work to finally start working on all the ideas that came to my mind over the last couple of months and I was pretty busy sewing, painting and crafting (as you probably can tell by the increased frequency of blog posts lately 😛 )

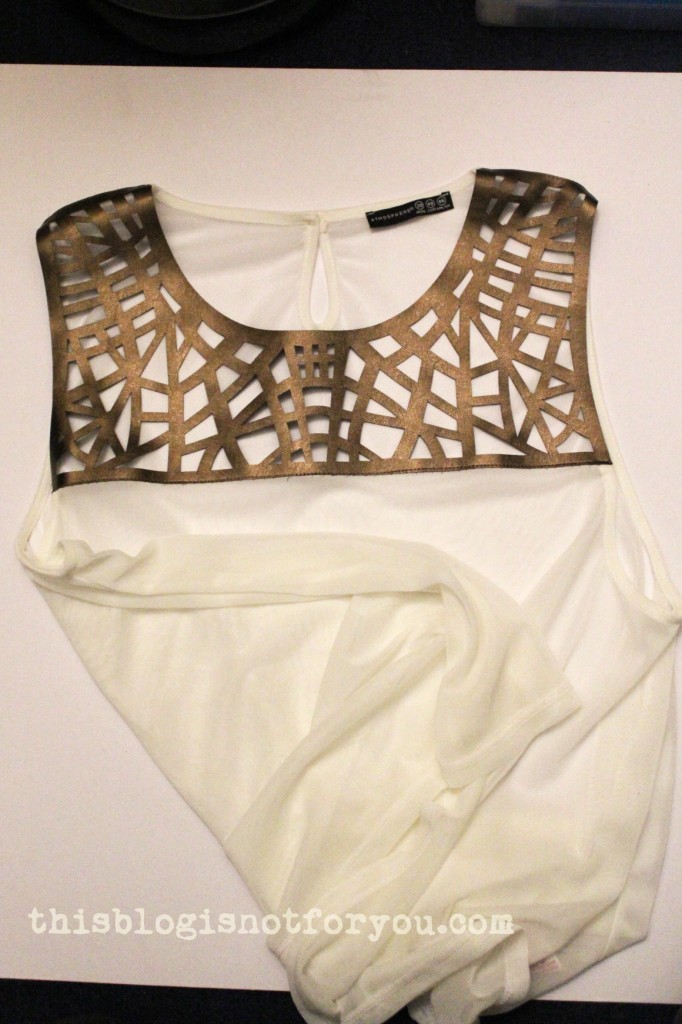
After watching waaaaaaay to many episodes of project runway, I really wanted to do some draping on the stand, nothing too elaborate, just some sleeves or a shirt. Then I found parts of a sheer white shirt, you might remember from my embellished sweater post.

draped butterfly shirt by thisblogisnotforyou.com

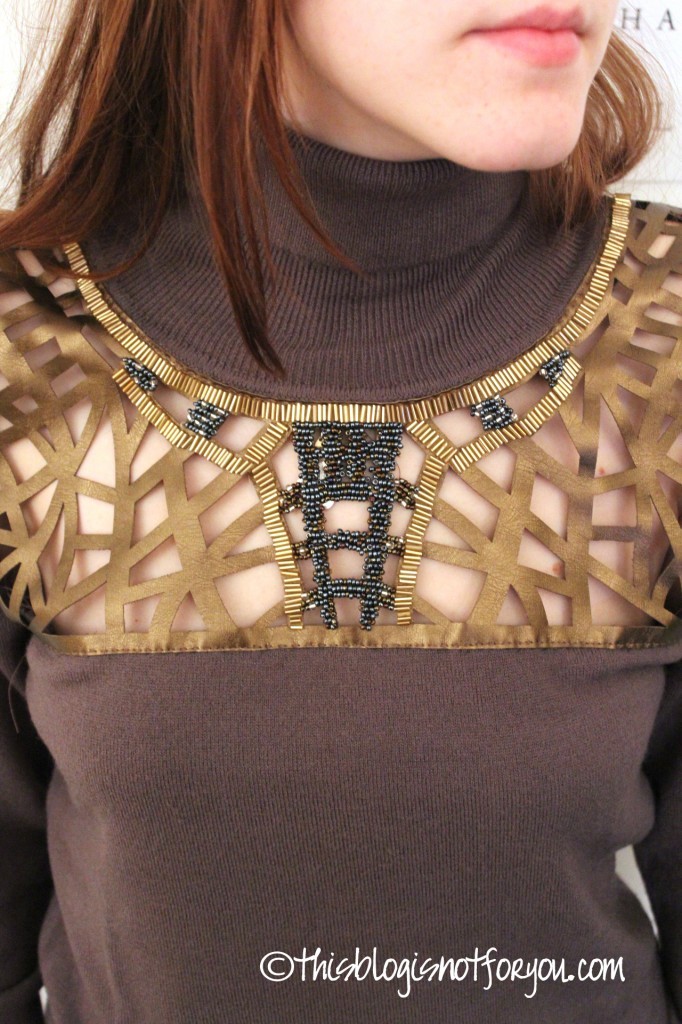
embellished sweater

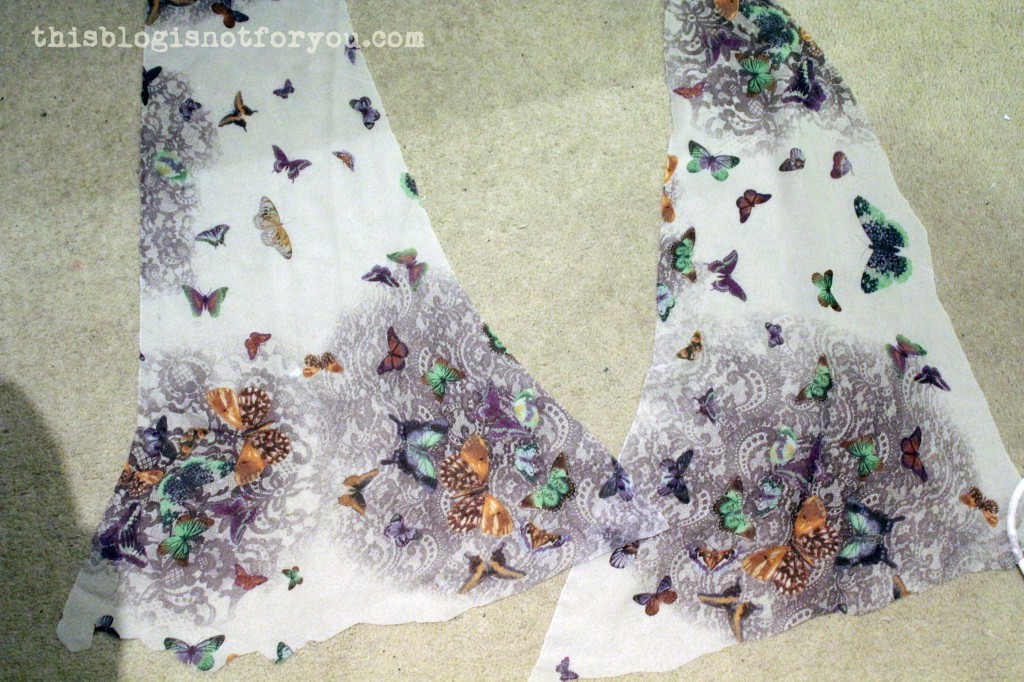
I had thought about making something out of it for a while, but wasn’t really sure what to do with it. After going through my fabric stash I found some remnants of the butterfly chiffon, which you probably recognise since I used it many times before:

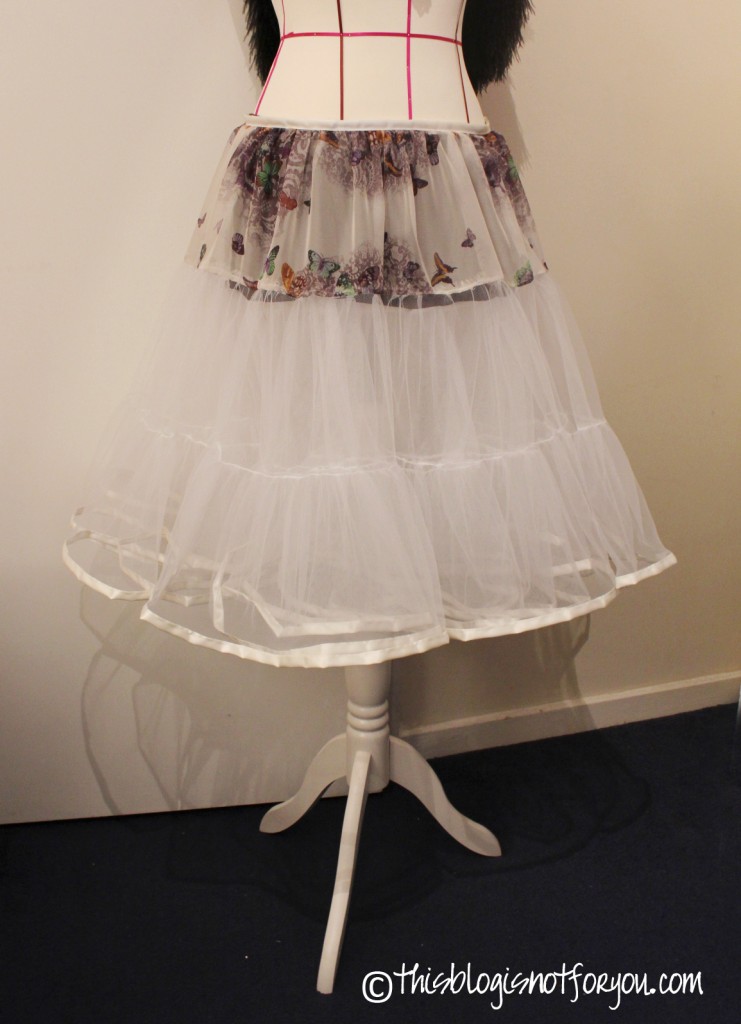
Petticoat tutorial 3 layers

Minidress with asymmetrical overskirt by thisblogisnotforyou.com

The lovely three-layered Petticoat and the chiffon overskirt dress.

(This is so easy, you can do this too! All you need is some drapey fabric and a wide shirt!)

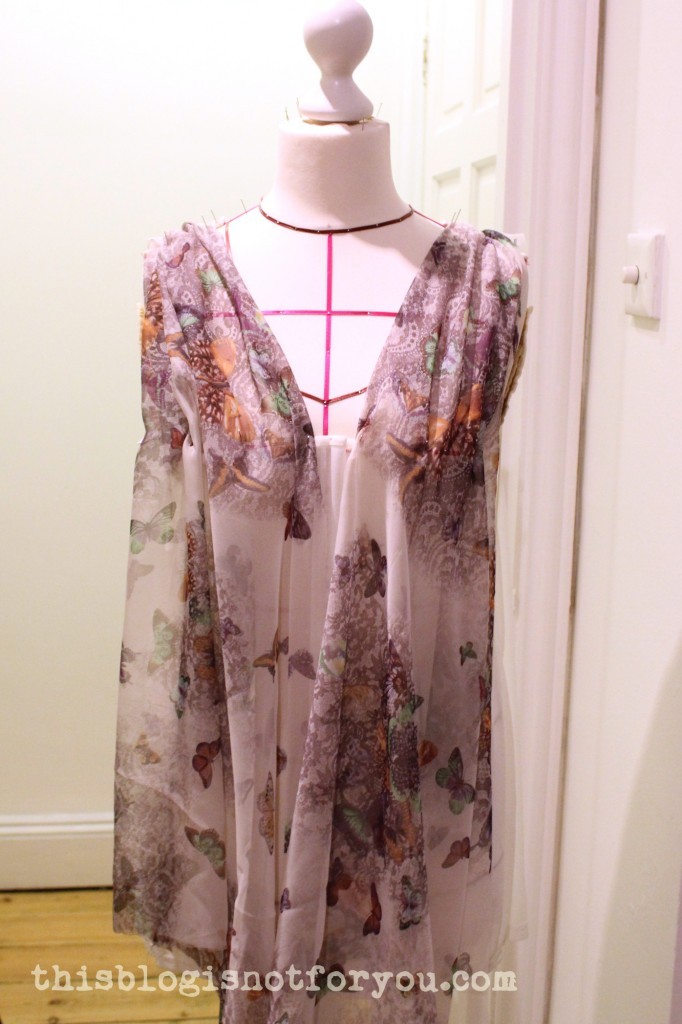
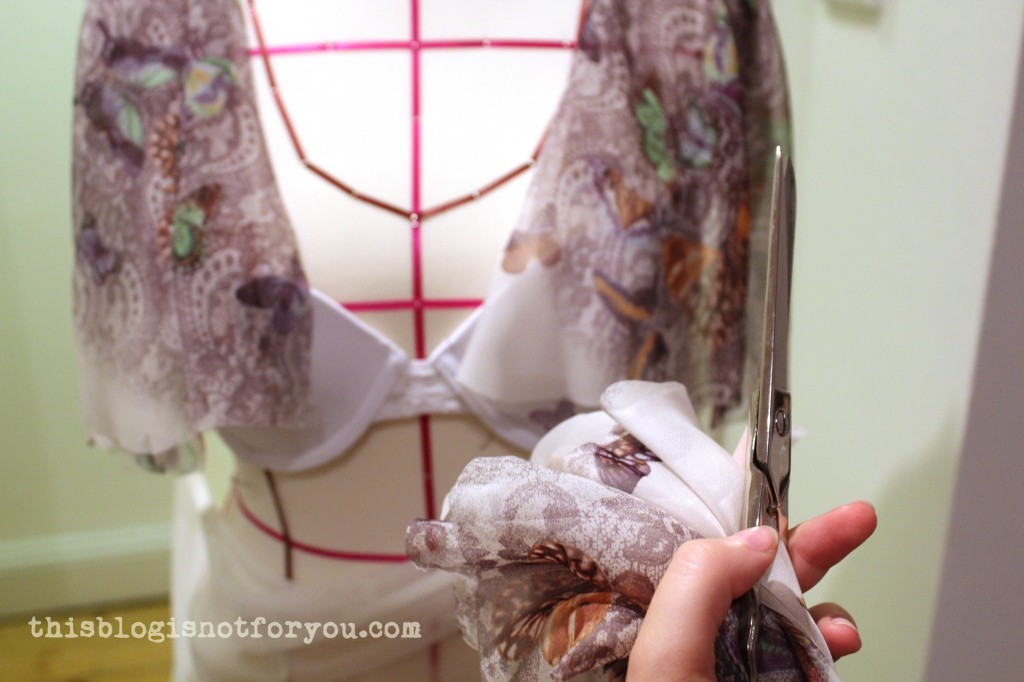
I started loosely draping the fabric and pinning it in place and then chopped off the rest.

draped butterfly shirt by thisblogisnotforyou.com   draped butterfly shirt by thisblogisnotforyou.com

draped butterfly shirt by thisblogisnotforyou.com

Chop, chop, chop!

draped butterfly shirt by thisblogisnotforyou.com

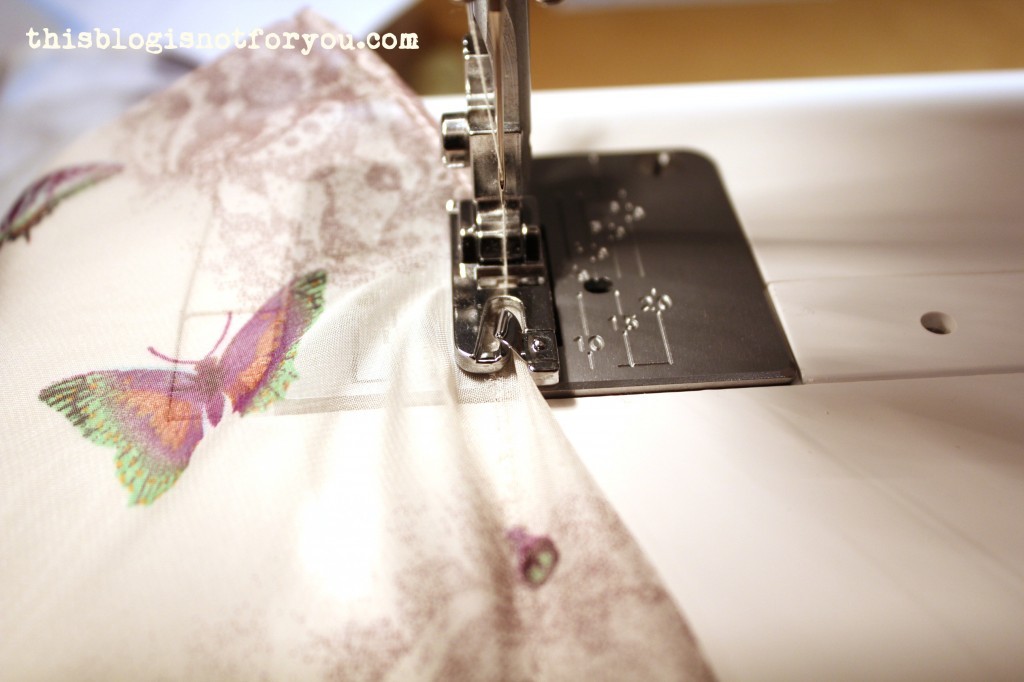
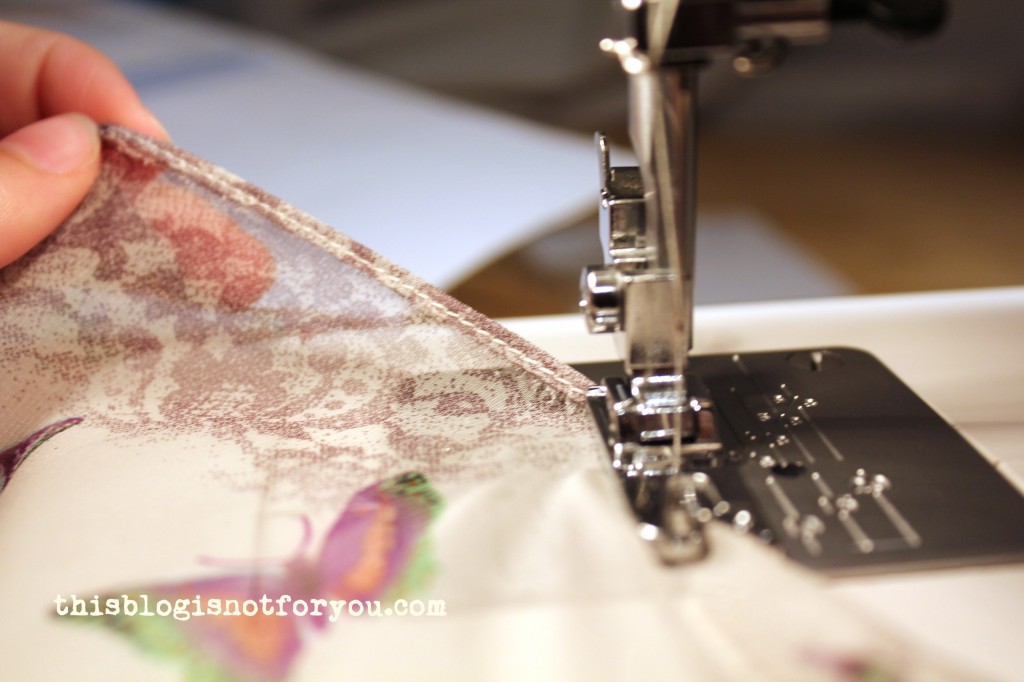
I did all the hemming with a narrow hem foot. It makes it super super easy to get very neat looking, very narrow hems.

draped butterfly shirt by thisblogisnotforyou.comdraped butterfly shirt by thisblogisnotforyou.com

Pretty, right?

draped butterfly shirt by thisblogisnotforyou.com

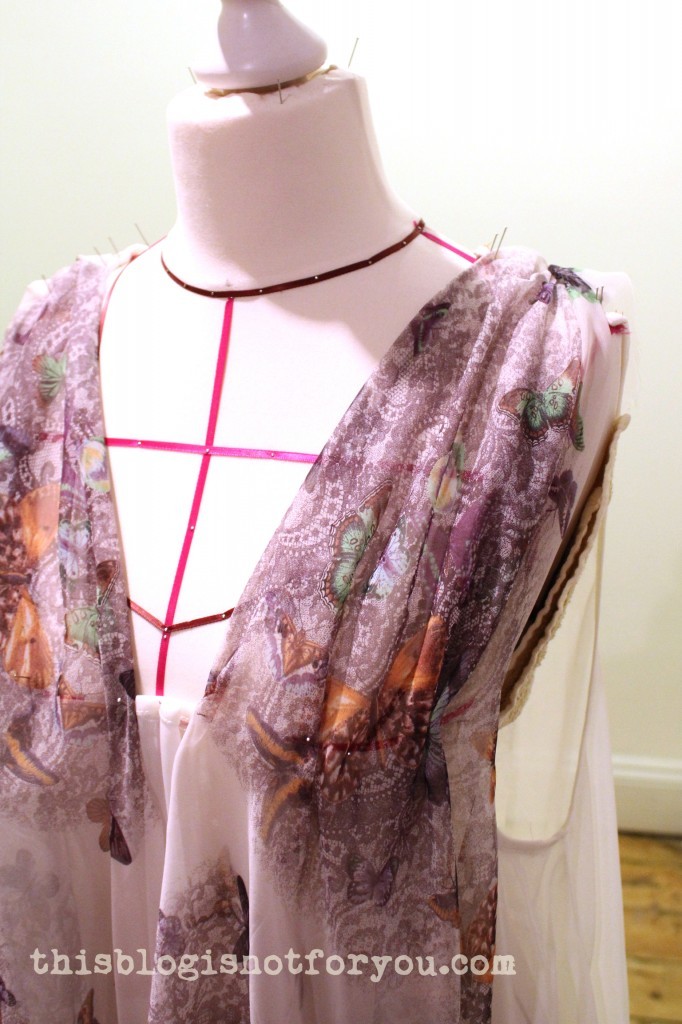
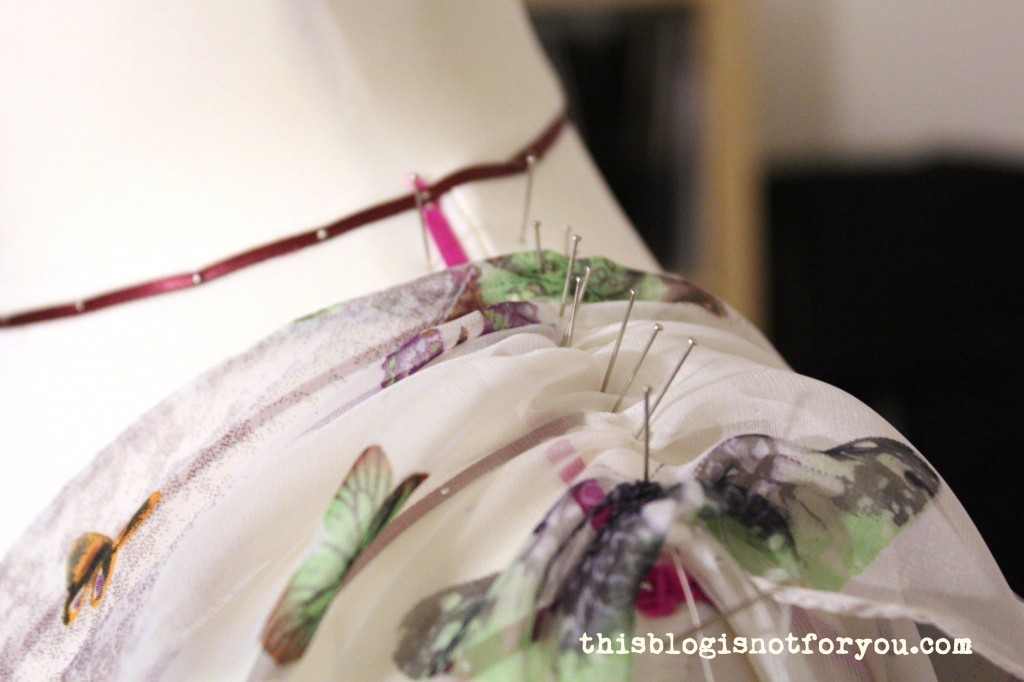
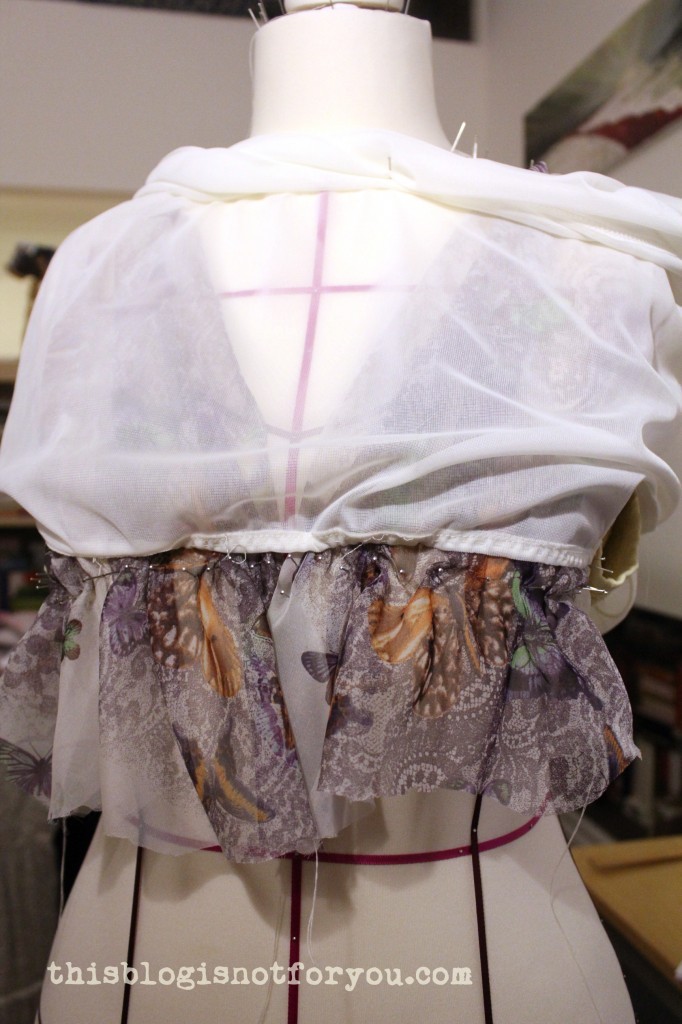
I then draped everything a bit more carefully, pinning everything in place. draped butterfly shirt by thisblogisnotforyou.com

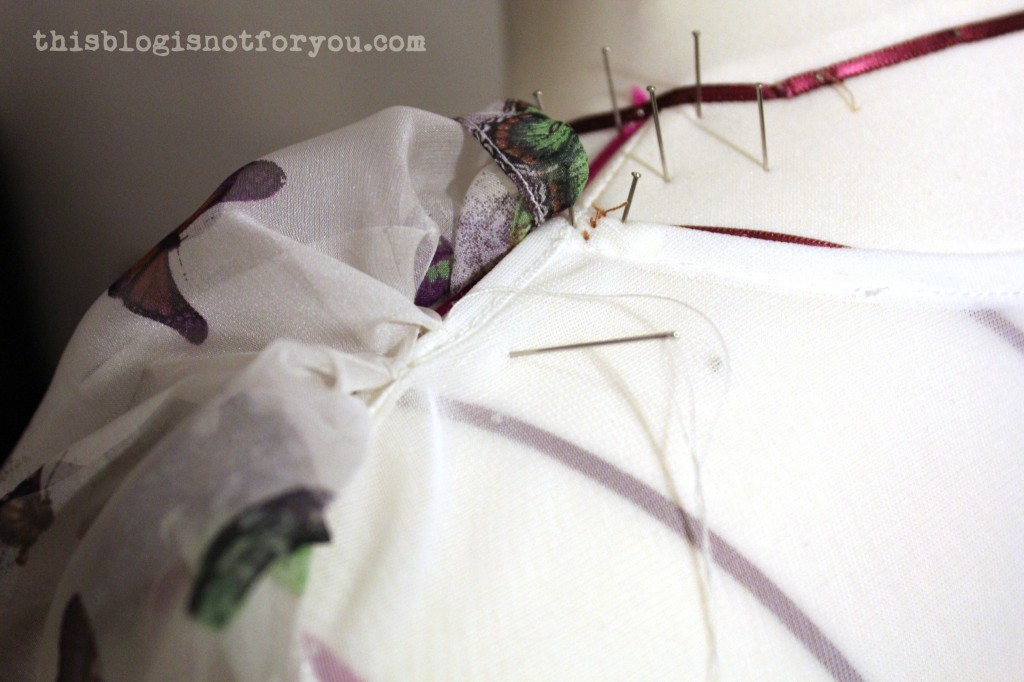
I folded the fabric over and started handsewing the draping onto the white shirt. That took a while, phew!

draped butterfly shirt by thisblogisnotforyou.com

Same procedure at the bust line, this time right sides together.

draped butterfly shirt by thisblogisnotforyou.com

I stitched over the handsewn seam at the bust line after everything was in place, to give the seam a bit more strength. (Some experimenting with ribbon and trim)

I decided to use the same trim I used for the overskirt dress since it matches the butterfly chiffon perfectly.

draped butterfly shirt by thisblogisnotforyou.com

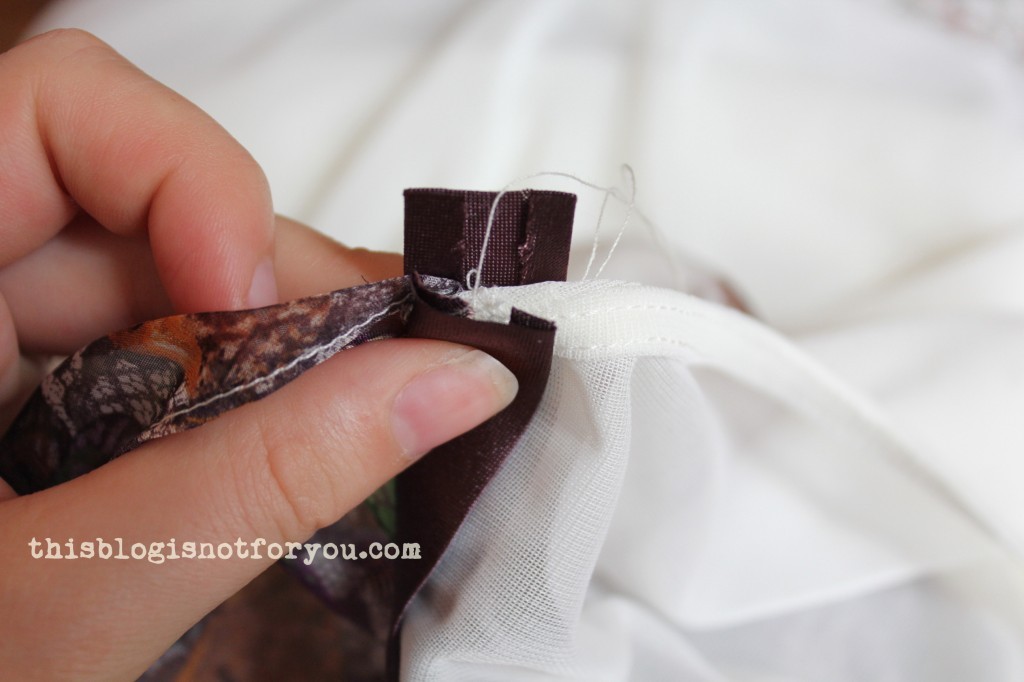
I stitched it onto the left side of the fabric first to hide the raw edges, then on the right side to cover the stitching. I did not use topstitching, but sew the two trims together by hand with a hidden stitch.

draped butterfly shirt by thisblogisnotforyou.com

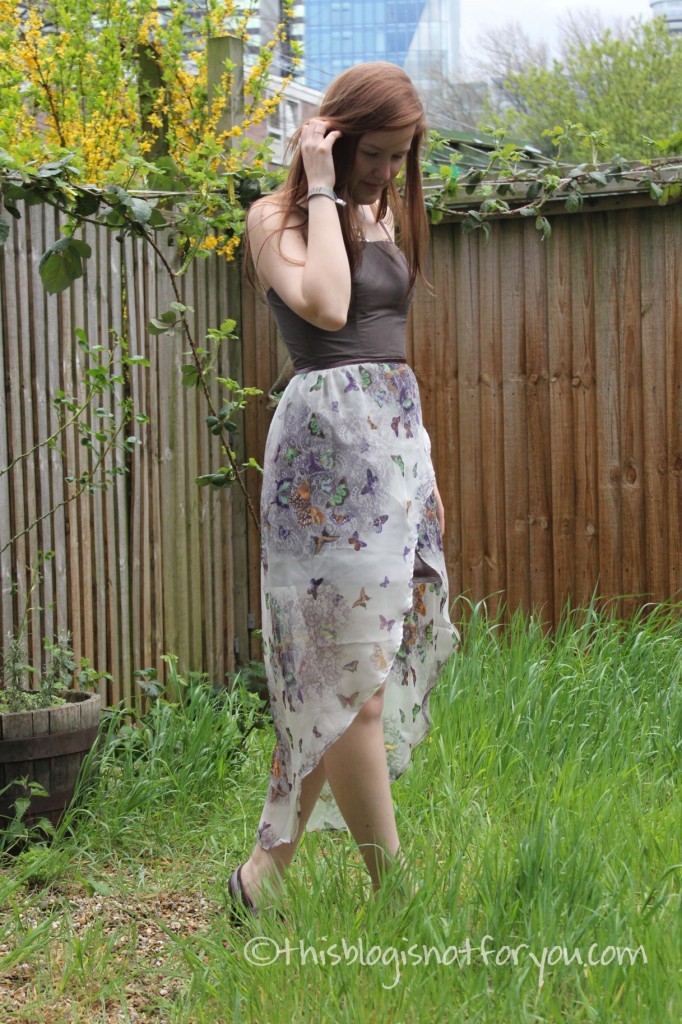
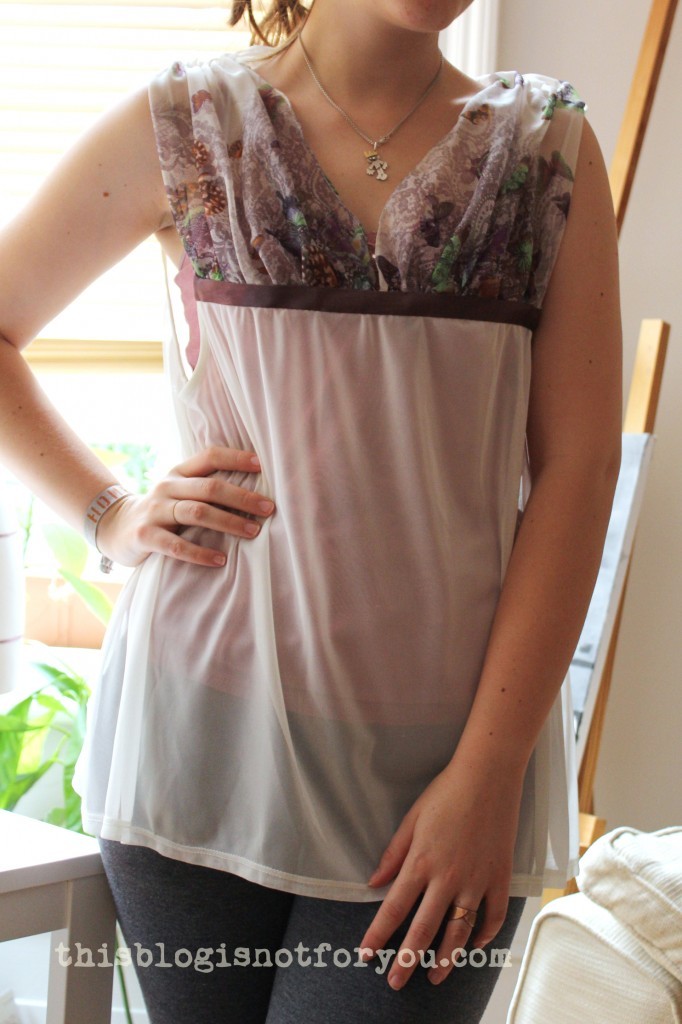
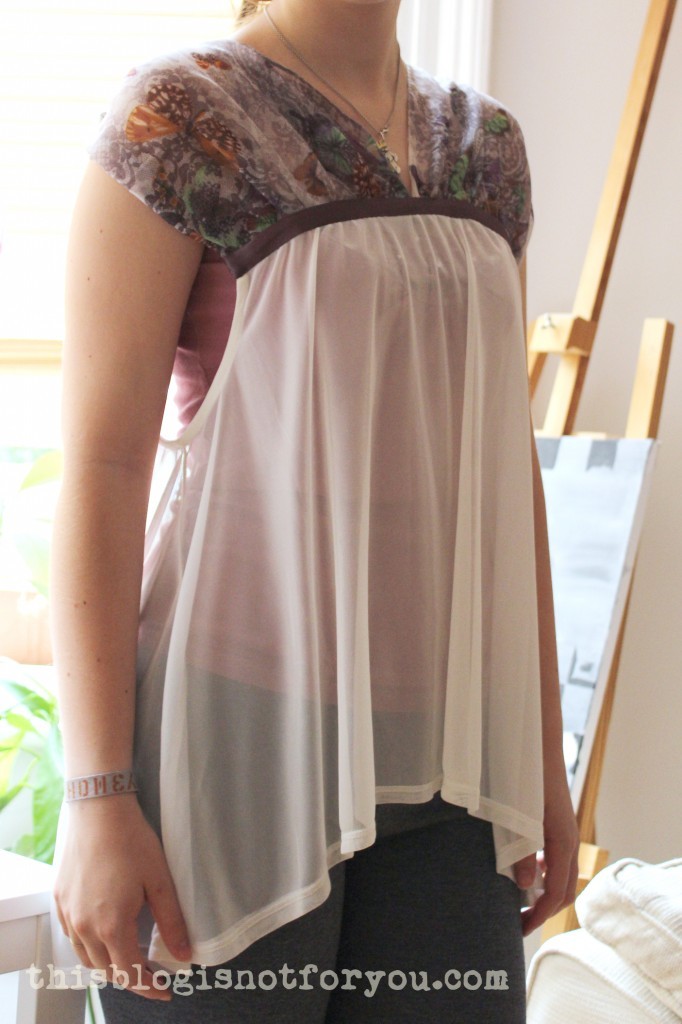
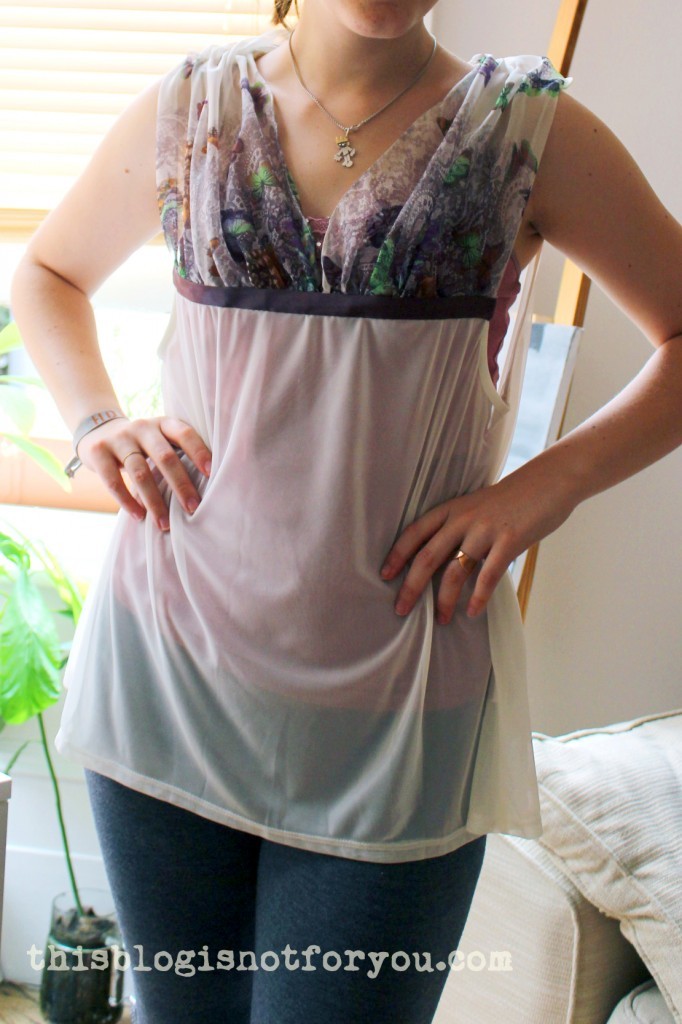
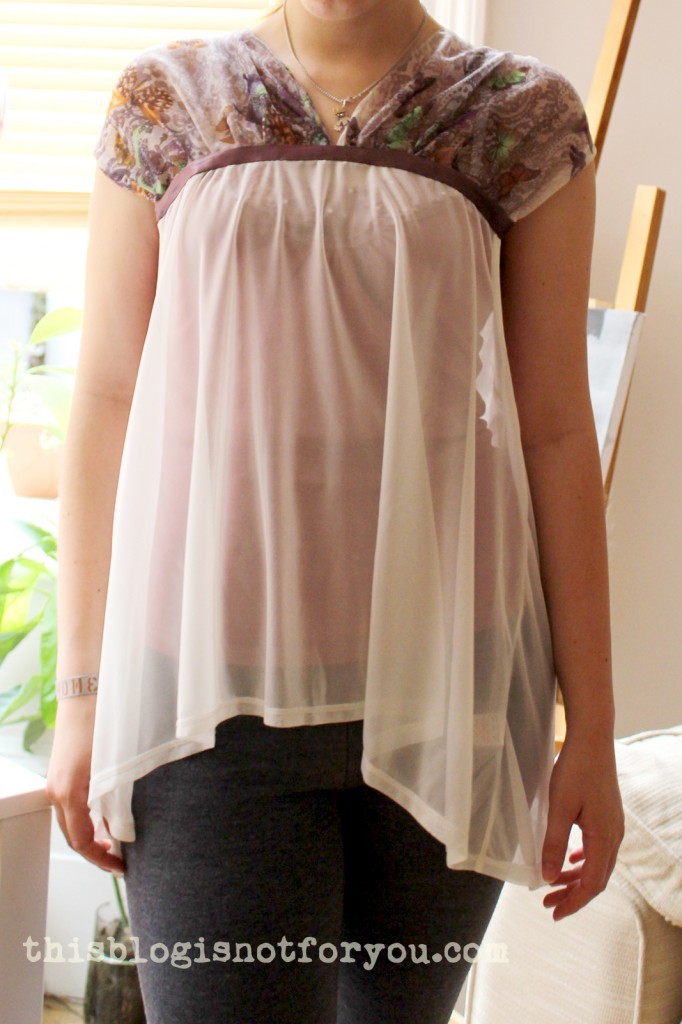
The shirt can be worn two ways:

draped butterfly shirt by thisblogisnotforyou.com          draped butterfly shirt by thisblogisnotforyou.comdraped butterfly shirt by thisblogisnotforyou.com

It’s quite big (a size 20) but I like that it’s so flowy and wide, perfect for summer. I might try wearing it with a belt, to cinch it at the waist a bit.draped butterfly shirt by thisblogisnotforyou.com

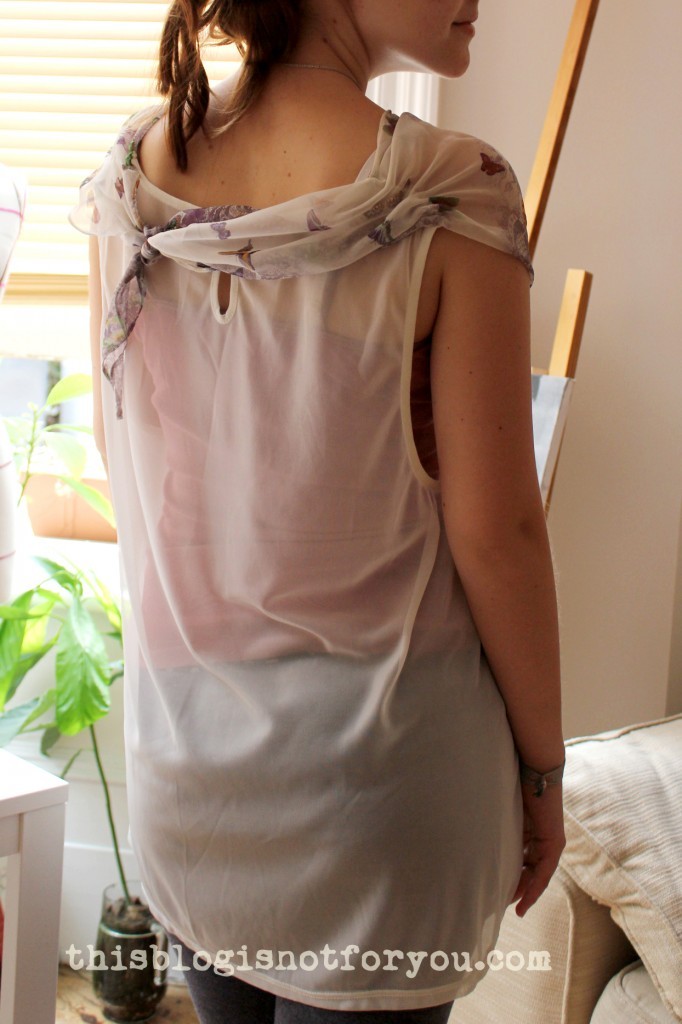
This is how it looks in the back:

draped butterfly shirt by thisblogisnotforyou.com

The keyhole might be a bit distracting, but is has a lovely golden button and I did not want to remove it 🙂

draped butterfly shirt by thisblogisnotforyou.com

It’s lovely to wear during these incredibly hot summer days and looks a bit more chic than jersey tank tops.

What did you make over the weekend? I’d love to see!


facebook/bloglovin/pinterest
Stay in touch!

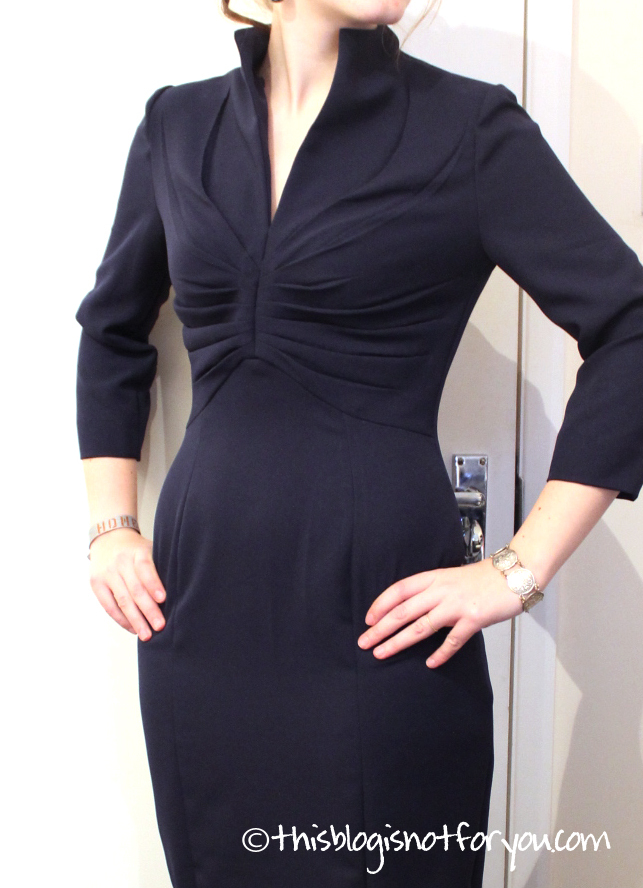
Audrey Hepburn Dress now also available in Plus Size!

I made this fabulous dress a little while ago and just wanted to announce, that Burdastyle now also will have the pattern in Plus Sizes!

Audrey Hepburn sheath dress

They will also have 8 more 40’s Hollywood style plus size patterns in the new Augst issue of Burdastyle magazine! Happy Sewing!


Refashion It! The Thrift Store Dress

refashion sheath dress by thisblogisnotforyou.com

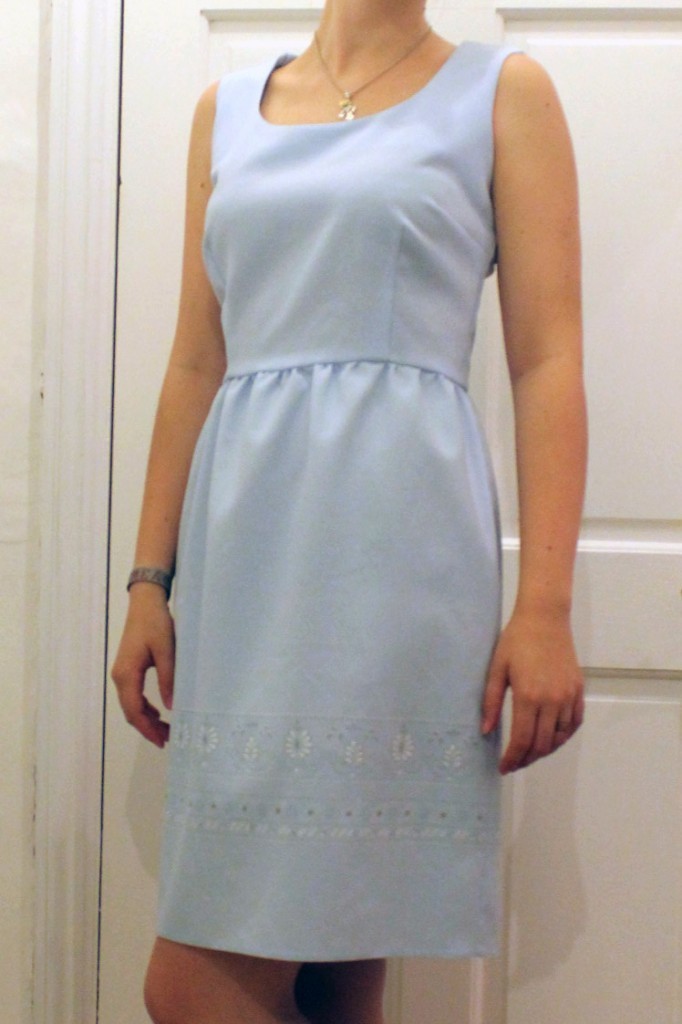
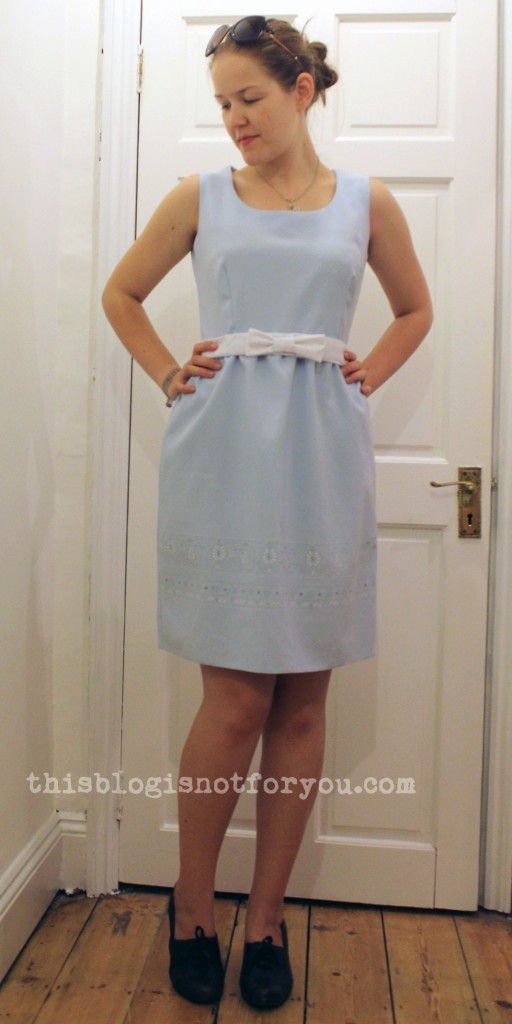
I can’t believe it! After all these years I actually never bought and refashioned a thrift store dress! Normally I just buy oversized shirts or dresses at Primark or H&M, but this time I gave it a try. Since we just moved I walked around the area a little yesterday and found a small thrift store. I figured that with a bit of patience I might find a good-quality fabric for a few pounds and I was right. I found a Berkertex dress, size 16, for only 5 pound. Normally these dresses are really expensive and the fabric was a really lovely light blue Idontreallyknowwhatitis. The tag on the inside says chambray/100% Polyester, but it doesn’t really look like chambray to me. Someone help me please?

refashion sheath dress by thisblogisnotforyou.com

Anyway the fabric is awesome. It dries super quick (basically came out of the washing machine dry) and doesn’t wrinkle at all – no pressing needed!

Yeah, I know. Stop talking and show us the pictures! So here’s what I did!

refashion sheath dress by thisblogisnotforyou.com

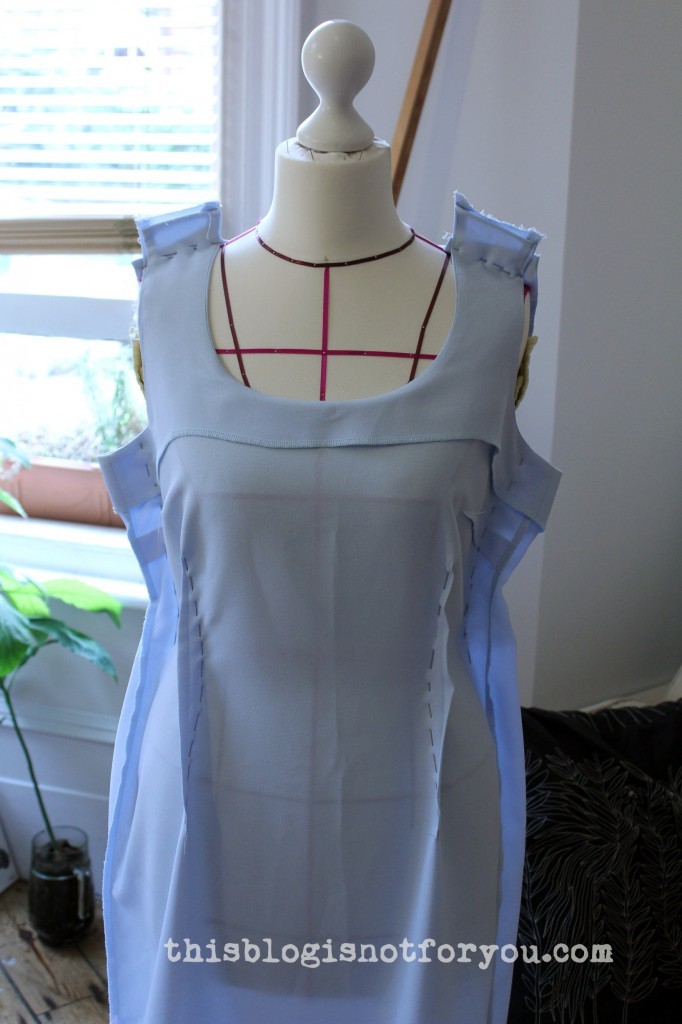
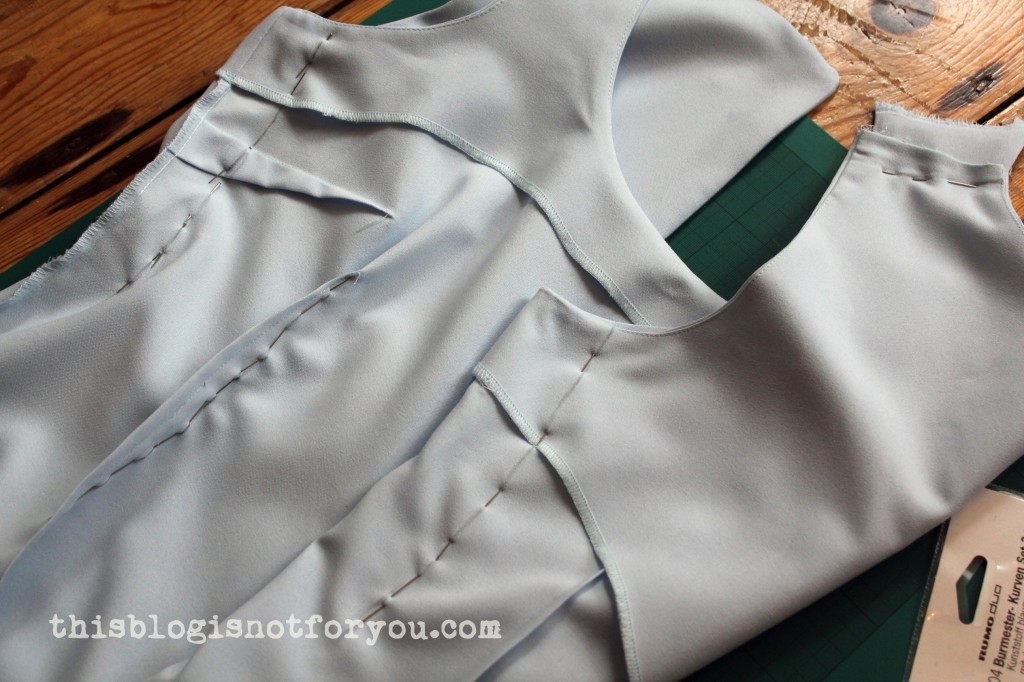
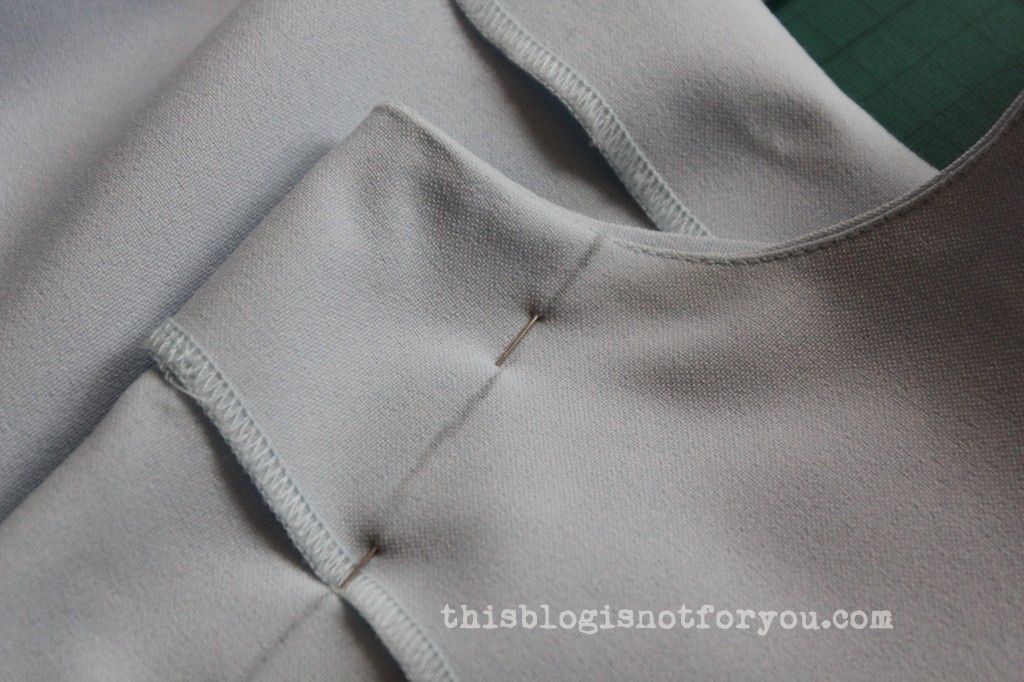
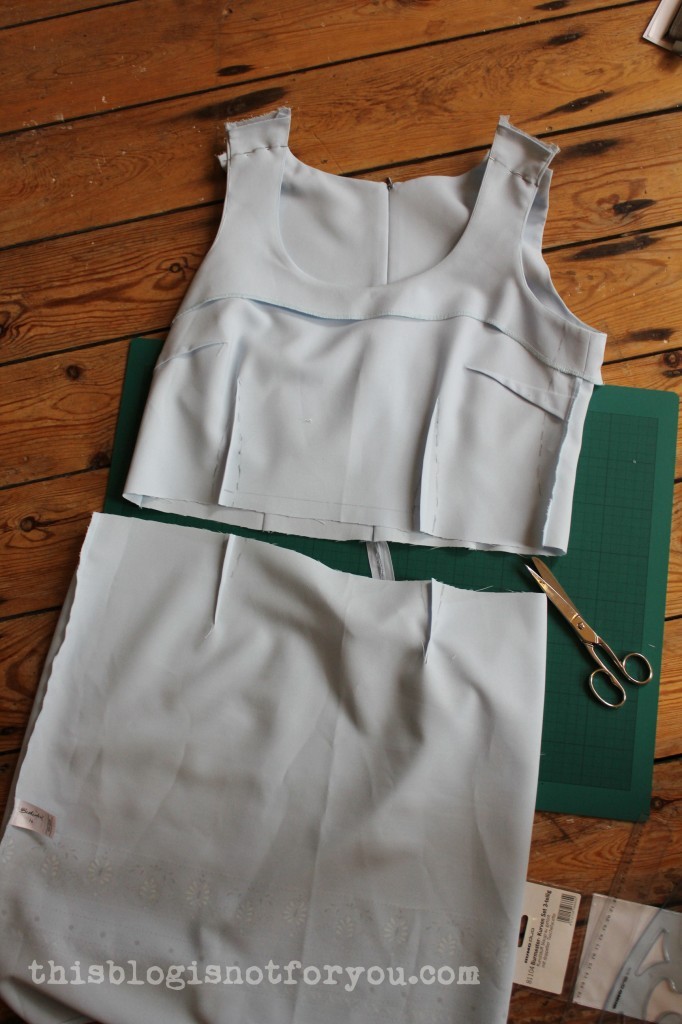
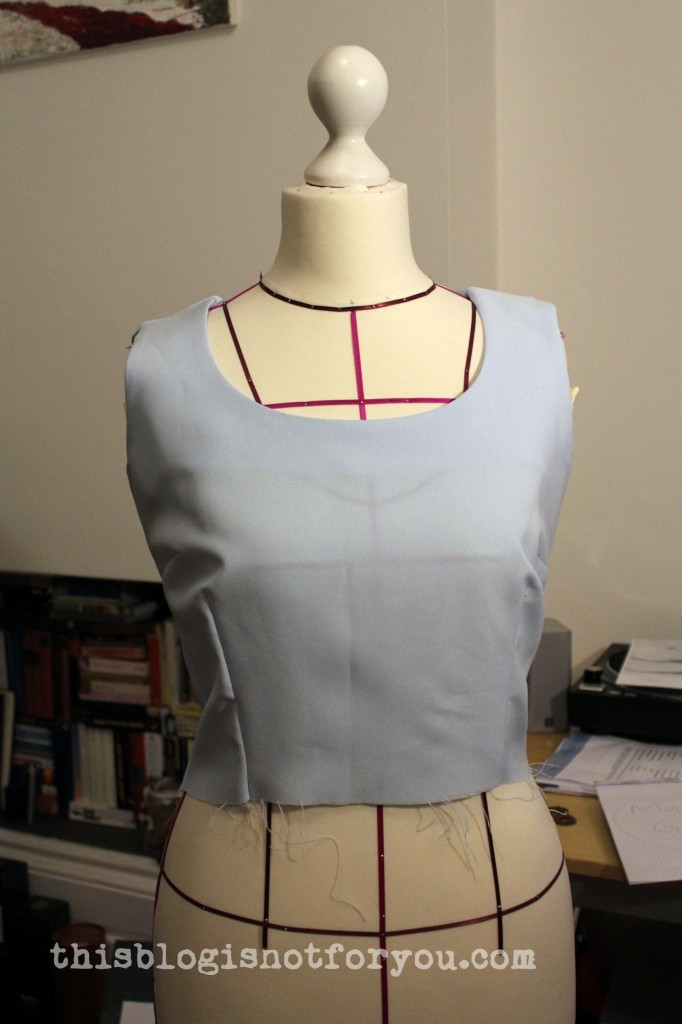
First of all I did some pinning on the dress form. As I’m a size 8-10 I obviously had to take in the sides. The front darts weren’t quite right and a bit too low. I decided to take in the straps and the dart problem was gone!
To give the bodice a bit more shape I took in the front darts a little.

refashion sheath dress by thisblogisnotforyou.com

After pinning I tried it on and the fit was really good (yay! no changes needed!) Before removing the pins I transferred all changes with a pencil.

refashion sheath dress by thisblogisnotforyou.comrefashion sheath dress by thisblogisnotforyou.com

Chop, chop!
refashion sheath dress by thisblogisnotforyou.com

Here’s the finished bodice!
refashion sheath dress by thisblogisnotforyou.com

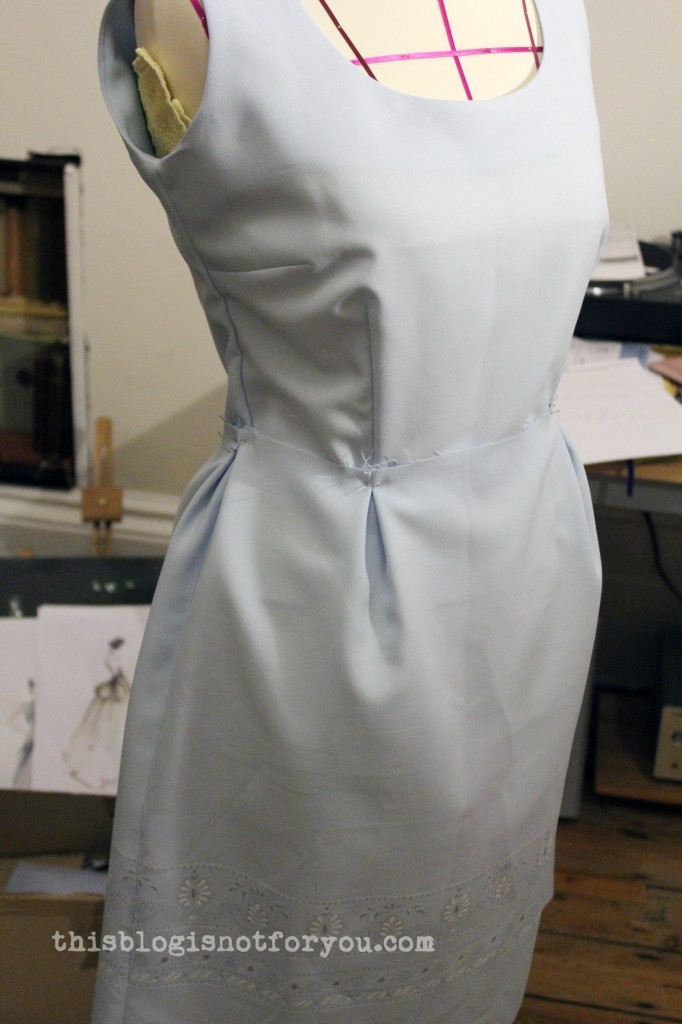
Now comes the pinning!

I had no idea what to do with the skirt, so I tried a few things. This version definitely wasn’t working…

refashion sheath dress by thisblogisnotforyou.com

…it made my hips look twice their size! Meh!

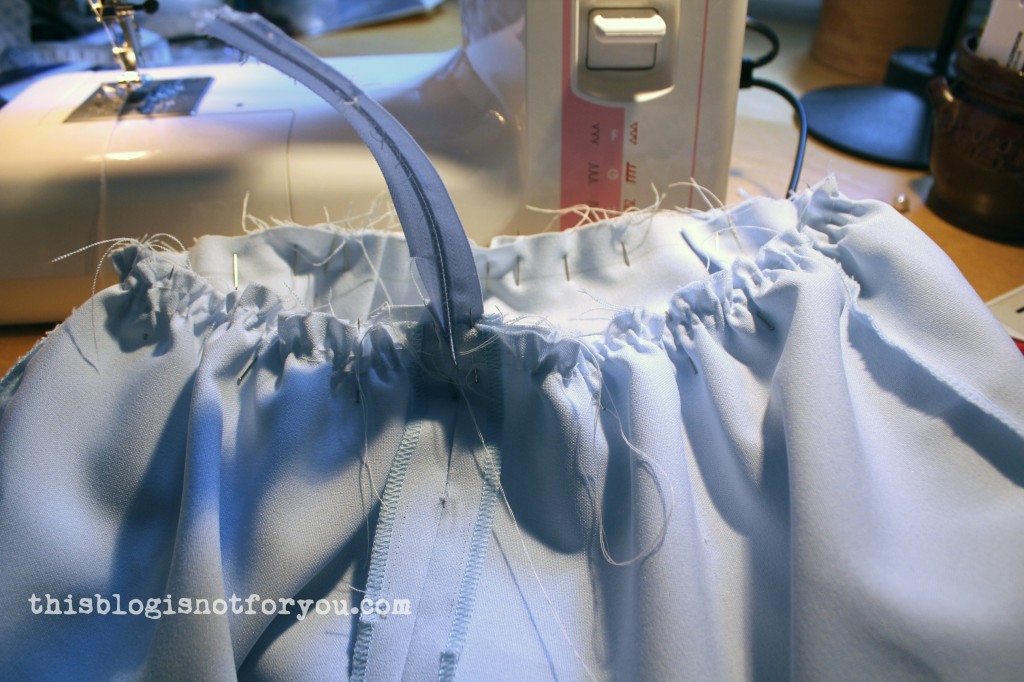
I decided to play safe and simply make a gathered skirt. This looked best with the rest of the dress.

refashion sheath dress by thisblogisnotforyou.com

Pinning and stitching. I used white cotton bias binding to finish the raw edges since the fabric was fraying like f%$§&f!.

I sewed in the rest of the zipper  – and was finished!

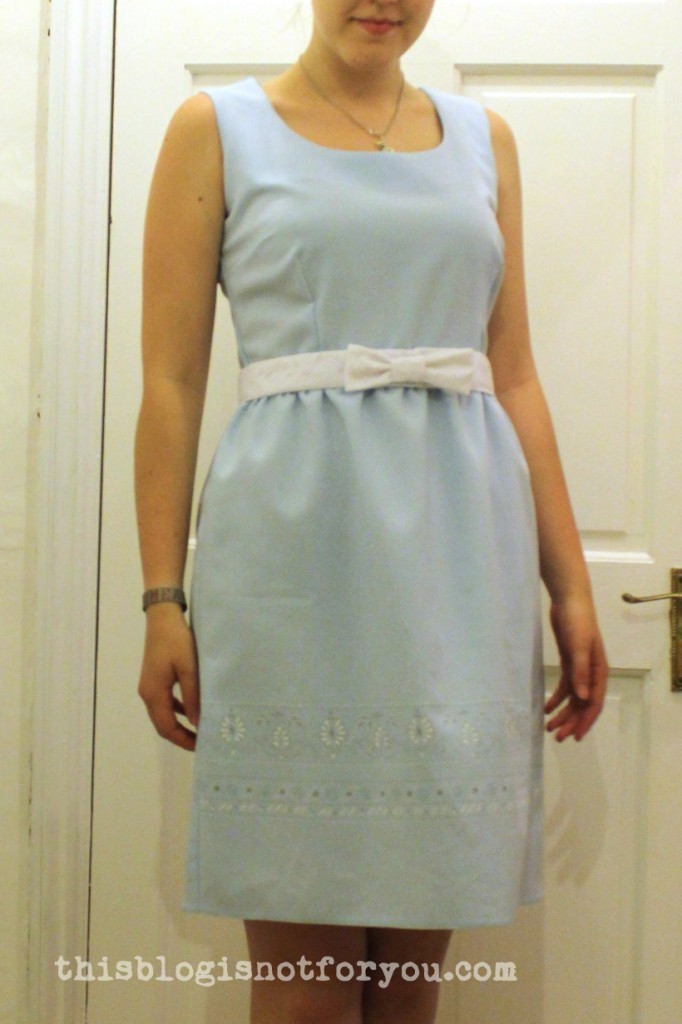
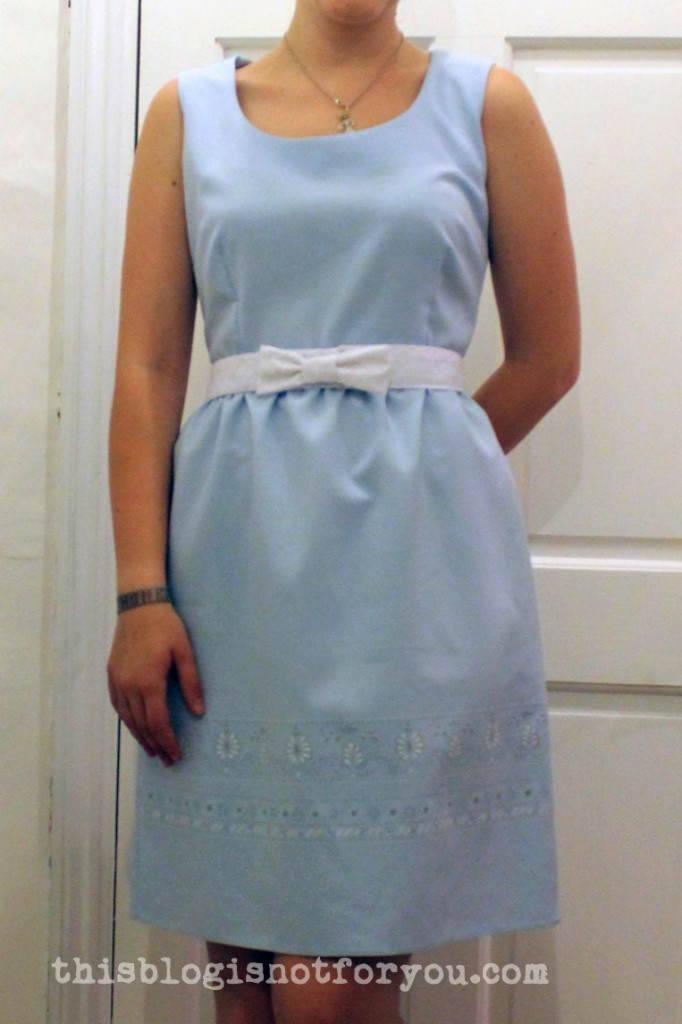
It’s super comfy and although I NEVER wore light blue before, I just love it!

refashion sheath dress by thisblogisnotforyou.com

Sorry, blurry selfies today! My other half wasn’t around this time 🙂

refashion sheath dress by thisblogisnotforyou.comrefashion sheath dress by thisblogisnotforyou.com

I made the belt from white cotton and lace fabric using Tilly’s awesome bow belt tut!

refashion sheath dress by thisblogisnotforyou.comrefashion sheath dress by thisblogisnotforyou.com

Unfortunately, this dress doesn’t count regarding the 27 Dresses Challenge – it’s not made from scratch! (Too easy folks!)

Well, but I love it anyway 🙂

In case you’d like to have the chance to see sneak peeks of my project or just want to follow me for fun, just click on the very subtle button below 🙂

thisblogisnotforyou facebook


Sewing with chiffons – Baby seams

baby seams tutorial by thisblogisnotforyou.comHi everyone! It’s incredibly warm here in London at the moment, one of the reasons why I haven’t been sewing a lot lately.But the fridge loaded with ice cream and cool drinks, I finally got around to editing the pictures for the baby seams tut! So here it is!
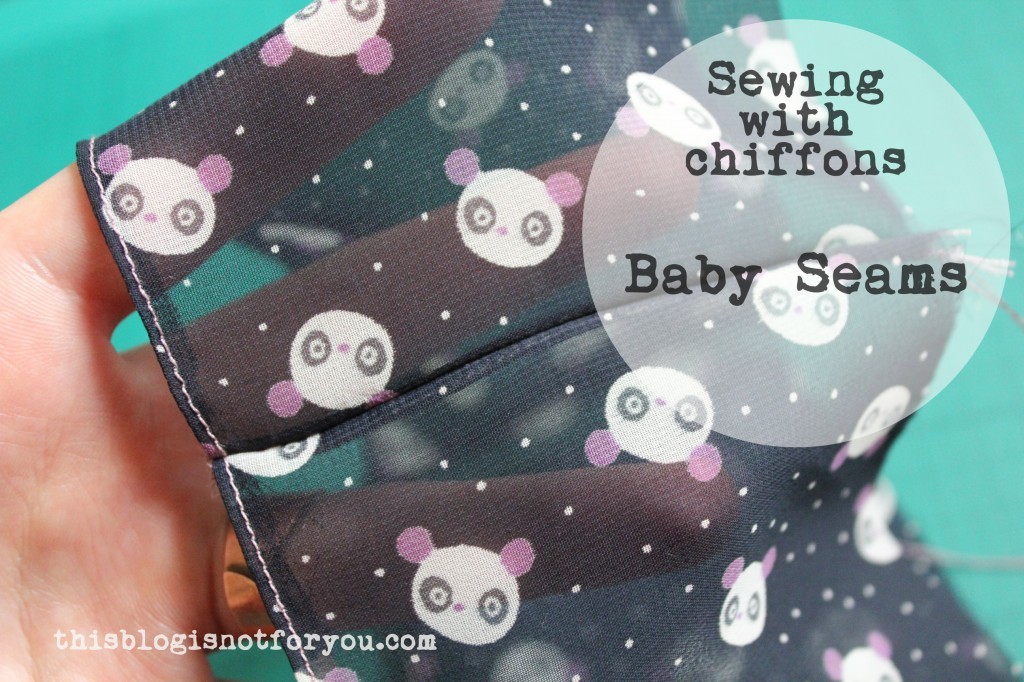
Baby seams, a specific seam finish, are particularly helpful when sewing with very lightweight and sheer fabrics, like chiffon. Bill Travilla, designer for many Hollywood actresses, used this technique for Marilyn Monroe famous white halter bodice dress from The Seven Year Itch.

When sewing with transparent fabrics, it’s often difficult to hide the raw edges of the seam. This technique perfectly hides the raw edges.

Step 1

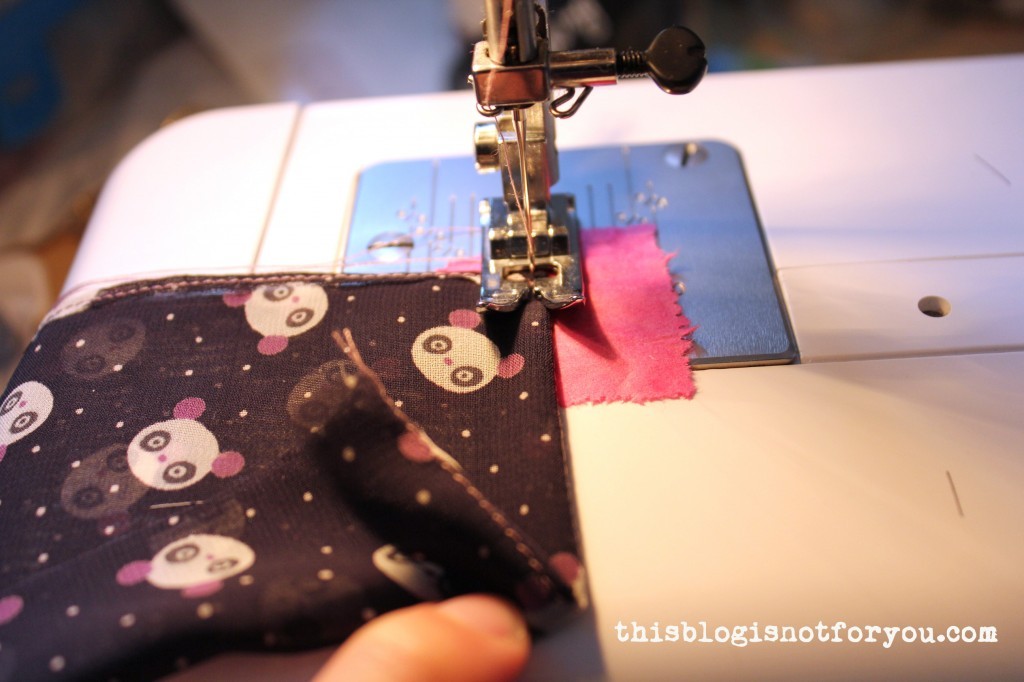
You will need  about 5/8 inch or 1.5 cm of seam allowance.(Less does also work if you already cut out your garment. But it’s easier to work with a bit more). Straight stitch 1/2 inch or 1.3 cm from the edge, right sides together.

baby seams tutorial by thisblogisnotforyou.com

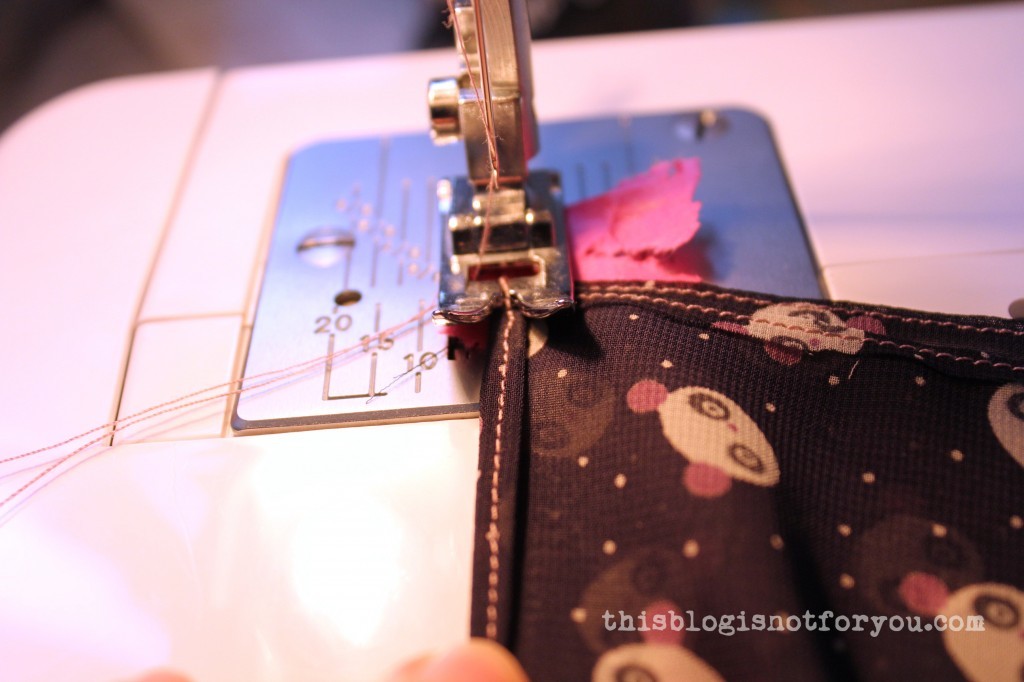
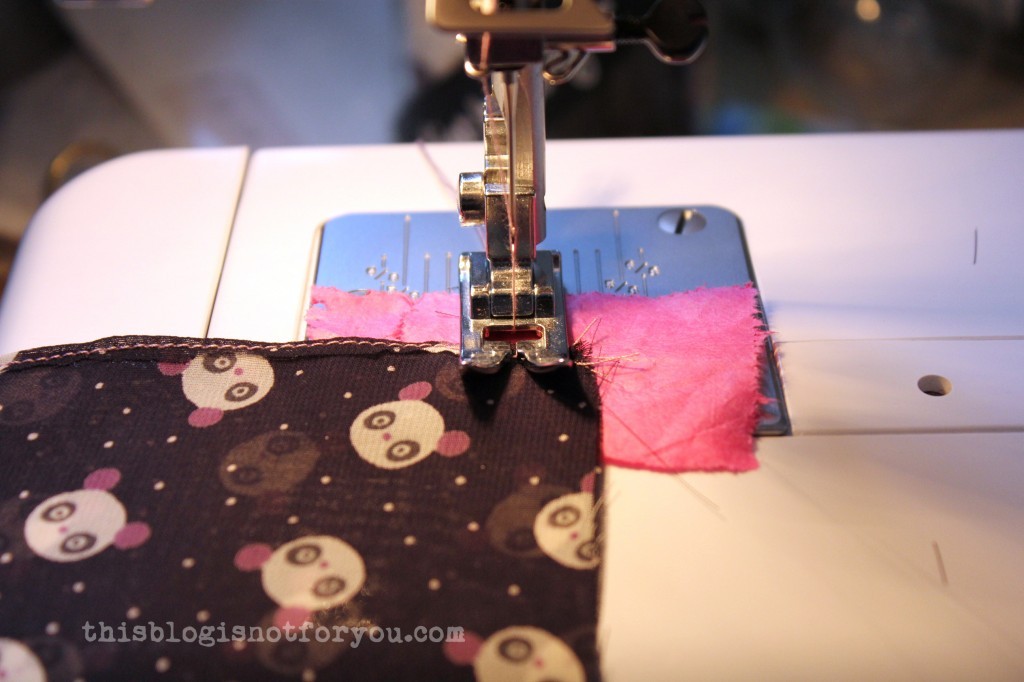
When sewing with very lightweight fabrics like chiffon, there’s  the risk that your machine eats the fabric by pulling the end of the seam into the needle hole. To prevent that from happening you can use a straight stitch foot. If you don’t have one, you can simply place a small piece of tissue paper under the end of the seam to give it a bit more strength (see picture above).

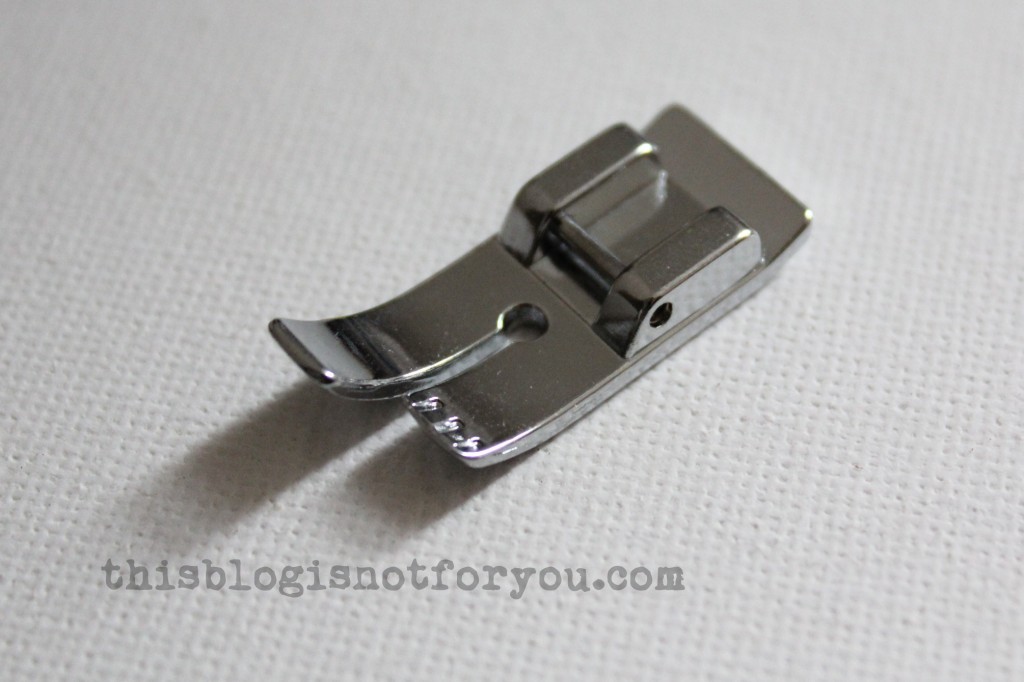
A straight stitch foot is quite inexpensive and very useful if you sew with lightweight fabrics like chiffons, silks or satins often.

sewing with chiffons straight stitch foot by thisblogisnotfotyou

The small hole keeps the fabric from being pulled into the needle hole. It also helps the fabric from sliding away when sewing. I just bought one (after sewing the panda blouse and I love it!) Just be careful with your machine settings. With this presser foot you can only use the straight stitch (the name says it all 😛 ). The needle might break if you accidentally set your machine to zigzag stitching.

Step 2

baby seams tutorial by thisblogisnotforyou.com

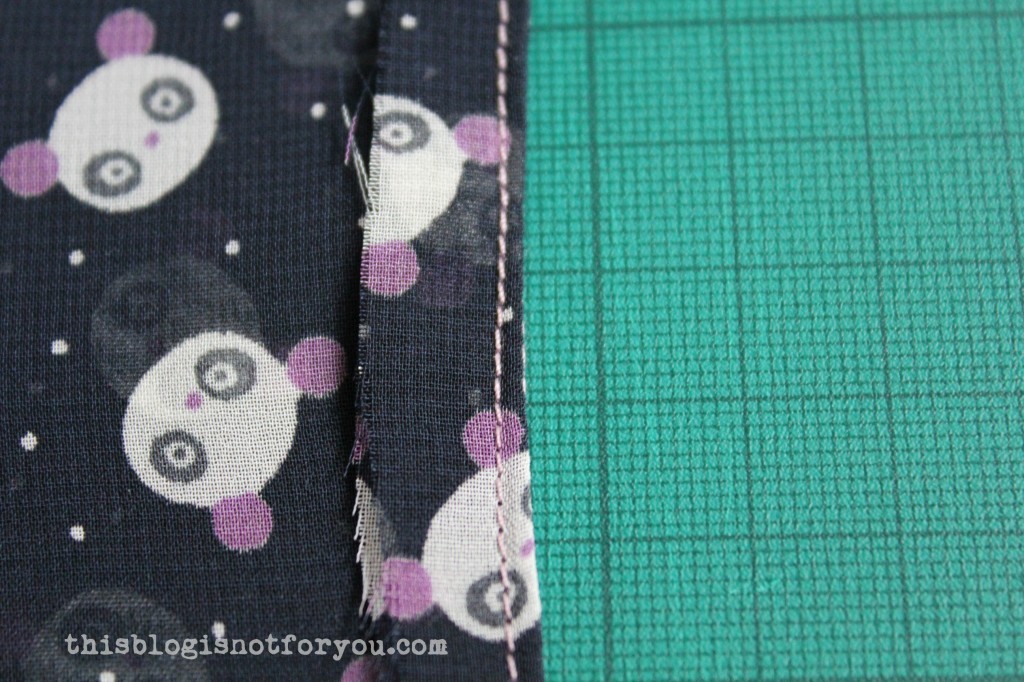
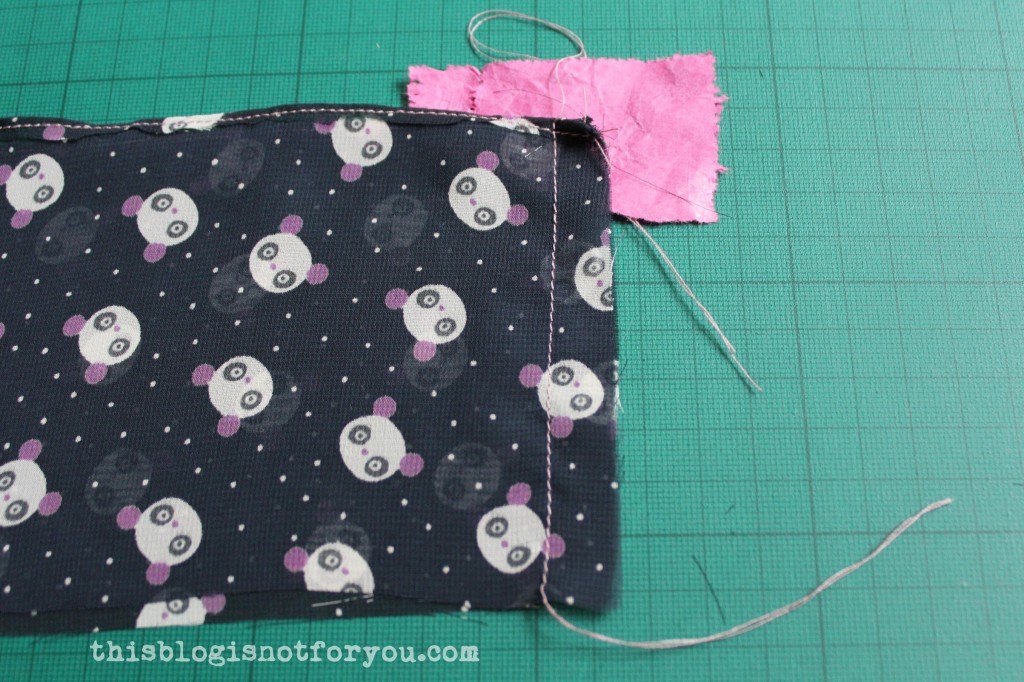
Fold the seam on the stitched seamline. Press it flat if you want to, it might help to keep things in place (I always prefer getting it done quickly…). Then edgestitch 1/16 inch or 1-2mm from the folded edge.

baby seams tutorial by thisblogisnotforyou.com

baby seams tutorial by thisblogisnotforyou.com

baby seams tutorial by thisblogisnotforyou.com baby seams tutorial by thisblogisnotforyou.com

Hehe, see what happens if you don’t press it? The stiched line is not perfectly parallel to the other, but that’s only for the perfectionists.

Step 3

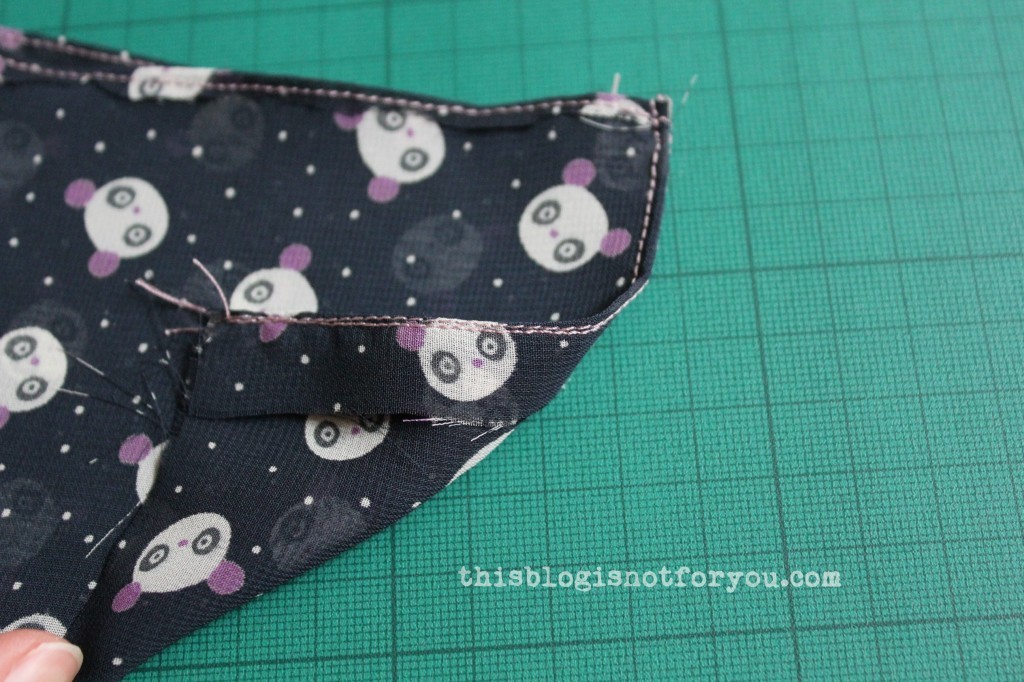
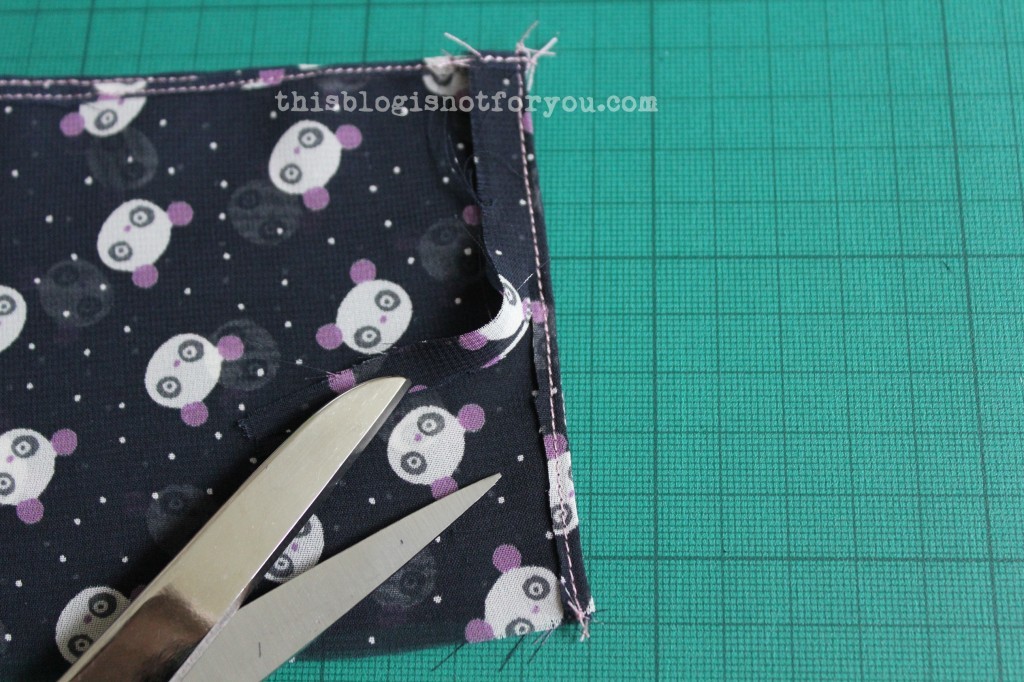
Now trim very closely to the edgestitching. Use your fabric scissors (I tried the cutter and accidentally cut into the seam. Not a good idea). Try to keep the scissors parallel to the fabric.

baby seams tutorial by thisblogisnotforyou.com

Step 4

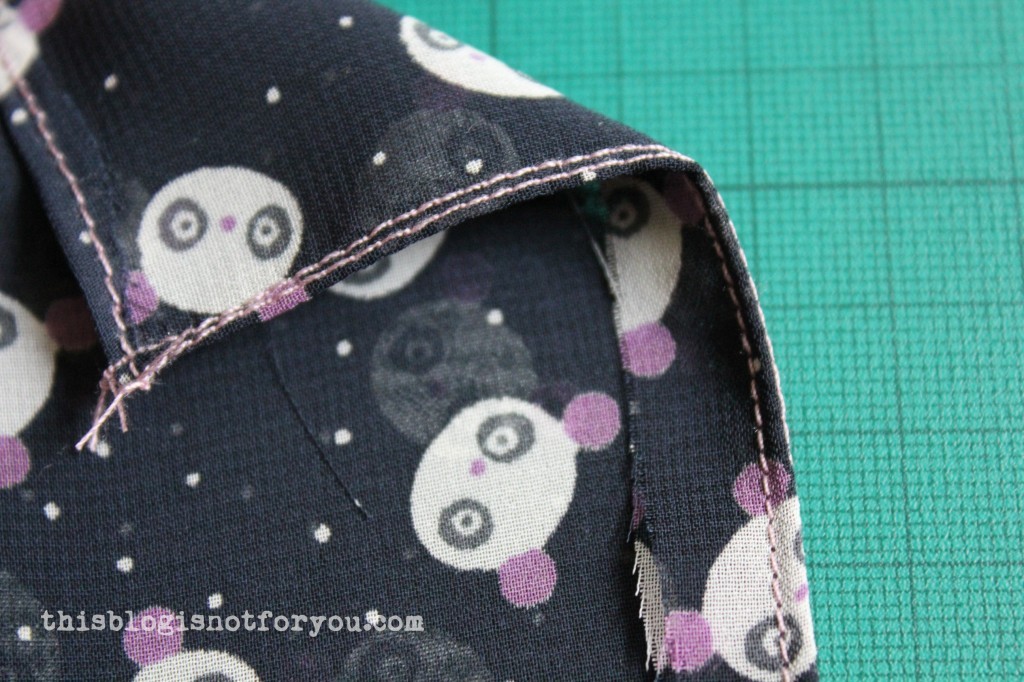
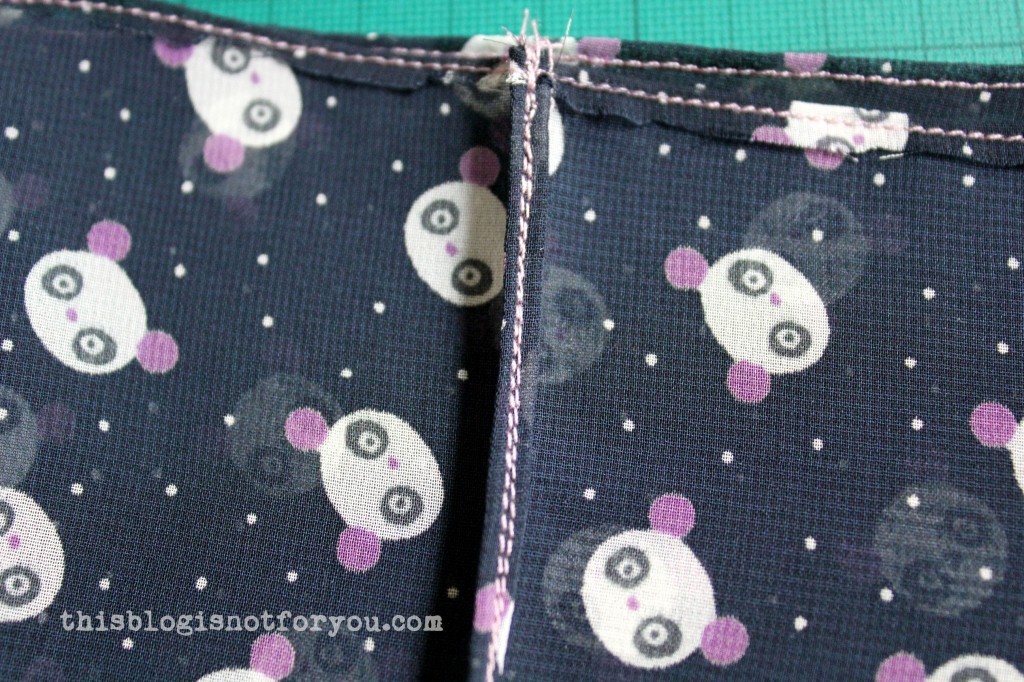
Now fold the seam again so that the raw edges are enclosed and hidden. Edgestitch on top of the last stitching line.

baby seams tutorial by thisblogisnotforyou.com

Don’t get confused by this picture. I had turned the fabric 180 degrees, thats why the folded seam is facing in the wrong direction.

Step 5

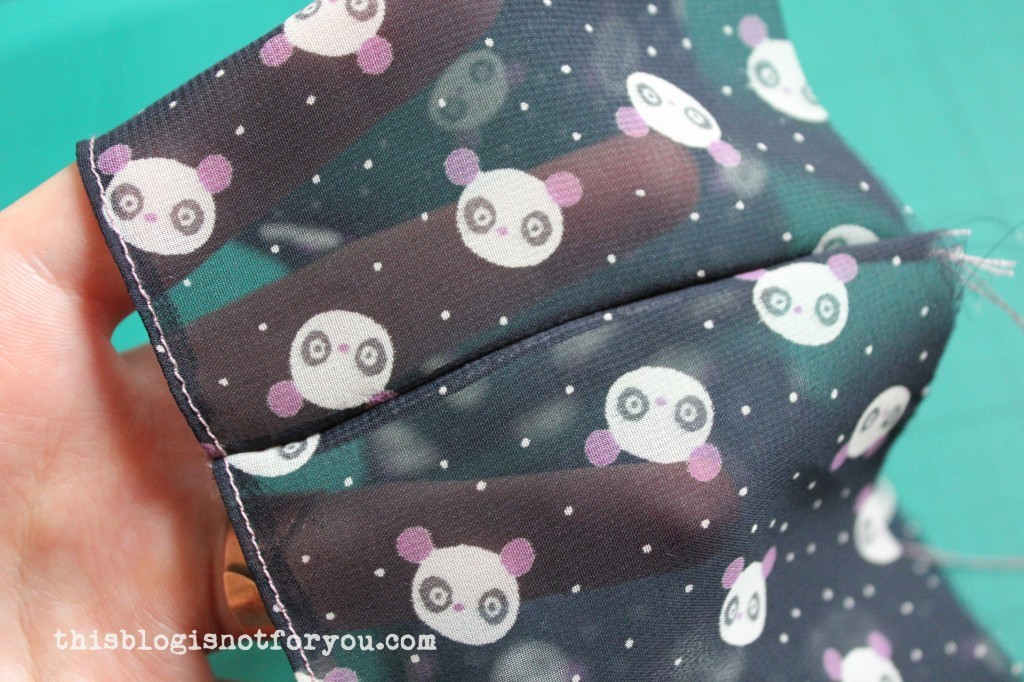
Now you’re almost done. Just press the seam flat and start admiring how nice it looks!

baby seams tutorial by thisblogisnotforyou.combaby seams tutorial by thisblogisnotforyou.com

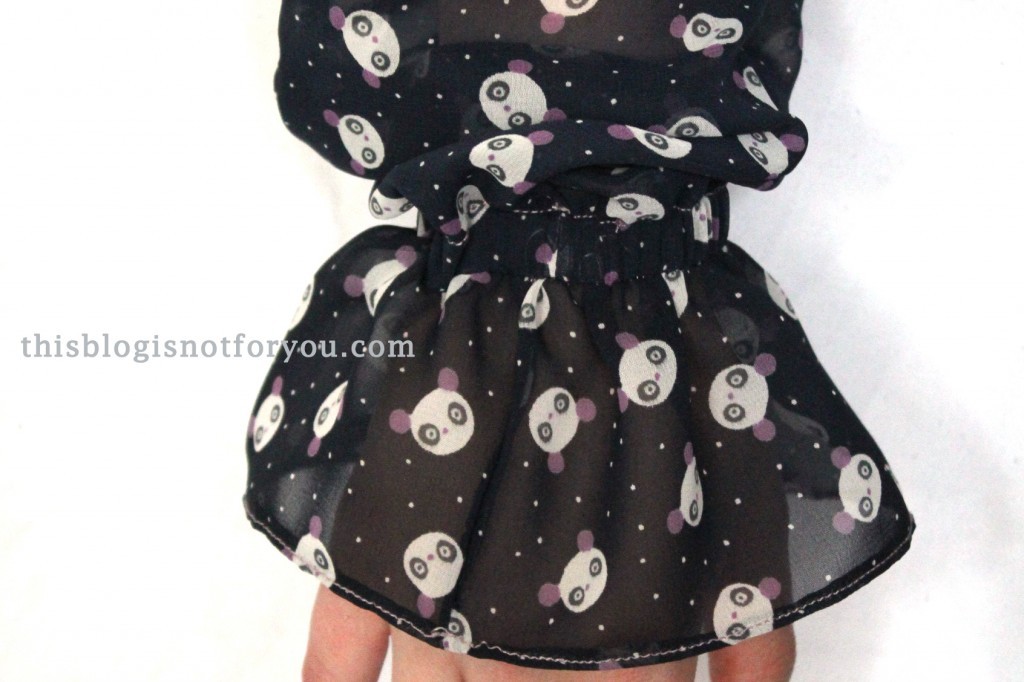
I used this technique for all seams of the Panda Blouse. The above picture shows the peplum of one of the sleeves. I first edgestitched the hem and trimmed the raw edges, then sewed the side seams with the baby seam technique. After pressing the baby seams I folded the hem on the stitched line, enclosing the raw edges and edgestitched.

Burda 128 8/2012 by thisblogisnotforyou.com

You can barely see the side seams in this picture -nice, eh? (Don’t look too closely though, I screwed up the hem at one point… :P)


I love this technique! I know you’re going to ask if it takes much longer than other seam finishes. NO, it doesn’t! You’re basically sewing the seams and the seam finish at once, so it’s not more complicated than other techniques. And since you’re straight stitching it’s much faster than finishing the raw edges with a zigzag or overlock stitch!

And seeing the results you’ll find it’s totally worth th effort!