
Helloooo!
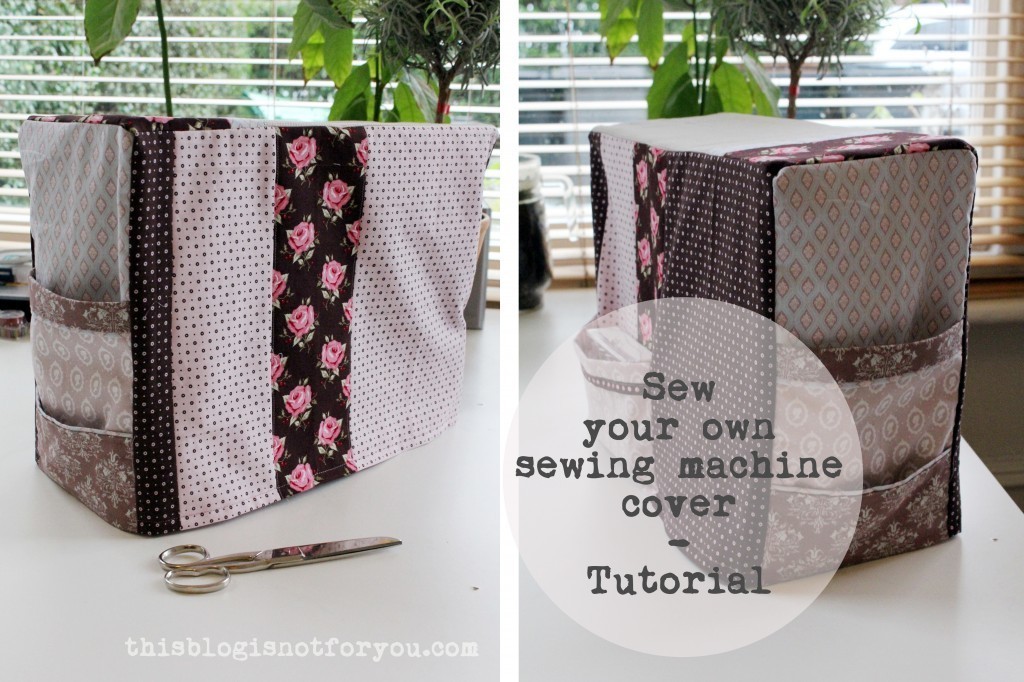
As promised, here comes the tutorial for the cute sewing machine cover I made last weekend. I looove it. My sewing space (which is basically 90% of our flat) looks so much better now (and tidier – probably the main reason why Mr Thisblogisnotforyou likes it very much).
The cover is rather simple to make, depending on how much detail you want to add. As the lining is the same shape an size as the fabric, you can also make your cover reversible (you sew the cover part twice and use one instead of the lining).
What you need:
– fabric leftovers/ fat quarters, some plain fabric for the lining (unless you want your cover to be reversible)
– thread
– scissors/or rotary cutter
– measuring tape
– a piece of cardboard
Measurements:
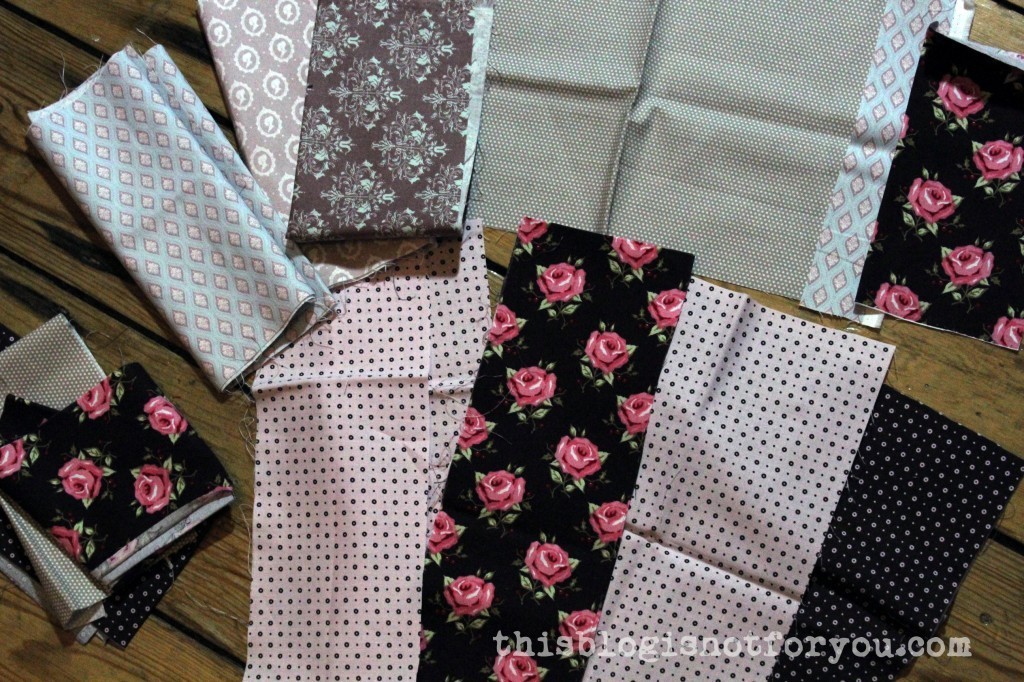
For my cover, I used different quilting cottons. I ordered so many when I started sewing and never really used them after I began making clothes.
The size of the fabric pieces depends on your sewing machine and your design. When you use a lot of different fabrics like I did, the fabric pieces can be rather small – time to get out these leftovers you’ve kept all that time!
If you like to keep it simple and only want to use one fabric, the biggest piece should have the width of your sewing machine (plus seam allowance) and height as follows: 2x height + 1x depth of your sewing machine (plus seam allowance).
Now get out your tape measure and take measurement of your little darling. This of an imaginary rectangular box around your sewing machine, where everything needs to fit in. Don’t forget to include the balance wheel when measureing the width, height of spool pin etc.
My machine was 40cmx30cmx16cm. You should add about 1cm on each side.
To assemble the cover, we want to cut out the following pattern pieces:
Front & back (mine is: 42cm x 32cm incl seam allowance), top (18cm x 42cm), sides (18cm x 32cm).
Does this make sense? Alternatively, if you’re using only one fabric, you can combine front, back and top and cut out one big piece instead.
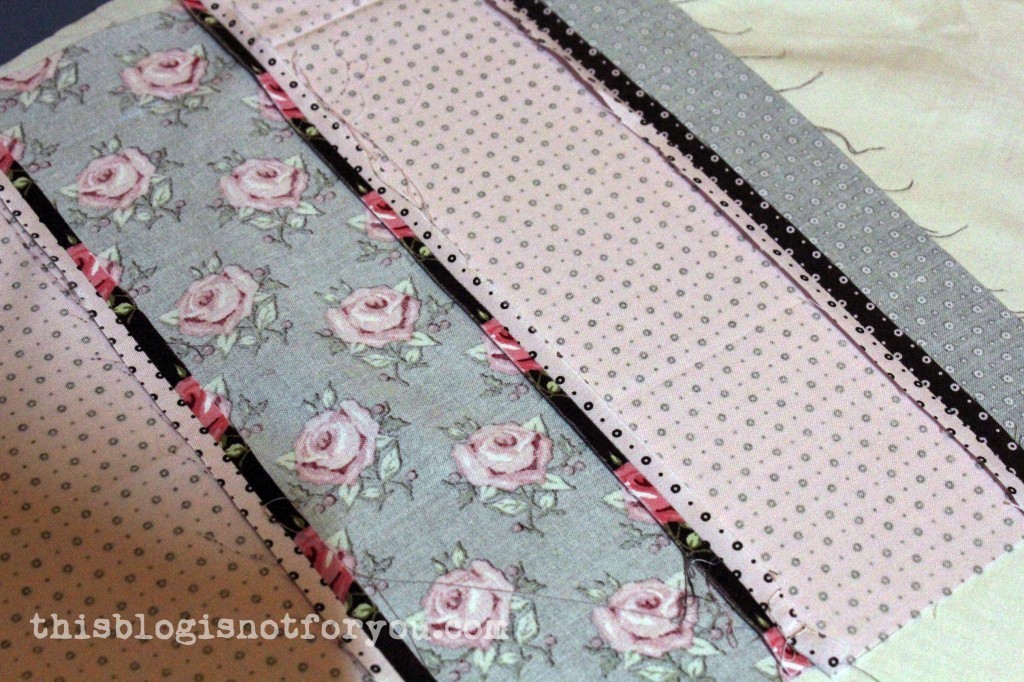
If you want to use up all your small fabric pieces, sew strips of them together creating one big piece with the right measurements.
This is my back panel.
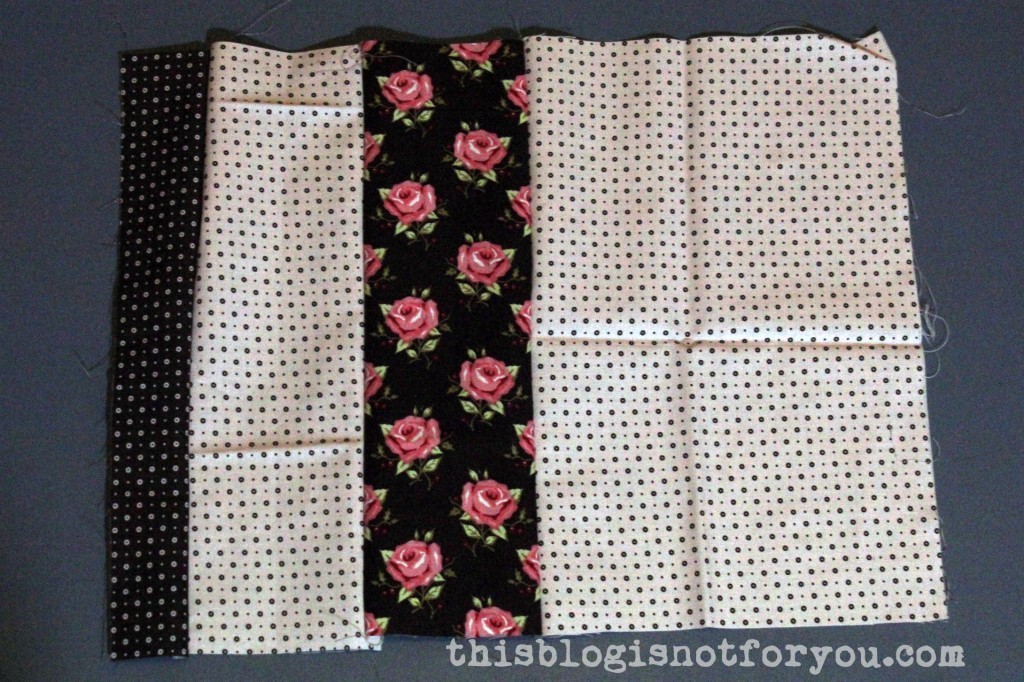
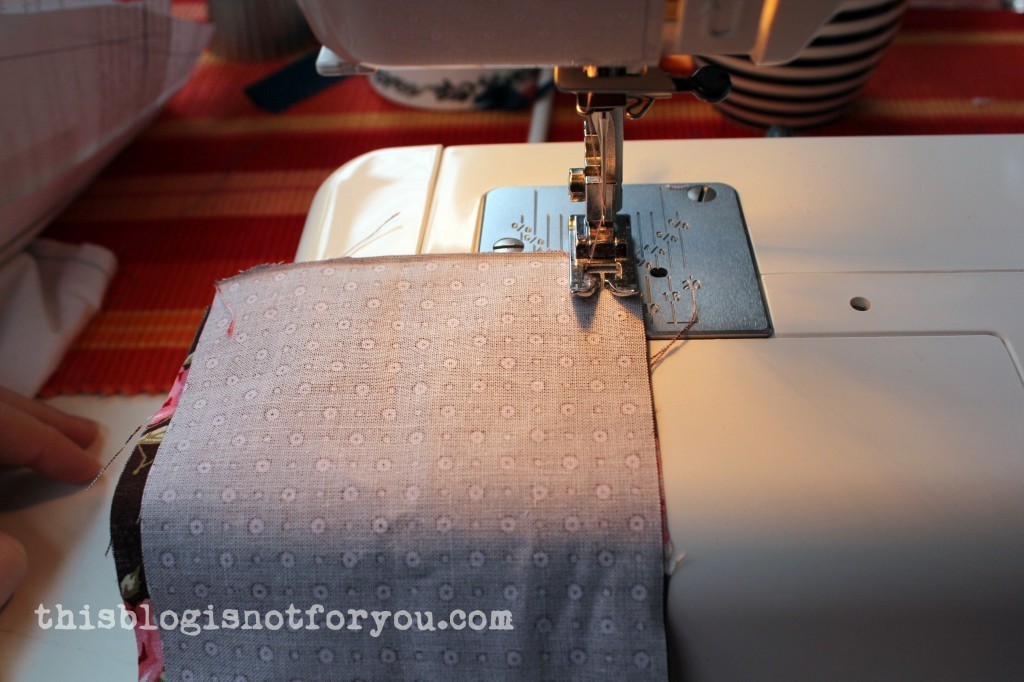
Stitch the pieces together (right sides facing) and give it a good press.
When piecing your panels together, a large square ruler helps to get perfect rectangles.
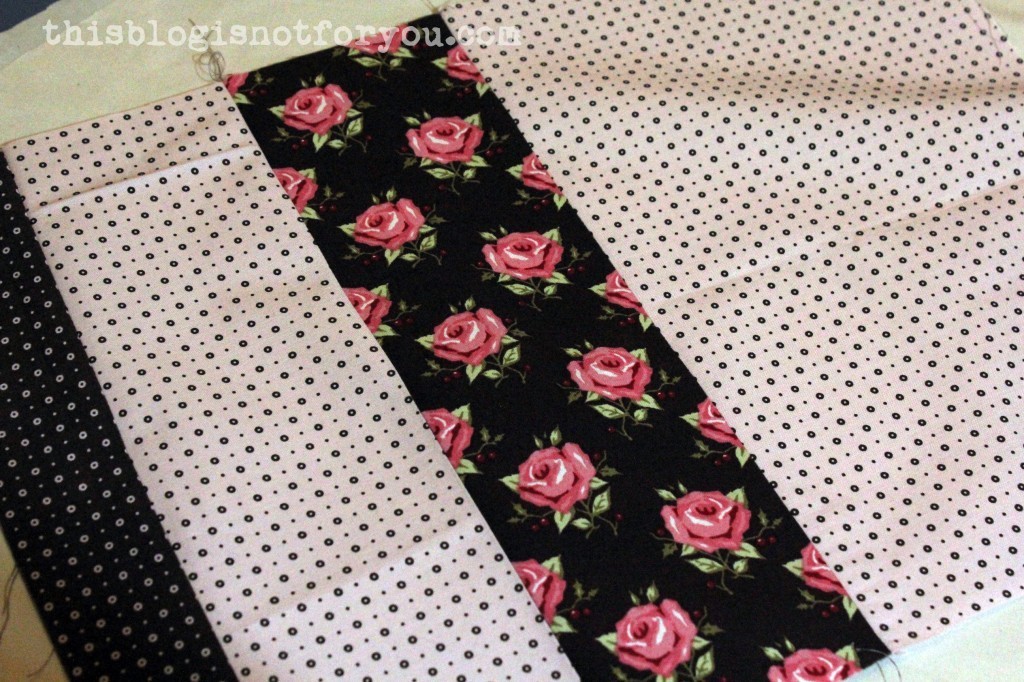
Cutting out:
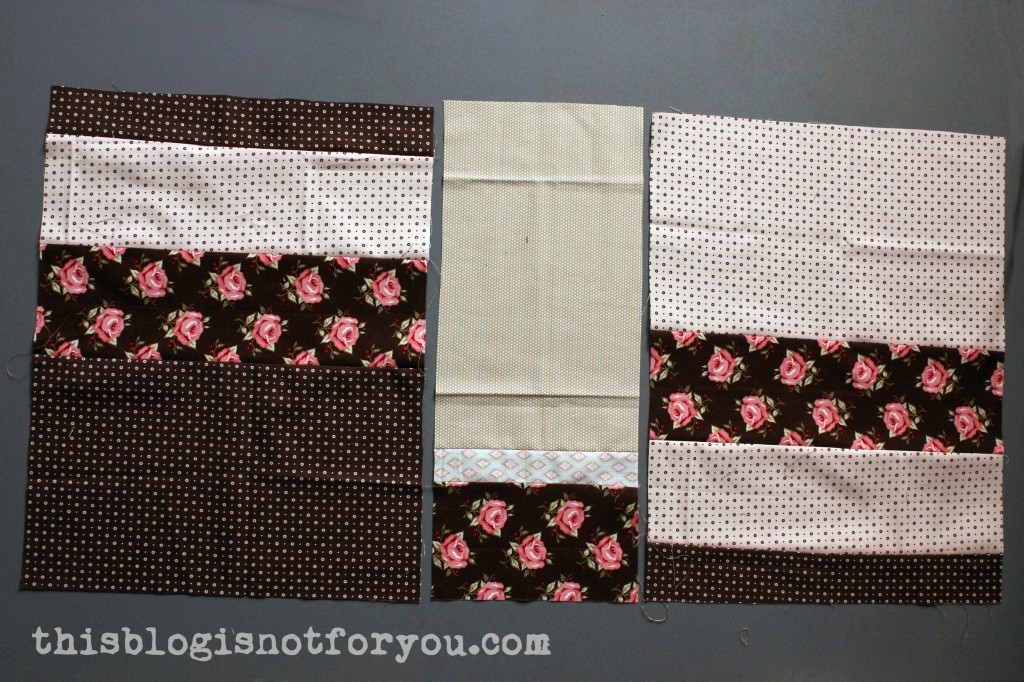
Here we have front, back and top panel.

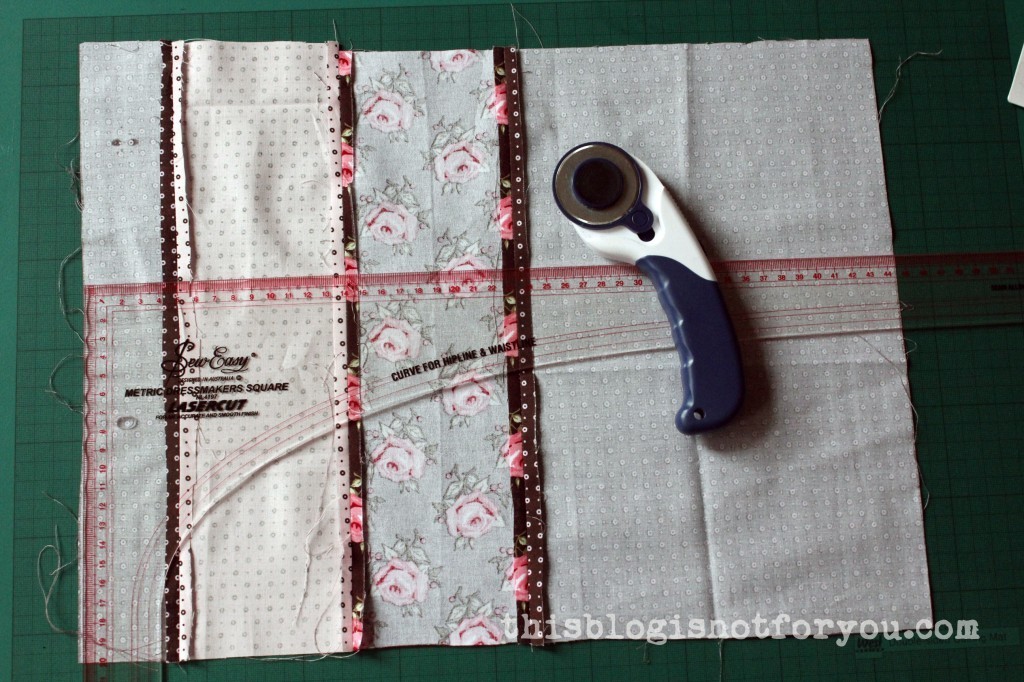
Cutting out the side panel. I aligned it with the front and top panel, to check that all the measurements fitted perfectly before cutting.
Adding pockets:
In case you want to add pockets to the side panels, cut out one or more pieces with the same width and different heights. Use bias binding to finish the top edge of the pockets,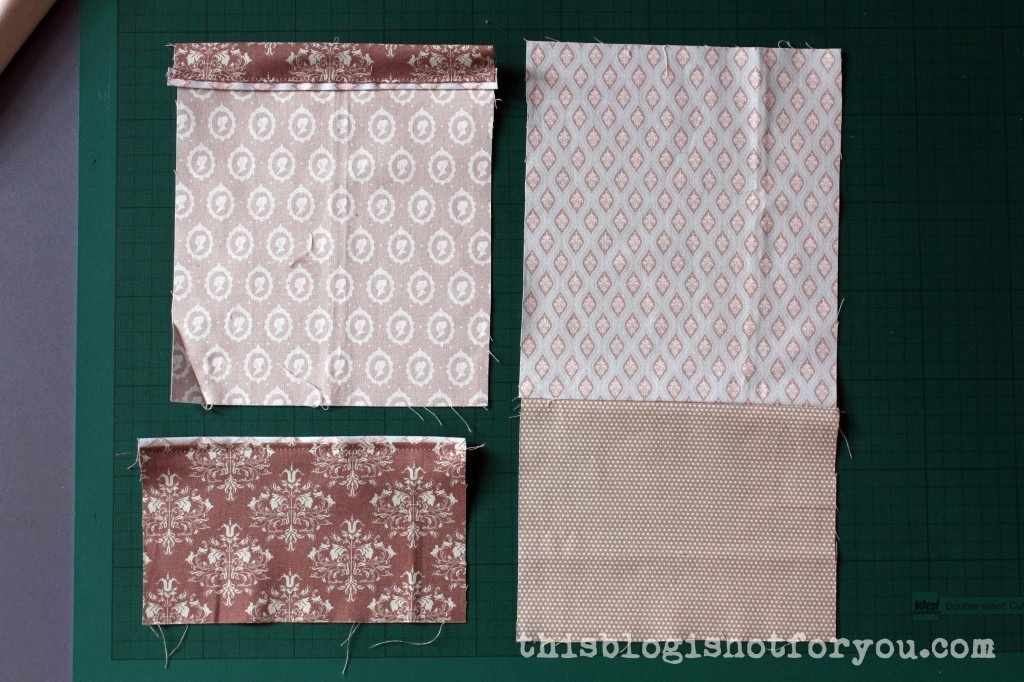
Align all bottom edges and stitch the pockets onto the side panel with a very narrow seam allowance.
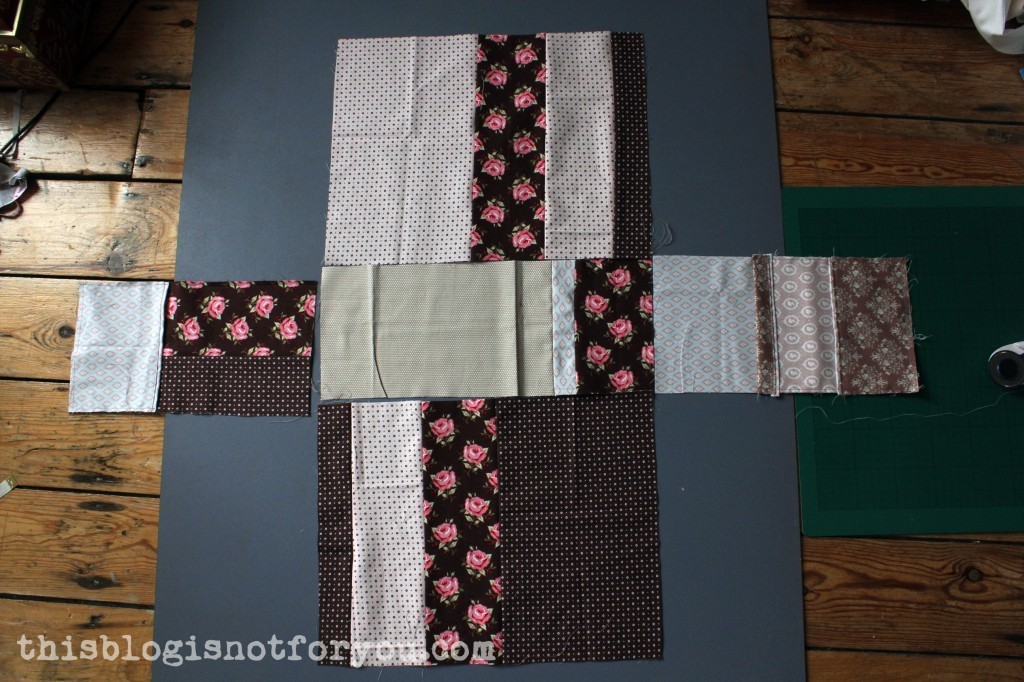
Assembling then pieces:
Now that we have all pieces, we start sewing front and back onto the top panel like so: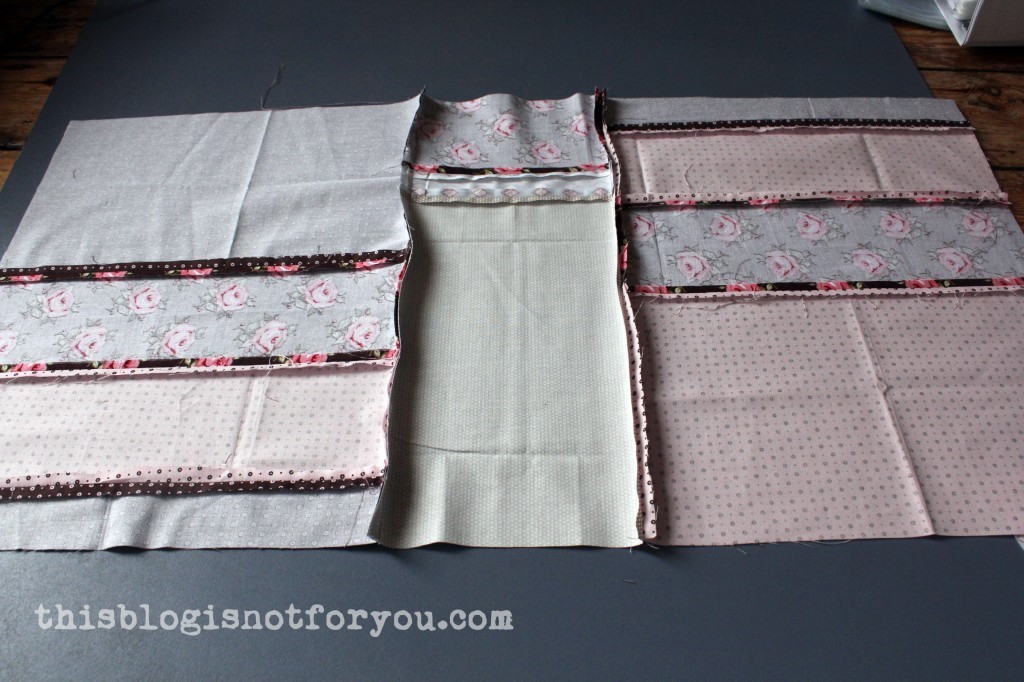
Press!
Next, the side panels. When sewing these on, make sure not to stitch over the front/back panel seam allowance like so:
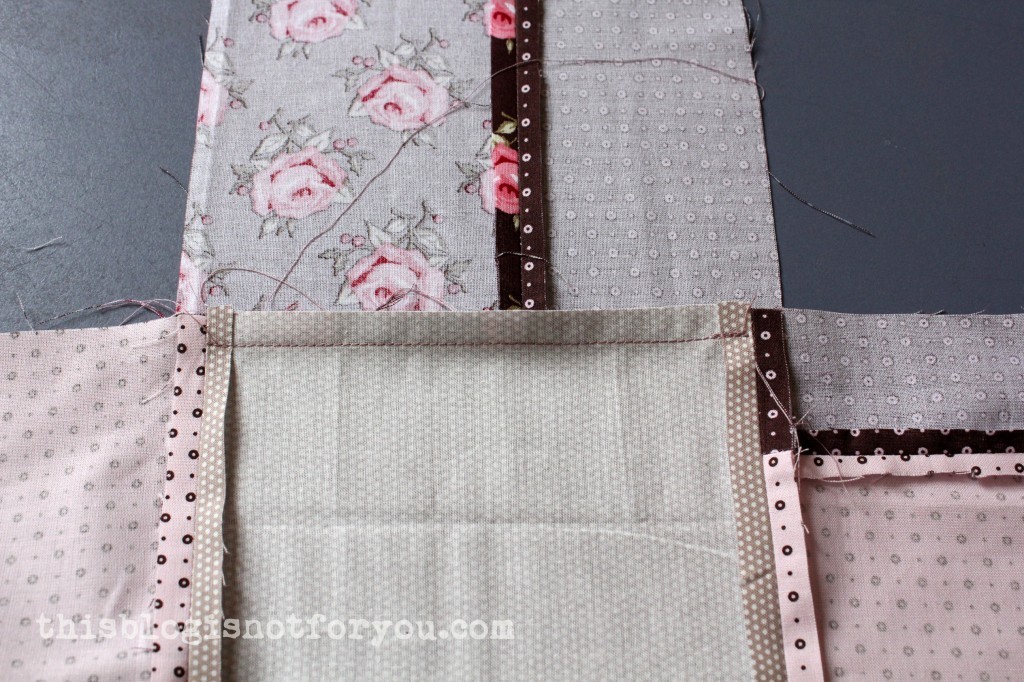 This is important in order to get nicely pointed corners in the end. You can also press the seam allowances apart. This makes is easier to sew side and front/back panel together and will help you to get that perfect corner.
Now sew side and front/back panel together. You can now check if the cover fits nicely.
Then do the same for the lining.
The lining cover will go into the cover, left sides facing. I secured the lining by basting it to the cover in all four corners.
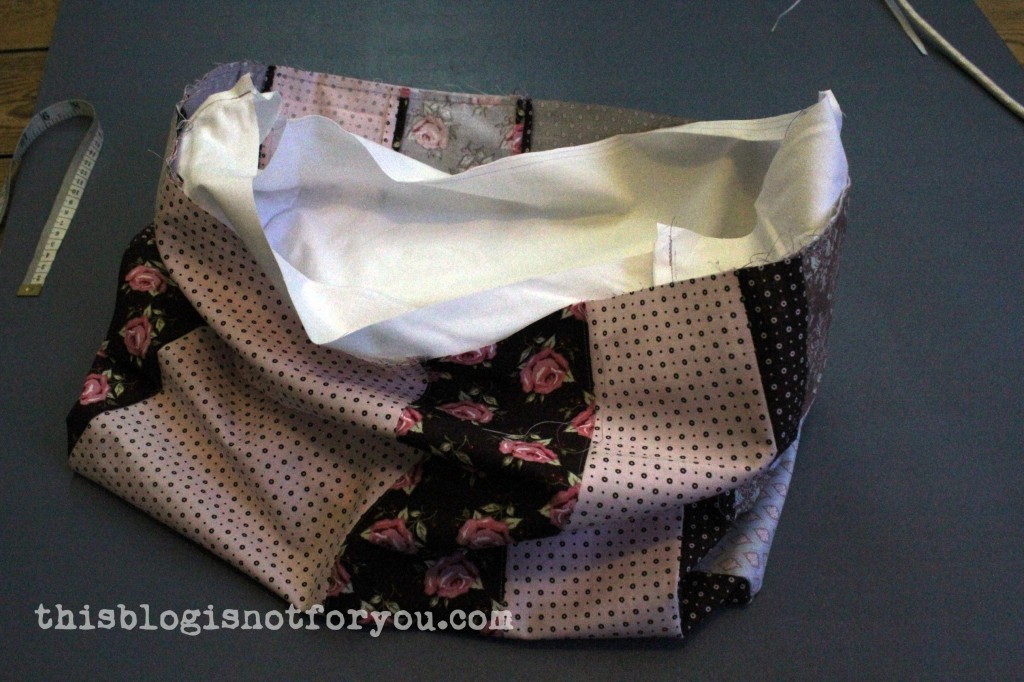
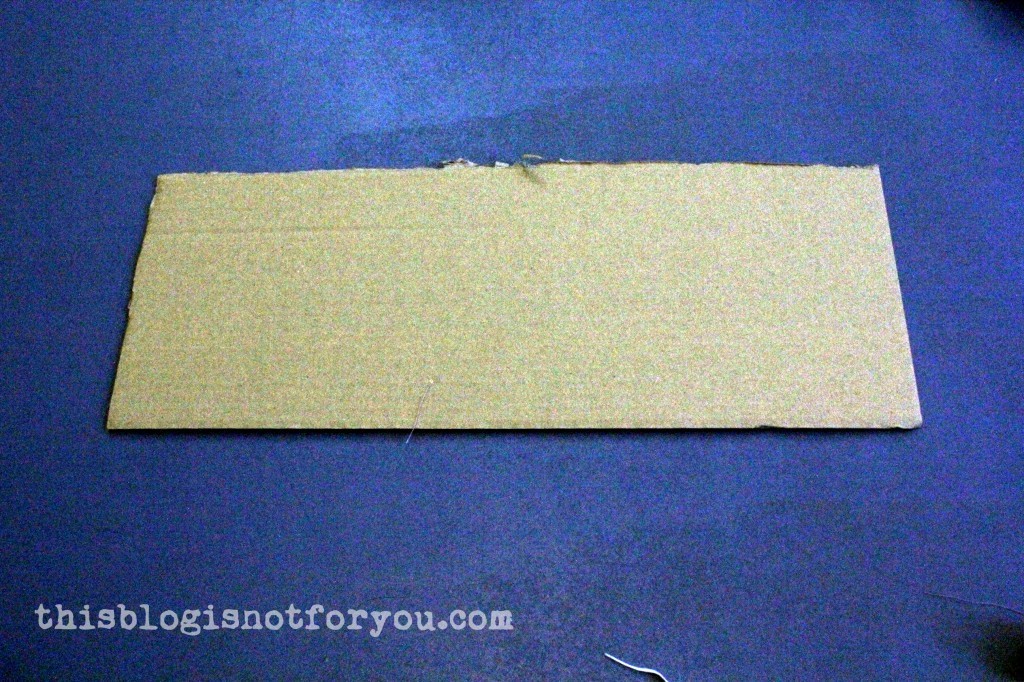
If you’d like to have a more stabil cover, you can slide a piece of cardbord (a tiny bit smaller than your top panel) between the top parts of lining and cover. You can keep it in place with double-sided tape or, as I did, handstitch it onto the lining in a few places.
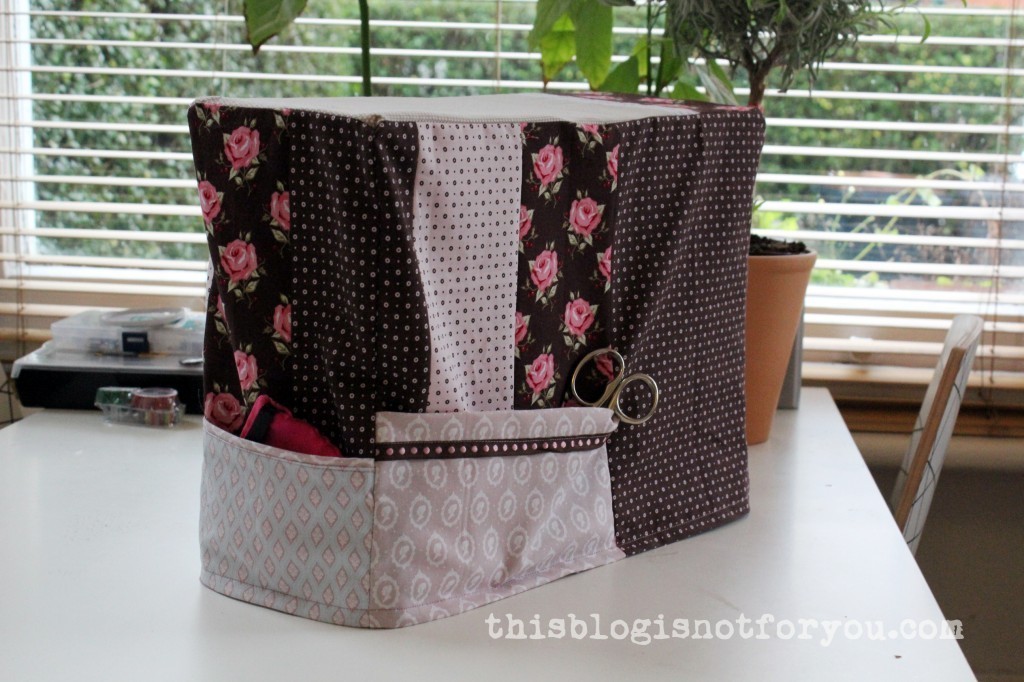
To finish the bottom edges, press both cover and lining seam allowance inwards, so that the seam allowances of both parts are facing each other. Secure with a few pins and stitch along all sides.
Done!
If you have any questions, just leave me a comment below!
I’d love to see your version! Send a picture of your finished cover to hello(at)thisblogisnotforyou(dot)com!
Happy Sewing!
♥
facebook/bloglovin/pinterest
Stay in touch!
I was wondering if you put something in to make the cover look more boxy 🙂 I guess, I am not really having any excuses anymore to make such a beautiful cover!
Well after 5 years of not sewing yesterday I bought a used machine and at 32 I think I’ll start with one of these covers. Wish me luck and thank you for the post.