sweet dreams are made of this [bedtime candy, chalkboard paint project #1]

“It is one of life’s bitterest truths that bedtime so often arrives just when things are really getting interesting.”

— Lemony Snicket (A Series of Unfortunate Events, #11)

After seeing some pretty awesome chalkboard paint projects we wanted to do some chalkboard painting ourselves. So we ordered the cheapest paint we could find on Amazon. It finally arrived today and we started right away! We have guests over the weekend and I love to prepare Betthupferl (German for bedtime candy), so I had the idea of upcycling some old jam jars. I keep loads and loads of jars, sometimes they come in pretty handy. Since I never used chalkboard paint before, it wouldn’t have been great damage if the paint wasn’t good at all.

Here’s how I did it:

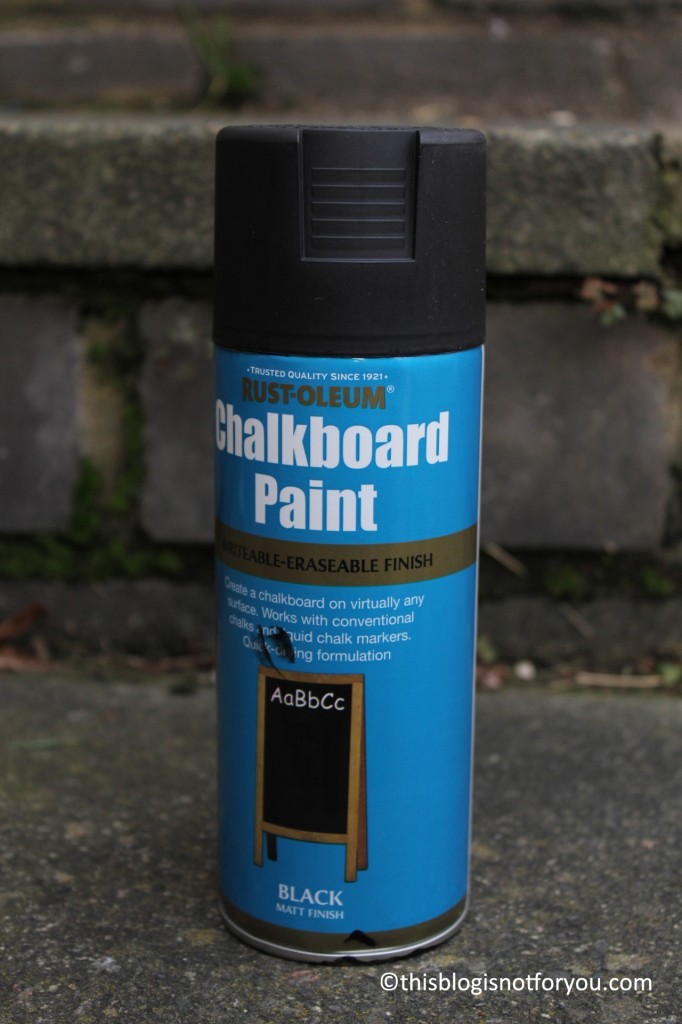
I used this brand, mainly because it was quite inexpensive. It was really easy to use and worked out well. I wouldn’t use it indoors, since it’s a spray and as you can see on the picture below it scatters the paint on a large scale. It’s best to hold it about 30cm from the surface and whilst spraying keep the can in motion. After applying the first layer wait at least 3-5 minutes until the next. For the jars one layer was enough, I did two though just to be on the safe side.

For labelling I used a liquid chalk marker. Fill with candy, apply ribbon – and you’re done! A cute idea and pretty simple to copy – our guests loved it!

So here they are – stuffed with goodies, sweet dreams guaranteed!

I’m afraid I’m a chalkboard paint addict now… There will be more chalkboard paint projects coming up for sure!

unfinished tales of my sewing table [sneak peek at upcoming projects]

Do you know the feeling of having an uncountable amount of good ideas and inspirations always in moments where you have least time to put them into action?

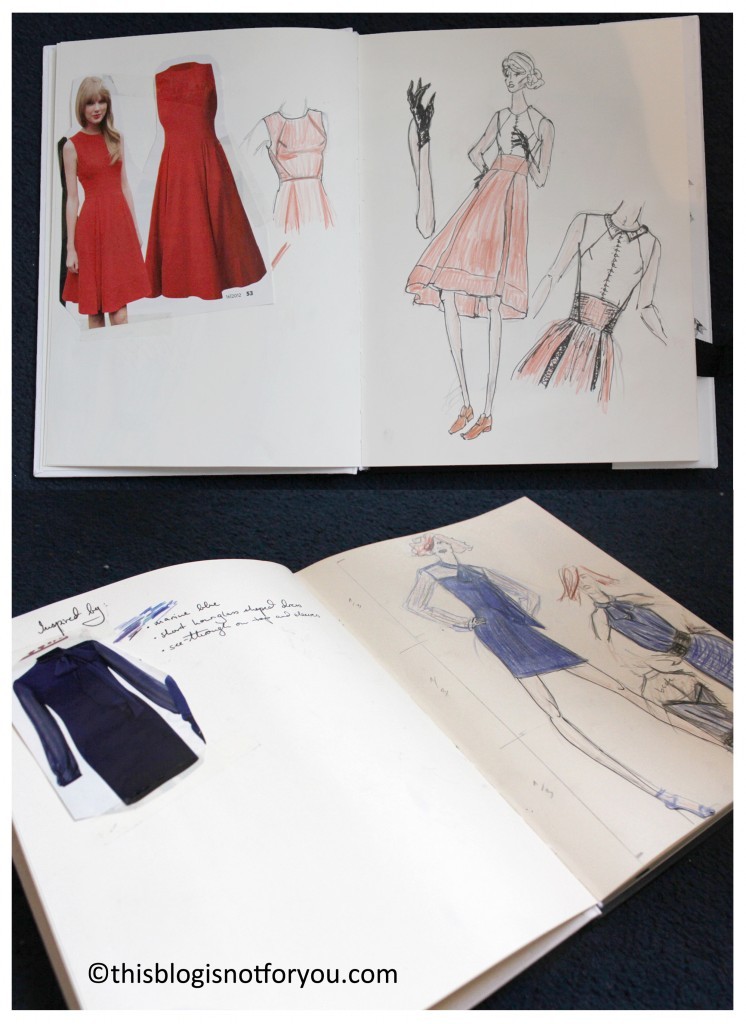
Well, happens to me all the time. Maybe creativity is part of procrastination, but when I am stressed out and have thousands of other things to do my head just doesn’t stop having loads and loads of crafting and sewing ideas. I started something like a “draft book” to keep track of ideas and inspirations and as soon as I have time I start crafting away my collected “to do’s”.

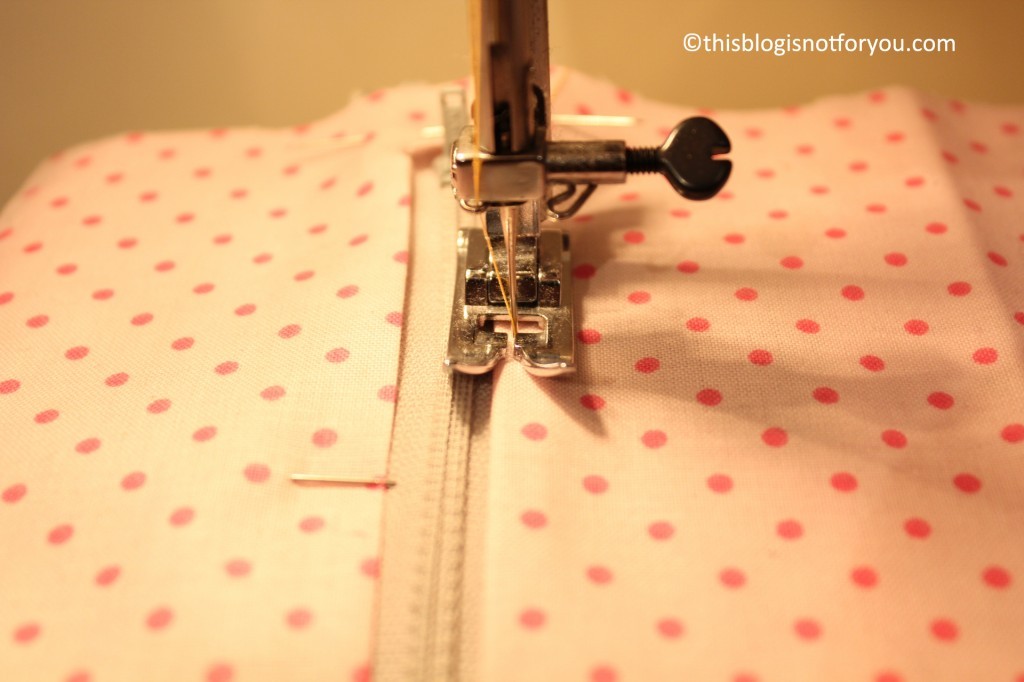
Once I found a good pattern or idea for a dress, I try to think of what kind of fabric I will use  and how much of it I’ll need. Keeping little snippets of the chosen fabric together with the pattern helps a lot at keeping ideas and future project well-assorted and you don’t have to start at the scratch later on.

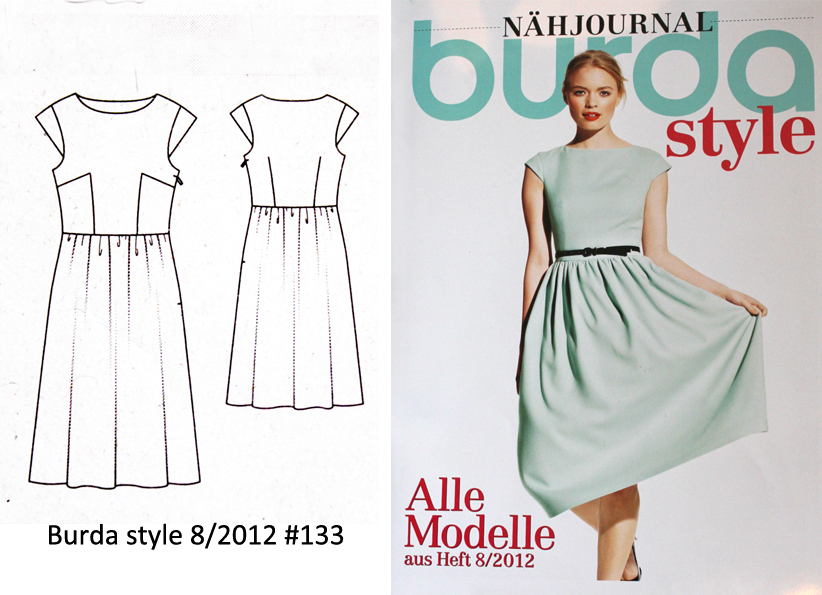
The dress above is the one I have been working on recently and it just needs some more finishing until it’s done. I used the #133 pattern of Burda Style 8/2012.

I love the pattern and will use it again for sure. I decided to keep the skirt a little longer (as on the picture above) since it goes well with the checked pattern of the fabric. But I’ll certainly make another one with a different and lighter fabric that is going to be way shorter and a little more modern. If only I had more time…!

As mentioned, I am sewing a second (fuller) petticoat, but all the tulle-gathering is very time-consuming and since I want to do a tutorial about petticoat sewing as well (taking pictures, writing instructions) I will probably take a few more days and weeks

.

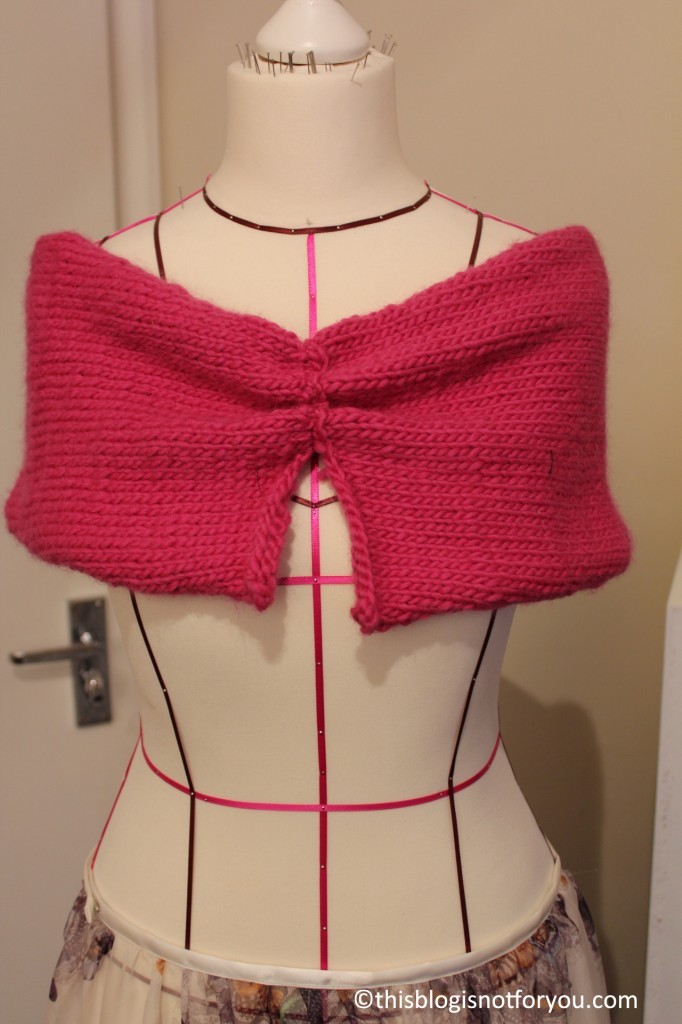
This looped stole developed more or less out of an accident – it was supposed to become a scarf, but I ran out of wool and couldn’t get more of that kind. The idea of making a looped stole out of it actually wasn’t that bad, it’s really nice and cosy to wear. I am going to adorn it, but I haven’t figured out what I am going to use for that. I’ll post a picture when I am done!

 Additionally, I am working on several smaller sewing projects at the moment, mainly christmas gifts. That’s the main reason for not posting any proper pictures yet – I don’t want to spoil anyone. But there are several sewing tutorial in the pipeline for after Christmas, so keep some fabric remnants ready!

5 tips for the weekend #2

#1 book that’s absolutely worth reading

Special Topics in Calamity PhysicsMarisha Pessl

A great novel I read a few years ago. It’s written in the style of the syllabus for an English Literature course and is despite of the cheesy-looking cover not a particular girly book. Basically, it’s a crime story and full of literary and cinematic references (which I really love), although some of them are made up. (Reminds me of House of Leaves, but that one deserves a post of its own.)

#2 movie you shouldn’t miss 

Ink (2009) – “A dark, wondrous, poetic tale”.

An amazing indie film that deserves to be much more popular! It tells a beautiful story about the forces controlling good dreams and nightmares, and will blow your mind with one or another twist. Oh, and the soundtrack is just enchanting!

#3 craft idea

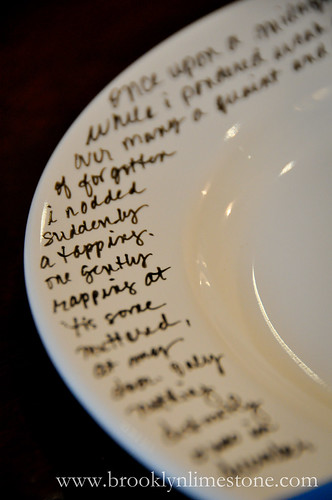
I fell in love with this dinnerware idea. Brooklynlimestone.com has a short tutorial.

#4 recipe to try on the weekend


Recipe found here. Looks delicous.

#5 do you know about trashion?

Trashion (a portmanteau of “trash” and “fashion”) is a term for art, jewelry, fashion and objects for the home created from used, thrown-out, found and repurposed elements.”

I found a really good blog about trashion that’s worth checking out. Do you still have some old shirts or other clothes that could need some upcycling over the weekend?

This Pinterest page has some fun ideas!


the flickering light of the candles [candle DIY]

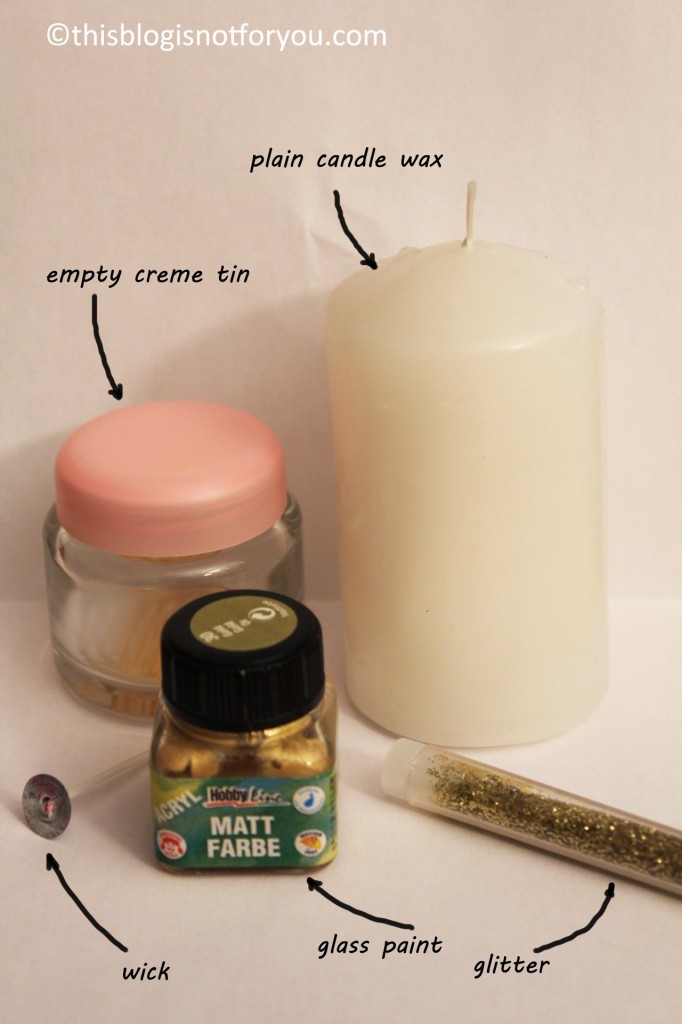
I often keep old empty glass tins, they come in handy for storing buttons, beads and so on. A few days ago I found a wick while looking for some candles which gave me the idea of making a candle out of one of the creme tins. Here is how I did this:

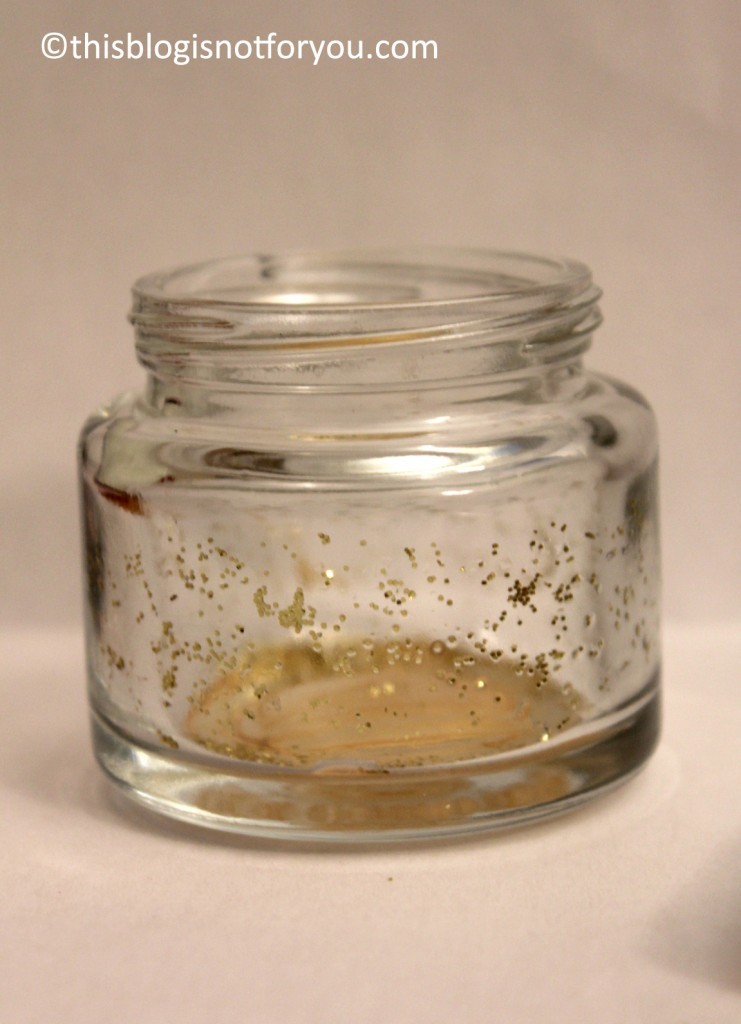
 I spread the gold glitter with a wet brush, it’s fairly sticky so you won’t need glue (which would leave stains). Then I painted the inside of the tin with glass paint. (I guess acrylic paint would work as well).

Put the wick inside and glue it on (or use candle wax as I did). Melt white candle wax and fill the tin. Leave the tip of the wick (1cm) uncovered. I put some glitter on the wax before it firmed up to make it look more christmassy. (One could also wrap some golden wire or ribbon around the rim.)

And you’re done!
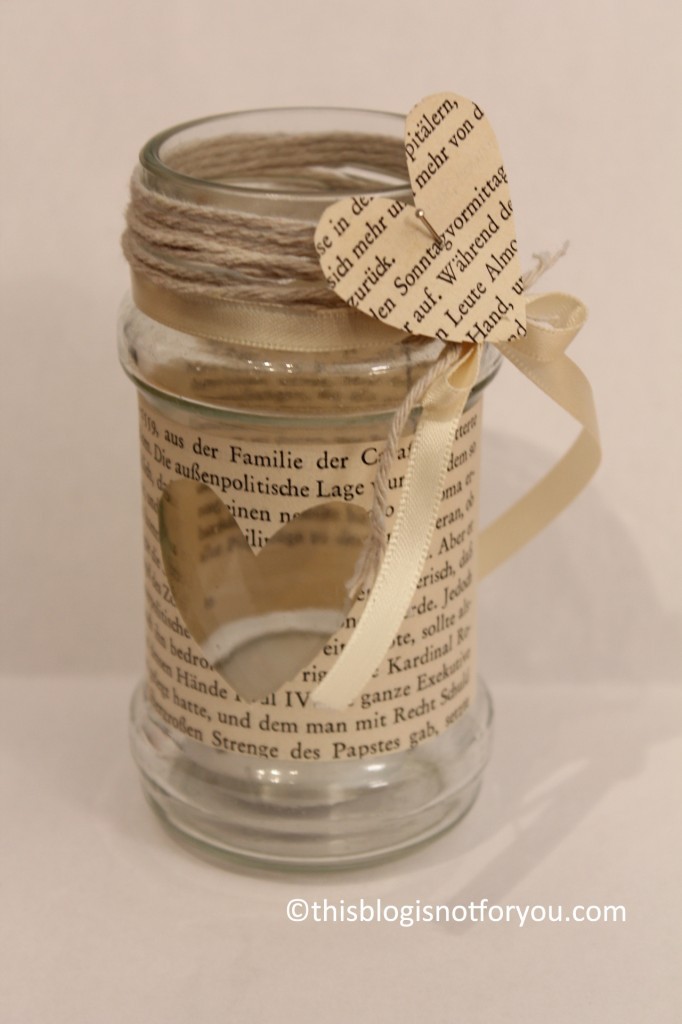
Here’s another one I made from an empty pesto jar and book pages.

“Sitting in the flickering light of the candles on this kerchief of sand, on this village square, we waited in the night. We were waiting for the rescuing dawn – or for the Moors. Something, I know not what, lent this night a savor of Christmas. We told stories, we joked, we sang songs. In the air there was that slight fever that reigns over a gaily prepared feast. And yet we were infinitely poor. Wind, sand, and stars. The austerity of Trappists. But on this badly lighted cloth, a handful of men who possessed nothing in the world but their memories were sharing invisible riches. “

— Antoine de Saint-Exupéry (Wind, Sand, and Stars)

10 things i love: DIYs to try before christmas

#1  Hot Chocolate paper cups

Hot Chocolate paper cups – Adorable!

#2 Felt pine cones

Just follow the link for pattern and instructions!

#3 DIY Button Christmas card

So simple and adorable!

#4 year-round ornaments

Why not try making these posh-looking ornaments?

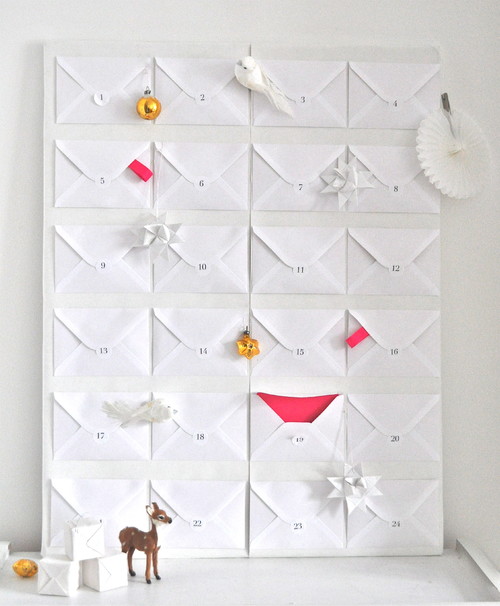
#5 Easy made advent calendar

Very minimalistic yet beautiful. I love the idea! Made by A Few Things From My Life.

#6 Oranges and cloves

Classic orange and cloves Christmas decor!

#7 Hand-made Christmas tree

Found this here.

#8 Hot chocolate dippers

thinkgarnish has a short decription of how to make those! Yummy!

#9 Paper snow flakes!

by justsomethingimade.com

I found a cute little and fairly simple tutorial.
And here are patterns for more advanced snow flake cutting.

If you’re really enthusiastic and patient it could end up like this:

by vintagejunky.com

#10 Cute knitted/crocheted mug cozies

I couldn’t find the original link, just a link to etsy, but lizspinspiration blogged about this and tried making some herself. I think I have to go find some wool…