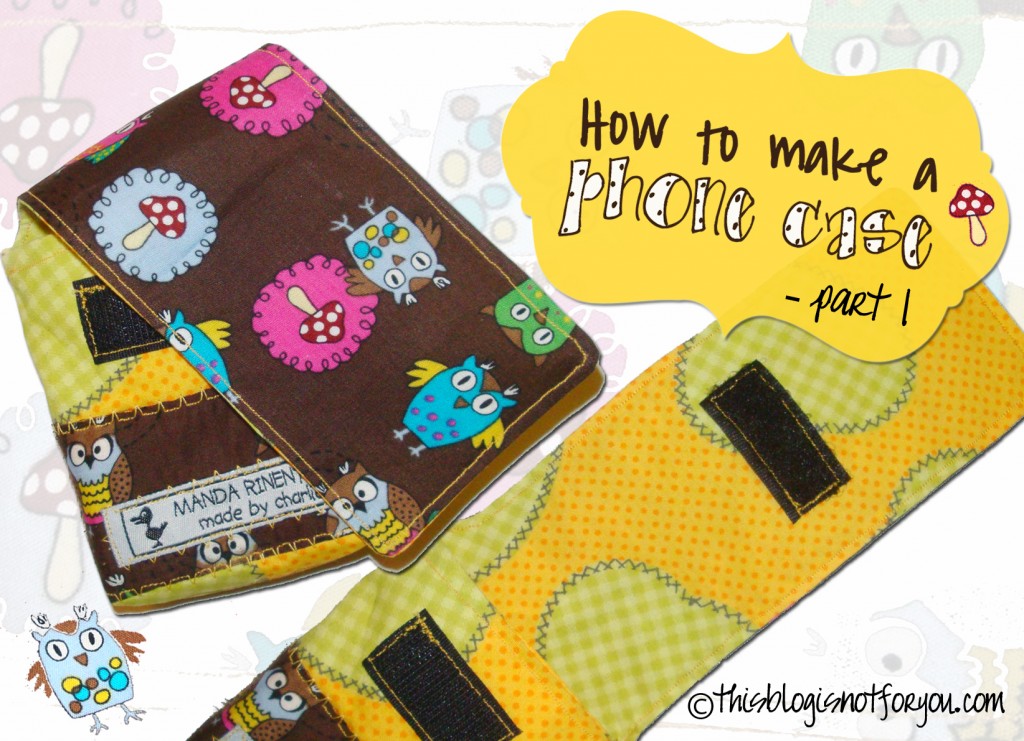
Maybe you still need an idea for a last minute Christmas gift? Or you have a mobile phone yourself that just doesn’t seem to fit in any case? Or maybe you simply want to customise a phone case for fun.
Well anyway, this is part 1 of How to Make a Mobile Phone Case where I show how to make a custom-made pattern. And it’s fairly quick and easy. Pattern-making and sewing together takes about an hour. But if you’re figuring it out for the first time it might take a little longer.
I had the idea of doing this after looking for an iphone case pattern. I found a German youtube video on how to make an iphone case and figured you can basically make this with mobile phones of any size. The phone case with the owl fabric was made for an iphone, the one in this tutorial is for an old nokia phone.
#1 take measure of your phone
Measure width, length, height and diameter.
#2 Prepare a sheet of paper for your pattern
Now you need a long, narrow sheet of paper. You can glue together two sheets of paper and then cut off a strip that’s as wide as half your phone’s diameter + seam allowance.
The phone I made the case for was 12cm in diameter. Seam allowance on both sides was 1cm. So I made the strip 8cm wide.
In this tutorial I made the phone case out of curdoroy. Therefore I made the strip 8,5cm since the fabric is quite thick and I was afraid that the phone might not fit it. Now it fits perfectly.
In case you’re not sure if the phone case fits, make the pattern wider rather than narrower. Otherwise you won’t be able to make adjustments if it’s too small!
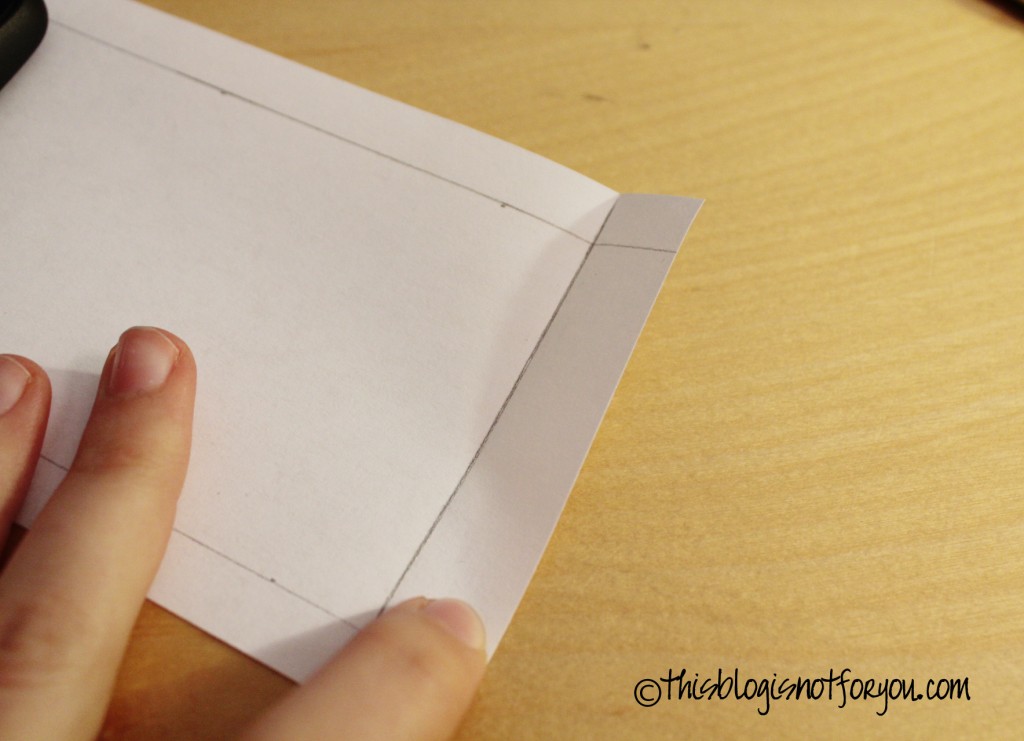
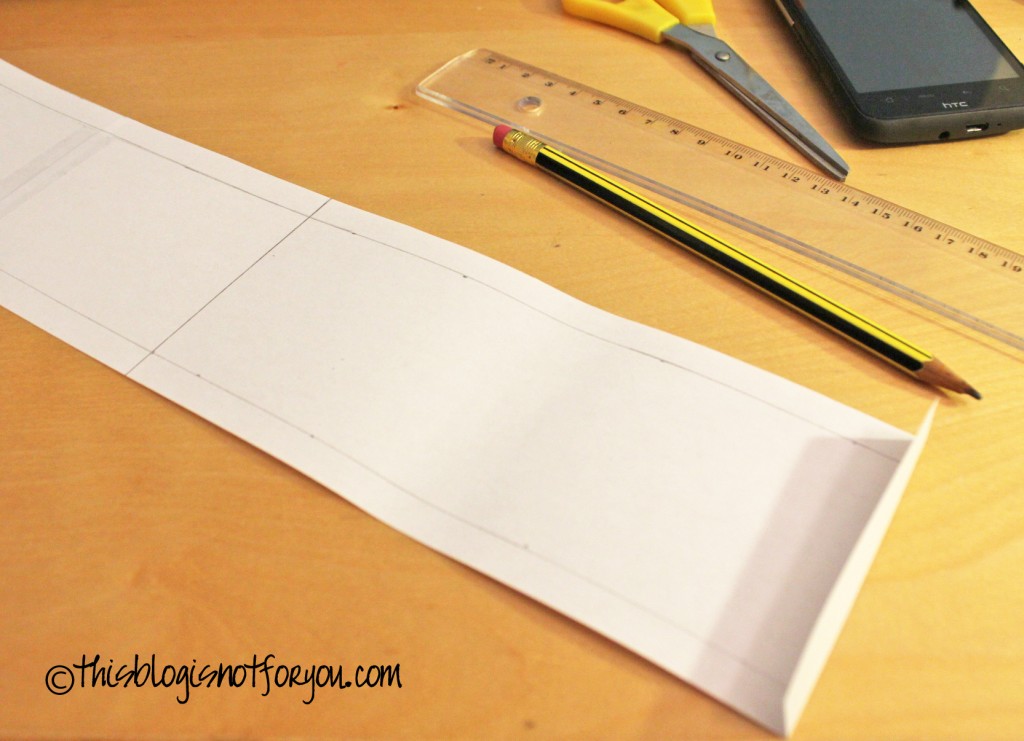
Here you see the marked seam allowance. Use 1,5cm for the bottom edge and fold it over.
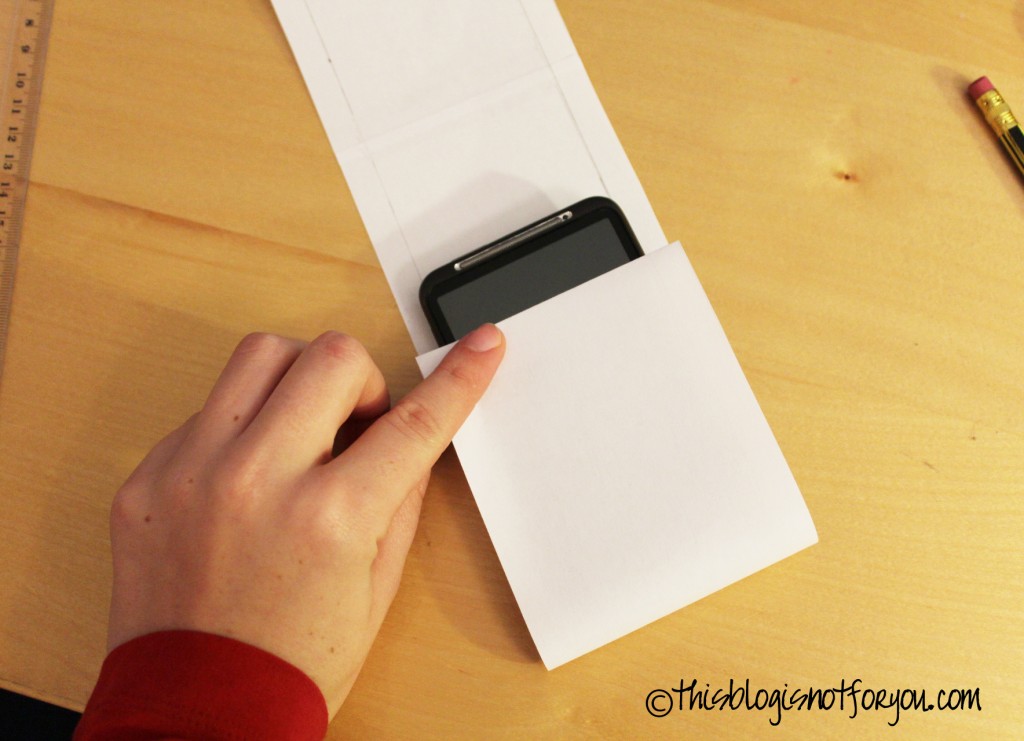
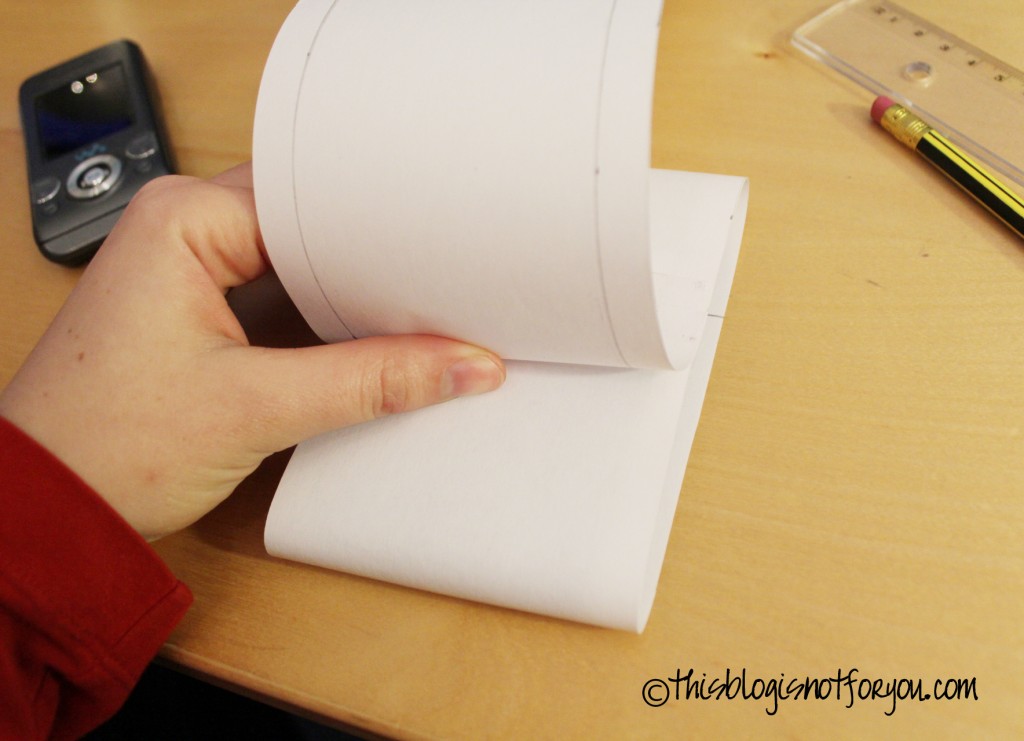
Now fold the bottom edge over your phone to find the correct height for the pocket. Take into account that the phone should protrude a little so you’re able to pull it out quickly without having to fumble for minutes.
Mark the height, measure the length from mark to bottom edge and mark on the other side as well.
Then connect the markings of the outer edge using a ruler.
Now do the same with finding the lentgh of the flap.
Mark and don’t forget the seam allowance (1cm) before you cut the rest of the paper off.
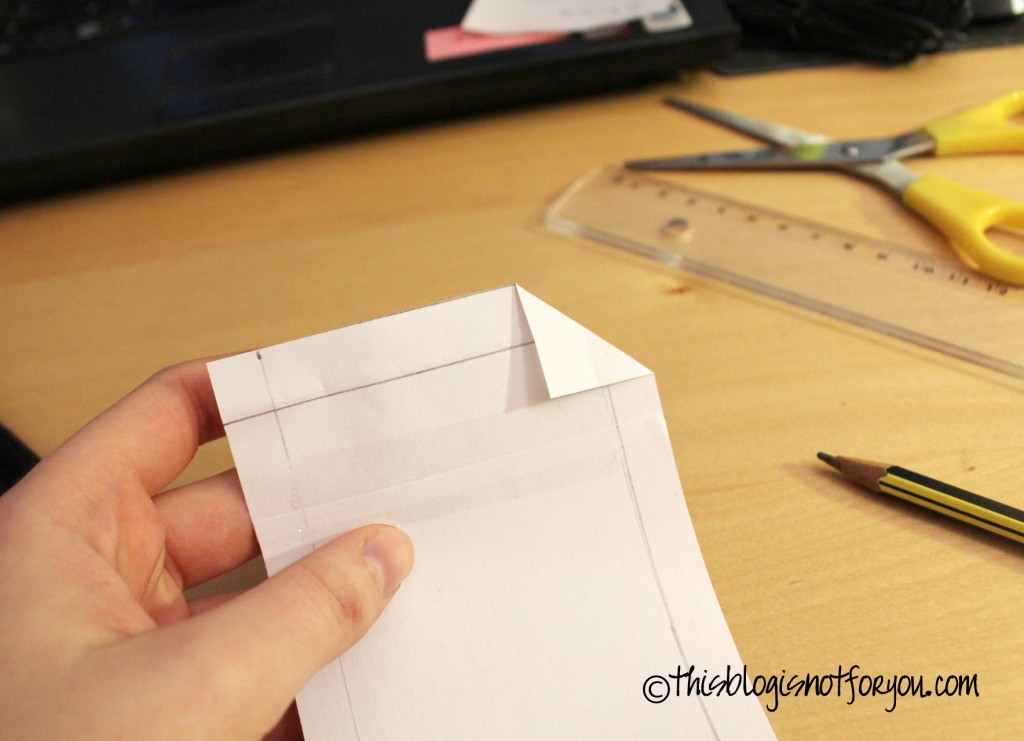
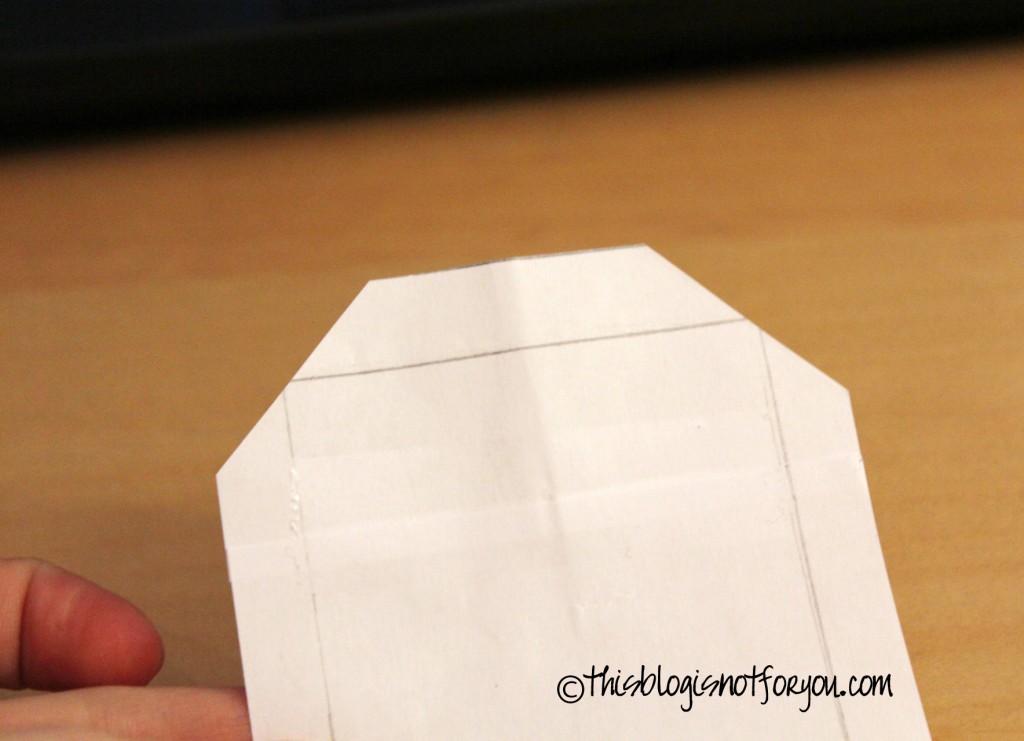
For shaping the flap you can simply cut off the corners or round them. To do that mark the edge by folding the corner, unfold, fold both sides together (see picture below) and cut off.
Now the edges of the flap are nicely uniform.
Ok, almost done.
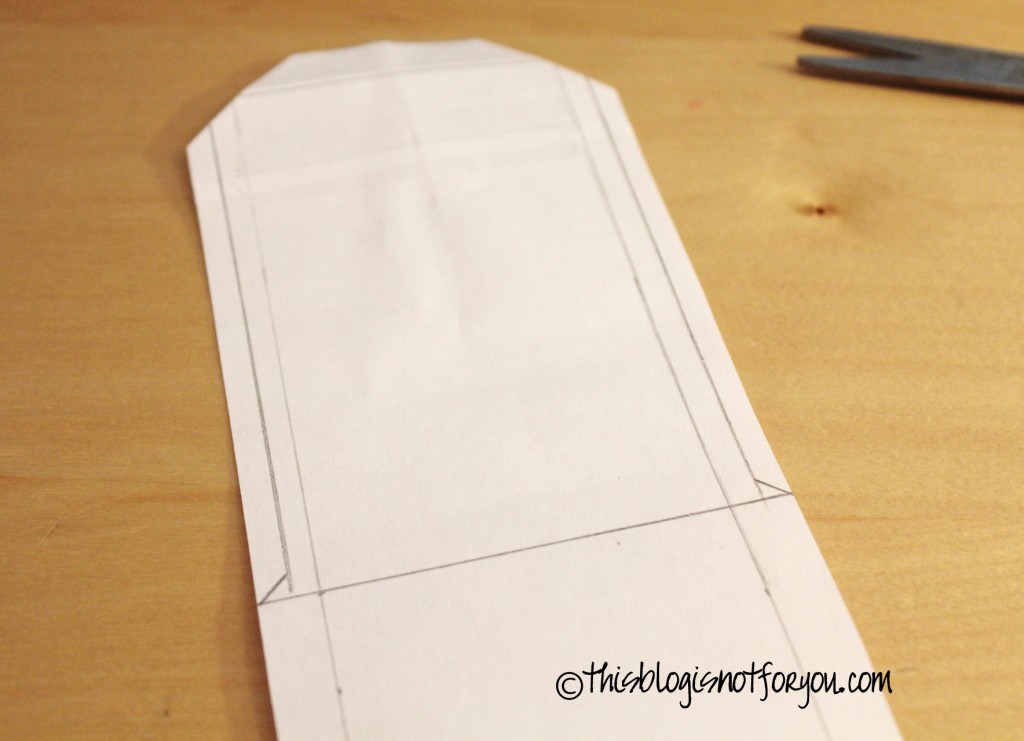
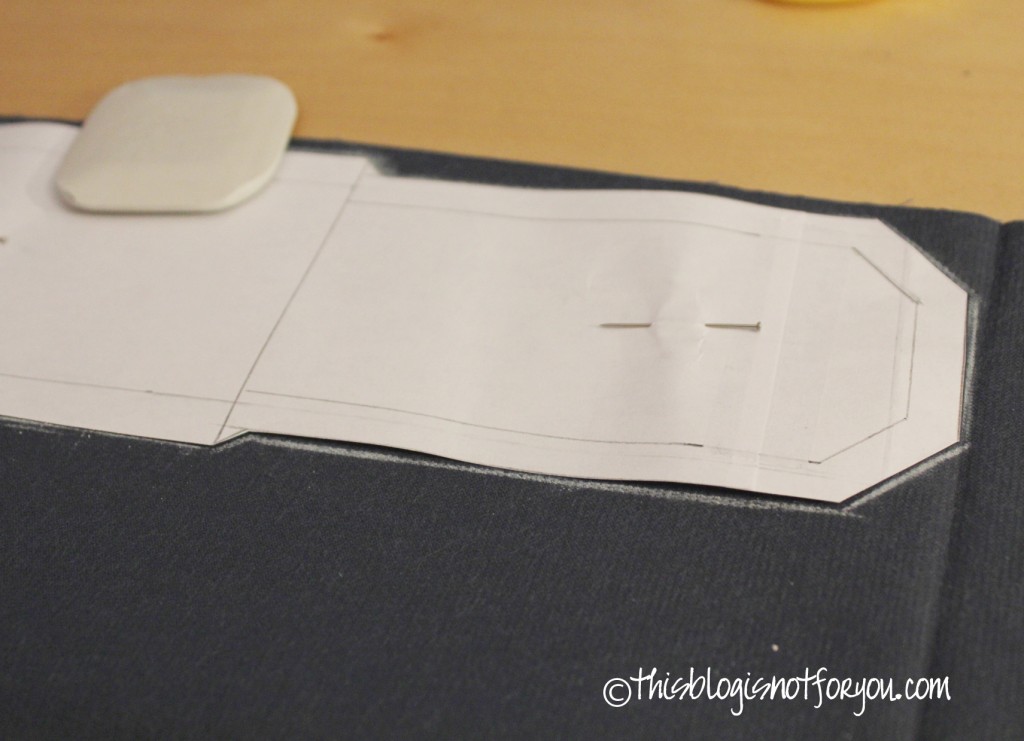
The part for the flap needs to be a little narrower than the rest of the pattern. The part of the pocket will become narrower when you put your phone in (since we already included the width we don’t need for the flap) and you don’t want the flap to be wider than the rest.
You can do that anyway, it makes the pattern a lot easier, but it may look a little awkward. Just saying.
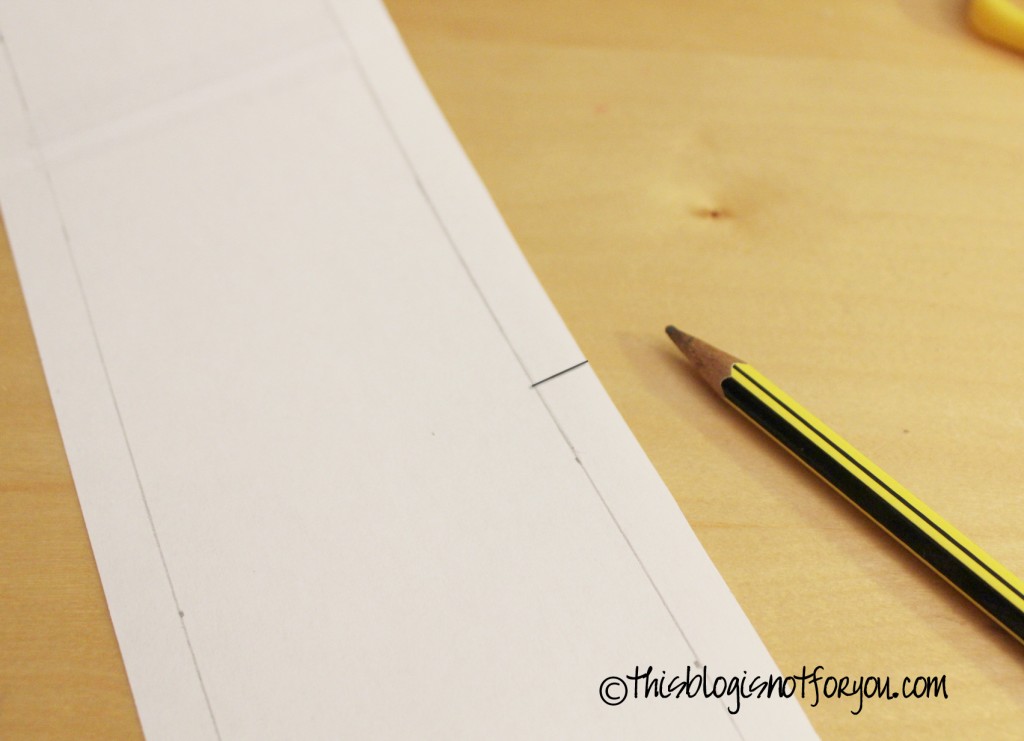
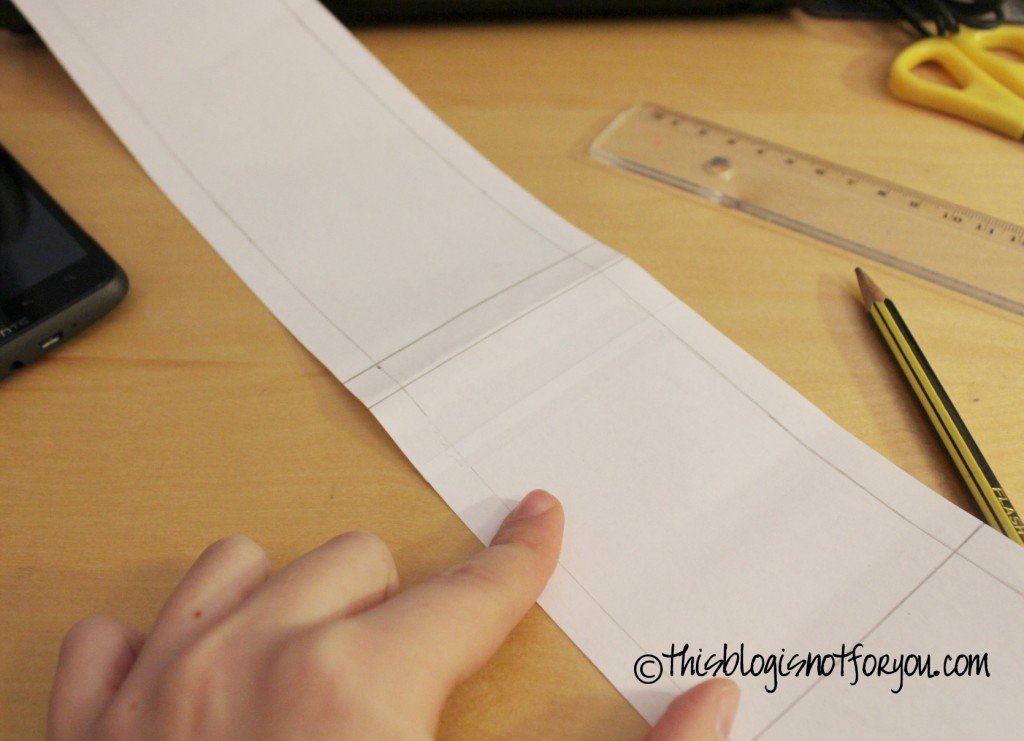
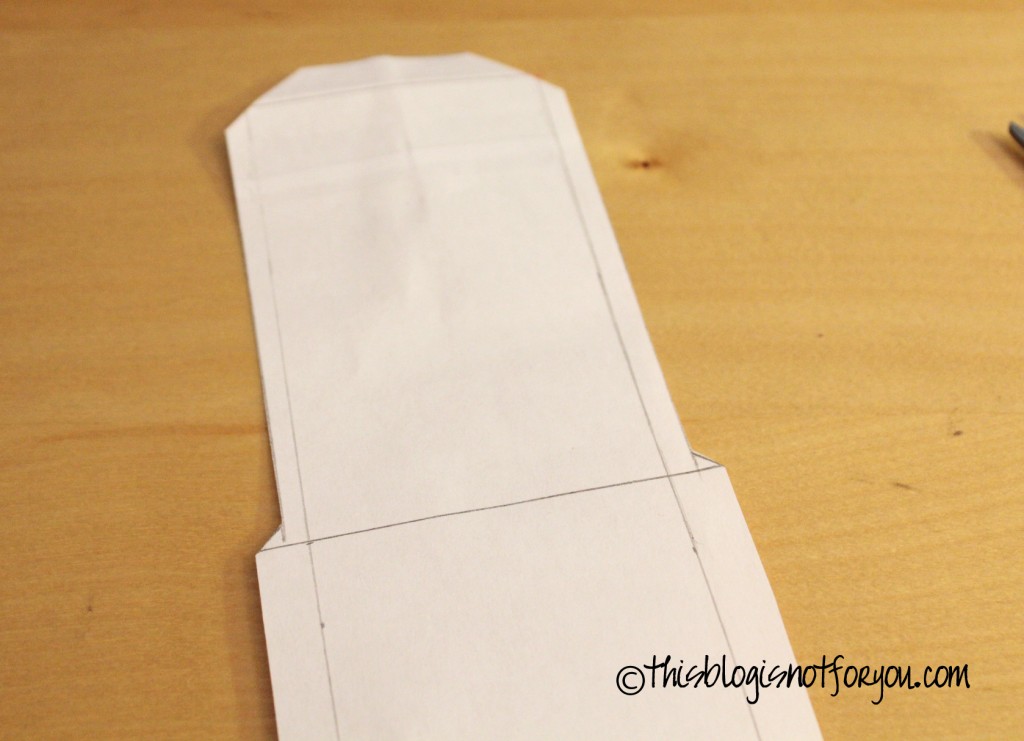
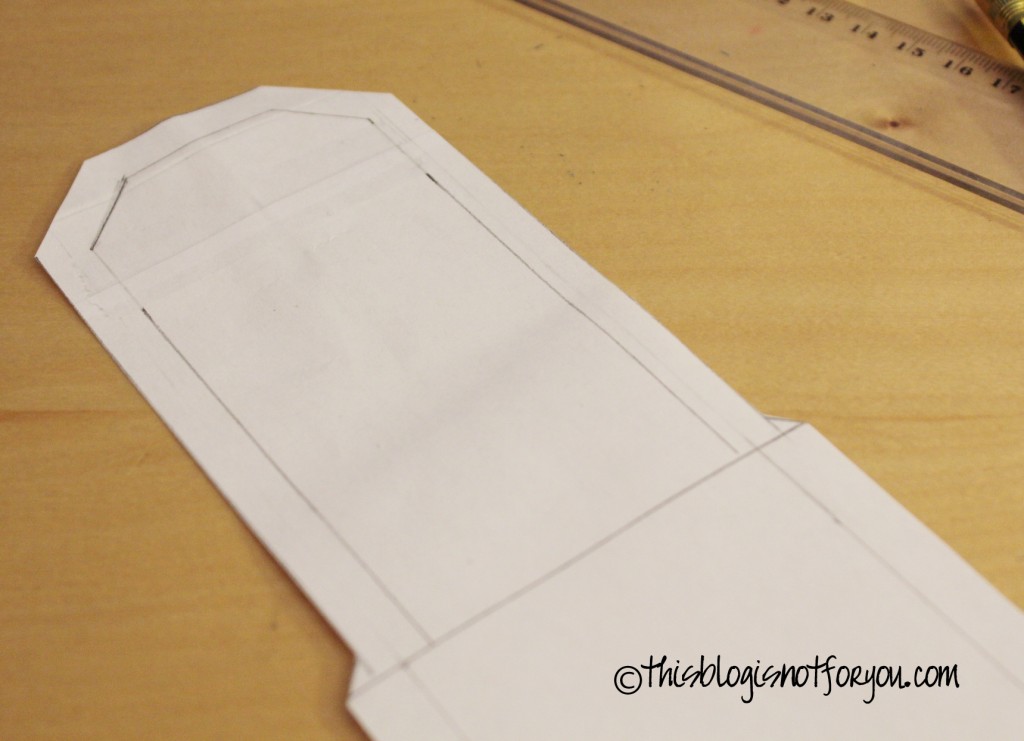
For narrowing the flap pattern mark and cut off about the half of you seam allowance (0.5-0.7cm) as you can see in the picture above and below.
Adjust the new seam allowance for the flap part of the pocket (make it 1cm again).
Your pattern should now look like this.
If it doesn’t: Don’t panic, just look at the pictures at of every step again. You probably just skipped a step somewhere by accident.
If it does: Well done! You can go on to part 2 of How to Make a Mobile Phone Case. You will find a link at the end of this post.
Follow the link to Part 2 here:



I liked this creative idea in a DIY phone case. I have a friend who purchased an iPhone recently from Mobansp. Although on this Christmas I am planning to give a gift and this DIY phone case for his iPhone will be a bonus gift which might give a smile to him.