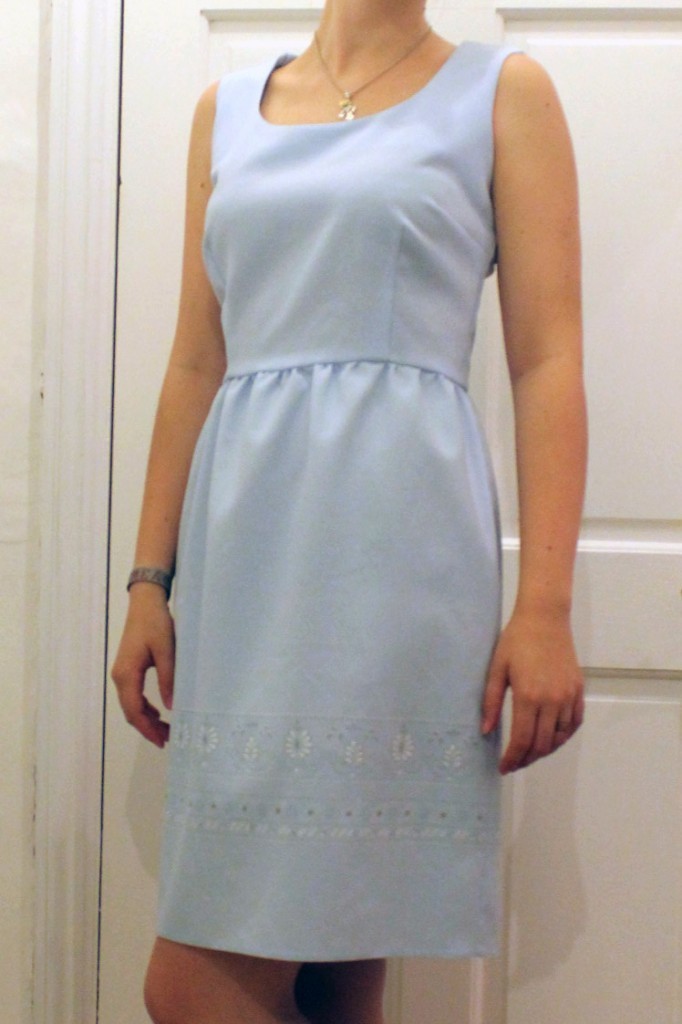
I can’t believe it! After all these years I actually never bought and refashioned a thrift store dress! Normally I just buy oversized shirts or dresses at Primark or H&M, but this time I gave it a try. Since we just moved I walked around the area a little yesterday and found a small thrift store. I figured that with a bit of patience I might find a good-quality fabric for a few pounds and I was right. I found a Berkertex dress, size 16, for only 5 pound. Normally these dresses are really expensive and the fabric was a really lovely light blue Idontreallyknowwhatitis. The tag on the inside says chambray/100% Polyester, but it doesn’t really look like chambray to me. Someone help me please?

Anyway the fabric is awesome. It dries super quick (basically came out of the washing machine dry) and doesn’t wrinkle at all – no pressing needed!
Yeah, I know. Stop talking and show us the pictures! So here’s what I did!
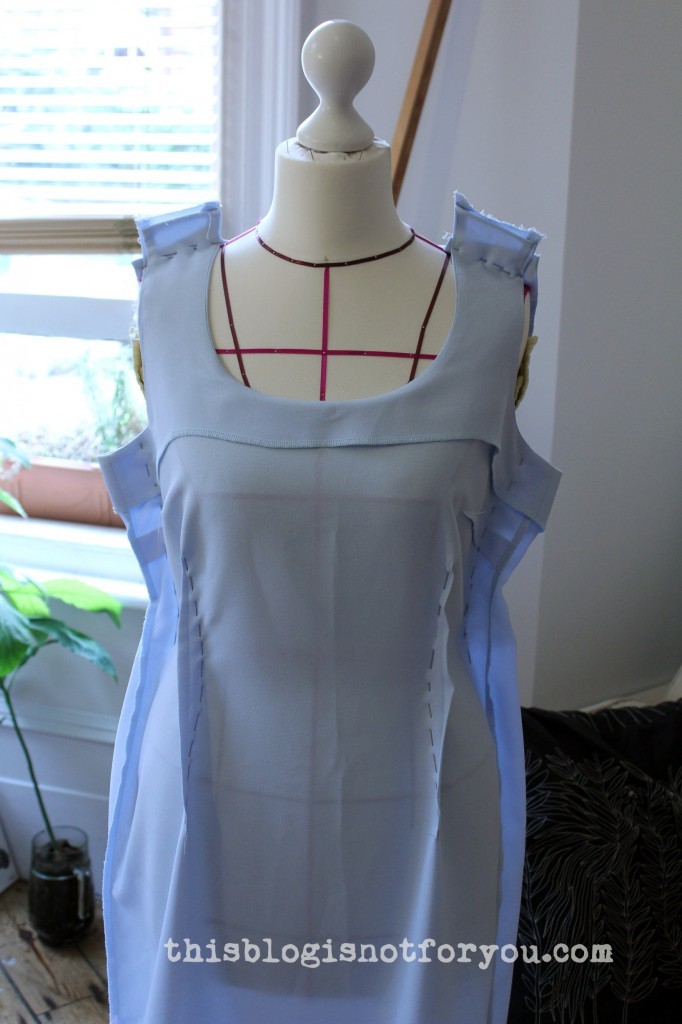
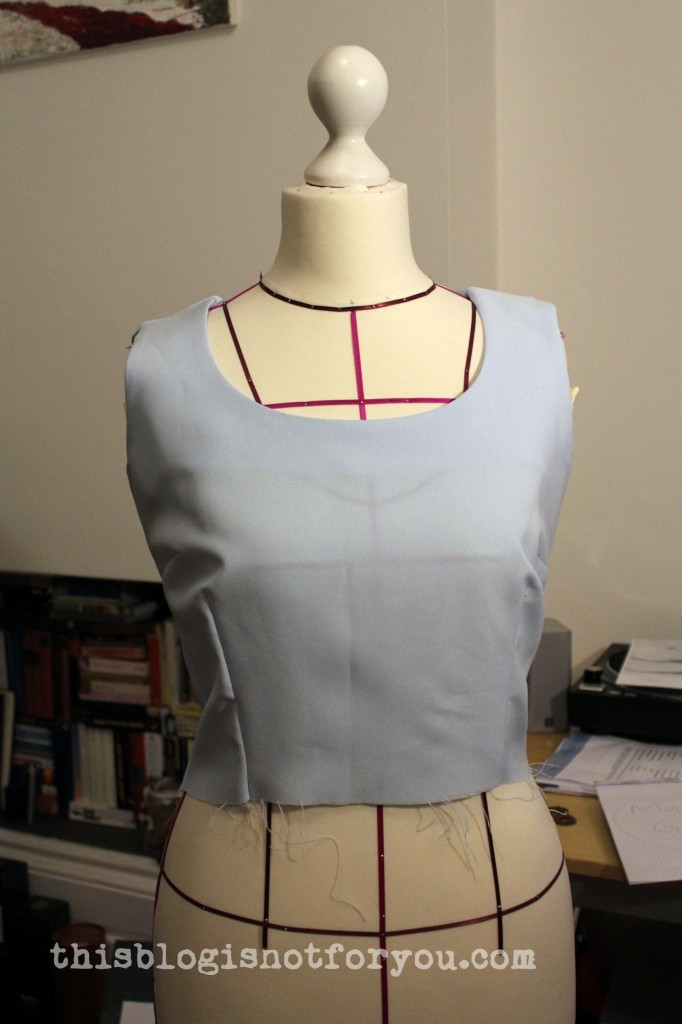
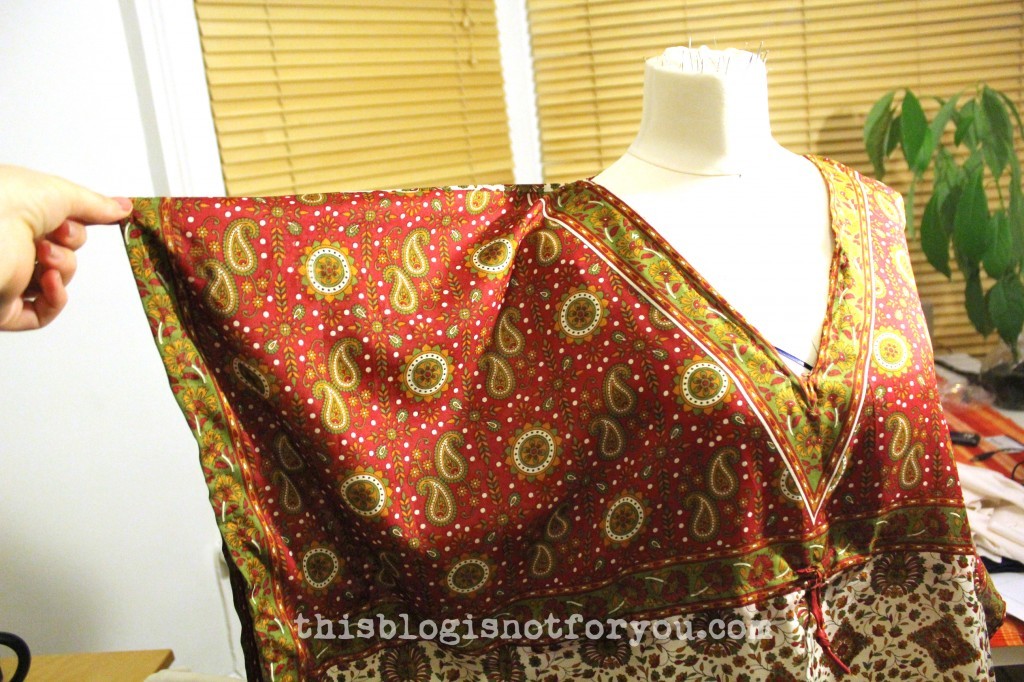
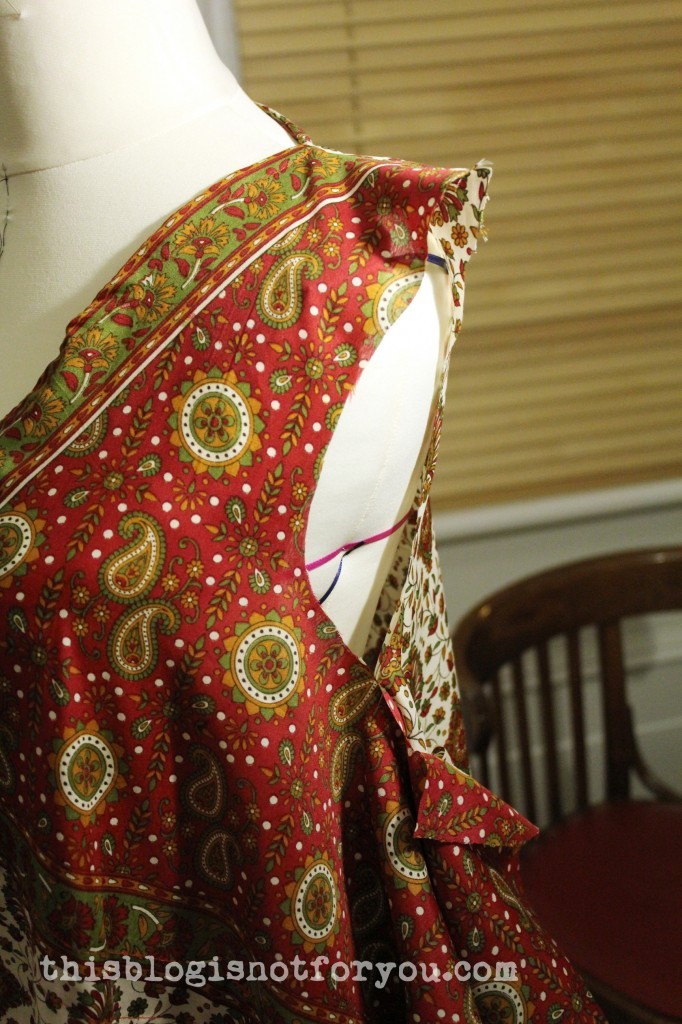
First of all I did some pinning on the dress form. As I’m a size 8-10 I obviously had to take in the sides. The front darts weren’t quite right and a bit too low. I decided to take in the straps and the dart problem was gone!
To give the bodice a bit more shape I took in the front darts a little.

After pinning I tried it on and the fit was really good (yay! no changes needed!) Before removing the pins I transferred all changes with a pencil.
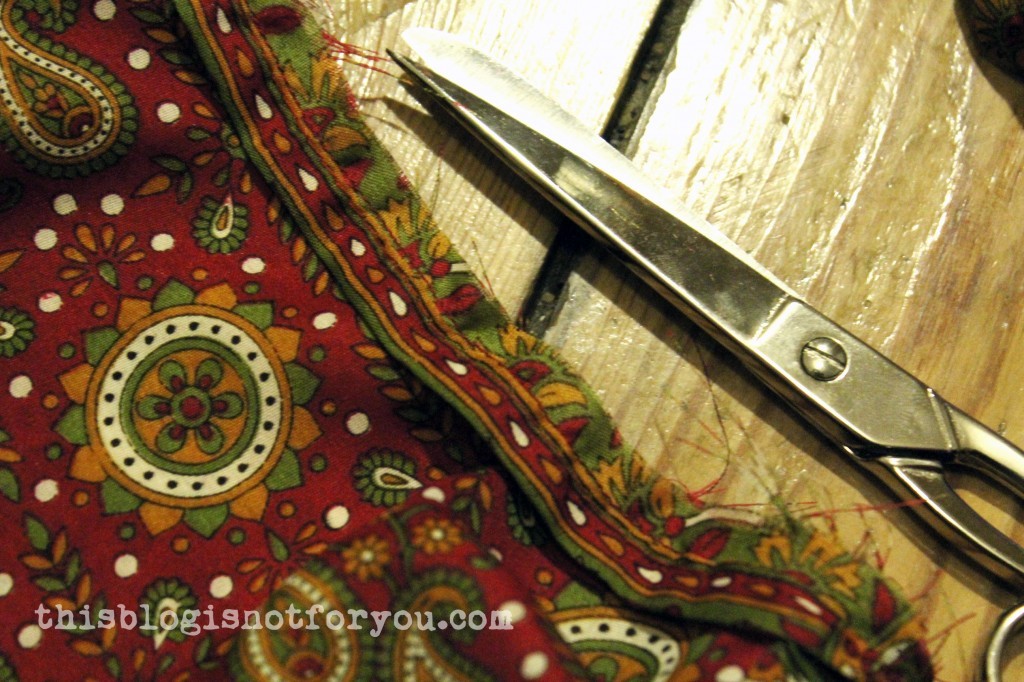
Chop, chop!
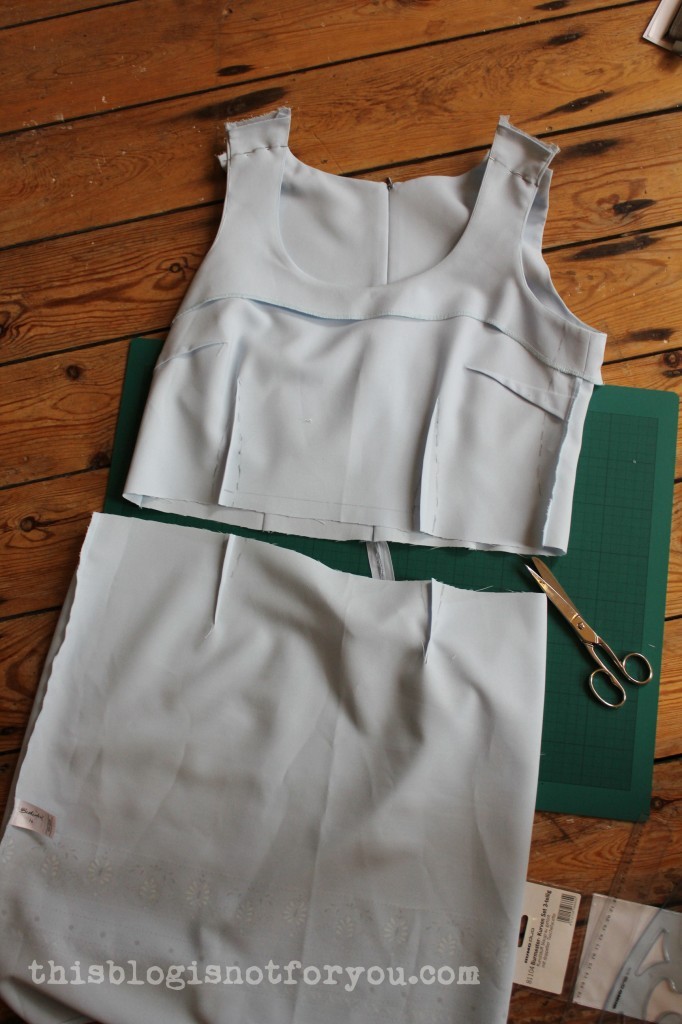
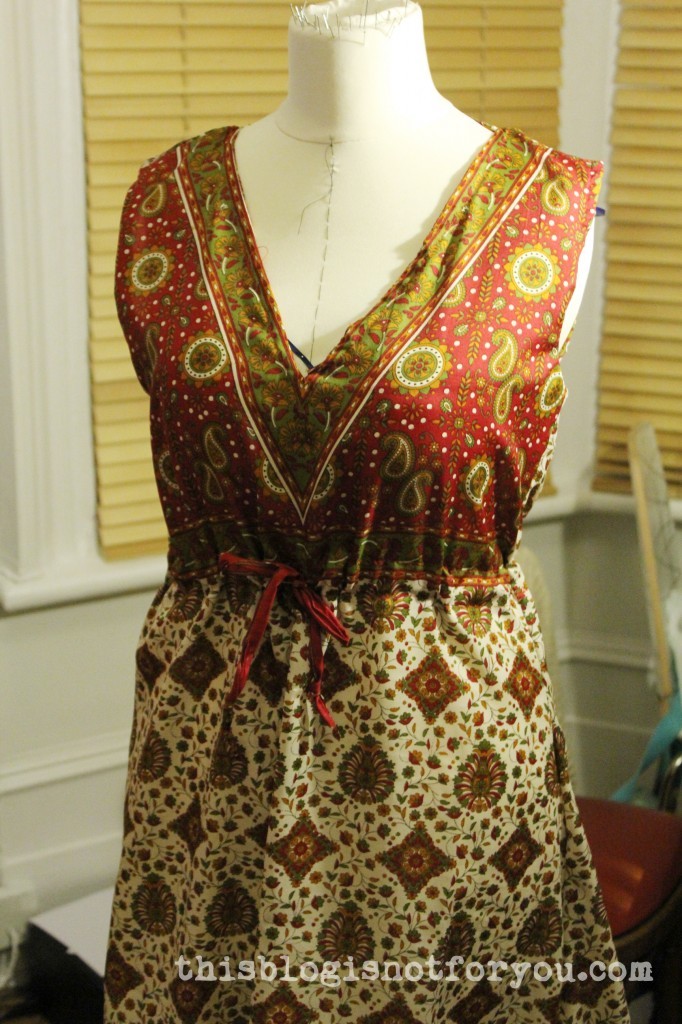
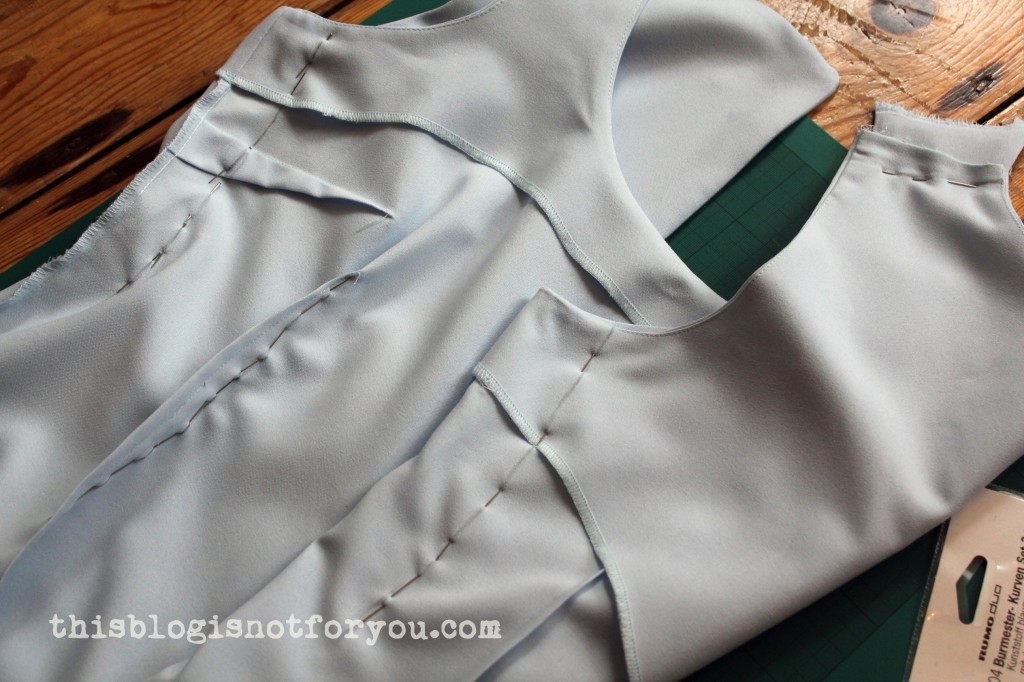
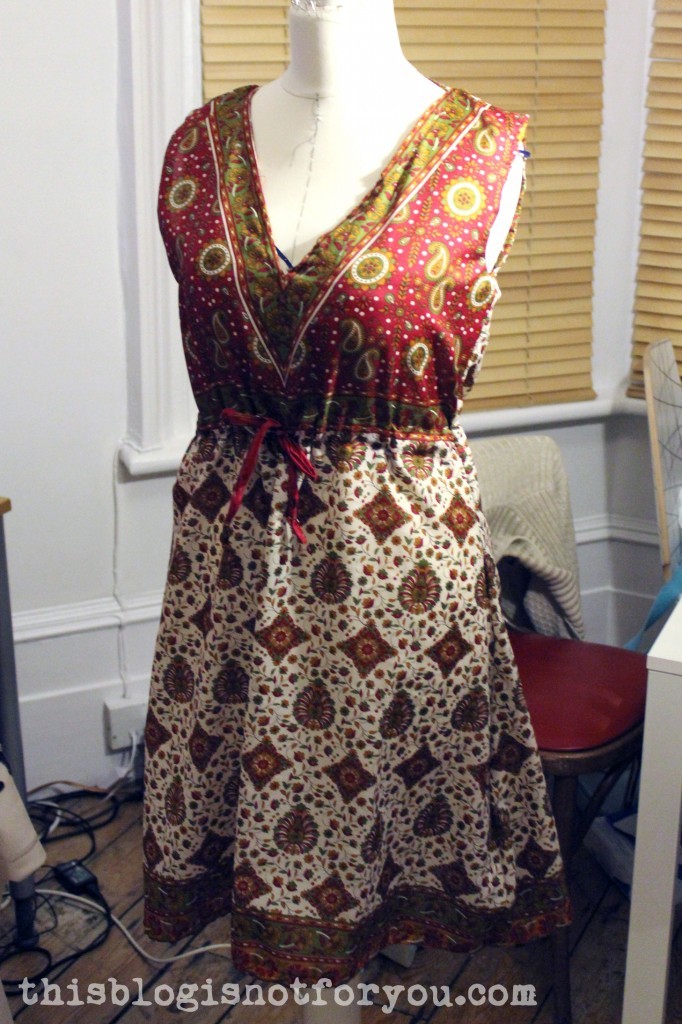
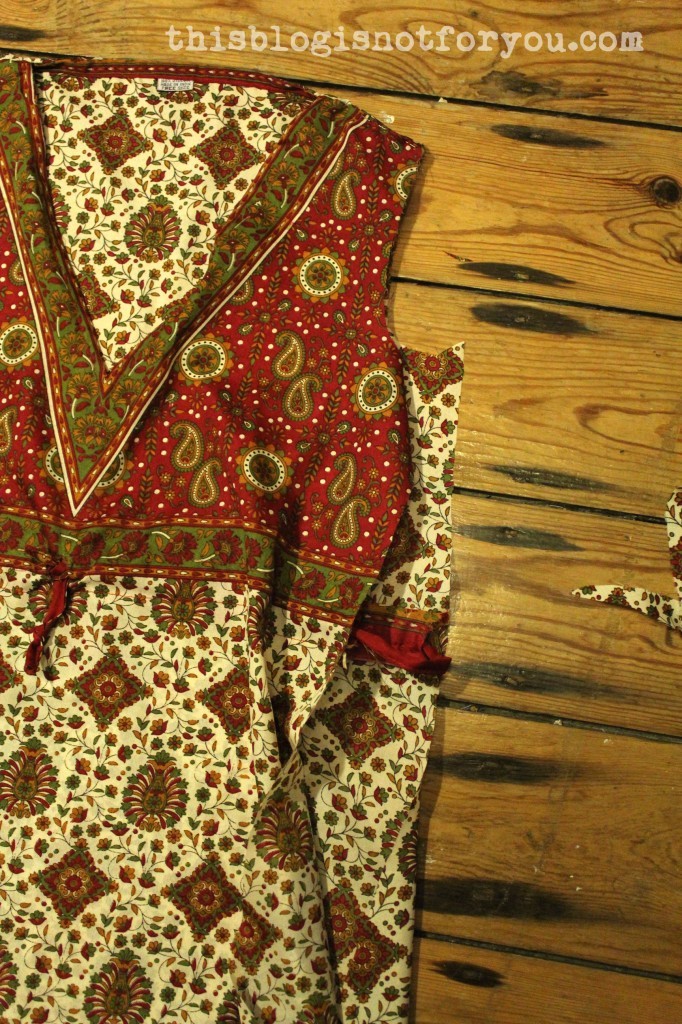
Here’s the finished bodice!
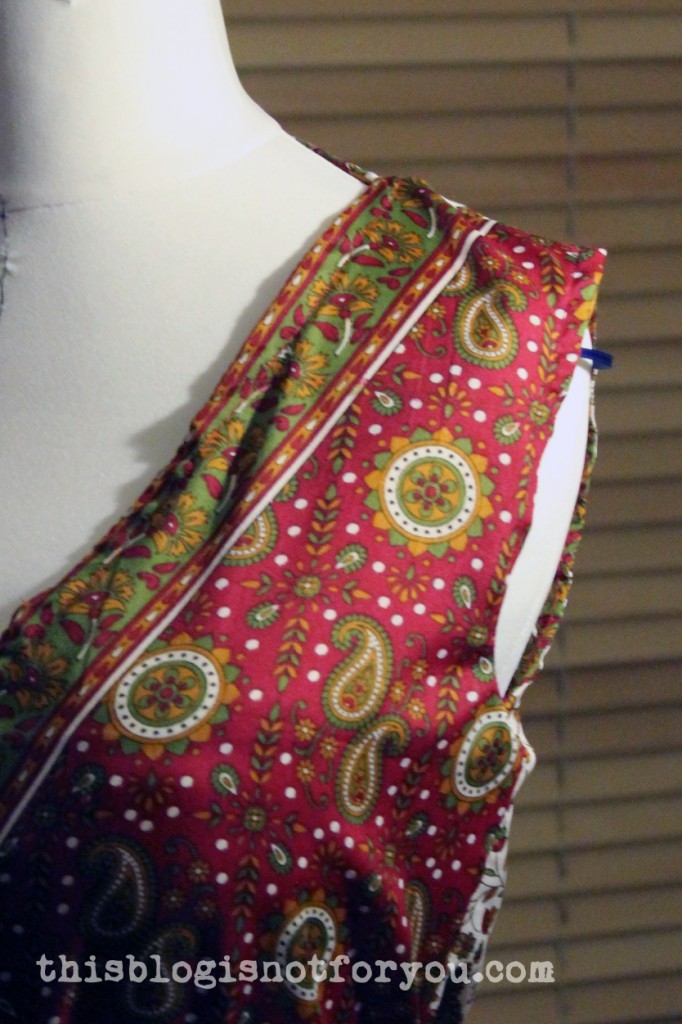
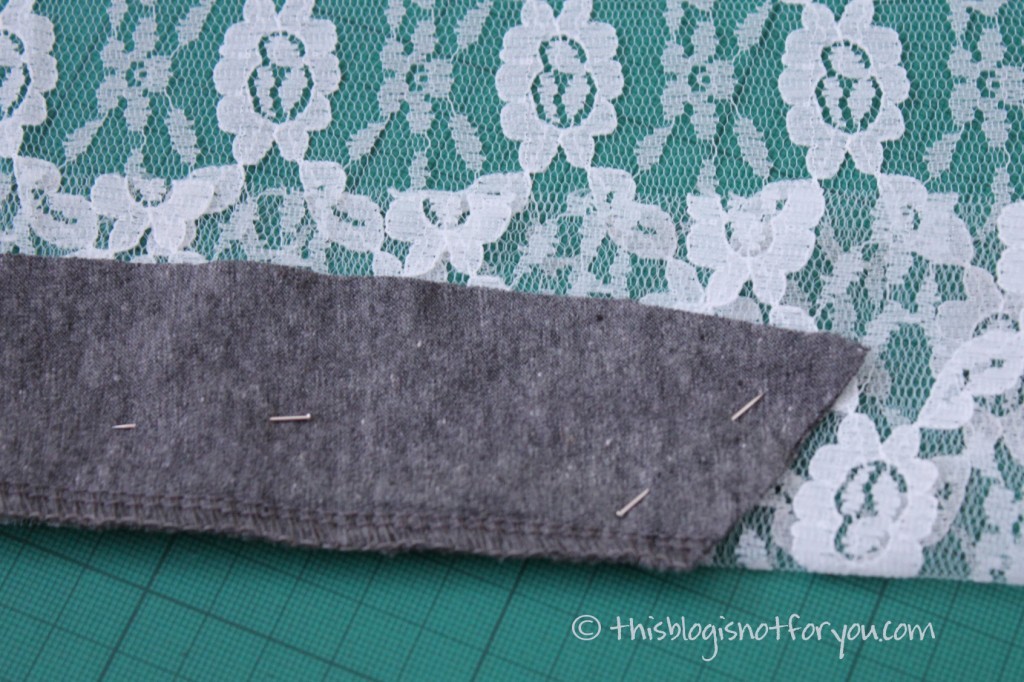
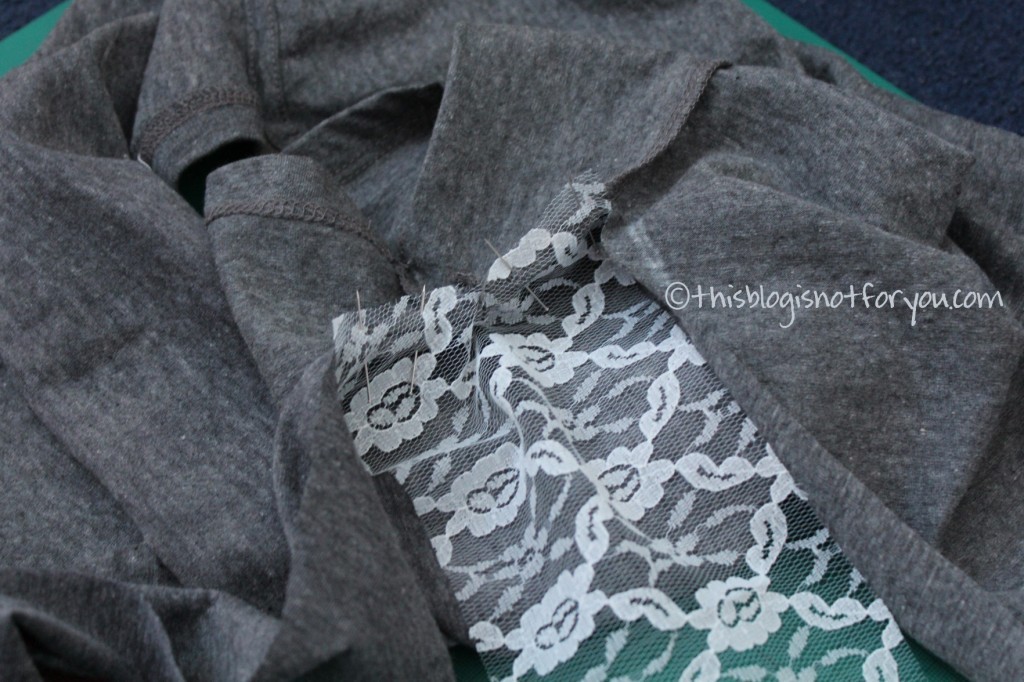
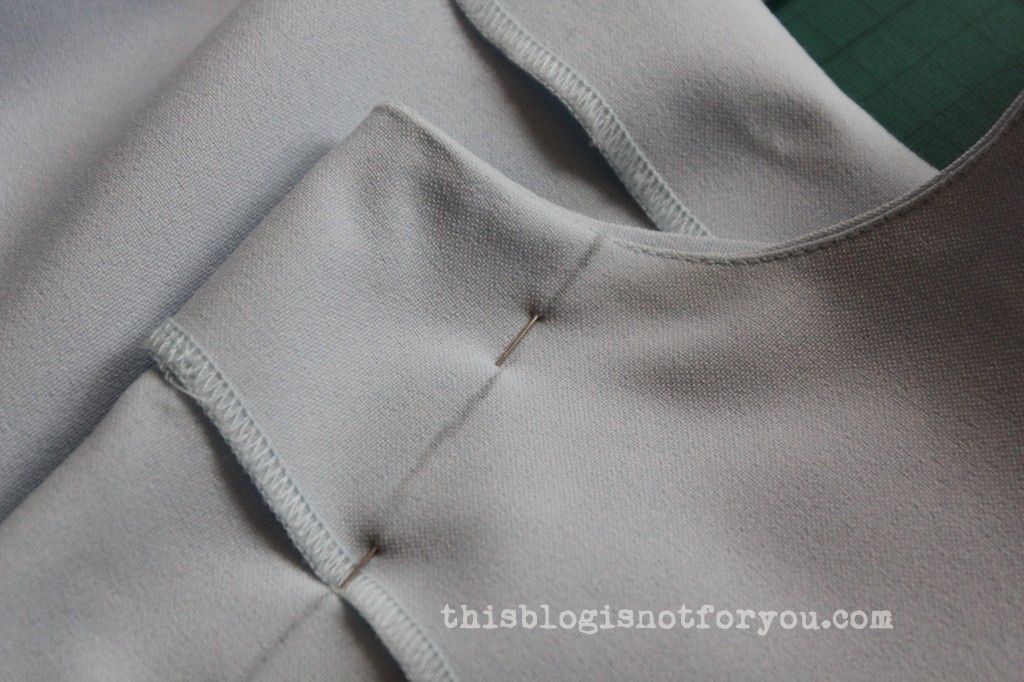
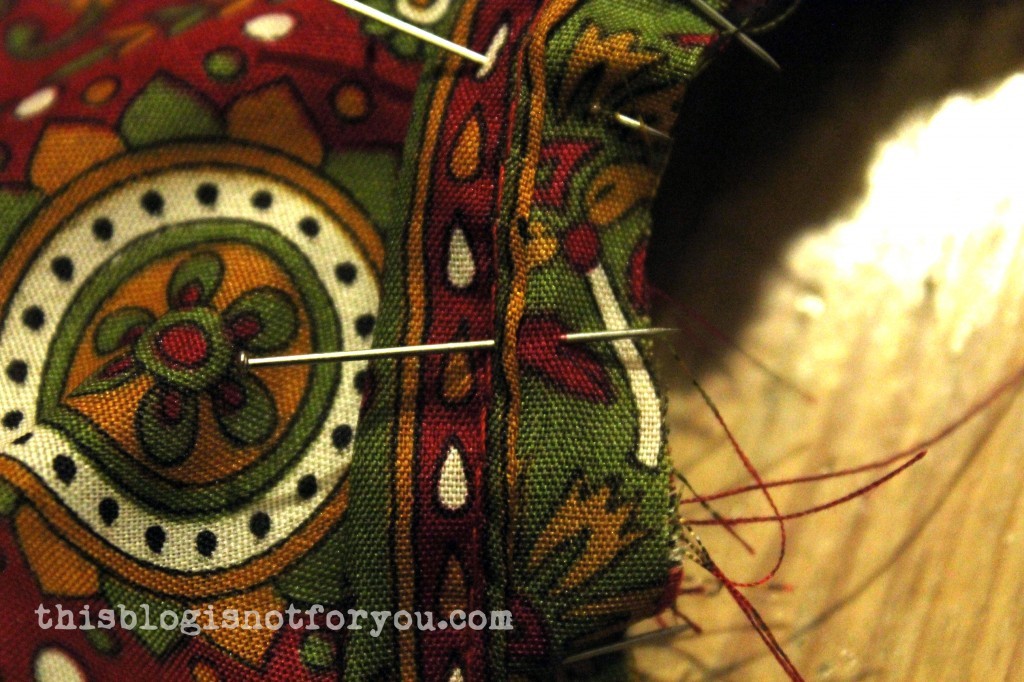
Now comes the pinning!
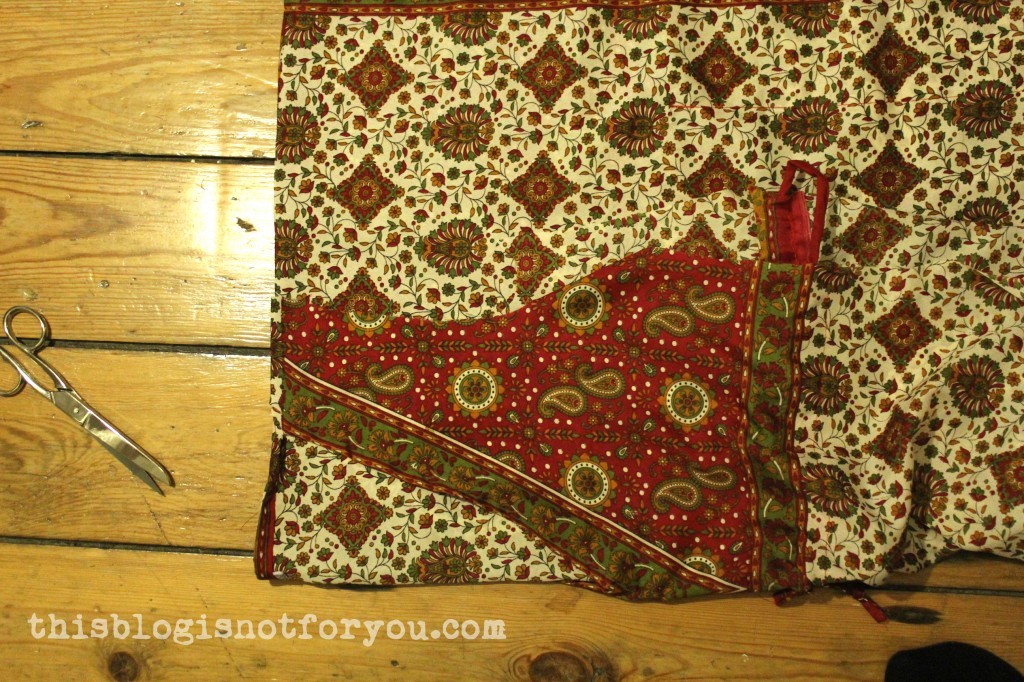
I had no idea what to do with the skirt, so I tried a few things. This version definitely wasn’t working…
…it made my hips look twice their size! Meh!
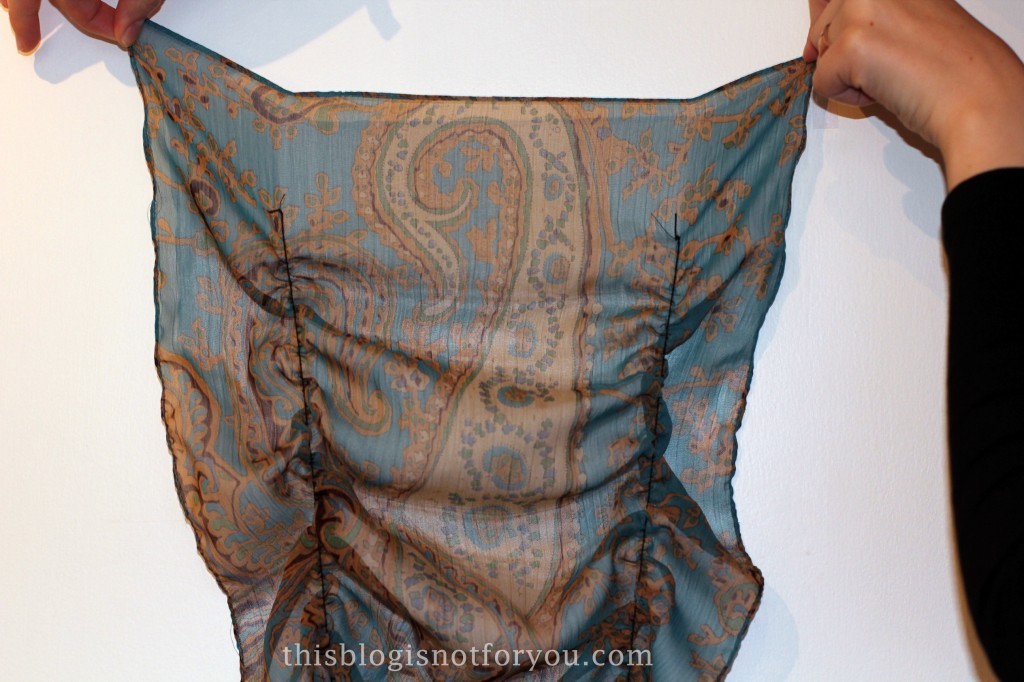
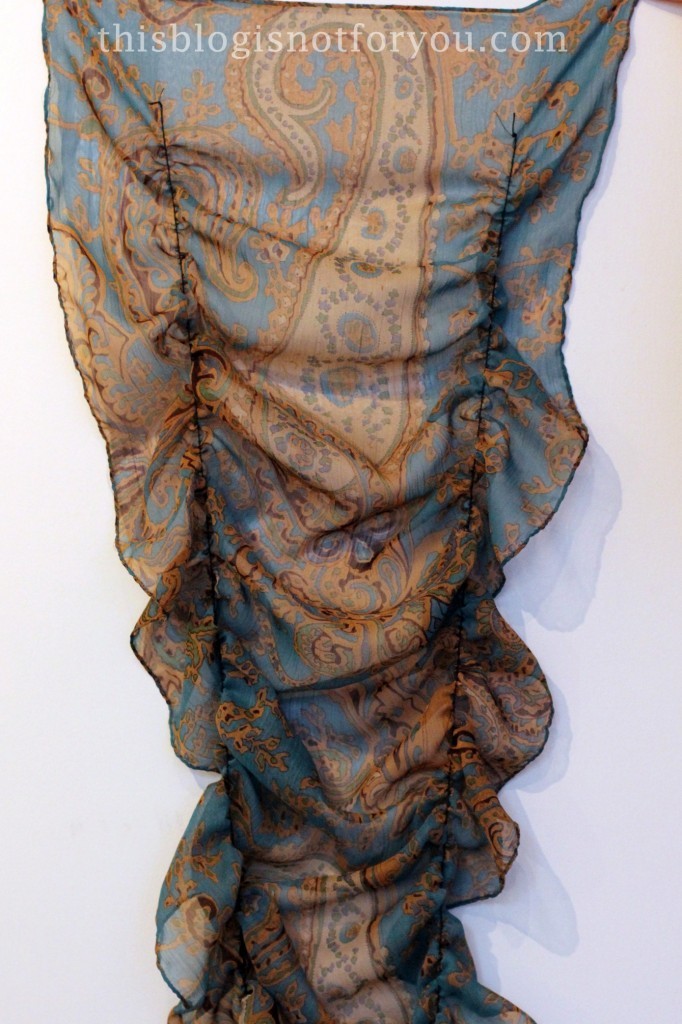
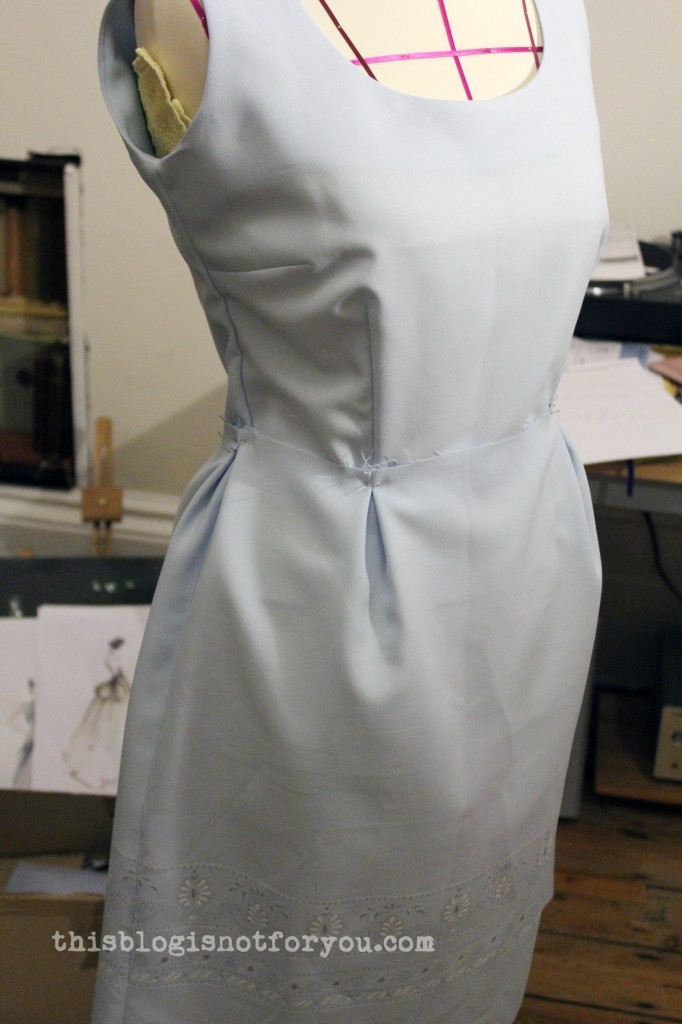
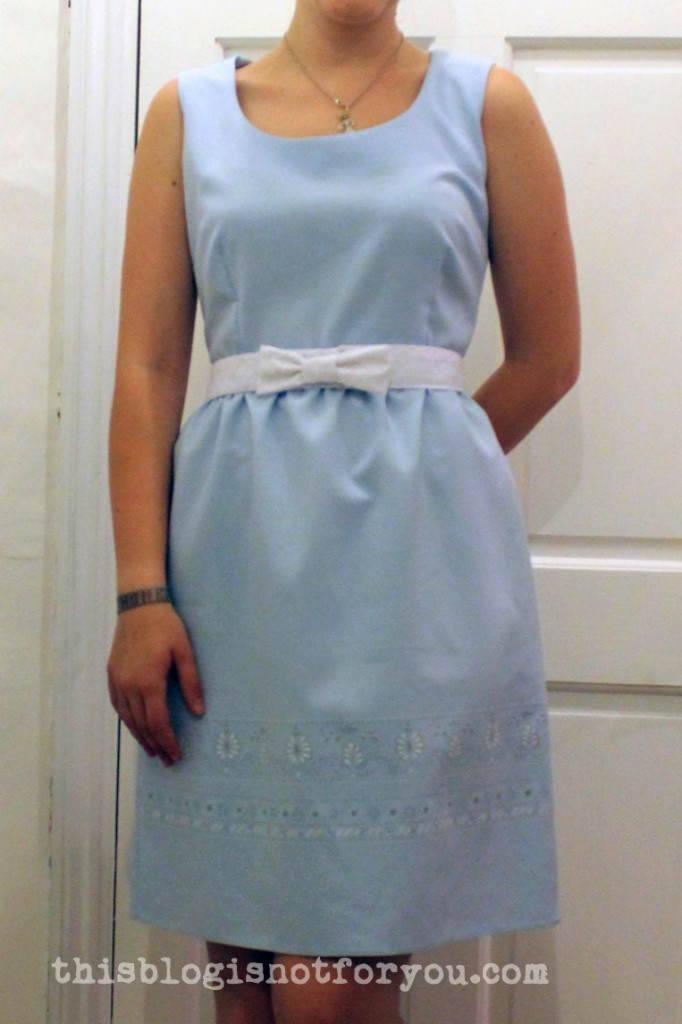
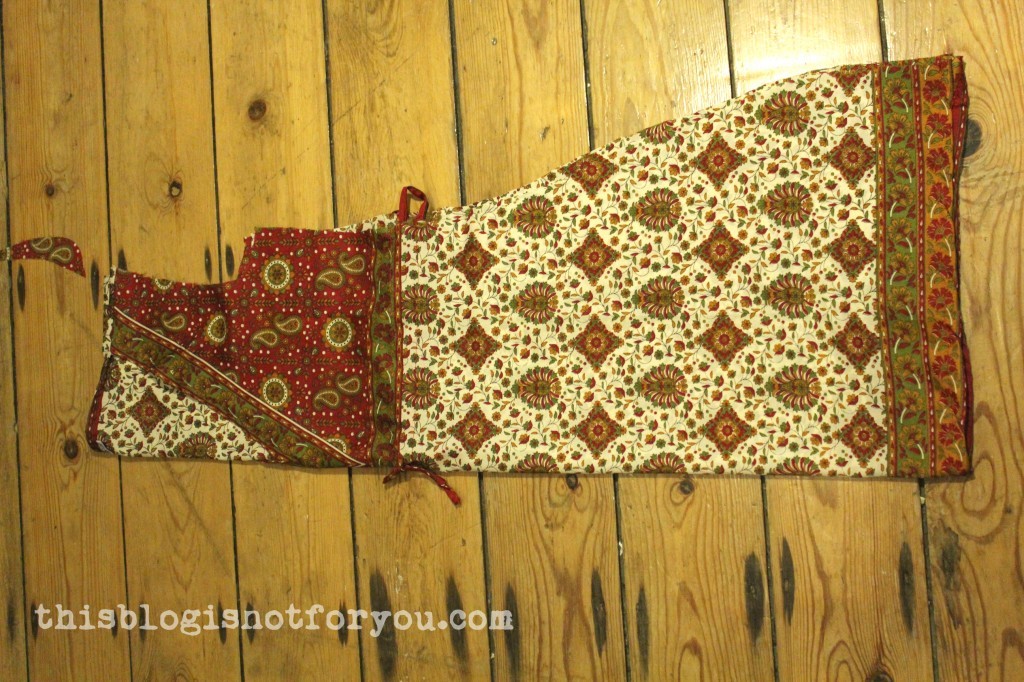
I decided to play safe and simply make a gathered skirt. This looked best with the rest of the dress.
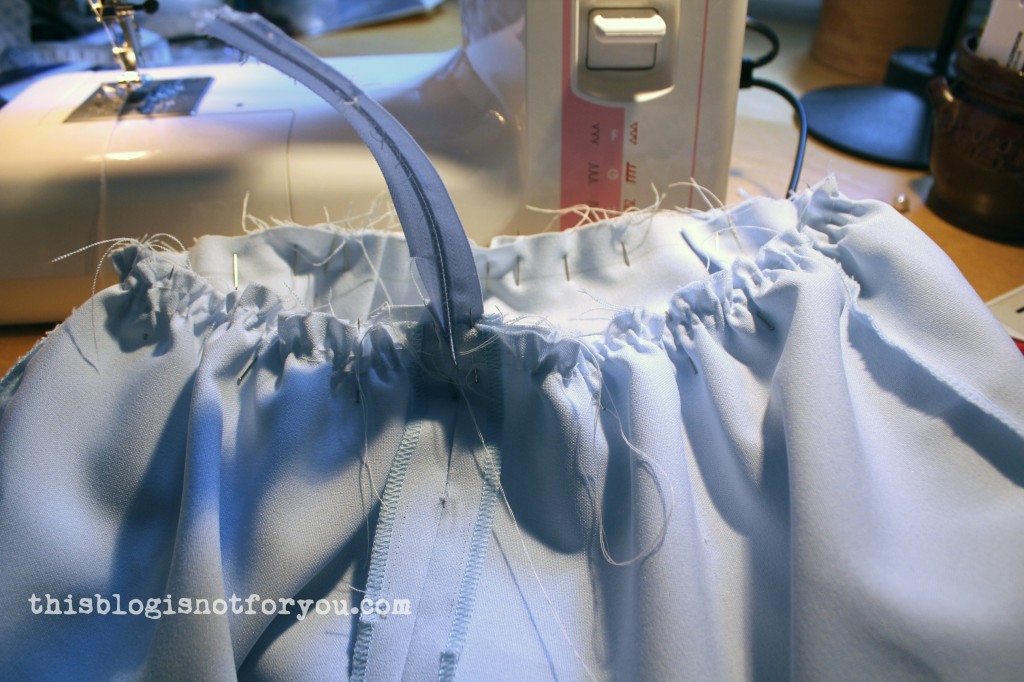
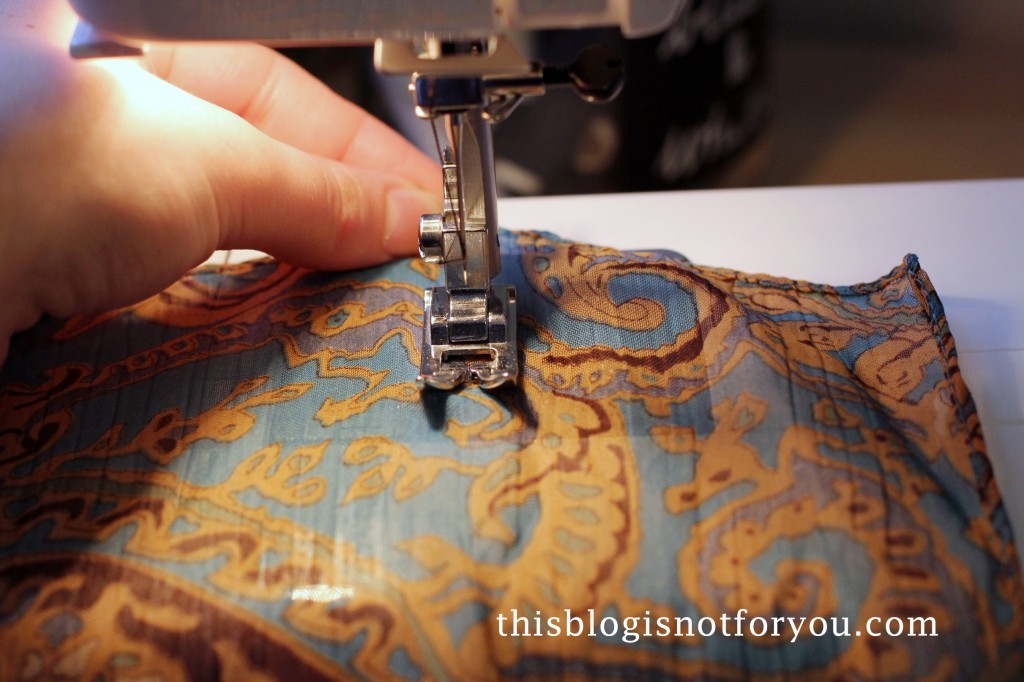
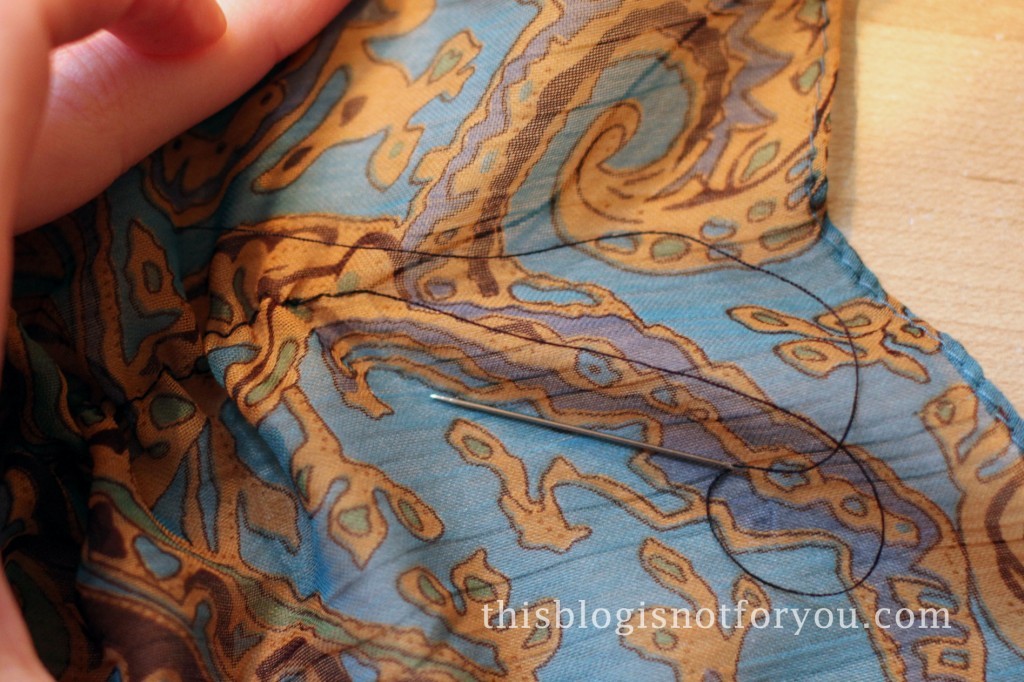
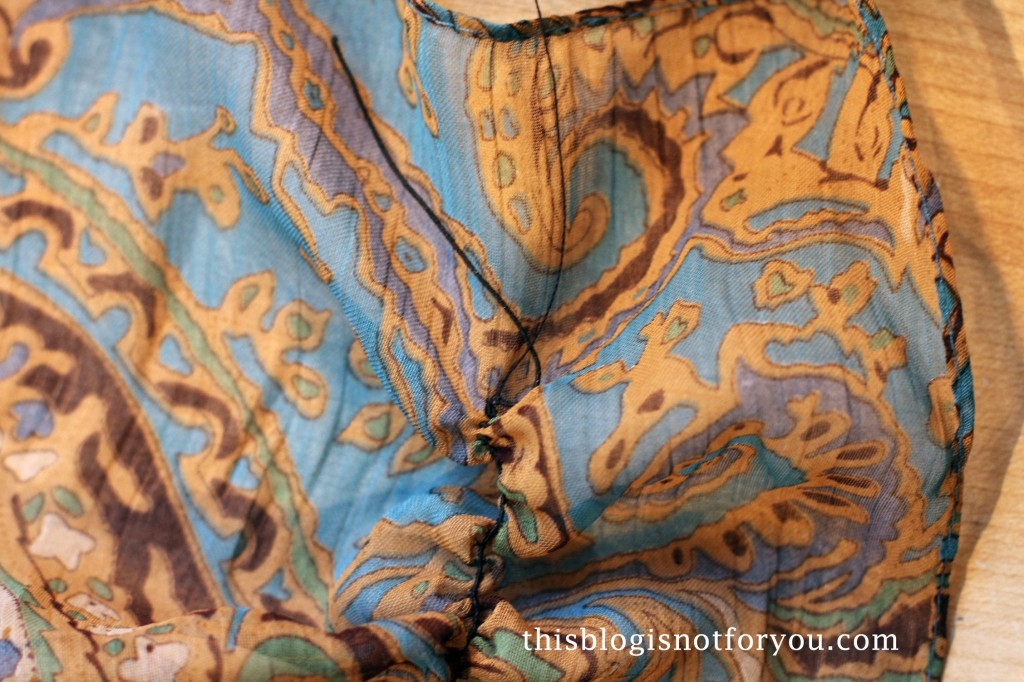
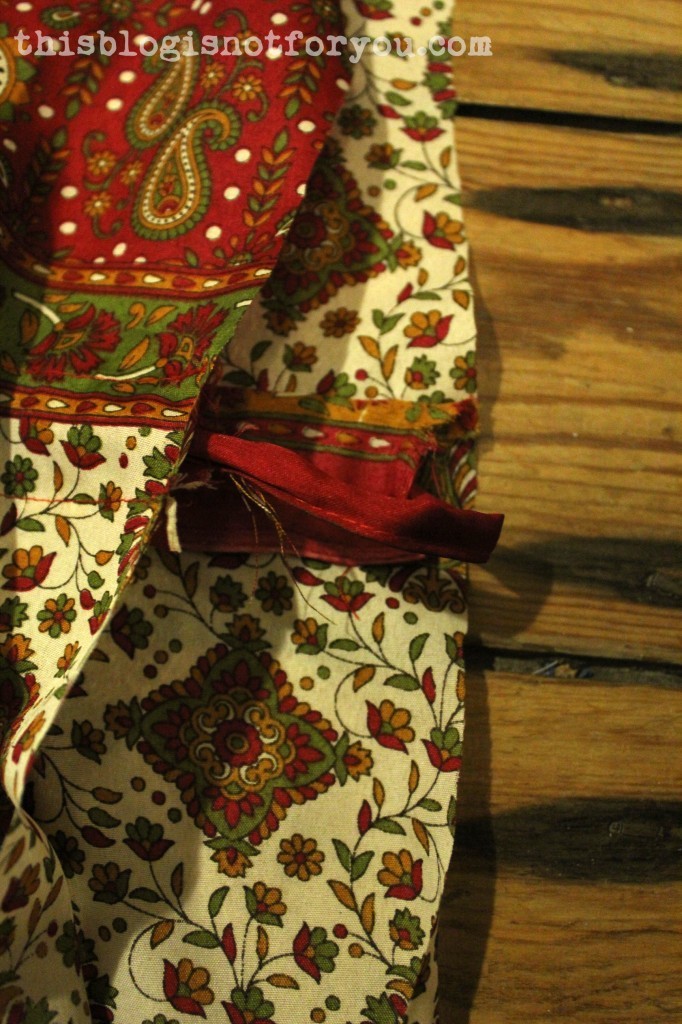
Pinning and stitching. I used white cotton bias binding to finish the raw edges since the fabric was fraying like f%$§&f!.
I sewed in the rest of the zipper – and was finished!
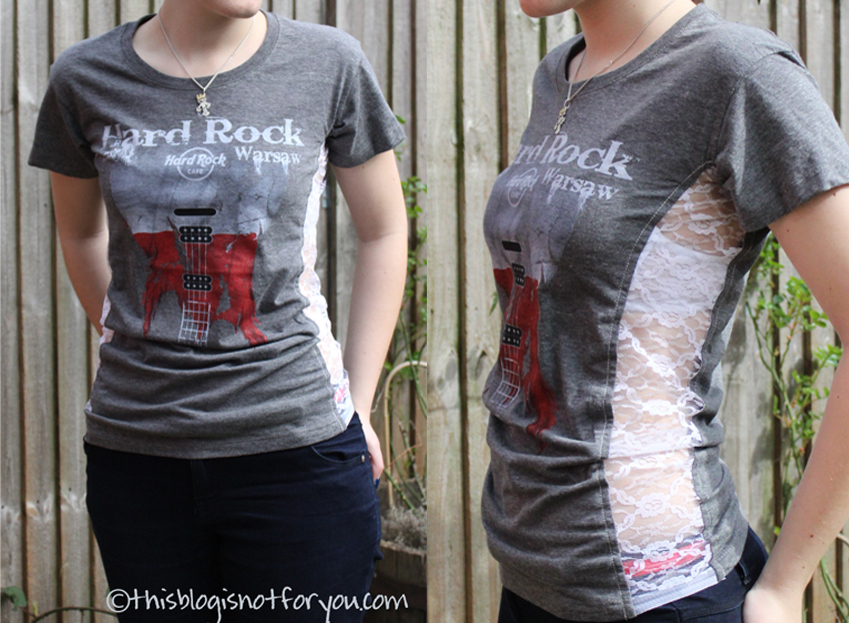
It’s super comfy and although I NEVER wore light blue before, I just love it!
Sorry, blurry selfies today! My other half wasn’t around this time 🙂

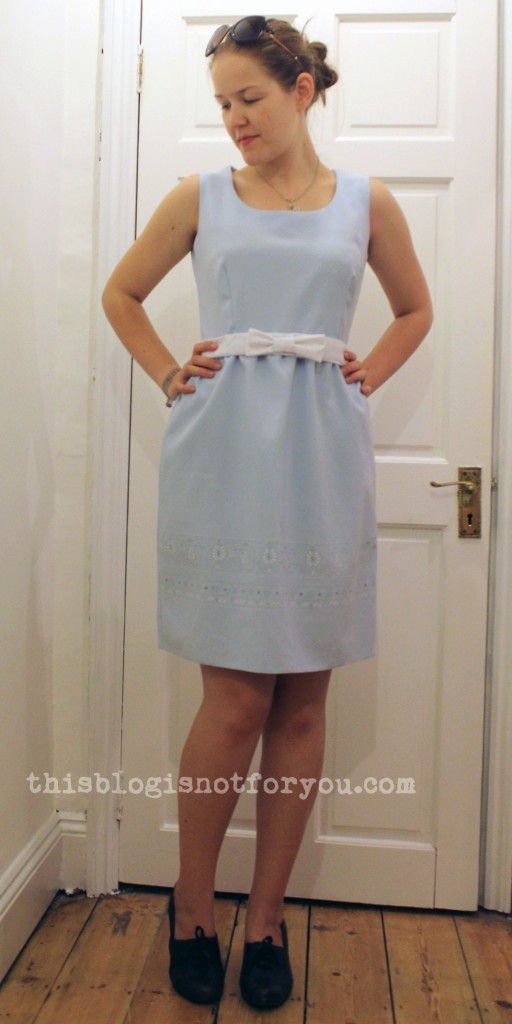
I made the belt from white cotton and lace fabric using Tilly’s awesome bow belt tut!

Unfortunately, this dress doesn’t count regarding the 27 Dresses Challenge – it’s not made from scratch! (Too easy folks!)
Well, but I love it anyway 🙂
In case you’d like to have the chance to see sneak peeks of my project or just want to follow me for fun, just click on the very subtle button below 🙂


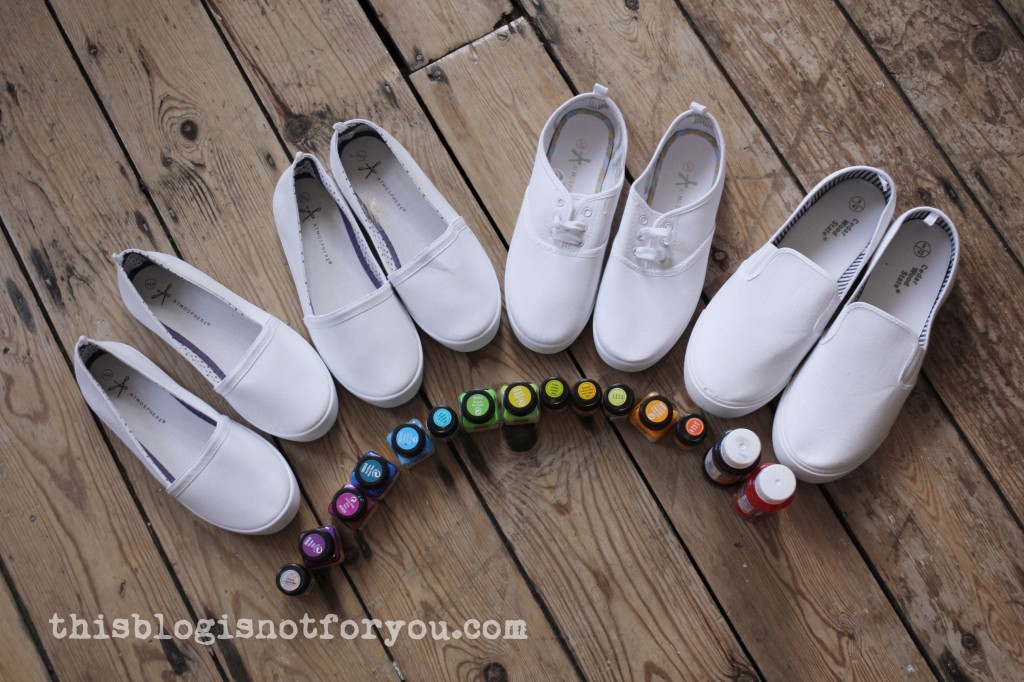
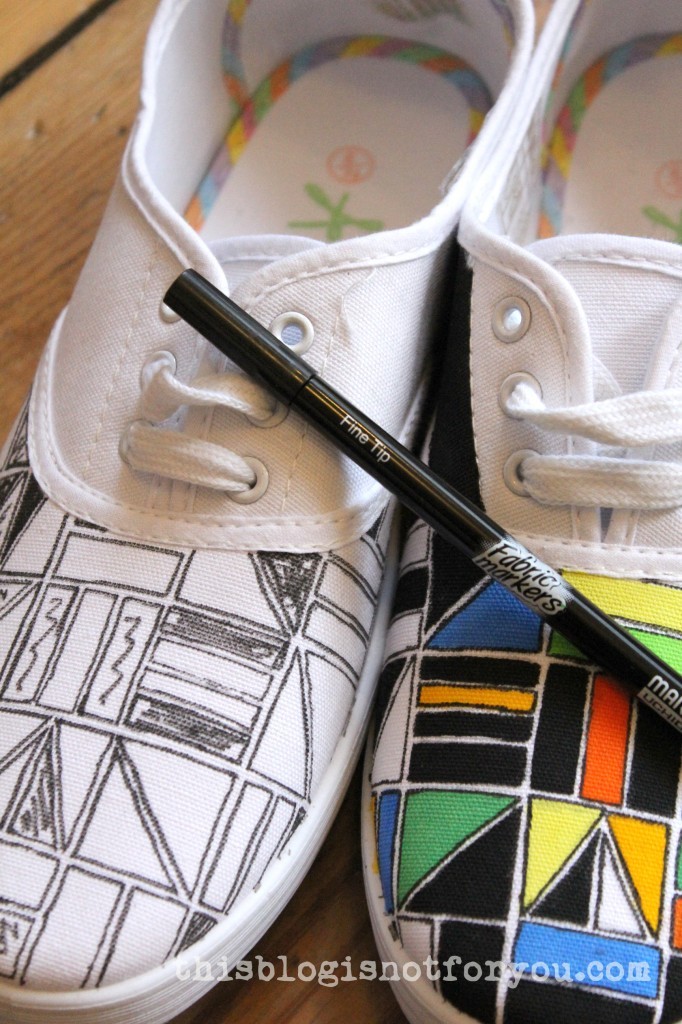
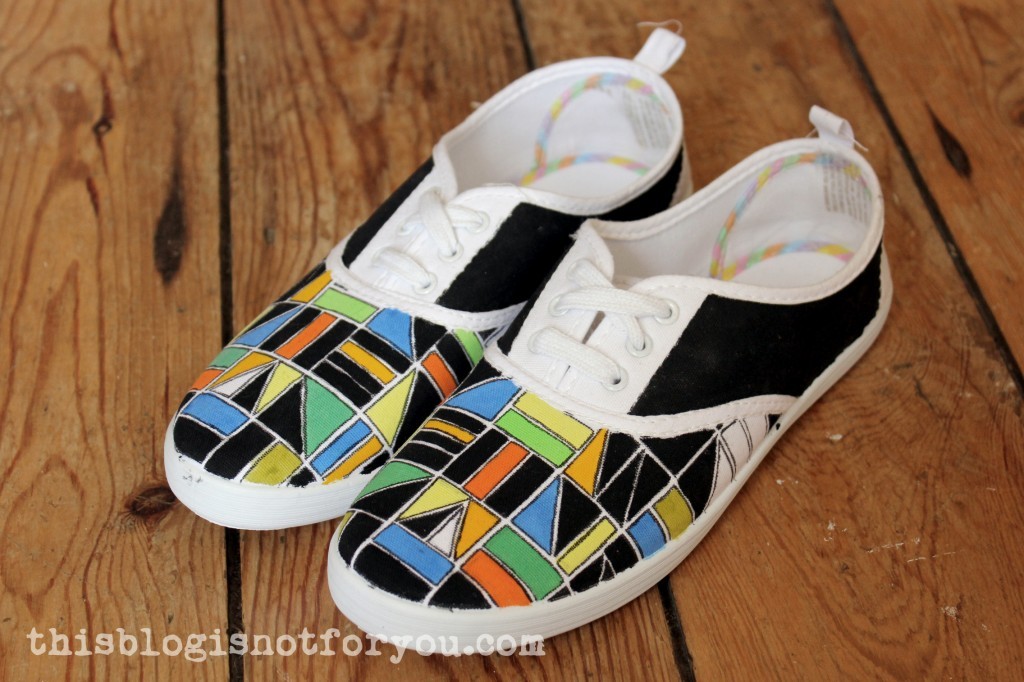
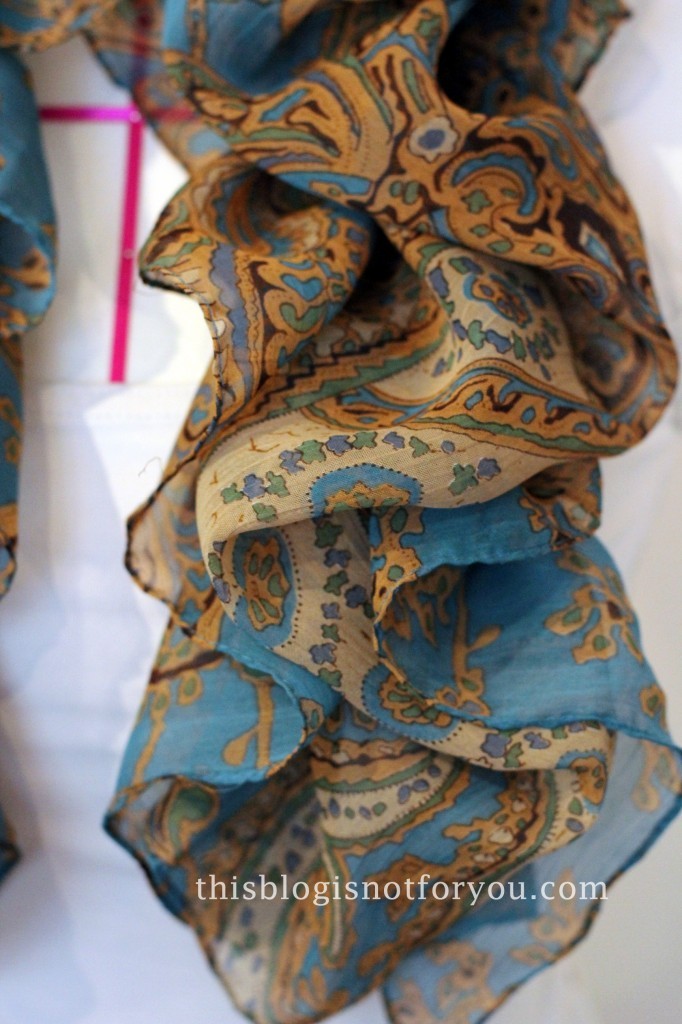
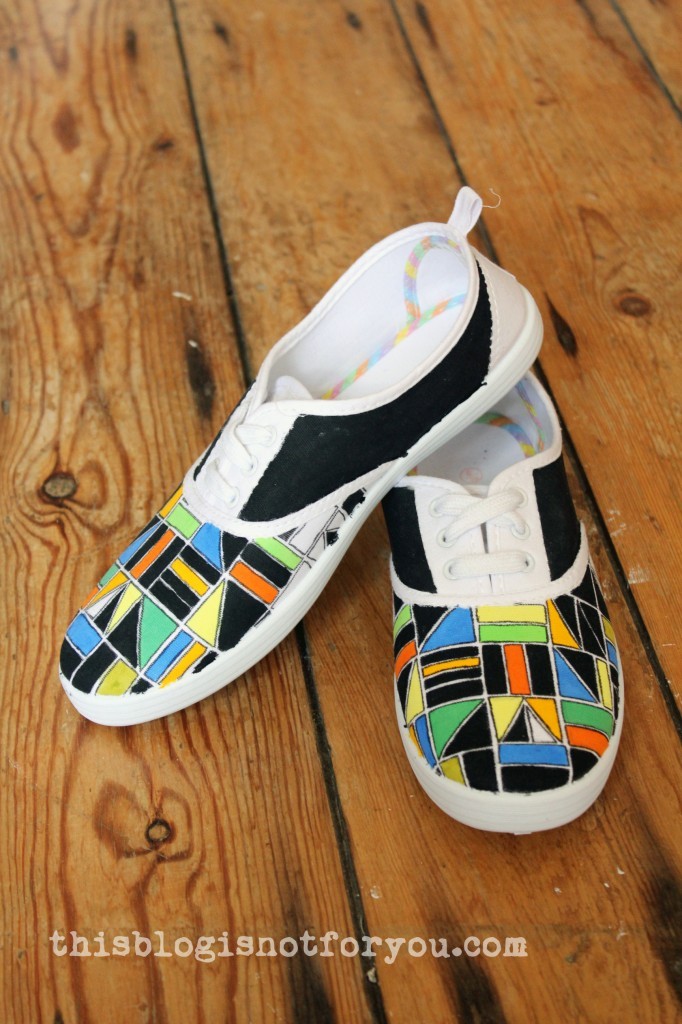
 My friend loved them! I would’ve liked to keep them, but unfortunately I really have nothing to wear in these colours (First world problems, I know!) :)
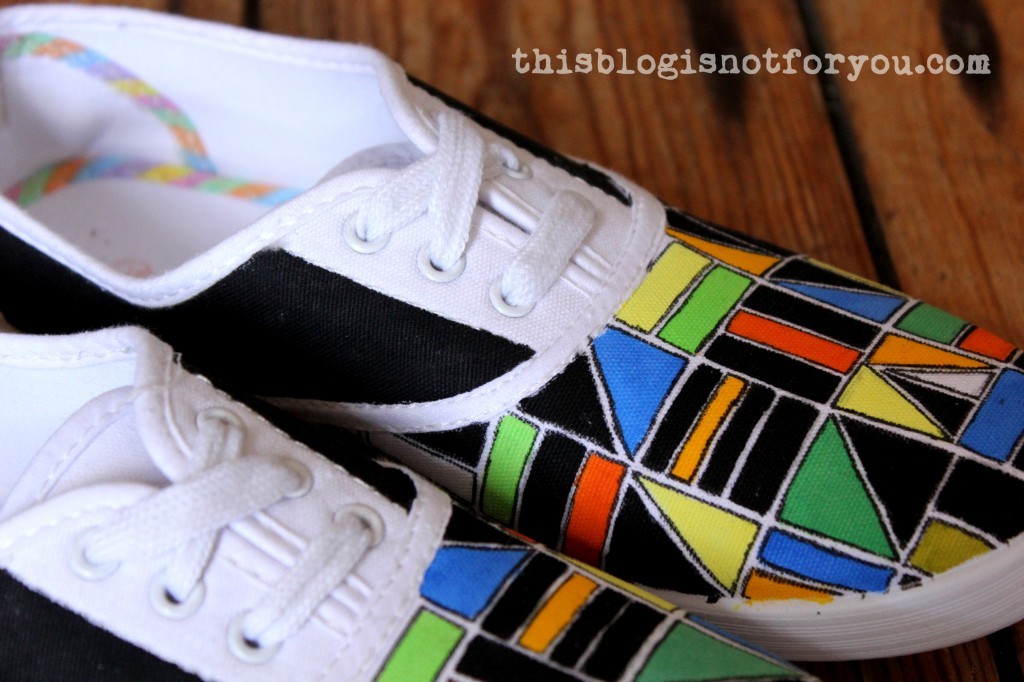

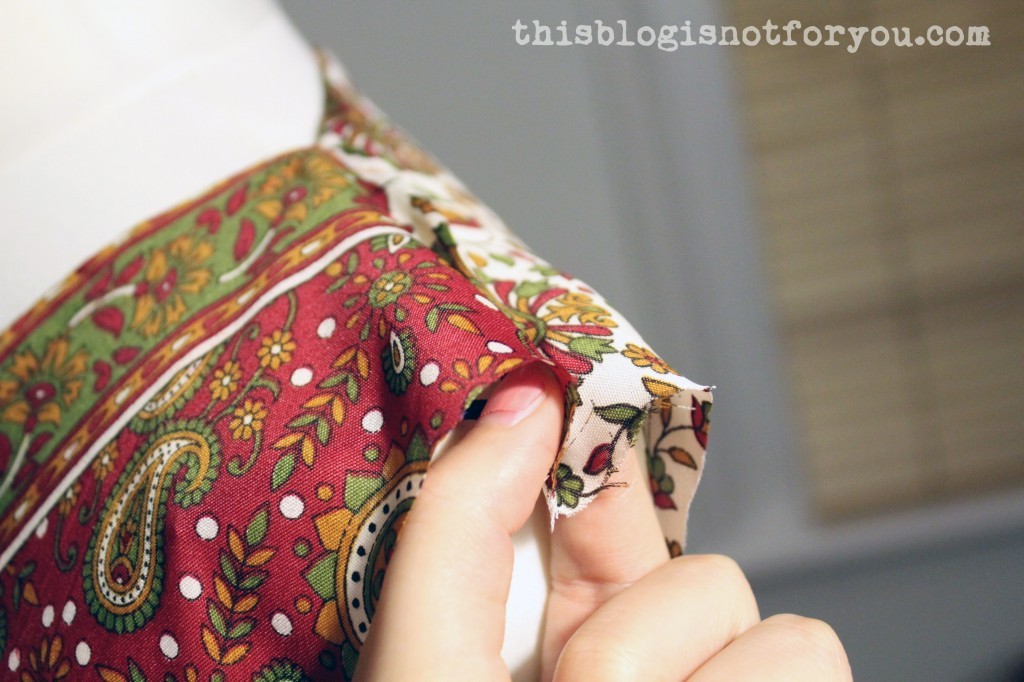

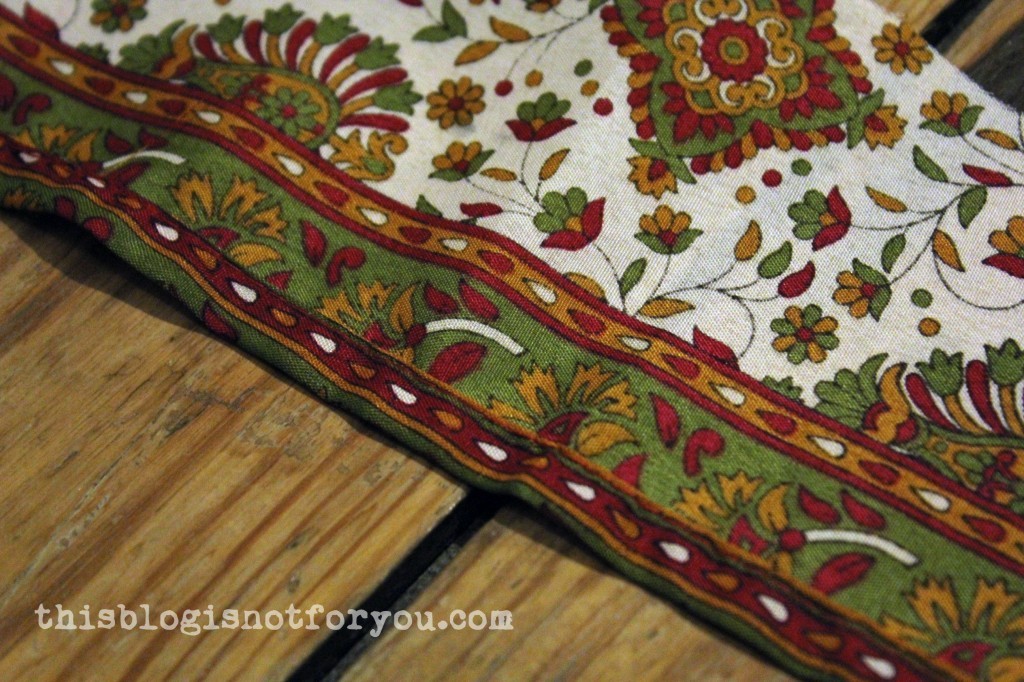

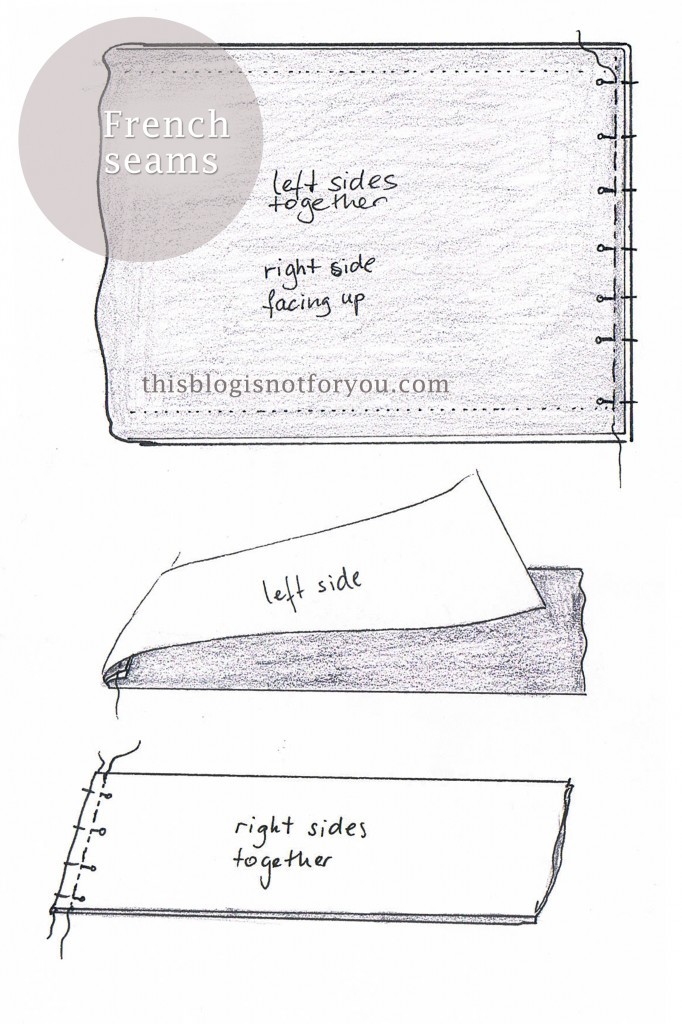
 I finished the side seams using the french seam technique where you first sew left sides together with a very narrow seam allowance. After pressing, you fold the fabric over, press again and sew the seams right sides together with a wider seam allowance, thereby enclosing all the raw edges. This technique is super useful when dealing with fabric that frays like crazy (this one did).