Refashion it! Golden Vintage Dress to Embellished Crop Top
Hallöchen, ihr Lieben!
Hope you’re having a great week so far! I’m starting to get a bit stressed by the wedding preparations, especially with things involving the dress. A blog post was long overdue, though, so I’m trying to squeeze this one in between all the fittings and muslins and whatnot.
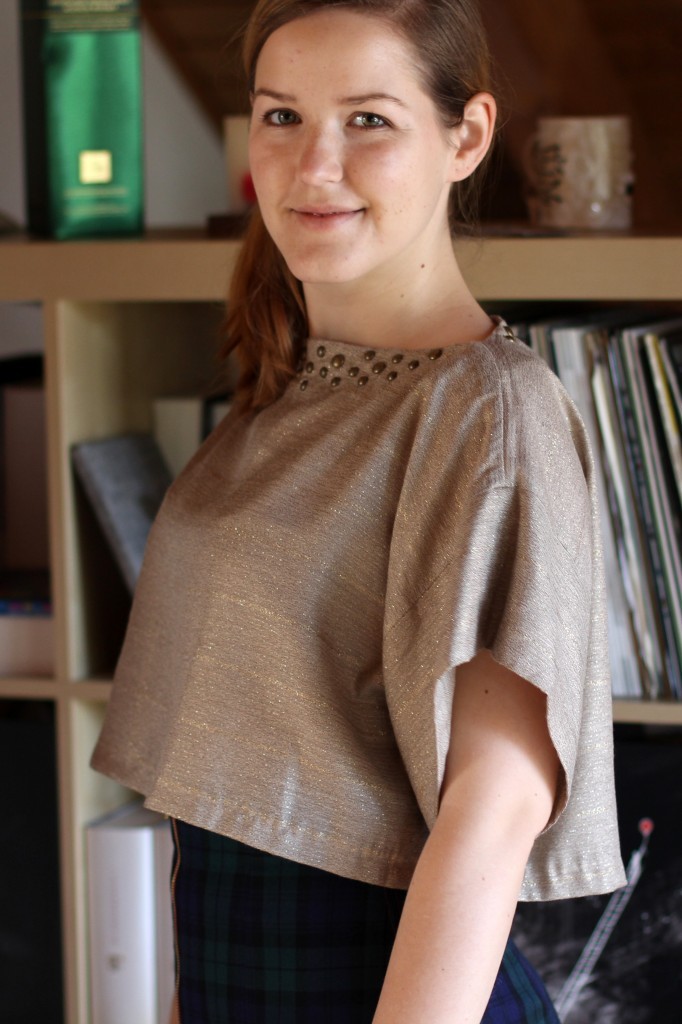
This is a really quick refashion project I wanted to share with you. It’s a loose-fitting embellished crop top I made from a dress that the Mr’s grandma gave me a little while ago. (scroll further down for before pics!).
 It was basically a rectangular, light-weight long dress that looked suspiciously handmade, but had some sort of label in it, so I’m not too sure about that fact. The dress itself had no shape whatsoever, the hem going way below knee-length. At first I thought it might be edgy and cool but when I put it on it simply looked horrible and I felt like wearing a potato sack.
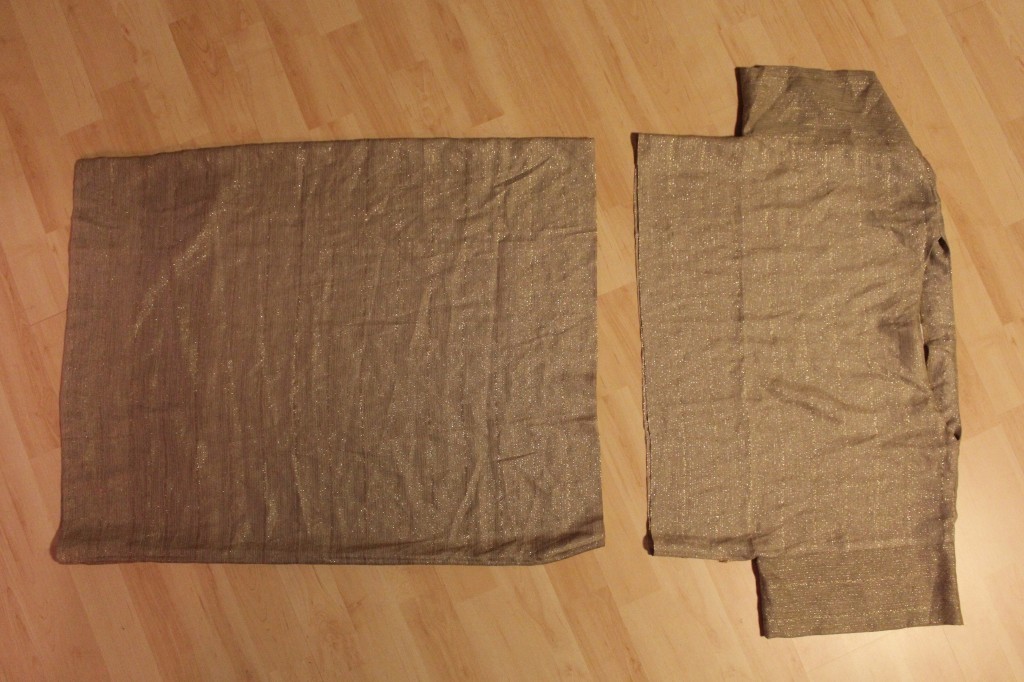
As it so often happens, I forgot to take proper before pictures (which is really stupid when planning an before & after project, I know!), so this is all I have: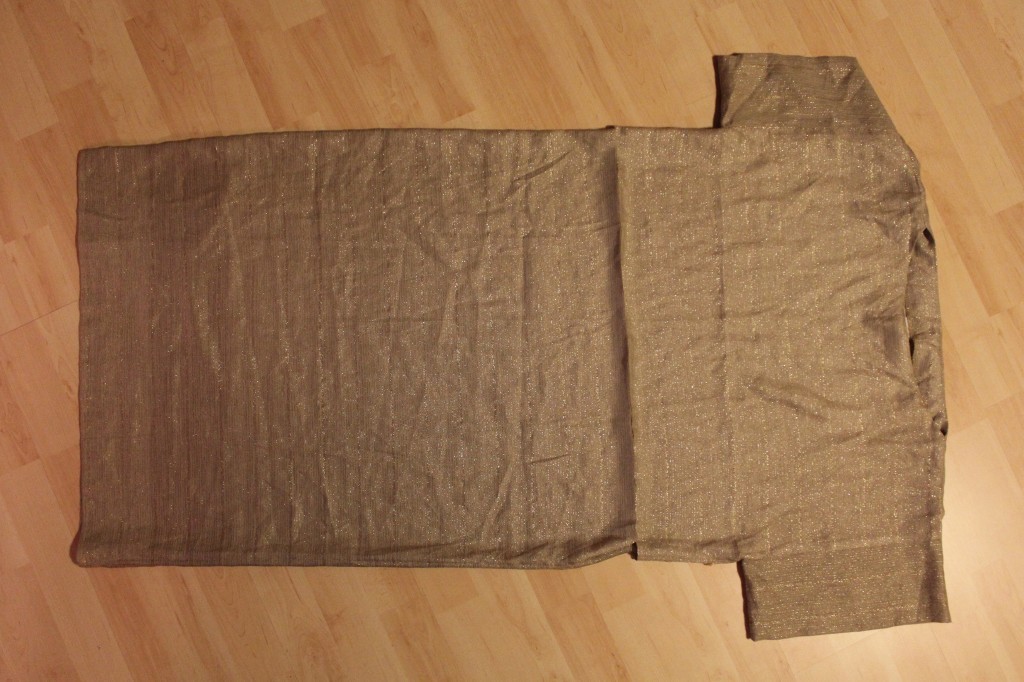 The dress was too narrow to give me enough fabric for cutting out a whole new garment, so I decided to take the easy way out and cut the bottom off. Chop, chop!
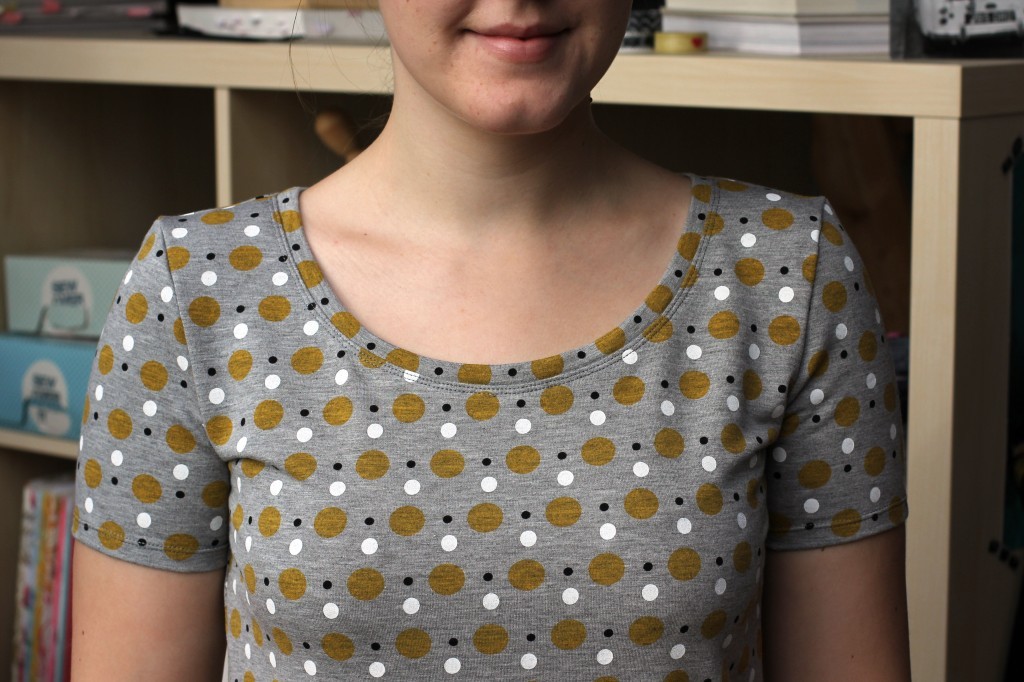
 I overlocked the raw seam and hemmed it by hand using matching gold thread.
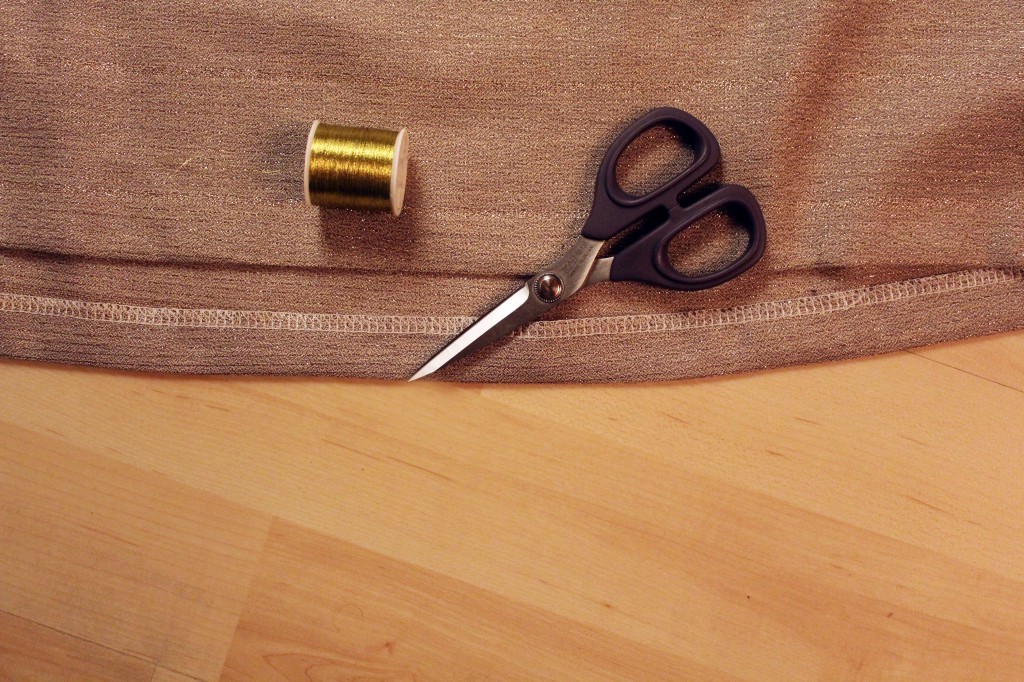
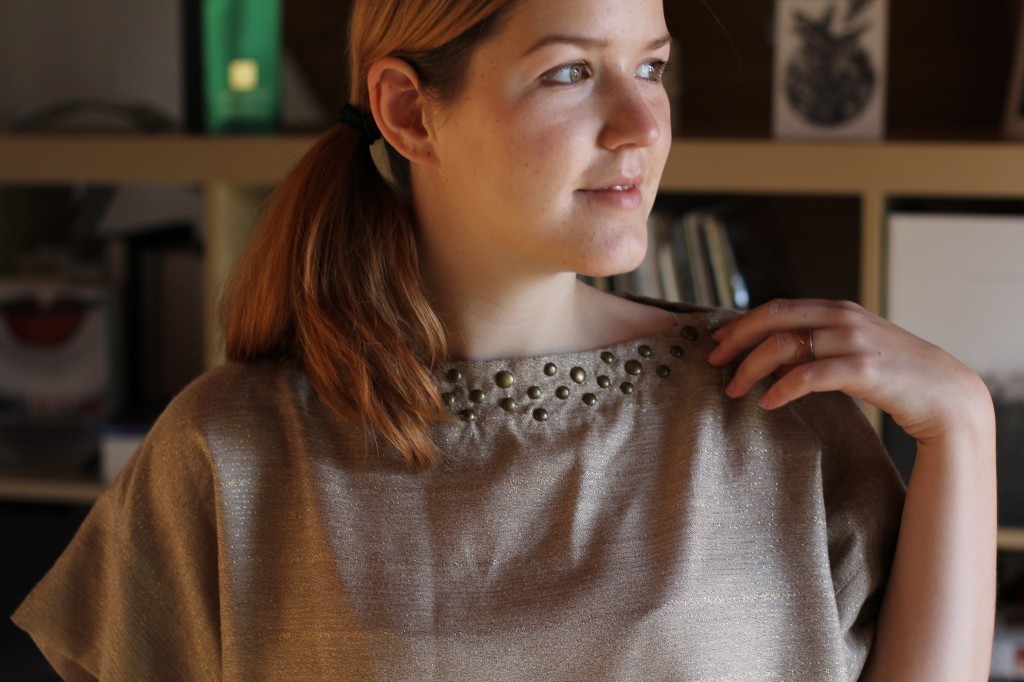
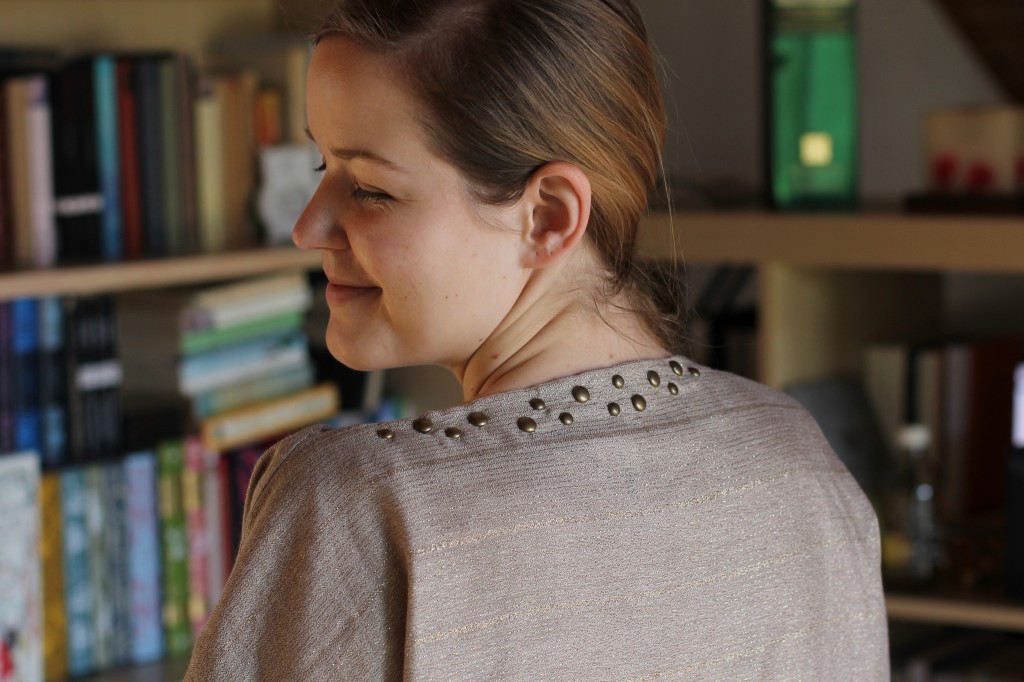
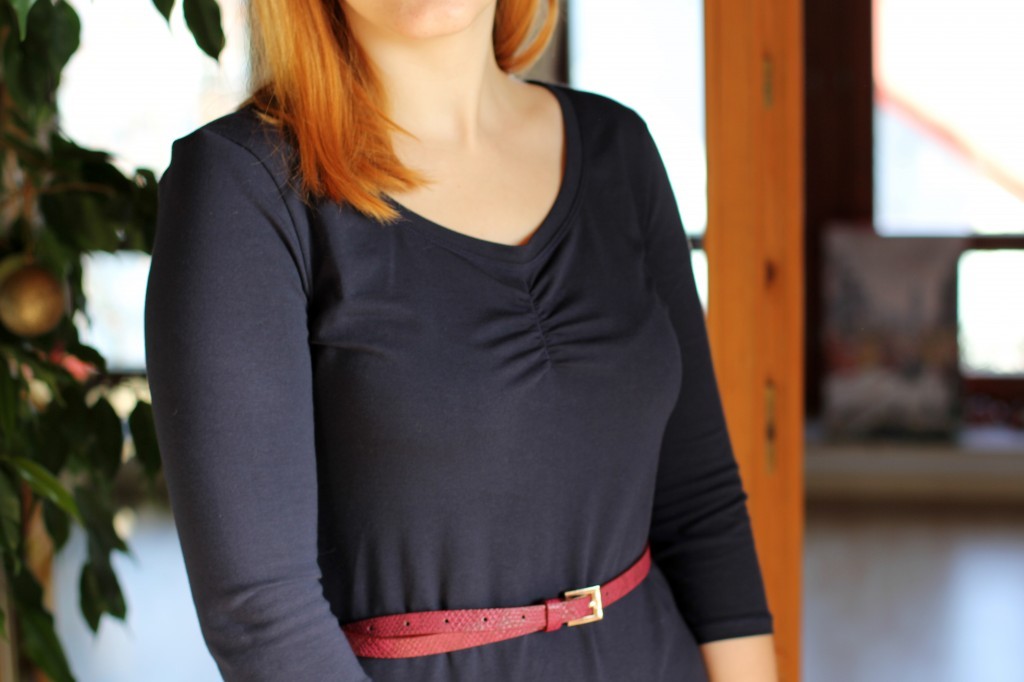
The fit was ok-ish, but the top still lacked something. Since it’s a really simple shape, I thought I might add some embellishments to add some bling and make it a bit less boring.
I played around with different embellishments I had at home, like studs and acrylic diamonds.
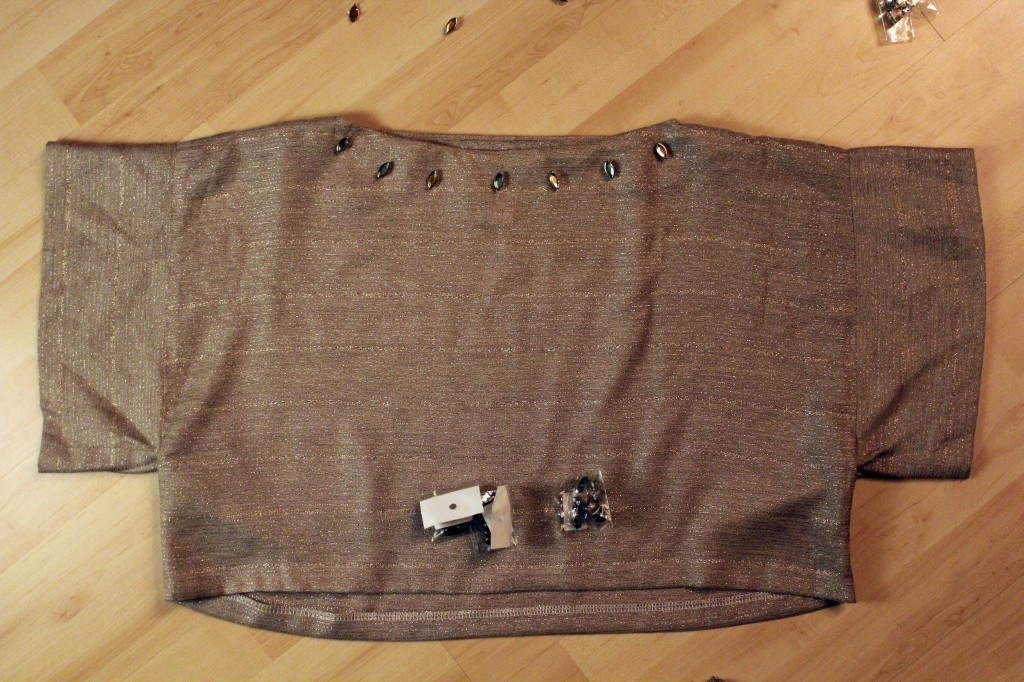

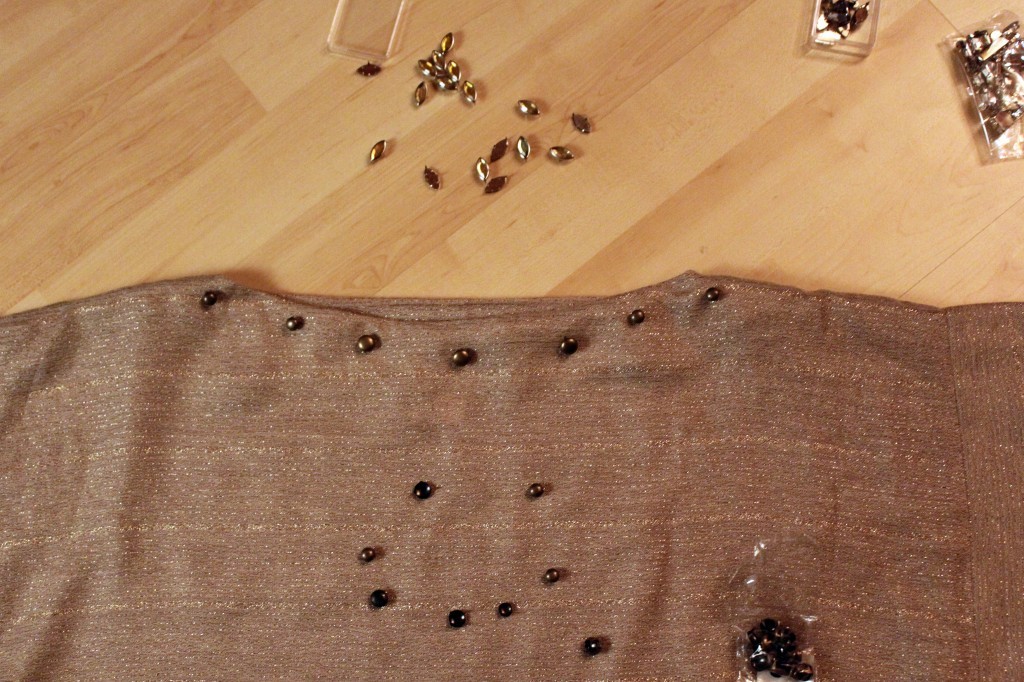
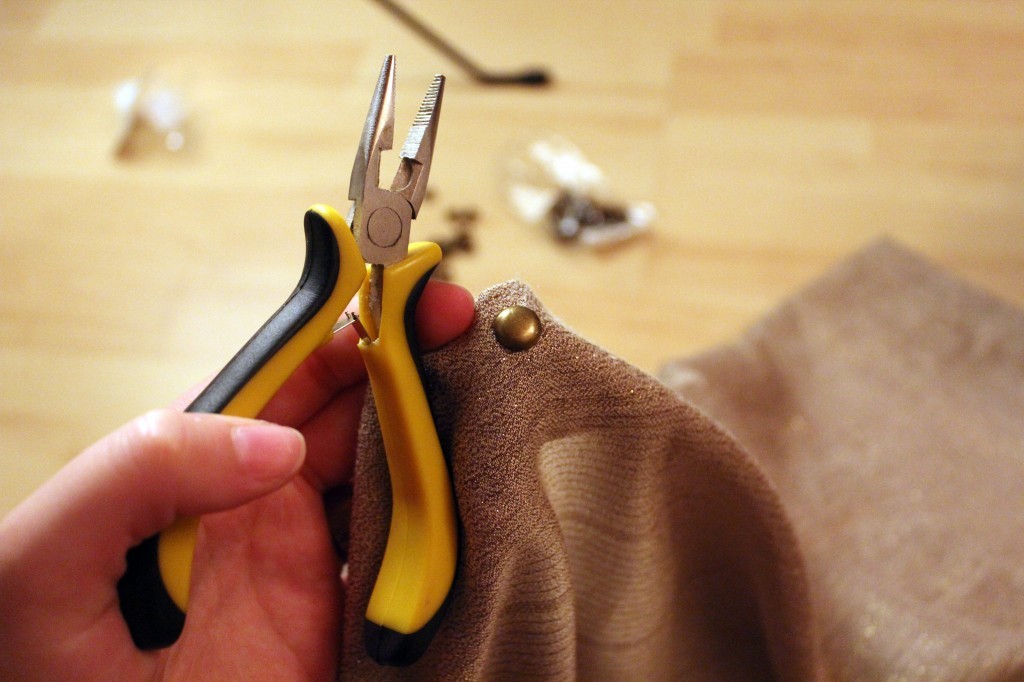
I liked the studs best and started placing them on the neckline. Once I liked what I saw, I attached them using my pliers. I added more and more until I was happy with the end result.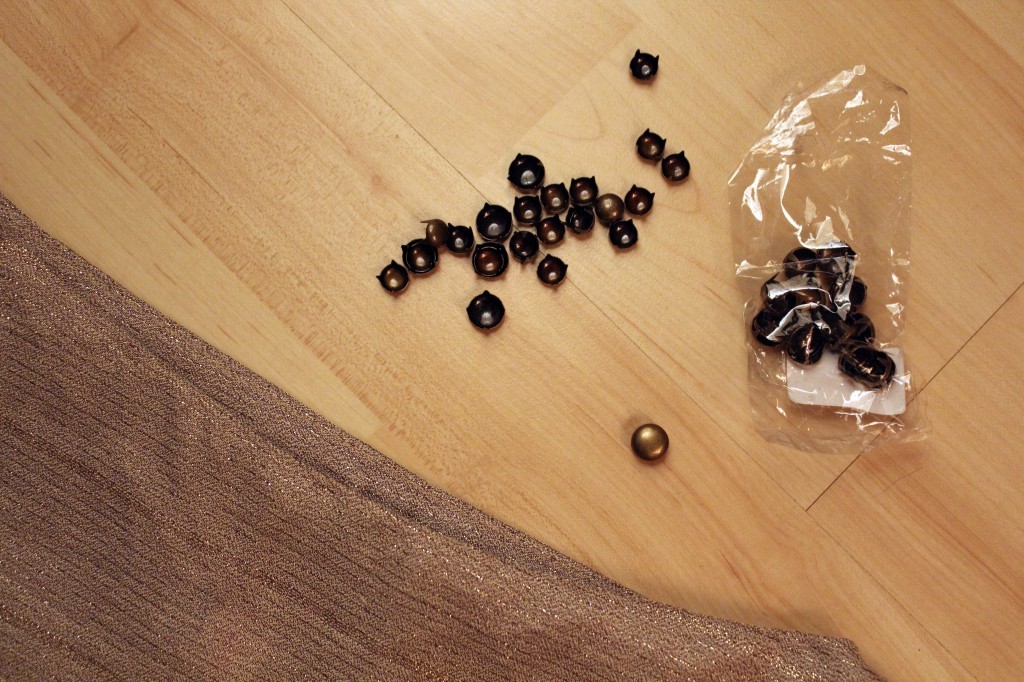

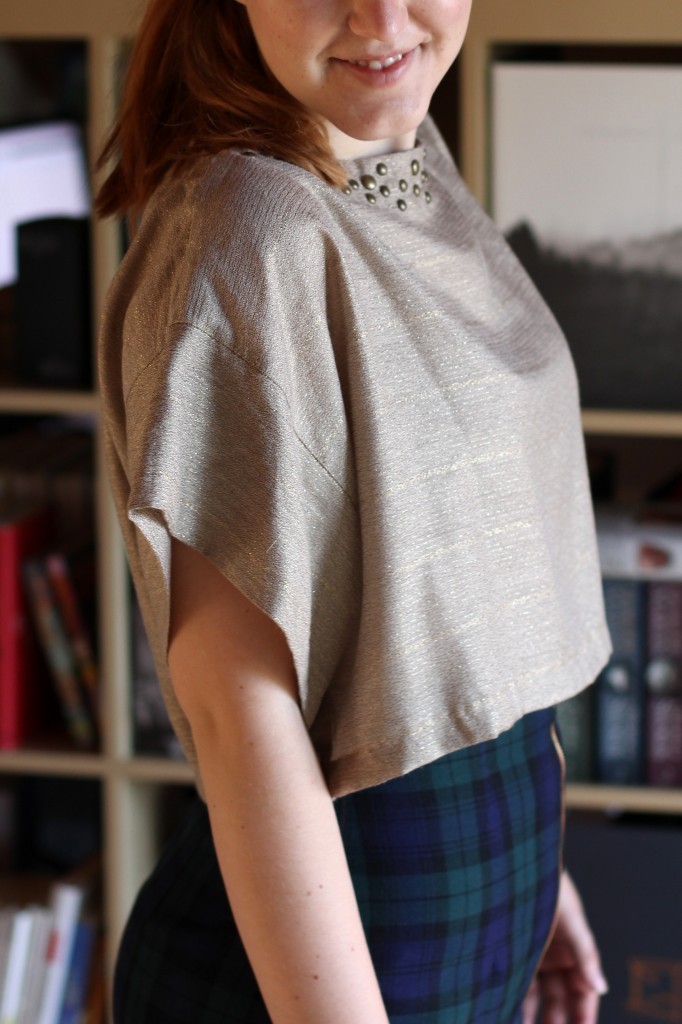
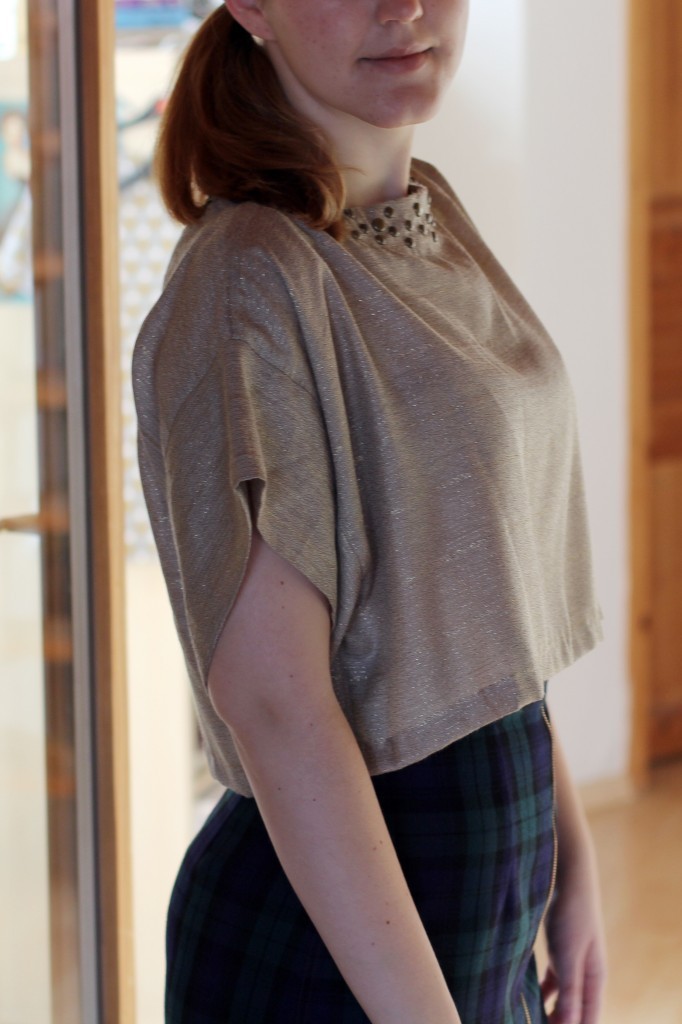
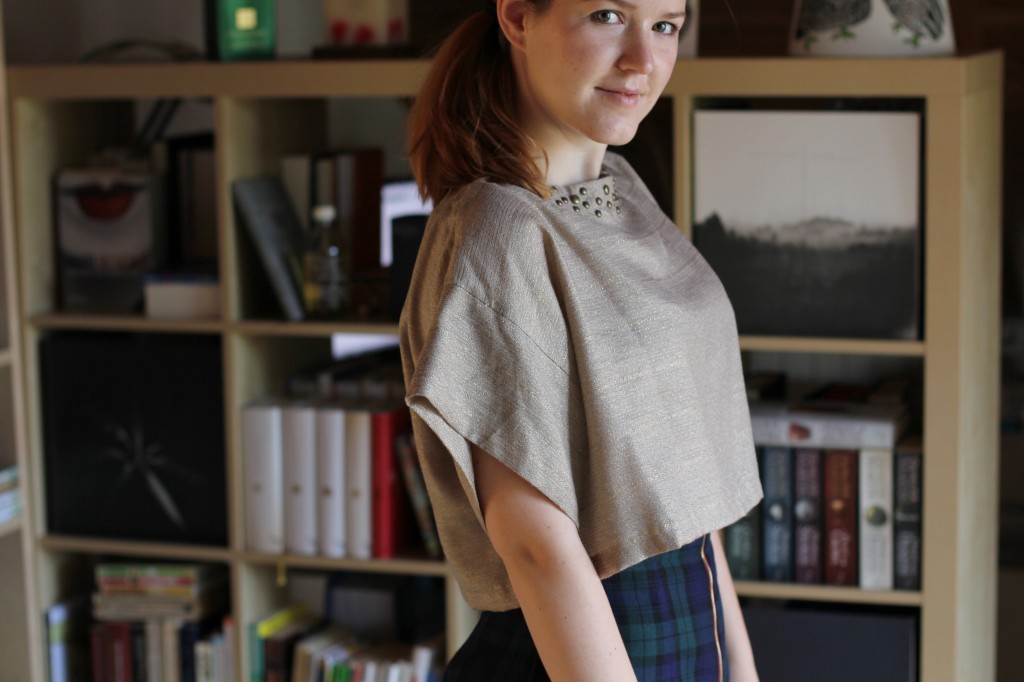
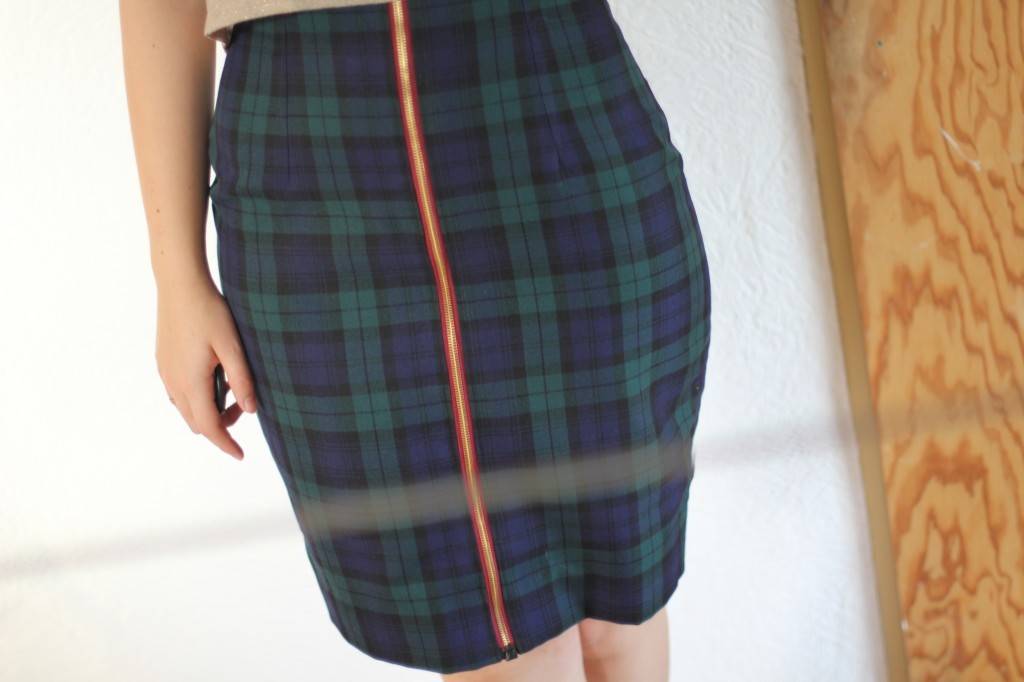
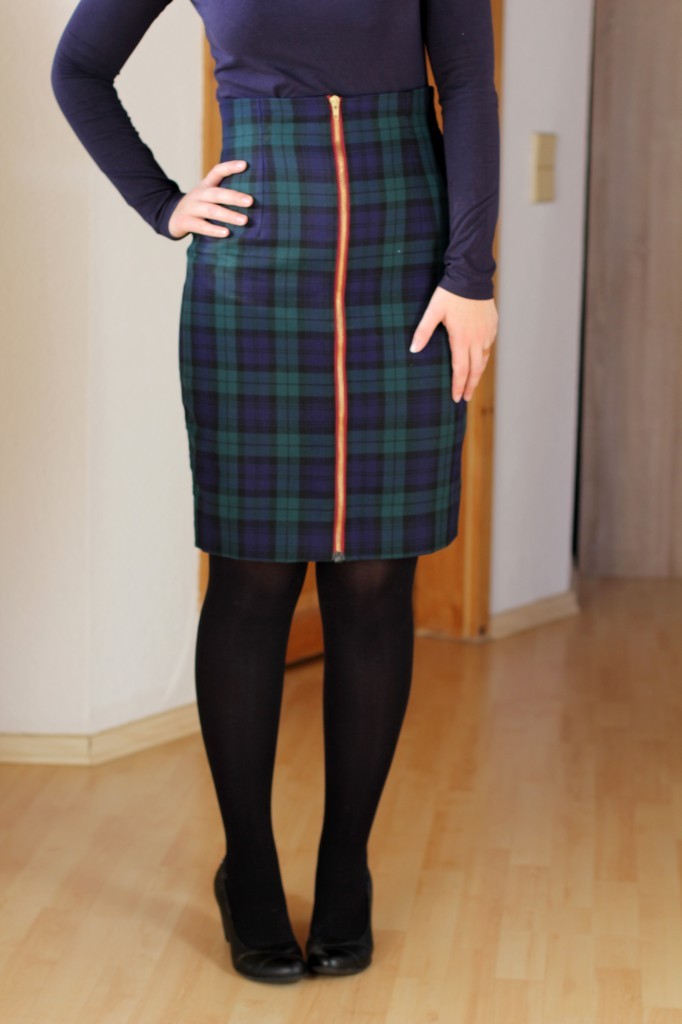
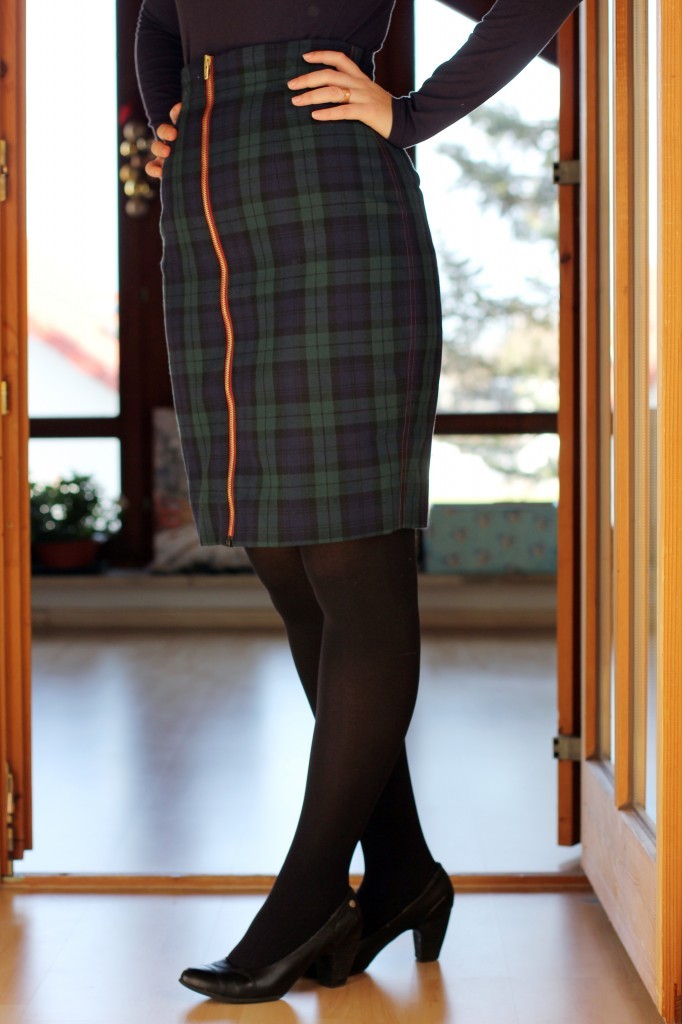
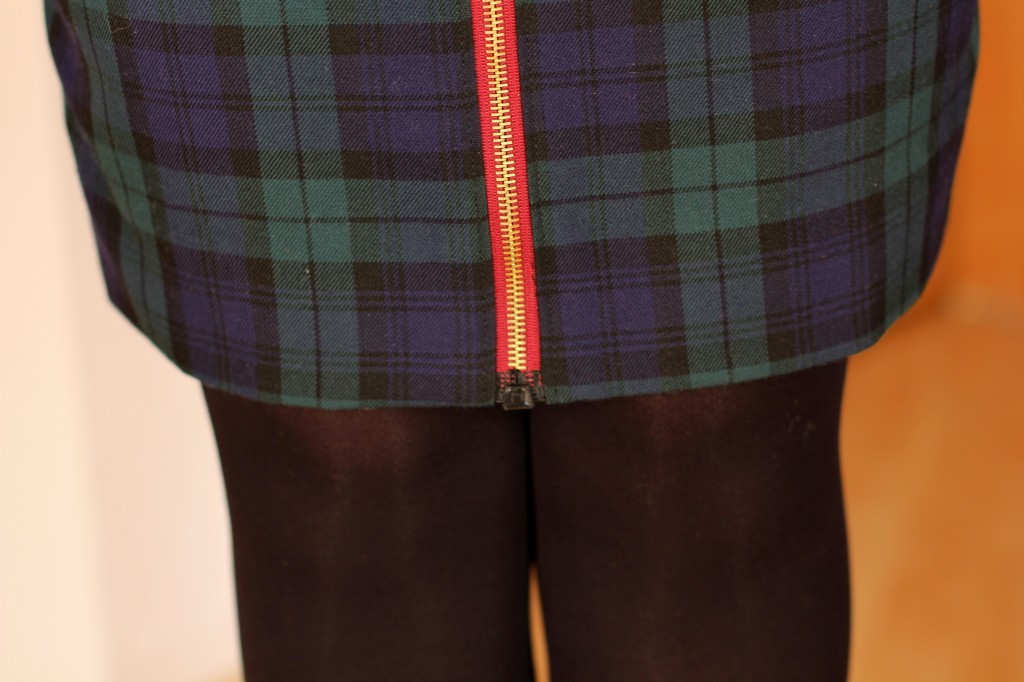
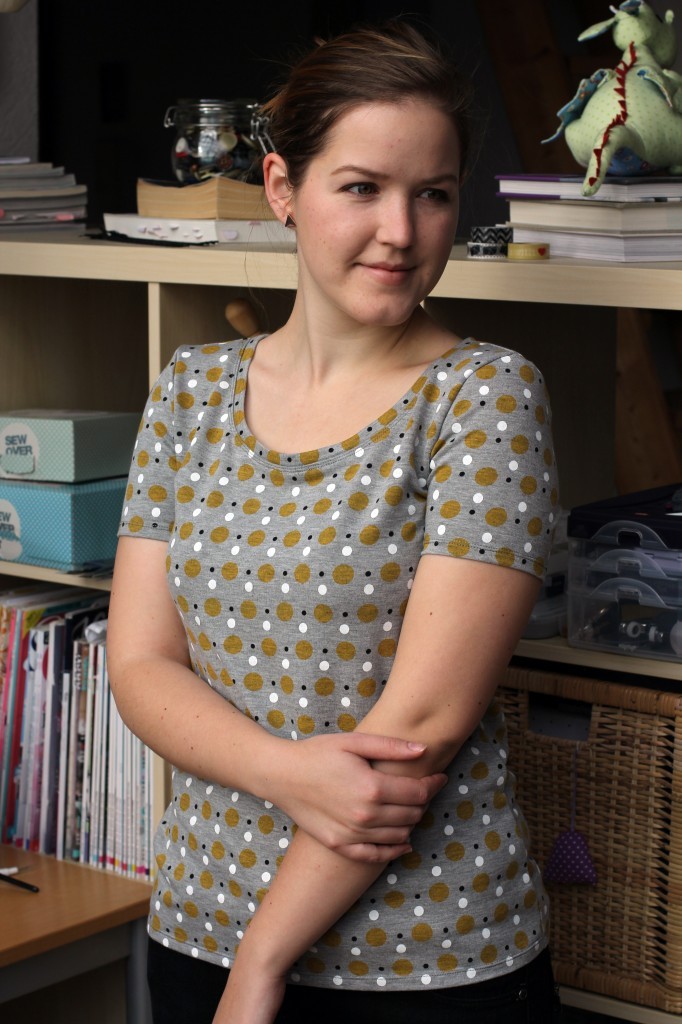
Since the crop top is very wide, I love wearing it with my pencil skirts. Since they have a high waist, my belly won’t show which makes this look pretty work appropriate. Also, I can wear a tank top underneath during the cold season which is neat.
Personally, I love the tight skirt – loose top combination which is quite flattering as it makes your waist appear smaller than it is!

It’s amazing how such small changes can make a big difference to a garment. Take an hour and an unloved garment and turn it into something you love wearing. Instant happiness!
I would love to hear about your experiences with transforming your old or vintage clothes!
xx
Charlie
Happy sewing!
♥
facebook/bloglovin/pinterest
twitter/instagram
Stay in touch!
 Oh hay!
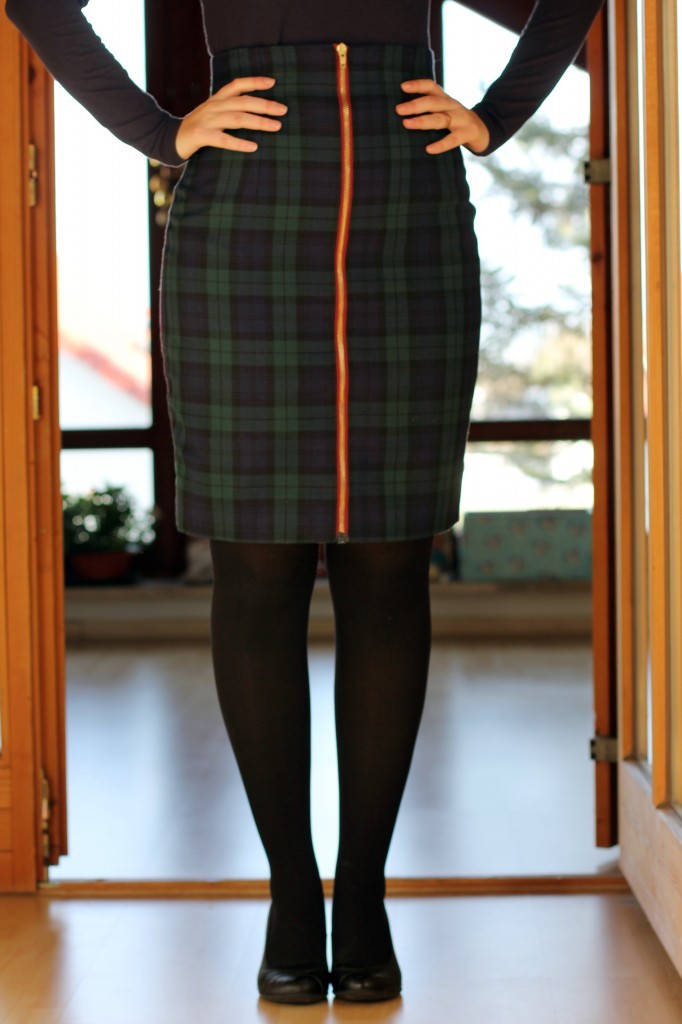


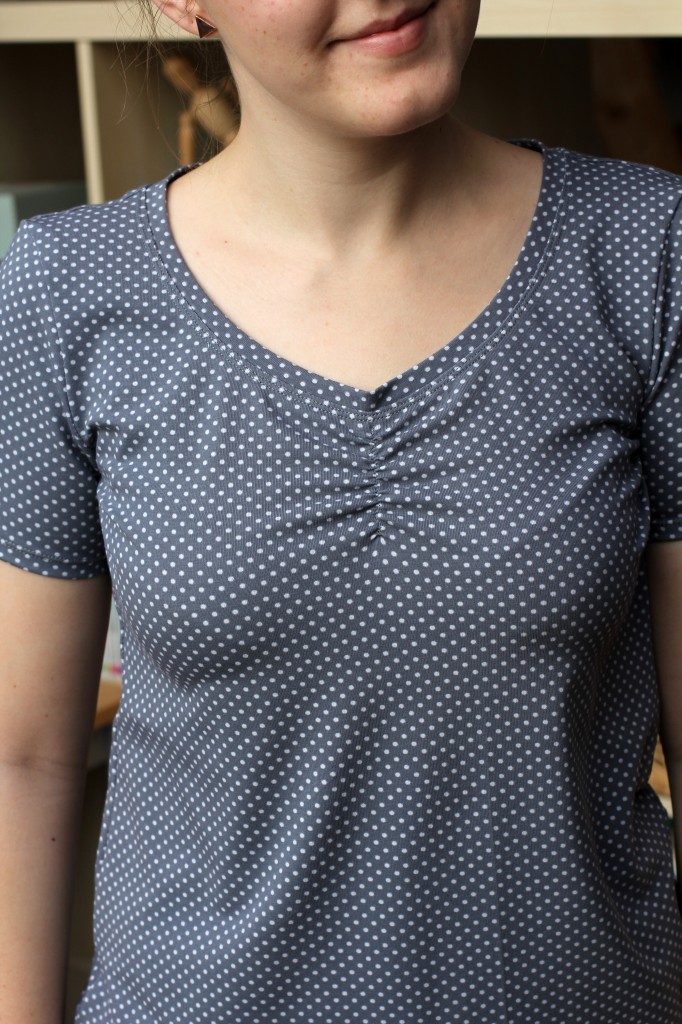
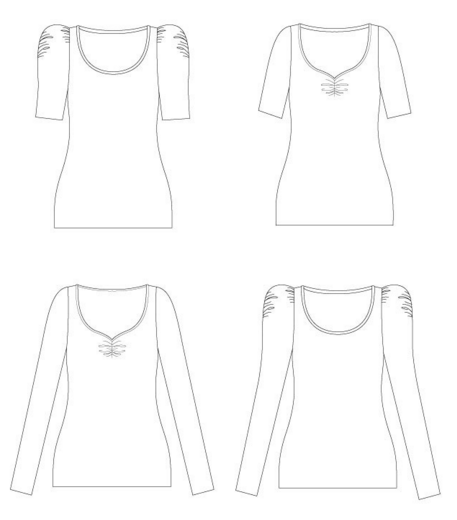
 The two Tilly & The Buttons Agnes tops I’m showing you today were Christmas presents for my bff. So, please ignore the fit! We are similar sizes and shapes but the tops were ultimately made for her and not a perfect fit on me.
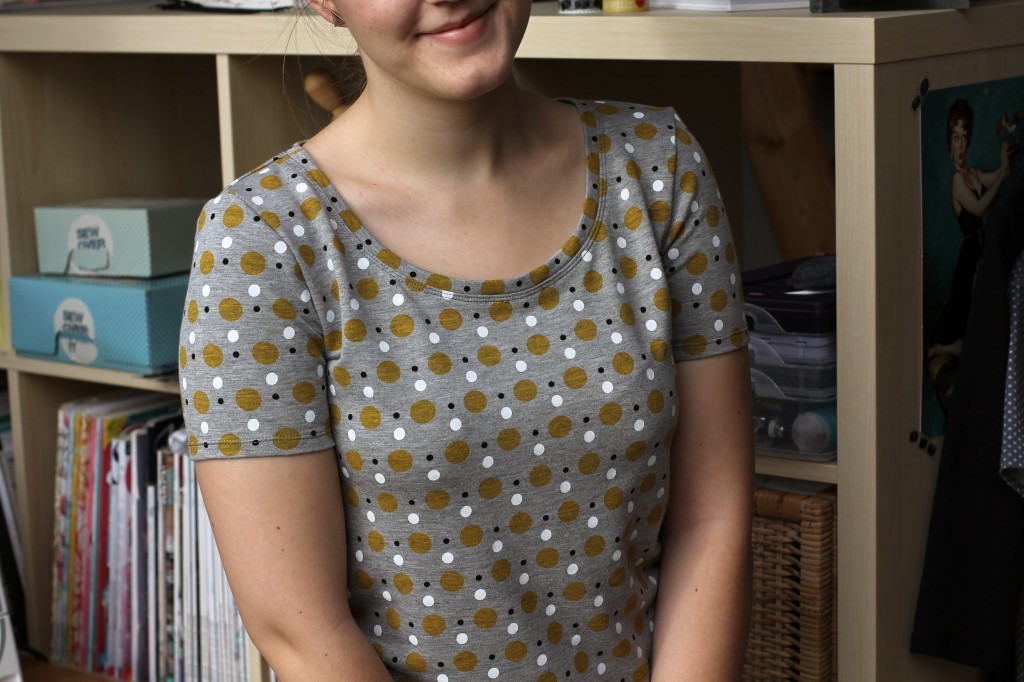
 The Fabric:
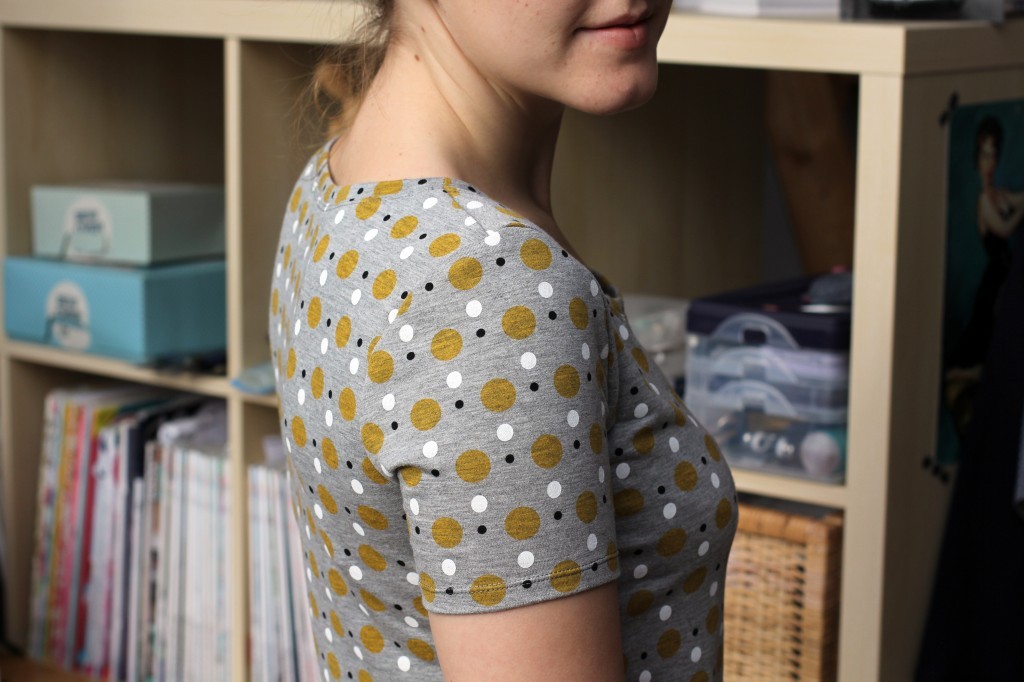
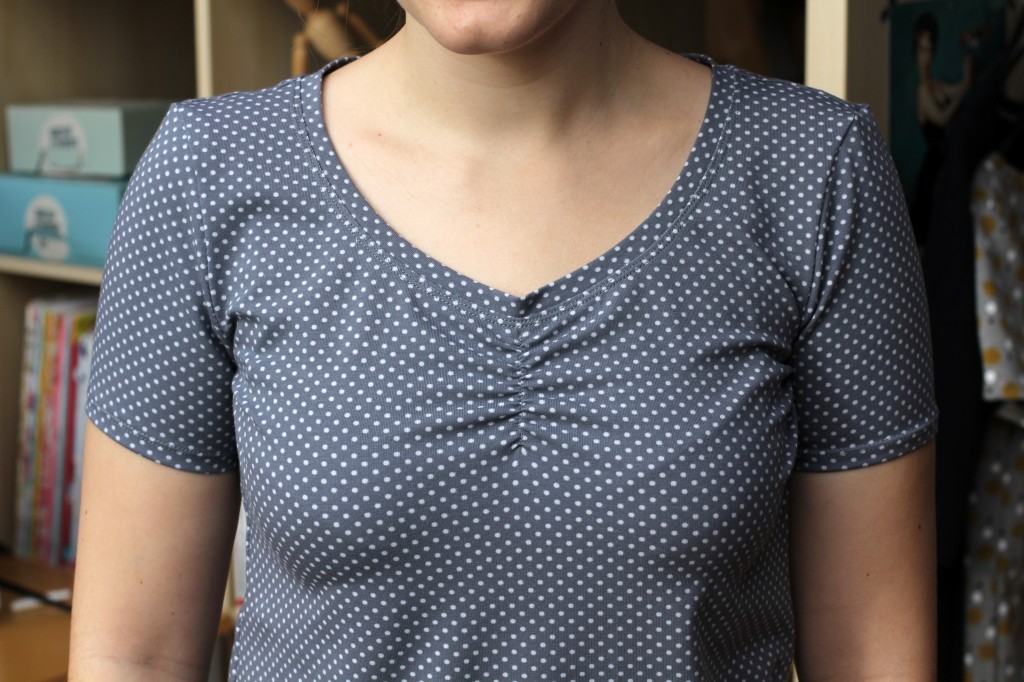
 Anyway, I had already bought the second & safe fabric, so I made another one. These tops are so easy and quick to sew, it didn’t even make much of a difference.
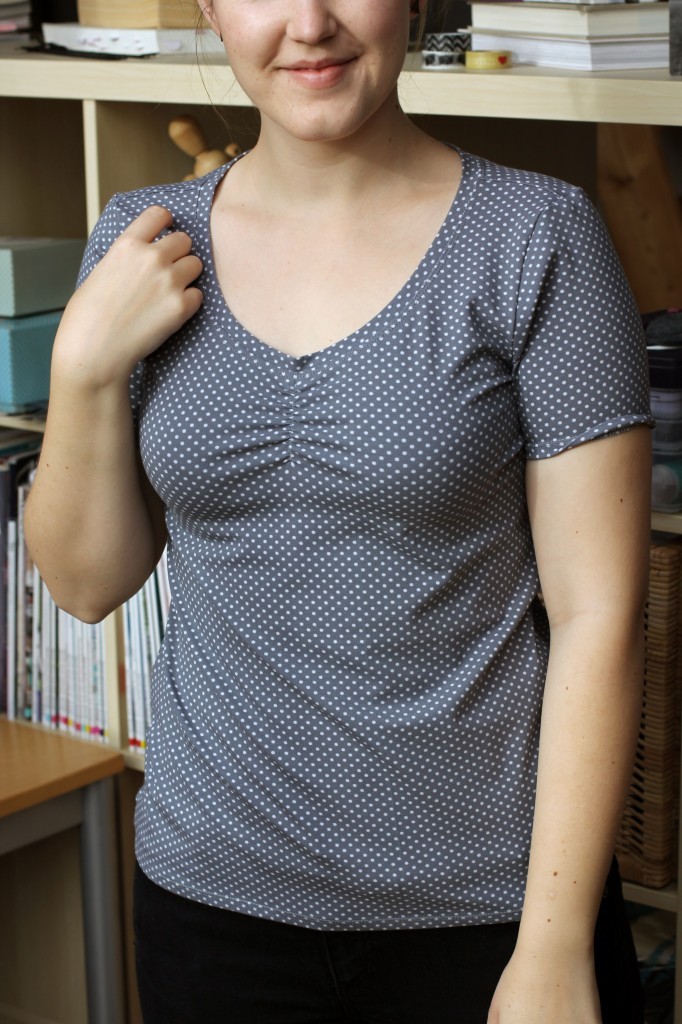 (Ignore the turned up sleeve, I don’t know how to dress myself!)
 Happy Holidays everyone!


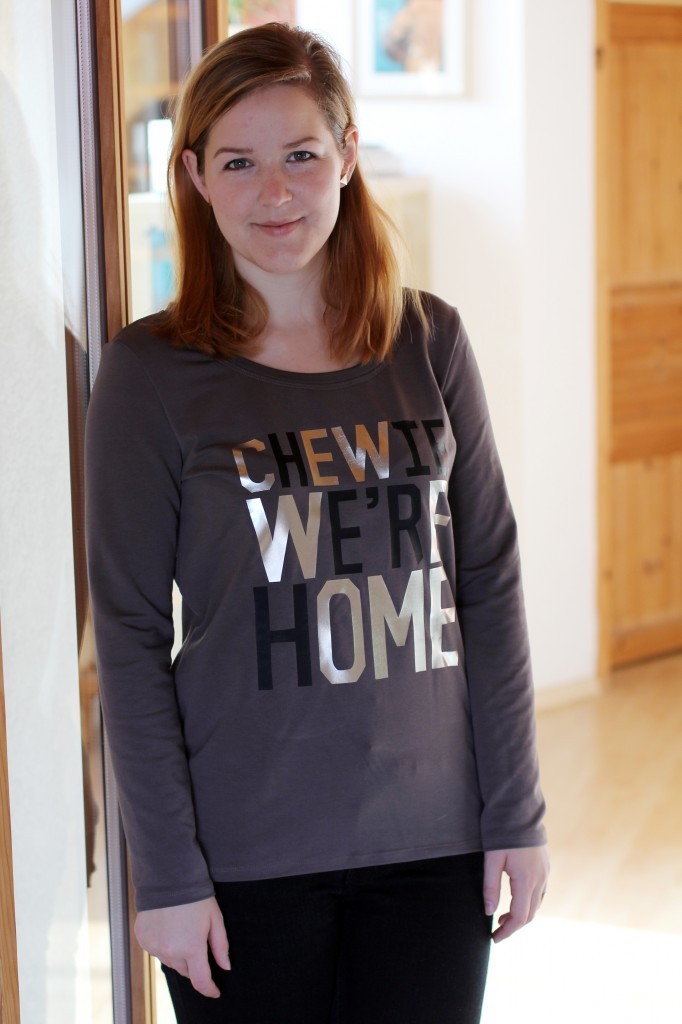
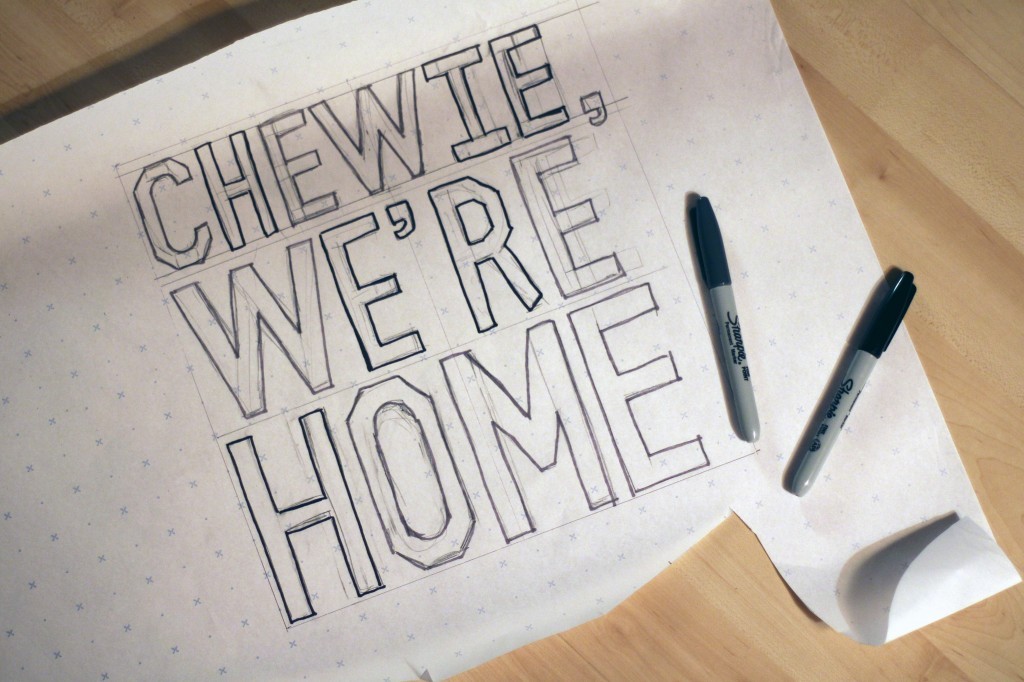 Start of by sketching out the shape or letters you want to create. Alternatively, you can use Word or Photoshop to create a layout you can print off and cut out.
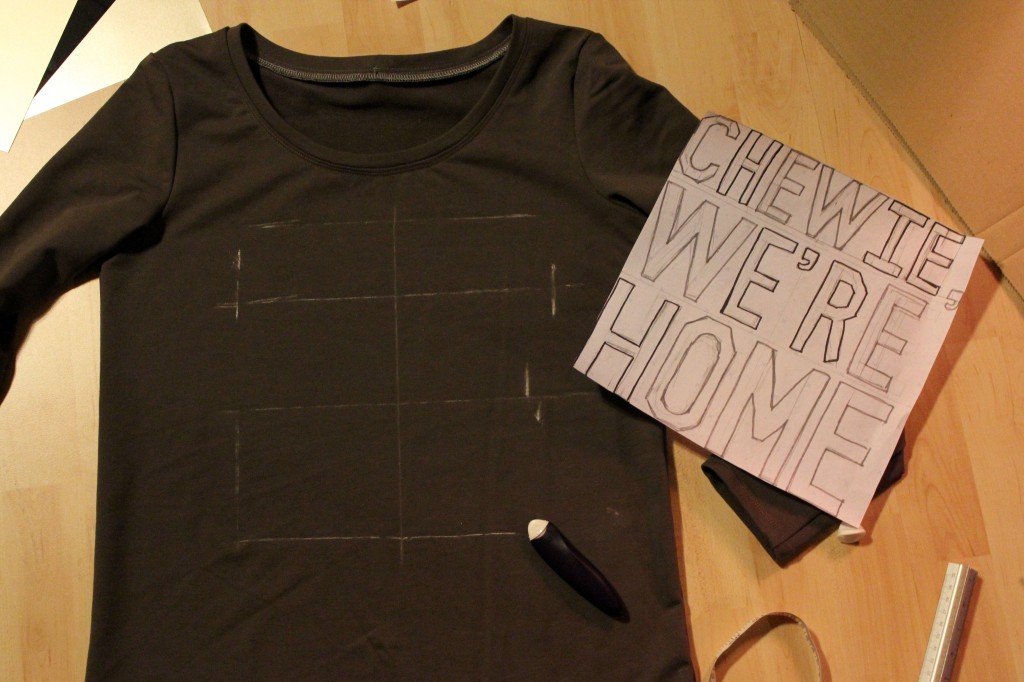 I used the sketch to check if the size was right and to mark the position on the shirt.
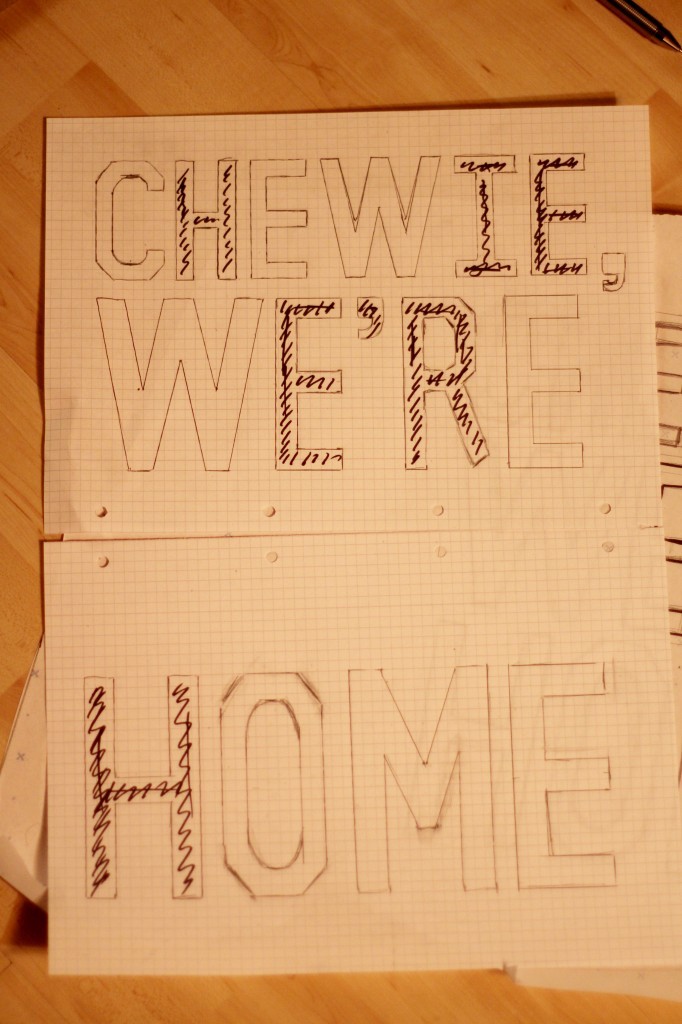 Because I couldn’t find a good font and sketched my own, I copied them onto squared paper to make sure they were even and all the exact same size. I positioned them on the shirt and used chalk for markings.
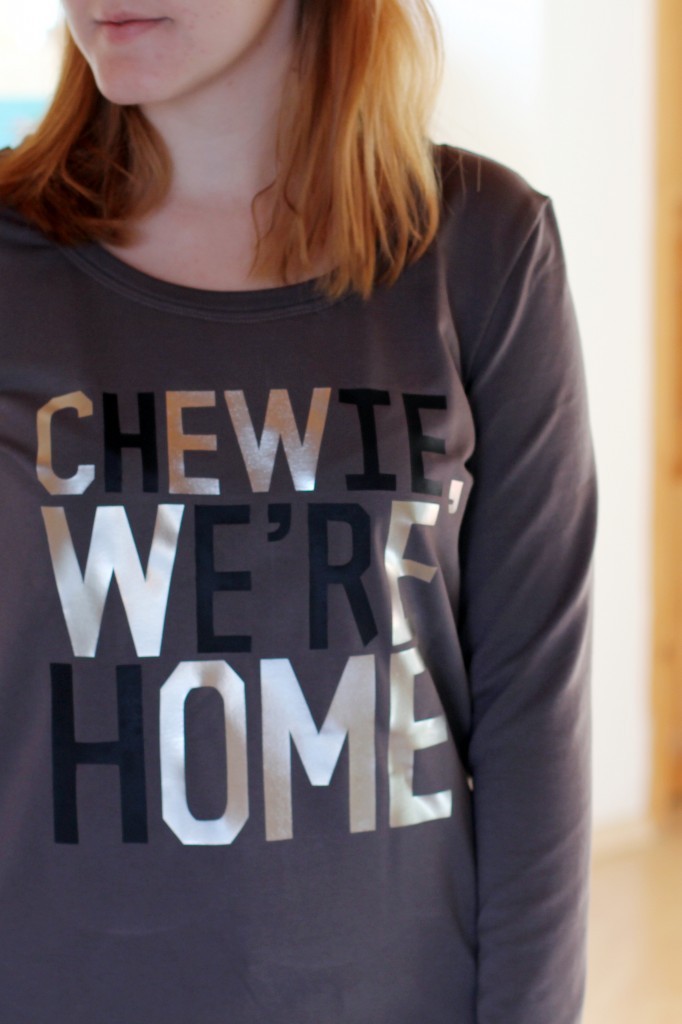
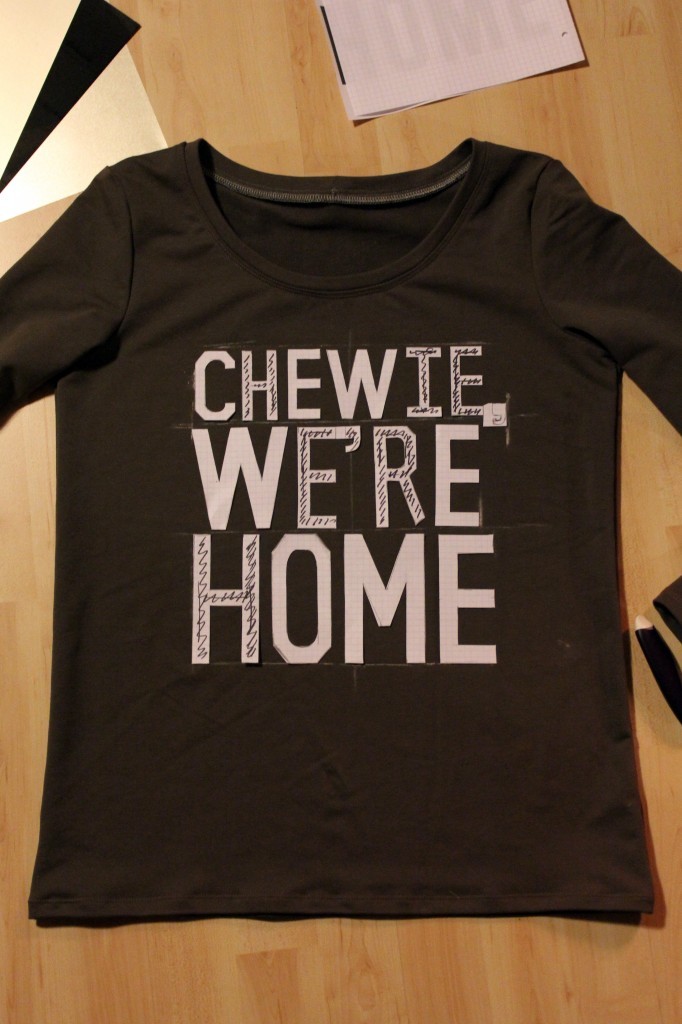 When transferring the template onto the foil, make sure everything is mirrored. Draw the shape onto the matt side of the foil, you can use pen or pencil. If you don’t want to mirror your letters, you can try to draw them onto the “right” side, but since it has a protective film it might be a bit tricky and the ink of your pen might come off and ruin your iron.
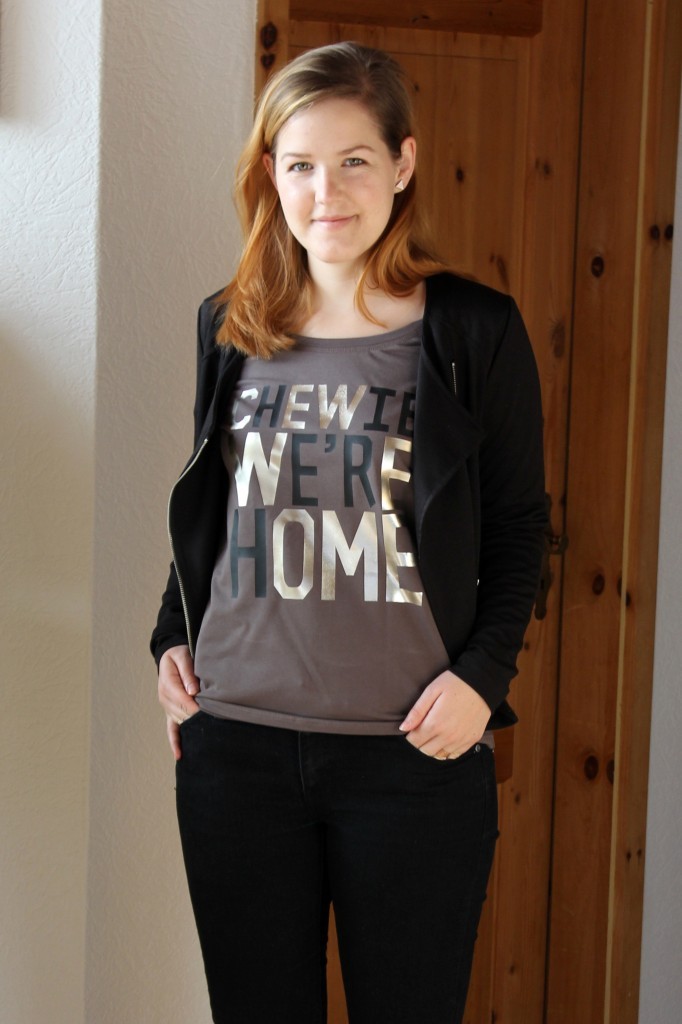
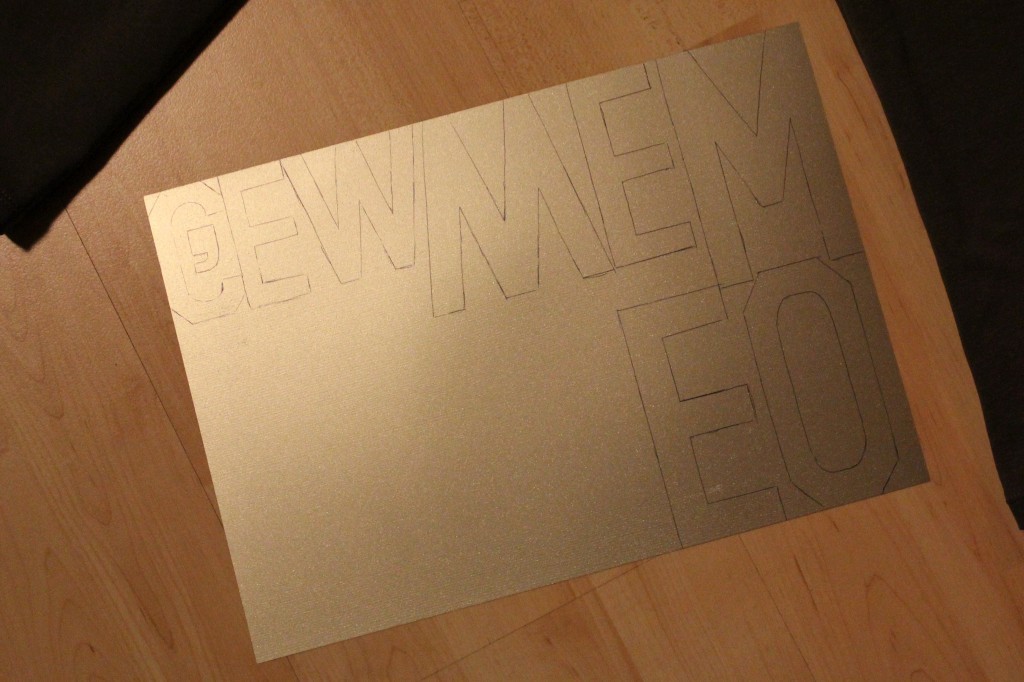 Cut out the letters, place the onto your shirt and press the iron onto them one by one to prevent them from slipping out of positon. Don’t remove the protective film until all the letters are firmly applied and have cooled off.
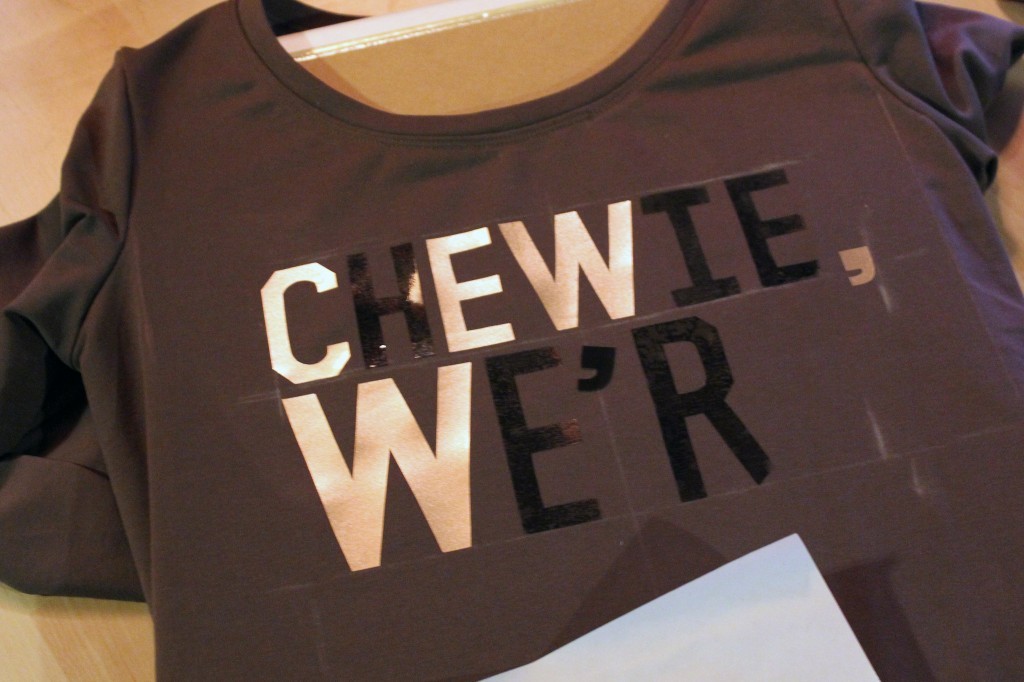
 You can now remove the plastic film and use the extra sheet of protective paper that comes with the foil to set the glue a second time. Never iron without the paper after that otherwise the foils sticks to your iron and the whole this is ruined. You can wash the shirt at 60° and iron it from the wrong side if necessary.
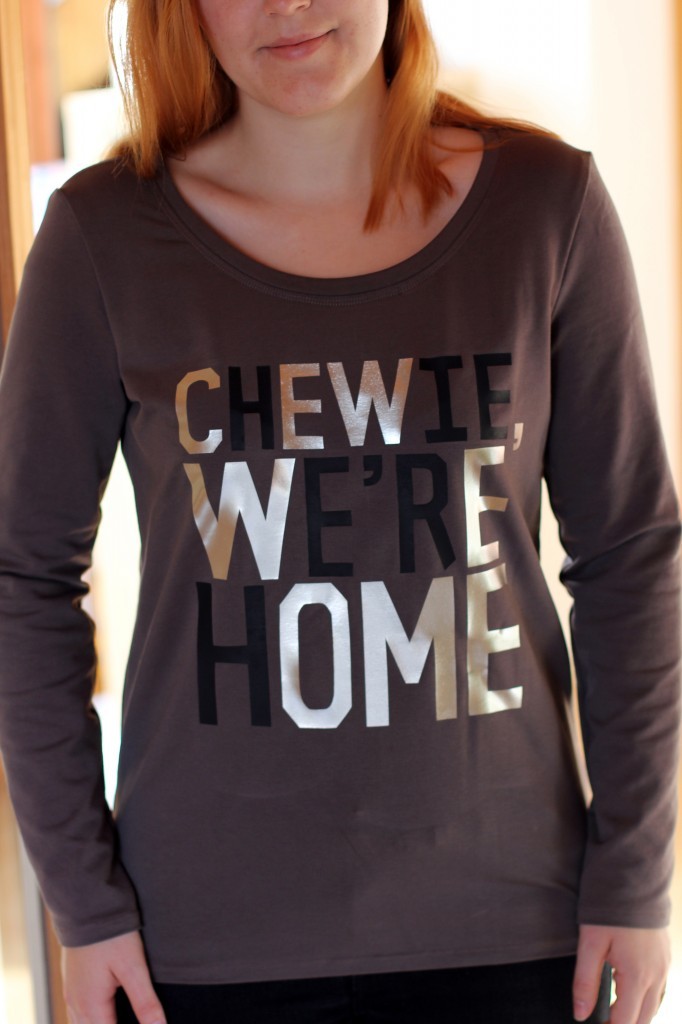
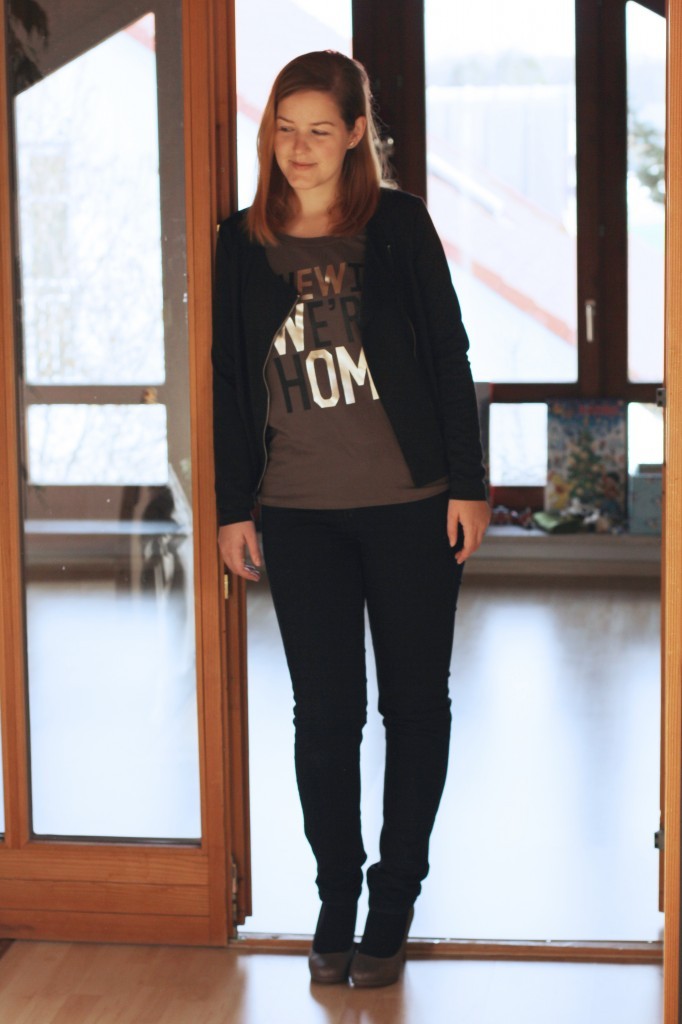

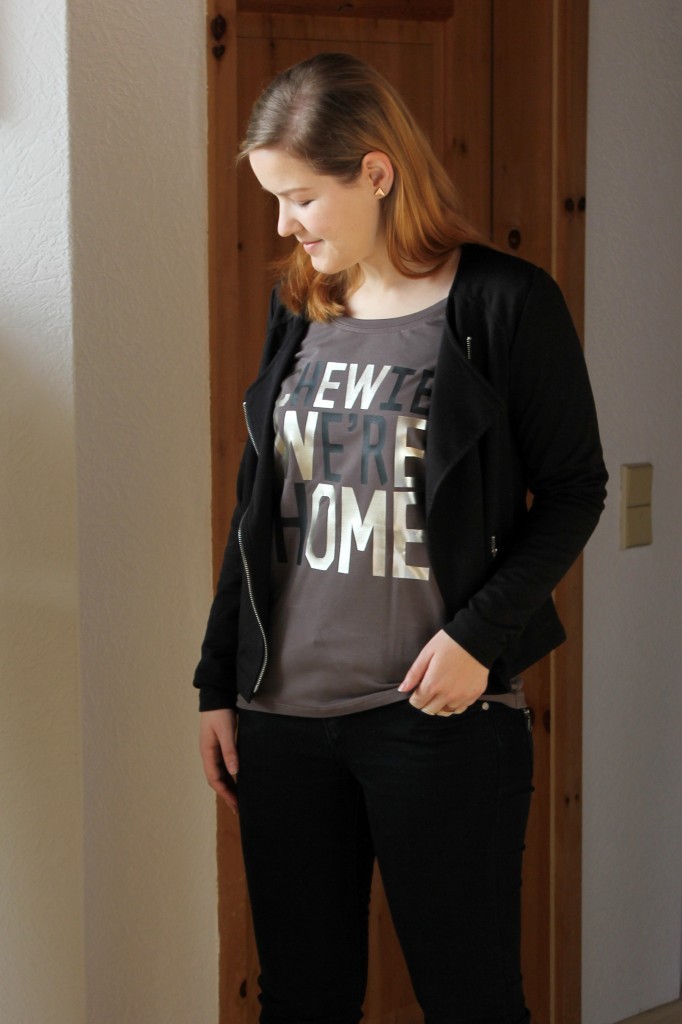
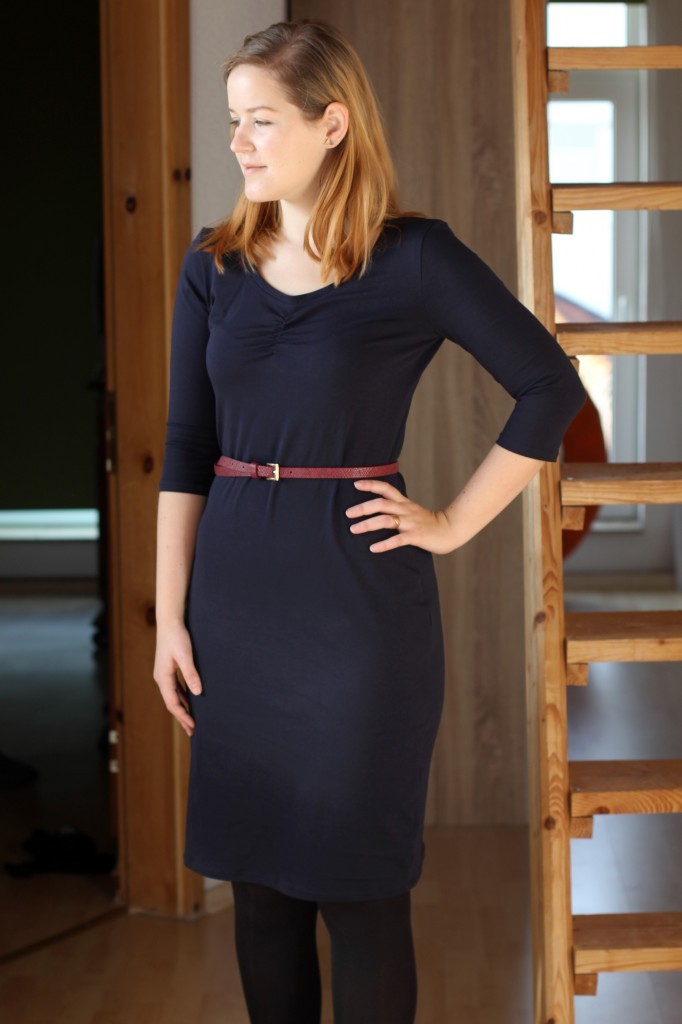


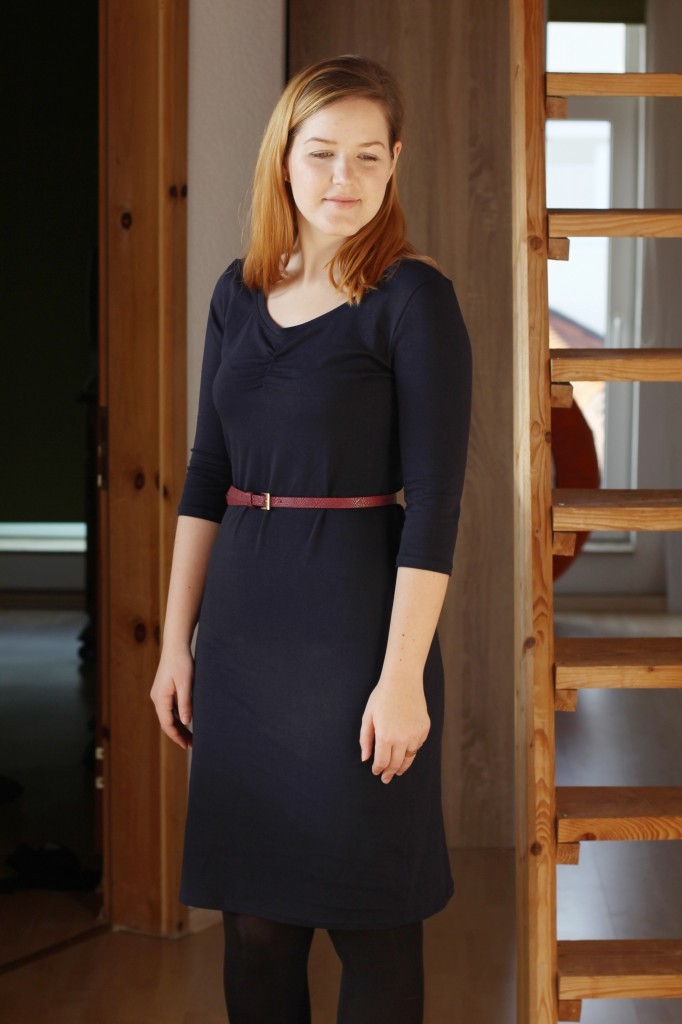
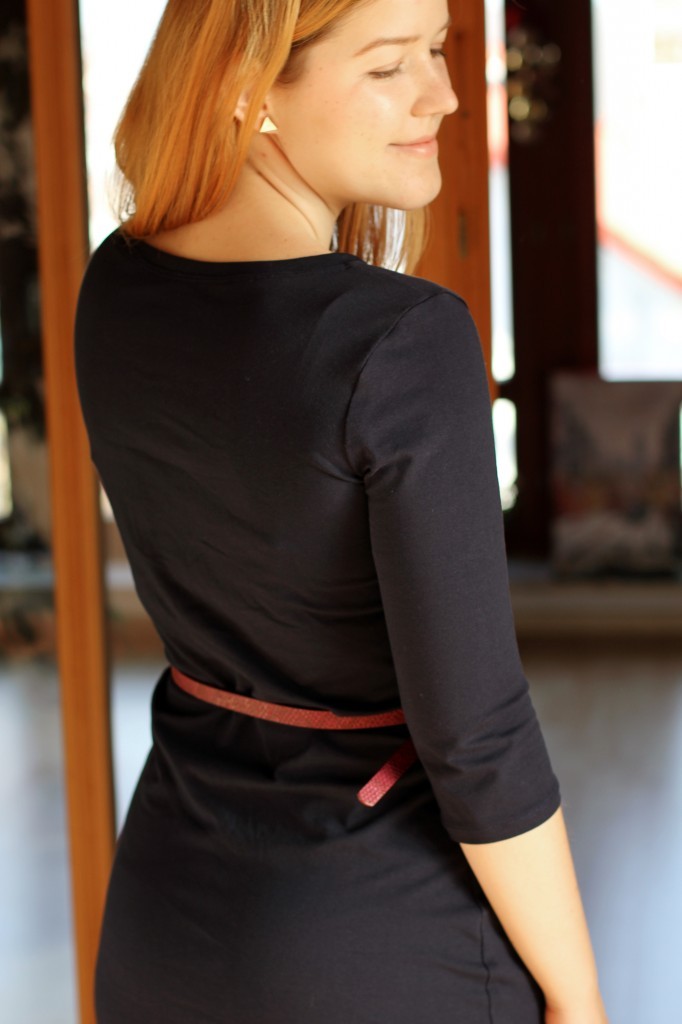
 The dress is super comfy and looks great with tights and is also great for layering with a cardi or jumper. That is something you might want to keep in mind if you are planning to make the puff sleeves. They do look quite bulky once you wear a cardigan on top.