 Hello gang!
I thought today is time for a quick challenge recap. As you know I’m working hard on my 27 Dresses Challenge so I can finally go and get an overlocker. If you haven’t heard about my challenge or need a quick refresher, here’s the original blog post.
I started the challenge almost exactly a year ago and I’m still not finished. Boo! Well, but that’s mainly because I’m really strict with myself and only count garments that are made from scratch. Refashions, accessoires and toddler pinafores do not count. Neither do kitchen aprons. That would be too easy. (FYI trousers and blouses do count. If I would only count dresses it would take me decades to get that damn overlocker, dudes!!)
Seen from that perspective, I’ve come quite far. I blogged about 18 challenge garments so far (out of which 10 are dresses) and more are on their way. Inofficially, #19 and #20 are already done, #21 & #22 are WIP at the moment. I can already hear the overlocker whirring!
Here are garments #1 to #18. Have fun!
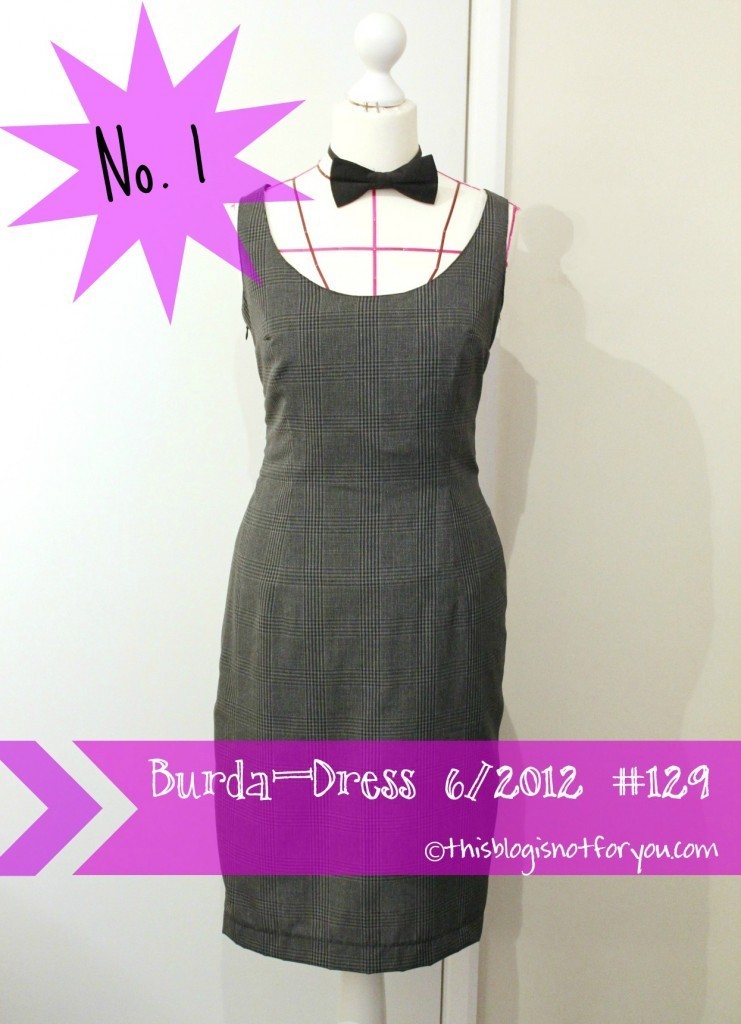 How do I feel about it now? Umm. Yesss. This is more or less the second dress I’ve ever sewn using a sewing machine and the first dress made using a sewing pattern. Considering that it was my first Burdastyle pattern experience, I have to say it’s not too bad. I had no idea what I was doing, but it turned out to be a dress in the end. Pattern matching? Eh, that’s why there are no pictures of the back!
Have I worn it? Once. I made it for a special occasion (Mr Thisblogisnotforyou was awarded a prize by his uni department and I was his plus one), went there and wore it. It has been hanging in my closet ever since.
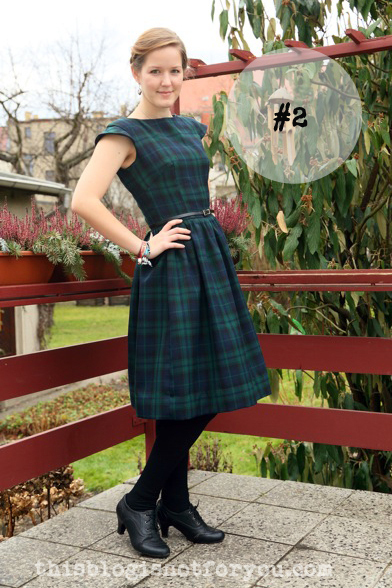
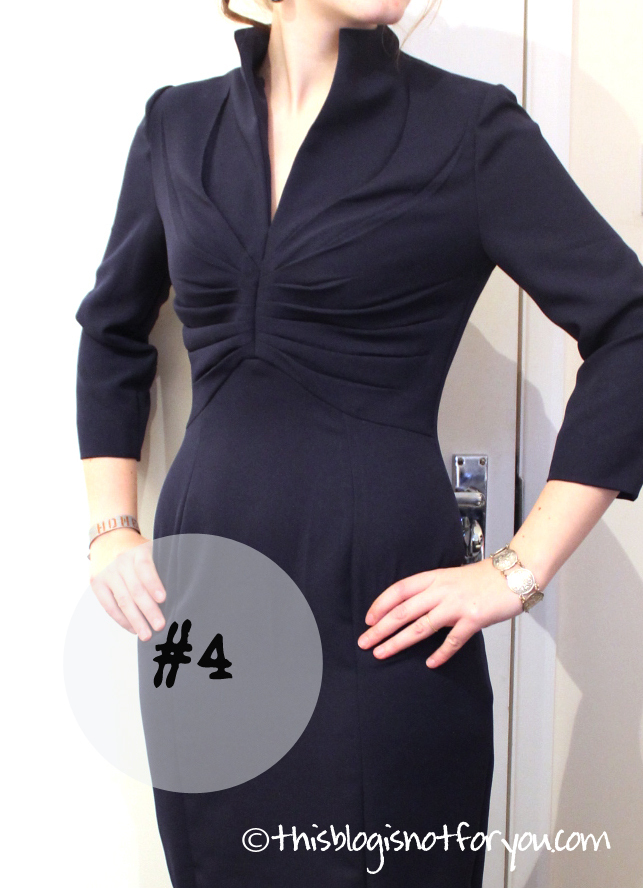
How do I feel about it now? I love it! I still is one of my favourite makes. I remember it took ages to finish it, since I couldn’t wrap my head around these stupid Burda instructions.
Have I worn it? Yes! Twice, on Christmas the last two years. Everyone loved it and I got a lot of compliments for it! It’s a wool dress and only handwash it, since I forgot to prewash the fabric before I sewed the dress and I know that it will shrink quite a bit (after testing it with a bit of remnant fabric). That’s why I don’t wear it on a daily basis.
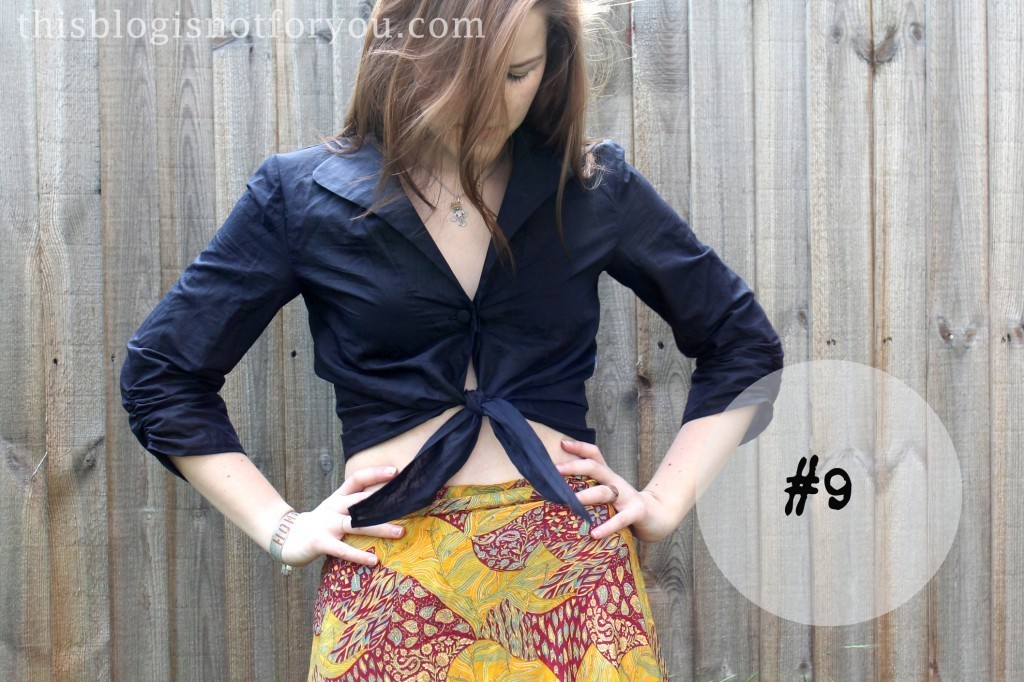
 How do I feel about it now? Ahh! My first pair of trousers! My first self-drafted pattern. Everything went so great while making these. The only thing that bothers me now is that I used low quality fabric. It was 20-year-old fabric I got from Mr Thisblogisnotforyou’s mum and it’s a bit itchy and seems to attract fluff.
Have I worn it? A million times! I love it! I bought linen fabric (May last year!) to make it again, just haven’t had the time yet.
 How do I feel about it now? I still love it, but it’s one of these dresses you can’t wear in everyday life. I love the fit and am quite proud that I managed to make such a good sew with my poor sewing skills back then.
Have I worn it? Unfortunately, no. Partly because I just finished the last bit of the hem last week (hoping that I might wear it on a date night some time soon). Also, the instructions say that all the front bodice pleats need to be basted before washing the dress so they don’t loose their shape. Not a big motivation for wearing it.
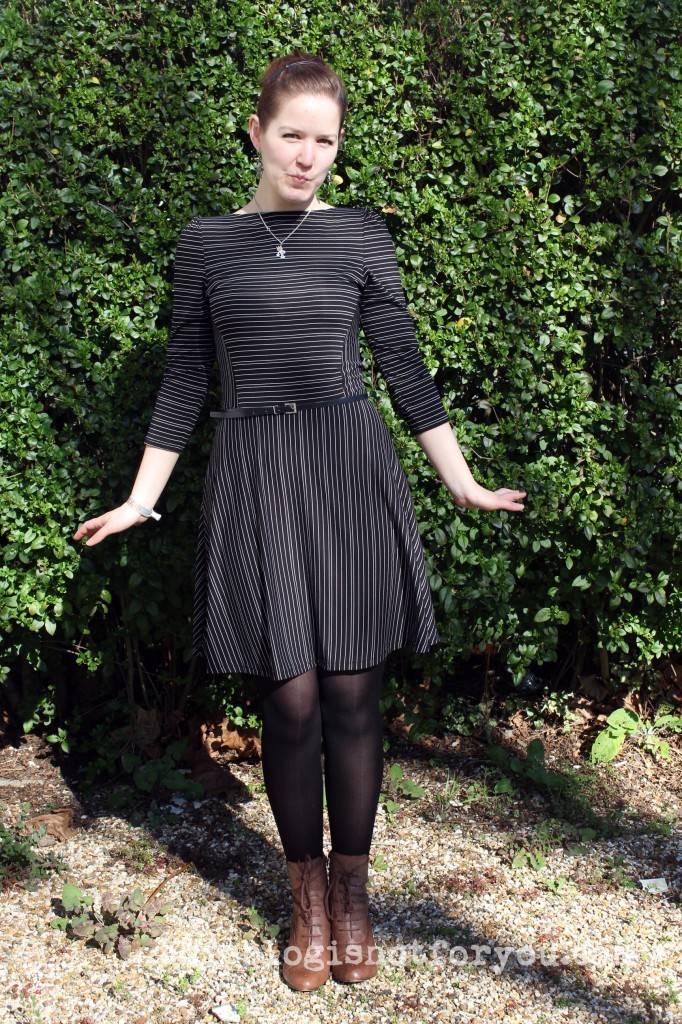
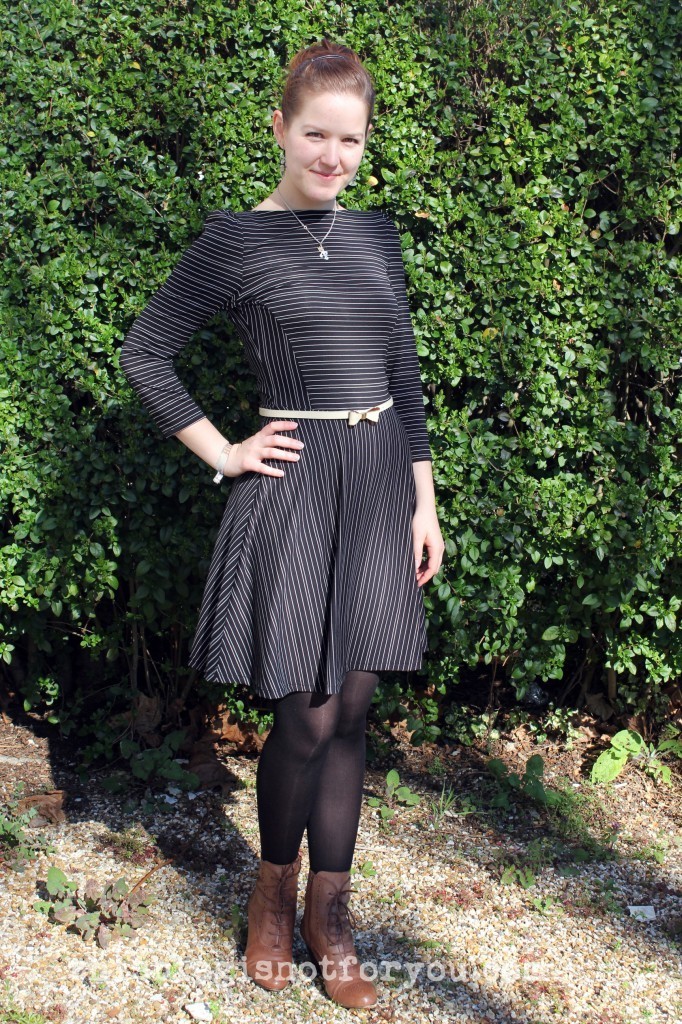
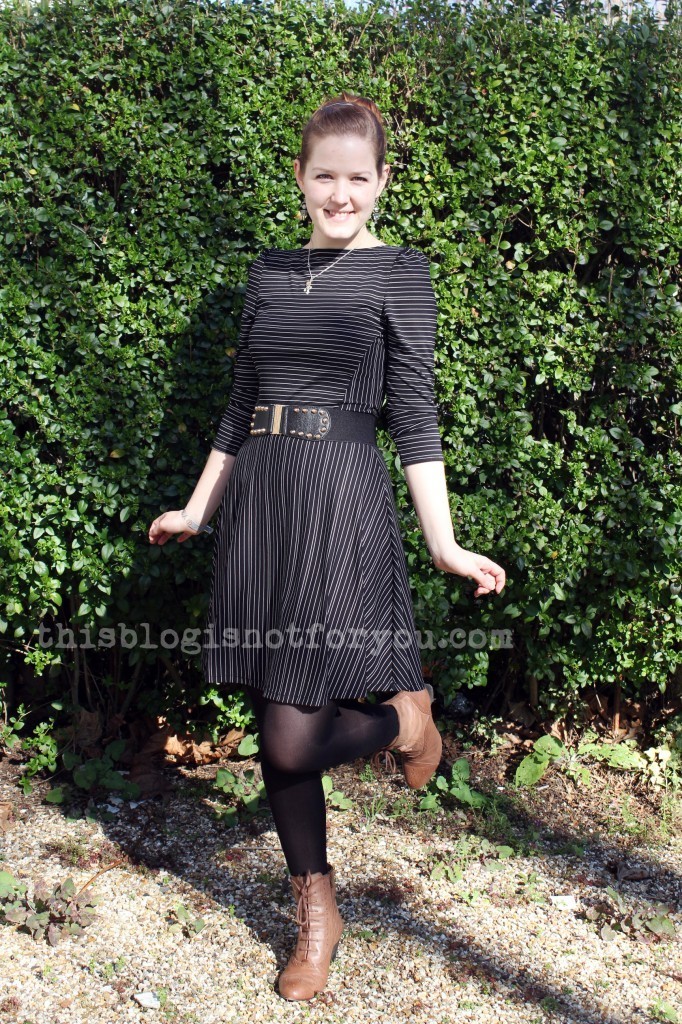
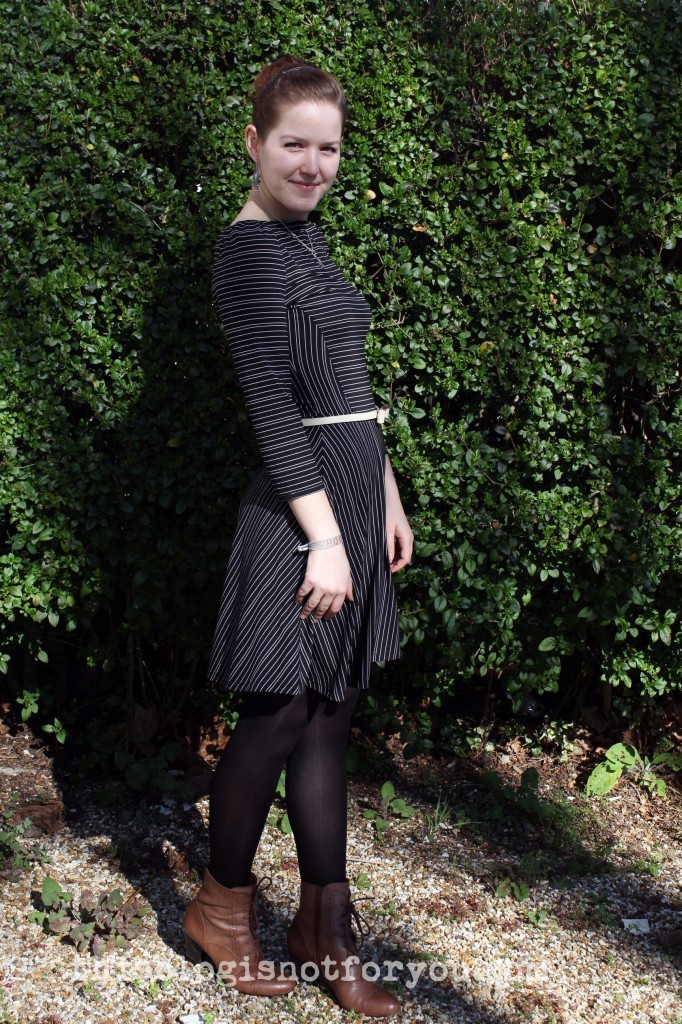
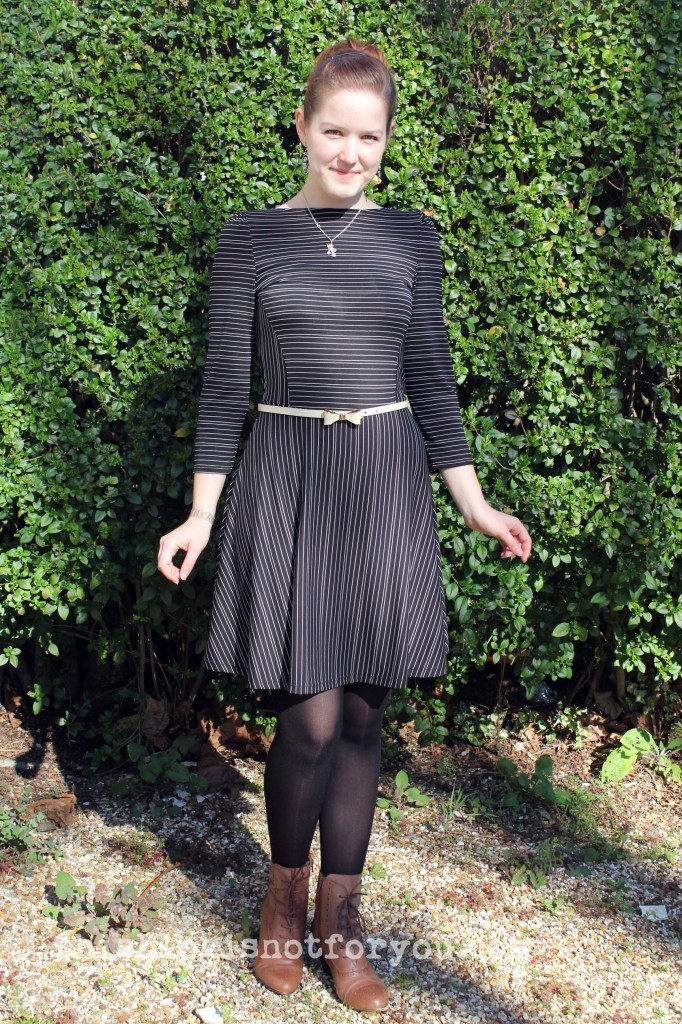
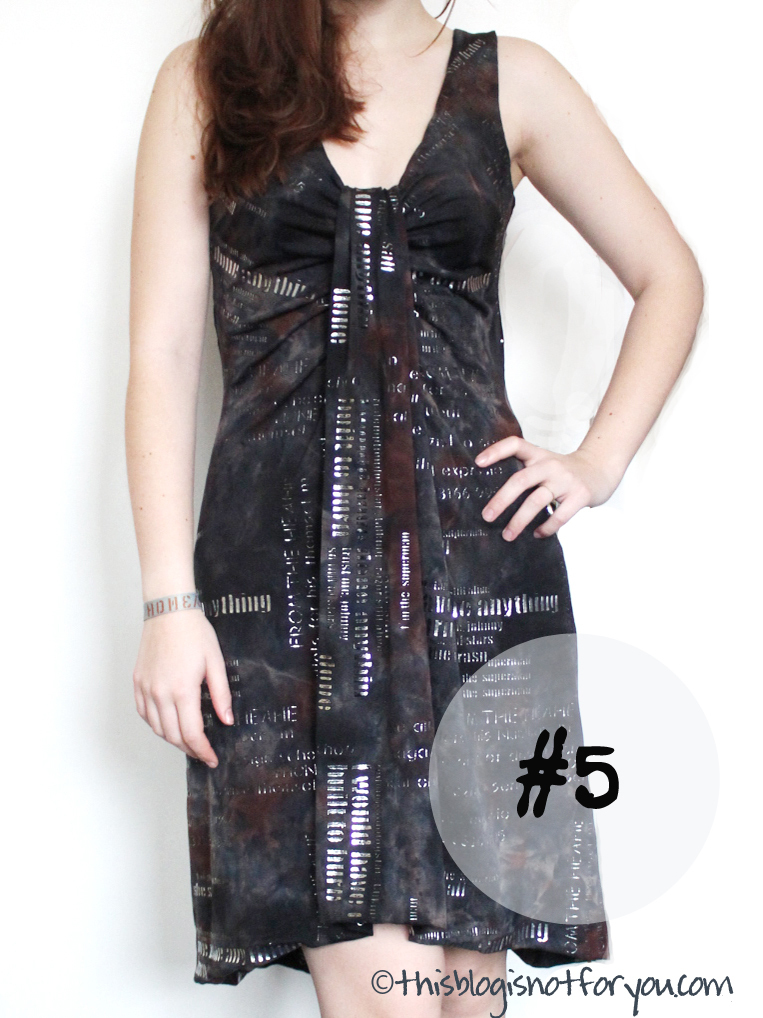 How do I feel about it now? I wasn’t quite sure about the fabric after I bought it and this dress was supposed to be more like a toile. Sewing this fabric was a horror, but in the end it turned out to be one of my favourite makes!
Have I worn it? Way too often! I had to take a break from it for a little while, just so people around me didn’t start wondering whether I had nothing else to wear! It’s super comfy and fits perfectly. I’m thinking about making another one actually!
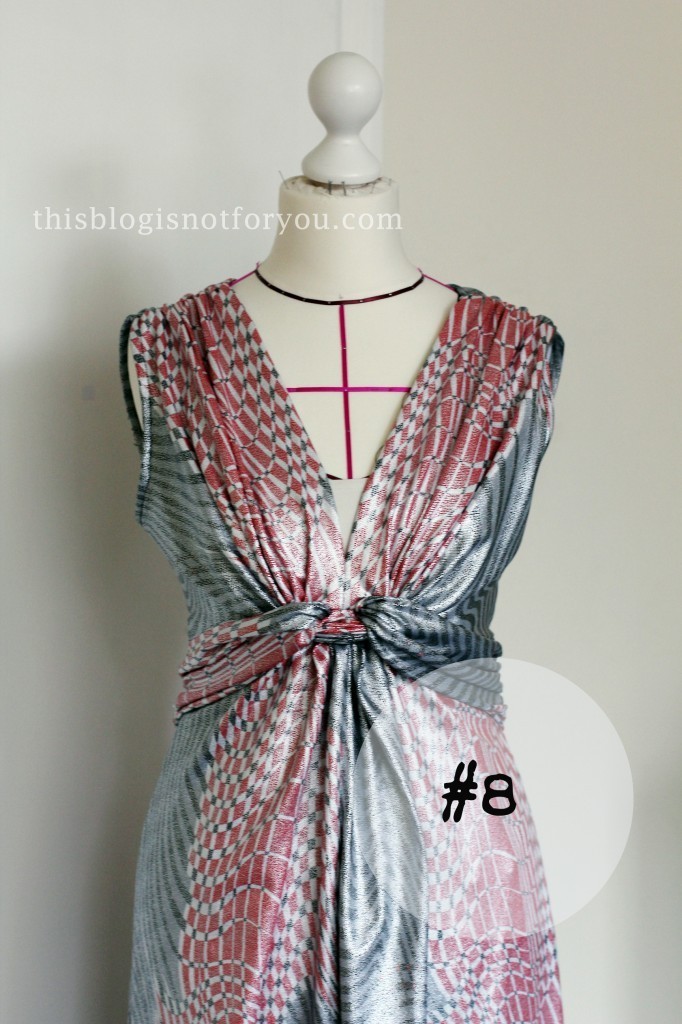
 How do I feel about it now? It’s nice, it’s different and it’s completely self-drafted. I just love the colour combination. I used boning for the bodice (for the first time) and am quite proud of such a good fit.
Have I worn it? Only for taking pictures for the blog to be honest. Why? The bodice is a bit too tight (never underestimate wearing ease, guys!) and there was just no appropriate occasion to wear it.

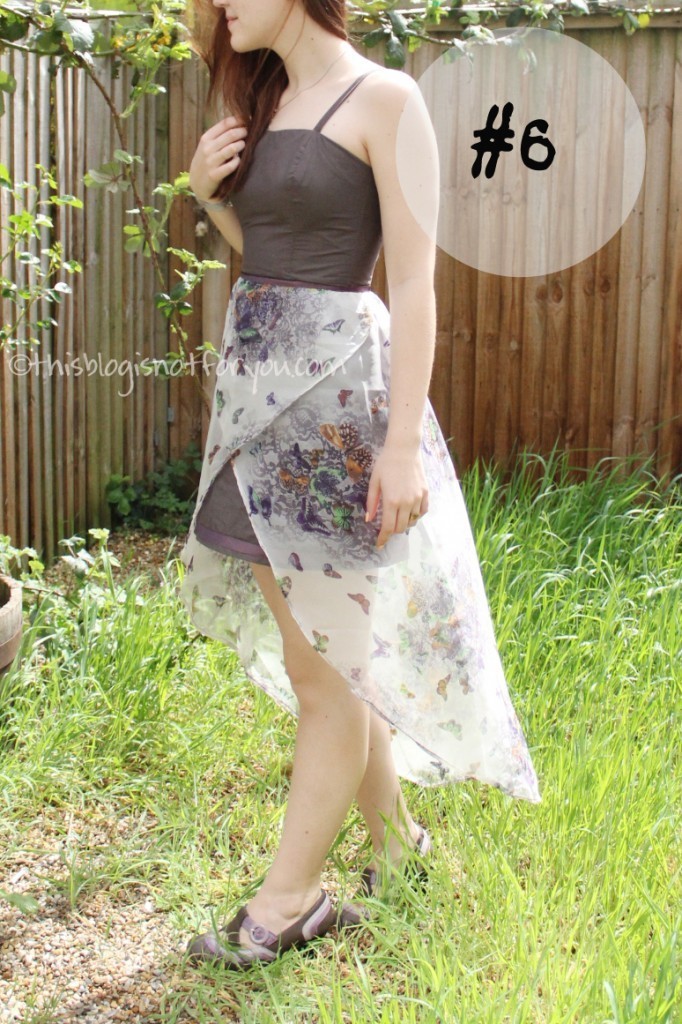
How do I feel about it now? This skirt was a really quick sew. I just needed something to show off the fabulous vintage trim. The fabric was from my stash, so this was a double win!
Have I worn it? Yes. Not too often, though, since the fabric wrinkles like crazy and I’m a bit lazy when it comes to ironing. But I wear it every now and then.
 How do I feel about it now? I hate it, of course, and am ashamed to even have counted it in the challenge in the first place! It’s the ugliest thing ever. The only good thing about it is the fit. I consider it a toile for a dress I never made.
Have I worn it? Seriously? Noooo! But I used part of it for my Bombshell Swimsuit lining.
How do I feel about it now? It’s really nice. One of the first garments that came together without any major sewing disasters.
Have I worn it? A few times. I will definitely wear it again this summer. The annoying bit: The fabric is quite itchy.

How do I feel about it now? I’m still sooo in love with it. These raglan sleeves were a bit tricky, as was the chiffon fabric. All those baby seams! I have a bit of fabric left, maybe you will see these cute little pandas again some time soon.
Have I worn it? No, because I made it for my sister and sent it off to her as soon as it was done. From what she told me, she’s worn it. I’m jealous! It was really hard to give this one away!
How do I feel about it now? This was such a horror to sew! First of all, I cut out the fabric with the stretch going the wrong direction. So I basically had to sew it twice. Such a nightmare. That’s all I remember.
Have I worn it? No. This, too, was for my sister.
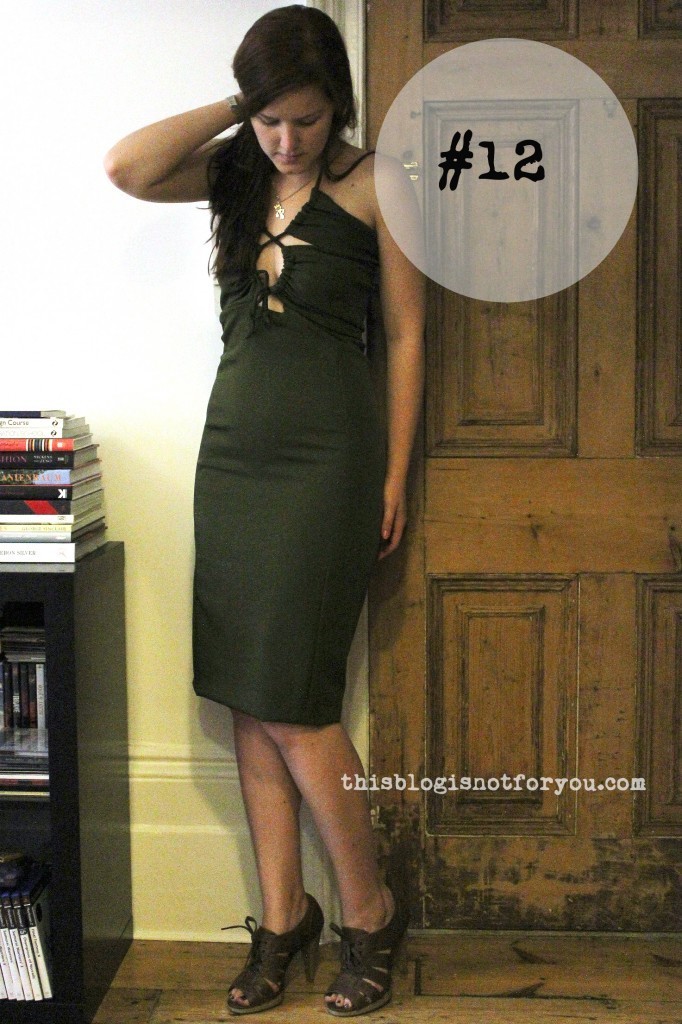
How do I feel about it now? It came together quickly, but I wasn’t concentrated enough and made quite a few mistakes. First of all, I picked the wrong fabric, it didn’t have enough stretch! This dress is way too tight, a serious wardrobe malfunction.
Have I worn it? Once. I will probably have to recycle the fabric at some point.
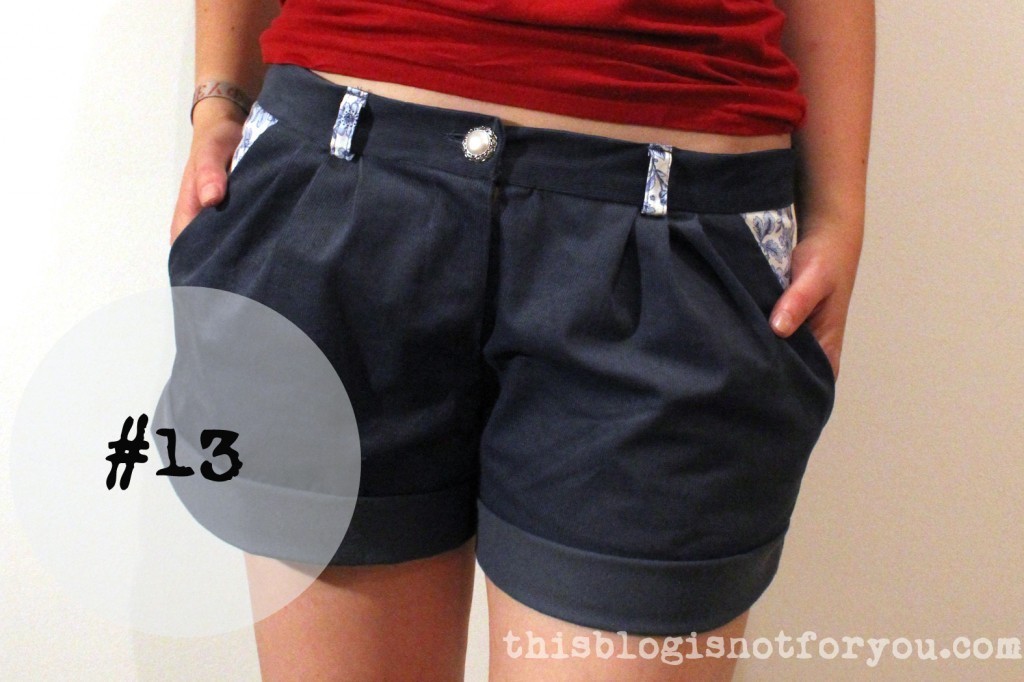
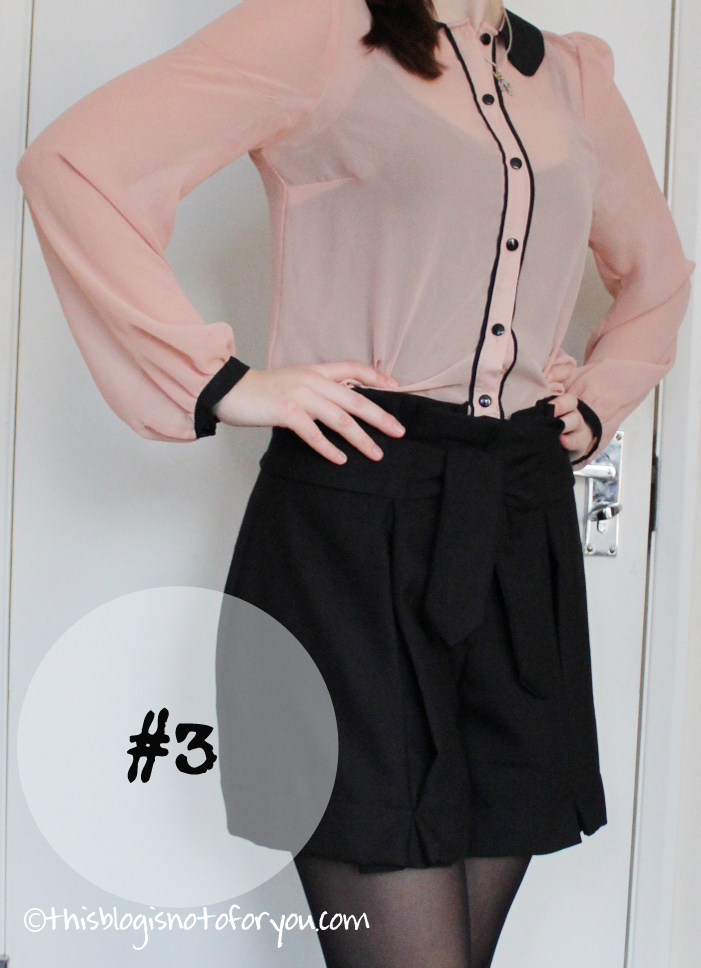
How do I feel about it now? I really like these shorts! They could be a bit tighter around the waistband, but apart from that the fit is great.
Have I worn it? Yes! Quite a few times. I love them and I will keep wearing them!
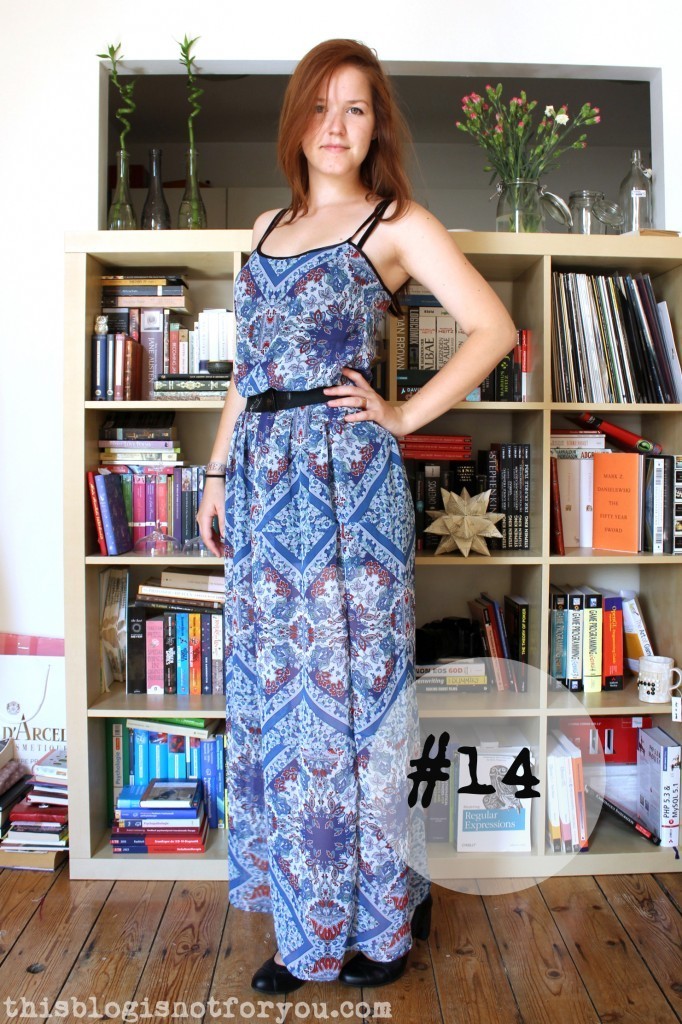
How do I feel about it now? It was a nice and quick project and it’s the only maxi dress I own so far!
Have I worn it? Only once or twice, I guess. I made it end of last summer and it was already getting too chilly to wear it. I will definitely wear it again when the sun comes out!
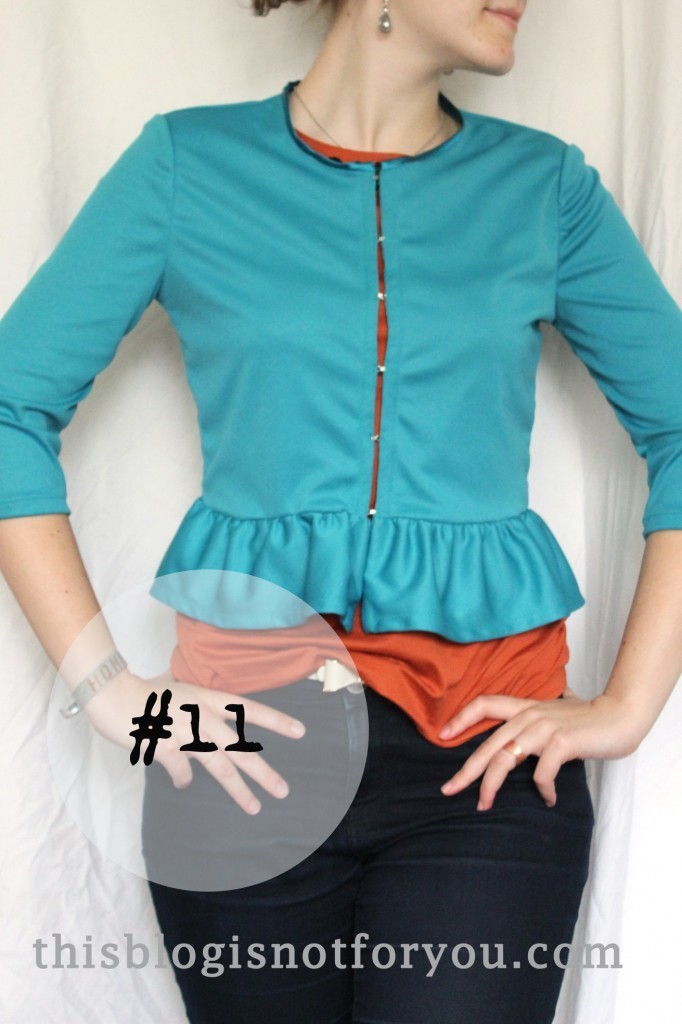
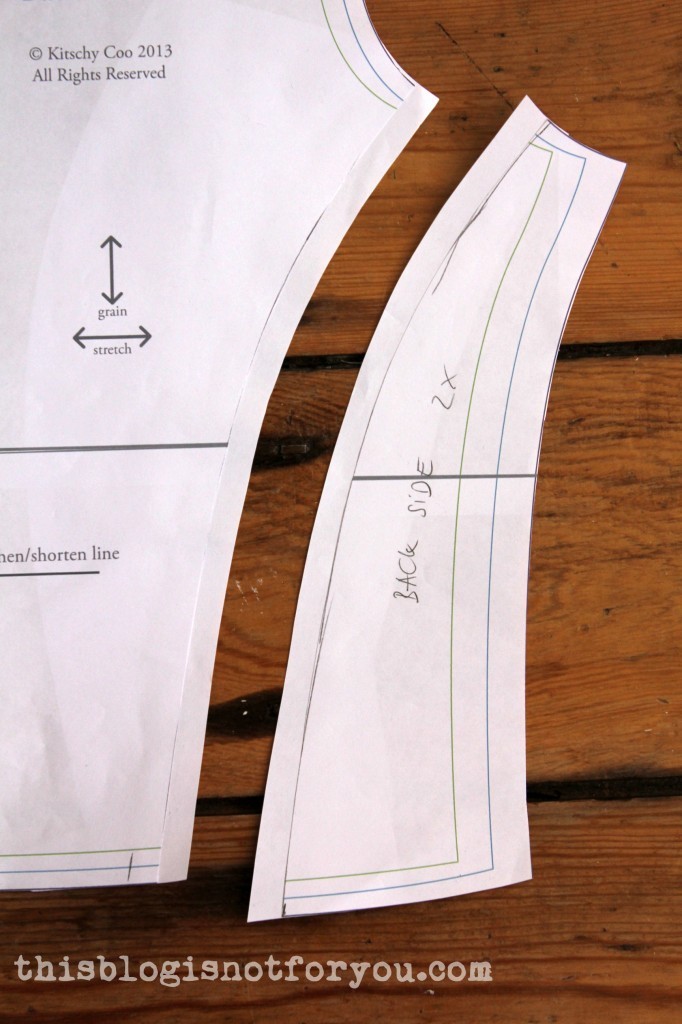
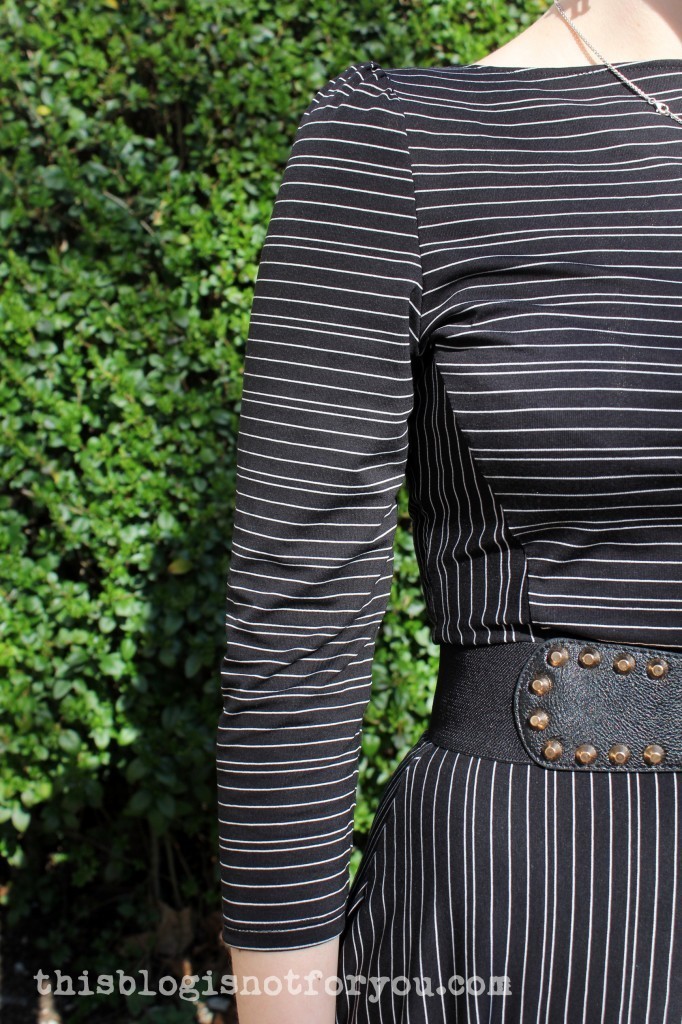
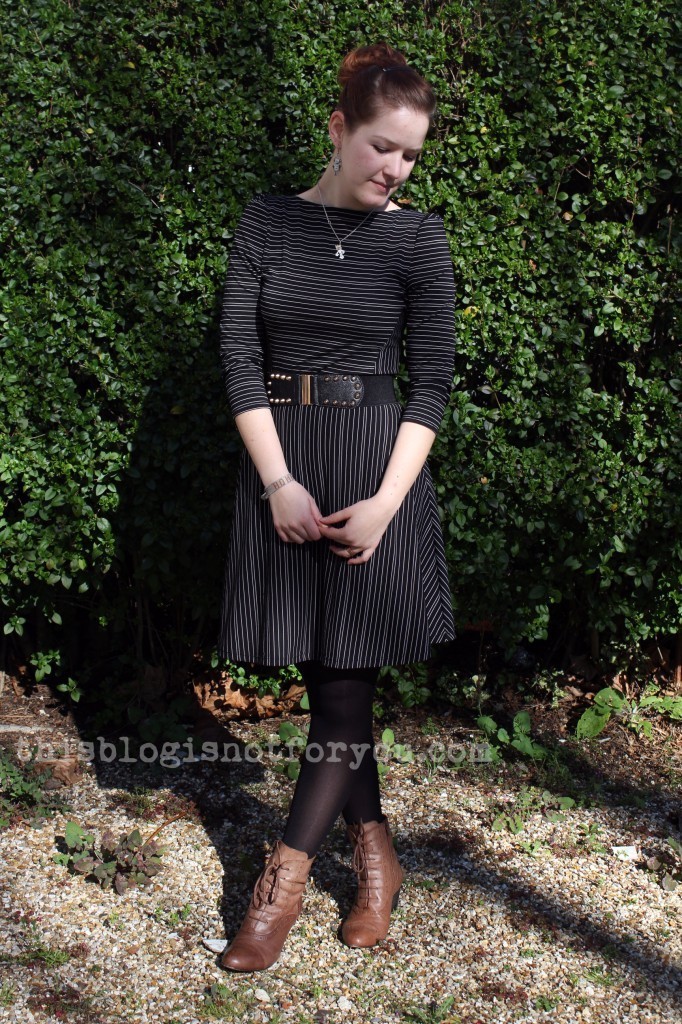
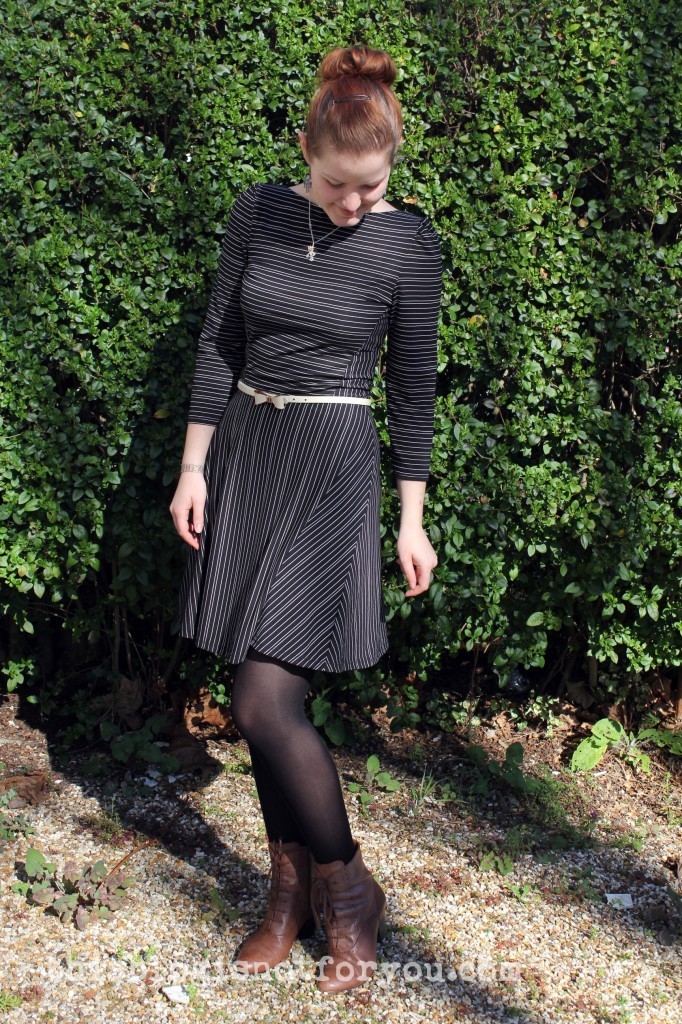
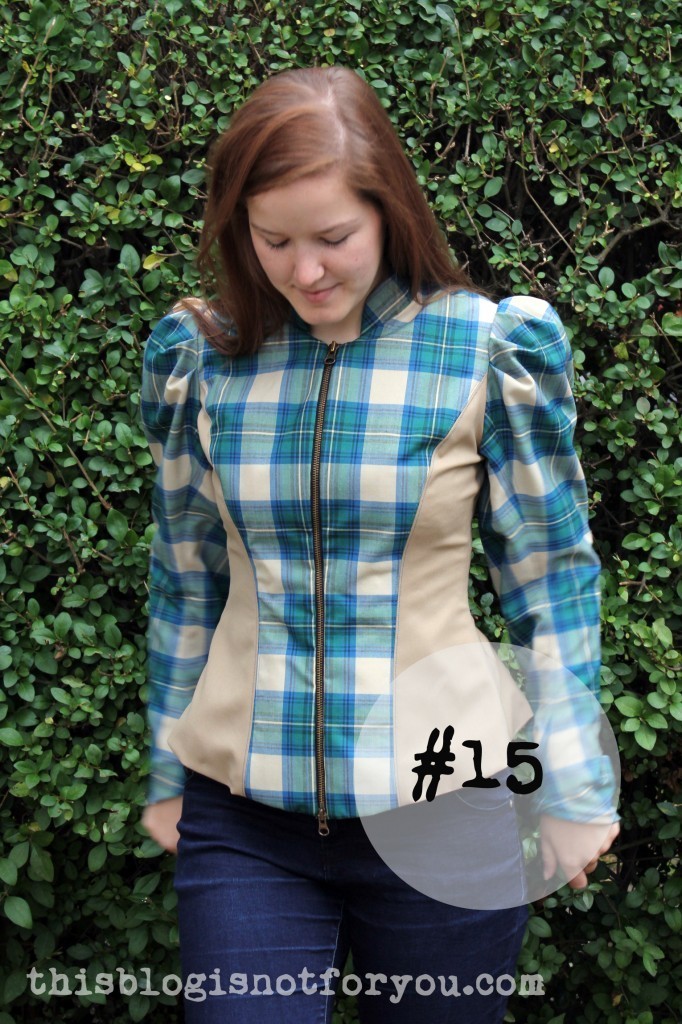 How do I feel about it now? This was definitely one of my most challenging projects so far! It turned out pretty good and I’m really proud of it. I don’t like the sleeves as much as I did in the beginning. They look ginormous!
Have I worn it? For a little while until the weather got too chilly and I had to get out my winter coat. Same problem as I had with my maxi dress. I really have to start planning ahead when sewing seasonal clothing!

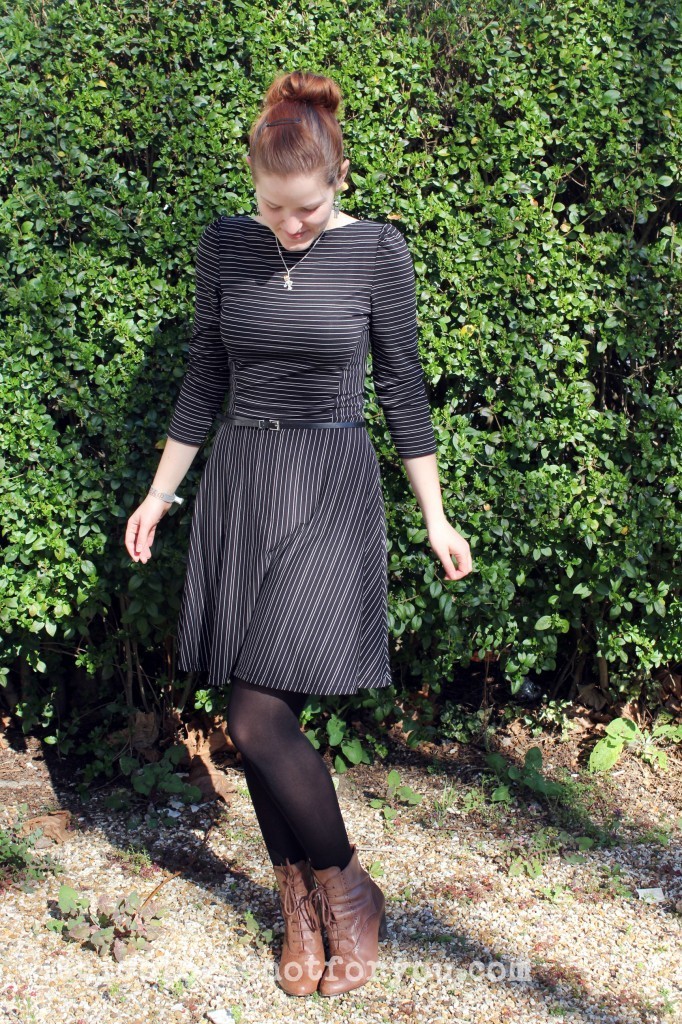
How do I feel about it now? It’s great. Although really simple and quite, it’s one of my best makes, I think. It’s neat inside out and super comfy.
Have I worn it? Many many times since I made it.

How do I feel about it now? I really like it. It was quite challenging to make a made-to-measure garment for someone else, but in the end the fit was great and my best friend loved it! It’s self-drafted and to an untrained eye it definitely doesn’t look homesewn! hurray!
Have I worn it? For the photoshoot only. My best friend wore it at her sister’s wedding and got quite a few compliments. Mission accomplished!
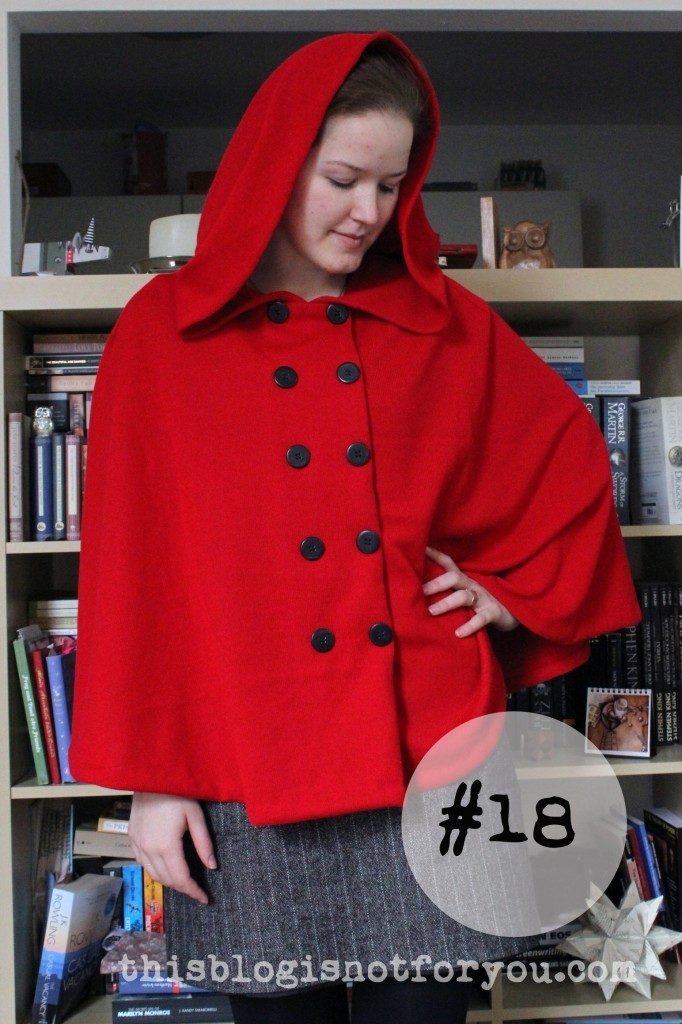
How do I feel about it now? I loooove it! Althought it’s quite a bright fashion statement, I love wearing it. It’s comfy, chic and keeps me warm. Perfect combination. And, hey! It will be the first pattern published here on le blog!
Have I worn it? Oh, yes! At first, I only wore it at home. Now I wear it to work as well and can’t stop showing it off!
Enough bragging! Let’s get cracking and bring this challenge to an end!
Btw, do you have any recommendations for great overlockers/sergers? What brands do you use?
Happy sewing!
♥
facebook/bloglovin/pinterest
Stay in touch!


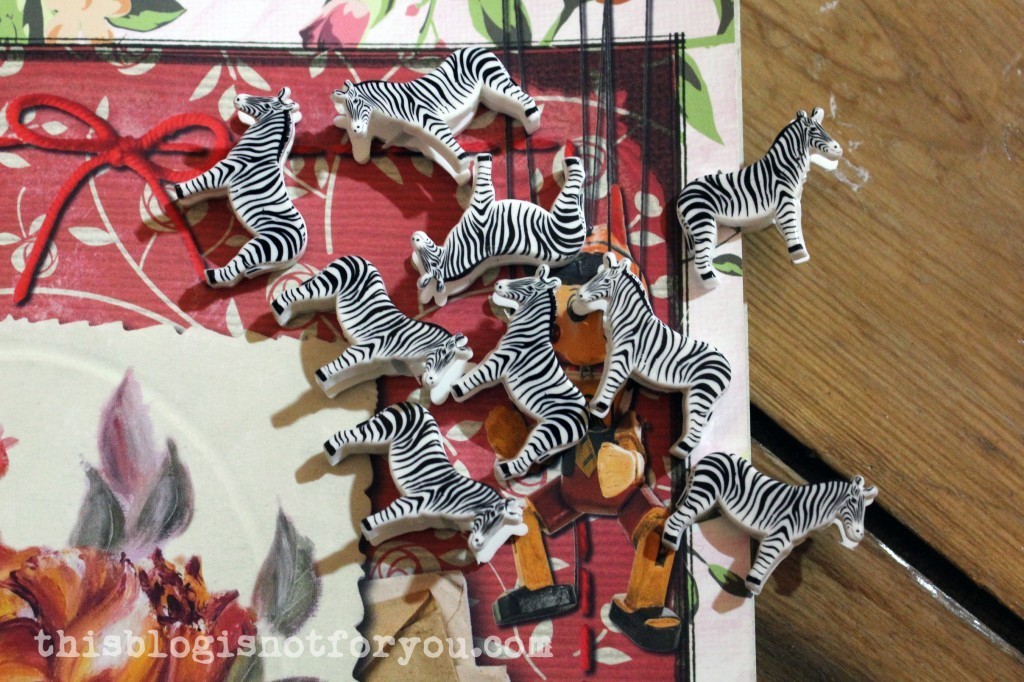 These little guys will be my new helpers when I can’t use pins, e.g. for leather or delicate fabrics. Found at Tiger in Cambridge.
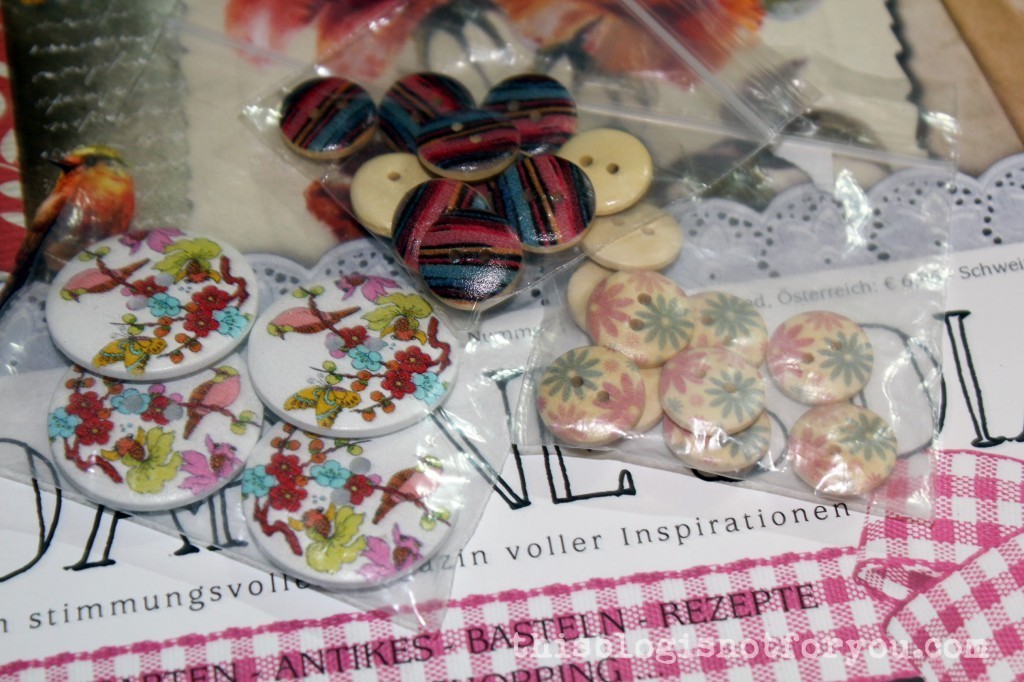 During our very short trip to Cambridge, I also bought these super cute wooden buttons at the market.
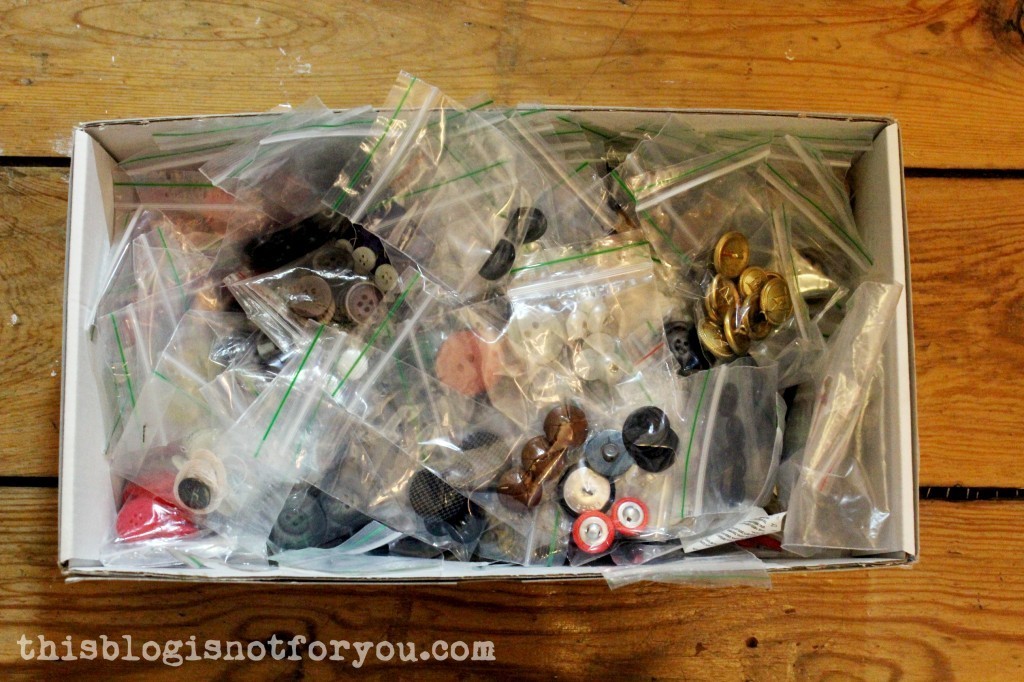


 Last summer I helped Daniela (
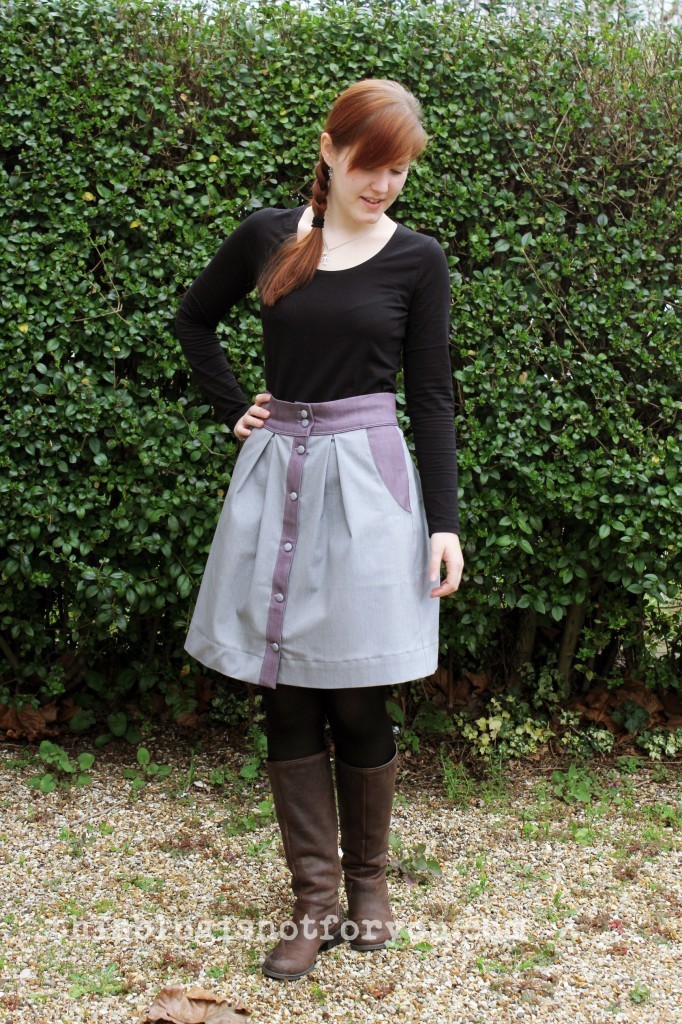
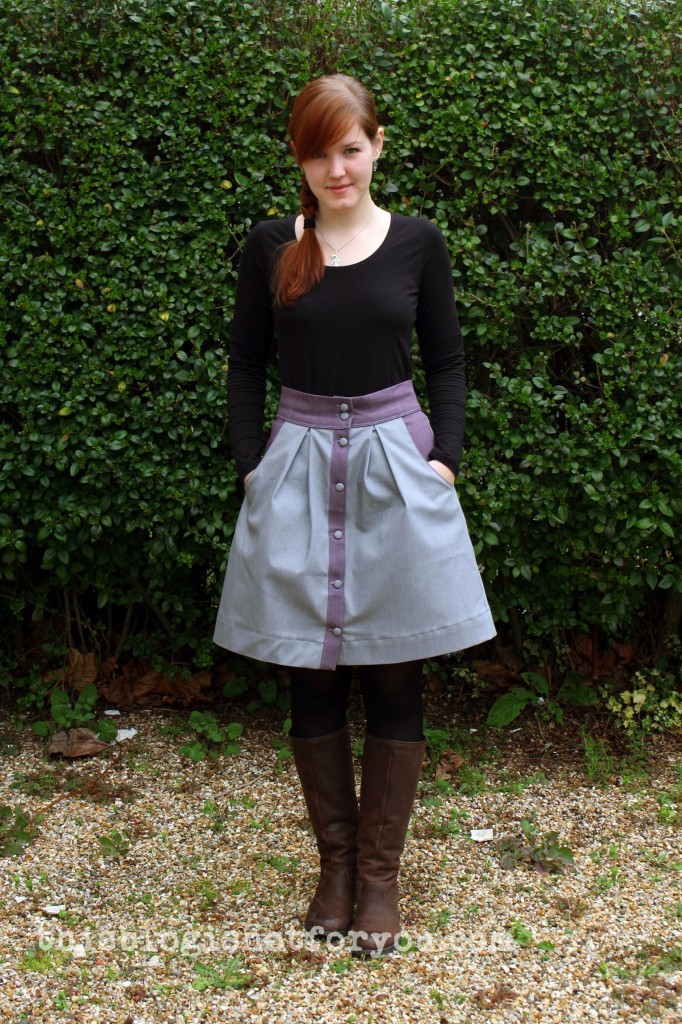
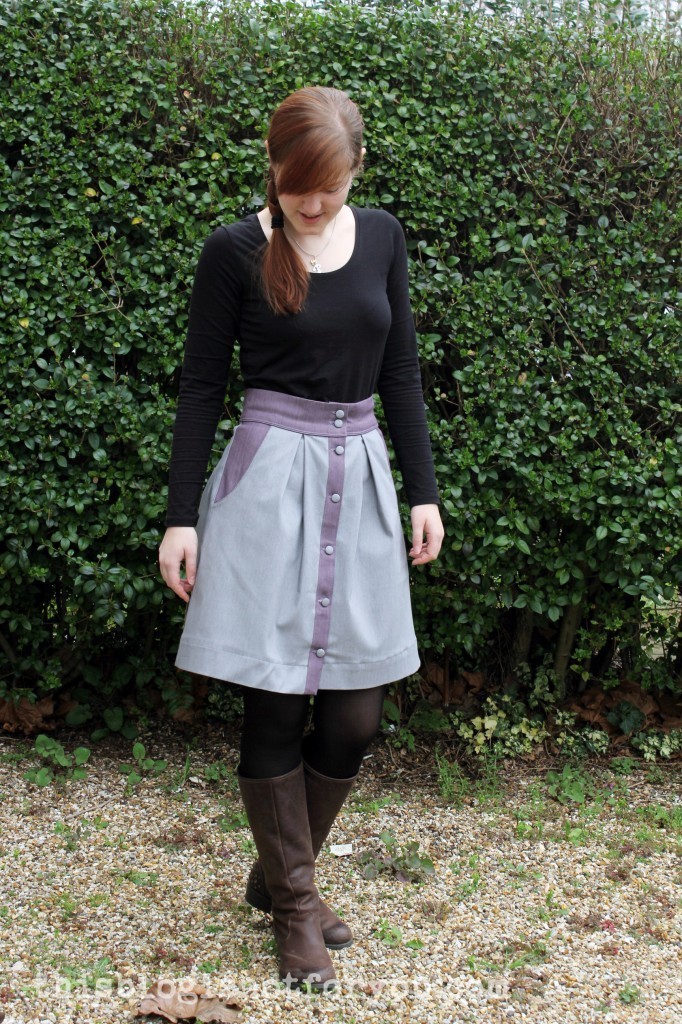
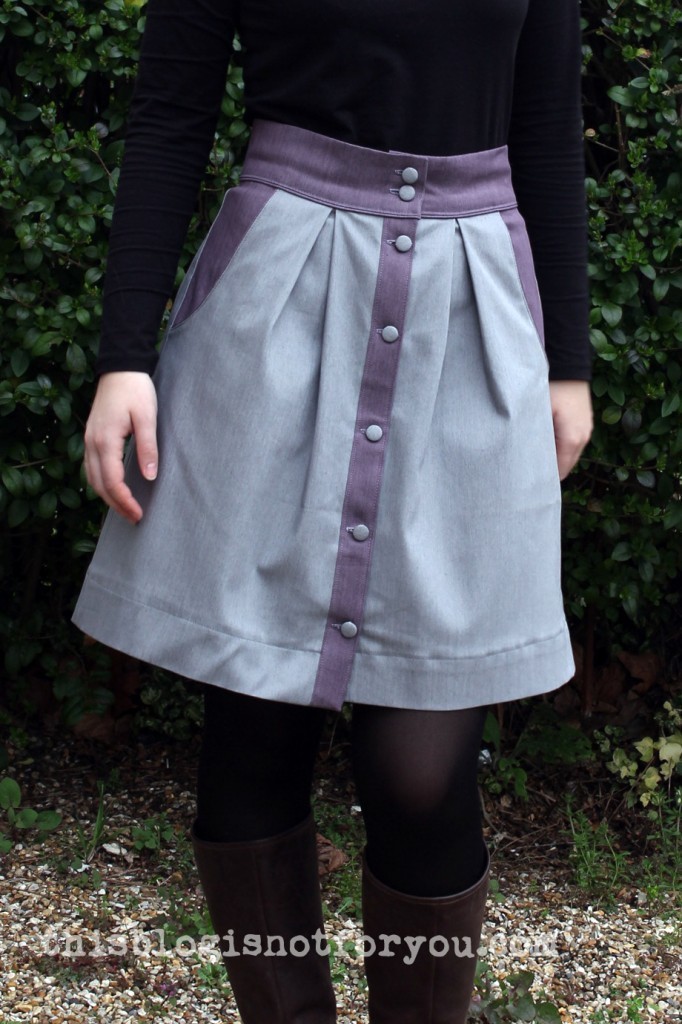 Although I like challenging projects and this pattern seemed to be very very simple, I decided to make the skirt since
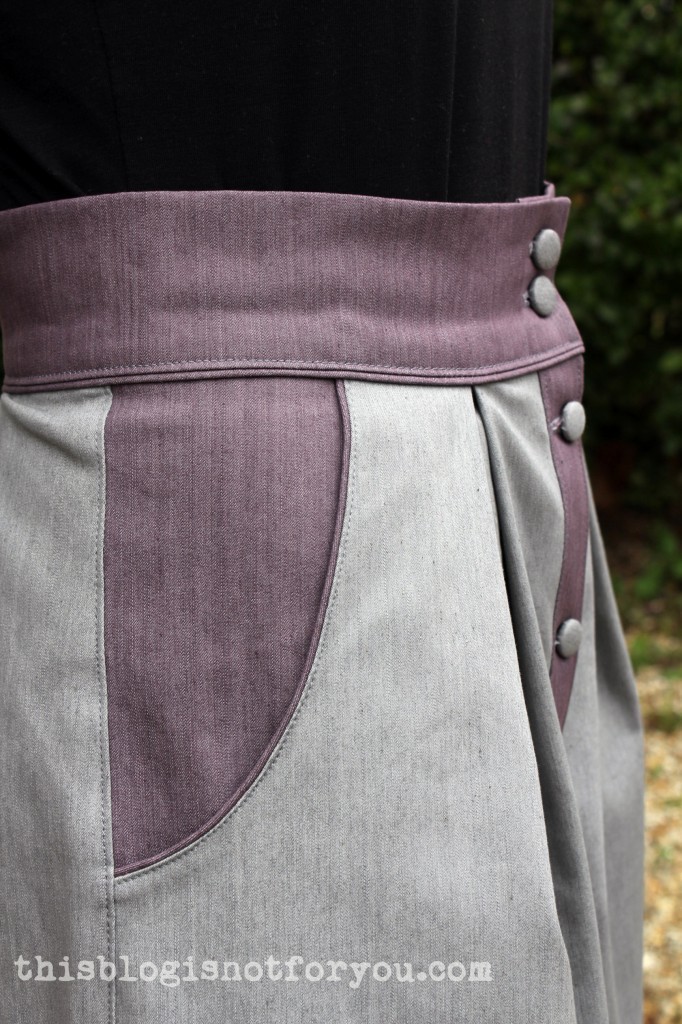 I wanted to add piping, so I made some tiny piping myself from the purple denim fabric for the pockets and waistband. You can find a tutorial for doing this
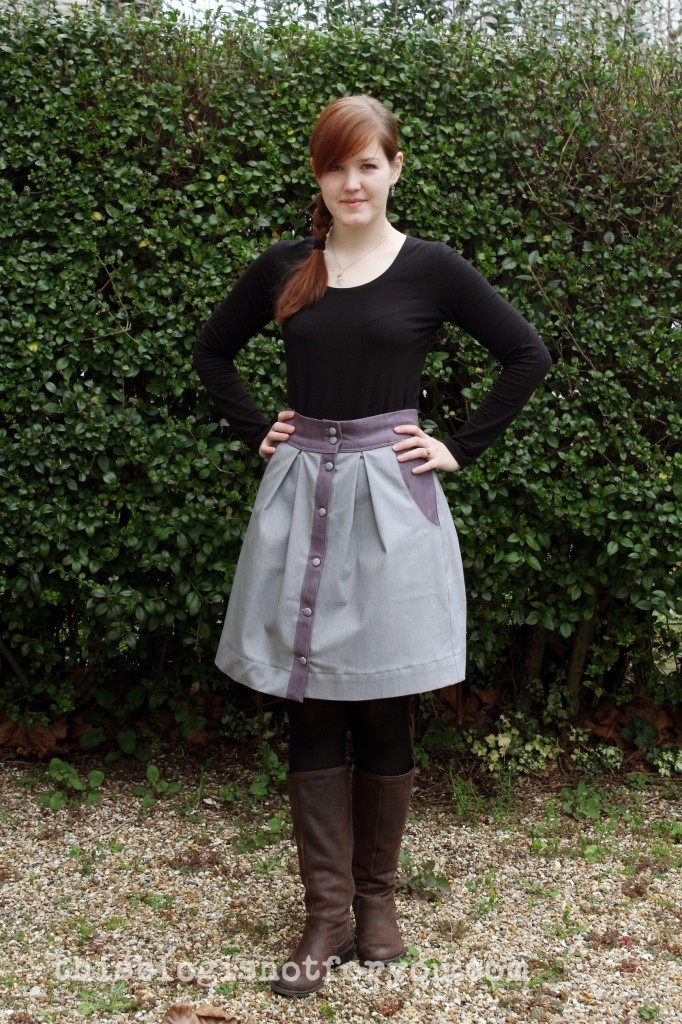
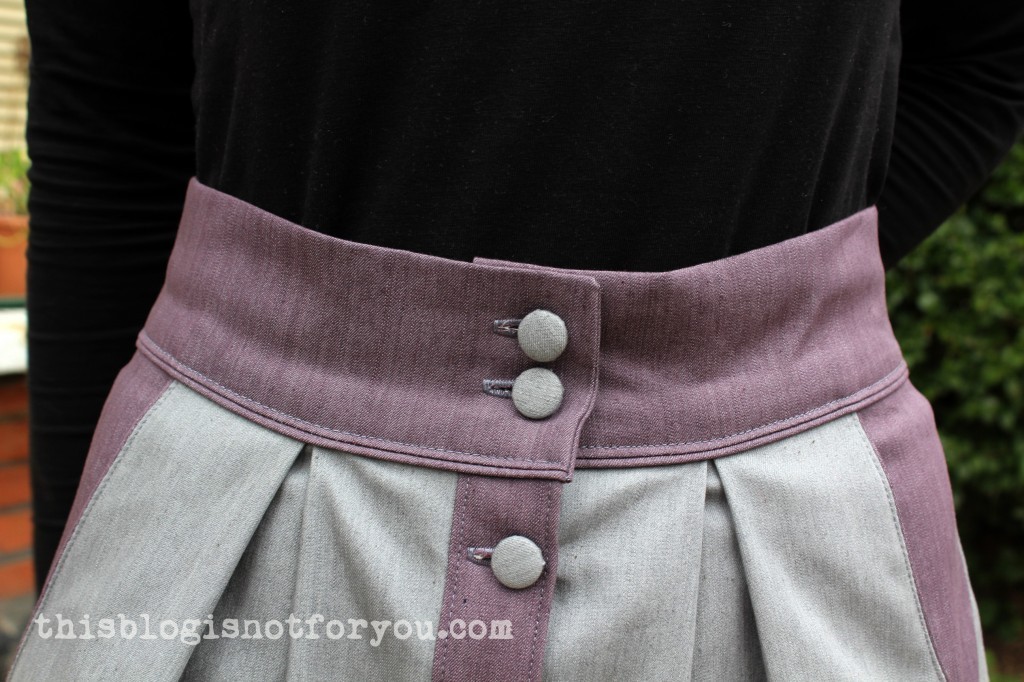 I love the result, although there are a few things that I don’t like about the pattern. First of all, the back pleats aren’t very flattering. And I’ve looked it up online, I’m obviously not the only one seeing it this way. They just make everything back there look much bigger than it is. Furthermore, the spacing of the buttons is not the best. The skirt is gaping open right under the waistband. I had to add a small snap to fix that.
 Hey ho!

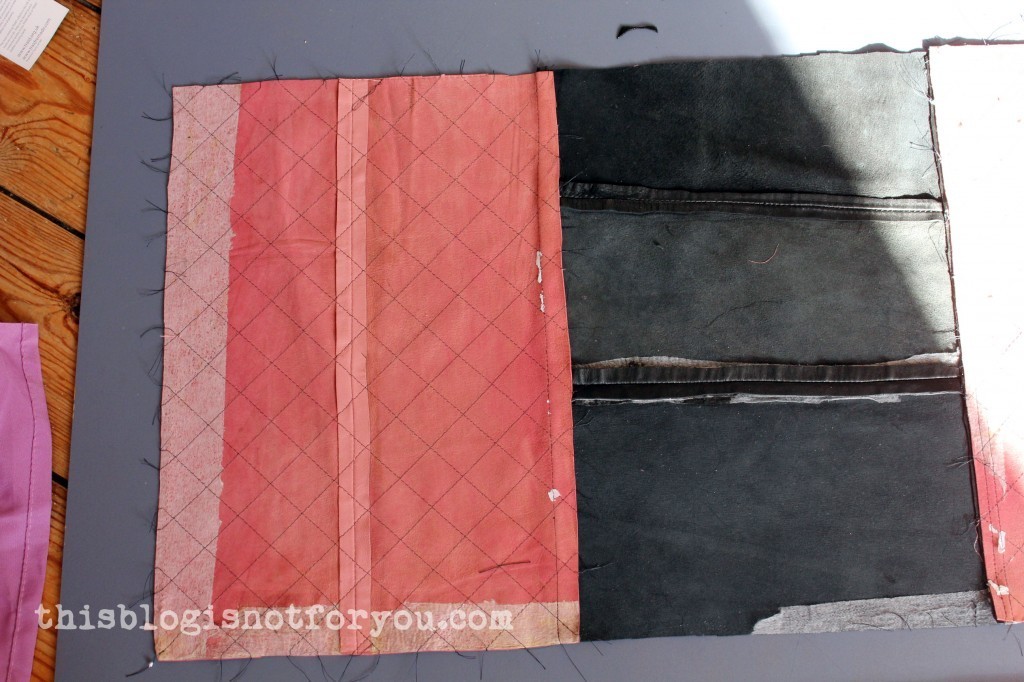
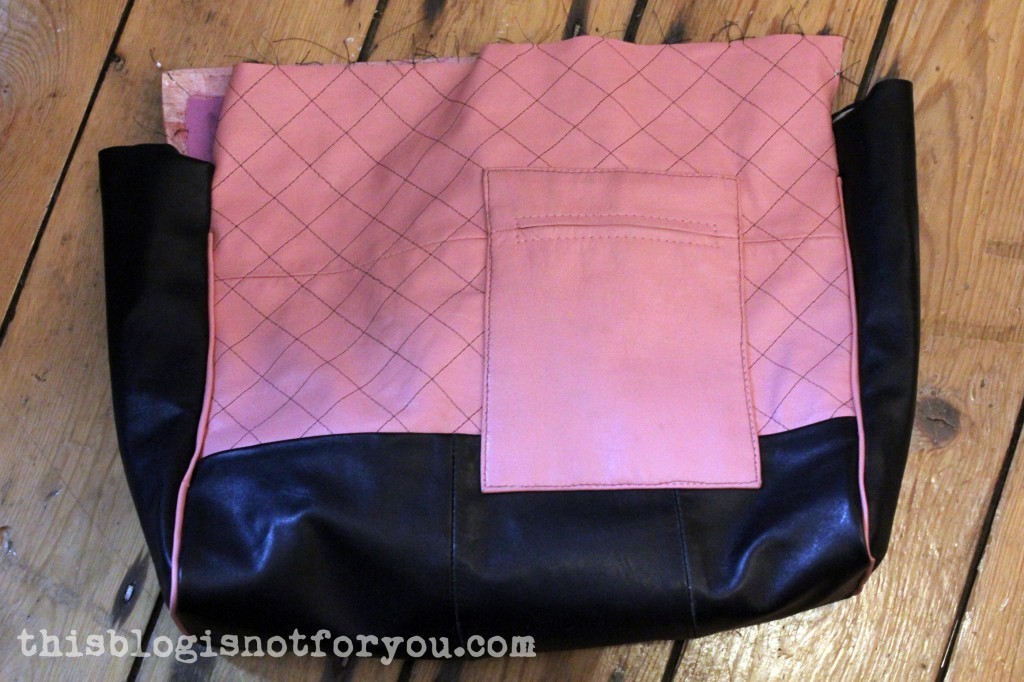
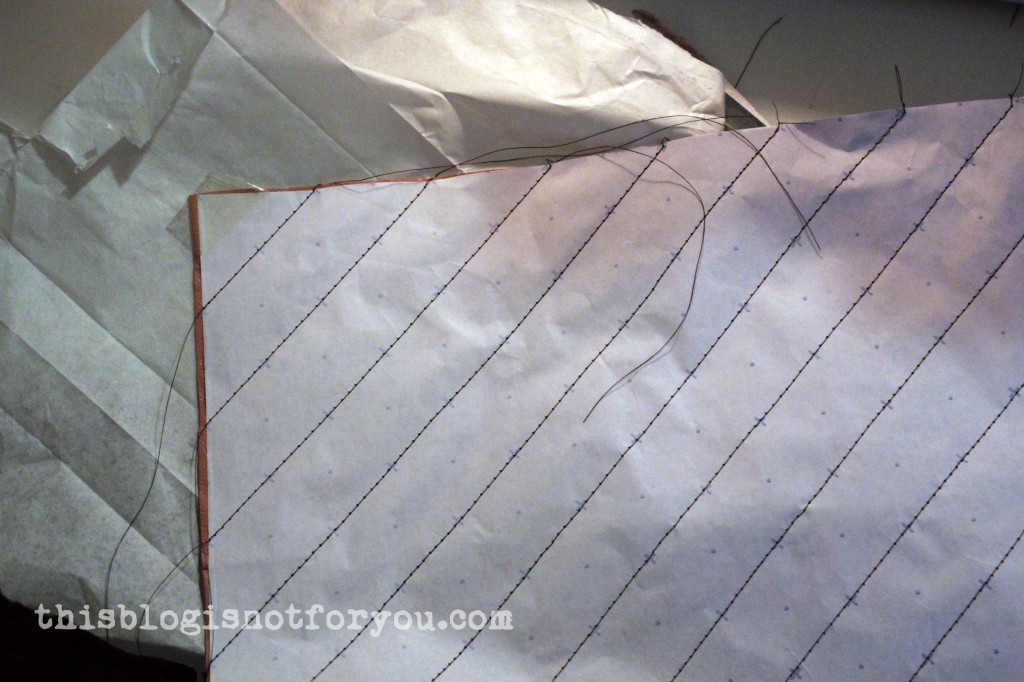 After I quilted the front and back panels, I cut out the bottom panel and sewed it all together. I glued the seam allowance to the bottom panel and then topstitched along the seams with my edge stitch foot.
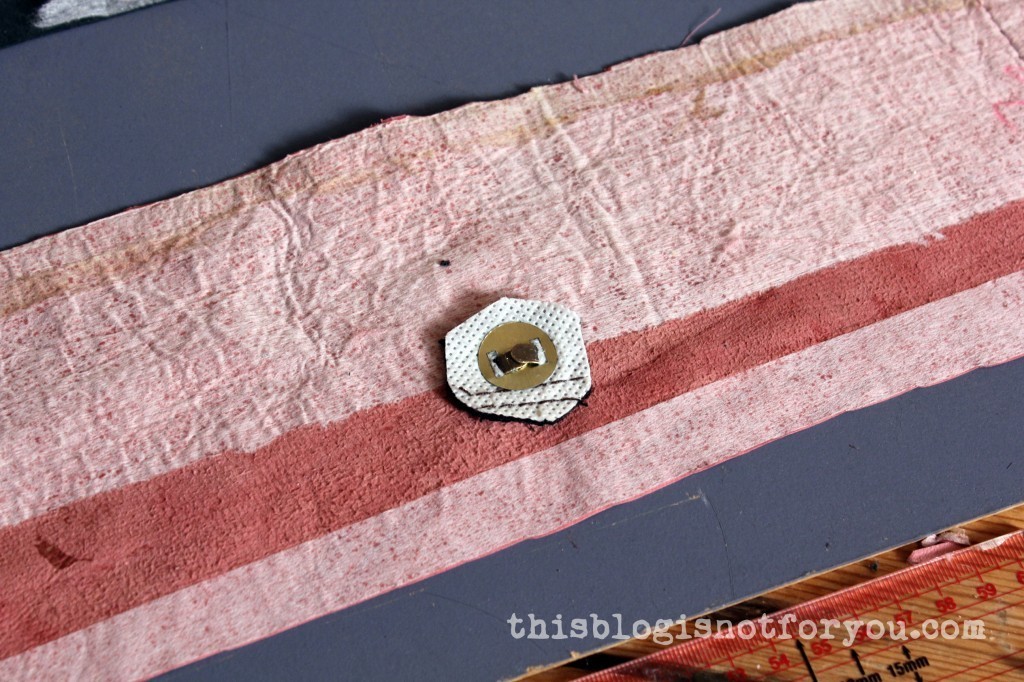
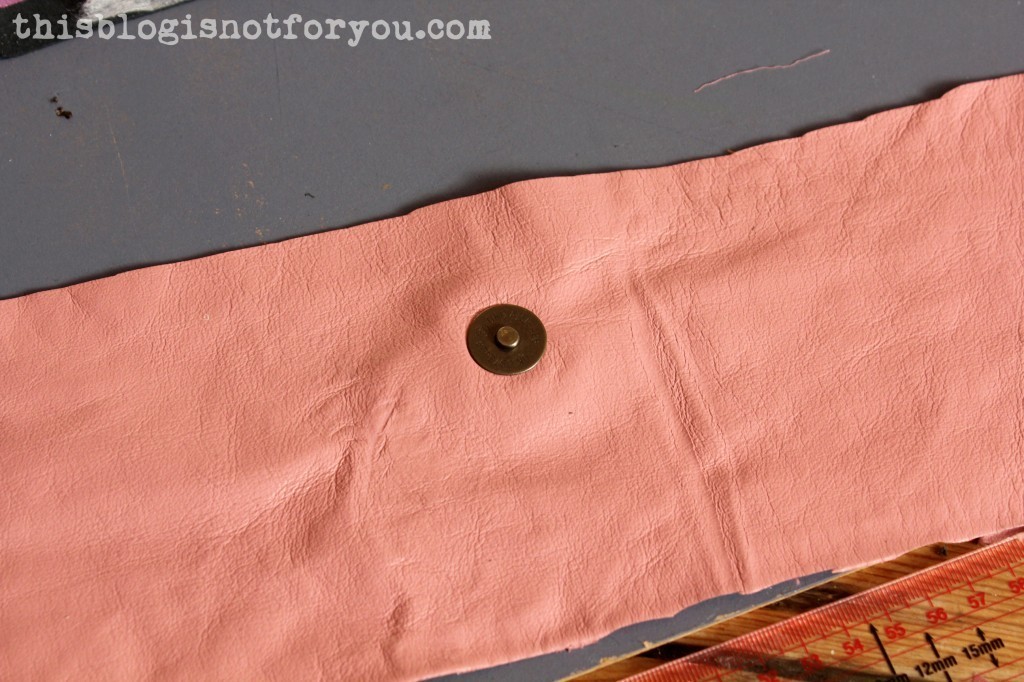
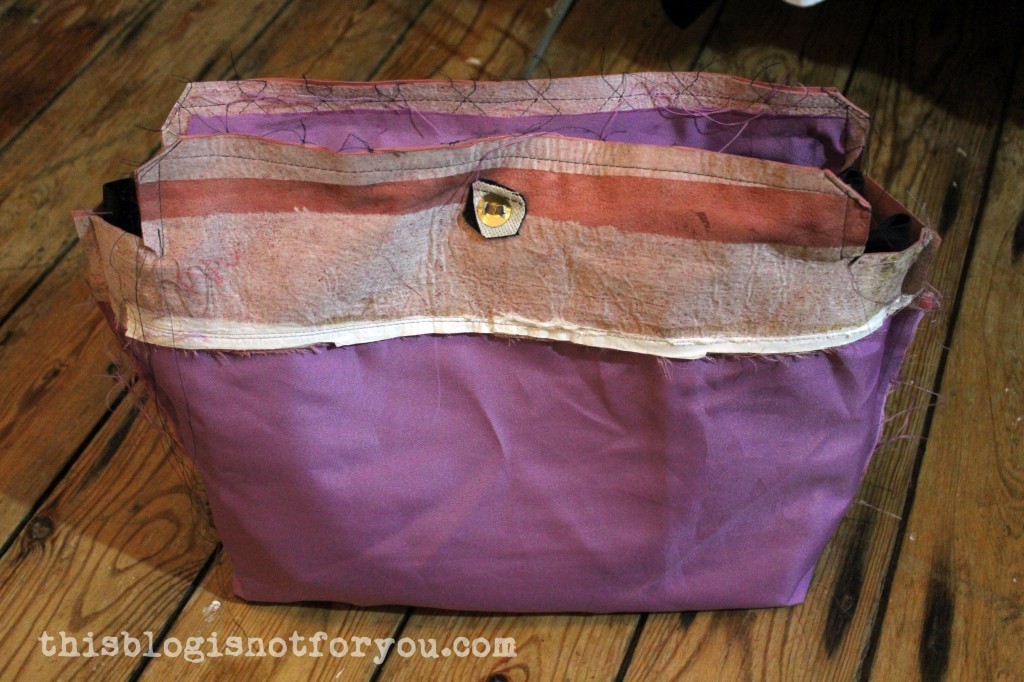
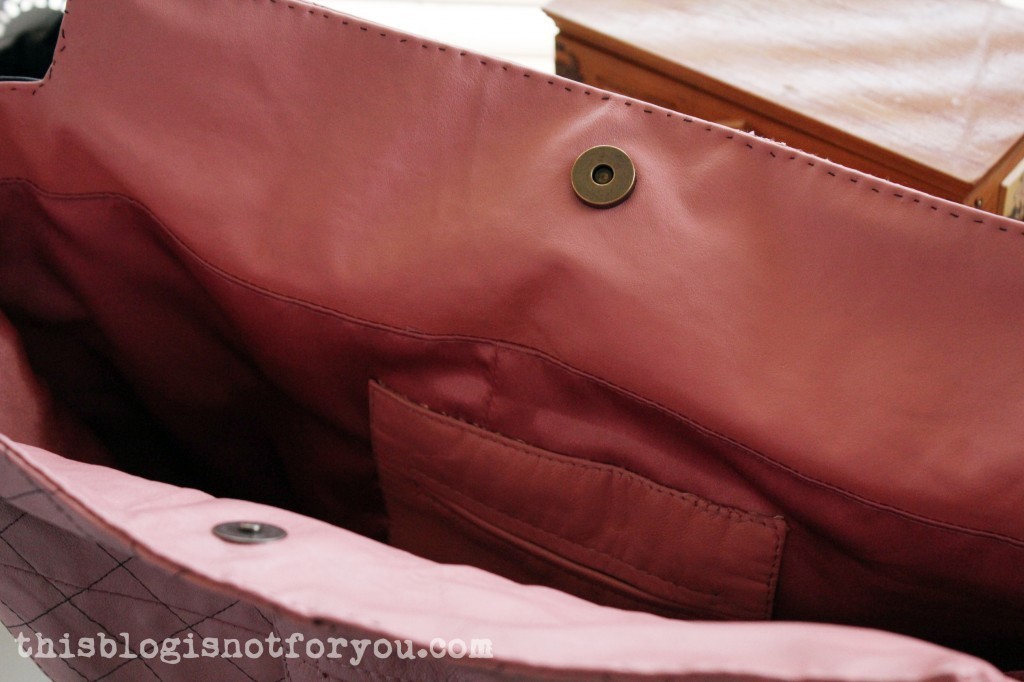
 I cut out the upper facing and inserted the magnetic bag clasp. You can order these online, they’re quite inexpensive.
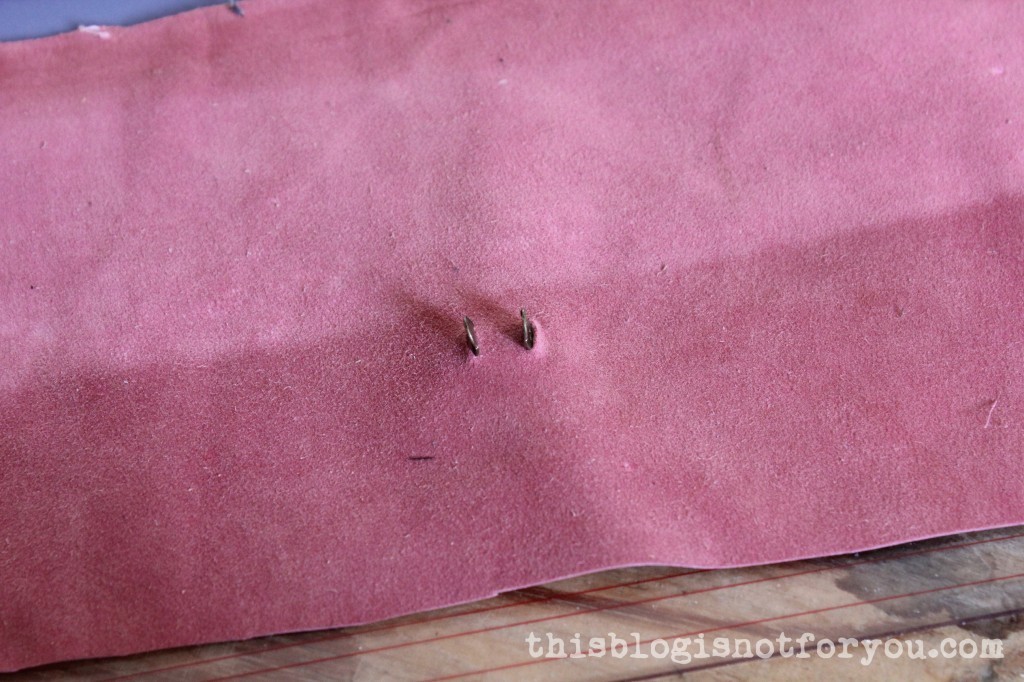
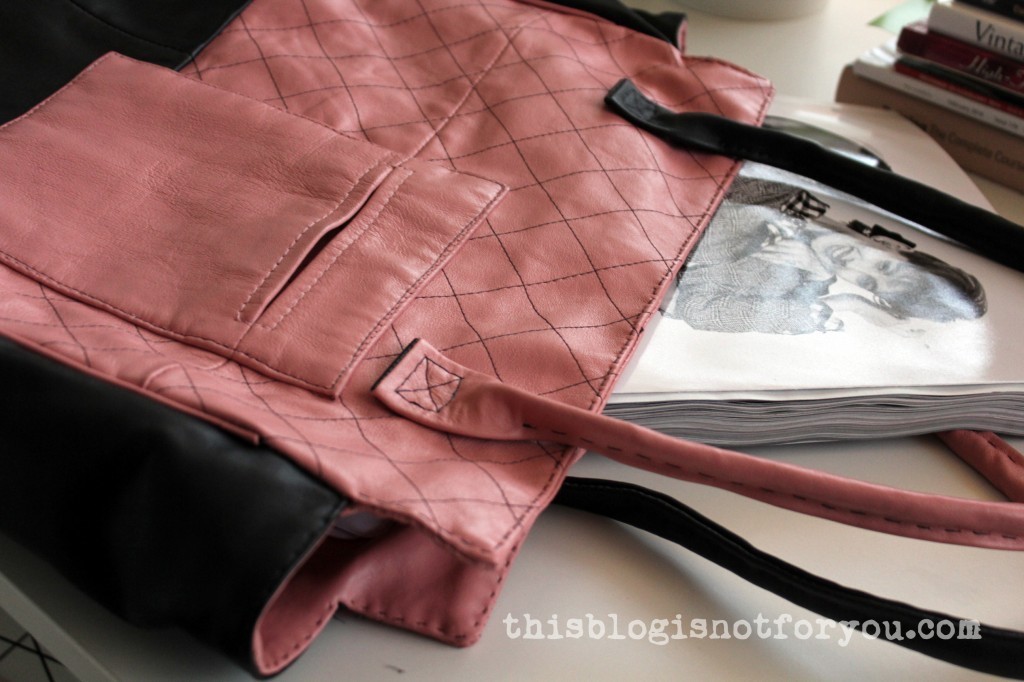
 Next, I made the straps.
 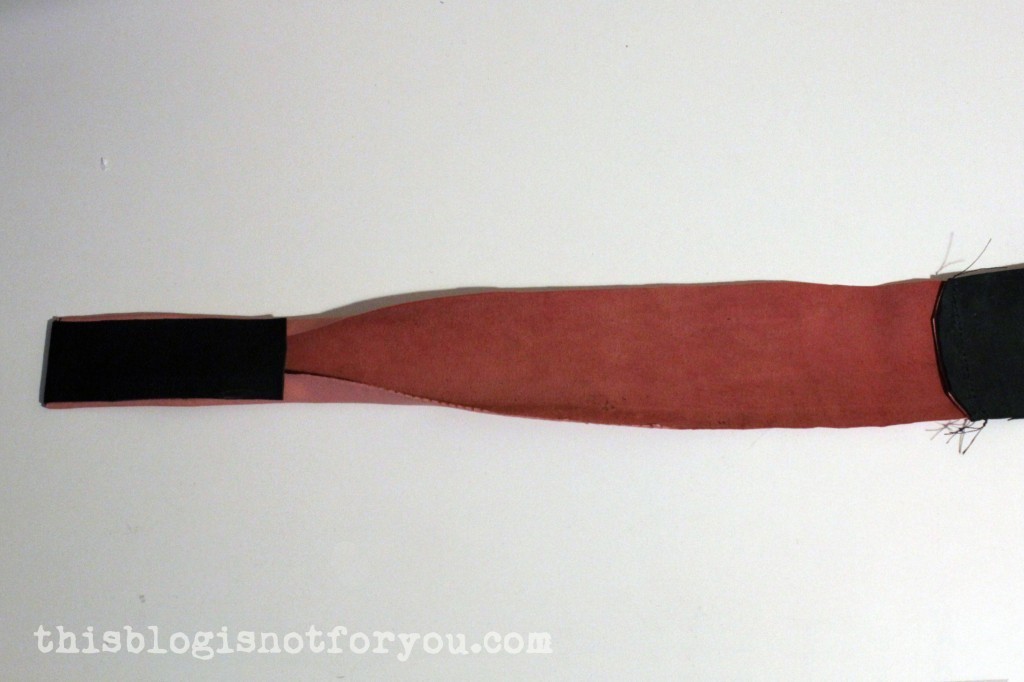 The drawstring wasn’t quite thick enough, that’s why the straps are quite soft.
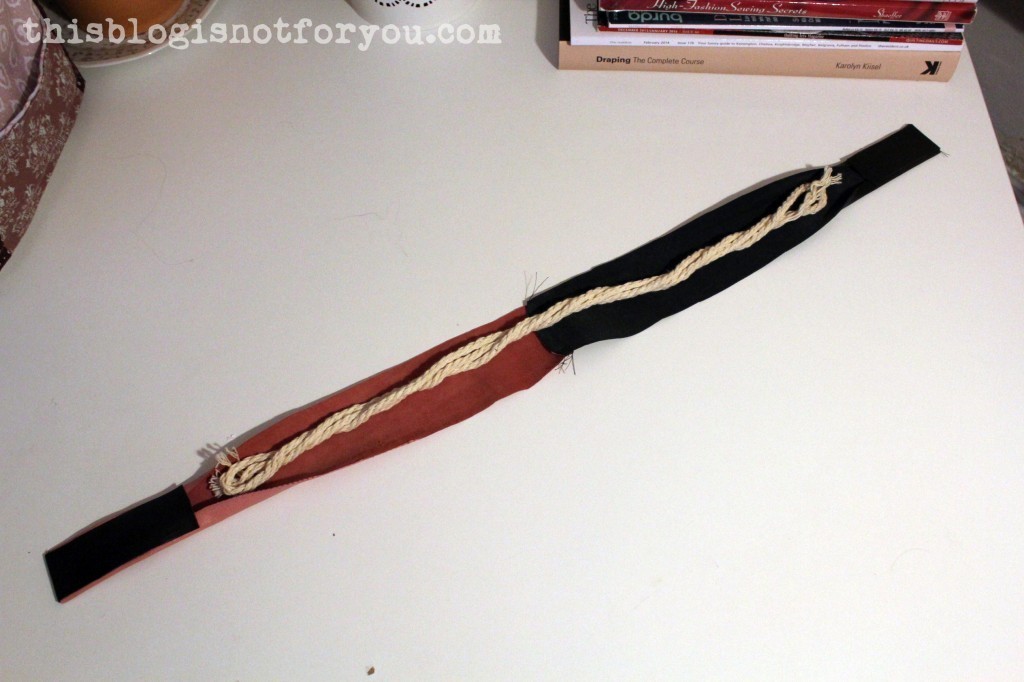 All these layers of leather plus the cord did not fit under my machine (although I used the zipper foot), so I decided I had to sew it by hand.
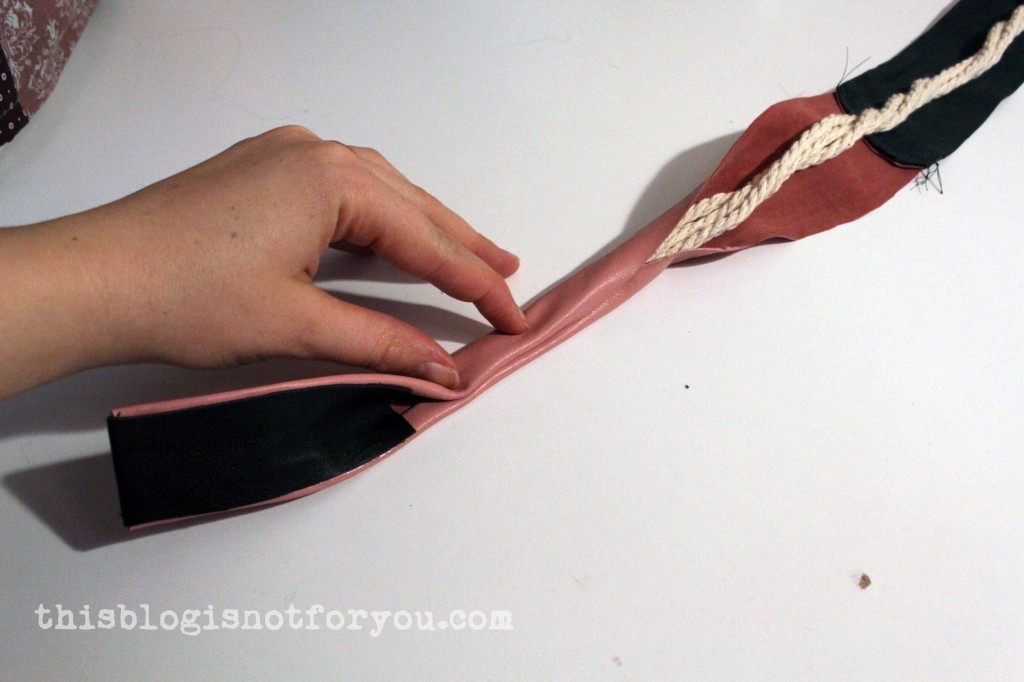
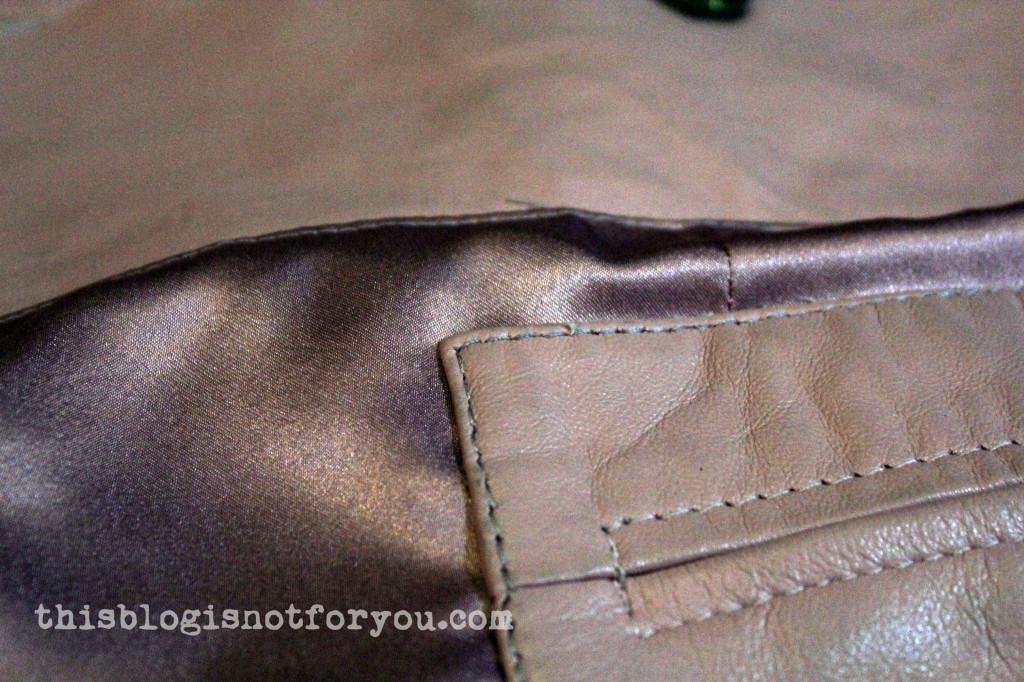
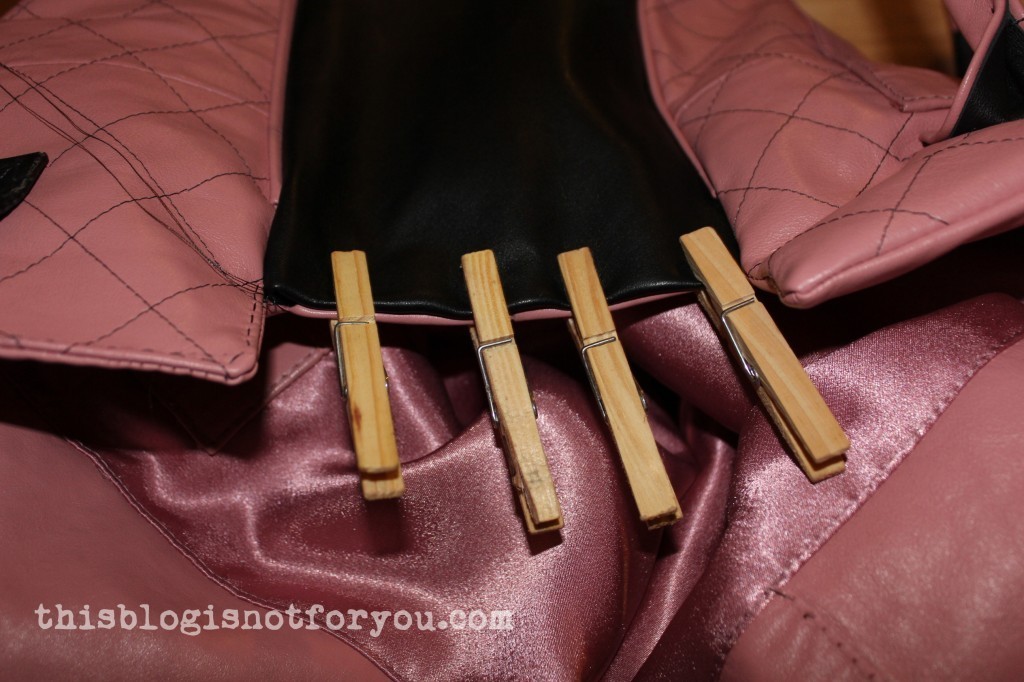
 I used some pegs to hold the leather in place, since you can’t use pins – they leave small holes in the leather.
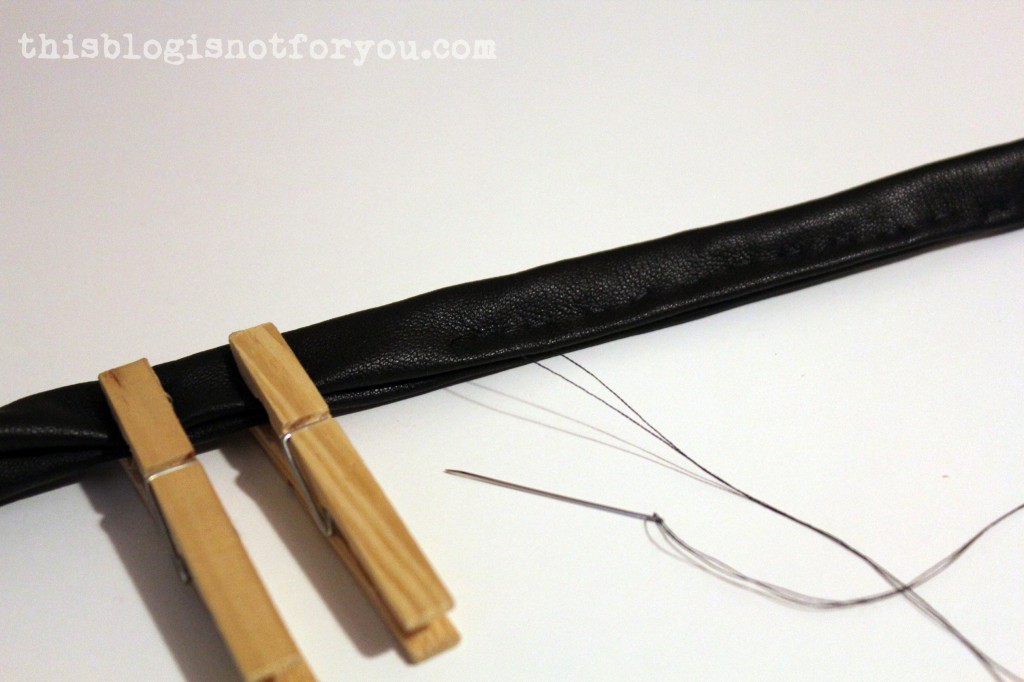 Alrighty, still with me?
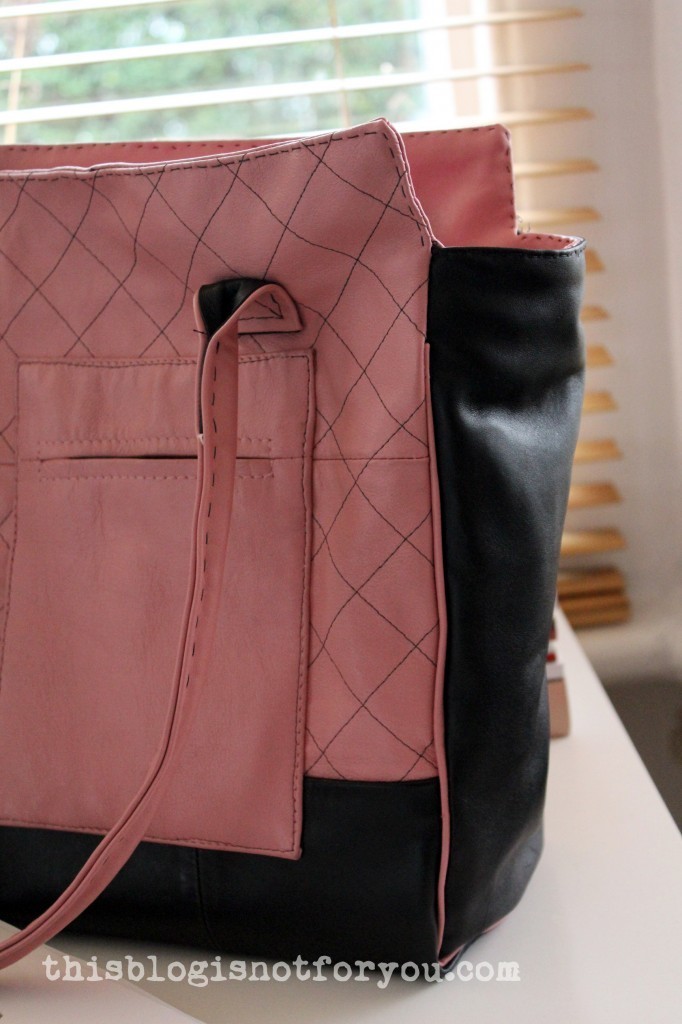
 (You can see the weird seamlines again)
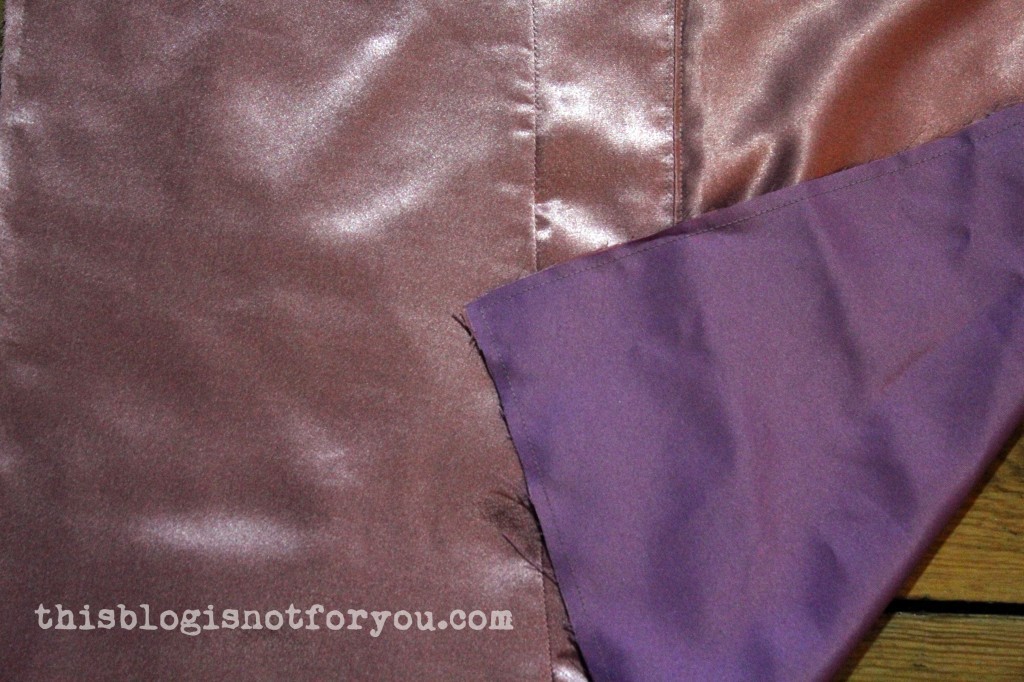 I sewed the leather facing to the lining and topstitched close to the seam.
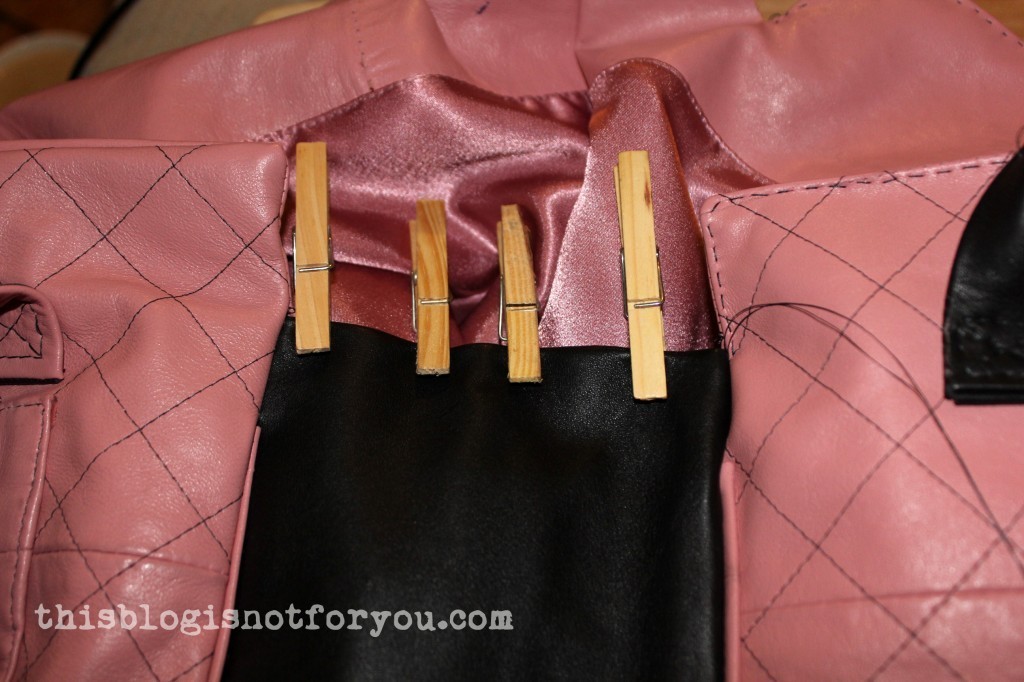
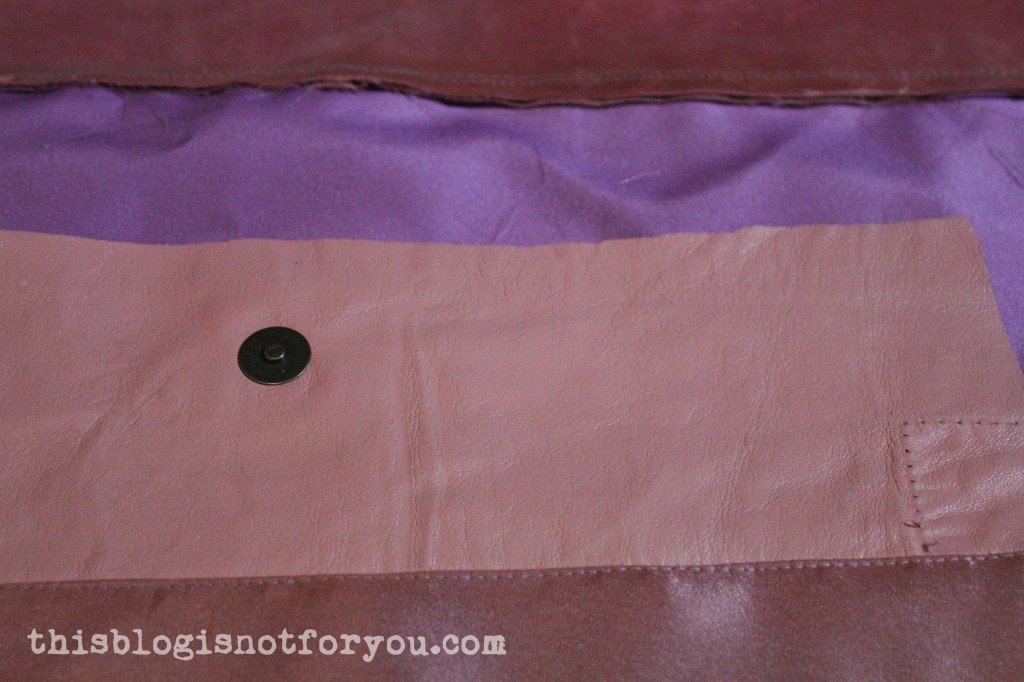 I sewed the side seams of the lining. This is how it looks “right side” out.
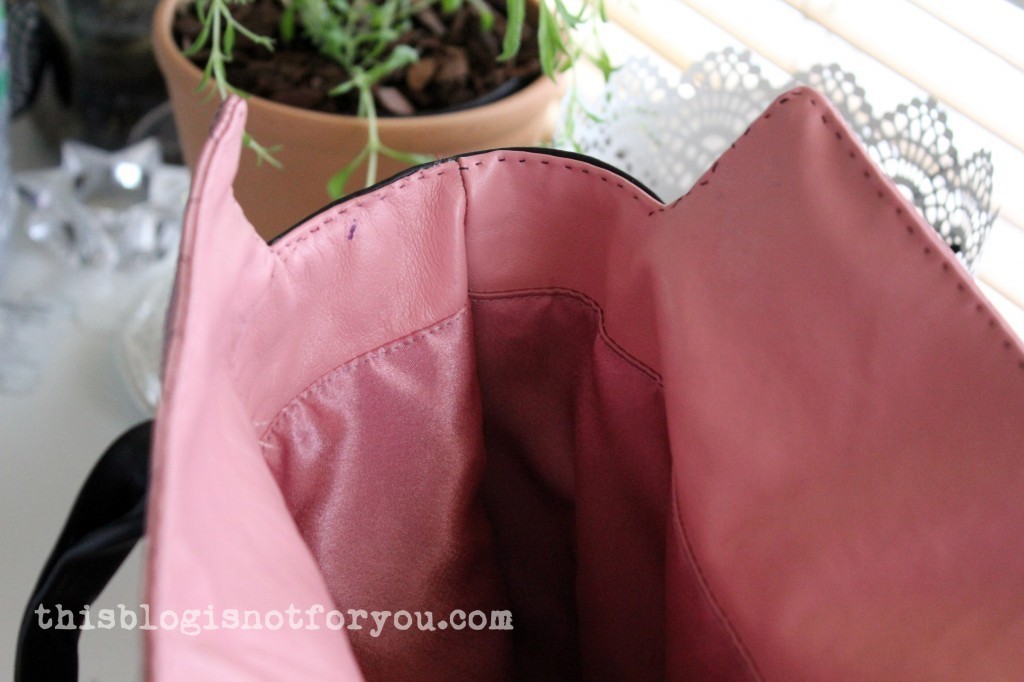
 To make the lining fit the shape of the bag, I boxed the corners:
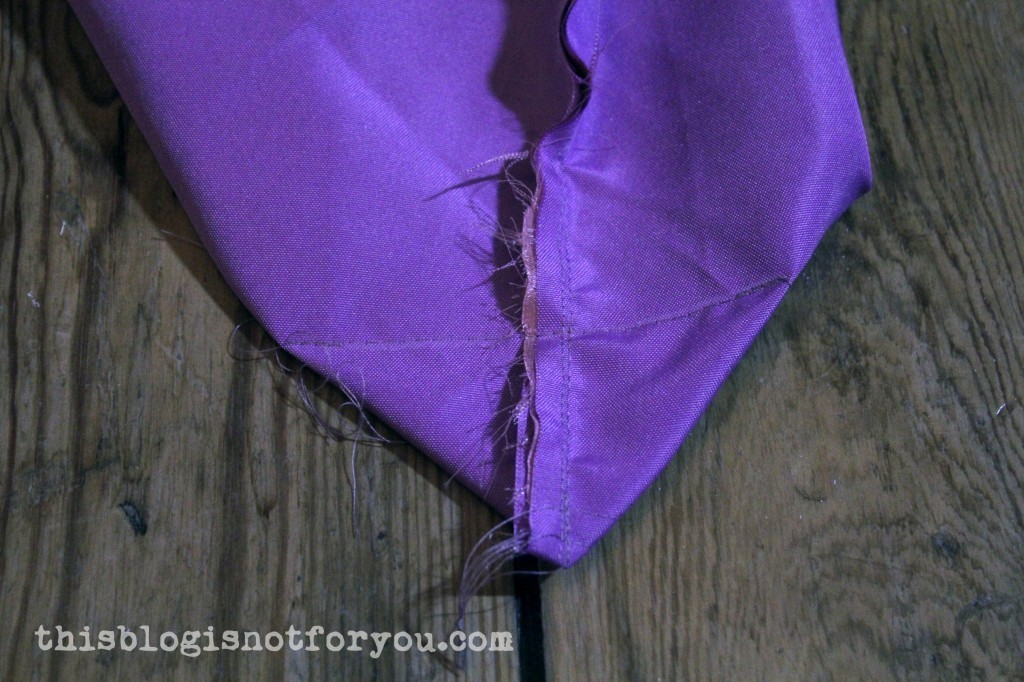 Instead of chopping them off, I handstitched the corner to the bottom seam.
 To avoid another messy patch pocket, I topstitched the inner pocket onto the lining by hand. Took way too much time, but was absolutely worth the trouble.
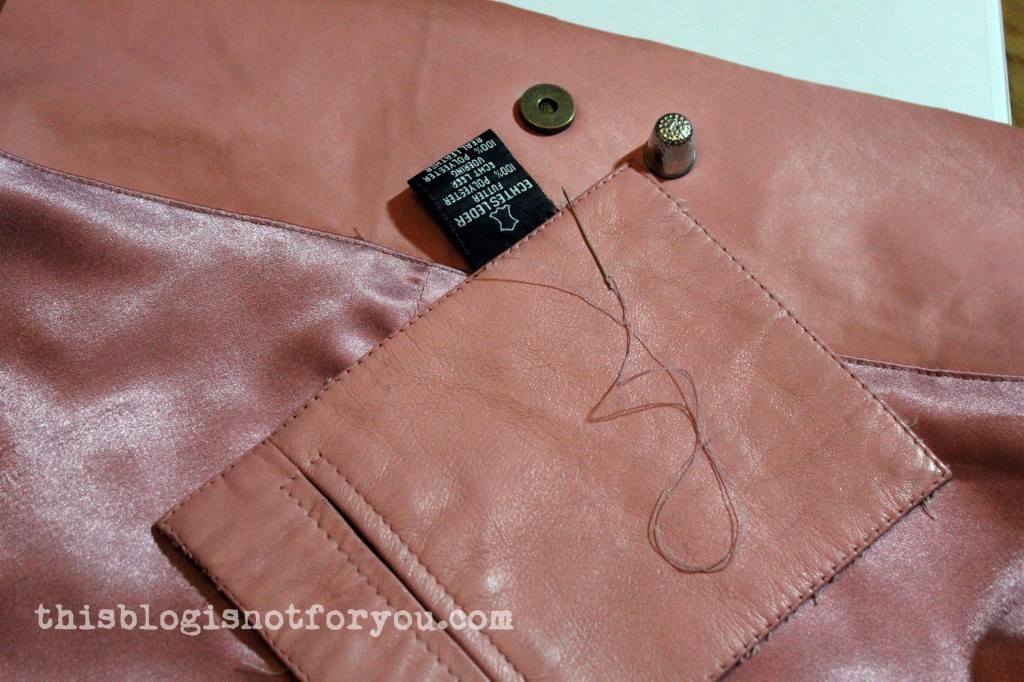 I used the small holed of the previous topstitching.
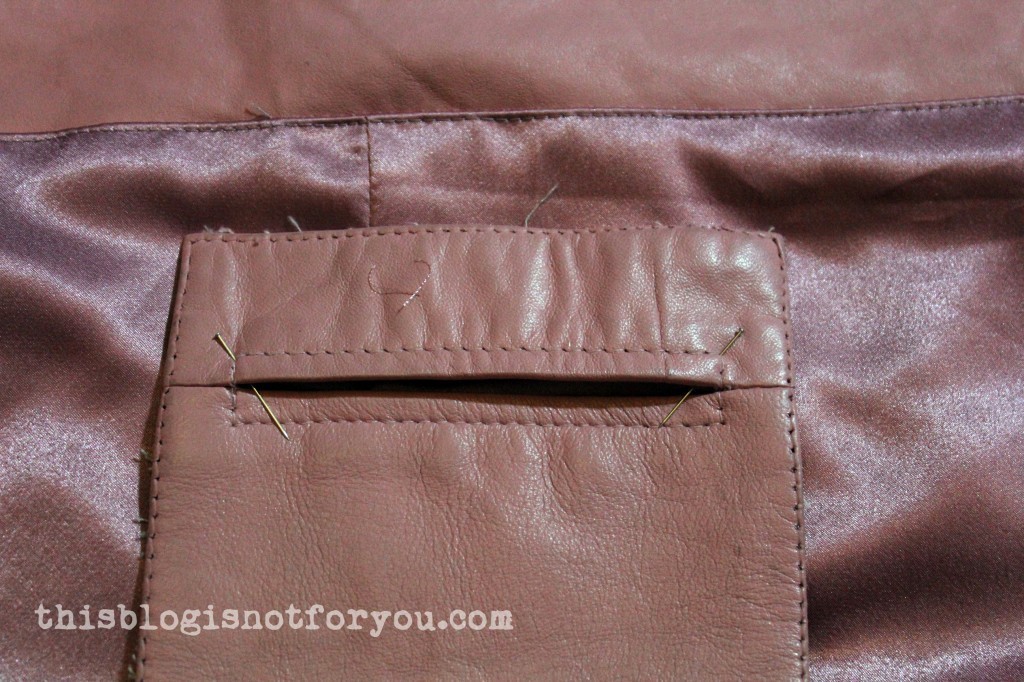
 Time to sew bag and lining together!!
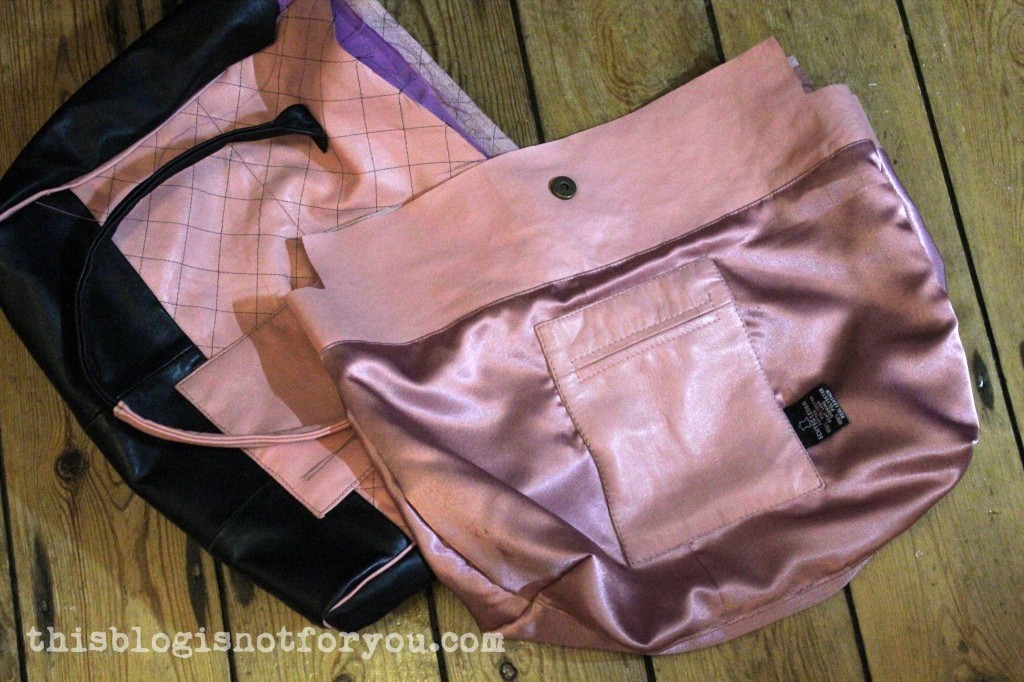
 And yey, this is where the ripping happened.
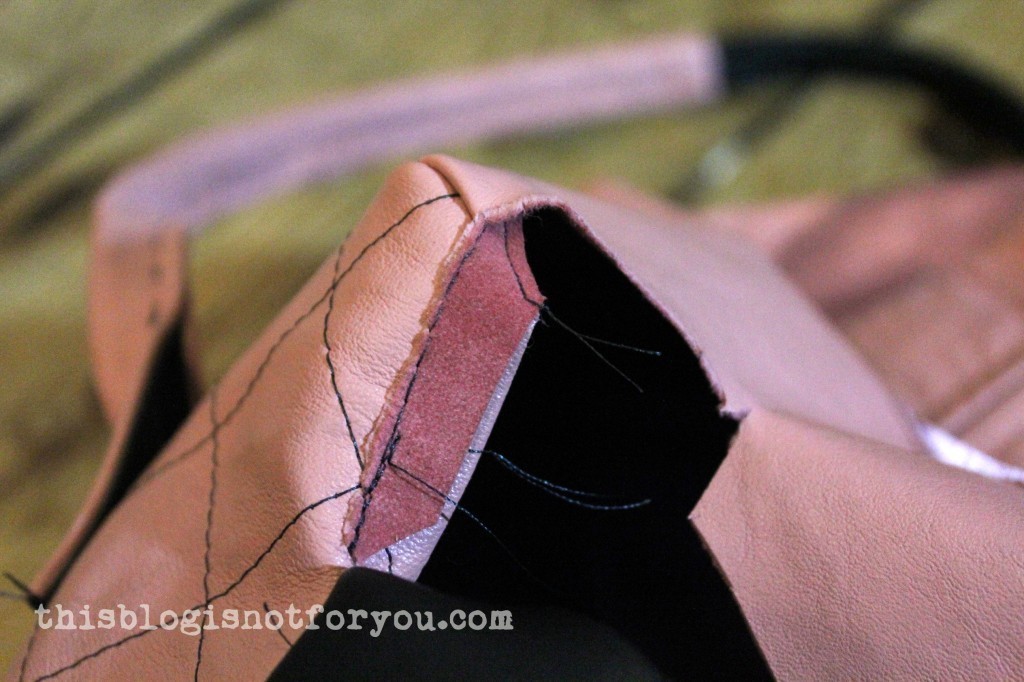 In the end it wasn’t such a big deal, although it was frustrating. I could fix it with some topstitching.
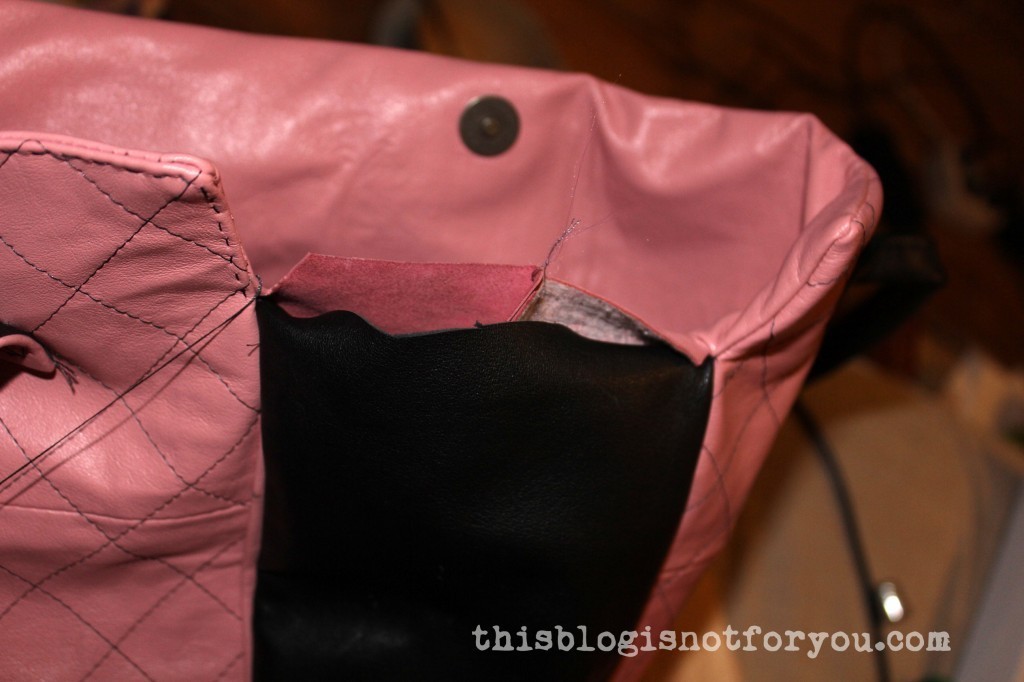
 This part was the most frustrating one, as it took ages and topstitching leather by hand is a really unrewarding job. My fingers hurt for days.
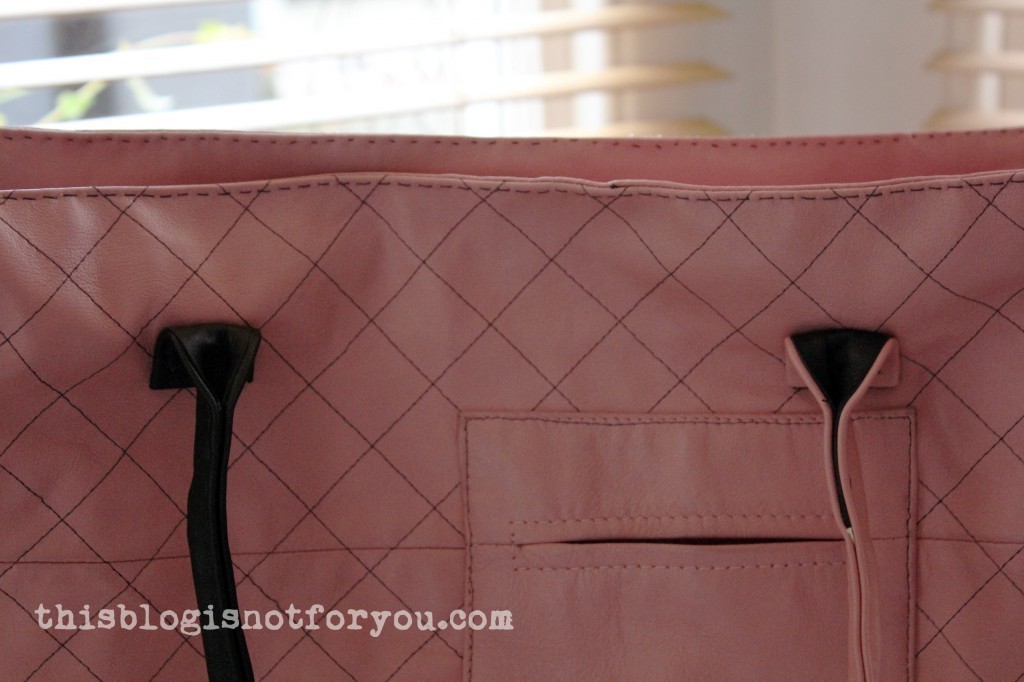
 Here a closeup on the strap (and the messed up topstitching on the front pocket).
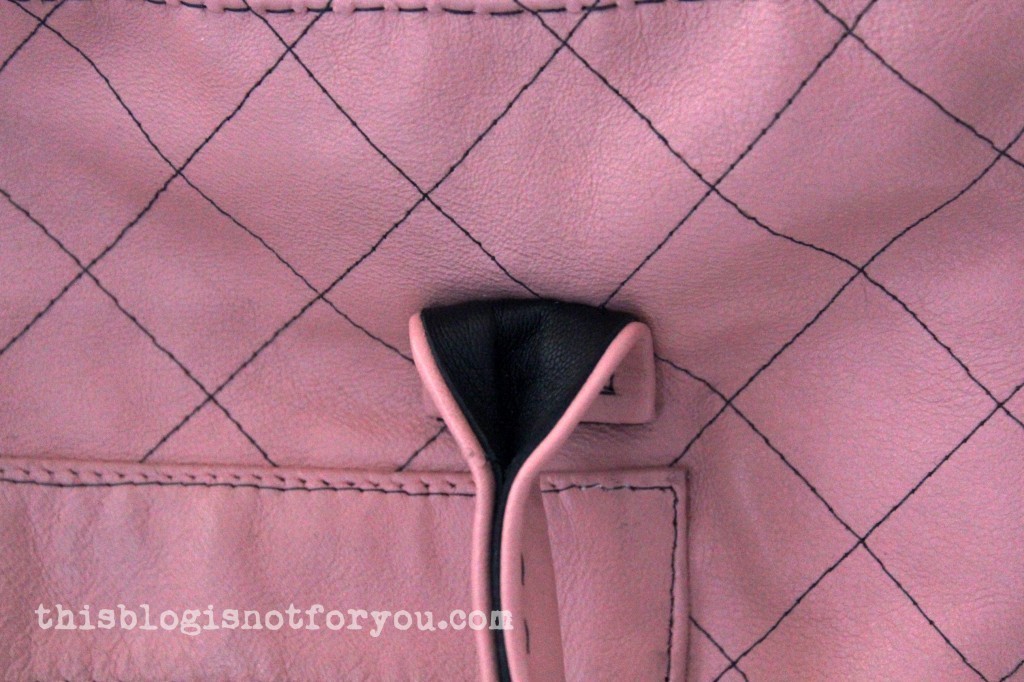
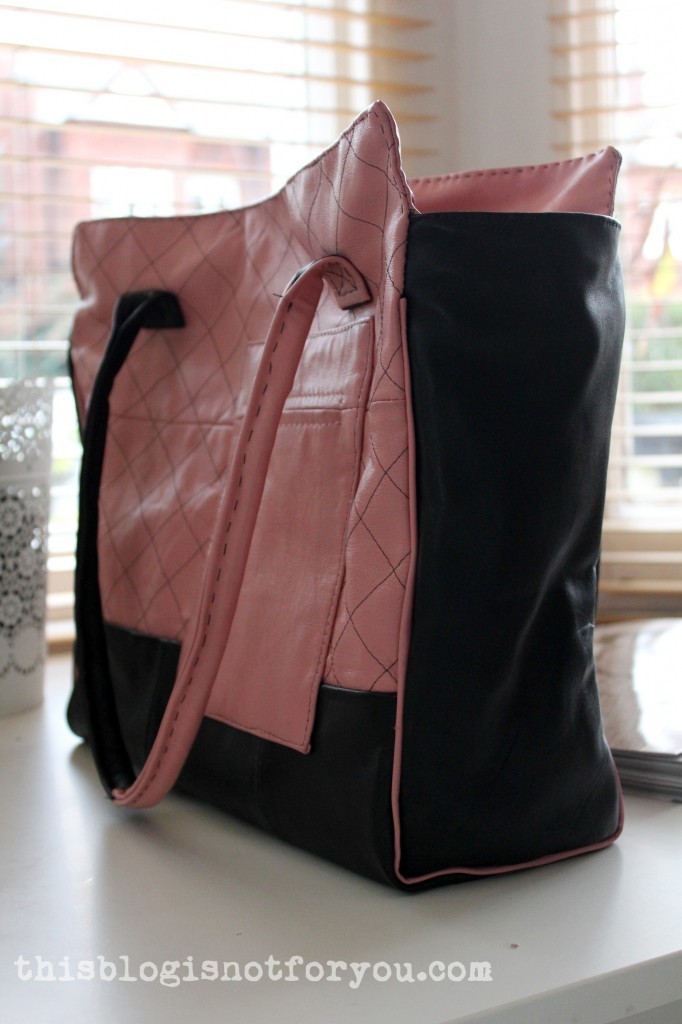 Done!
Done!