Hollywood Sew-Along: The Notebook – Part 2
if you’re a bird, i’m a bird
Welcome back guys! It’s time for Part 2 of our Hollywood-Sew-Along: The Notebook.
Part 1 was all about showing you our inspiration from the movie, now it’s time to share more concrete ideas and plans about patterns and fabrics we are using for our sew-along make. Part 3 will be, of course, all about our final pieces.
Soooooo…
I haven’t started constructing the garment, yet (I’m the person who write the paper the day before the deadline. Sad, but true. time pressure = excuse for coffee!), but I sort of settled on the style and fabric I am going to use.
If you read my post about my favourite outfits from the movie, you’ll know I had a hard time deciding which way to go. They are just all way too beautiful. Furthermore, it was quite tricky to decide whether to go with a replica or a modern take on one of the outfits. I love both vintage and very modern things and again, I had a battle with myself which ended in the decision to sort of combine both (coooompromises, guys = not having to make a decision at all)!
Sooooo…
I decided (yeah, I DECIDED – do I get a cookie for that?) to go with the outfit which had me thinking the most (Mainly, because its on-screen time barely exists and it was super hard to capture in a screenshot). May I present?
The red blouse dress/jumpsuit!
 It’s not super clear from the pictures and doing some research online it is often referred to as a dress, but I am convinced Allie is actually wearing a short jumpsuit in this scene.
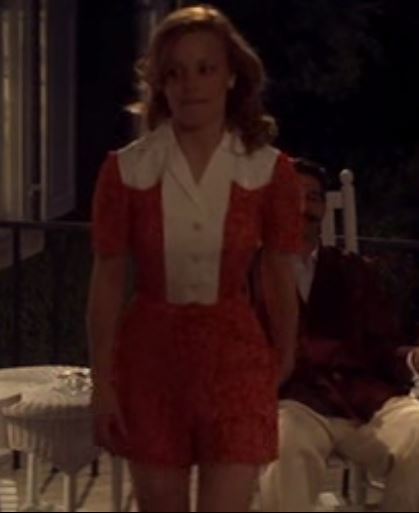
Do you see a jumpsuit? I see a jumpsuit! Fashionable little Allie!
Of course it was hard not to got with the blue iconic dress that everyone loves, but the bodice is quite similar to the cut and shape of the red jumpsuit, so I was thinking of swapping the collar of the jumpsuit for a neckline which is more similar to the one of Allie’s blue dress.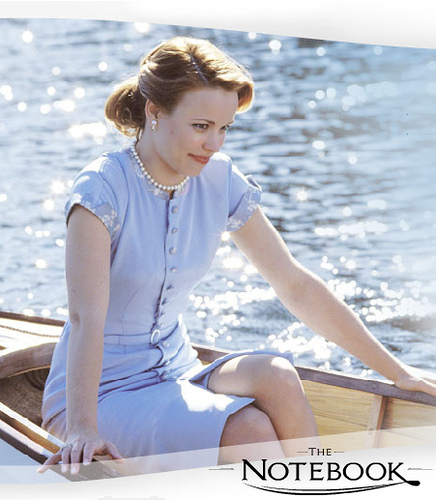
It’s quite hard to find a nice short jumpsuit pattern, so I will probably have to either draft one myself or alter an existing one to my liking. Here is a jumpsuit pattern from Burdastyle which sort of has similar sleeves. I could add a button down instead of the wrap front and shorten the shorts a bit.

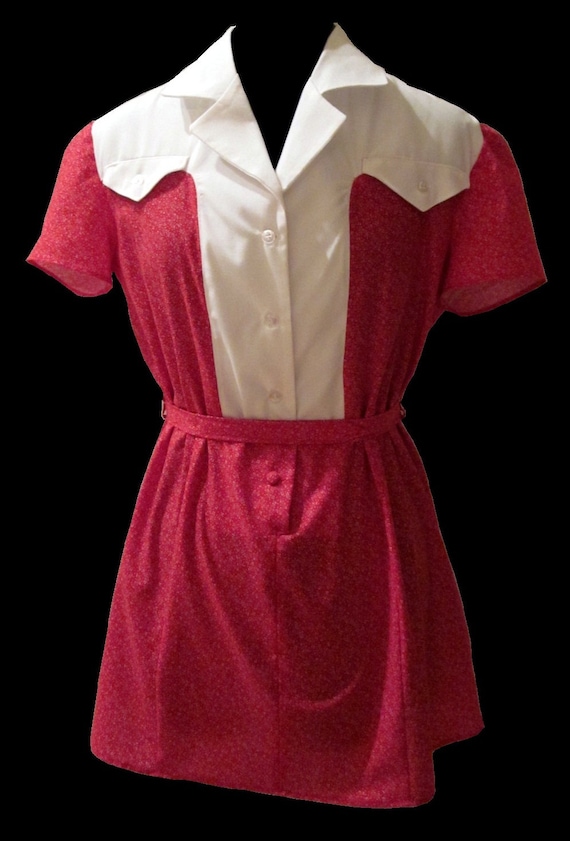
Here’s a pictures of a replica of the jumpsuit/dress (which you can buy on Etsy). It super close to the original if you ask me and I got my inspiration for the waist-closure from it. The waist is cinched by an elastic band and then covered with a cute narrow belt in matching fabric. Using this picture as guidance, I think it should be quite easy to transform the skirt into loose fitting shorts.
This is about what my future “jumpsuit” looks like in my head right now. (If you ignore the awesome skirt!) I do love the long skirt, but I really love the idea of a jumpsuit (which also requires less fabric 😉 ).

These are other Burdastyle patterns which could be transformed into a little jumpsuit:


And, of course, the Hawthorn Dress (Collette) came to mind thinking about 1940’s inspired clothing. I have seen this dress on other ladies and really love it, but I’m scared of all these buttonholes as my machine only has a 4-step buttonholes setting and every single buttonhole is a super nerve-wrecking adventure. But since I only would have to add buttonholes to the top part, I guess I would be fine.

Talking about closures, I’m still not sure which fastening to use. I could either extend the buttoned front down to the short as it was done with the replica on Etsy or add a proper flap and snaps. Or, skip the buttonholes alltogether, sew on fake buttons and insert a long zip in the back, hmmmmm 🙂
Here’s a really cute version of a jumpsuit that has shirring at the waist which, I think, is also pretty smart.

Now, the fabric question. Phew, this already gave me a headache and I’m still not done thinking through the options. I guess I will decide when the pattern pieces are drafted and cut out. My budget doesn’t allow for big fabric haul trips at the moment, so I thought I could use this sew-along to reduce my still too big stash a bit.
Somehow my first choice is this navy-white striped cotton (don’t look at the picture for too long, you will get a headache, believe me!). When using this, I will probably have the stripes run vertically. The fabric is heavy enough not to line it, which is a advantage considering the deadline is in a month!
 I have 3m of this royal blue cotton, which I really love. But I might have to line the whole thing (or at least the shorts) as it is very thin fabric and almost see-through. Maybe I could even combine both cottons, the colours are slighly off, but they still look nice together.
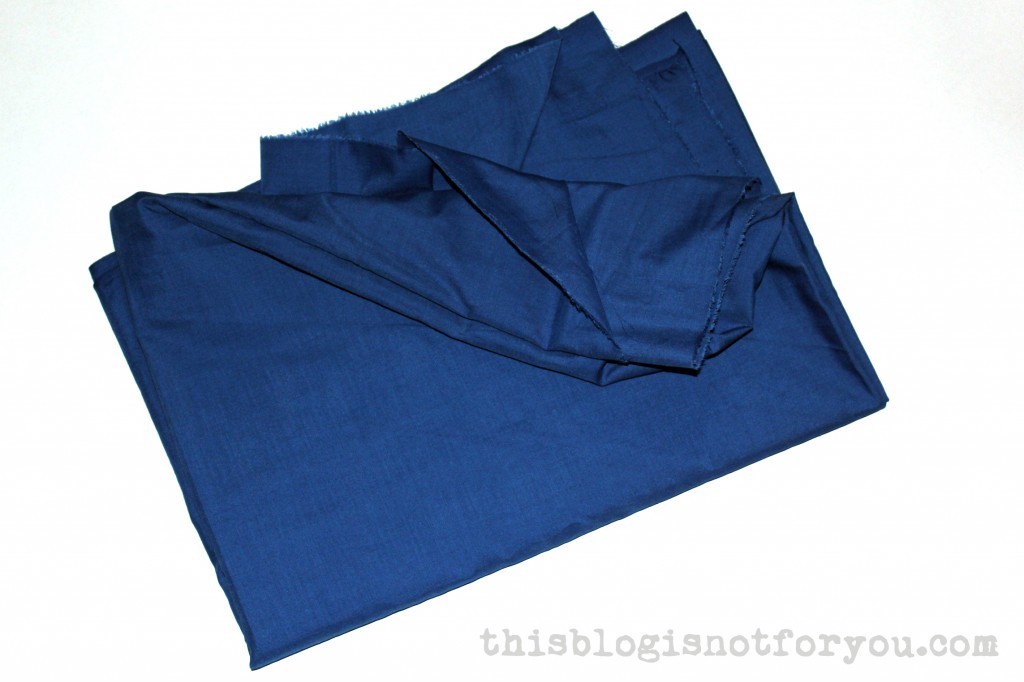
I’m pretty sure you guys will love the next one. (I do!) But actually this one is reserved for another (1950’s inspired) project. I have enough of the fabric to make a cute dress with a huge circle skirt and if I would use it for the sew-along there wouldn’t be enough left for that. Hmm. Also, I was thinking that a jumpsuit in this colourful girly fabric might resemble a PJ or children’s garment – what do you think?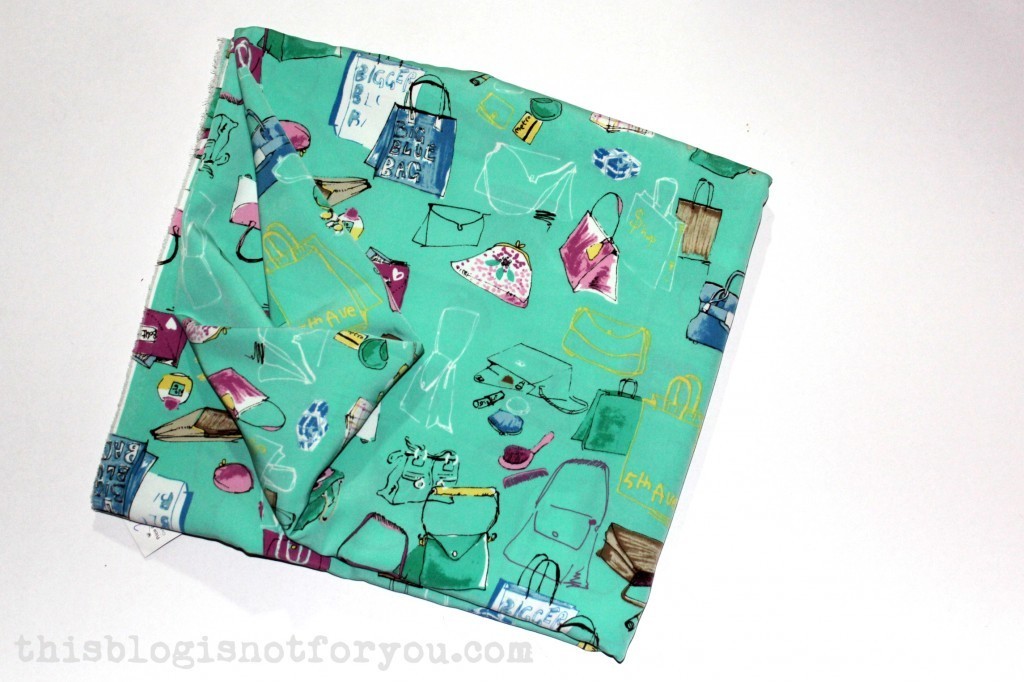
The last option – which only came to mind about an hour ago – is using an actual vintage dress and refashion it into my 1940’s inspired jumpsuit (vintage-ception!). The dress is from the 80’s and is the dress my gandma wore to my mother’s wedding:
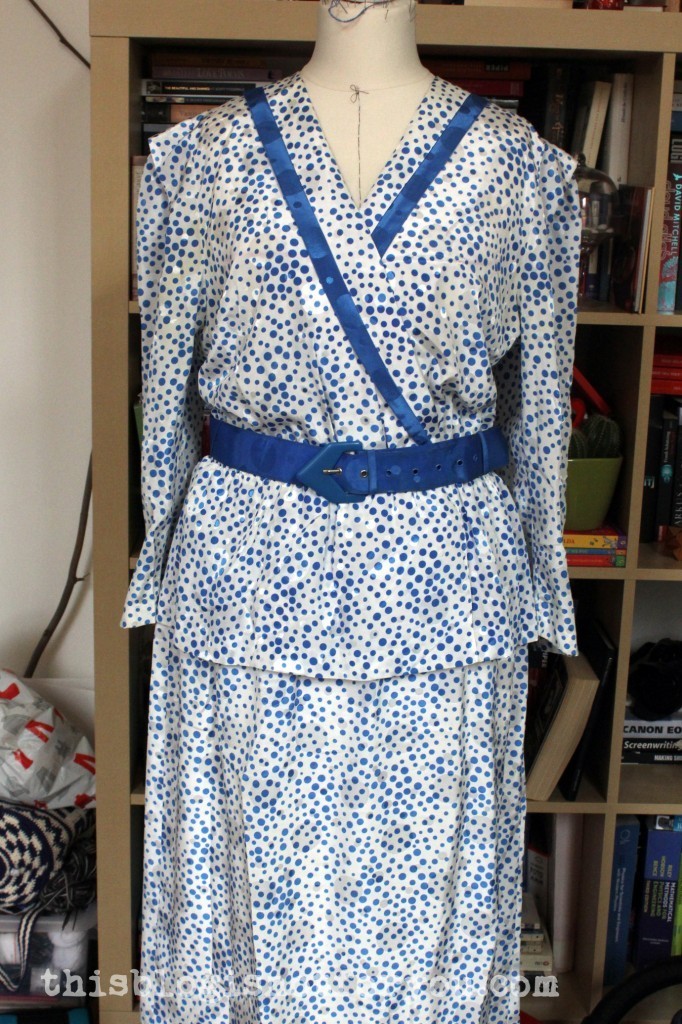 I do see the jumpsuit in this dress, but the front needs to go (and the peplum as well!). However, I really love the matching belt – which is also quite a 1940’s thing:
I will definitely have to make the final decision until Easter, so that I can start constructing the dress after the holidays! Phew! I’ll go and get a coffee now (my eyes still hurt from looking at the stripey fabric picture, ouch!)
Don’t forget to check out the plans of the other ladies of our sew-along team:
Freya from The Dressmaking Diaries
Courtney from Makesphere
Amy from Sews N Bows
Hannah from Made with Hugs and Kisses
The final garment will be posted on May 5th!
If you want to join, grab our button (see right-hand sidebar!) and start sewing! I know it’s quite late in the game, but I haven’t started constructing either 😀 Don’t forget to sent us links/pictures of your make as we would love to feature it as part of our Sewalong series!
Happy Sewing!
♥
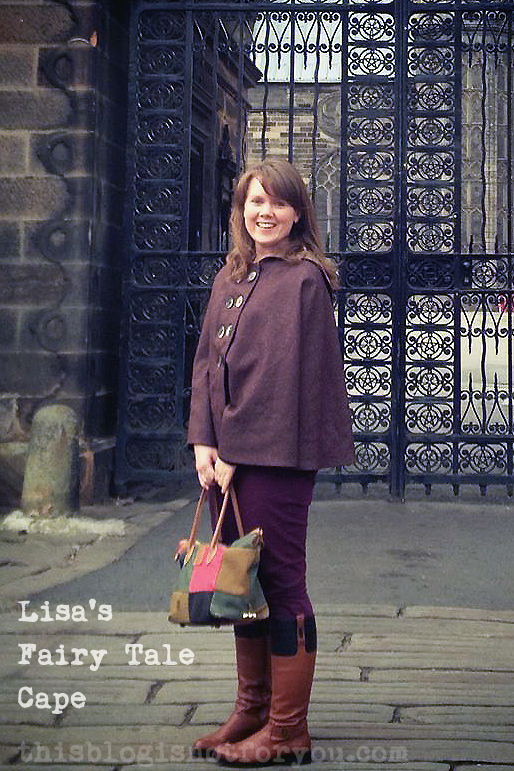
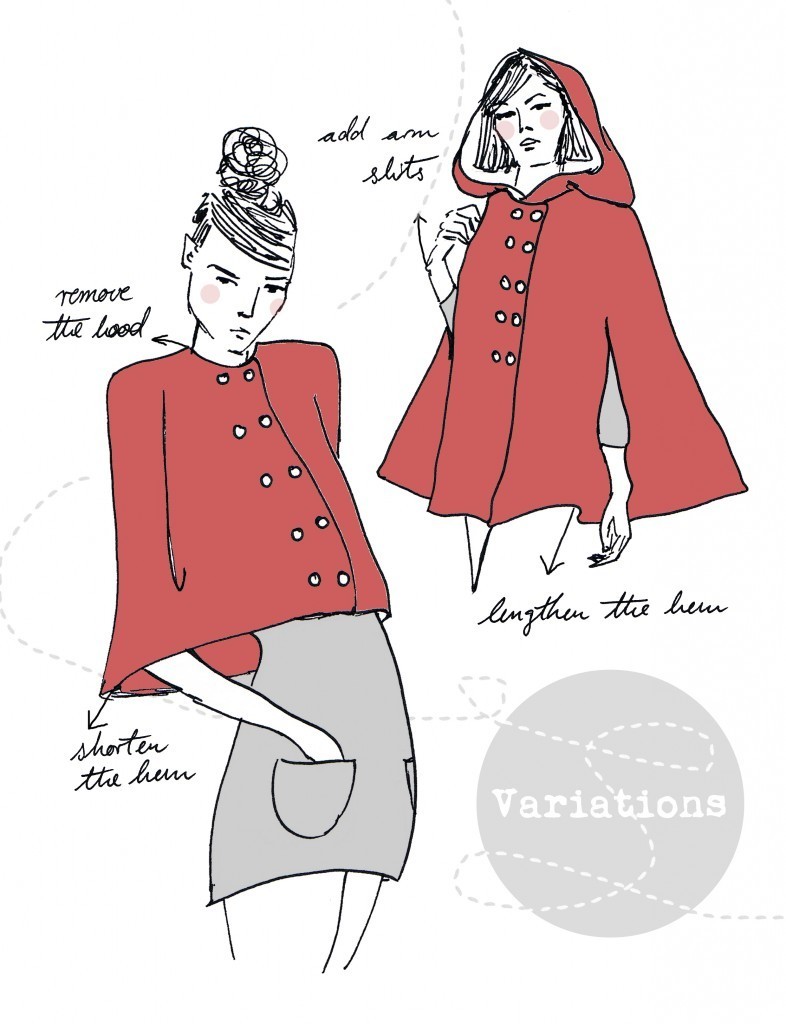
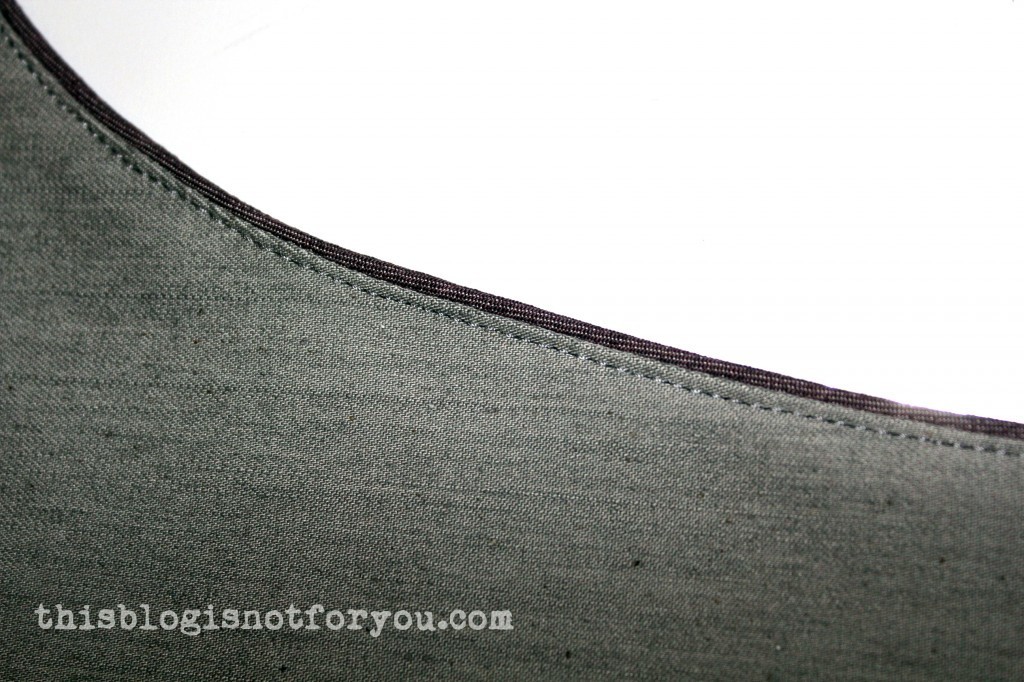
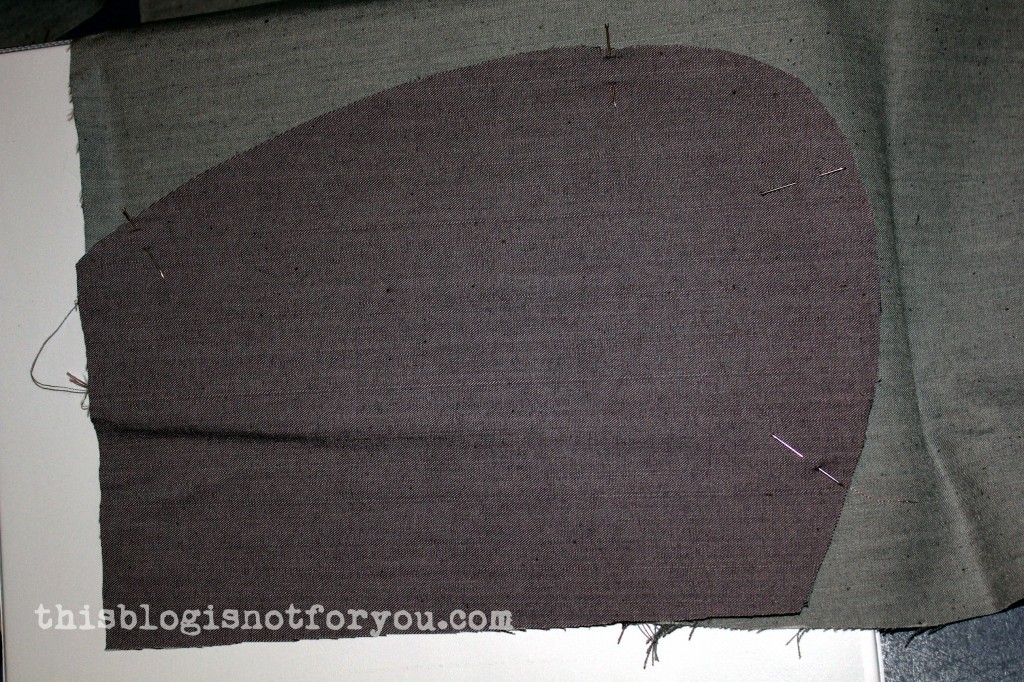
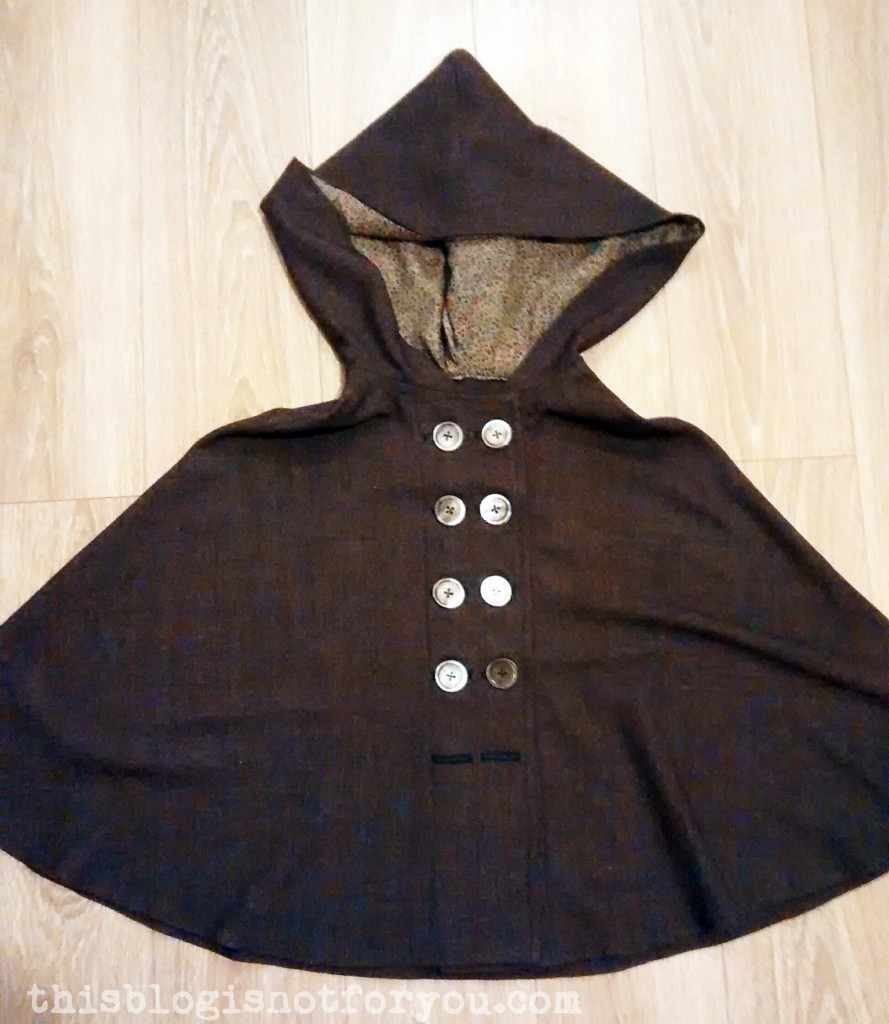
 Lisa made a beautiful brown cape to wear instead of a coat now that spring has sprung! She chose to make buttonholes and topstitched the front of her cape. I love the large buttons!!
 The hood is lined with a beautiful flower print. There will be a sew-along coming up showing you how to add lining to your cape!
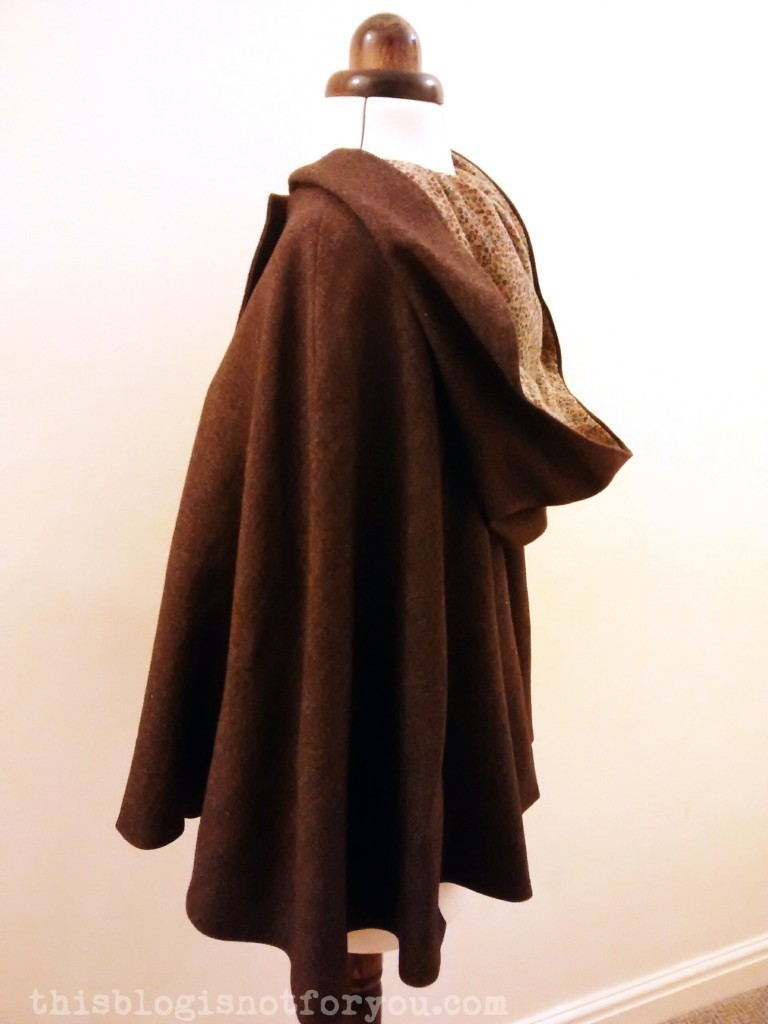
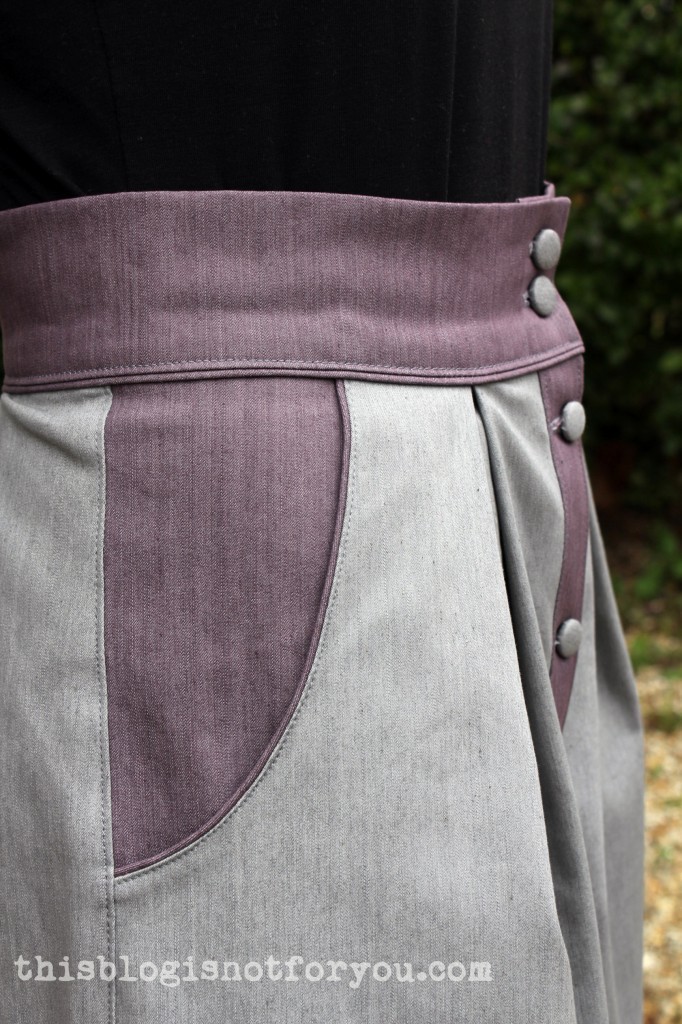
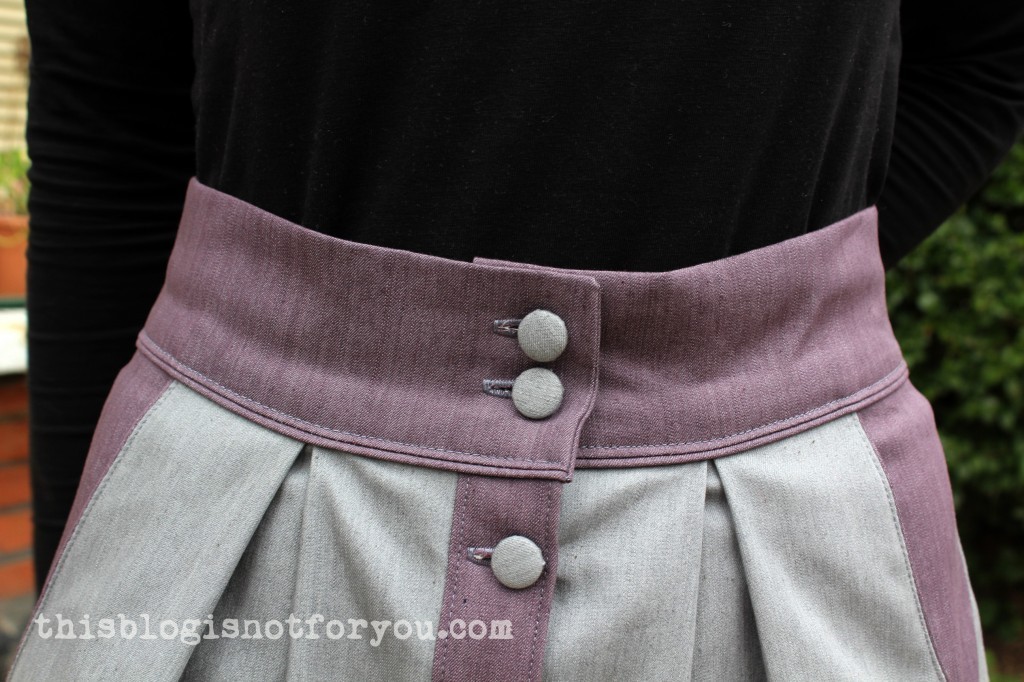
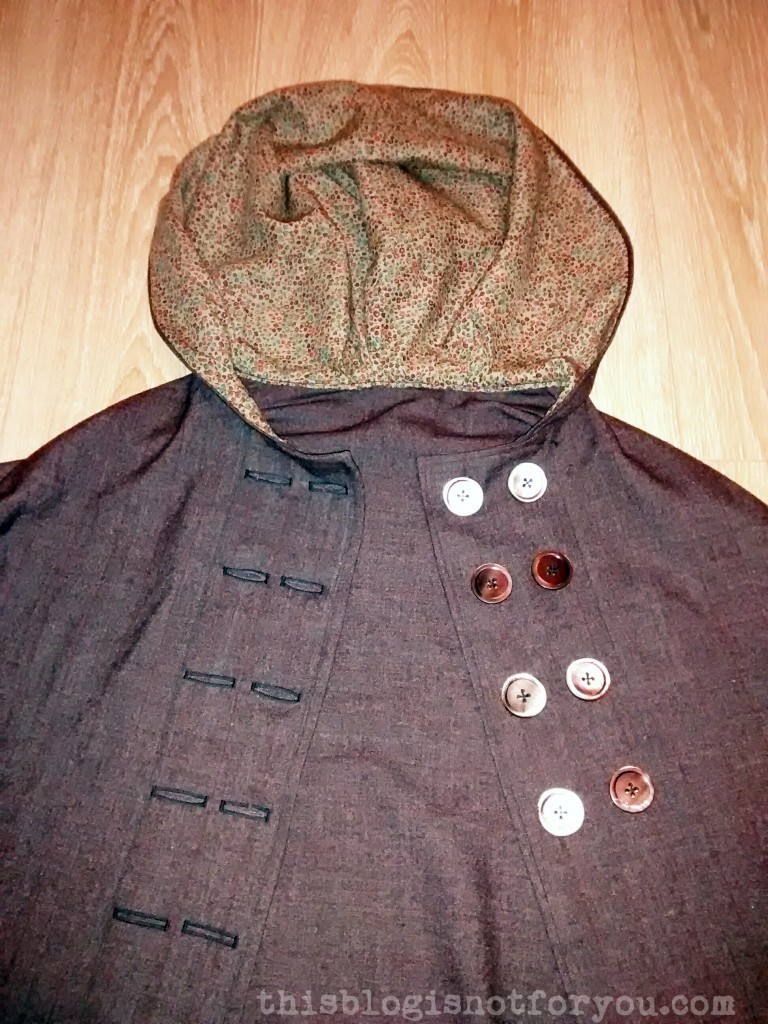 Here’s a close-up of the front & buttons:
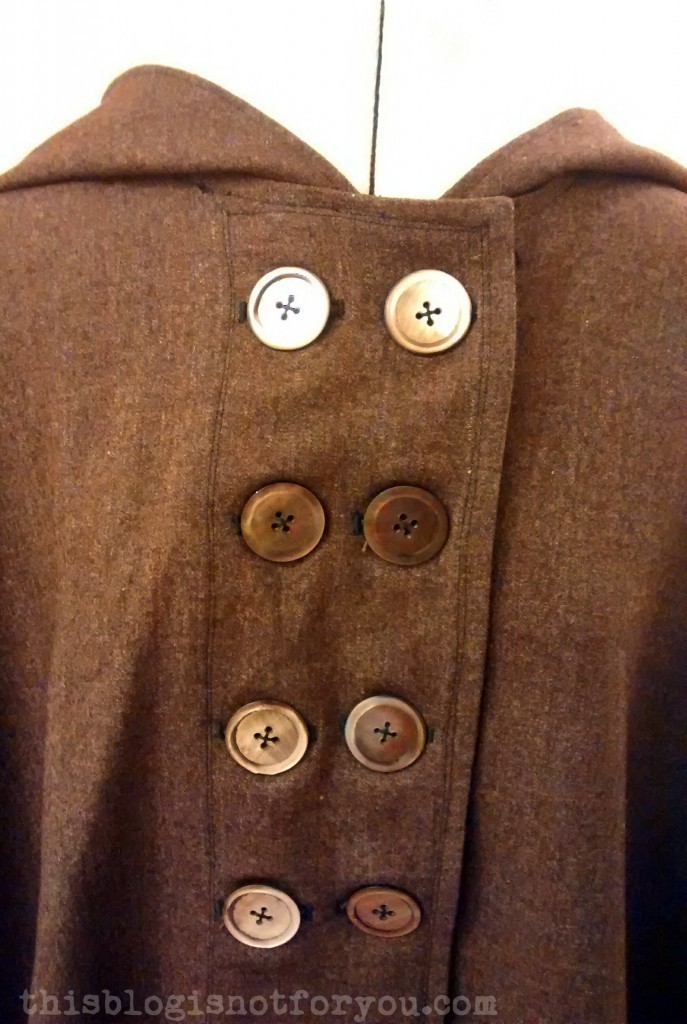
 I really do love this pattern, it is so refreshing to see something so different and unusual but as the same time feminine and useful. It was crazy easy to sew together, and overall a very enjoyable project with many possibilities for embellishment and personalisation.