Bustier Minidress with Asymmetrical Overskirt – Hello Summer!

Minidress with asymmetrical overskirt by thisblogisnotforyou.com

Phew, after a whole day of sewing and unpicking (but mostly unpicking) dress #6 of my 27 Dresses Challenge is done!

Minidress with asymmetrical overskirt by thisblogisnotforyou.com

I have to admit, I’m proud of this one. This one was quite a challenge for many reasons. I drafted the bodice pattern using intructions from the Burdastyle Sewing Vintage Modern book. I’ve never sewn something so fitted and I’ve never used polyester boning before. But it turned out good and it fits perfectly.

Except for the bodice, I made all the other patterns myself.

Minidress with asymmetrical overskirt by thisblogisnotforyou.com Minidress with asymmetrical overskirt by thisblogisnotforyou.com Minidress with asymmetrical overskirt by thisblogisnotforyou.com

I bought the fabric over a year ago and it had to wait in a box patiently since I didn’t really know what to do with it. I used part of the butterfly chiffon for my petticoat. The brown fabric was a mispurchase, really. I ordered it online and when it arrived it was not what I had expected. Its texture is almost like the flysheet of a tent, but feels a bit like velour. Its mainly viscose and wrinkles very easily. That’s why I thought it would work best with a very fitted pattern. With this dress there’s seriously no room for wrinkles.

Minidress with asymmetrical overskirt by thisblogisnotforyou.com Minidress with asymmetrical overskirt by thisblogisnotforyou.com           Minidress with asymmetrical overskirt by thisblogisnotforyou.comMinidress with asymmetrical overskirt by thisblogisnotforyou.com

 This one was taken before I knew that I would get a bit of sunshine on a rainy London day. I just really like how the light falls through the fabric:

Minidress with asymmetrical overskirt by thisblogisnotforyou.com

Hopefully I can wear it soon. The weather has been surprisingly good in the last few weeks. Hope I can have some ice cream in that dress without busting the bodice part 😀

Unfortunately, I did not have enough time (and nerves ahhh the unpicking!!) to take pictures for a tutorial on this dress. I’ve done a tutorial on asymmetrical hem dresses before, you can find it here.

 If you have any questions feel free to ask!

Spring is back – and so am I.

A whole month of no sewing (craaaaaazy!), no blogging but way too much non-stop studying.

Finally. Exams are over, all deadlines met and I have (at least part of) my life back. After four weeks of not having the chance to discharge all my creative energy I’m loaded with ideas. And guess what? Yes, I started sewing right away.

But not before relaxing a bit in Regent’s Park which is so damn pretty right now. Here are some impressions of the park and a sneak peek at what’s coming up:

regents park london by thisblogisnotforyou.comregents park london by thisblogisnotforyou.comregents park london by thisblogisnotforyou.comregents park london by thisblogisnotforyou.comregents park london by thisblogisnotforyou.com

I finally picked up my copy of Sewing Vintage Modern and drafted the bodice pattern for a fitted bustier dress. The instructions were really simple and the muslin fits perfectly. However, I won’t sew the dress from the book but will be a bit more creative than that 😉

It’s gonna be the first time I will use polyester boning. Pretty exciting 😉

polyester boning bodice muslin by thisblogisnotforyou.compolyester boning bodice muslin by thisblogisnotforyou.com


So, what have you been up to in the last four weeks? Did I miss anything exciting?


Refashion It! Tshirt Refashion with Lace

tshirt refashion with lace insert by thisblogisnotforyou.com

Yes – I’m still there! In case you’ve wondered whether I’ve got the blogging blues – nope, I don’t. I’d love to blog more at the moment, but unfortunately I can’t. Life’s quite stressful at the moment and I’m basically studying for finals and writing on my dissertation non-stop.

Nevertheless, I try to sew a seam here and there whenever I’ve earned me some sewing time after days of studying. Not enough though for finishing the next dress for my 27 Dresses Challenge. The fabric is all cut out and waiting for me to return to my sewing machine in a few weeks time.

In the meantime I’ve done a quick and simple tshirt refashion with a shirt the boyfriend just brought me from a recent trip to Warsaw (yes, he did know before buying it that the first thing I’d do is cut it apart!)

Due to the lack of writing time at the moment – let the pictures speak for themselves:

tshirt refashion with lace insert by thisblogisnotforyou.comtshirt refashion with lace insert by thisblogisnotforyou.comtshirt refashion with lace insert by thisblogisnotforyou.com

Don’t forget to think of the seam allowance before cutting of the sides. Add seam allowance to the lace part as well.

tshirt refashion with lace insert by thisblogisnotforyou.com

tshirt refashion with lace insert by thisblogisnotforyou.comtshirt refashion with lace insert by thisblogisnotforyou.com

Start setting in the lace at the sleeves. Use a straight stretch stitch.tshirt refashion with lace insert by thisblogisnotforyou.com

Topstitch approximately 0.5cm next to the seam to secure your seam allowance in place and prevent it from being seen through the lace. When topstitching, don’t backstitch. Instead, use a needle to pull the top thread through the fabric, then fasten with knots.tshirt refashion with lace insert by thisblogisnotforyou.com

Done! :)tshirt refashion with lace insert by thisblogisnotforyou.comtshirt refashion with lace insert by thisblogisnotforyou.com

I think it really makes this shirt looking a bit more femine. Can’t wait for some hot summer days!


What do you think?

Have you refashioned anything lately?

 facebook/bloglovin/pinterest
Stay in touch!

weekend treats {magazine review}

sewing magazine review by thisblogisnotforyou.comAfter quite a stressful term at uni and before heading home for the Easter weekend I treated myself with three new sewing magazines I’ve never read before. I don’t buy a lot of magazines. They can be quite expensive and end up in the dustbin anyway. The only ones I keep are the Burdastyle magazines since you can reuse the patterns for as many times as you want and combine the different pattern parts of different issues to create new looks.

However, I recently bought three magazines that looked quite promising – Sewstylish, Threads and Cloth. In case you’re looking for new reads for the weekend, I summarised the pros and cons:

#1 Threads

threads magazine review by thisblogisnotforyou.com

threads magazine review by thisblogisnotforyou.comthreads magazine review by thisblogisnotforyou.comthreads magazine review by thisblogisnotforyou.comthreads magazine review by thisblogisnotforyou.com

“threads – for people who love to sew”

YES, that’s me!

And the magazine’s title holds its promise. It’s perfect for me!
Although there are actually no patterns included (compared to Burdastyle’s 30-40 patterns for the same price), I would say it was worth the money. This magazine was really surprising. Here’s what I liked most:

  •  I love haute couture. I love looking at it, reading about it and this magazine had quite a few articles adressing haute couture techniques. Burdastyle magazine is nice, but patterns are often quite simple. Threads has some pretty good ideas and inspiration for working with lace or sculpted tucks.
  • What I love about threads is that it’s a reader-written magazine. There are many very useful ideas and tips from other hobby seamstresses! Gosh, people can be so creative sometimes…! (Another pro: You can actually send in tips and get paid for it!)
  • The curved tucks tutorial (see picture) was one of my favorites. The pattern in the tutorial is horrible – totally dated, but it has very great instructions – definitely going to try this! (with a different pattern!)
  •  Threads has some pattern reviews (Vogue, Marfy, McCall’s, Collette, Burda) and a quite comprehensive preview of what is to come fashionwise this spring. I really liked the preview, because it’s different from those rather unsubstantial runway picture galleries you normally see in magazines. Threads also looks at fibers and fabric types used, not only colours and cuts.
  • There are also quite a few tutorials and techniques explained, an article about vintage presser feet and a series about seam finishes.

What I really didn’t like was that everything about this magazine, the models, patterns, fabrics, looks a bit outdated and old-fashioned. Definitely not outdated enough to be vintage, which is a bit weird.

 #2 Sewstylish

sewstylish spring 2013 magazine review by thisblogisnotforyou.comsewstylish spring 2013 magazine review by thisblogisnotforyou.comsewstylish spring 2013 magazine review by thisblogisnotforyou.comsewstylish spring 2013 magazine review by thisblogisnotforyou.comsewstylish spring 2013 magazine review by thisblogisnotforyou.comsewstylish spring 2013 magazine review by thisblogisnotforyou.comsewstylish spring 2013 magazine review by thisblogisnotforyou.com

Sewstylish – Spring 2013 Fashion Sewing Guide.

Well, well, well. I was very disappointed when I flicked through the issue. For me, it was definitely not worth the money and I regret buying it. Although it’s the same price as Burdastyle, it has not much to offer in comparison.

For whom? Definitely not for me 🙁

However, there were a few things I liked.

  • really simple tutorial on cutwork
  •  tutorial on how to get rid of side seams – quite interesting but very basic
  •  I loved a tutorial on how to customize a peplum pattern with nicely explained instructions
  • an article about serger basics (basics, again)
  • What I liked best was a “project rescue” article that had helpful tips on how to deal with scorches, snags, spills etc and how to get rid of them.

All in all this magazine seemed to not go beyond basics. The “sewing school” basically just explained terms like seam allowance, stitching line, cutting line etc.

The advertised free pattern of a “designer clutch” was far from being a “designer clutch” (rather a “pretty ordinary clutch”) but the step-for-step tutorial was ok with many pictures and instructions. The pattern however was just a mini scale version you’d would have to copy and enlarge before being able to use it.

There were many styles in this magazine that had nothing to do with a “fashion sewing guide”. Some ideas  like the lace appliqué were nice but realized very poorly. The fit of the dresses overall wasn’t good and everything looked slightly outdated. Many ideas weren’t innovatice, look dated or showed a questionable fashion taste.


What really surprised me was that this magazine is made by the editors of threads. I really loved threads, but this one was far from being close to it.

It’s really for the very first beginner, it’s very basic and simple and contains slightly dated fashion. Definitely not made for me 🙁

This was the only style I really really loved. Assymetrical peplum:

sewstylish spring 2013 magazine review by thisblogisnotforyou.com


#3 Cloth

Cloth magazine review by thisblogisnotforyou.comCloth magazine review by thisblogisnotforyou.comCloth magazine review by thisblogisnotforyou.comCloth magazine review by thisblogisnotforyou.comCloth magazine review by thisblogisnotforyou.com

“Cloth – Make it you own”

I really enjoyed reading Cloth. It contained a whole lot of ideas I wanted to “make my own”.

Here’s what I liked best:

  • The magazine included a free personal sizing guide. Not totally smashing but it can be helpful to keep track of your measurements and to have them handy while sewing..
  • Cloth is full of sooo soo many nice innovative, creative ideas that immediately inspired me. Nothing “ready-made” like when sewing with burdastyle and nothing I’d copy completely, but many bits and pieces that inspired me to try to step out of my comfort zone and create something myself, without a ready-made pattern.
  • There were quite a few helpful tutorials: a head band, a chiffon overskirt. a bow-belt, painted/stenciled fabric, an upcycled bag – nothing great, but quite inspiring to adapt. I loved the idea of the sewn on chiffon overskirt and will definitely try to combine this with a assymmetrical dress.
  • I love the article about “trash to couture”. One of my favorite blogs in Cloth  – whoop whoop! (Too bad they did not really pick her best DIYs)

What I didn’t like:

  • templates and paper patterns – they come with nice tutorials + pictures, but are nothing compared to burdastyle. A very simple skirt is the only dress pattern of the five patterns that come with the magazine. Not fully satisfying but still better than the pattern in Sewstylish.
  • There were a bit too many craft and accessory tutorials and ideas. I’d love to have more fashion and sewing inspiration!

But overall, worth the money.


I really enjoyed trying some new magazines, but I’ll probably stick to Burdastyle. Although a  Threads or Cloth will be a nice treat every once in a while.

What are the sewing magazines you like to read? Any recommendations? What are the ones you really wouldn’t recommend to buy?

Blogging Series Synopsis {Now it’s your turn!}

blogging basics summary by thisblogisnotforyou.comExactly two months ago I started my Blogging Basics Series with the aim of sharing blogging tips from “newbie to newbie” – all the tips and tricks and blogging basics I learnt in the first weeks and months. All the things I found most helpful and wished I would have known from the start.

Now, there are so many things to keep in mind about blogging that I could go on forever. I won’t. Of course, there’s so much more to say and think of but the most basics things (and this was my objective) I’ve already covered.

I could go further and further into detail and some of you might find this rather helpful. But I also don’t want this series to slowly fizzle toward the end and let my newbie blogger friends feel that they’ve been left hanging somewhere along the way.

This is way I’ve decided to bring this series to an end. To do this well, I’ll summarize and prioritize the main points for you – before it’s your turn to add your own points, share what you think I might have missed or show us how your blog has changed over the course of this series.

What is most important and urgent?

In case you have wondered whether my blogging tips were published in a certain order or not: they weren’t. But I’ll put them in an order now.

The question of with what you start depends on what you already have. 

Someone who is just starting from scratch should first of all define their niche and style. Before focussing on the essentials, you should have a clear idea in mind of what your blog will be about and who your reader is. If you’re not sure, do some research and study as many blogs as possible. This will help you decide where you want to go with your blog. When you have a clearer idea of what you want to write about, what niche and reader is addressed, pick a name for your blog.

When you already have a name and a website and started writing already, you have skipped some of the most basics steps already. But nevertheless, your basic priorities should still be the same as for someone who has yet to do all these things:
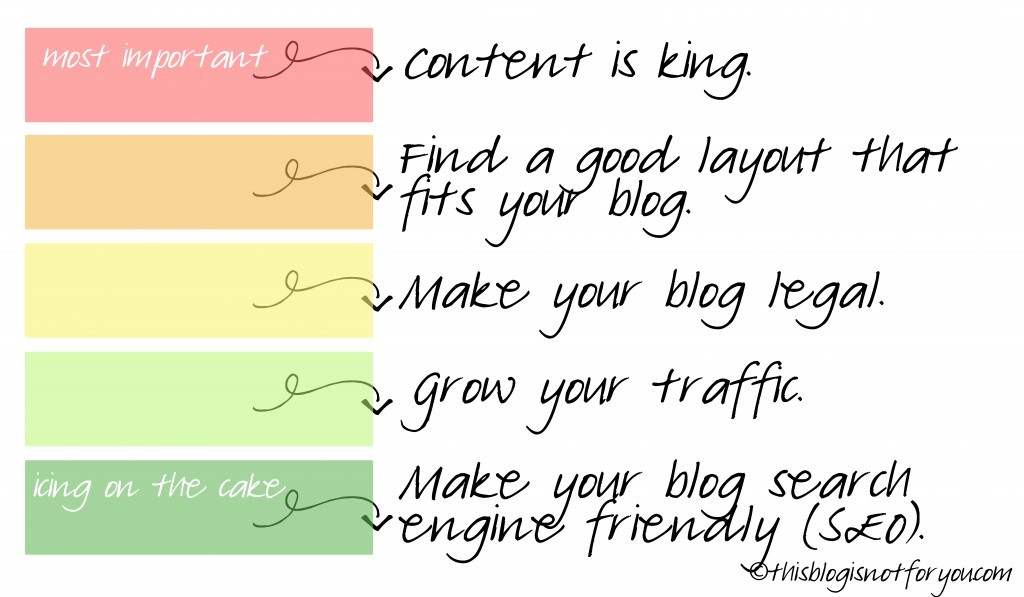
blogging basics summary by thisblogisnotforyou.com

#1 Content

Putting content (and reader) first, is most essential. Unique content is the heart of your blog. When you don’t care about your content as much as you should do, you’ll never grow your blog to it’s full potential.

Always keep your niche and reader in mind when thinking about what to write about. When you don’t have a focus and just blog about whatever comes to mind, you risk  dissappointing your readers with content they’re not interested in. When your readers  repeatedly do not feel you’re addressing them, they will eventually wander off regardless of how much effort you put into growing your blog and becoming a SEO expert. Content first. Period.

#2 Layout and structure

When you’ve critically examined and improved your content and feel you have a clear focus, only then get down to tackling your layout. Designing and implementing the layout is time-comsuming and you don’t want to start all over again after noticing it doesn’t match whatever your blog is about.

A basic ready-made template is enough in the beginning. Focus on your content first, then start creating a layout and a structure that supports it well.

#3 Make your blog legal

It doesn’t take that long and it’s important for you to be on the safe side. So make sure you copyright your blog, create a Terms of Service and Privacy Policy page and see what else you might need. It only takes a few minutes and there are free generators online that will help you include the all the essential information.

#4 Grow your traffic

When you’re done with the first three steps, it’s time to grow your readership. It doesn’t grow overnight, but if your content is unique and innovative, your readership will sooner or later grow by itself. There are some things you can do to accelerate the process and they’re especially helpful in the beginning. Once your blog has grown to a certain size, you won’t have to put that much effort into it anymore.

#5 Search engine optimisation

It sounds scary and it’s a bit complicated. Don’t panic, because it’s not the most important thing about blogging. It’s helpful in growing your readership and it’s certainly relevant when you want to monetize your blog. When you just started blogging – this is the last thing you want and have to think of.


Some pep-talk in the end:

Be patient – your blog won’t grow over night.

Be consistent and persistent, but never afraid of change. Sometimes change means loss and it’s hard to let go of thing you’re used to. To grow, you have to embrace change.

Make your “big” today your “small” tomorrow. Aim at getting better, but don’t think of your blog as “big” and “finished” already, otherwise you will stop progressing.

Always progressing is essential for having a successful blog. Never stop growing. Once you stop growing, your blog will stop, too.

your turn

 Your turn? Yes!

It’s time to add your own points! I’d love to know what you think I might have missed that would be useful for all newbies out there and what you wish you would’ve known from the start.

I’d also love to see what you learned from this series and whether this effected your blog in any way. Did you change anything? Did you get rid of something? Did you rework your layout?

Whatever it is, I’d love to hear from you! I’m planning to do some sort of a feature post.So if you want to let others know how your blog improved in the past weeks or what went totally wrong in the beginning – this is your chance!

Send me your ideas, stories, before and after’s to hello@thisblogisnotforyou.com. 

Read Part 1 {Get People to Look at you}
Read Part 2 {Layout}
Read Part 3 {Content #1}
Read Part 4 {Content #2}
Read Part 5 {Invest your time wisely}
Read Part 6 {Grow your traffic}
Read Part 7 {Make your blog legal}

Liked it? Have feedback? Please do tell me! I love your comments and read and appreciate every single one of them!
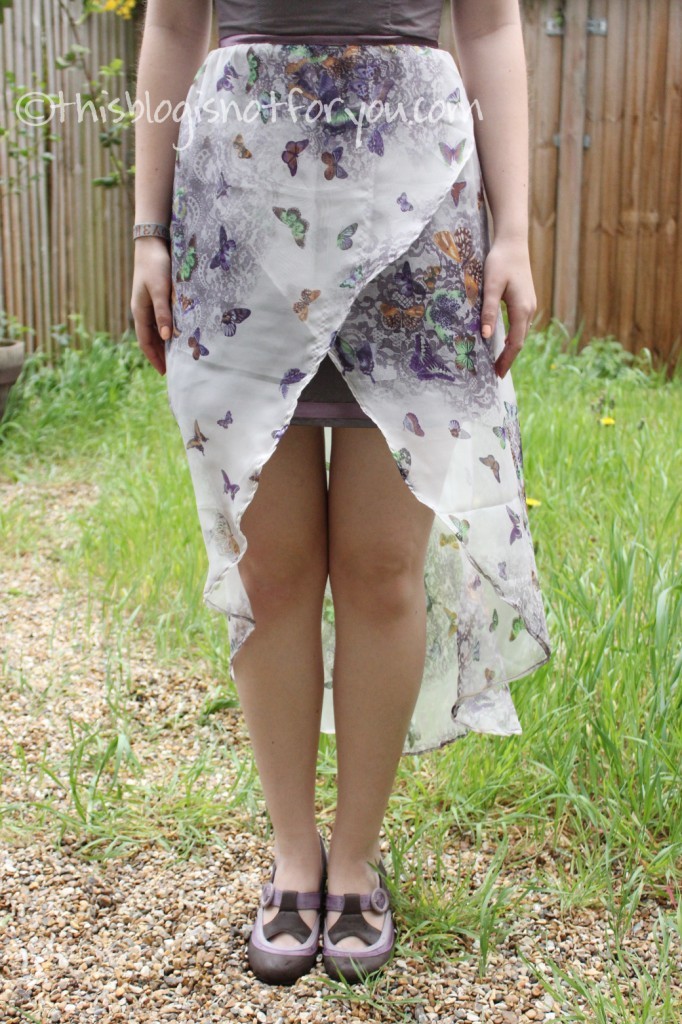
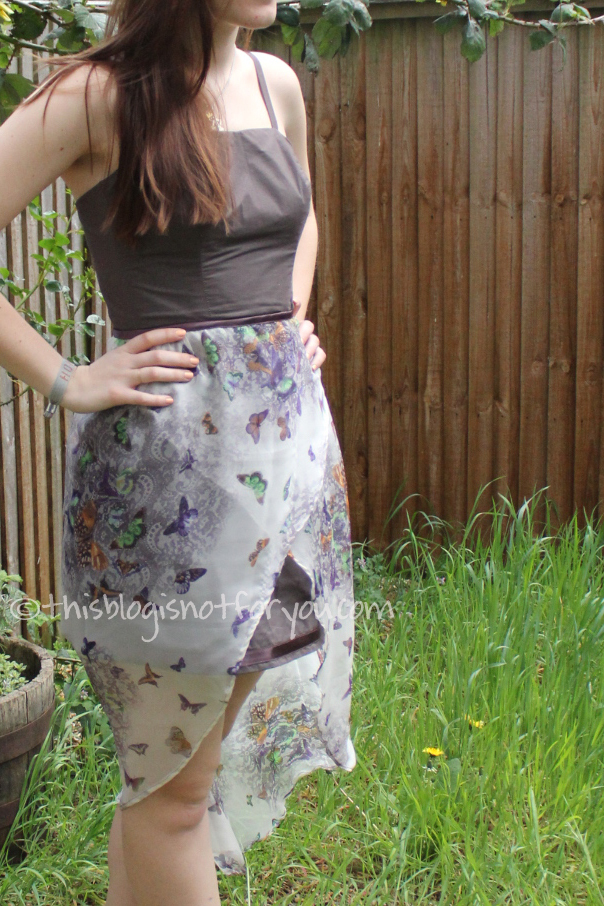
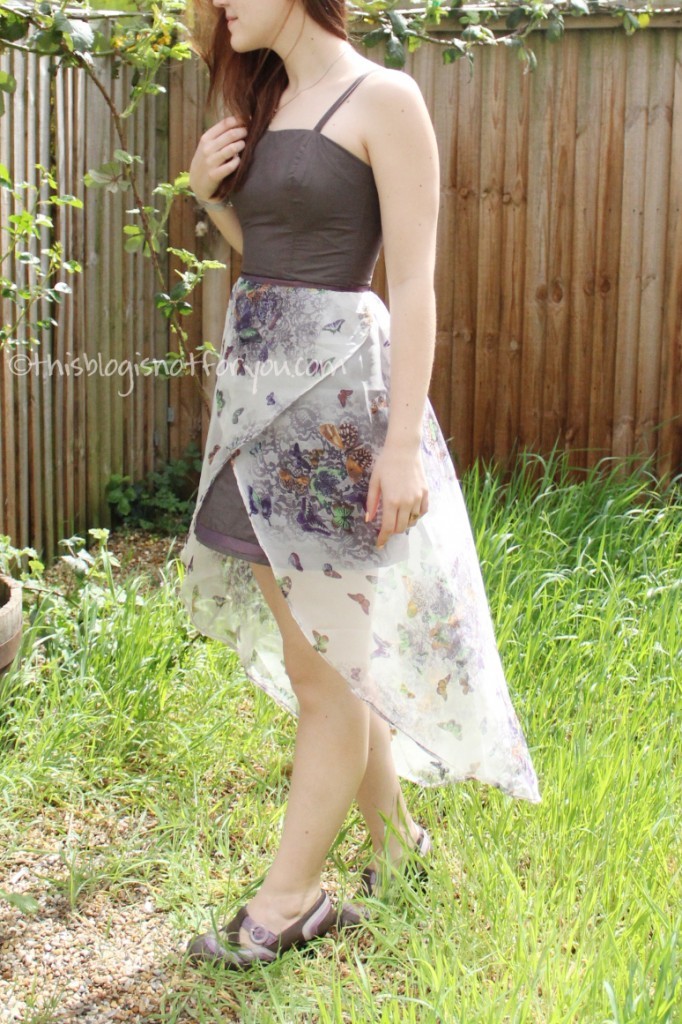
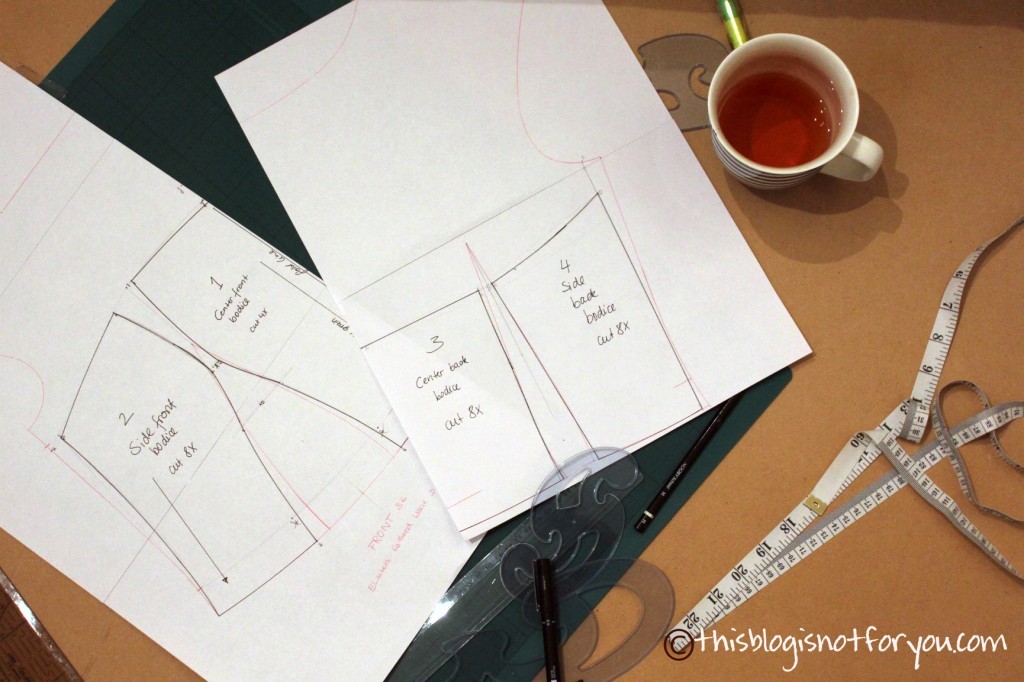
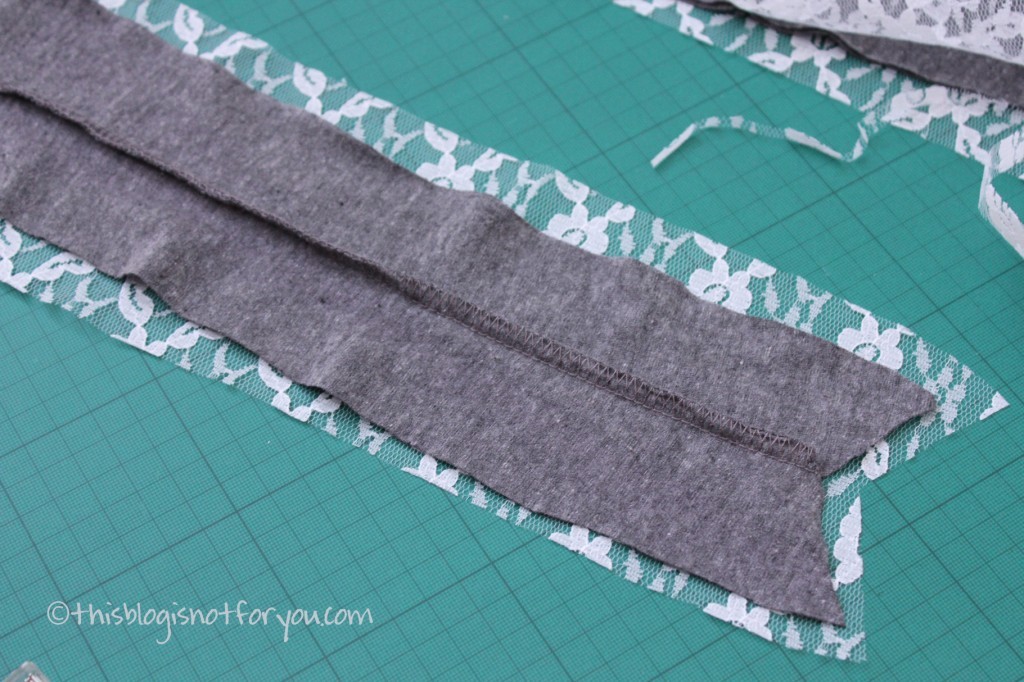
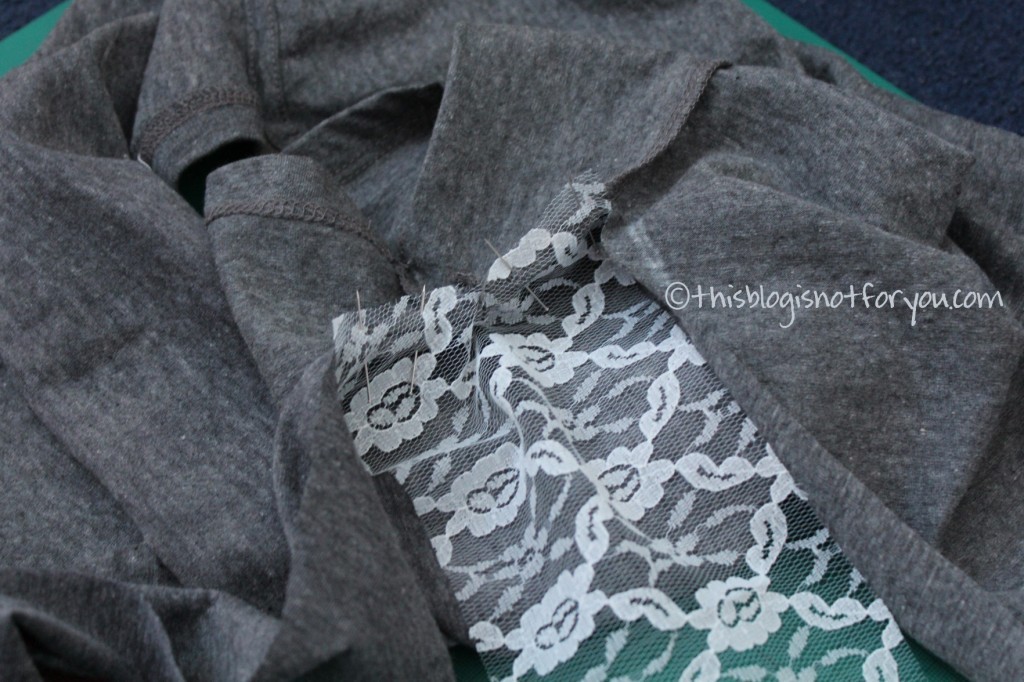
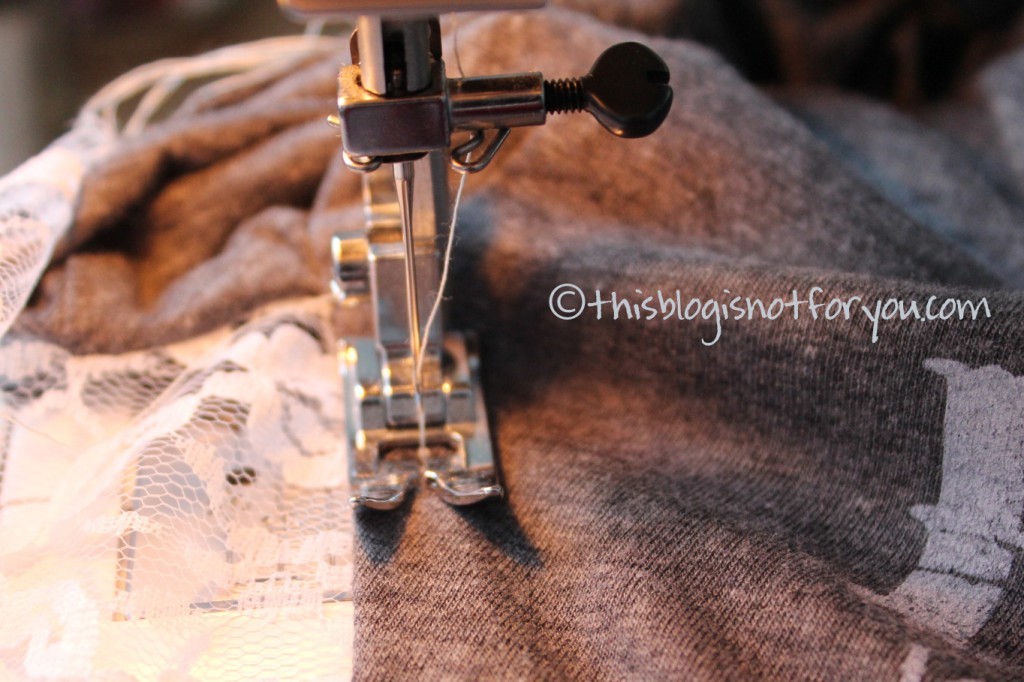
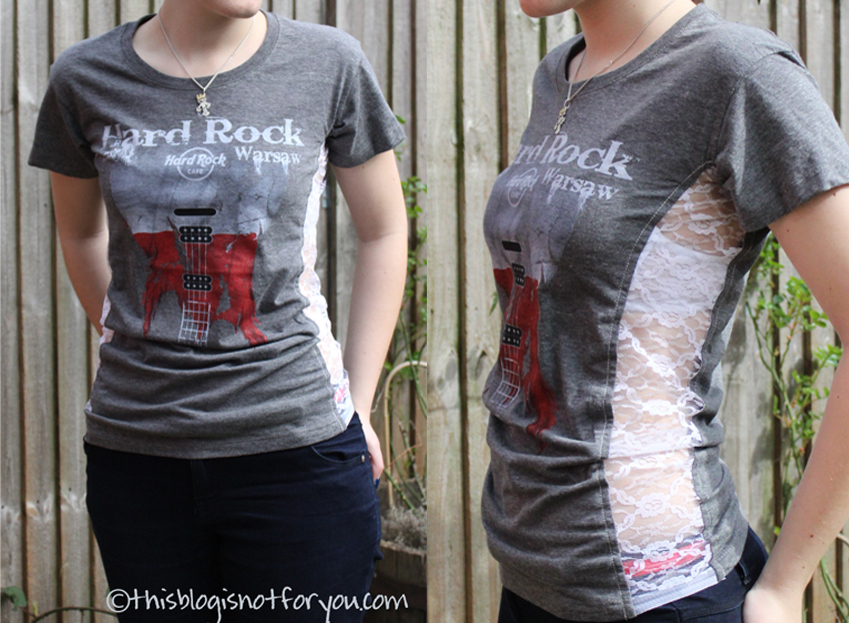
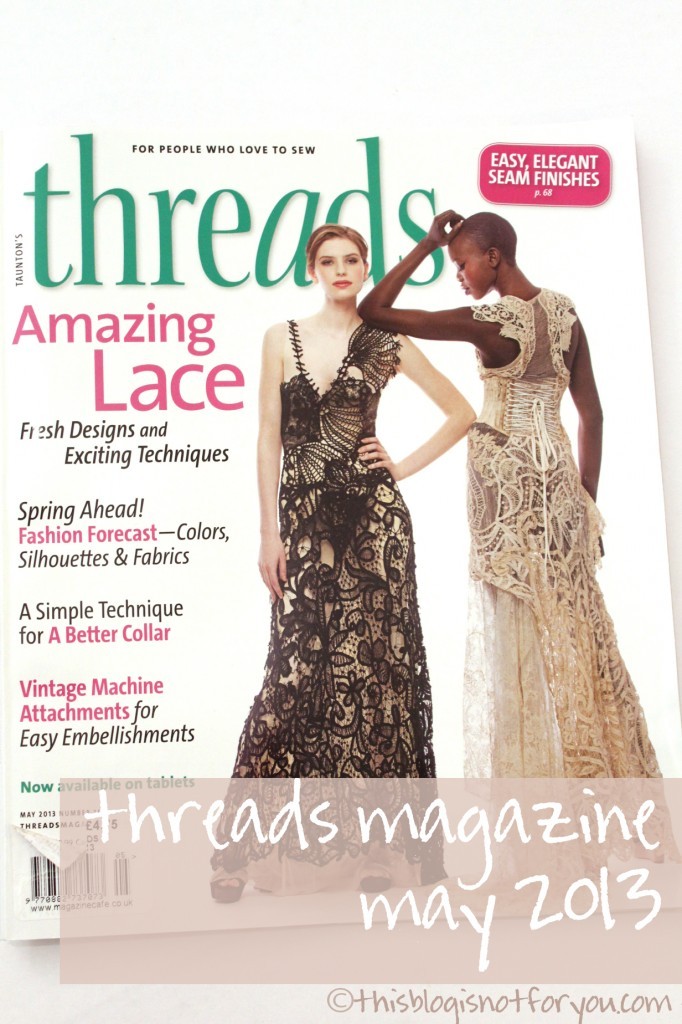
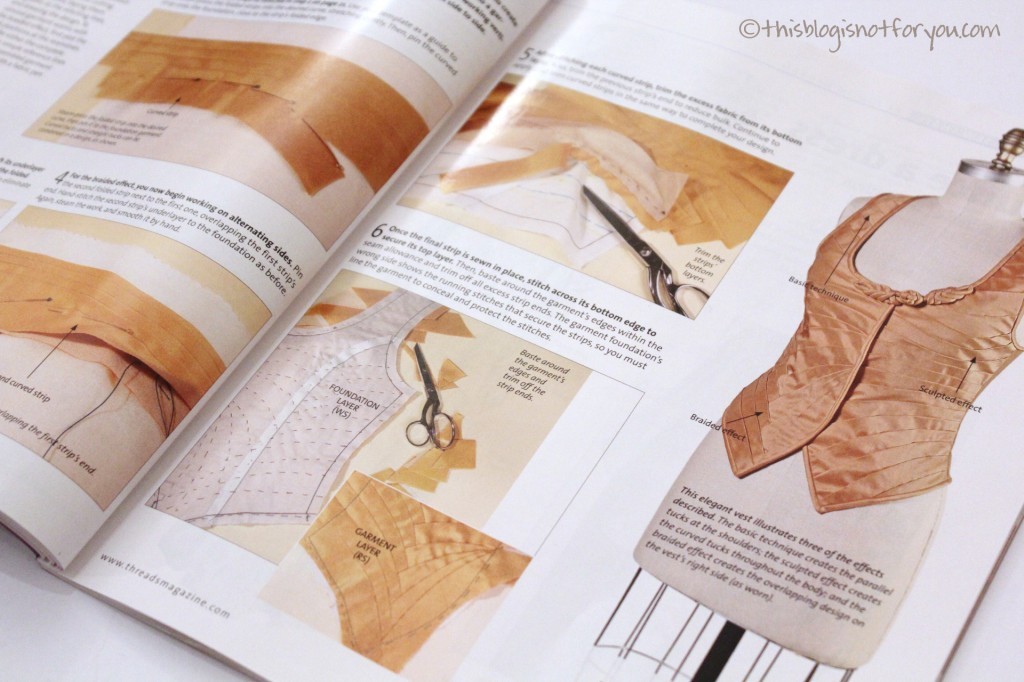
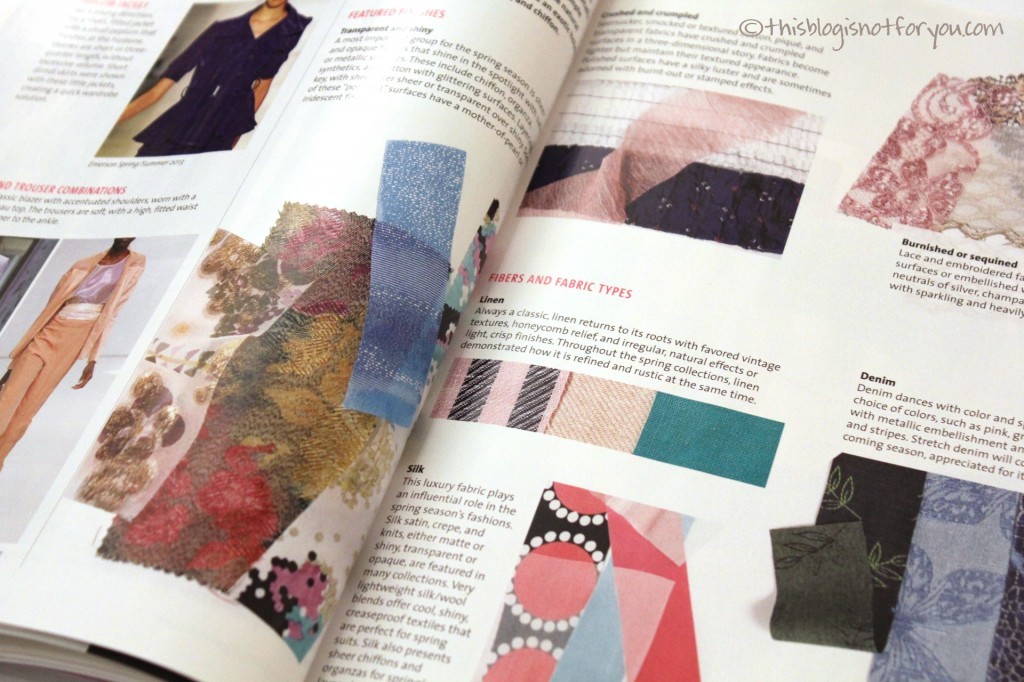
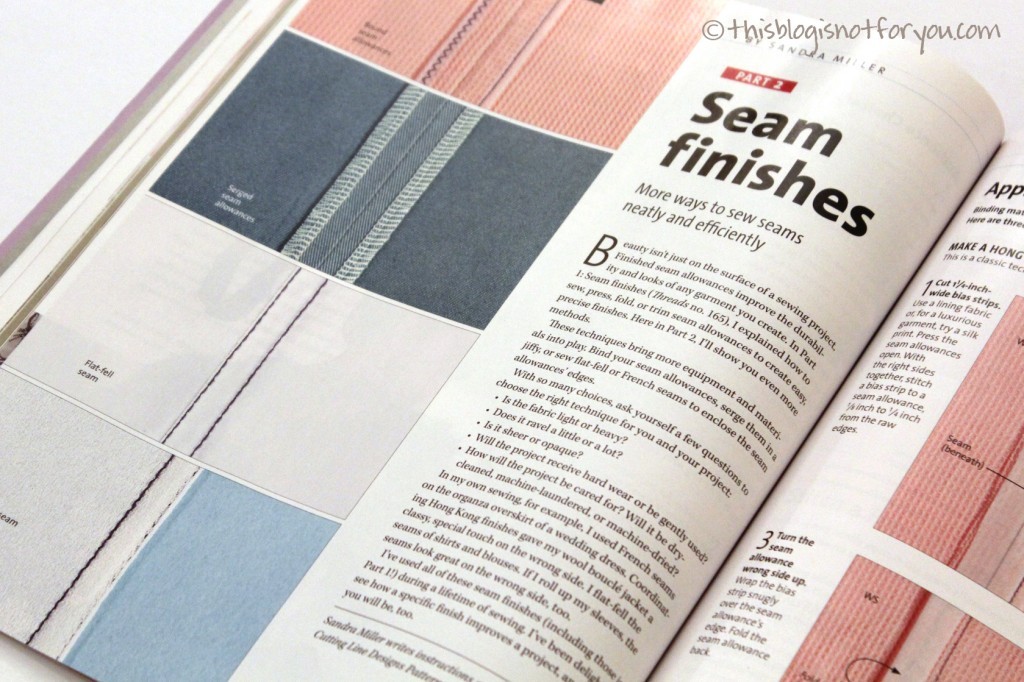
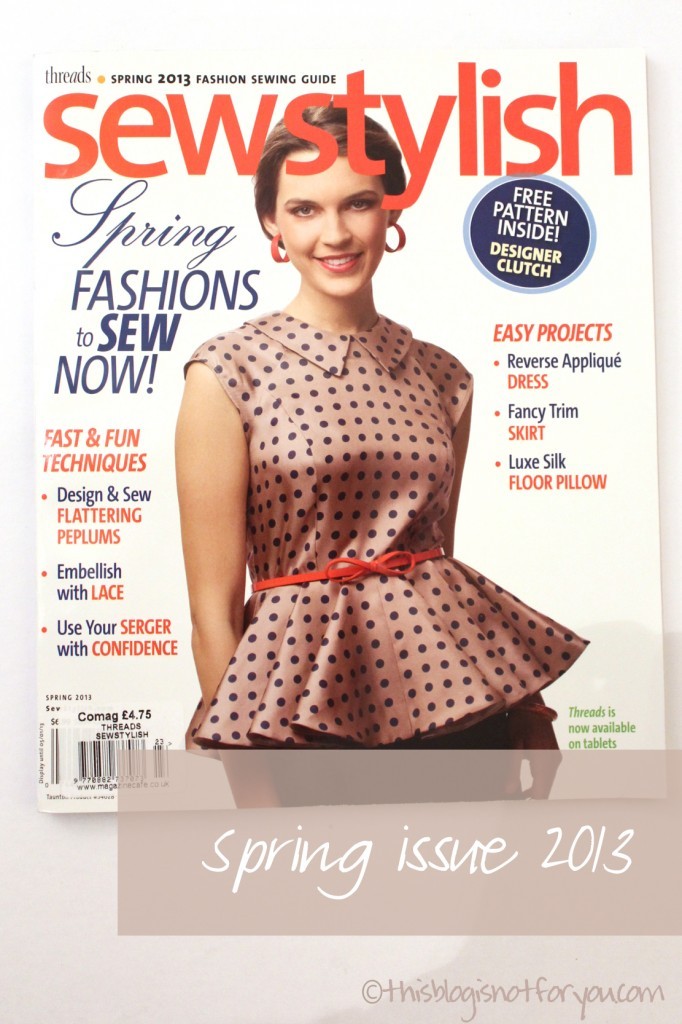
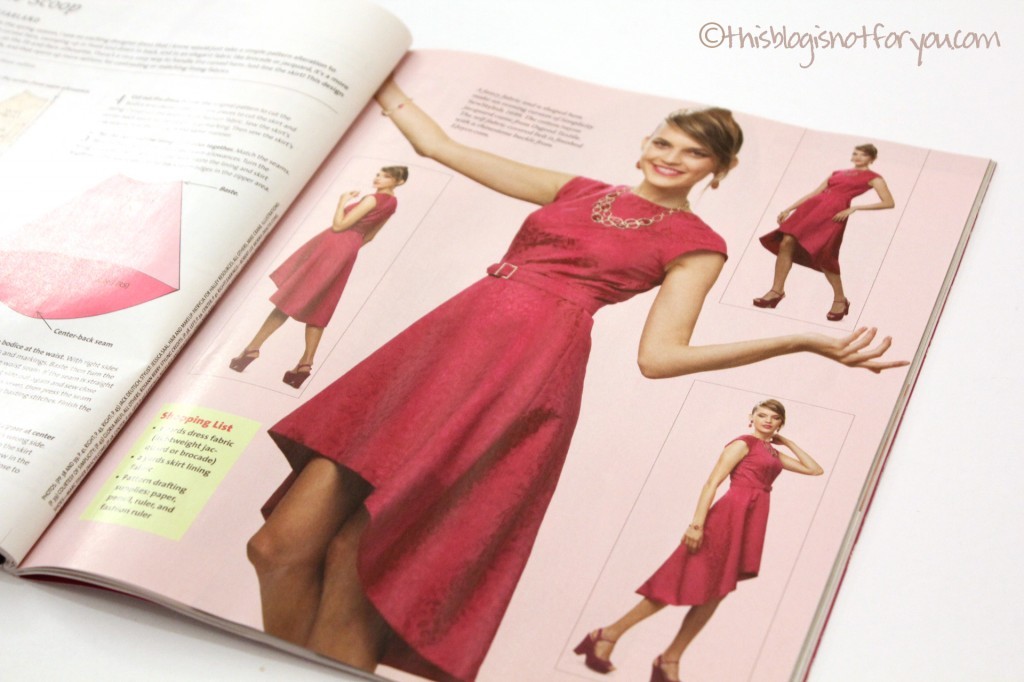
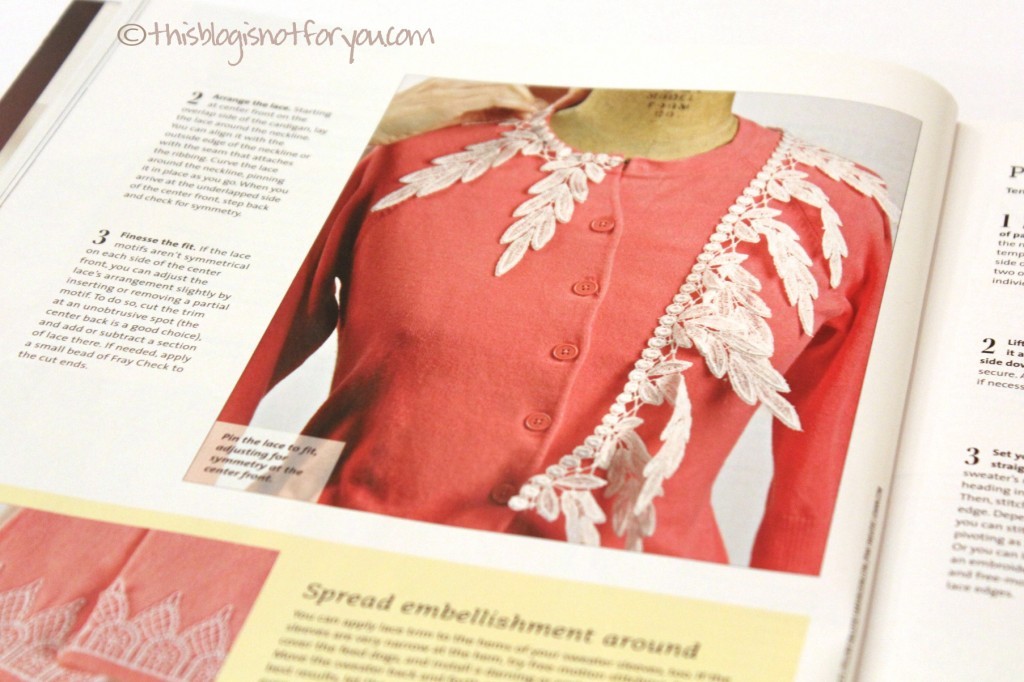
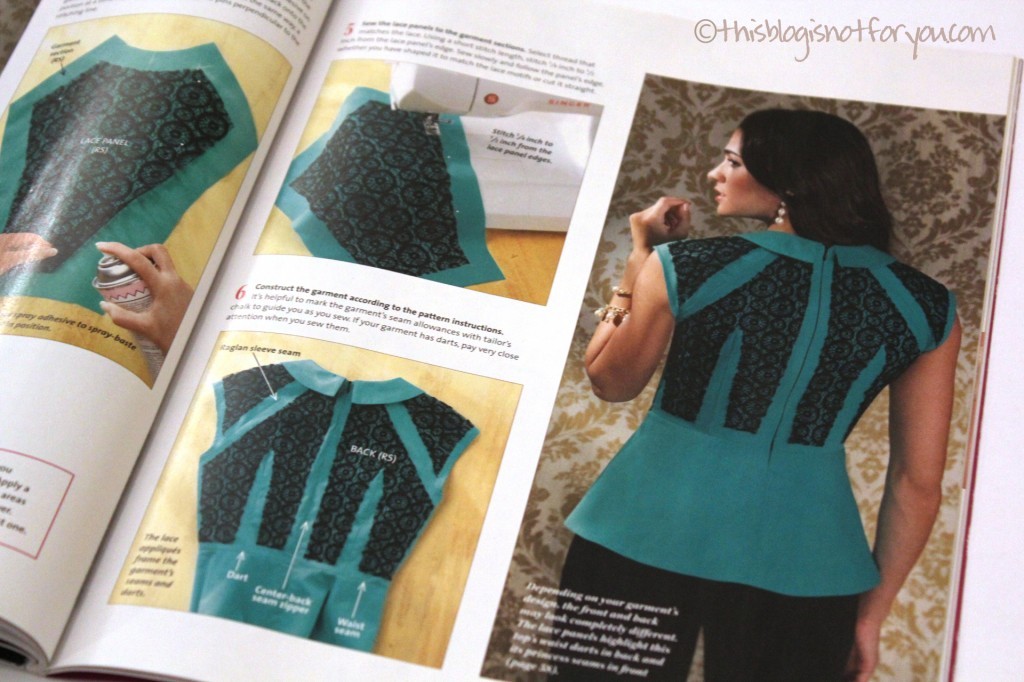
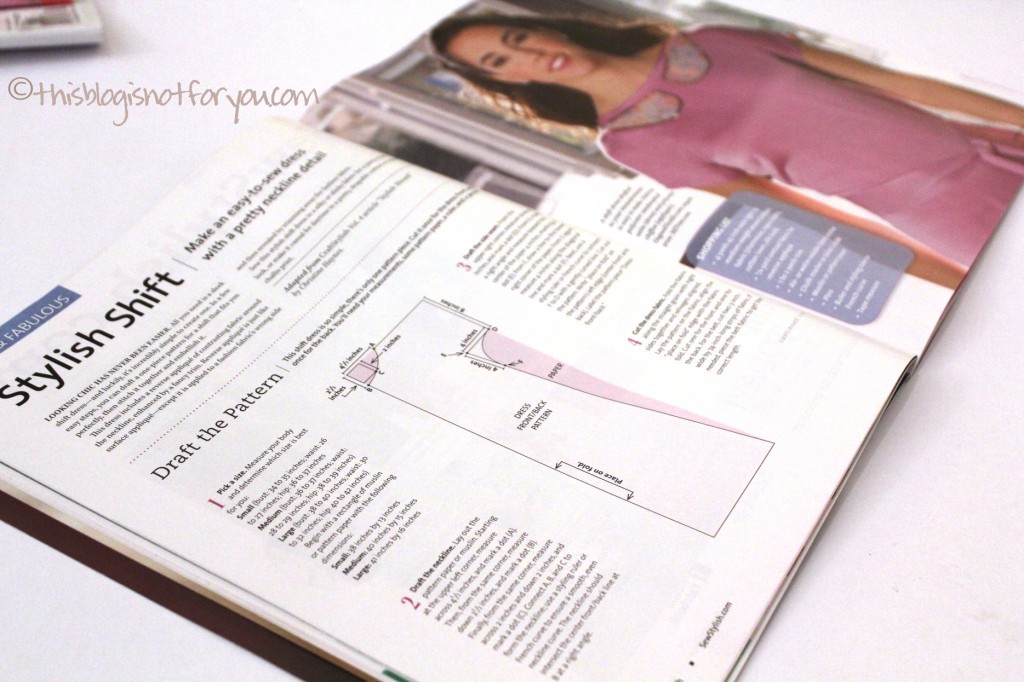
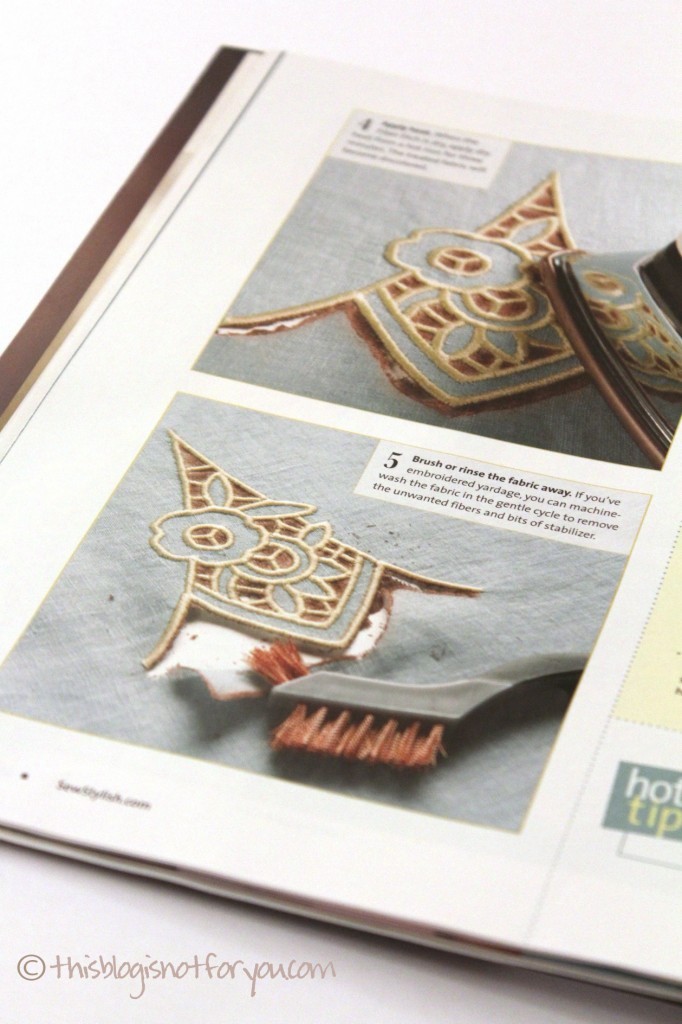
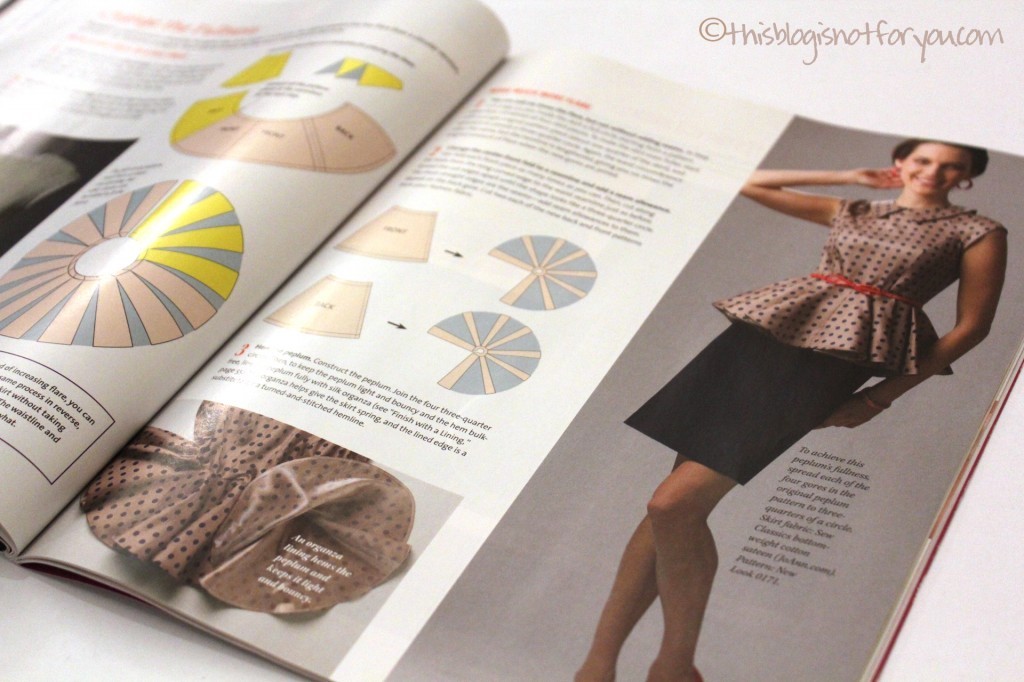
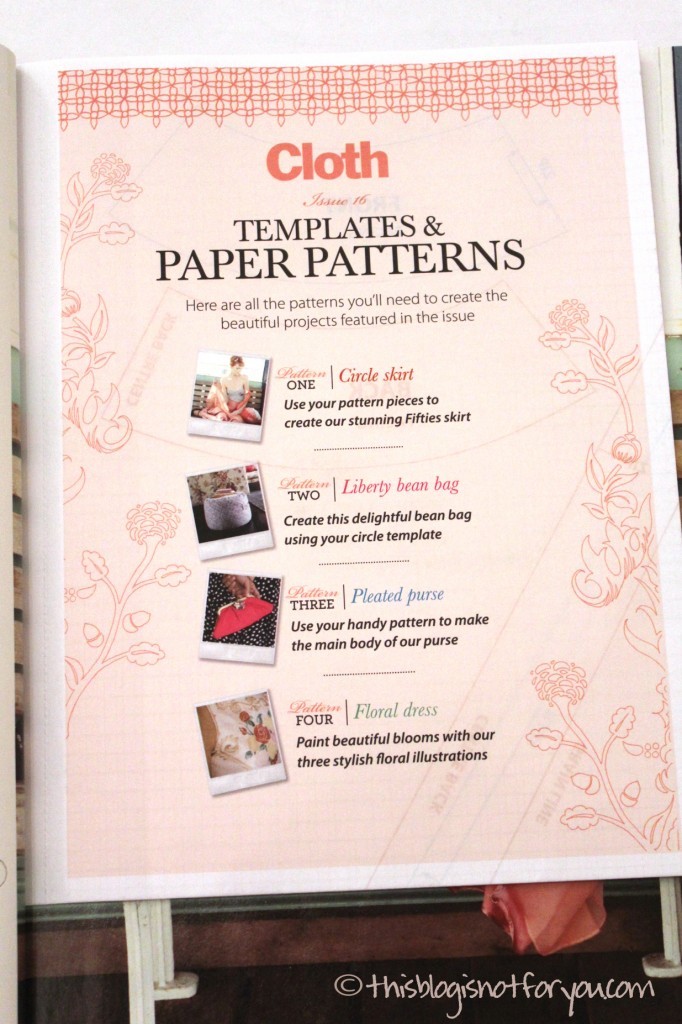
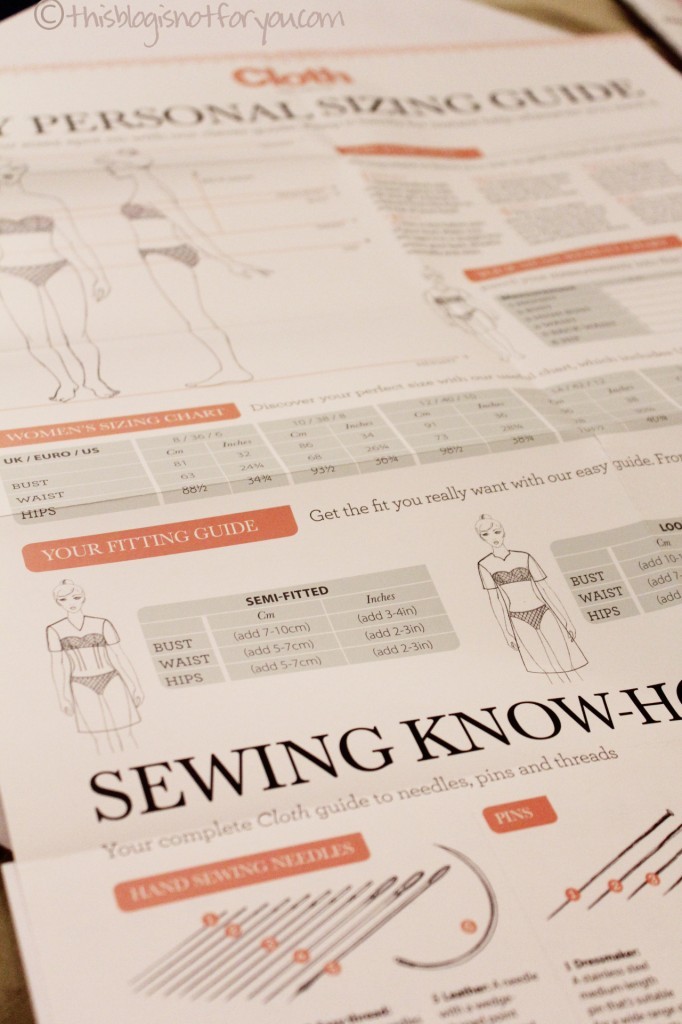
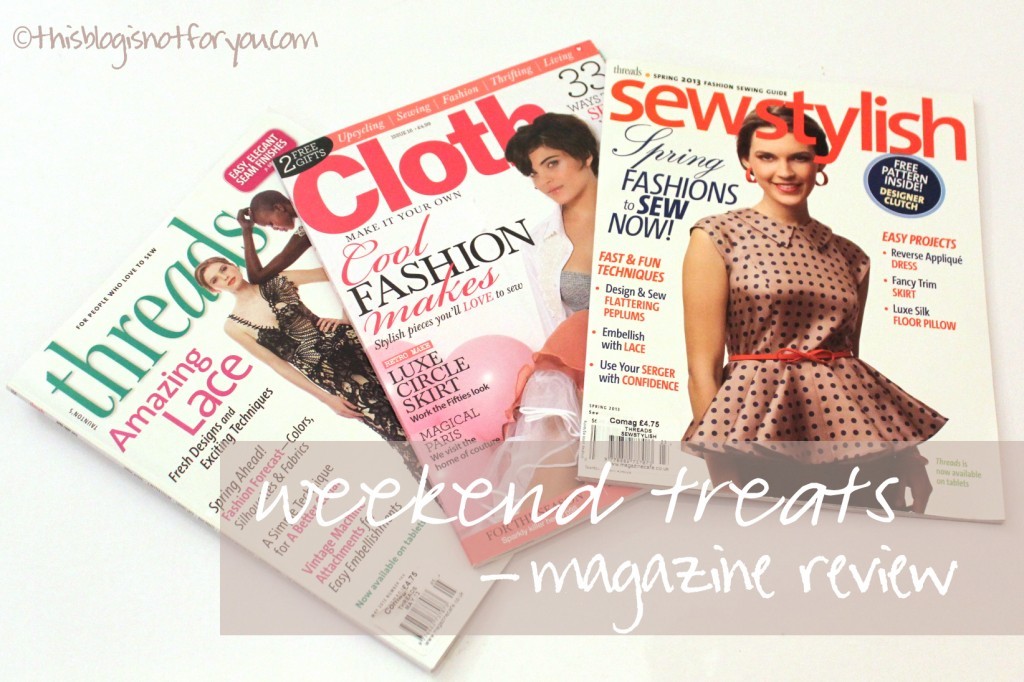
Follow on Bloglovin