
 Soo, here we go with the next part of my wedding dress series!
Today it’s all about muslining and pattern making – I know some of you just want to see the final dress, but before I finished my dress I had to make a pattern and muslin. That’s just the logical order of things. Sorry, folks.
I didn’t use a ready made pattern. Instead I decided to base my dress on a Jenny Packham design and draft it myself.
I’m not a big fan of muslins, but since we’re talking wedding dresses it’s better safe than sorry. Also, as I created the pattern from scratch I had to muslin it for a good fit. Sorry for the mediocre photography, btw. This was done in a lot of late night sessions, and I was so focussed on getting the job done, I didn’t care much about the pics at that time.
I needed to make a muslin anyway, so I decided to drape my bodice instead of flat drafting with paper and pencil. I had a very precise vision in mind and draping gave me much more control over shapes and silhouette. My dressform is padded to my size (sort of) which also was pretty convenient for the task at hand.
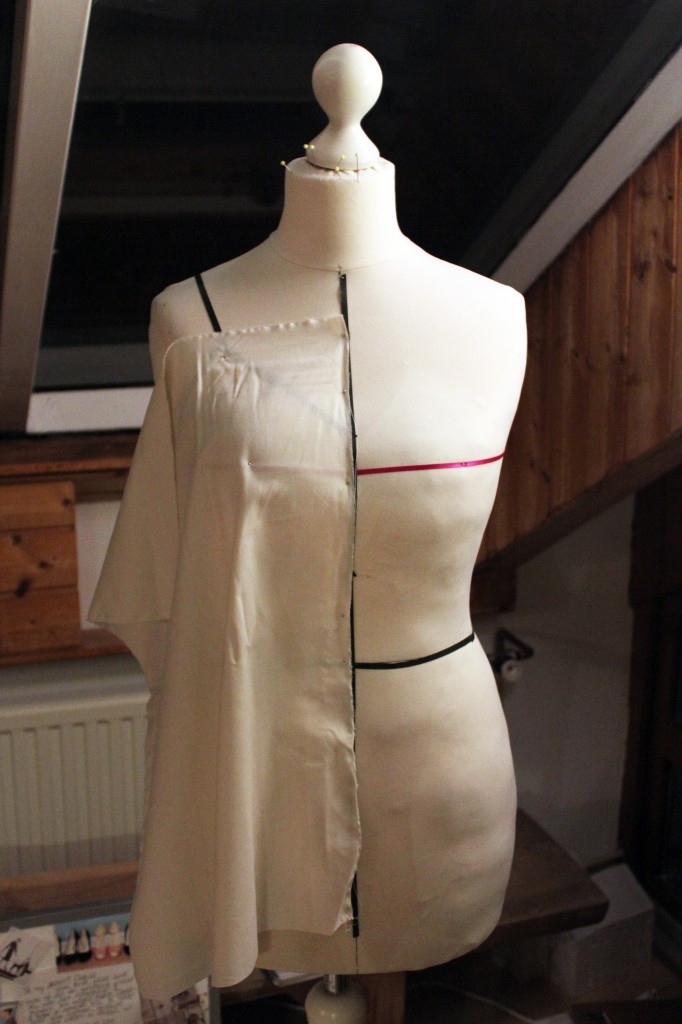
I started by outlining the shape of the spaghetti top on my dressform. I used sticky florist’s tape for that. You can see it through the muslin/cotton fabric which helps a lot.
I cut a rectangle and aligned it with the centre front. Starting from there I smoothed the fabric over the bust and created darts by pinning away the excess fabric: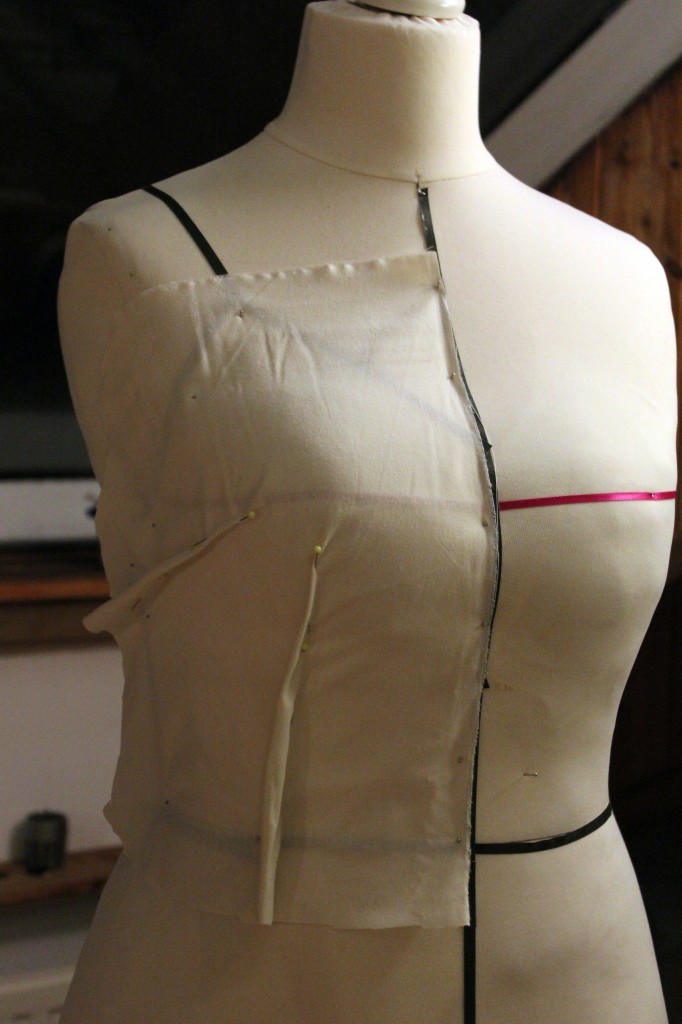 I cut off most of the excess fabric, leaving a generous seam allowance. Using a sharpie I traced the lines of the florist’s tape to transfer all the markings and seamlines. I did the same for the back.
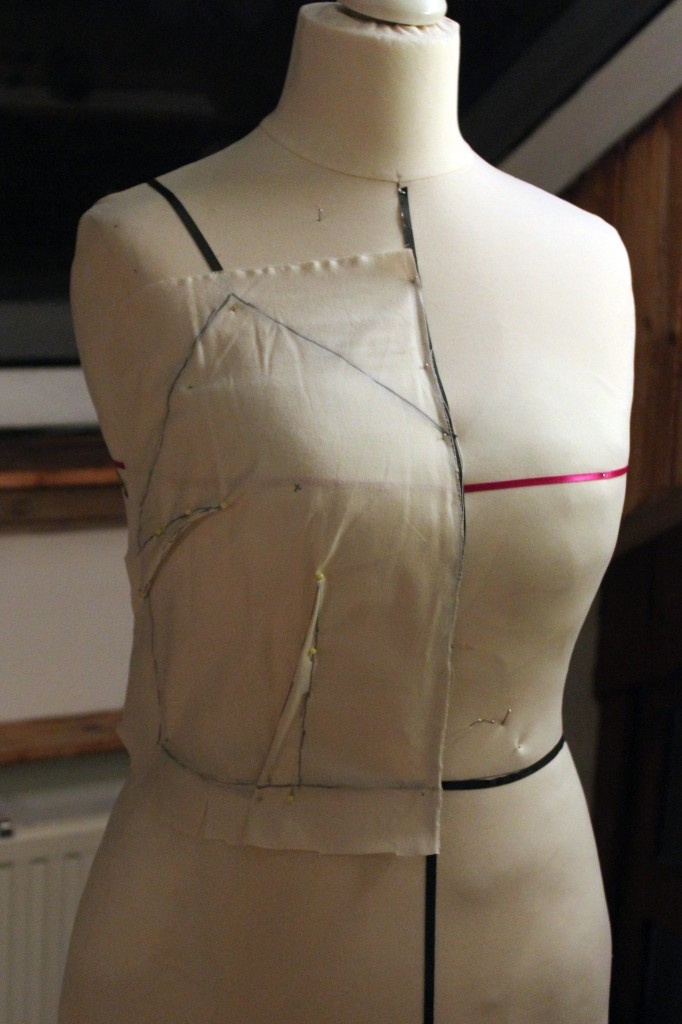
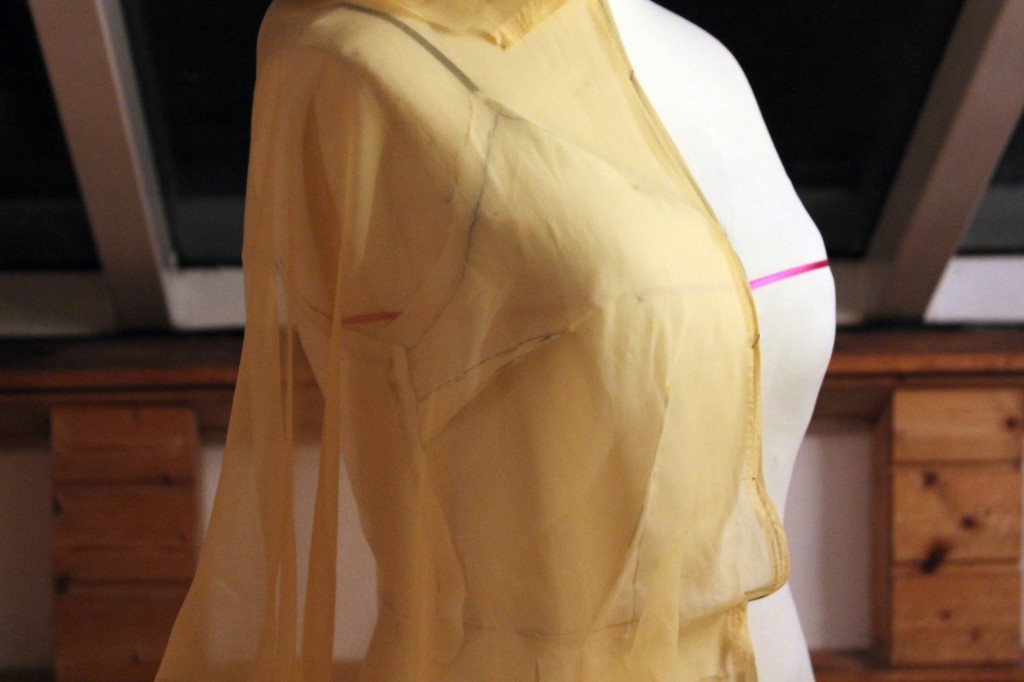
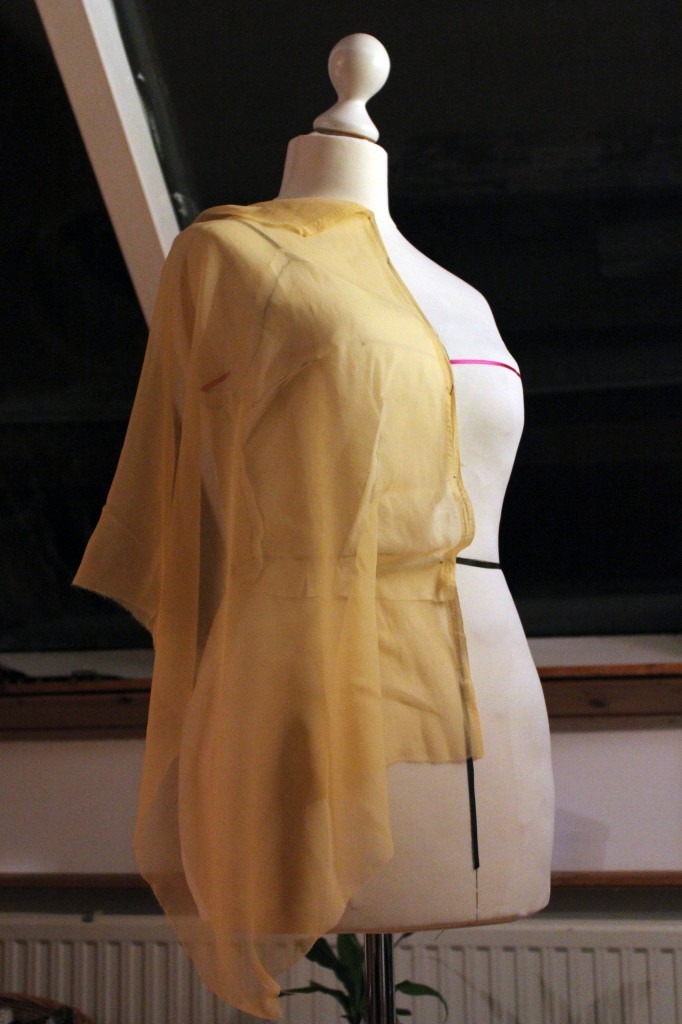 Once I was happy with the first bodice piece, I used the same technique for the sheer layer on top. This one was a lot trickier as it’s supposed to sit loosely and therefore was harder to drape on the dressform.
I used polyester chiffon of which I had bought 10m on Goldhawk Road last summer. The sheer bodice and skirt took quite a few attempts to get shape and fit right, so 10m was just enough! Keep that in mind when shopping for your wedding dress. It’s always better to have a little fabric extra, just in case. Those long skirts eat up fabric like crazy!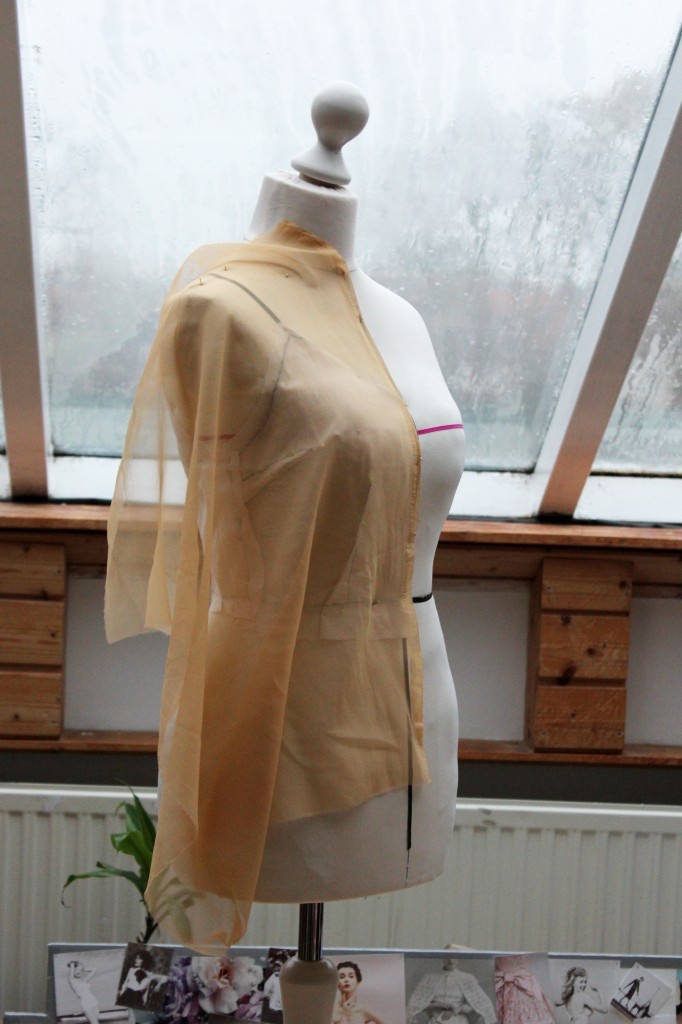
This was probably the most frustrating part of the pattern. It took a lot of muslins to get the sheer top right. I alternated between draping, copying the pattern onto paper and cutting out another muslin. In between I made loads of adjustments and kept checking measurements.
The spaghetti top was a pretty good fit from the start. I just moved the darts slightly on my paper pattern, using my bust/apex aka “nipple” measurements.
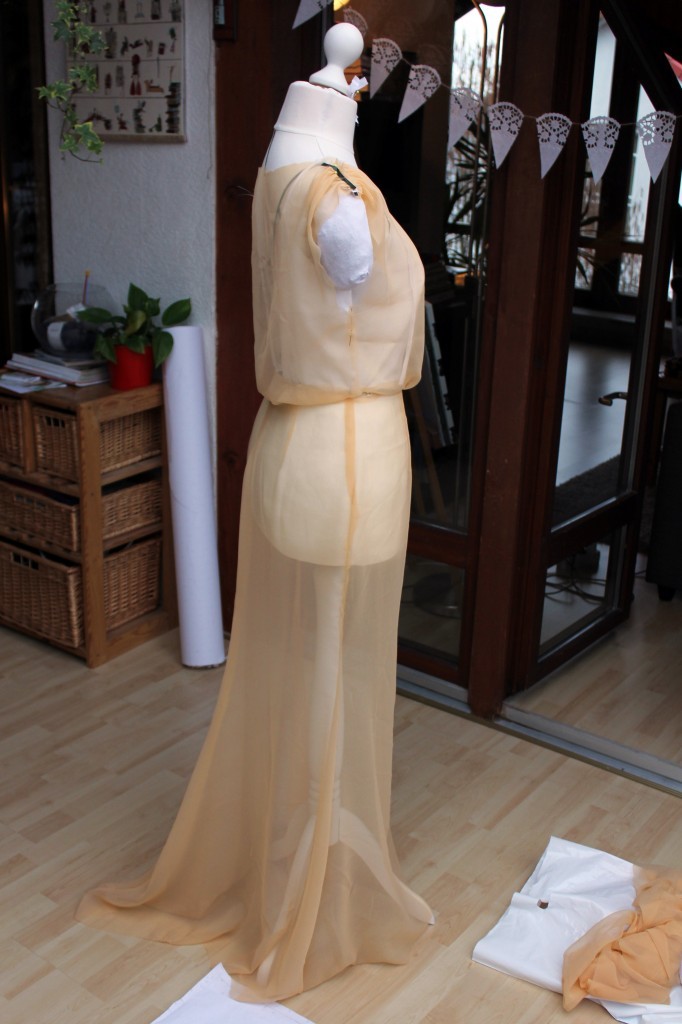
 This was the last muslin before cutting out the whole dress again and sewing it together properly, finished seams and all, to get a glimpse at what it might look like.
Here’s a pic of the skirt – I changed it a bit later on to give it more fullness at the bottom and removed the train. I loved the train until I tried to walk (let alone dance) in it. Not possible! As this dress goes completely without petticoat, tulle or hoops, you really have to be careful not to get your feet tangled in all that flowy fabric. So, bye bye train it was!
(In retrospect: Best decision ever!)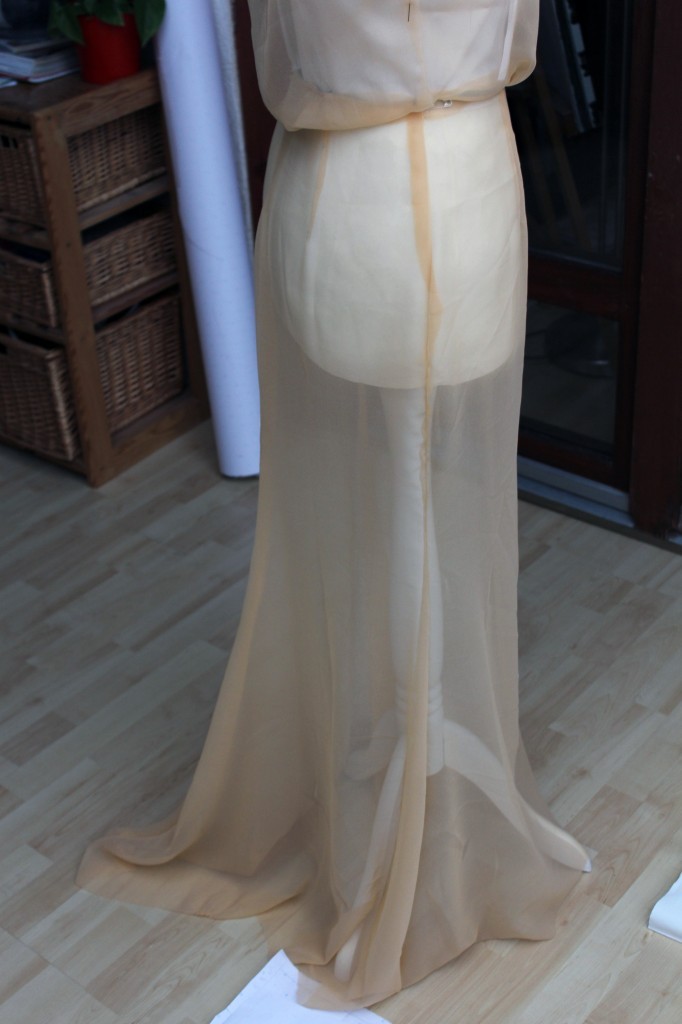
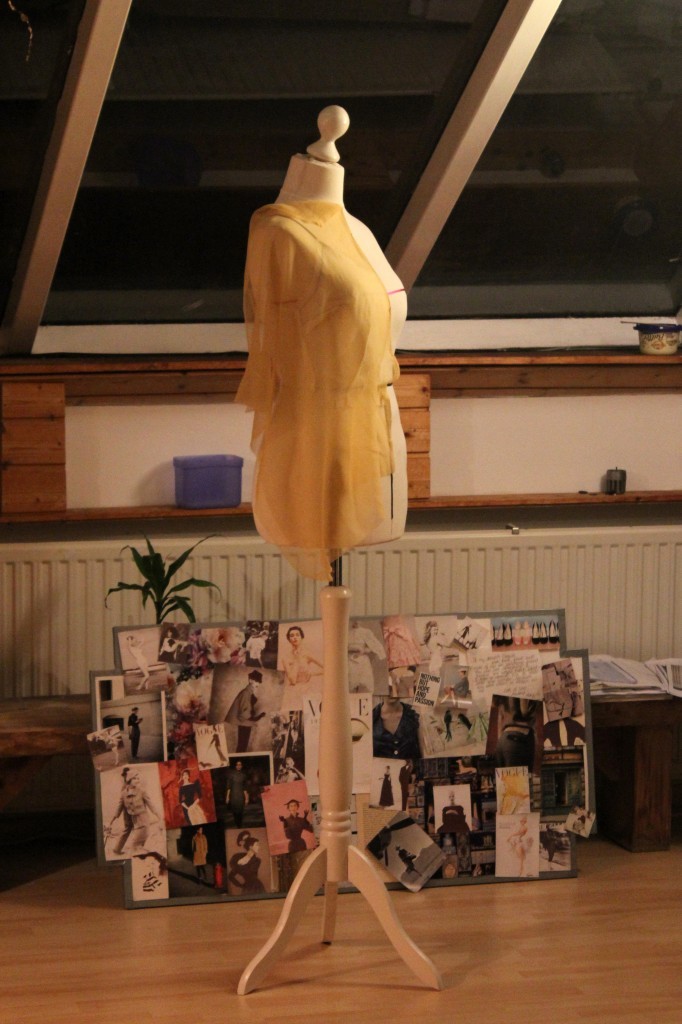
 The skirt is based on the Sew Over It “Ultimate Pencil Skirt” pattern – one of my favourite patterns of all time, seriously. I have made a lot of pencil skirts from this pattern and it turned out to be a perfect base for my Jenny Packham copy.
Another advantage: I made the skirt so often, the pattern is fitted to perfection by now which saved a lot of time. I simply lenghtened the skirt pattern to floor length and added fullness to the bottom at the back and side seams. All in all I had a hem line of around 3 metres – enough to walk and dance in.
You can see the adapted skirt pattern in the background:
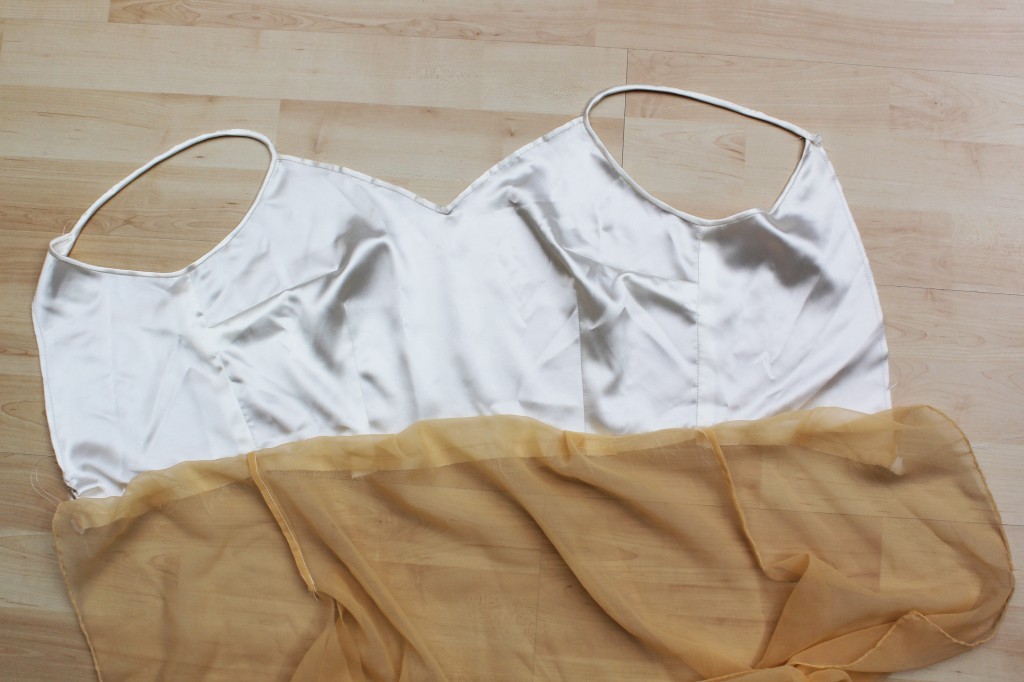
Once I had my muslin ready it was time for the trial dress. I used the same sheer apricot chiffon and an ivory poly satin as lining.
This is what ironing 6m of fabric looks like!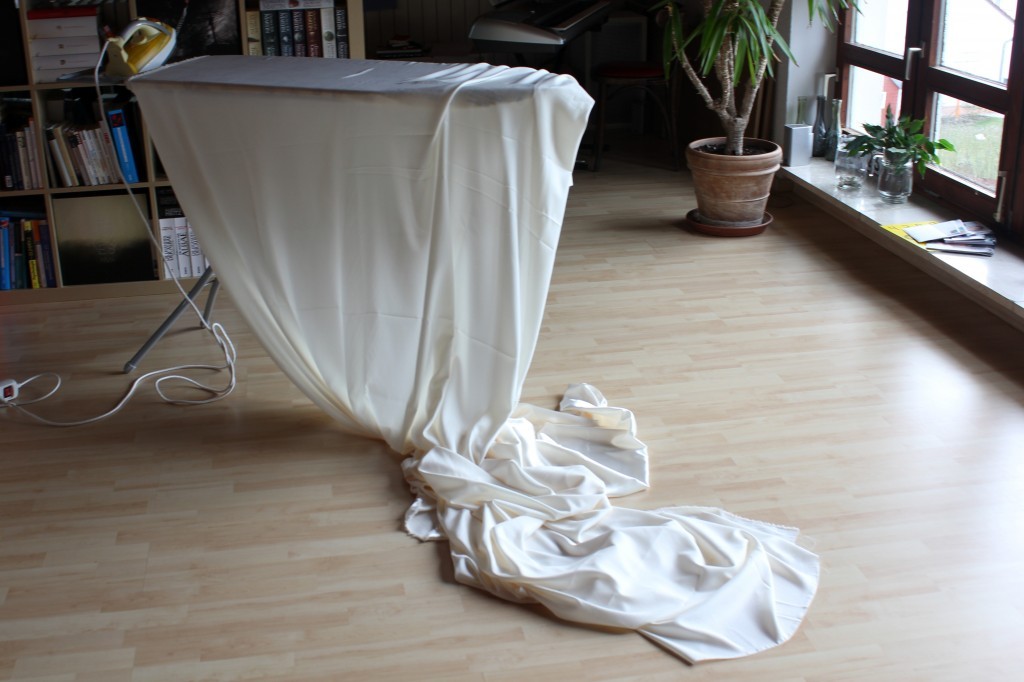

Instead of lining the spaghetti top, I tried and finished the seams with bias binding. It didn’t work very well and stretched out quite a bit. I didn’t put too much effort into the trial dress and probably could’ve made this work somehow, but I didn’t want to gamble and fully lined the bodice on my actual silk wedding dress later on.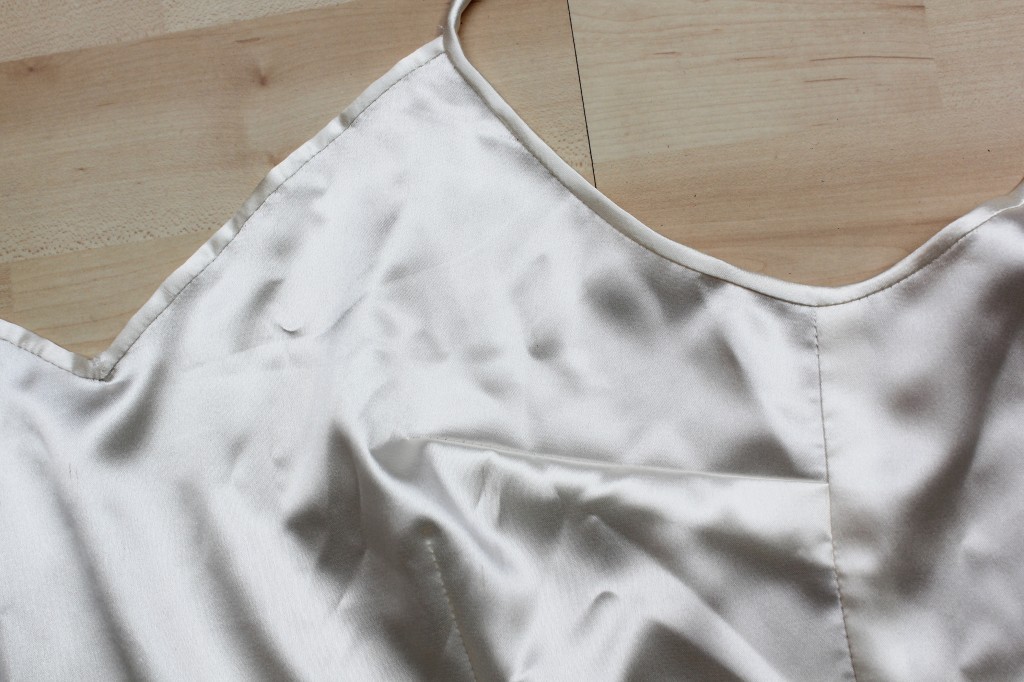
Handsewn bias binding on stay-stitched seams: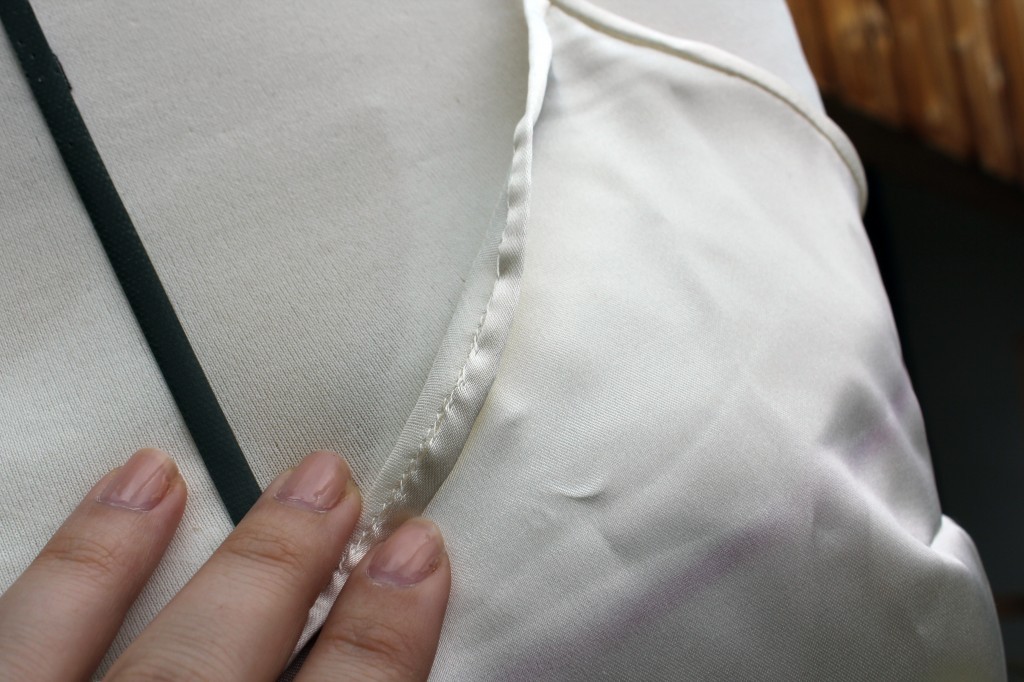
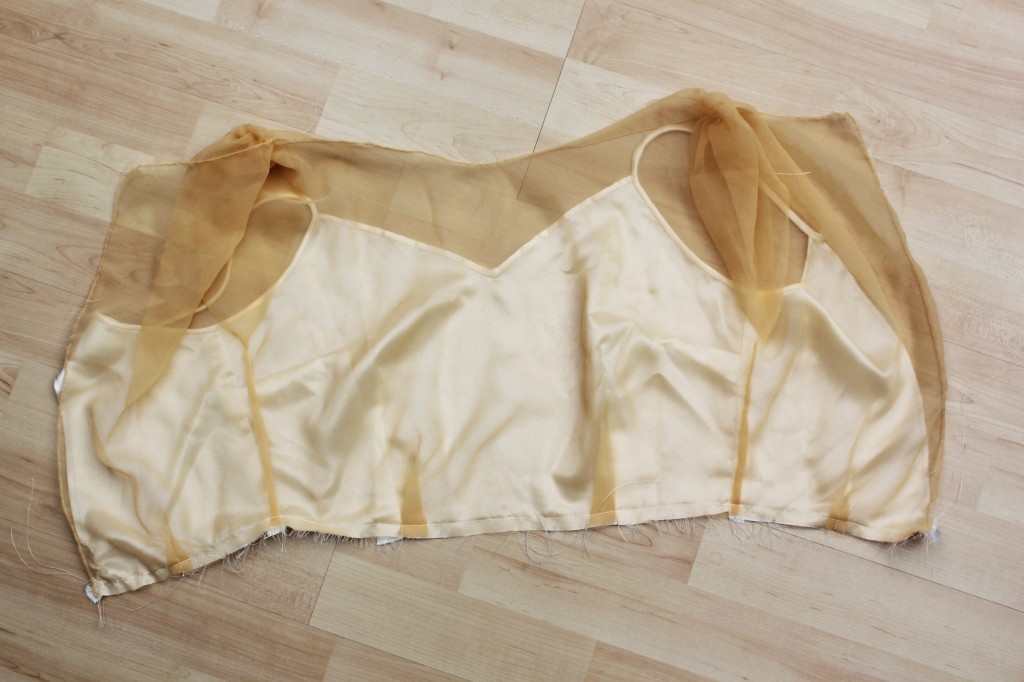
Both bodice layers attached at the waist seam.
Handrolled hem seam finish on the chiffon top: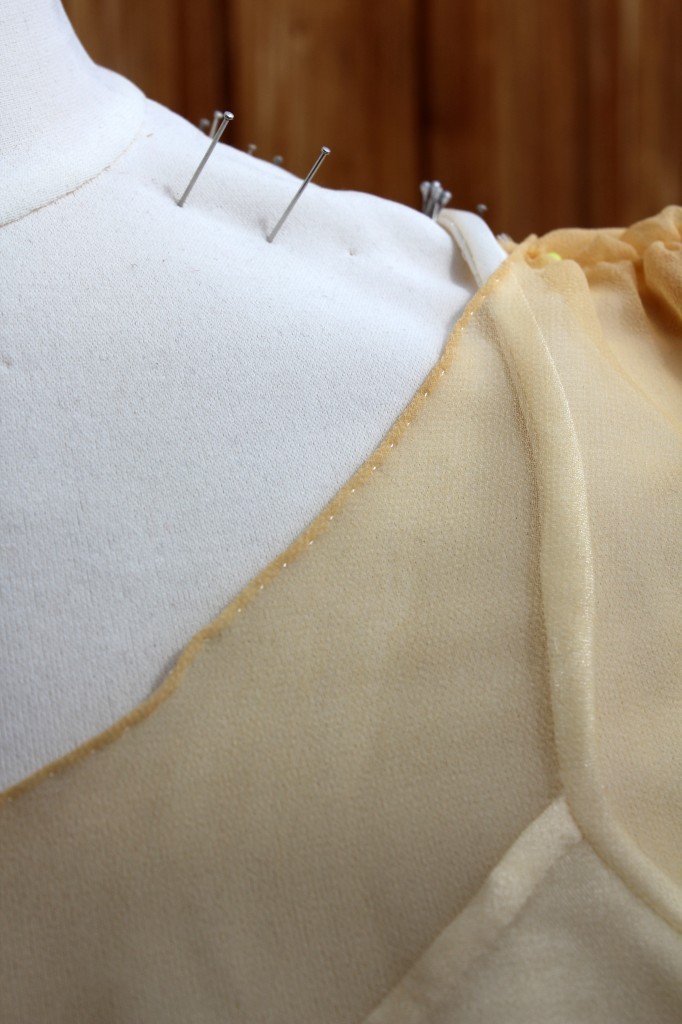
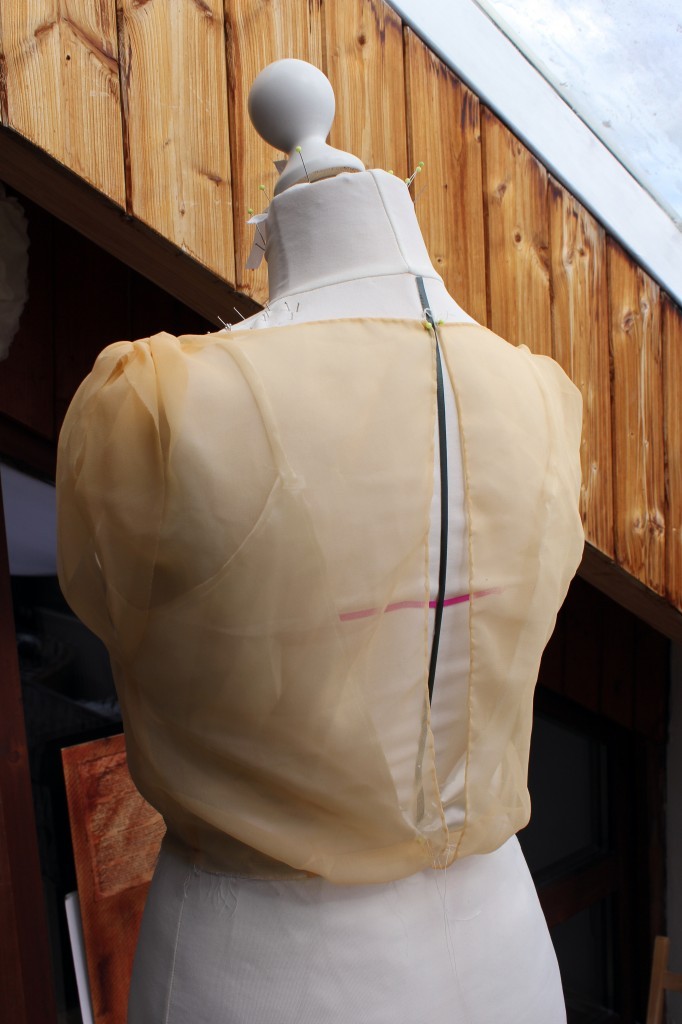
I love the shape the open back. Having an almost backless dress created some issues finding a bra/suitable understructure. But more on that in one of the next posts.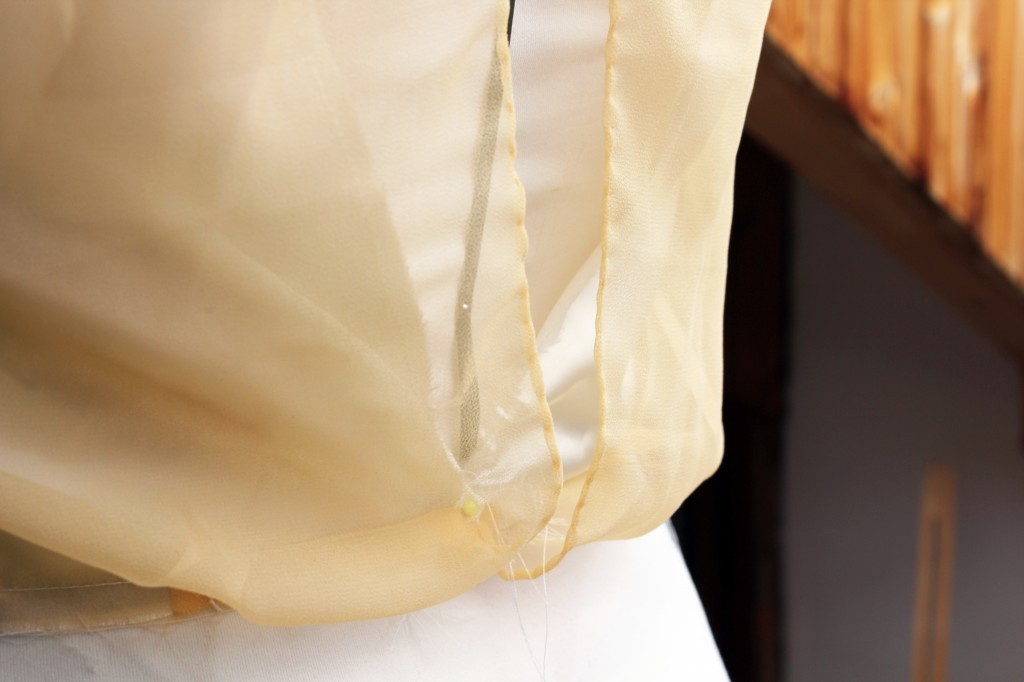
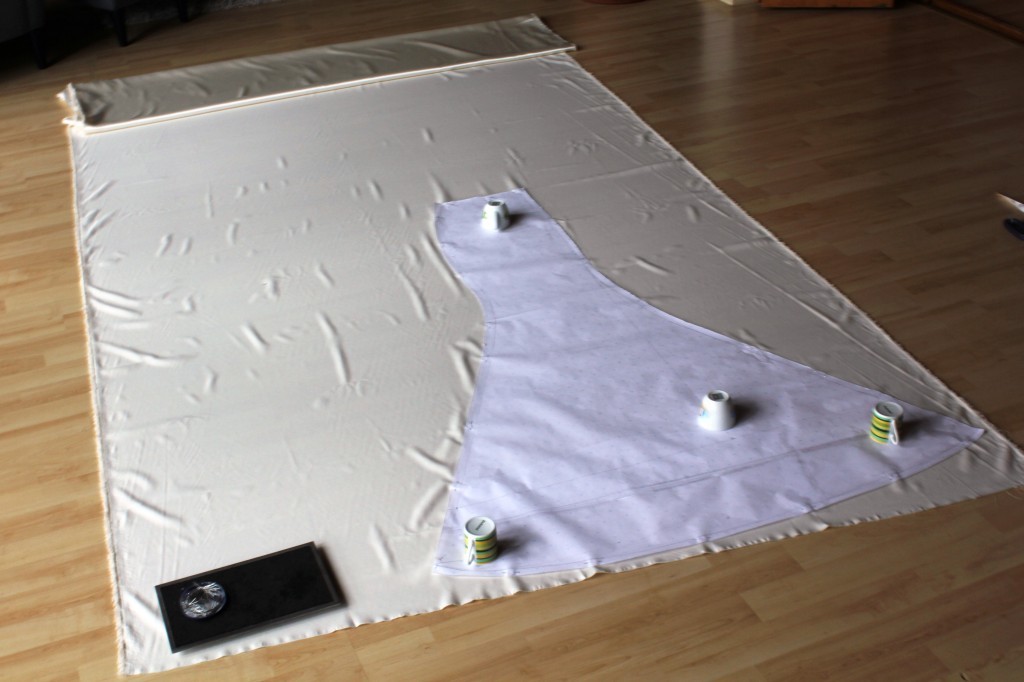
This is the finished skirt pattern, cut out from poly satin. The hem on the top layer was still a bit too short and then again too long on the lining skirt. But since hemming is the VERY last thing to do when sewing a wedding dress, please simply ignore that.

I was quite happy at that stage. Obviously, it looked nothing like a wedding dress, especially in this bright orange colour. But the silhouette and fit were pretty good so far. 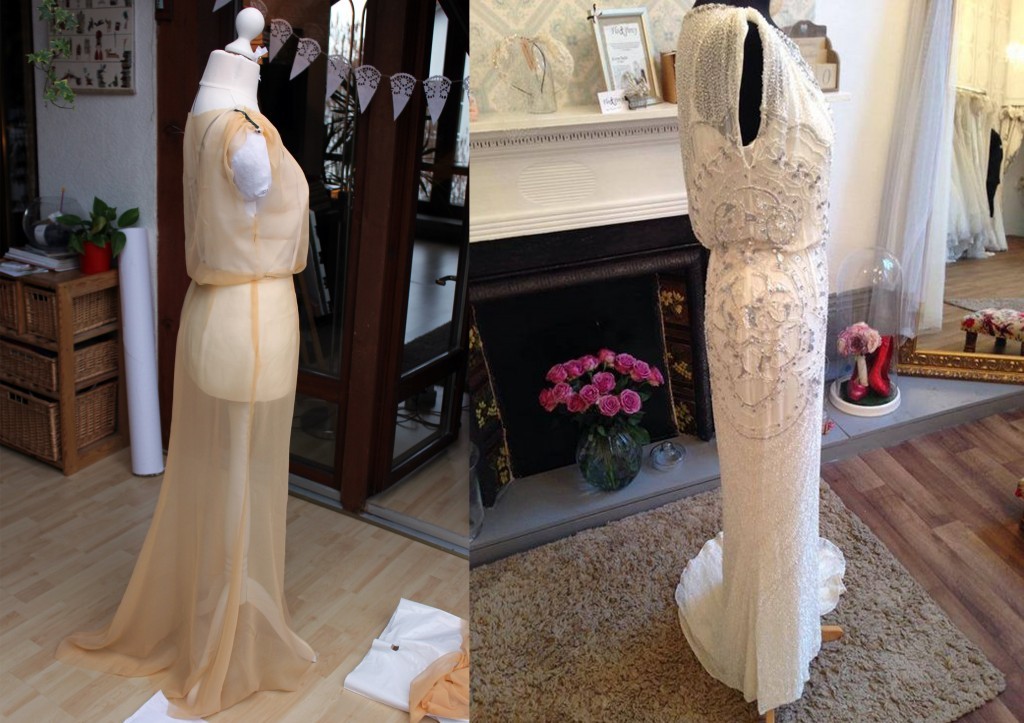
Also, you always have to keep in mind, that all dresses looks very different depending on the wearer. I am not very tall and my, plus, I have a very short torso and wider hips. So an elegant long and narrow skirt appears a bit compressed on my body. If you look closely, a lot of models are standing on stools while posing with a wedding dress on, to give them the appearance of incredibly long legs. 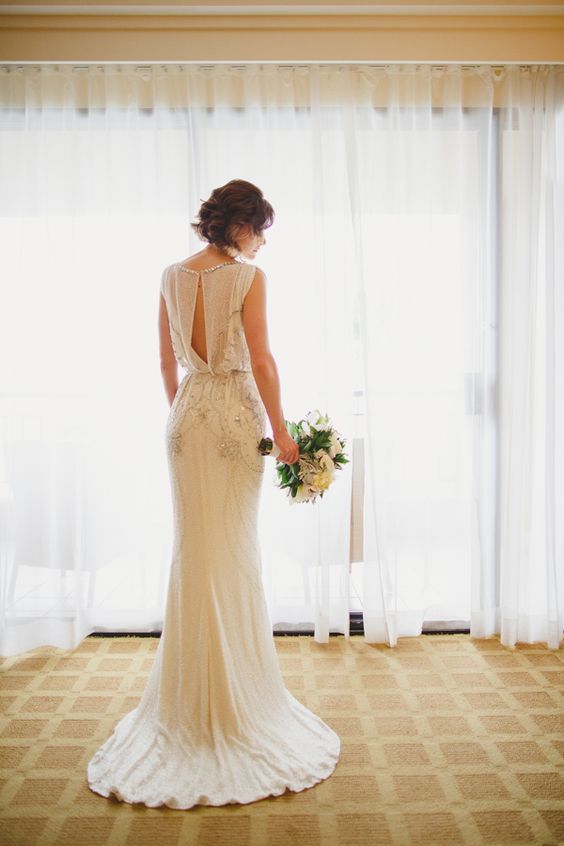
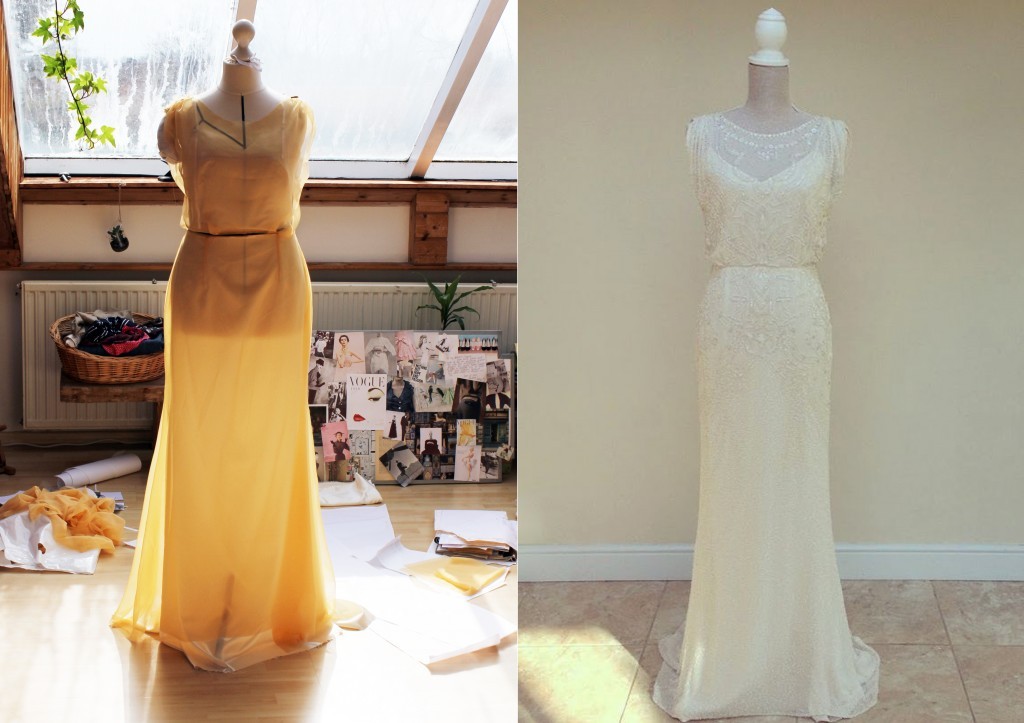
So far, so good! What do you think? Can you see a wedding dress taking shape?
Let me know what you think! Any questions? Leave a comment and I will answer as best I can 🙂
xx
Charlie
Happy sewing!
♥
facebook/bloglovin/pinterest
twitter/instagram
Stay in touch!
Charlie
Love the dress, your doing a great job, can’t wait to see it finished.
Sandy
Thank you xx
Really interesting to see how you drafted the dress and can definitely see it taking shape. Very impressive work! I’ll be looking forward to seeing the finished item. 🙂
Thanks, Rae!x
Massive respect to you for making your wedding dress.
Can’t wait to see how it turns out.
Thanks a lot, Michelle!
I can definitely see it taking shape! I personally adore all the behind the scenes, how I worked it out posts. It always makes the final reveal even better as you really understand what a labour of love it was.
Aww, thanks, Vicki! I really appreciate that! It was soo much work, that’s why I keep posting the making of instead of simply sharing some pics. The idea of sewing a wedding dress sounds so romantic, but the actual process is often simply a lot of hard work and learning from failure 🙂
Very, very interesting Process and a beautifull dress Design, really curious to follow up
This is a fascinating process. I’ve never draped but I’ve definitely confronted situations that are unfriendly to typical bras, I look forward to seeing how you deal with that!
You’ll enjoy the next post then 😉 It’s all about the understructure x
Wish I would have studied designing in college. I love draped designs. Yes, you are really coming along. Can’t wait to see the finished product.
I also wanted to take classes in design and patternmaking but never had the money to do it. Now that I might afford it I lack the time. Phew! My skills are self-taught so far. You can achieve quite beautiful garments without taking all the trouble of studying design. Although I’d love to out of interest, if I could.
Hi!
I’m currently trying to make my wedding dress and I’m so inspired by yours! I would like the skirt to be pretty much exactly like yours. Could you possibly explain a bit more about how you got the fullness right? I’m a bit confused as to how to draft the flare of the skirt so it fits/flows right from the bottom area down! What I wouldn’t give to be as skilled as you, failing that.. To have a copy of your pattern piece (I’m only half joking)
Thanks in advance. X
Hi Ellen! Thanks so much! How exciting that you’re going through the same stage as I did around that time last year. I was so panicked about getting the pattern right – especially the skirt part. In the end, the skirt was the easiest bit. I was lucky to have a fitted-to-perfection skirt pattern, that I could use as base: I used the SEW OVER IT pencil skirt pattern and added length and width at the bottom. Best you start with a tight-fitting, basic skirt pattern that you adjust to your shape and needs. I used the Ultimate Pencil Skirt pretty much as it is. I just nipped it in a tiny bit more at the centre back below my bum 🙂 Once that is done, adding the fullness at the bottom is the easiest bit. You need to measure the length you need (waist seam to floor) and add hem allowance and some extra if you’re wearing heels. Then you lengthen the centre front and back seams to your new length. You then add volume by flaring out at the side seams and centre back seam (not at the front, as you will probably cut that on fold). The amount of fabric I had dictated the width of the hem. All together I had 3 metres of hem. You’ll need at least 1.5-2 metres to walk comfortably. You can add even more if you’re willing to spend loads on your fabric 🙂 Remember that the front pattern piece will have to be narrow enough fit onto your folded fabric if you’re cutting on fold.
When I flared out the side seams I started with a sight curve and then drew a straight line, the length that I measured before. Then I drew a curved hem line to connect side seam and centre font/back. The fabric at the side seams and centre back will automatically be cut on the bias, so it might stretch out later on. Make sure to wait until the skirt has hung for at least 24h and you have your bridal shoes on before you hem it.
Don’t worry too much about the exact shape of the hemline. Have plenty of hem allowance to play around with. You can always make a muslin first, chop off whatever needs to be chopped of and then use this muslin to transfer the changes to your paper pattern.
Hope that helps! Let me know if you have any more questions about this.
Good luck with your dress and enjoy the ride as much as you can 🙂
I’m blown away by your unbelievably helpful and detailed response. Thank you so so much.
I’ll keep you posted and hopefully will be able to show you the finished product one day!