Hope you all enjoyed the long weekend (if you had one)! Did you use the long weekend for something crafty? Well, I did. Nothing too crazy, but I got a few projects done that had waited to be finished for a while.
I was sewing up a cute summer blouse and while desperately trying to press the darts into a nice shape, I thought I finally needed to tackle the tailor’s ham project I planned weeks ago.
I found a brilliant tutorial by Kristiann (the Victory Patterns lady!) who did a great guest post over at Tilly and the Buttons. Check out her site for the instructions and the patterns.
I did it a bit differently though, since I neither had sawdust nor thick cotton canvas lying around.
I basically used an old cheap Primark pillow and fabric scraps for the stuffing. Since I did not have cotton canvas, I used plain (muslin) cotton in two layers I basted together before sewing the darts. Using two layers creates the right thickness and makes the cotton sturdy enough.
I basically cut out each piece four times. I lengthened the pattern a bit at the fold to make the shape more oval for the ham, I personally felt it was a bit too round and was afraid it might be a bit wobbly when pressing. I added about an inch to the pattern at the fold line.

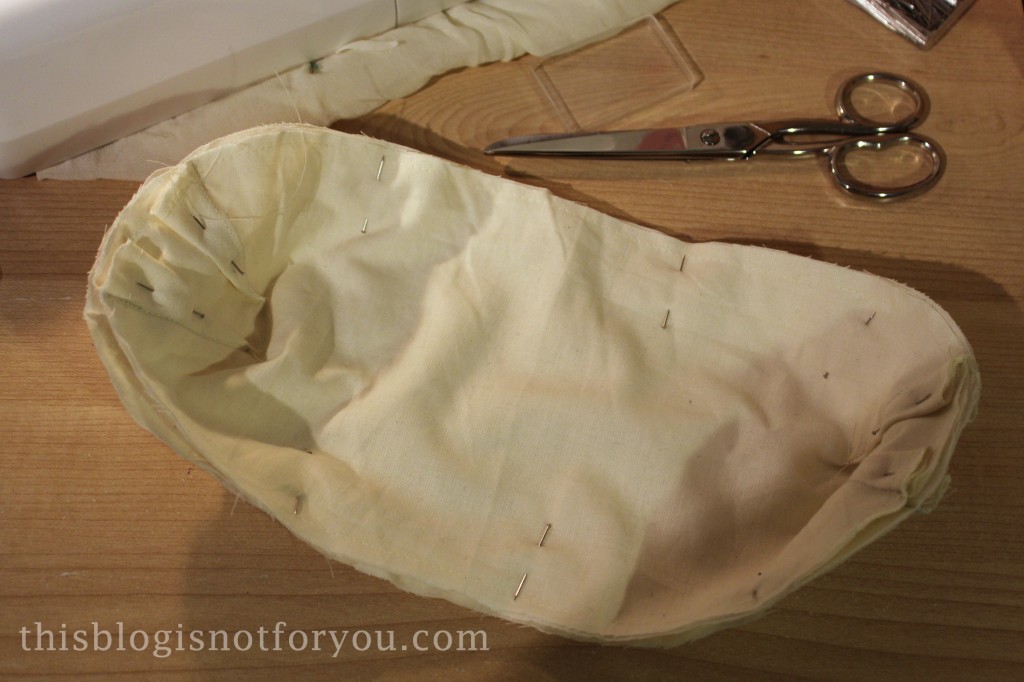
Here you can see that I basted the two layers of cotton together in the seam allowance (about 2/8” or 7mm from the edge). I then sewed the darts and basted them onto the seam allowance so they lay nice and flat and didn’t shift while I stitched all four layers together.
Make sure you leave at least 3”/10cm of the seam open on one side where the stuffing goes in.
Turn what now looks like a slightly unshapely bag inside out.

Yep, that’s how it’s supposed to look. Looks nothing like ham and sausage, right? 😉
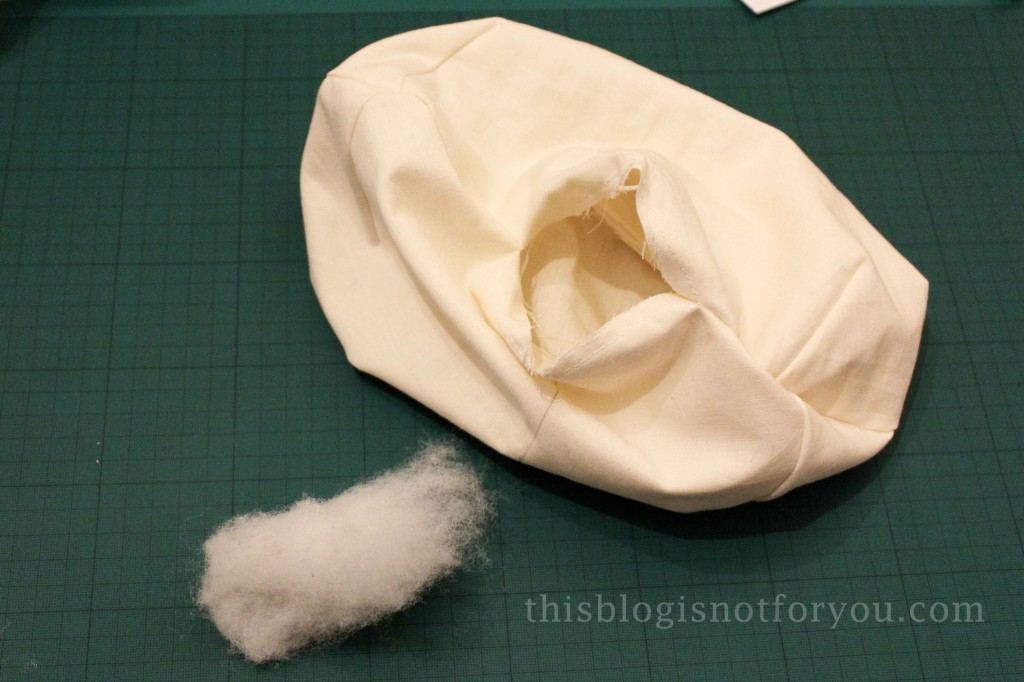
Now comes the fun part. For the ham I basically cut apart and old Primark pillow (they are quite cheap and the whole pillow fits exactly into the tailor’s ham.
I have no idea what these cheap pillows are made of really, the stuffing was quite itchy. In case you make this as a fun weekend project with your kids, I suggest wearing household gloves.
Now, stuff it. (For the tailor’s sausage I used old fabric scraps. I always keep those useless way too tiny bits and pieces, but for this project they came in very handy!)

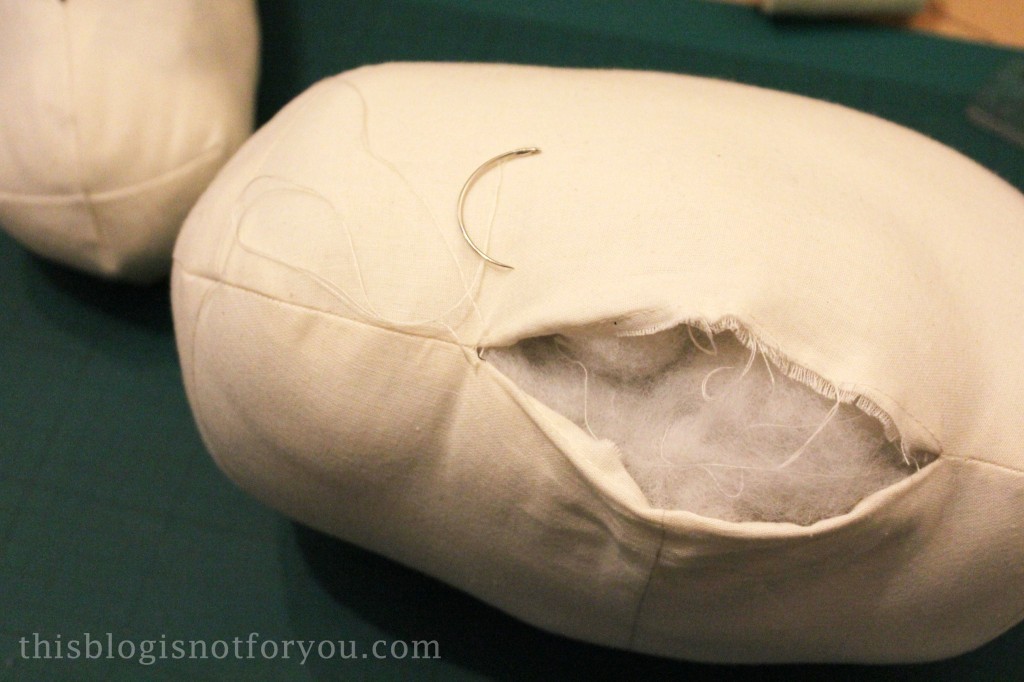
To sew up the open side I used a curved needle and double thread (I had no upholstery thread at home, doubling the thread worked just fine). A single thread will tear quickly. Just pull normal thread through the eye and double it up. Knot the two tail ends together and then sew with the doubled up thread.
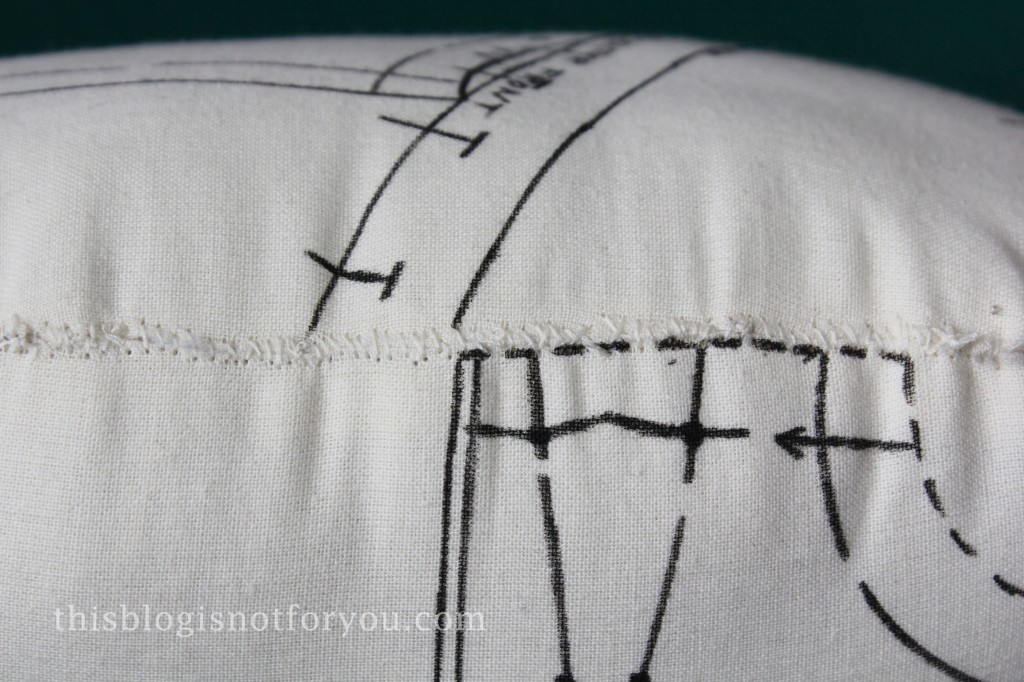
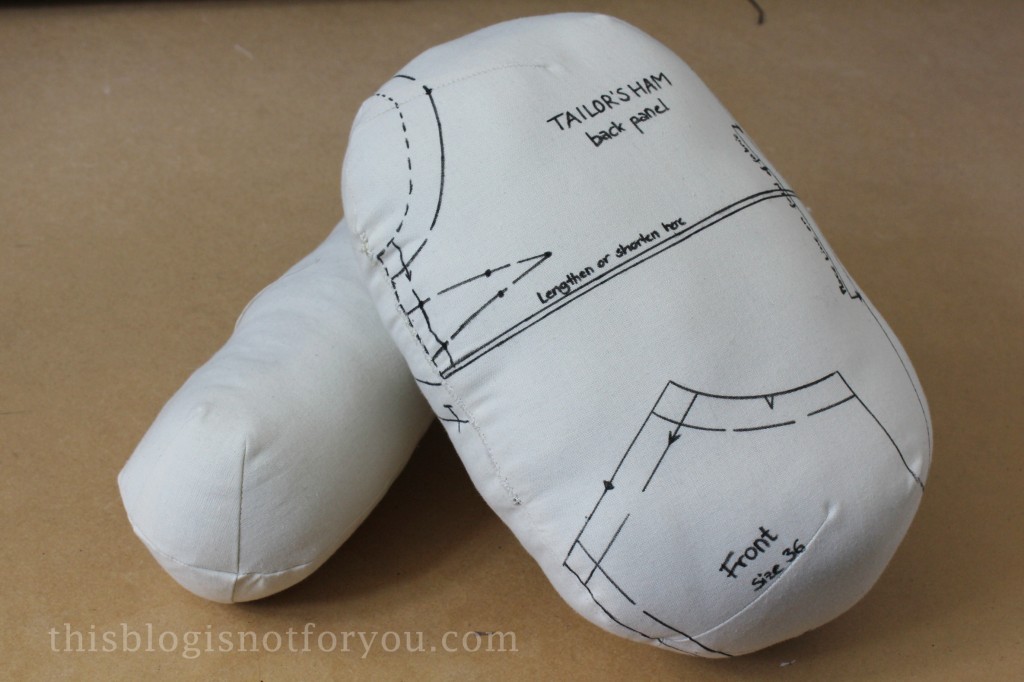
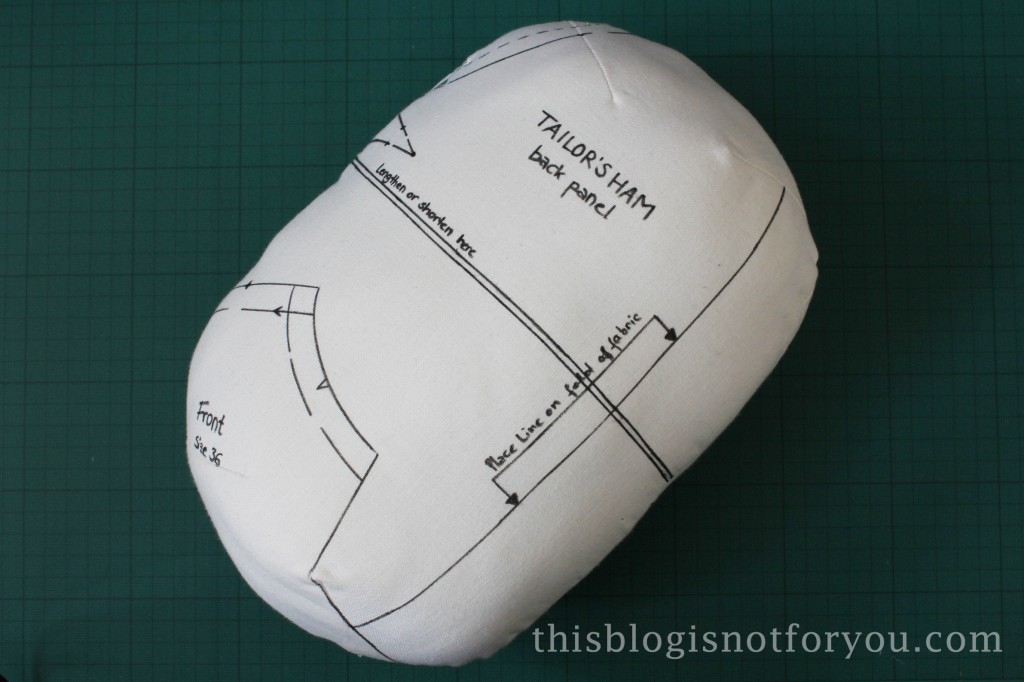
Not the prettiest seam, I know. But, voilá! Now I have my very own tailor’s ham and tailor’s sausage!
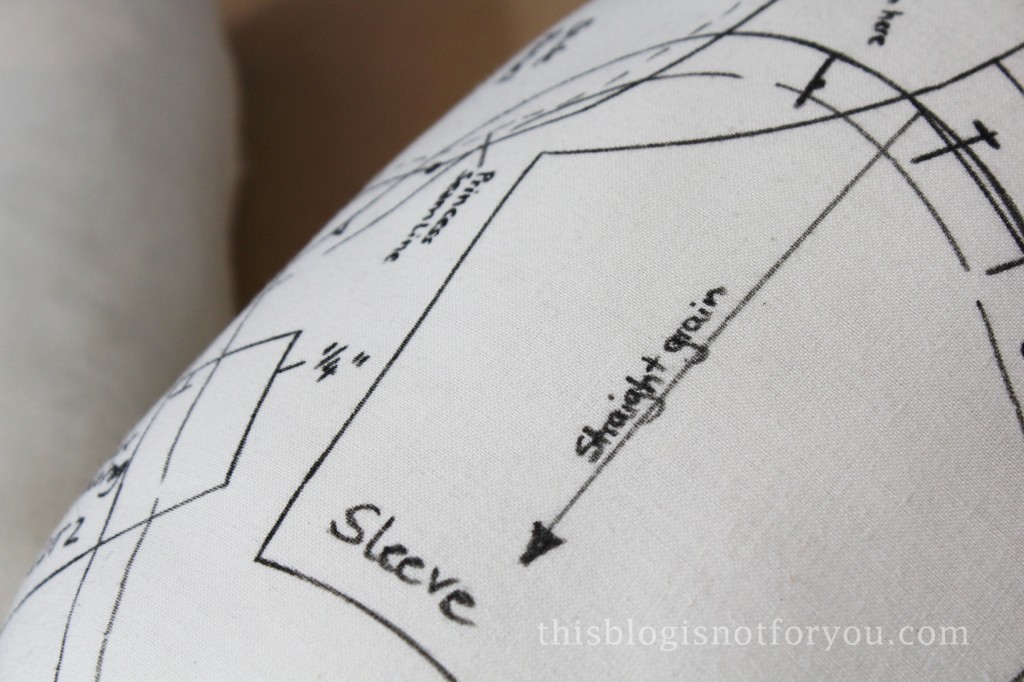
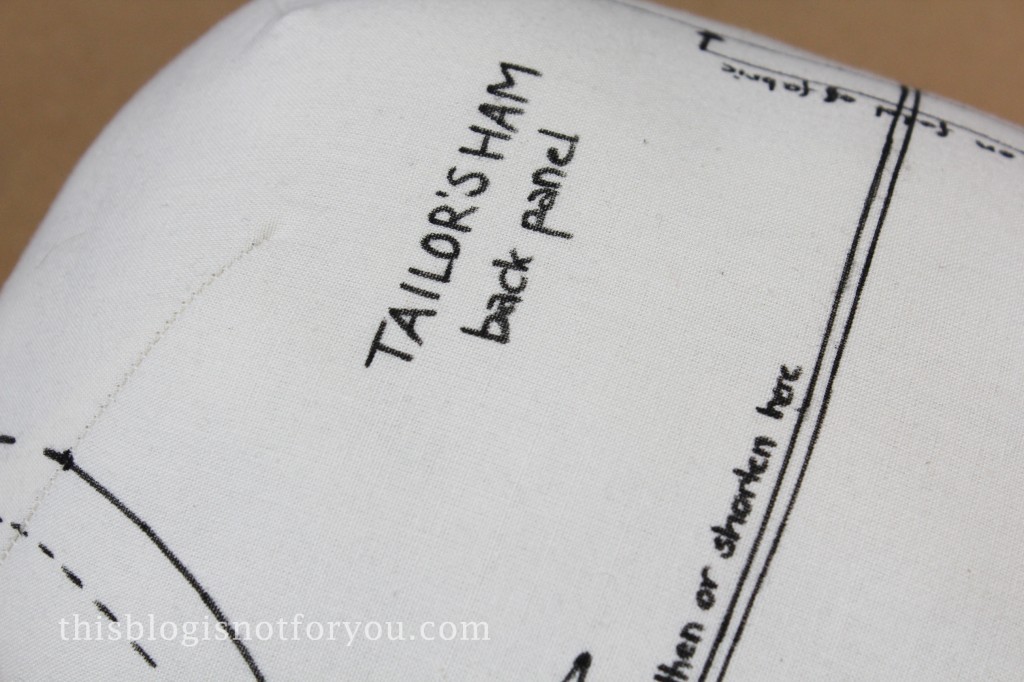
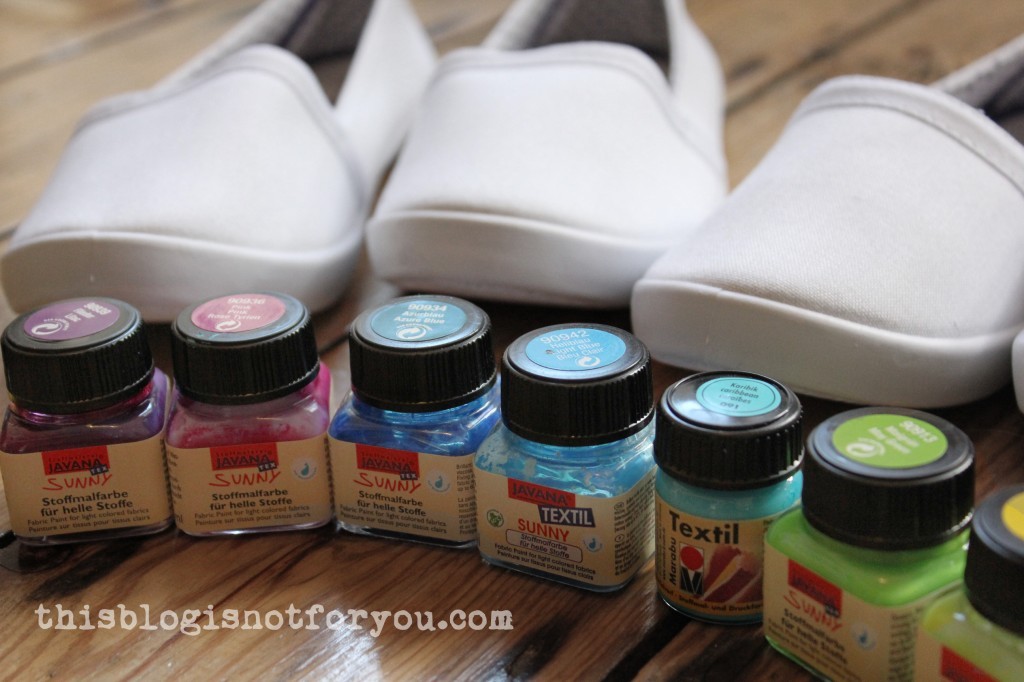
I chose to decorate the ham with a fabric marker. You could also use a cute colourful fabric instead of a second layer of cotton.
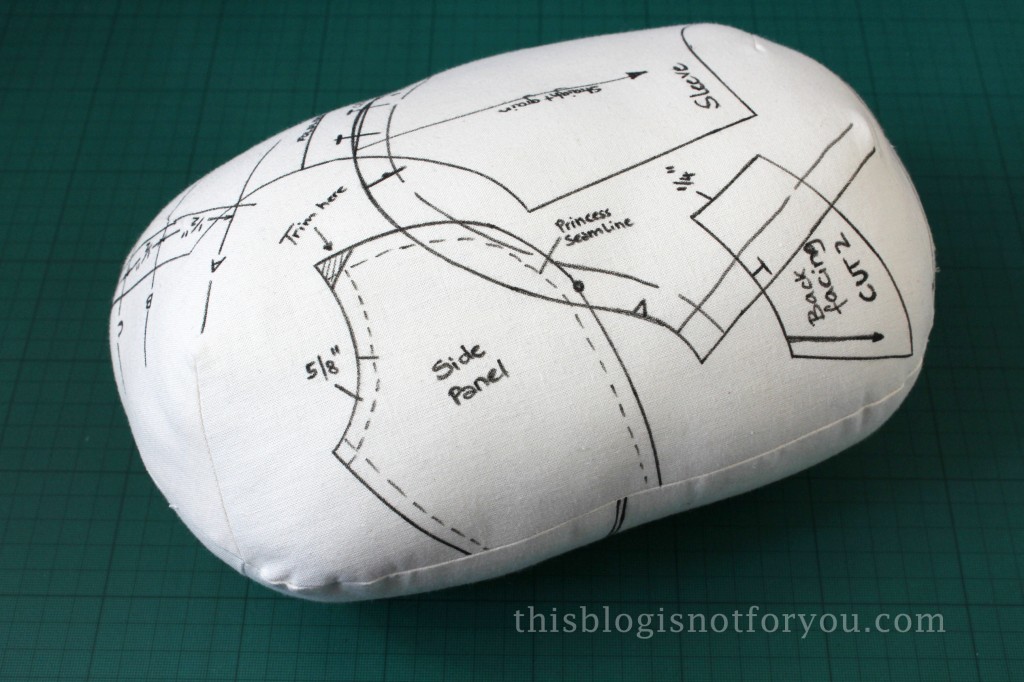
Super easy, super fun and super useful!
My man became quite alert when hearing I was making something with ham and sausage, not so excited anymore when he saw me ripping pillows on the carpet. Now he thinks the tailor’s ham makes quite a nice neck support pillow… 🙂


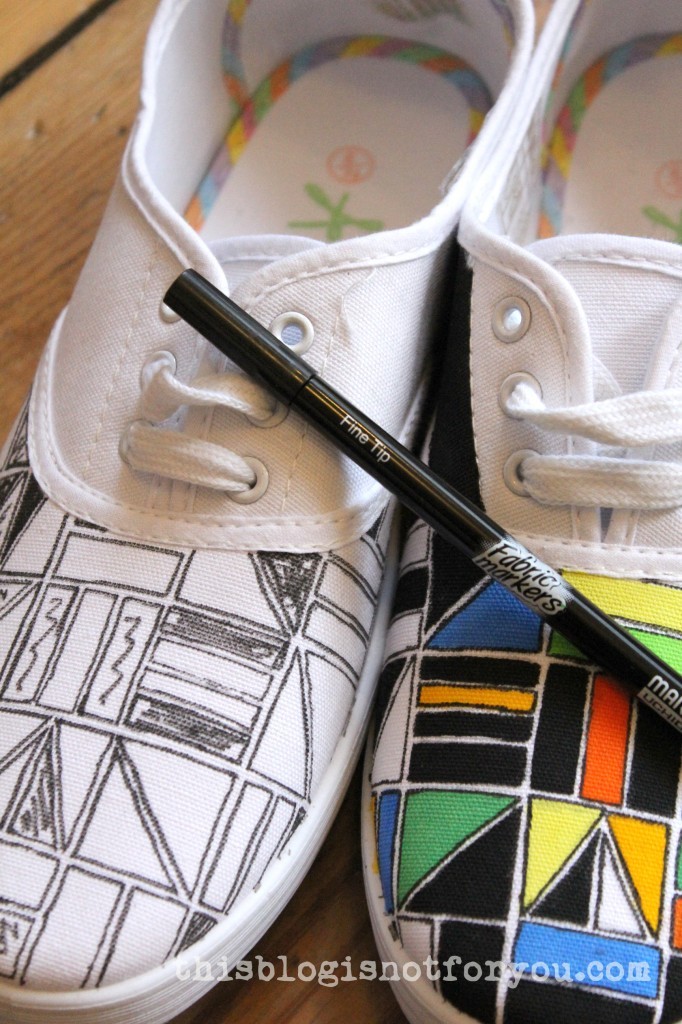
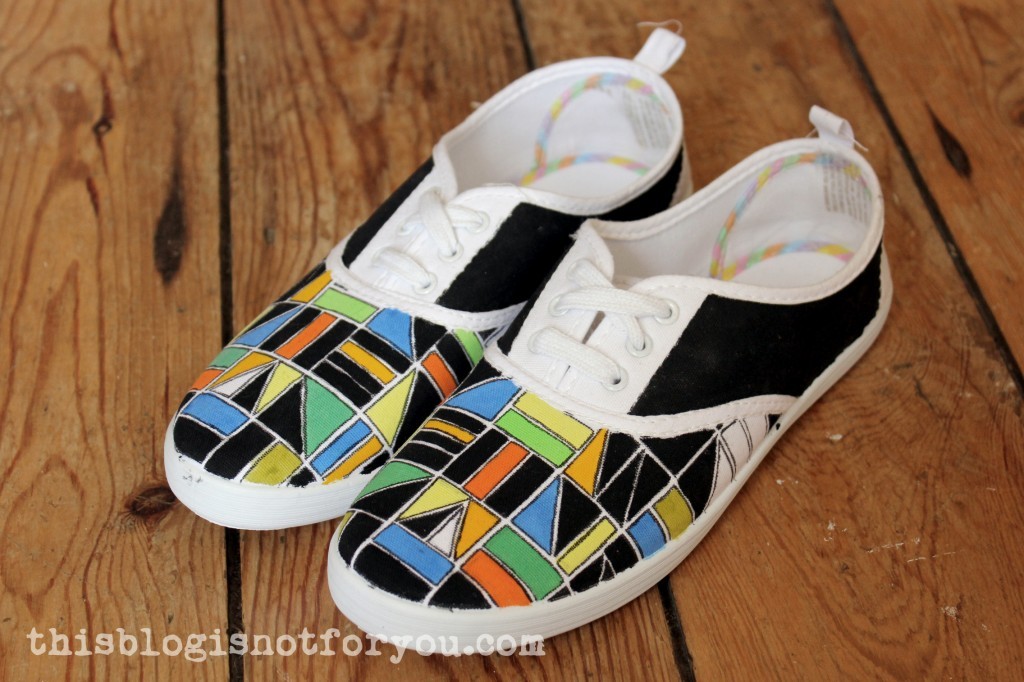
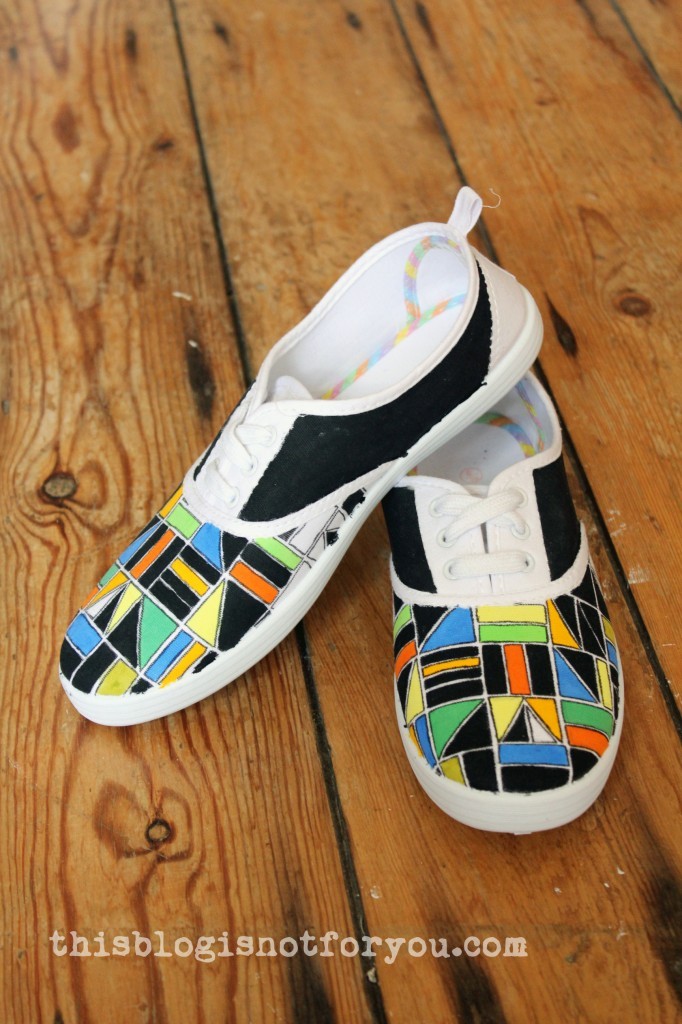
 My friend loved them! I would’ve liked to keep them, but unfortunately I really have nothing to wear in these colours (First world problems, I know!) :)
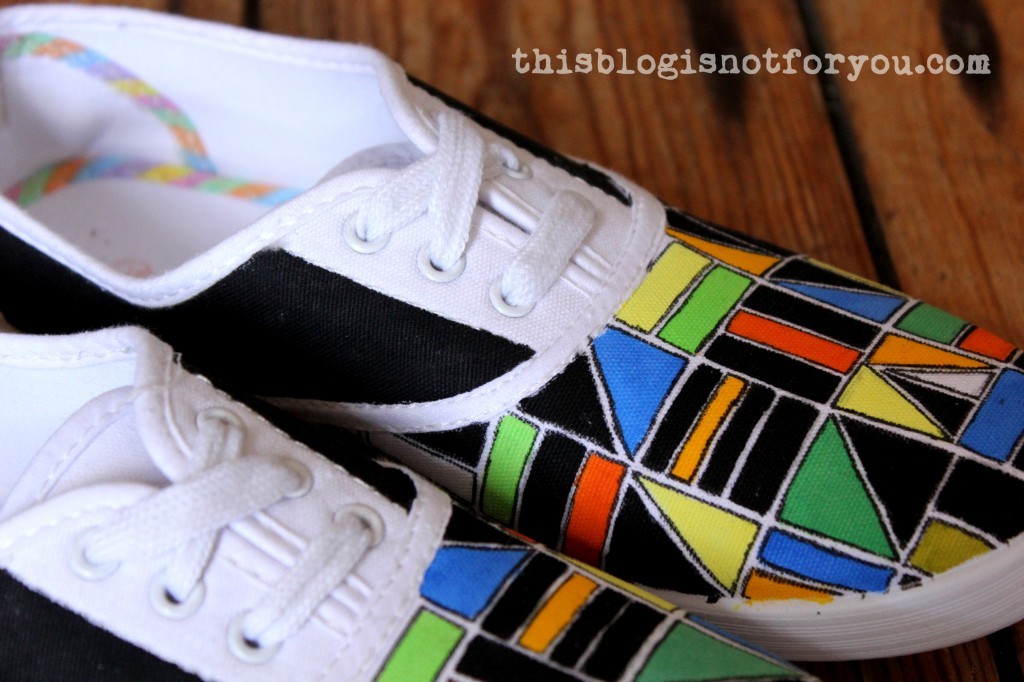
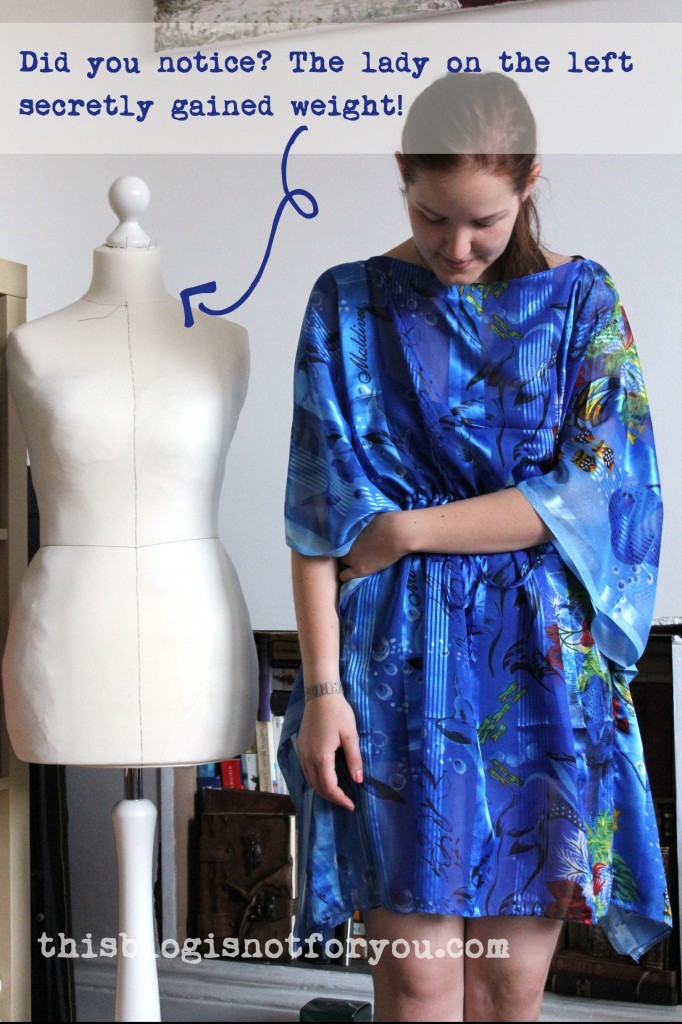

 Don’t look too close – she’s got a few bumps here and there, especially on her unmentionables, but I love her anyway.
 If you don’t have a dress form and want a dummy which represents your size, there are different options for making one yourself.