Burda Wrap Blouse

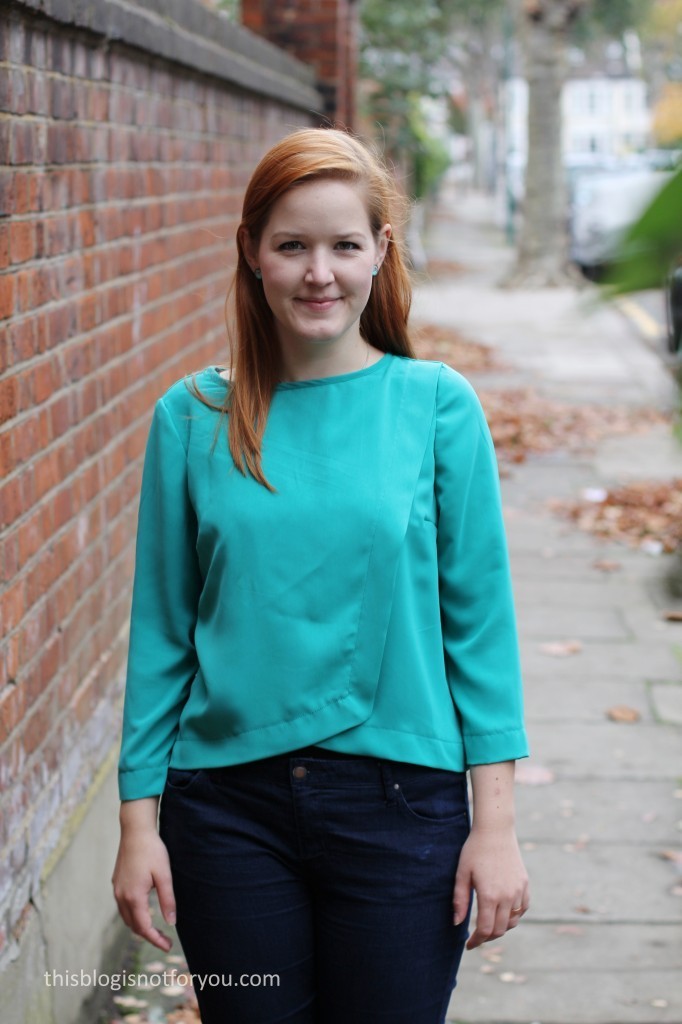
Burda Wrap Blouse 04/2014 #115 by thisblogisnotforyou.com

Hey folks! I’m back after a short blogging break during which, of course, some sewing was done. The weather is quite dreadful in London at the moment, so I couldn’t photograph everything I made yet.

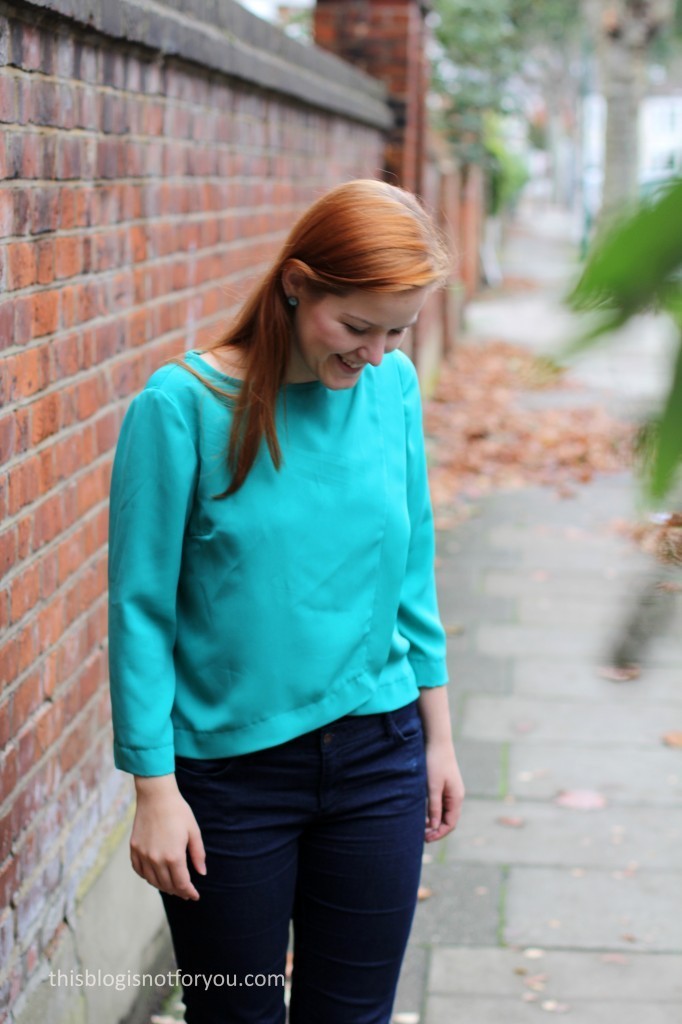
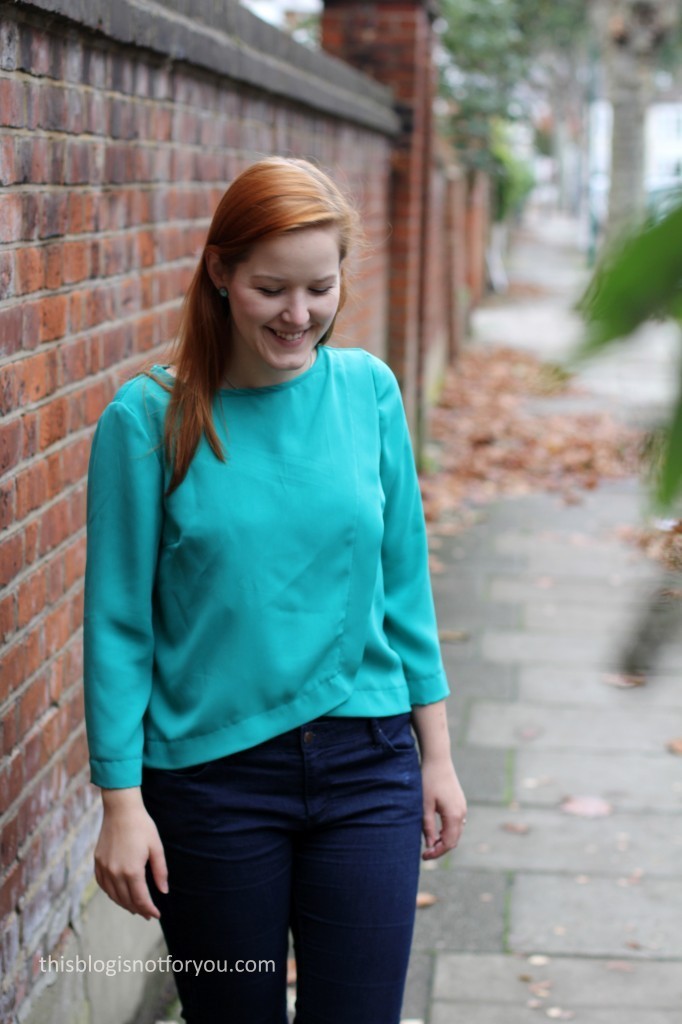
I made this blouse two weeks ago before I went back home. It was a quick afternoon sew and the fabric didn’t even cost me a penny.

The Fabric:

I scored it at the last fabric swap at SewBrum. At fabric swaps I am one of the ‘polite’ ones – (Is it possible to be impolite at fabric swaps? I mean, there’s fabric involved, so I guess everything’s allowed) – which basically means when I spot something that I like I don’t immediately grab it, but wait and see if someone else might be interested as well. If no one wants it after a while, I take it home. This actually works quite well, and some of the ‘leftovers’ are some really gorgeous fabrics, you wouldn’t believe it. For some reason no one wanted this beautiful baby. This colour seems to be my new favourite and two other fabrics I got in the swap are of the same colour, but knits (yay!) It is polyester Crêpe (I think) and very soft and drapey. It was very easy to sew with and only needs a bit of ironing after the wash. Thanks to whoever brought it to SewBrum!
Burda Wrap Blouse 04/2014 #115 by thisblogisnotforyou.comBurda Wrap Blouse 04/2014 #115 by thisblogisnotforyou.com

The Pattern:

Yes! I’m back to sewing with Burdastyle patterns. For some reason I neglected all my Burdastyle magazines for months and only used indie patterns. I recently went through all my magazines and found some awesome stuff. Since then I’ve made quite a few Burdastyle makes and am planning more!

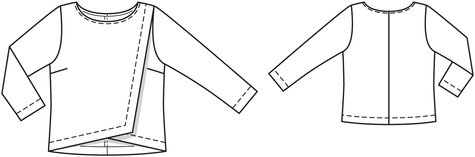
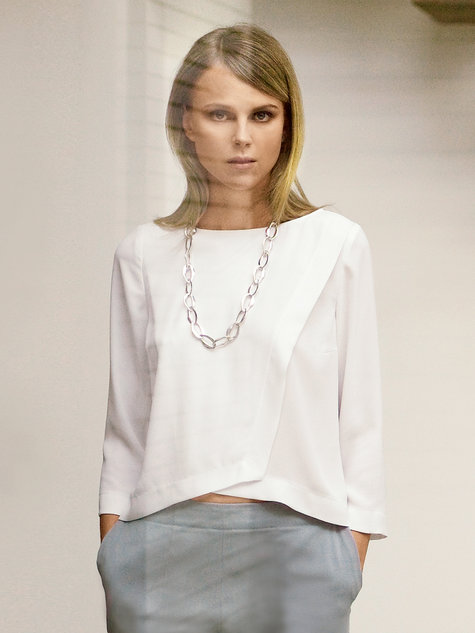
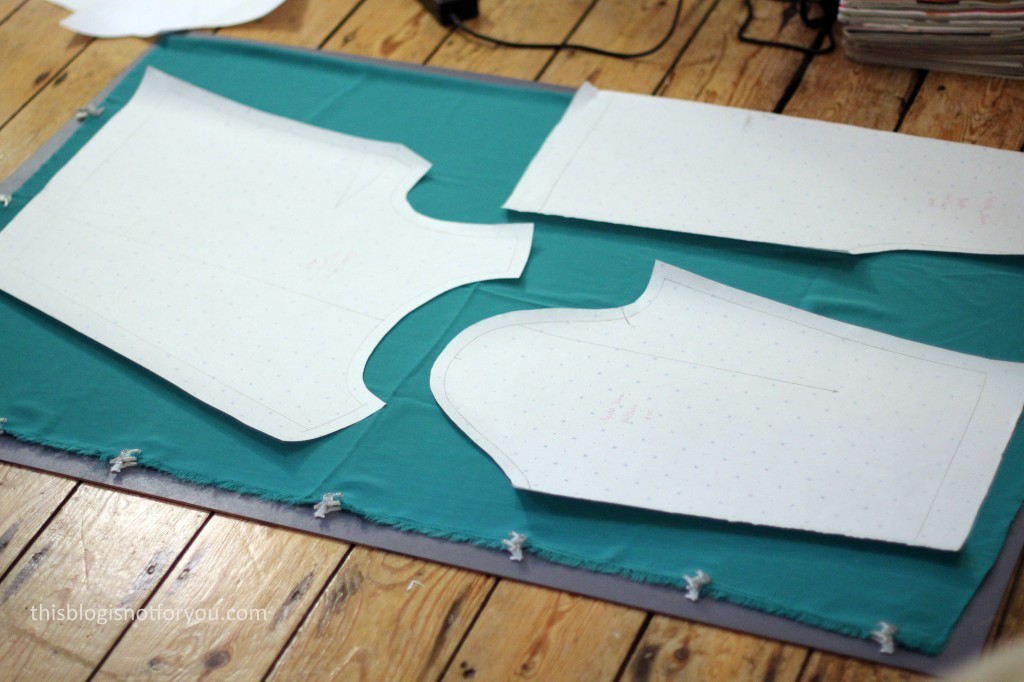
For this blouse I used the Wrap Blouse 04/2014 #115 pattern. There are only three pattern pieces, so it was super quick to trace, cut out and sew.
source: burdastyle.com

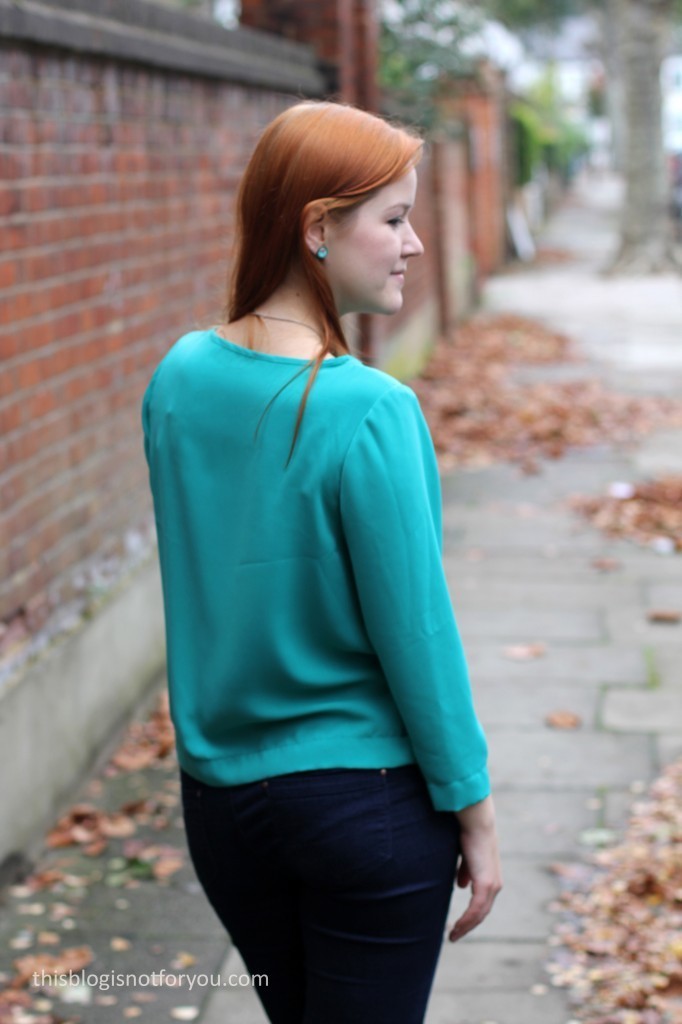
I did not make any major changes to the pattern except for omitting the center back seam. I have no idea why it’s there and what it’s for, so I simply cut the back pattern piece on fold. Maybe it was intended as a funky design feature, but unless you want to insert a zip, I don’t think center back seams are the greatest design detail.
Burda Wrap Blouse 04/2014 #115 by thisblogisnotforyou.com

The pattern suggests using a 110 cm (44 ins) wide Crêpe, length 1.85m (2 1/8 yds) for a size 10/36. My fabric was 150cm wide and I had barely a metre of it, but I managed to fit all pattern pieces on there. I often find that Burda’s fabric requirements are quite generous, so if you think you don’t have enough fabric, it’s still worth a try!
Burda Wrap Blouse 04/2014 #115 by thisblogisnotforyou.com

Burda Wrap Blouse 04/2014 #115 by thisblogisnotforyou.comBurda Wrap Blouse 04/2014 #115 by thisblogisnotforyou.comThe Fit:

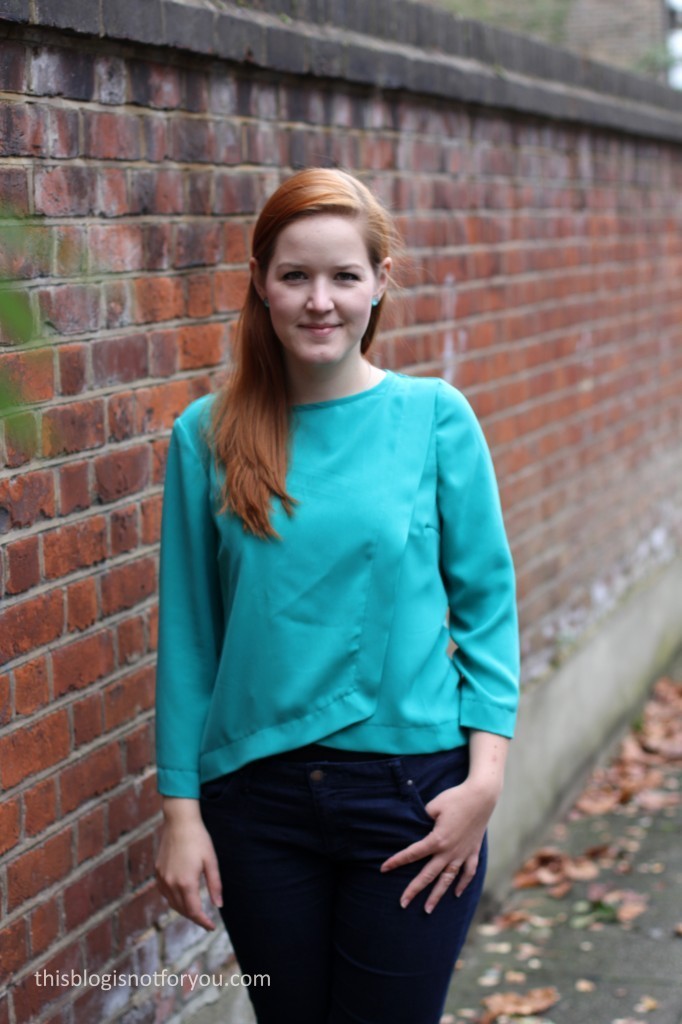
I really love the fit of the blouse. I did not make a muslin (for some reason I never do with Burdastyle patterns. They usually fit me pretty well and tracing the patterns is such a nuisance already, so I can’t be bothered.)

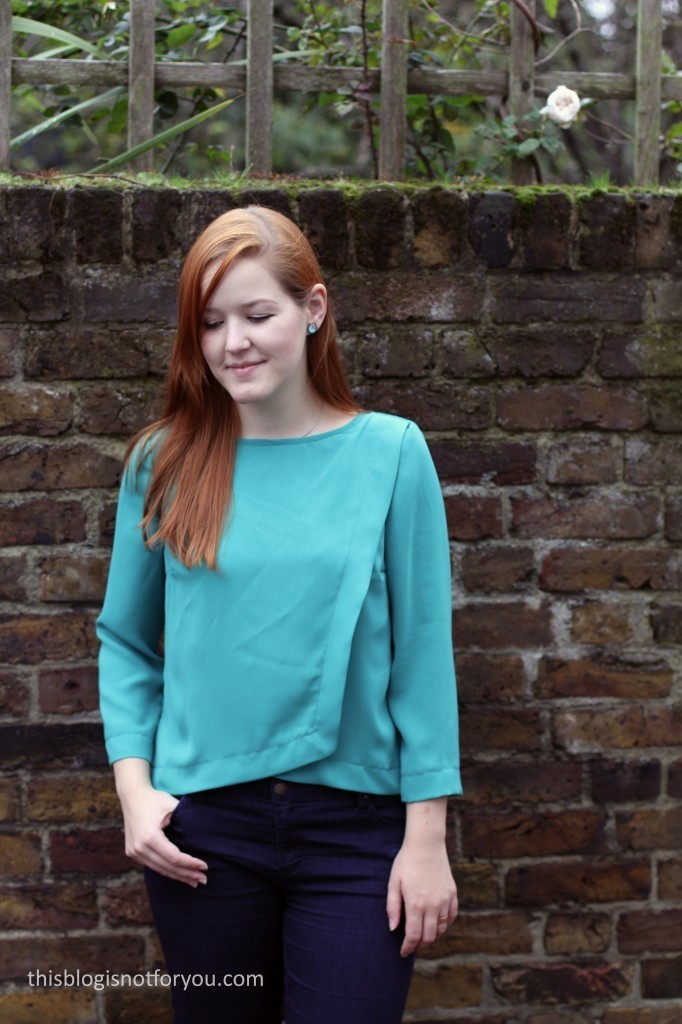
I love the length of the 3/4 length sleeves. They align perfectly with the top’s hem. The top is intended to be quite boxy, but the soft fabric makes it look very elegant. I am a big fan of a wide boatneck, so this pattern was really perfect for me. For some reason I have to think of a kimono, though. Maybe it’s the wide sleeves or the wrapped bit. But kimonos are cool anyway, aren’t they?

The front panels’ overlap is pretty safe. The front panels are basically stitched together at the neckline and the bound off by bias binding. If it’s really windy (as in the picture below), the worst case scenario would be showing a bit of tummy. So for work I wear a little black vest underneath (makes it also a bit warmer).
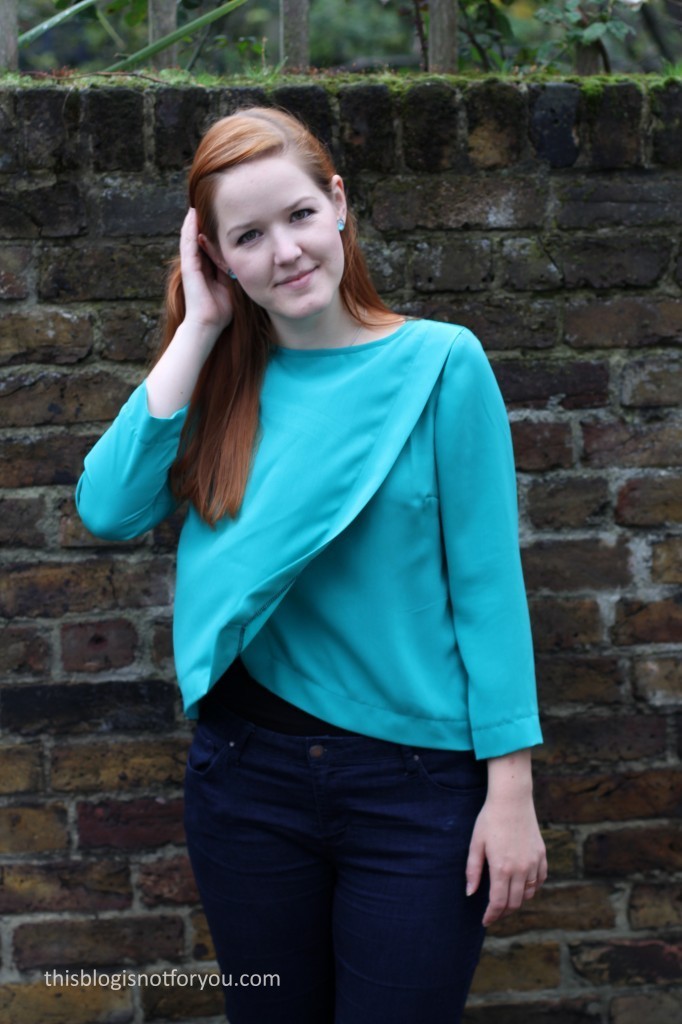
Burda Wrap Blouse 04/2014 #115 by thisblogisnotforyou.comBurda Wrap Blouse 04/2014 #115 by thisblogisnotforyou.comBurda Wrap Blouse 04/2014 #115 by thisblogisnotforyou.com

Will I be making it again? Definitely. Especially since it’s such a quick project which doesn’t use up much fabric. I was pretty happy with the fit, so no reason why I shouldn’t make another one!


Happy sewing!

facebook/bloglovin/pinterest
twitter/instagram

Stay in touch!
Fantastic Mr Fox – Easy Autumn Cushion Covers

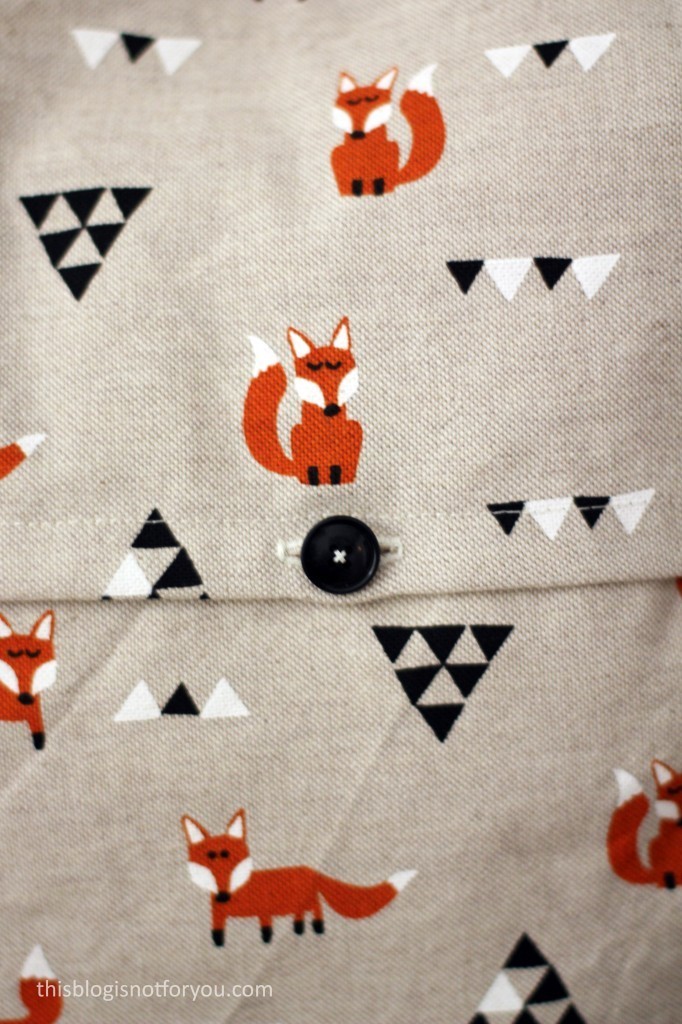
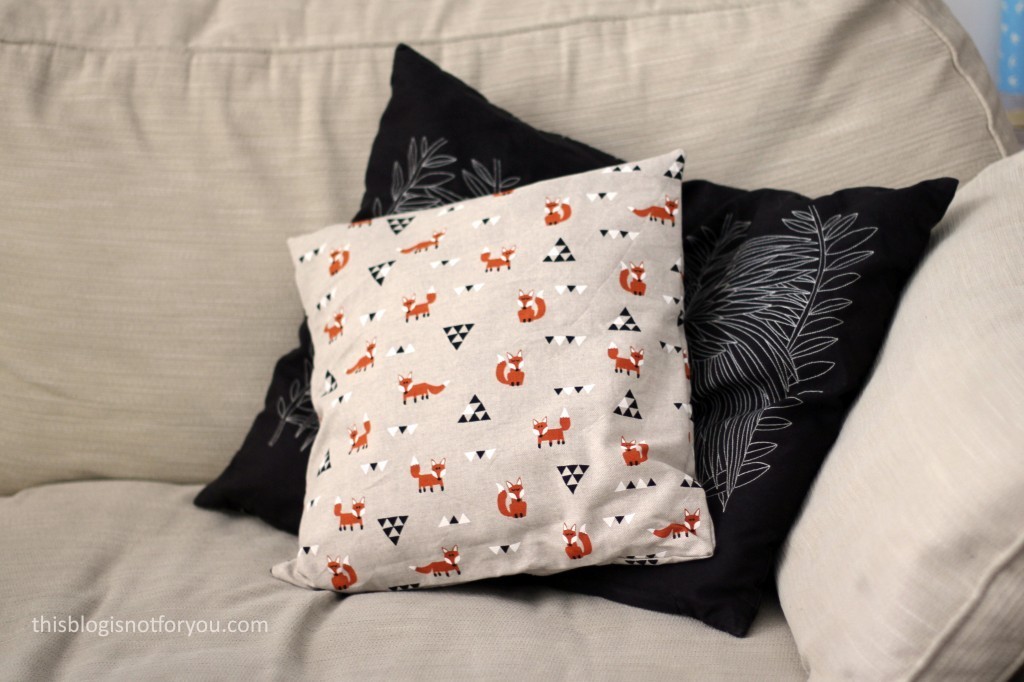
cushion covers fox by thisblogisnotforyou.comIn order to get over my end-of-summer blues I decided to embrace autumn and make some new seasonal cushion covers for our shabby sofa.
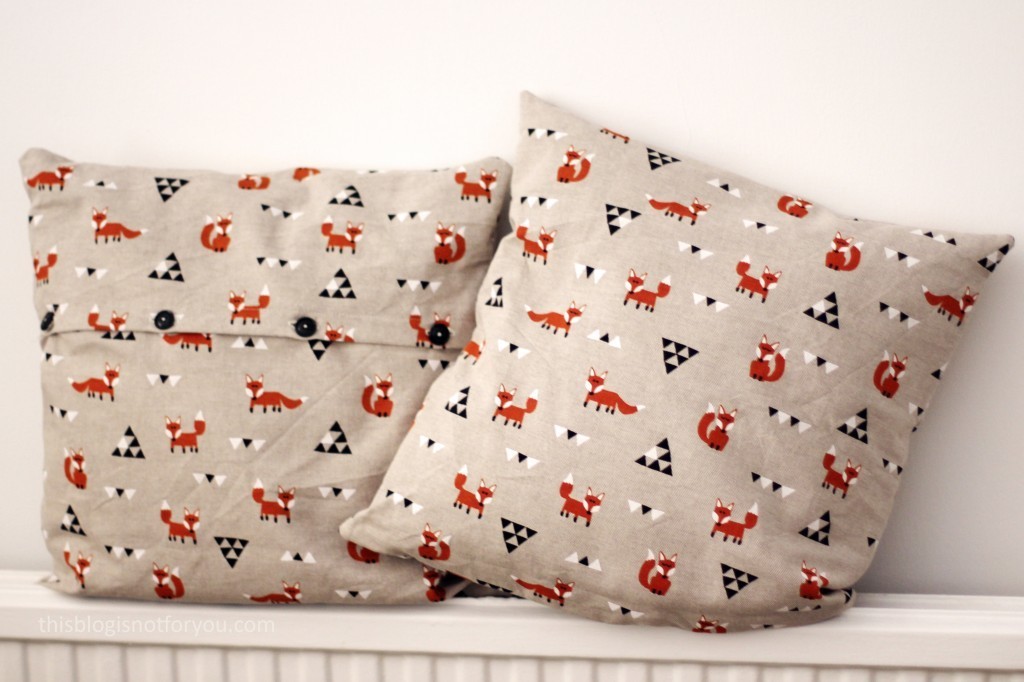
I found this cute fox & triangle fabric when I went fabric shopping in Bath last months.It’s a printed woven, 80% Cotton & 20% Polyester. I immediately knew I couldn’t live without buying some and two new cushion covers came to mind. It wasn’t a bargain, so I bought 0.5m (140cm wide), guesstimating that it would be just enough for our two cushions.

cushion covers fox by thisblogisnotforyou.com

I bought the fabric in Bath, but I also found it on myfabrics.co.uk, where you can get it for £9.00/m. It was the same in Bath, so I ended up paying £4.50, which isn’t too bad for two cushion covers.

www.myfabrics.co.uk

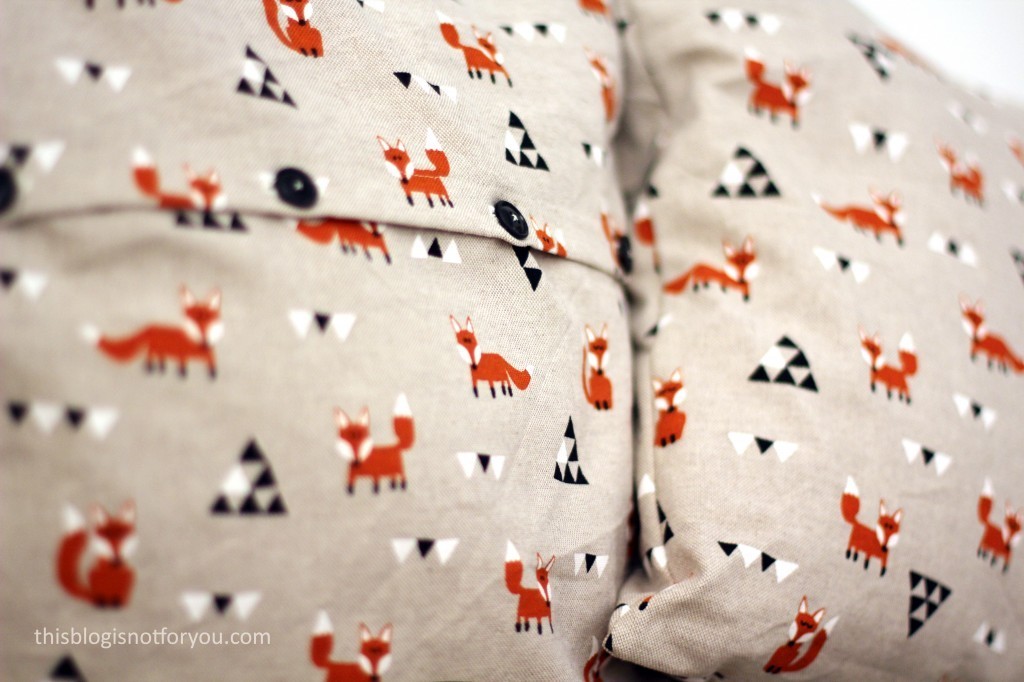
I didn’t have a pattern or particular plan for making the cushion covers. For easier sewing projects like these I normally just like to wing it. It didn’t have spare zips, so I went with buttons. For each cover I cut out a square (40x40cm) and two rectangle with the same width, one slightly longer than the other. The rectangles overlapped by approximately 7cm. First I sewed the top and bottom seams, sewing together all three rectangles to one large rectangle. I overlocked and hemmed the overlapping parts by folding over the edges by 2cm and machine-stitching the hem. After hemming (making sure the foxes weren’t upside down!) I sewed the side seams. At first, I wasn’t thinking and the back panels overlapped the wrong way around (bottom panel over top panel), so I had to redo the side seams. Apart from that everything came together very quickly and I was finished in no time.

cushion covers fox by thisblogisnotforyou.comcushion covers fox by thisblogisnotforyou.comEach cushion has 4 buttonholes and buttons. I sewed all seams with the overlocker with 1cm seam allowance. Since I only had 0.5m of fabric I really had to cut the fabric carefully and had to keep the seam allowance quite narrow.
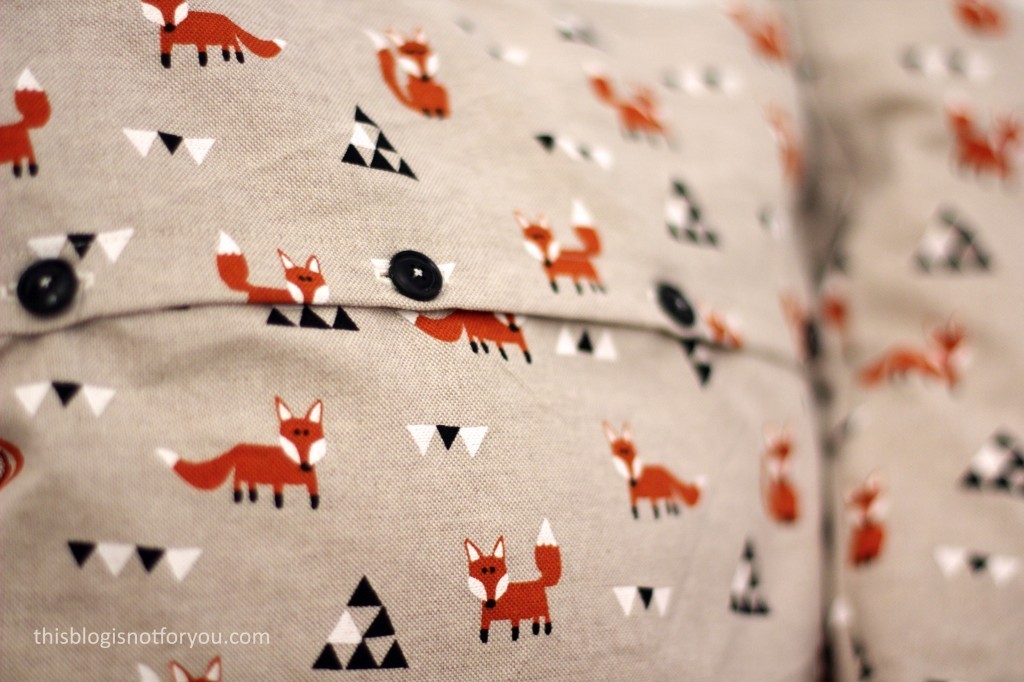
I really love my new cushion covers, and even the Mr said that they’re cute! The only negative thing I have to say about the fabric is that it wrinkles quite easily. I pressed everything after sewing, but already saw new creases after attaching the buttons. Well, I don’t care too much about wrinkle-free cushions, so it’s not that bad after all.cushion covers fox by thisblogisnotforyou.com

What do you think? Are foxes the new owls? (If you ask me, they definitely are!)

Have you made anything seasonal yet?


Happy sewing!

facebook/bloglovin/pinterest
twitter/instagram

Stay in touch!

A scooped neck Hepburn Dress

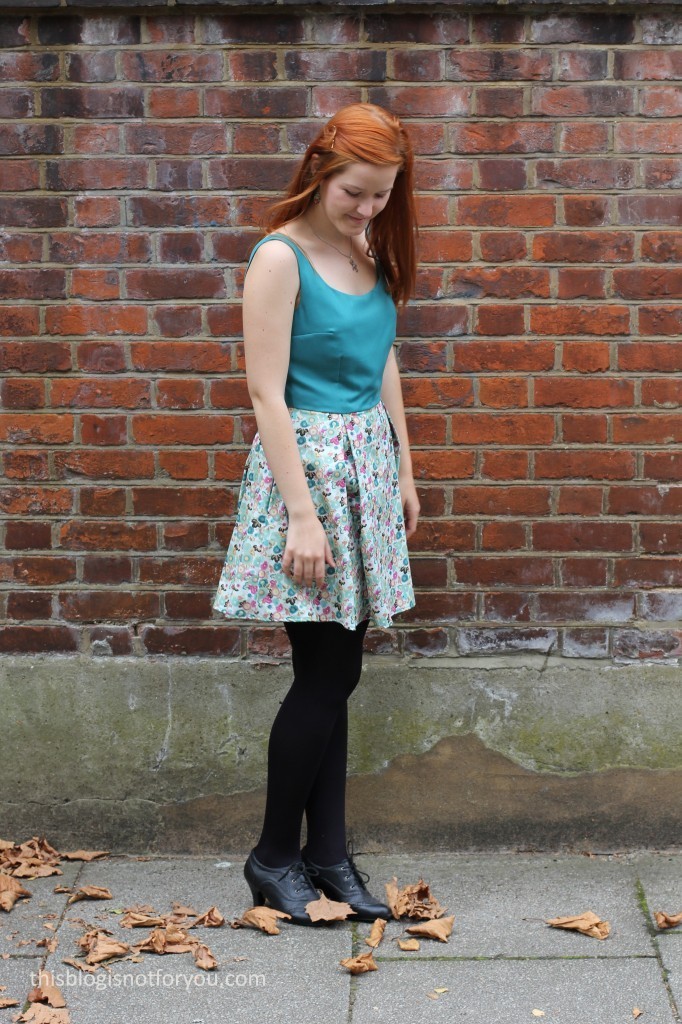
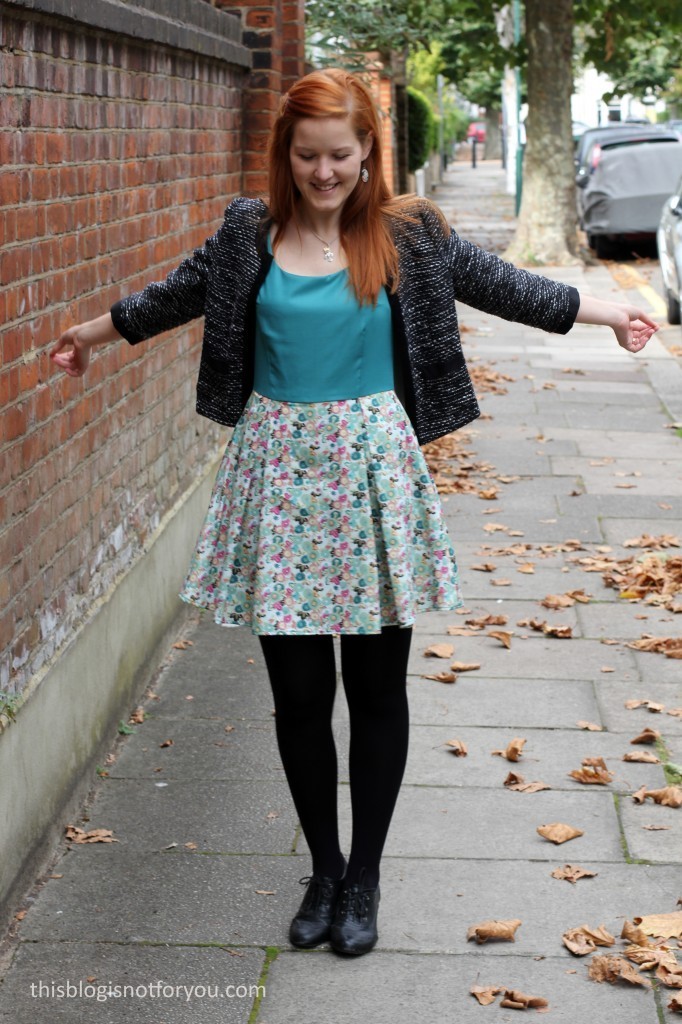
Hepburn Dress scooped neckline version by thisblogisnotforyou.comHepburn Dress scooped neckline version by thisblogisnotforyou.com

Hellooo my ladies (and gents)! This post is long overdue, I can tell you! (Is she seriously posting a summer dress right now? Yes, she is!)

As you know, I released my Hepburn Dress pattern in August and have been working on all the different variations since then. At the moment I somehow sew more than I can photograph or write about (living the dream, guys!) and I really need to work on maintaining a better equilibrium. Otherwise things like posting pictures of summer dresses on October will keep happening.

Hepburn Dress scooped neckline version by thisblogisnotforyou.comHepburn Dress scooped neckline version by thisblogisnotforyou.comPattern & fit:

Adjustments: shortened skirt, scooped neck variation, bodice graded up half a size.

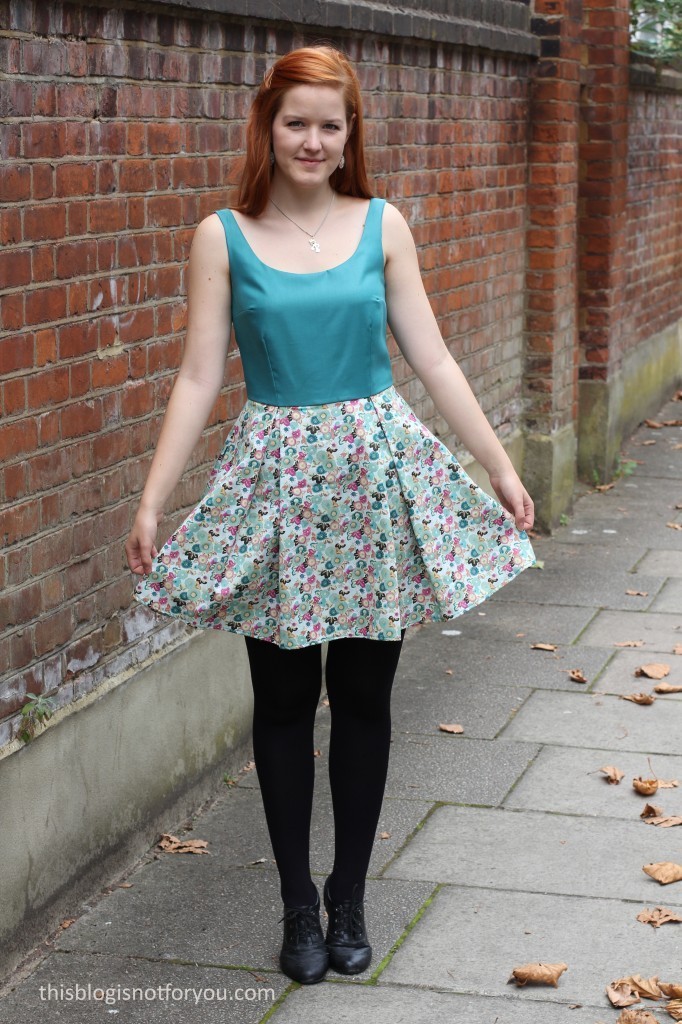
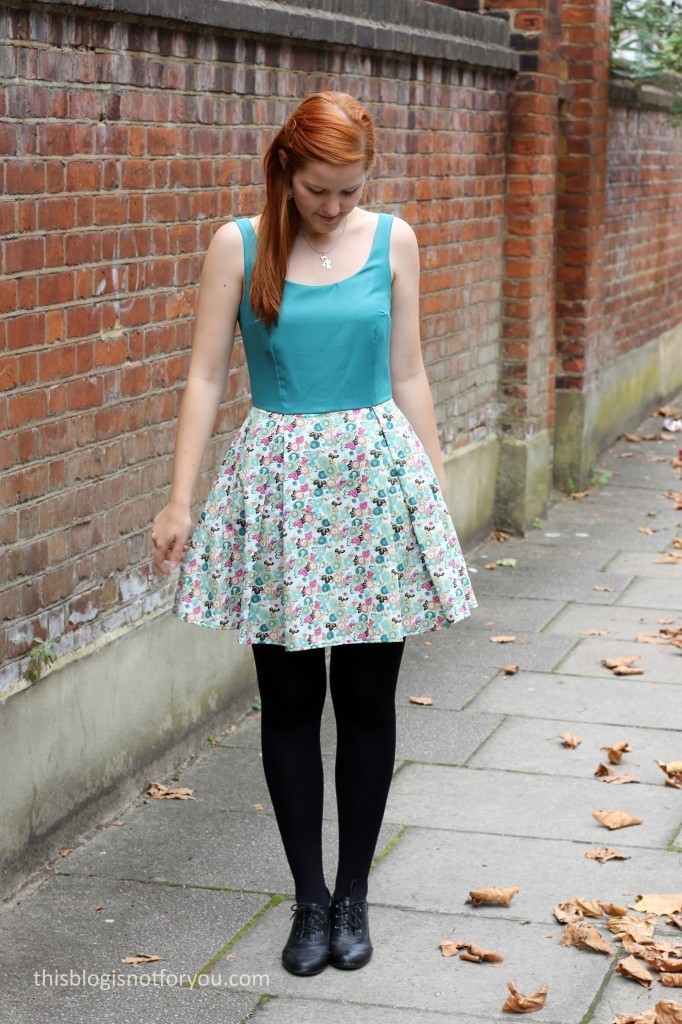
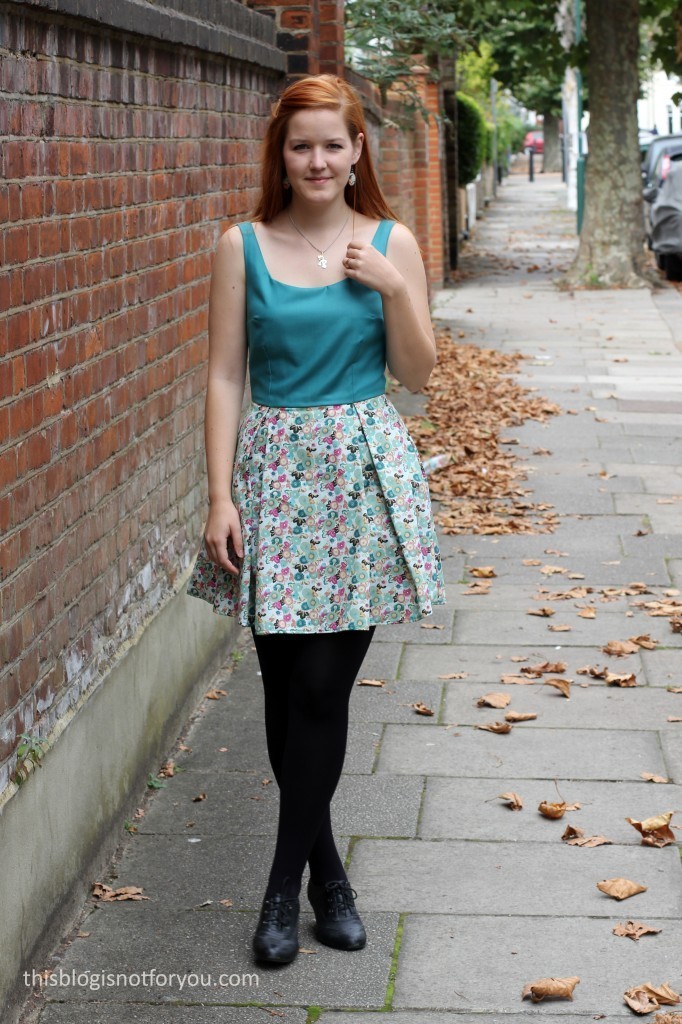
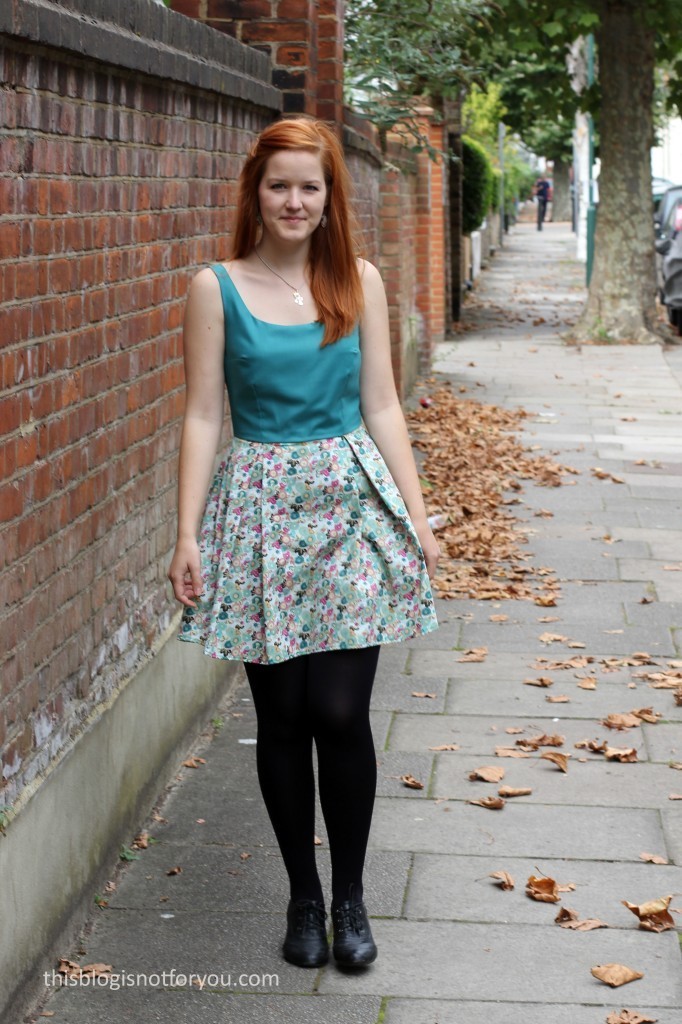
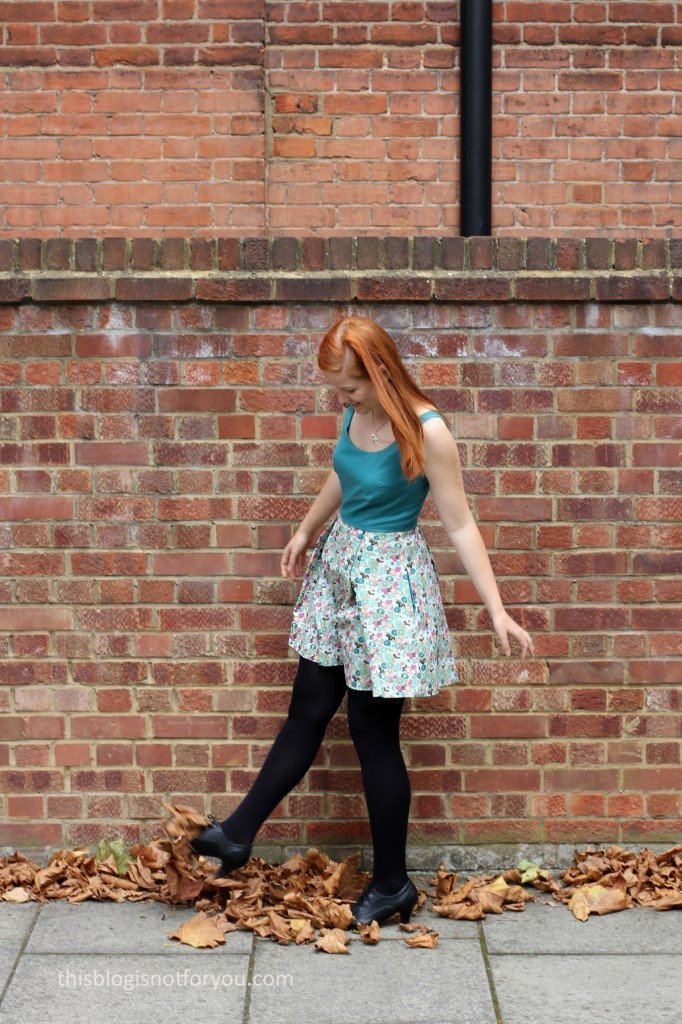
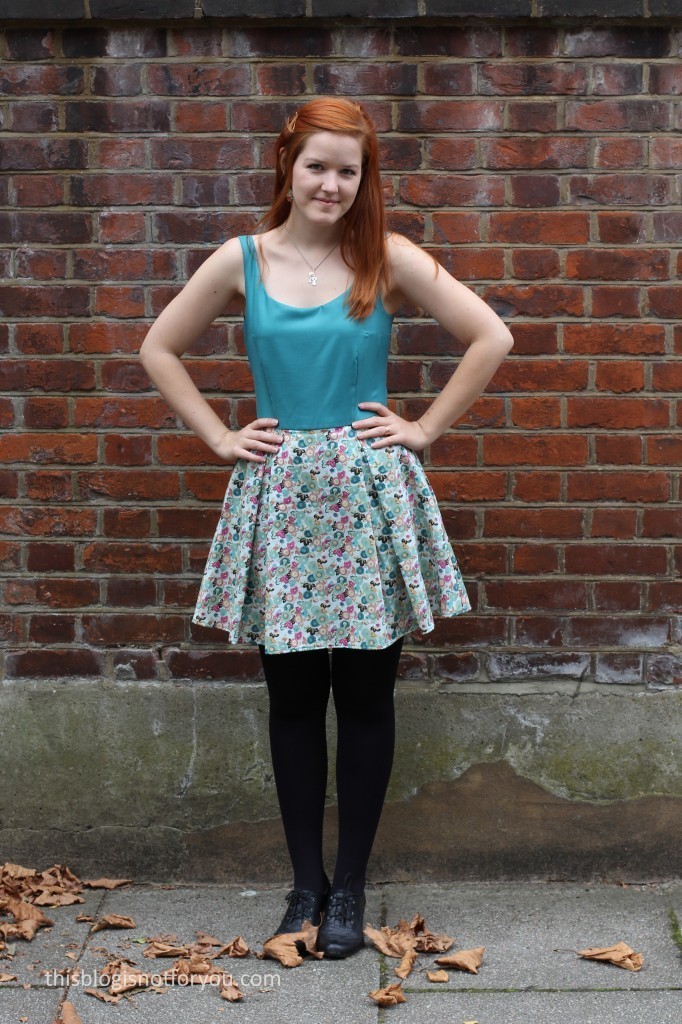
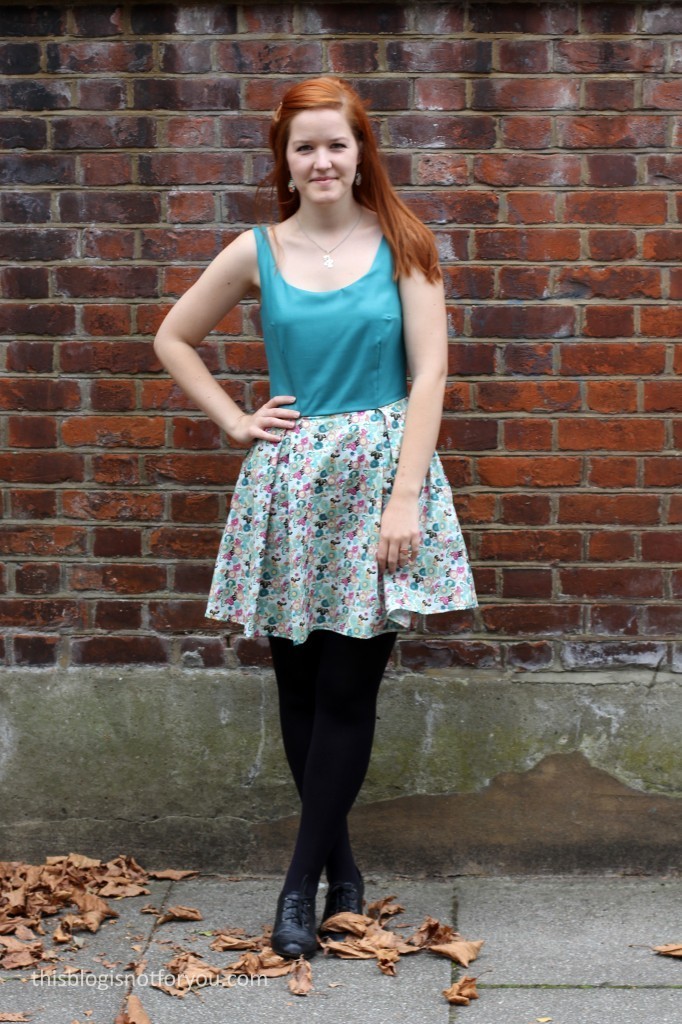
Anyhow, as you can see, I’m pretty happy with this dress. I have to admit though, that some things didn’t go as I wanted. First of all, let’s talk about the bodice. I made the scooped neck variation, which has a slightly lower neckline in front and back. It’s a bit more summery than the other two variations, which have a high neckline (pleats are optional). My first Hepburn Dress was a bit tight around the bust, so I graded up half a size for my second one which was a perfect fit. The peachskin polyester didn’t have much give so adding half a size to the bodice was a good idea.

For this dress I used a very soft 100% cotton for the bodice which I also used for the bodice lining. It is slightly stretchy and therefore, has quite a bit of give. With my extra half a size and the soft cotton the bodice now is a bit loose after a couple of wears. It not too bad, it looks much worse in the pictures, but I will have to grade down to my normal size when using a similar fabric next time.

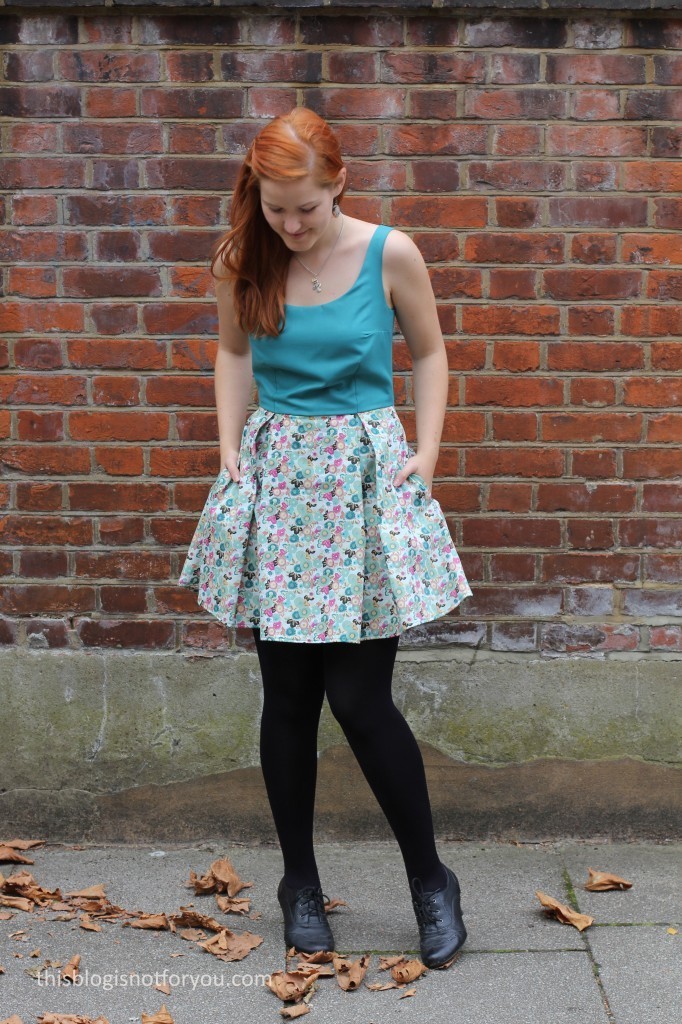
I won’t be wearing the dress too often now, but unless I gain weight over Christmas I will take it in before next summer.Hepburn Dress scooped neckline version by thisblogisnotforyou.comHepburn Dress scooped neckline version by thisblogisnotforyou.comWhat do you think about the proportions? The original Hepburn skirt is much longer and I think this one got a bit too short for my taste. It’s sort of a babydoll dress length and I’m not sure, but I might be too old for that. I normally like my skirts to end at or just above the knee if they’re fuller (fitted ones are allowed to be thigh high).
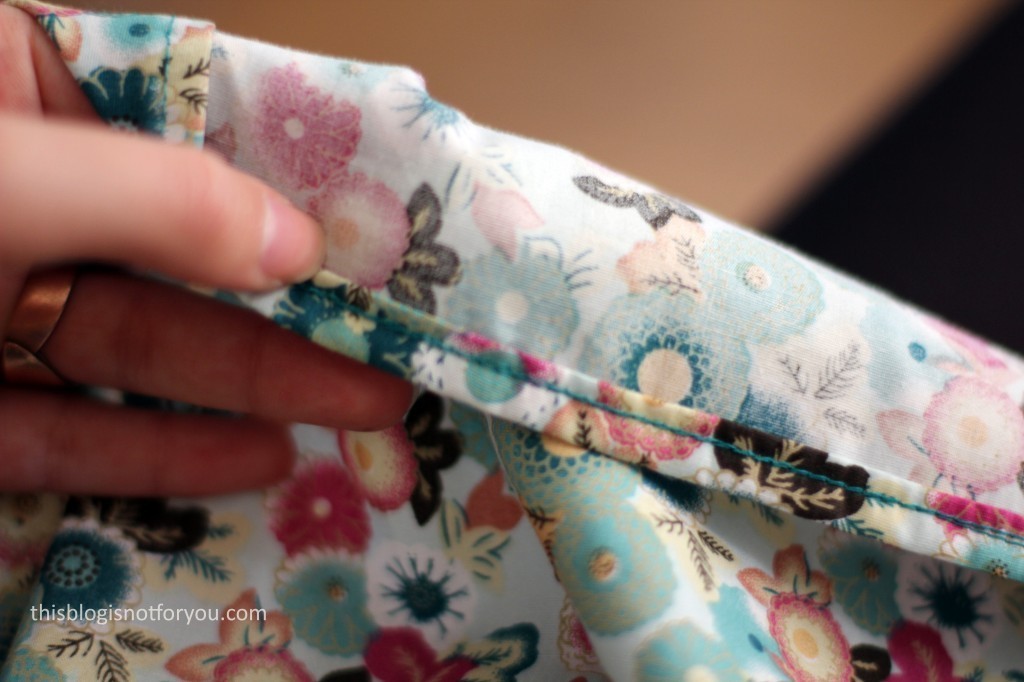
So why did I make the skirt that short then? Guess what, I was stupid enough to buy too little fabric. And since I actually made the pattern and wrote the instructions and should know about these things, you can consider it very stupid. For some reason I thought 1m would be enough (it’s got box pleats, silly one!) and bought 1m of each fabric.


Hepburn Dress scooped neckline version by thisblogisnotforyou.com

The fabric:

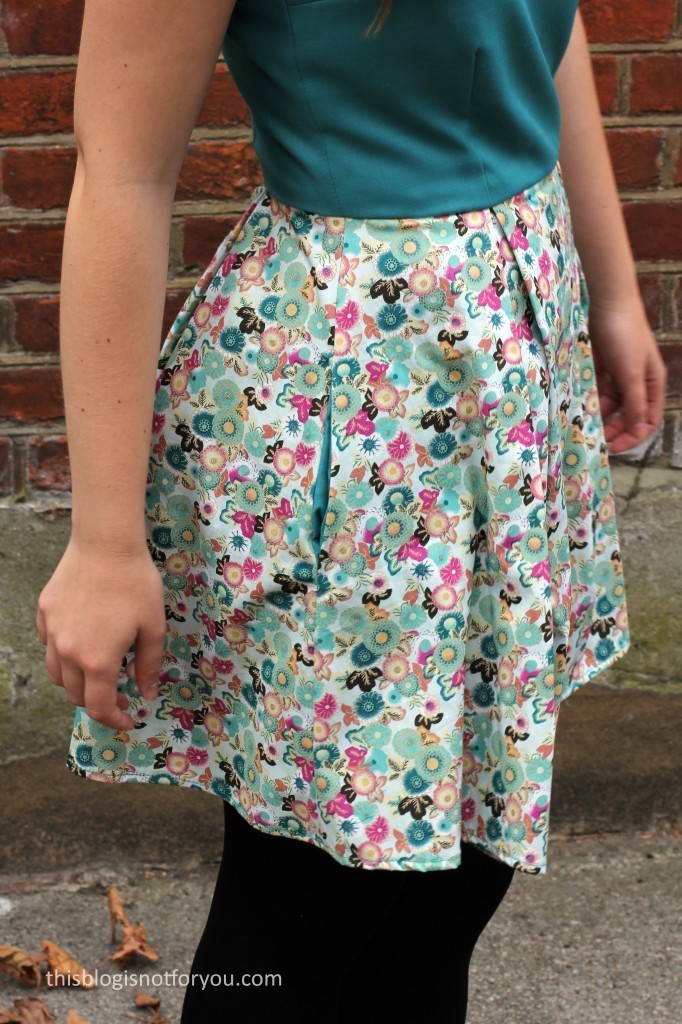
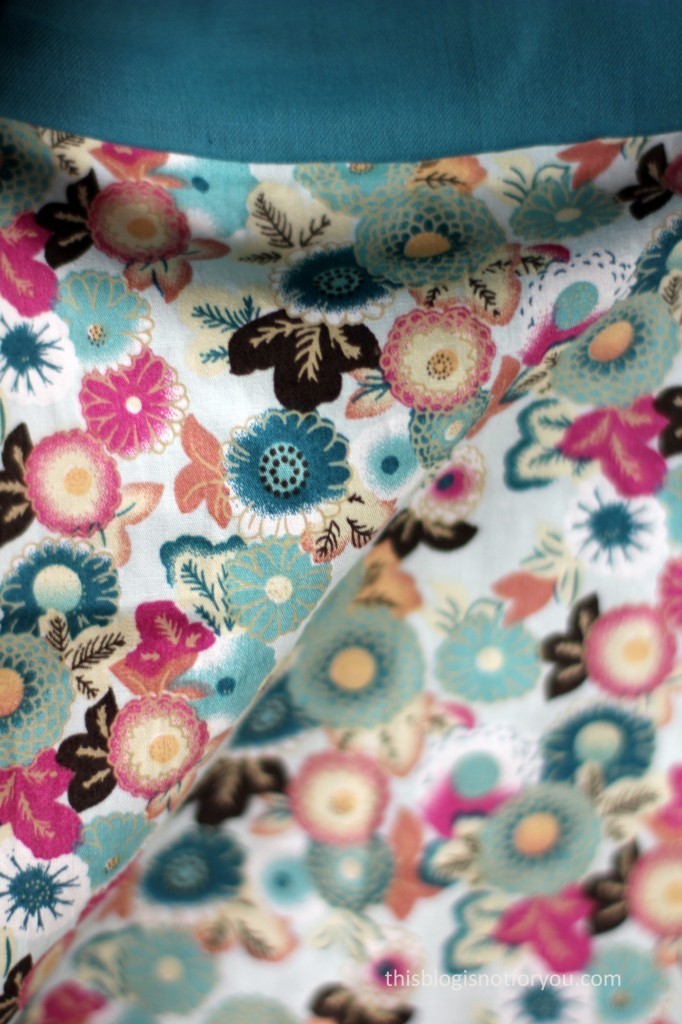
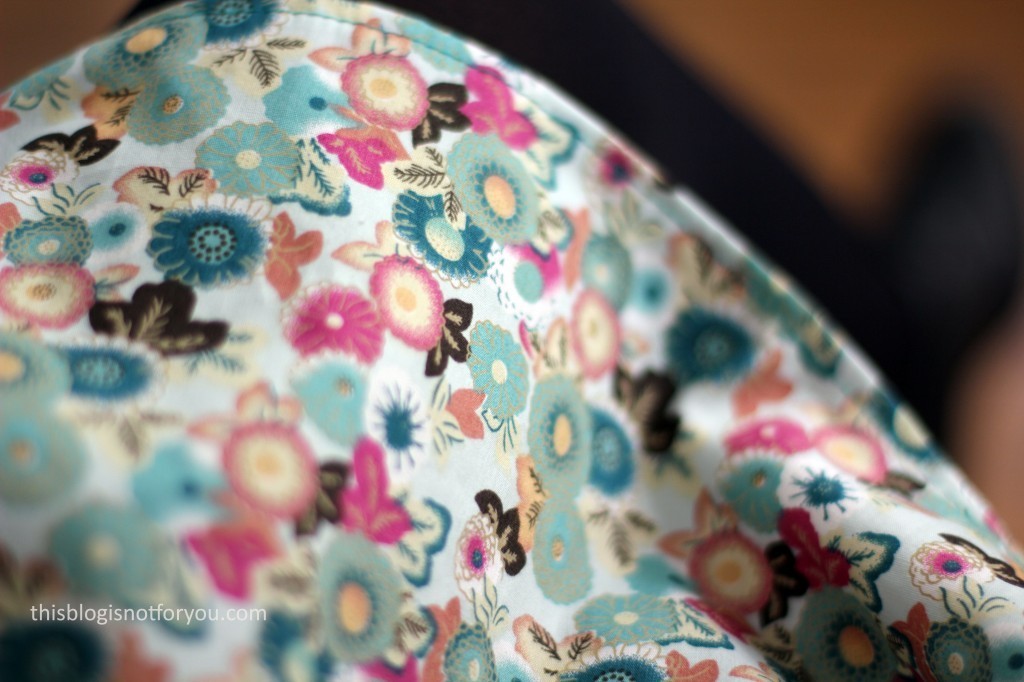
So I bought 1m each of a turquoise 100% cotton fabric and a beautiful cotton wax print (£3.95/m on Goldhawk Road).  Both fabrics are gorgeous and were easy to cut and sew with. In order to fit the skirt pattern on the wax print cotton I had to shorten the hem quite a bit. That’s also why I decided to skip my beloved hadnstitching and went with a narrow machine stitched hem instead.

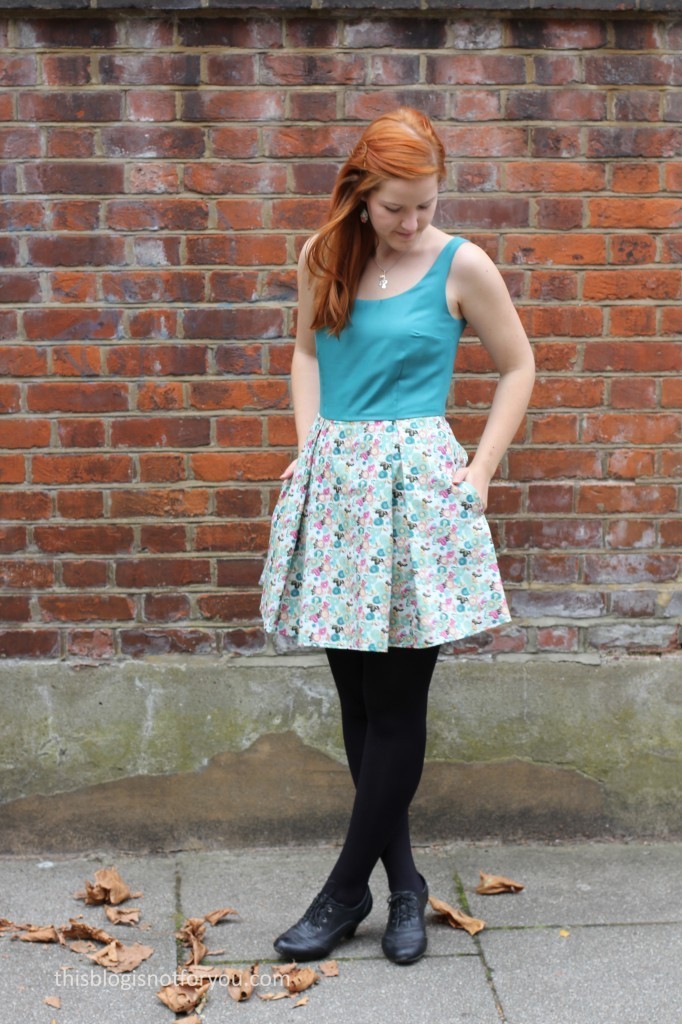
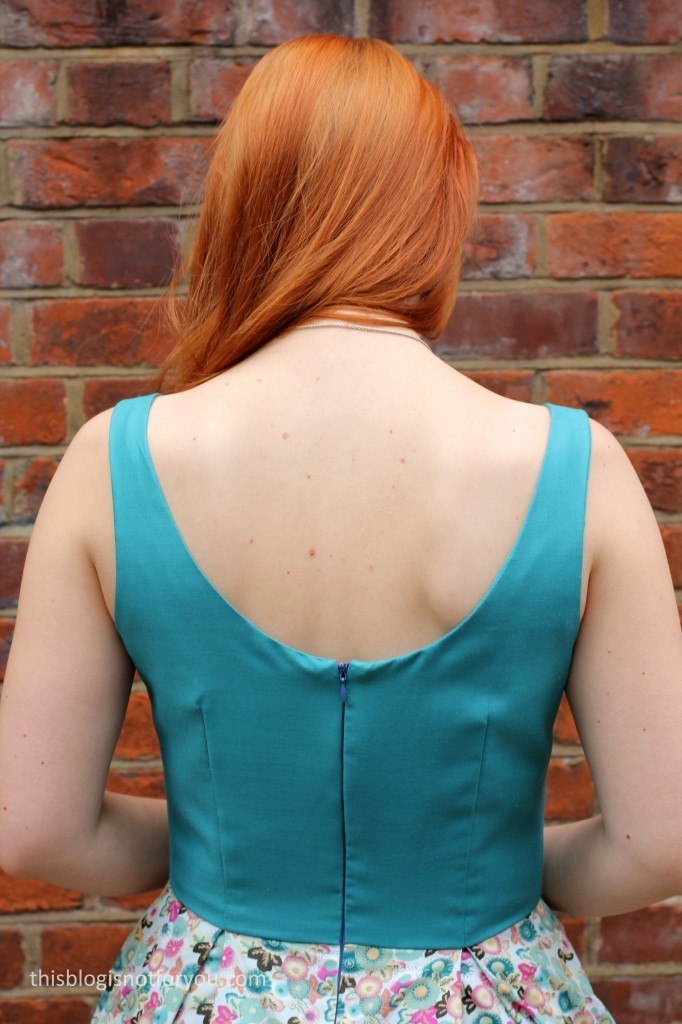
Hepburn Dress scooped neckline version by thisblogisnotforyou.comHepburn Dress scooped neckline version by thisblogisnotforyou.comDue to the softness of the bodice fabric the top bit of the zip is also a bit wonky. It’s probably just too heavy for the lightweight cotton and it stretched out a bit even though I understitched the whole neckline.Hepburn Dress scooped neckline version by thisblogisnotforyou.comHepburn Dress scooped neckline version by thisblogisnotforyou.comDid I mention this dress has pockets? I love me some pockets, I think every dress should have them! I will add a tutorial on how to add pockets to your Hepburn Dress soon! 
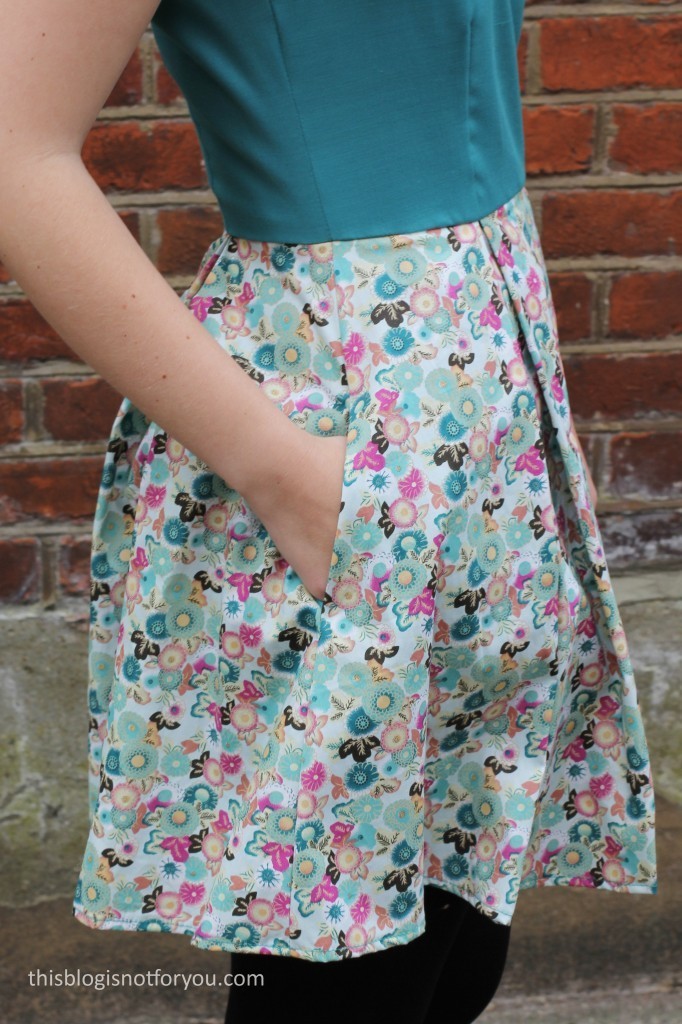
Hepburn Dress scooped neckline version by thisblogisnotforyou.comHepburn Dress scooped neckline version by thisblogisnotforyou.comI lined the pockets with my bodice fabric for an extra pop of colour.
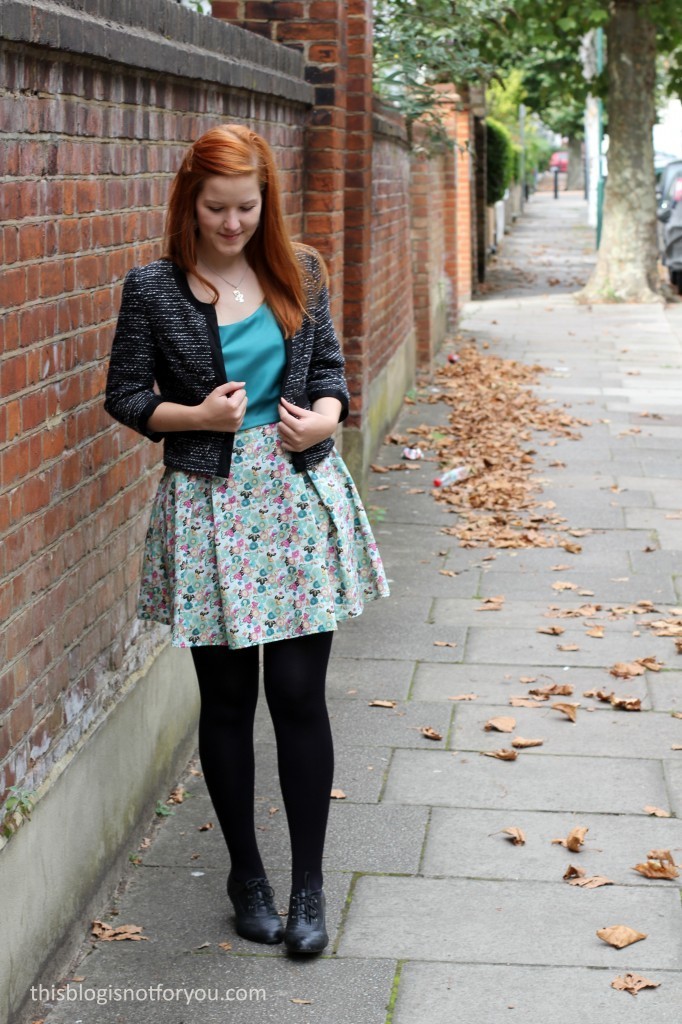
Some people have problems with scooped necklines and narrow straps like the ones on this dress, as sometimes the straps slide down the shoulder. This often happens when you have sloping shoulders. The pattern includes instructions on how to add lingerie strap guards which basically solve this problem. As long as you attach them to a goodfitting bra, the straps won’t go anywhere and the bra straps won’t peek through. It’s a win-win!

Hepburn Dress scooped neckline version by thisblogisnotforyou.comHepburn Dress scooped neckline version by thisblogisnotforyou.comHepburn Dress scooped neckline version by thisblogisnotforyou.com

As the skirt is 100% cotton and I don’t like lining my dress skirts (reducing fabric expenses and, of course, being lazy), I really need to sew a slip to wear underneath. Worn with tights, the skirt clings to my legs and rides up when I walk.

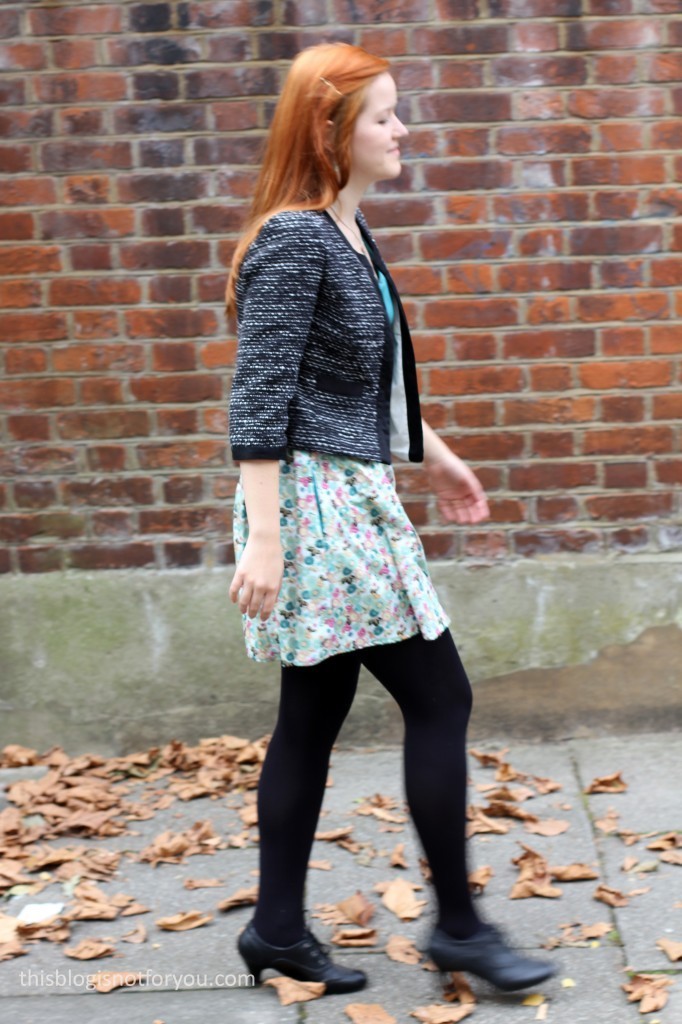
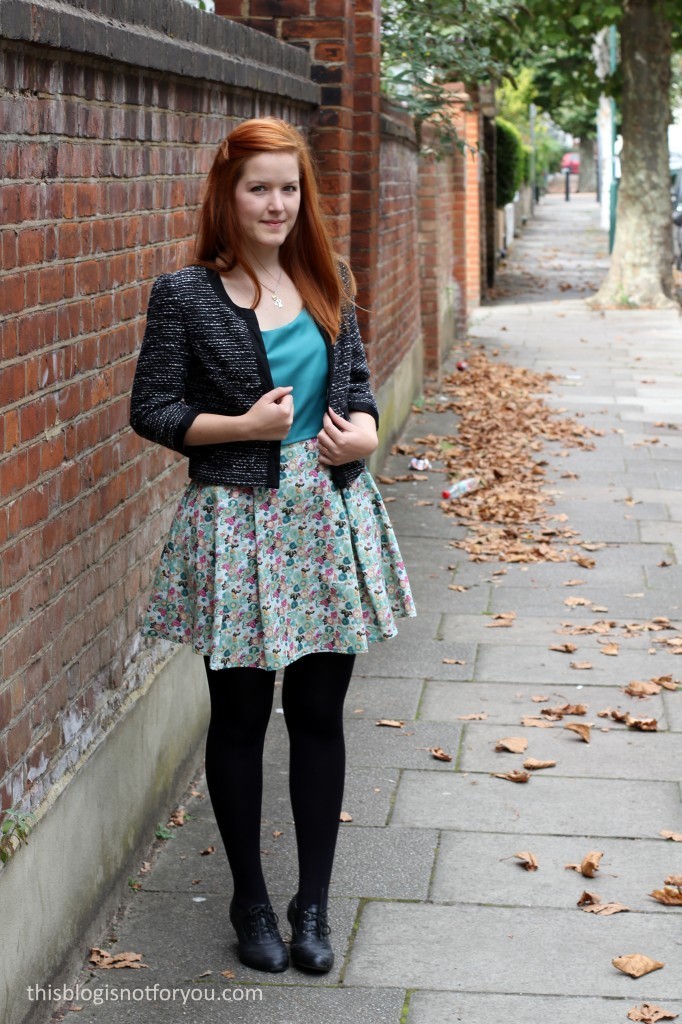
I have to really nice satin polyester which I want to use for that. I’m thinking about just cutting out a rectangle and gathering it with an elastic on top. This should be enough for a little slip to wear underneath cotton dresses. Hepburn Dress scooped neckline version by thisblogisnotforyou.comHepburn Dress scooped neckline version by thisblogisnotforyou.comHepburn Dress scooped neckline version by thisblogisnotforyou.comHepburn Dress scooped neckline version by thisblogisnotforyou.comAt the moment I still wear the dress with a little Chanel-style jacket. I need to find a high-waisted cardigan! All the ones I have are too long and look silly with my dresses.
And guess what was in the post when we came home from taking pictures? (Almost) nothing’s better than being inside on a cold autumnal afternoon with a cup of coffee and a sewing magazine. Hepburn Dress scooped neckline version by thisblogisnotforyou.com

I have only 3 nightshifts left before going back home to Germany for a couple of days! I probably won’t get any sewing done, because I will be sleeping any free minute for the next days, but hopefully I can catch up one posting some of my makes when I’m home.

Have a great week!


Happy sewing!

facebook/bloglovin/pinterest
twitter/instagram

Stay in touch!

Let’s try something funky!

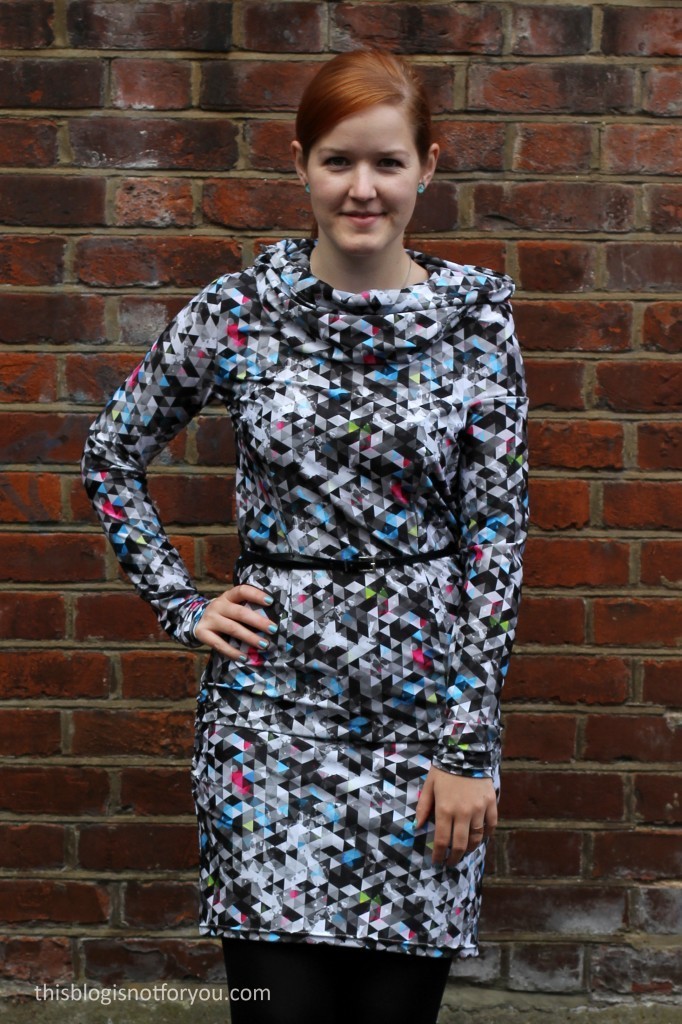
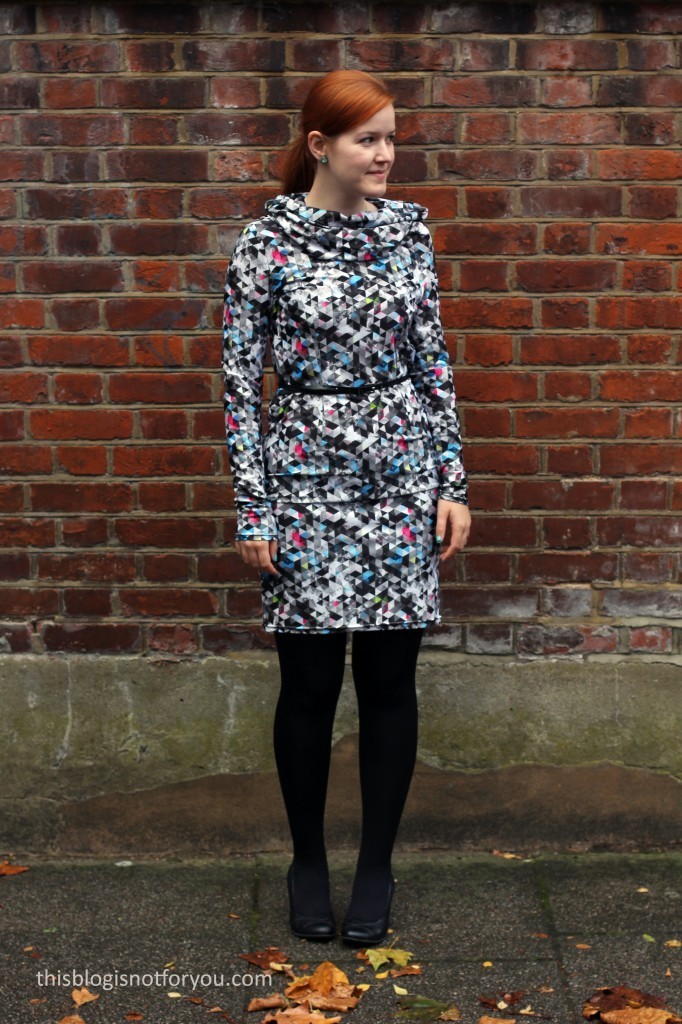
Burda 04/2014 #112 Funnel Neck Dress by thisblogisnotforyou.comBurda 04/2014 #112 Funnel Neck Dress by thisblogisnotforyou.comHey folks, hope you all had a great week! Mine was super busy and I have quite a bit of the behind-the-scenes stuff to share with you. I’ll probably squeeze into an extra post though, because I want to share my newest make first.
A little while ago, the lovely guys over at Funkifabrics (@funkifabrics) asked whether I’d like to try some of their fabrics. What a question! Hell Yes! You should really check out their website, they have the most amazing prints you will ever see! Seriously! It took me two days to narrow my samples down to 12, which I shortly afterwards got in the post.

The Fabric:

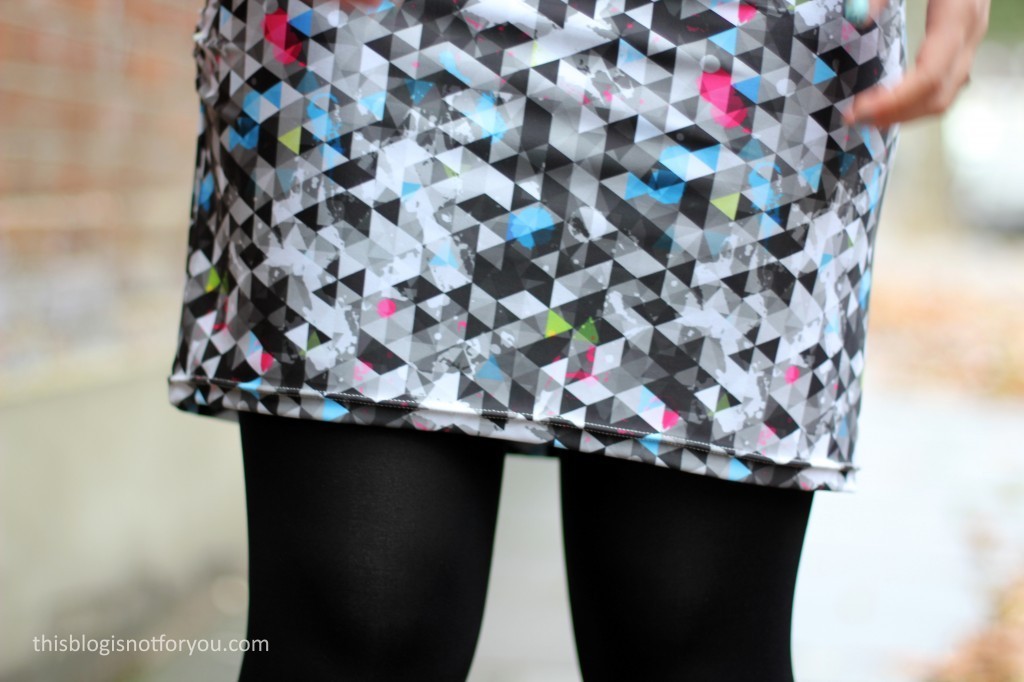
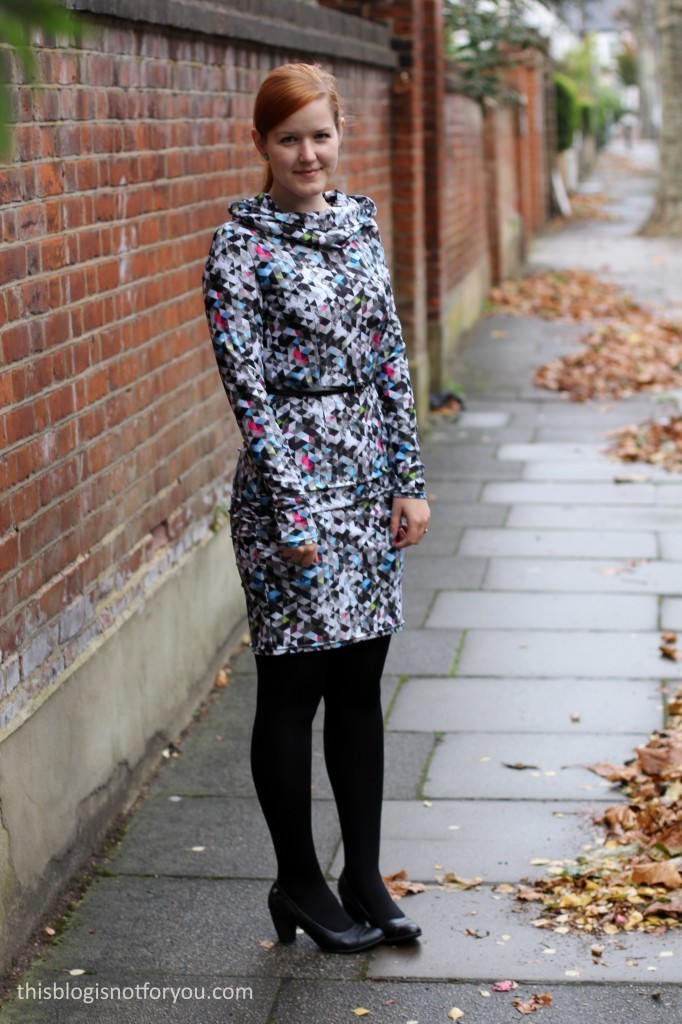
FunkiFabrics specialise in flexcite stretch (swim and dancewear) fabrics, so you will only be able to order lycra, but they have thousands (no kidding) of prints to choose from. Everything is designed and printed in the UK. Pretty awesome, if you ask me. Some might see the narrow fabric options as a disadvantage, but I think it’s pretty cool. First of all, lycra is super versatile. You can use it for swimwear, lingerie, leggings, dresses, skirts, sportswear and what not. Secondly, since the fabric is the same for all prints, it’s perfect if you want to mix prints and colours. You won’t have to worry about two fabrics not going well together. I picked a print called Prism. My challenge this year is to use more bold prints and colours. I think with this project I definitely achieved that.

Burda 04/2014 #112 Funnel Neck Dress by thisblogisnotforyou.comBurda 04/2014 #112 Funnel Neck Dress by thisblogisnotforyou.com

At first I wasn’t sure what to make with it, but then I realised that I could simply use a jersey/stretch dress pattern. It’s just not the right season for sewing bikinis, you know (but I will with some of the leftover fabric). So let’s talk about the pattern:

The Pattern:

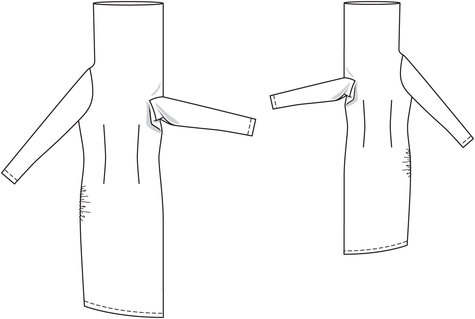
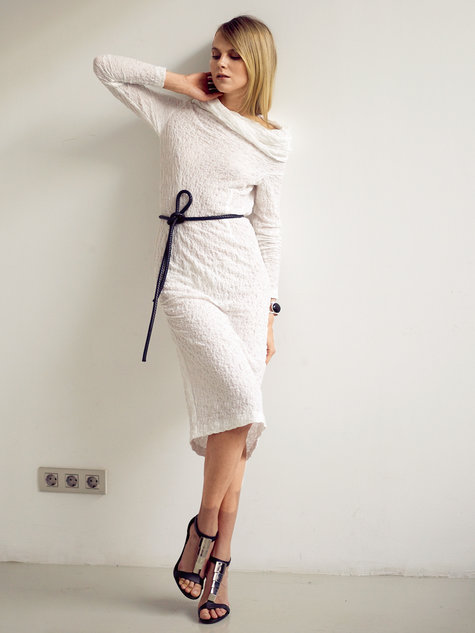
The pattern is…tada!…Burdastyle 04/2014 #112. Yes, I know! I haven’t used Burda patterns in ages. Lately I was all over indie patterns, but if you’ve followed this blog for a while now, you will know that I am a big Burda pattern fan. Since the print was so funky I thought I needed a slightly more funky dress pattern as well. Luckily, I recently went through all this year’s Burda magazines and this came to mind:


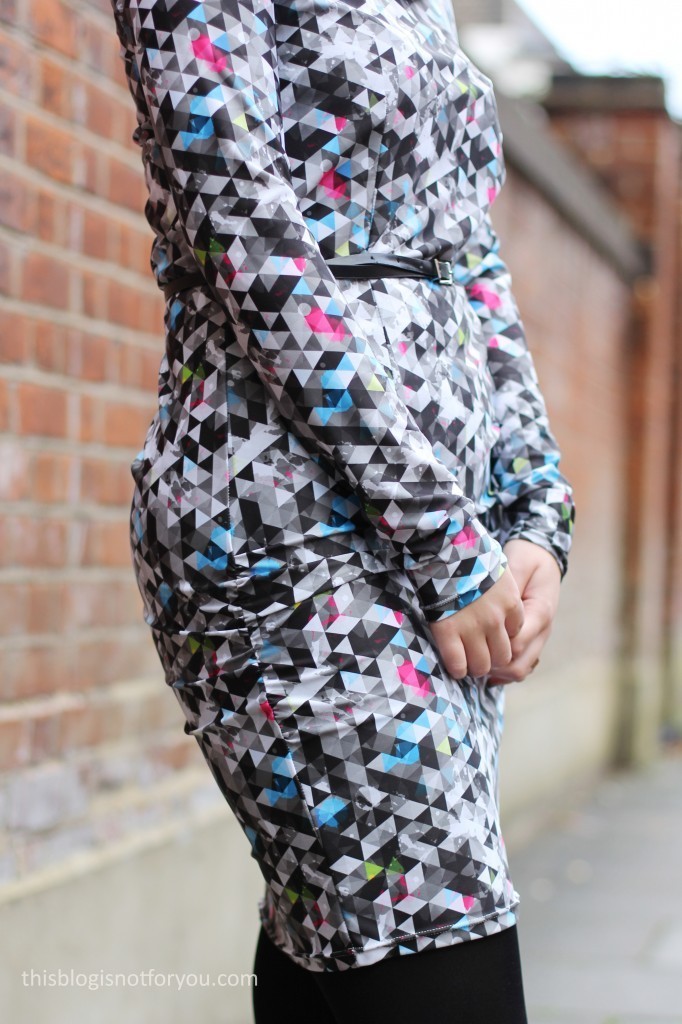
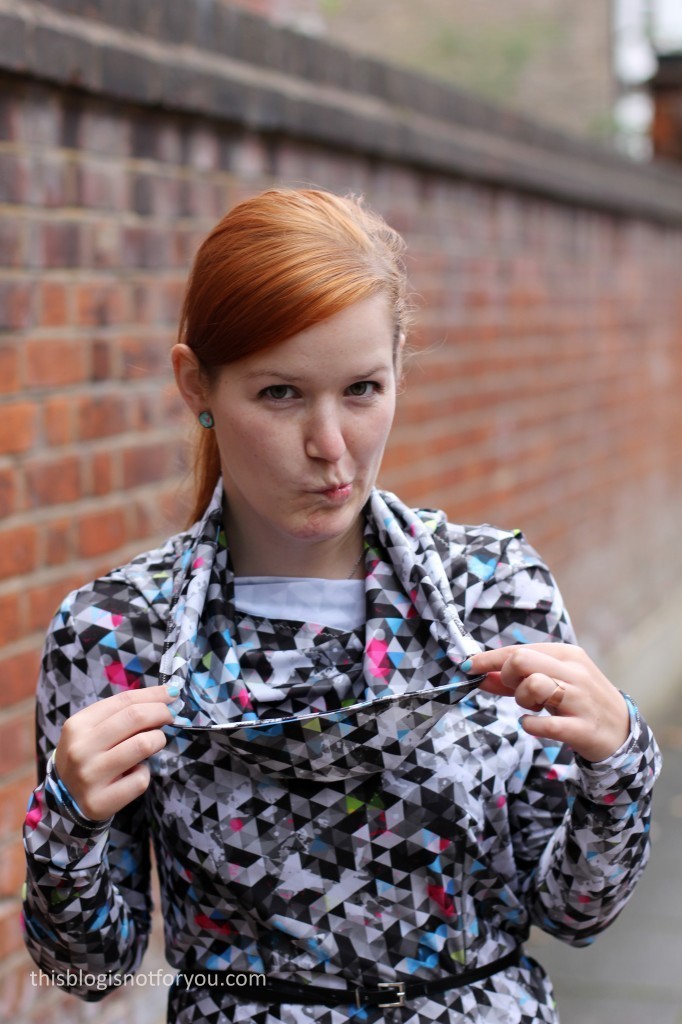
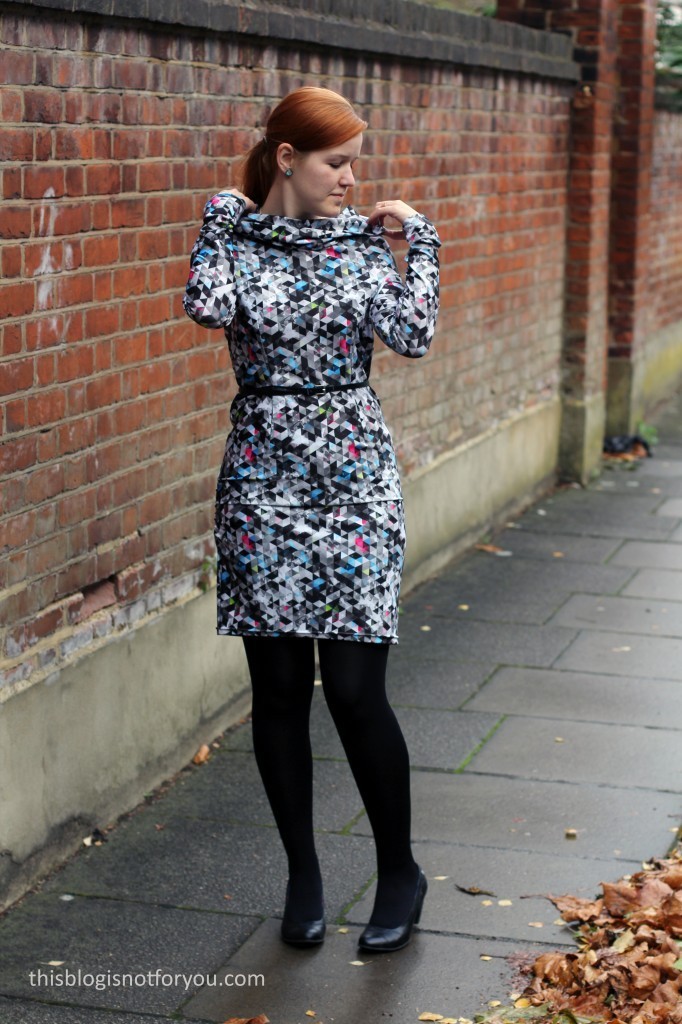
It’s a funnel neck dress with a twist. It has all sorts of design details going on. The whole dress piece is cut as one on fold. So there’s only one side seam, which is gathered at the hip and makes the hem slightly asymmetrical. One sleeve sits off-shoulder – since there is no side seam on that side there’s no shoulder seam. The sleeve is inserted by clipping the fabric horizontally and then using a very tiny seam allowance to attach the sleeve (which has no sleeve cap). The dress pattern itself is basically a large rectangle, darts in the front and back cinch it in at the waist and make it more fitted.

Adjustments: I shortened the dress by 20cm and lengthened the sleeve by 5cm. I cut out facing for the funnel neck instead of simply hemming it. I cut out a size 36 (UK 10) which I graded to a size 40 from hip downwards.

Burda 04/2014 #112 Funnel Neck Dress by thisblogisnotforyou.com

The Fit:

It’s quite hard to say something about the fit. Since the pattern is quite funky, I have no idea how this dress is supposed to look. It fits comfortably, but I am not so sure about the off-shoulder sleeve. Design details like this always have you end up with a batwing -like bunch of fabric  under your armpit. Despite all the darts, it’s not extremely fitted and the funnel neck does not behave and keeps moving around, that naughty bastard.

Issues:

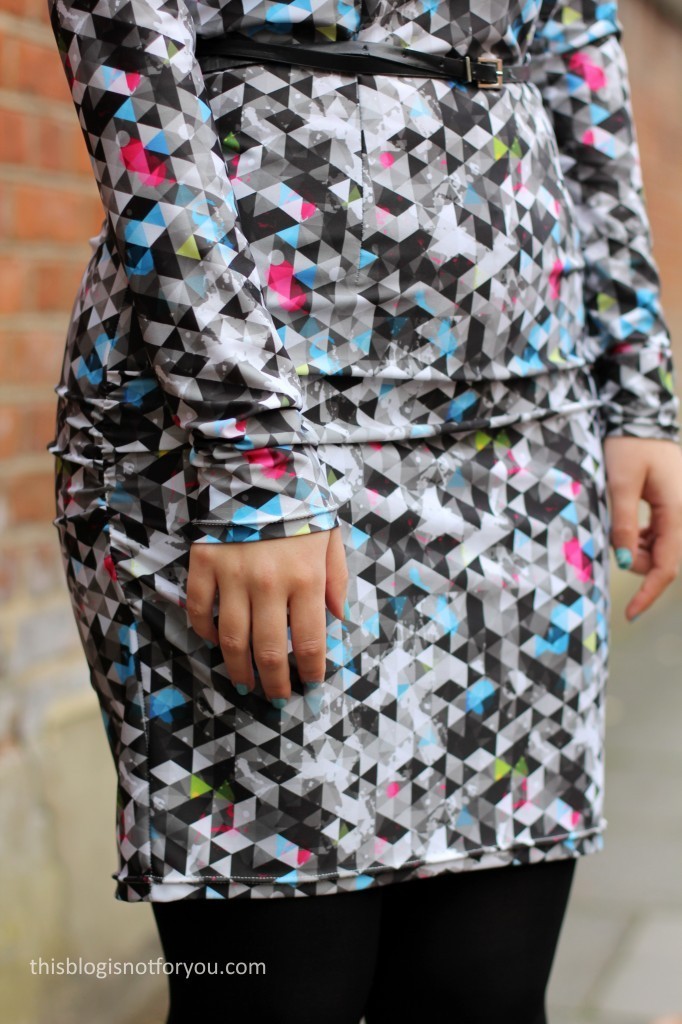
There were loads of issues with this make. Luckily, I could fix most of them. I had some issues with the gathers at the hip, as they came undone when I overlocked the side seam. I should’ve used some twill tape for reinforcing that part (or learn how to gather with an overlocker). But in the end I could salvage it and it doesn’t look too bad. The print is way too busy anyway for people to notice.

Burda 04/2014 #112 Funnel Neck Dress by thisblogisnotforyou.comBurda 04/2014 #112 Funnel Neck Dress by thisblogisnotforyou.com

I lengthened the sleeves by 5cm in the front, because I like that slouchy look. One thing that I really need to practise is sewing the hem on stretch fabrics with my twin needle. I used a smaller twin needle (3mm) for the sleeves and a larger one for the hem (4.5mm). Normally I don’t have issues with my twin needle, but this time the bottom thread tension was to high and my stitching looks like piping now. It sort of looks ok, so I am not too unhappy about it. A friend of mine told me that it’s actually possible to fiddle with the tension somewhere at the bobbin case, I have to find out how! After all these years, my sewing machine still keeps secrets from me.

Burda 04/2014 #112 Funnel Neck Dress by thisblogisnotforyou.com

Burda 04/2014 #112 Funnel Neck Dress by thisblogisnotforyou.com

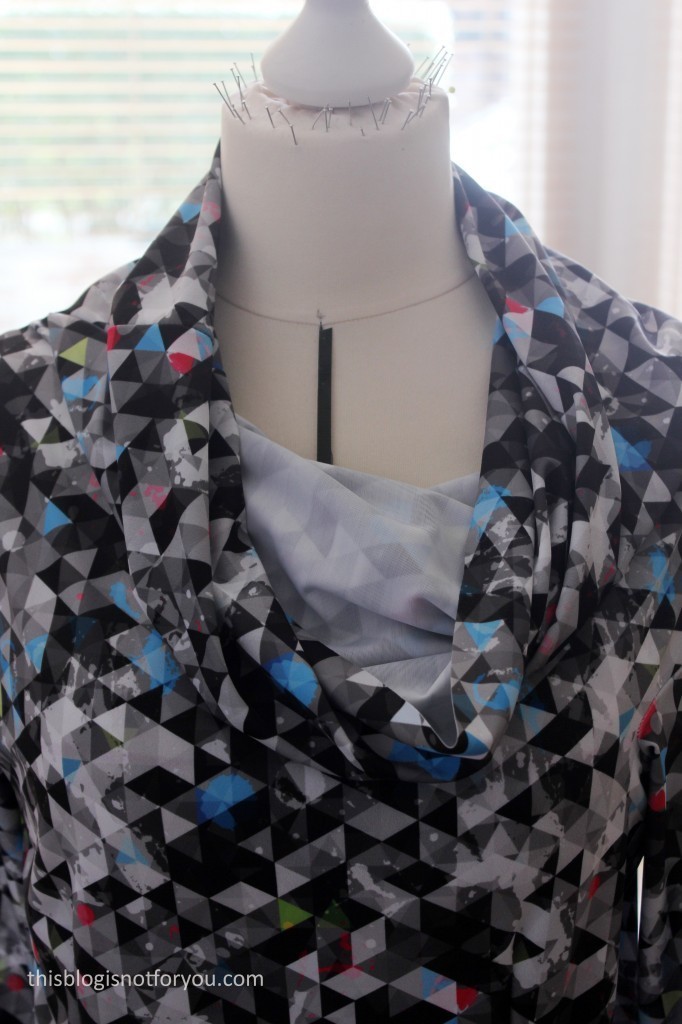
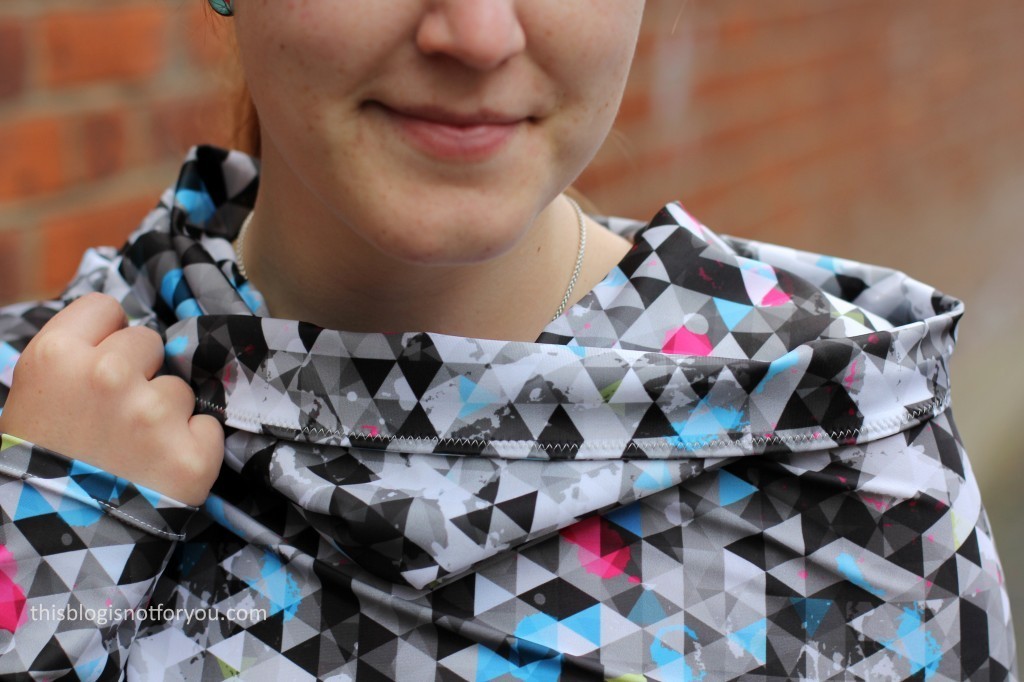
Another issue I encountered was this. Since the back of the fabric is white, the funnel neck ended up looking very awkward and I didn’t like that the left side of the fabric was showing through. I thought I could simply fix this issue by facing the funnel neck. Which I did. Now it sort of looks ok when it is all nicely pulled into place.

Burda 04/2014 #112 Funnel Neck Dress by thisblogisnotforyou.com

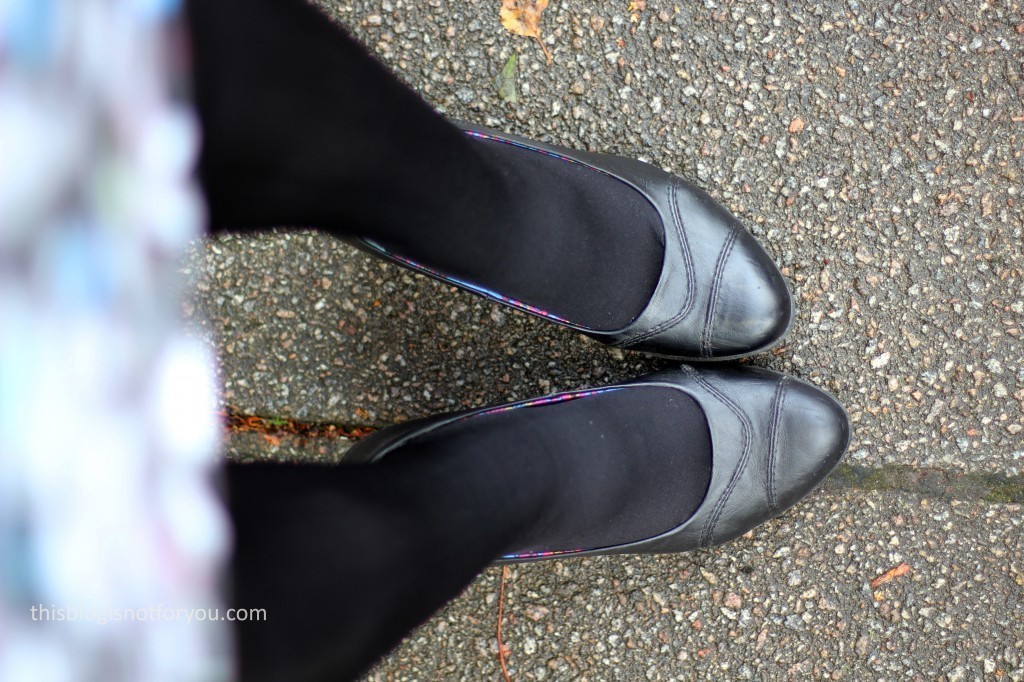
But when I bend over and all the fabric moves to the front, this happens:Burda 04/2014 #112 Funnel Neck Dress by thisblogisnotforyou.comWell, I have accepted this fact now and it didn’t bother me too much when I wore the dress. It’s super comfortable! And look, even my shoes’ lining matches the dress!Burda 04/2014 #112 Funnel Neck Dress by thisblogisnotforyou.com
I have almost 1m of the prism print left and am now thinking of what to do with it. Not an easy decision since the print is so recognisable. Maybe a bikini or some really funky knickers. I will let you know anyway! Over all, this project was super fun and also quite challenging as I struggled a bit with some of the design details. Nothing is more satisfying than salvaging a sewing fail. I quite like the way the fabric and pattern work together, I never would’ve believed that lycra is such a great dress fabric.

What would you have made from this fabric?


Happy sewing!

facebook/bloglovin/pinterest
twitter/instagram

Stay in touch!

A Tilda-Miette Skirt – It’s a wrap!

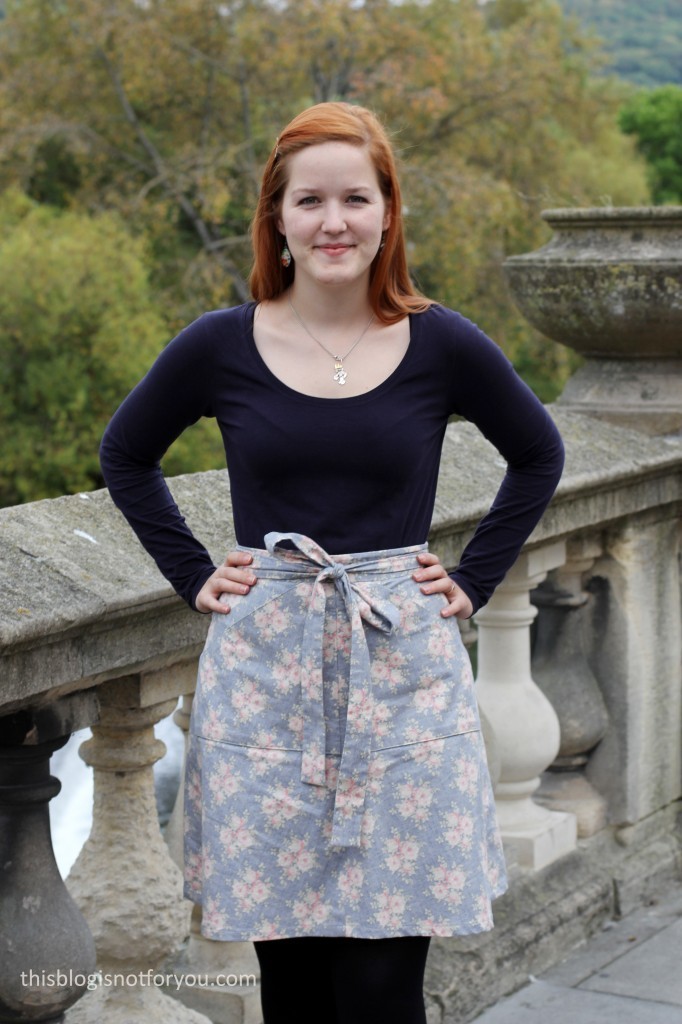
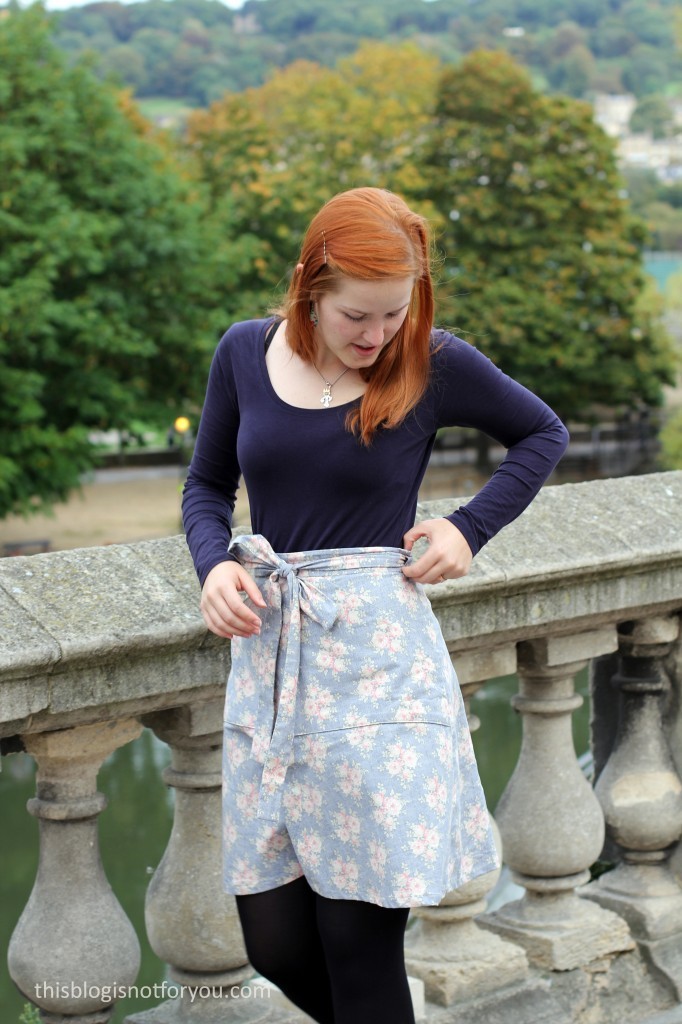
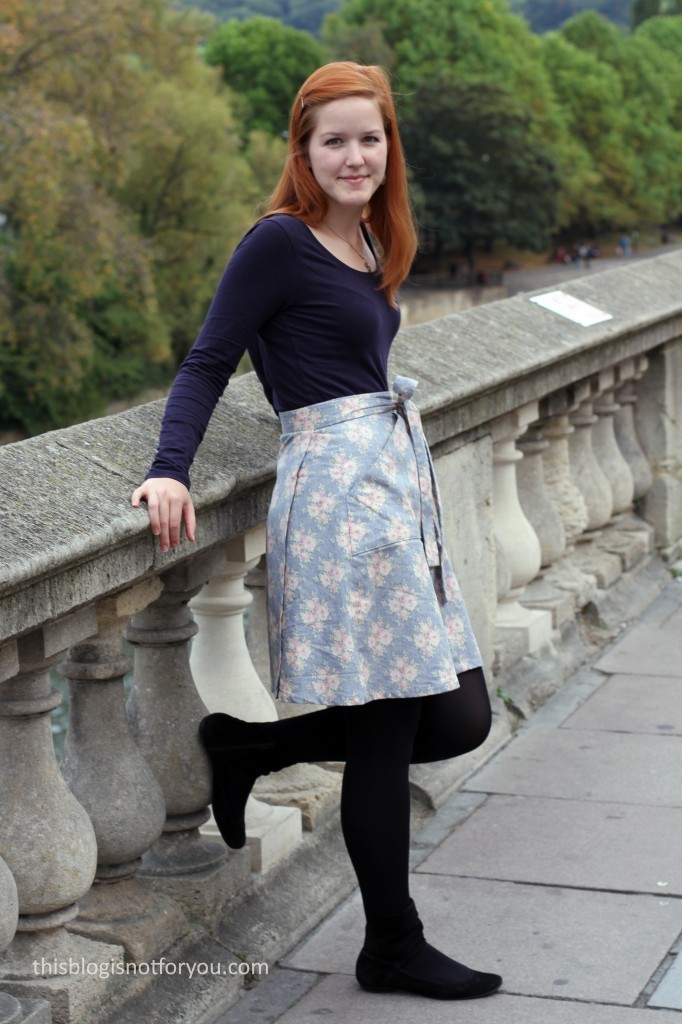
Tilda Miette Skirt by thisblogisnotforyou.comHave you heard about Tilda fabric? I hope you have, because it’s awesome! Tilda fabric was actually the first fabric I bought after I got my sewing machine (I bought a pack of fat quarters on Amazon because I had no idea how to shop fabric back then). This year I used up all my Tilda leftover fabric for making my sewing machine cover. When White Tree Fabrics asked me to join their blogging team I was super excited that they had Tilda fabric in stock. All I had to do was find the right pattern to go with it.
White Tree Fabrics specialise in dressmaking fabrics, haberdashery and patterns.They have all Tilly & The Buttons patterns in stock and I thought why not add the Miette to my Tilly pattern collection?

Tilda Miette Skirt by thisblogisnotforyou.comThe fabric:

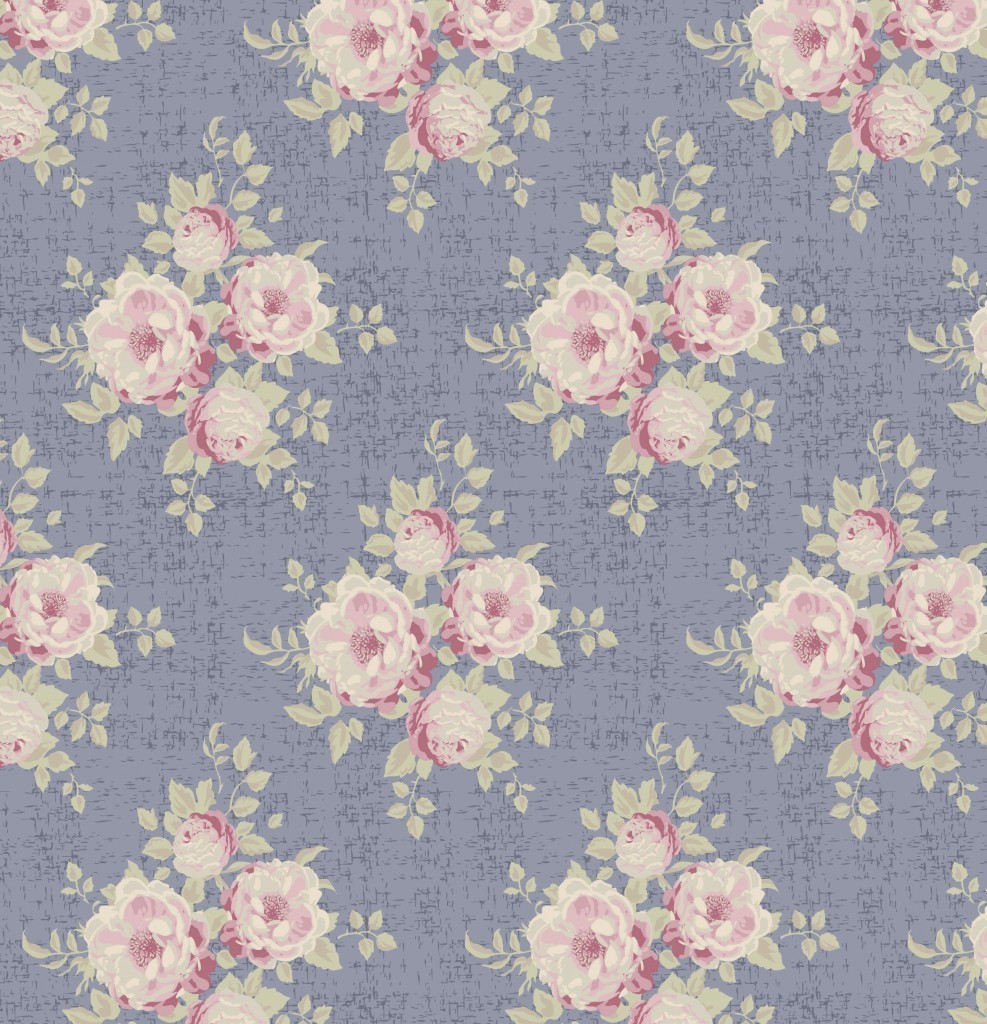
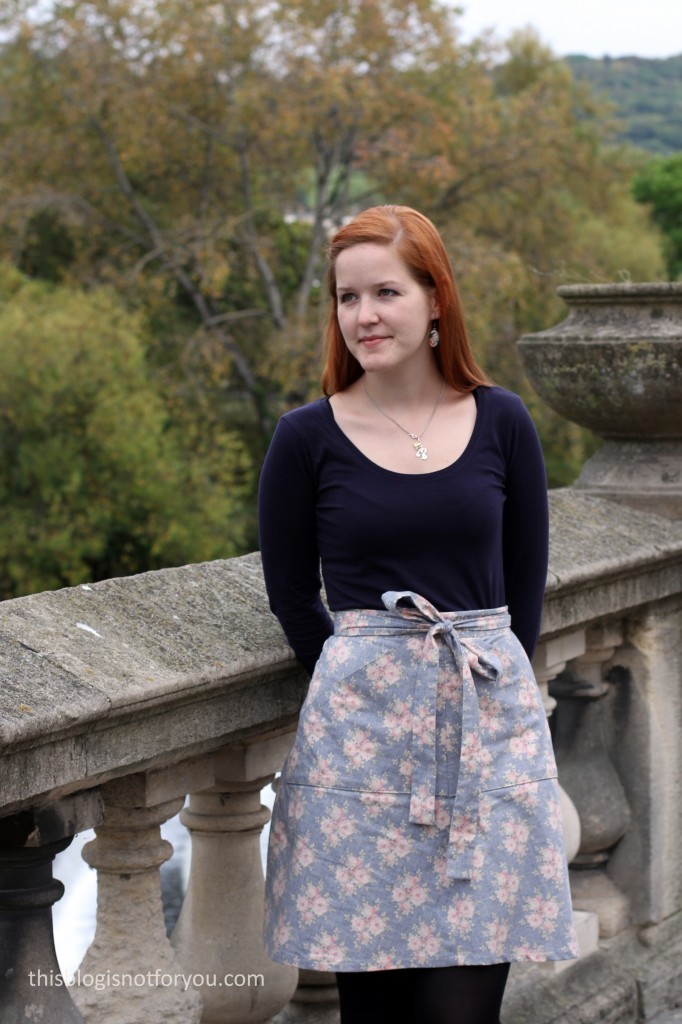
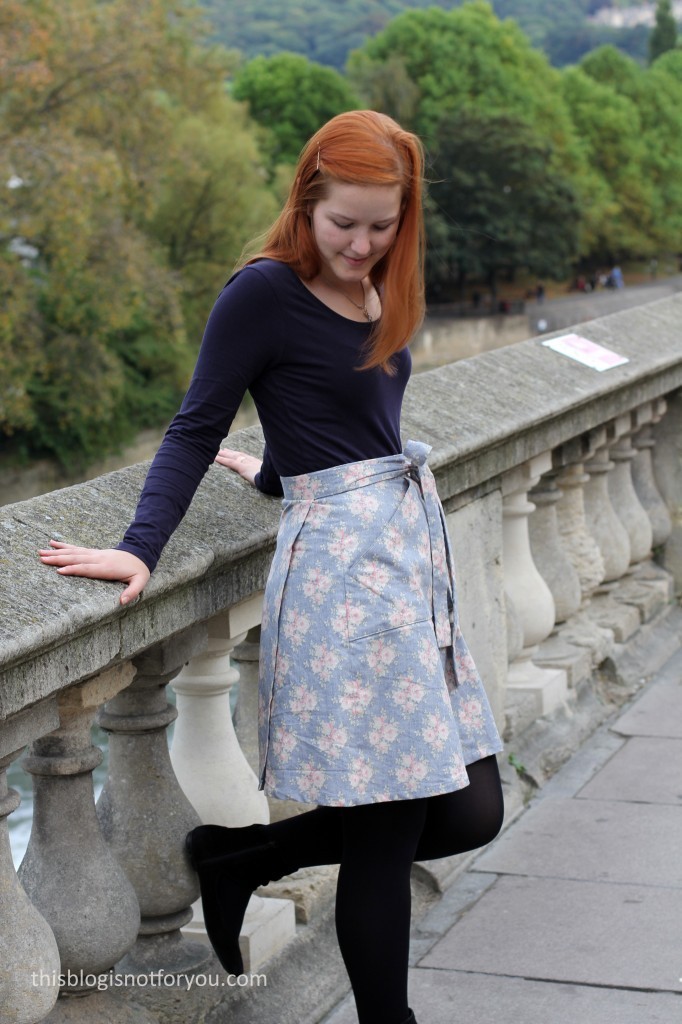
After forcing the Mr. to help me pick a nice Tilda cotton, I finally went for the “Ella Slate Blue”. All Tilda prints are very romantic in style and since this one also looked a bit like washed denim I thought it would be perfect for a skirt. The fabric quality is amazing, it’s quite heavy-weight and very very smooth. It was really nice to sew with.  I did my best to match the pattern and have to say that I did quite well. You can barely see the pockets!

Tilda Ella Slate Blue fabric

Tilda Miette Skirt by thisblogisnotforyou.com

The pattern:

Now let’s talk about the pattern! I was a bit worried that the Miette might not be my cup of tea. I’m not a big 1970’s fan and those pockets just seemed to scream 70’s to me! As I had more than enough fabric, I decided to make the version with the pockets anyway.

Furthermore, I was also worried that the A-line shape of the skirt might not fall softly and therefore look a bit frumpy on myself (all this was suddenly going through my head as I was cutting out the fabric and I was starting to doubt my decision).

The pattern itself was really straightforward and the instructions so clear and detailed that the skirt came together without any problems in only a couple of hours. I made a size 3 which I did not grade up to a larger size at the hips – it’s a wrap skirt, so I though I would be fine.

I overlocked all seams with off-white thread and pressed them open. I hemmed the skirt with my machine, about 1.5cm from the edge, after folding it over twice.

Tilda Miette Skirt by thisblogisnotforyou.comTilda Miette Skirt by thisblogisnotforyou.com

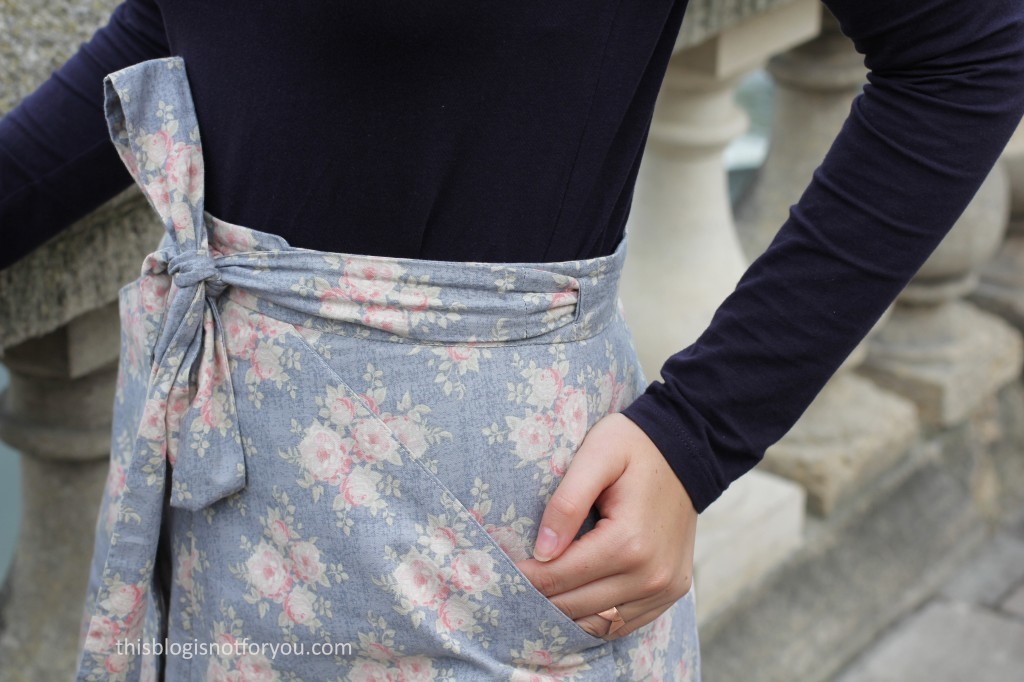
The skirt doesn’t need any zips or buttons, it simply closes by tying it in the front. There is a tiny hole in the waistband (see pic below) where you pull one tie through and then join it with the other one in the front to make a bow. I still haven’t figured out how to tie it so it looks like a nice bow, not just like a crooked propeller. The ties have a nice length, not too long and not too short.

Tilda Miette Skirt by thisblogisnotforyou.com

The fit:

I really was pleasantly surprised by the fit of the Miette Skirt. It didn’t look 1970’s frumpy at all. The skirt drapes quite beautifully and you can barely see the large pockets, which are super practical (hiding large smartphones)!

Overall the skirt fits nicely and the back panels overlap enough to not risk flashing people. You only have to be careful when you come back from the ladies that you pull everything back in place before you step out of the door. It’s worth double checking in the mirror! (Don’t ask me how I know this!)

I quite like the pattern and will probably make the skirt again, maybe even in a softer fabric and without the pockets. The only thing I’m not so happy with is the big bow, as it is not too flattering sitting right on top of your tummy and I also noticed that I can’t wear my lovely pussy bow blouses with it 🙁  Two propellers in the front looks just veeery awkward. Too bad!

Tilda Miette Skirt by thisblogisnotforyou.com


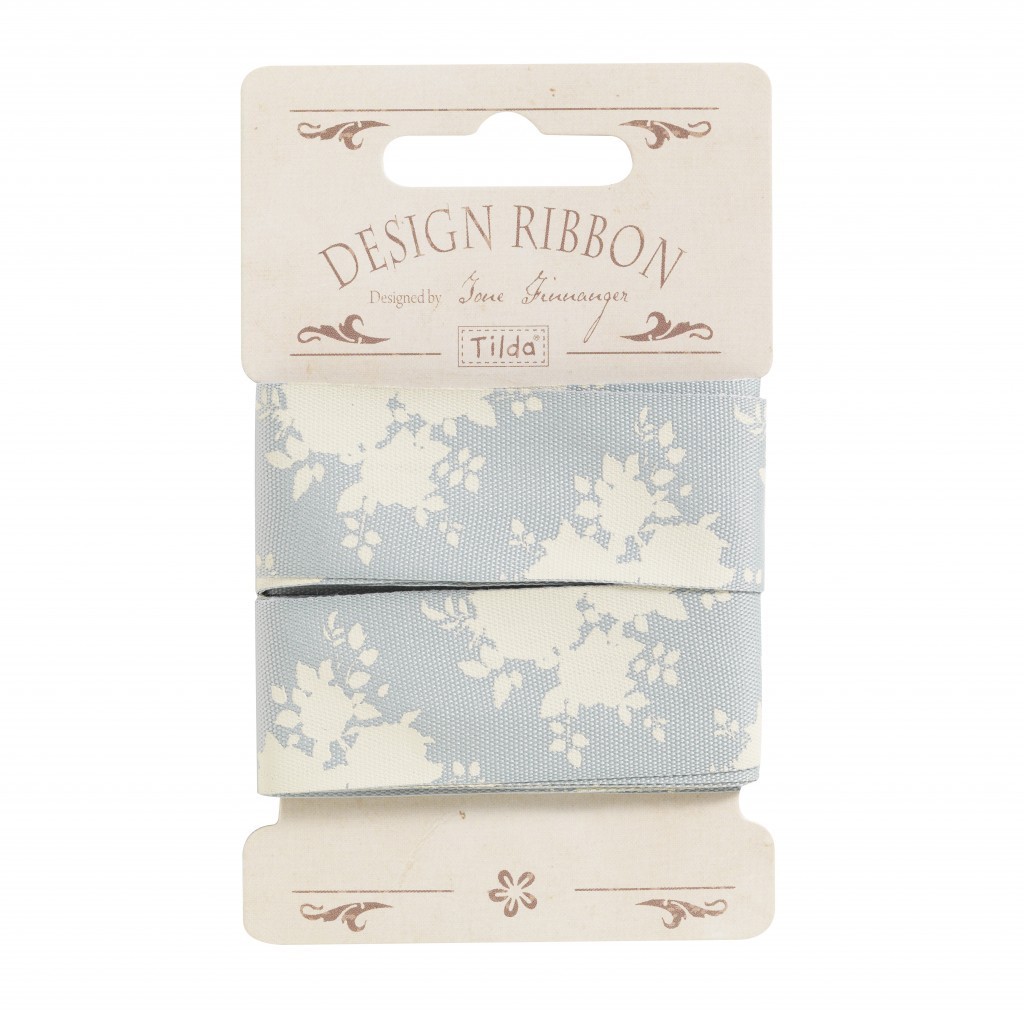
When I ordered my fabric I also asked the lovely White Tree Fabric team to add some Tilda ribbon to the mix:

SEction

It’s the Sally Blue Green Tilda ribbon. I wanted to add it onto the skirt hem or waistband, but although it’s basically the same print (if you look closely you can see it) it just looked really odd on the skirt, so I had to discard that idea. Luckily, I have a bit of the fabric left and will make a cushion cover with it and will use the pretty trim to embellish it! (You can look forward to more Tilda action!)

Tilda Miette Skirt by thisblogisnotforyou.com

White Tree Fabrics just annouced that they now have all the By Hand London patterns in stock, whoop, whoop! Guess what I will be making next? I’m really looking forward to my next White Tree Fabrics make and already started planning 🙂

What are your thoughts on the Miette Skirt? Have you made it? Are you planning to?


Happy sewing!

facebook/bloglovin/pinterest
twitter/instagram

Stay in touch!