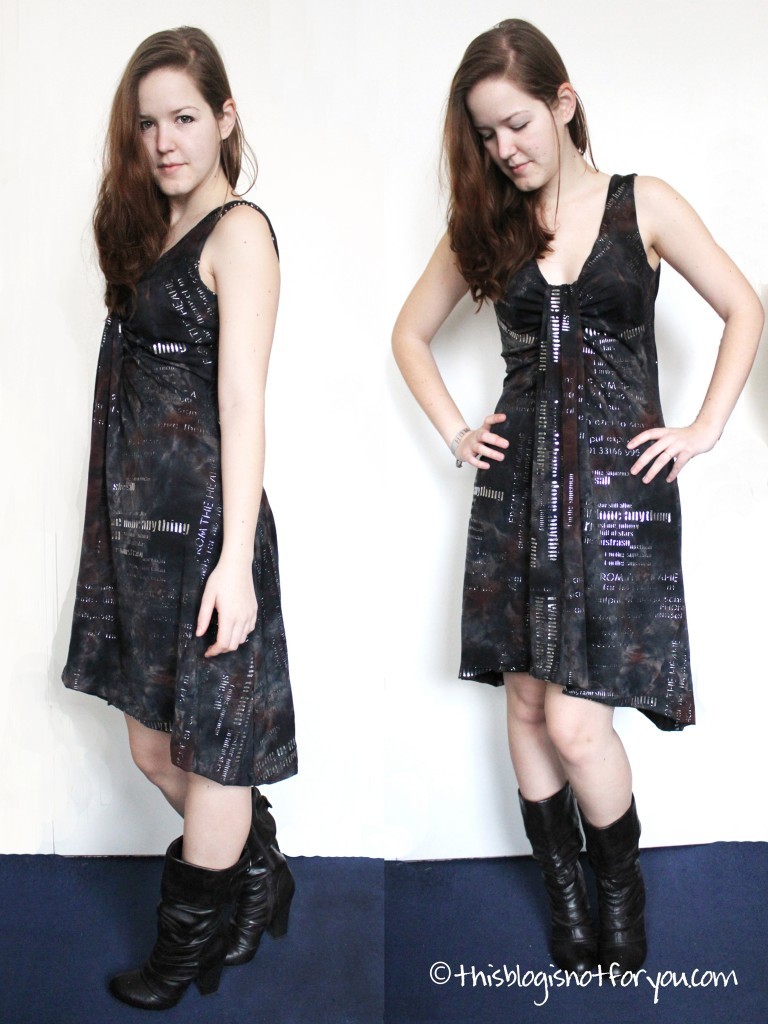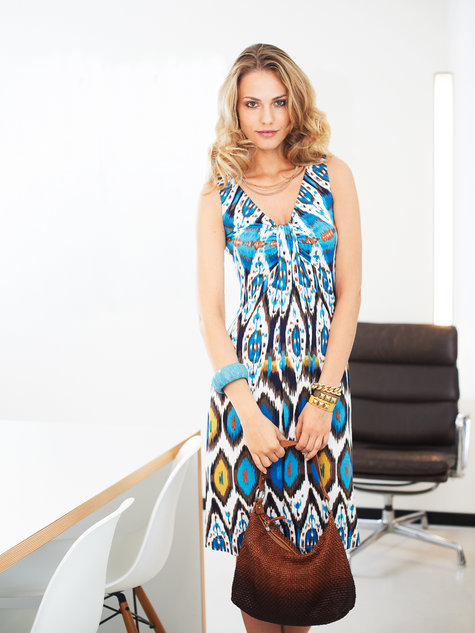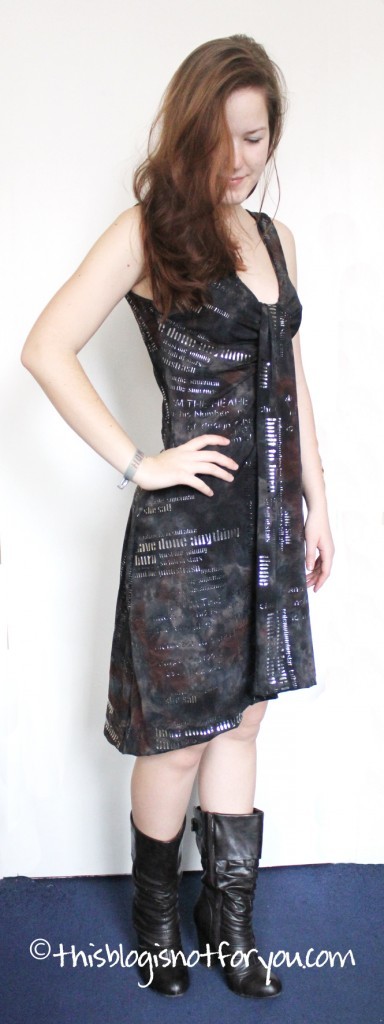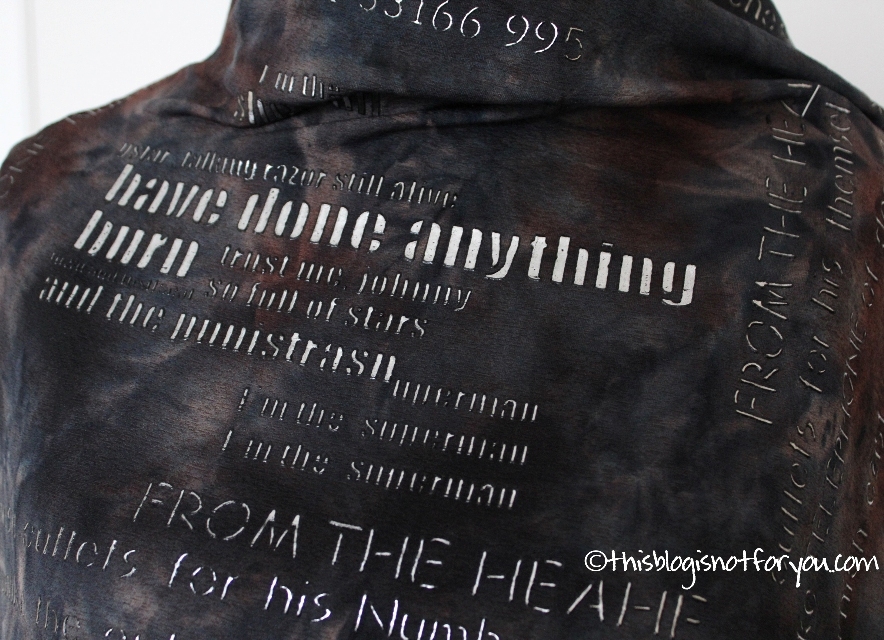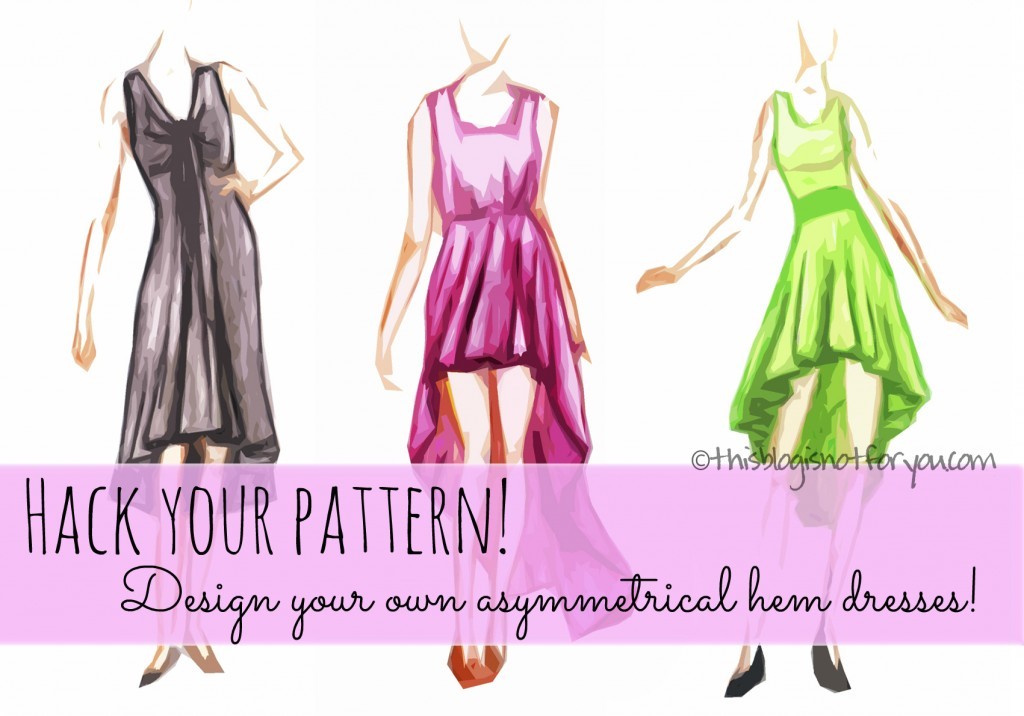
We all love pattern hacks, don’t we? I really do like patterns, especially the Burdastyle ones, and there are so many that I’ll never be able to sew them all. Nevertheless, sometimes you just want to add your own personal touch. And when you have a certain design in mind, but you just can’t find that particular pattern you’re looking for anywhere, you probably have to.
Summer is (hopefully) coming soon and last year’s asymmetrical hem maxi dresses are in stores again (I like!). I actually didn’t buy any last summer, but I’m totally planning on sewing loads this spring. A lot of the patterns I have are from last year and older and Burdastyle didn’t have too many good asymmetrical hem dresses so far.
That’s where the pattern hack comes in handy. You can just pick whatever dress pattern you like and change the dress skirt pattern into an asymmetrical one. You can also start drafting one from scratch and combining it with your favorite bodice pattern.
A lot of people are afraid of drafting patterns. Yes, it’s complicated. Yes, you need to learn a lot of technique before you’re getting good at it and yes, it’s not too much fun in the beginning. But seriously, no one expects you to become a Lagerfeld, Marc Jacobs or Michael Kors overnight.
I found that it’s less frightening and really fun to start with trying out minor pattern hacks, changing patterns you’re already familiar with. As you’ve seen with my waterfall dress, I just used a simple Burdastyle pattern and changed it a bit.
As promised, I’m going to show you how I did it. Furthermore, I’ll show you what other changes are possible to get slightly different looks – there are so many different asymmetrical hem dresses!
THE FIRST LOOK: oval shaped with a straight hem in the back
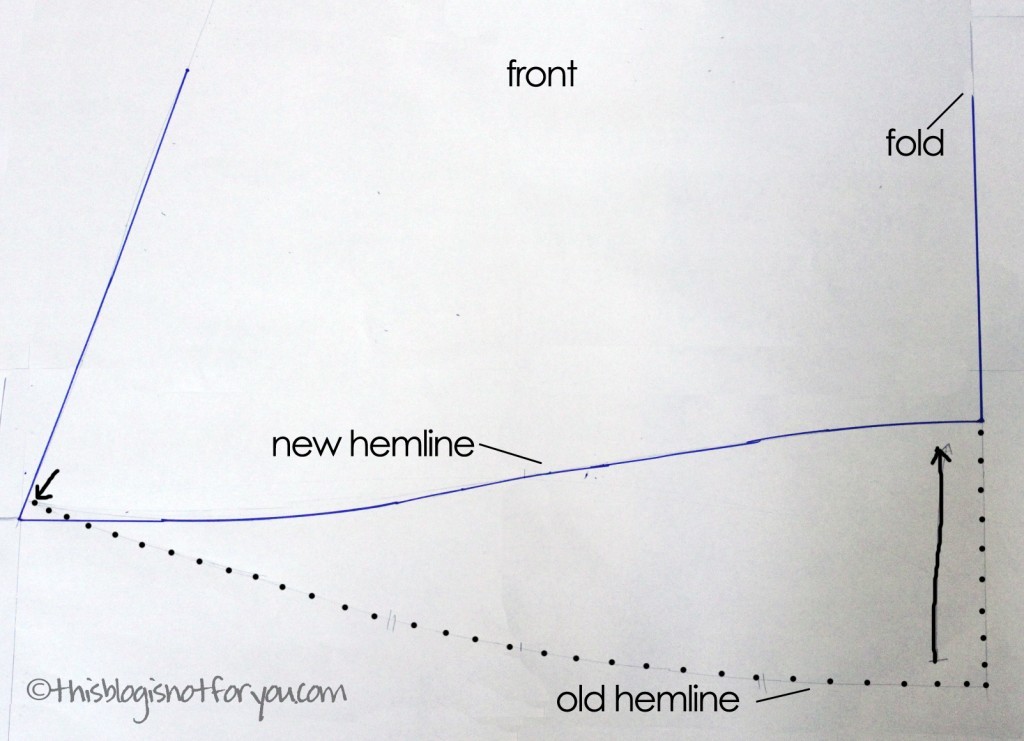
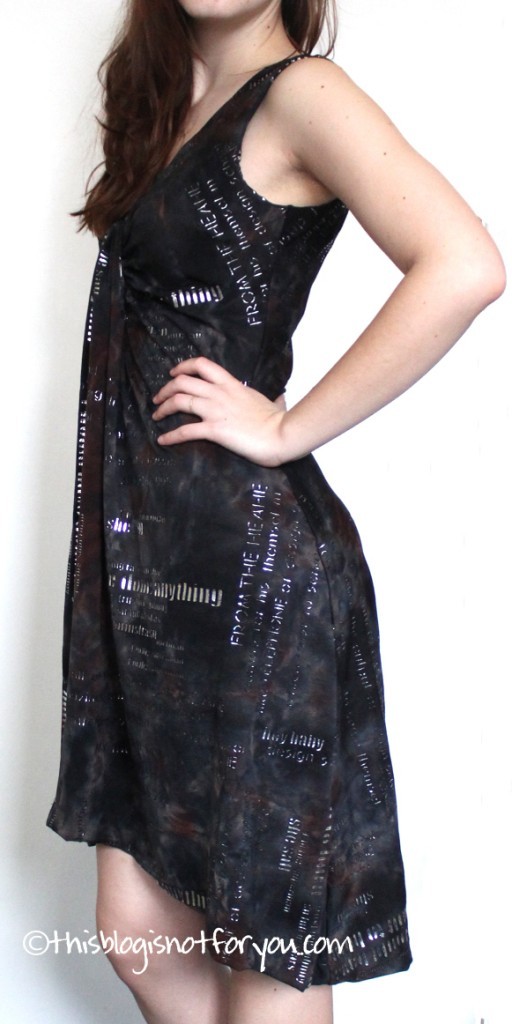
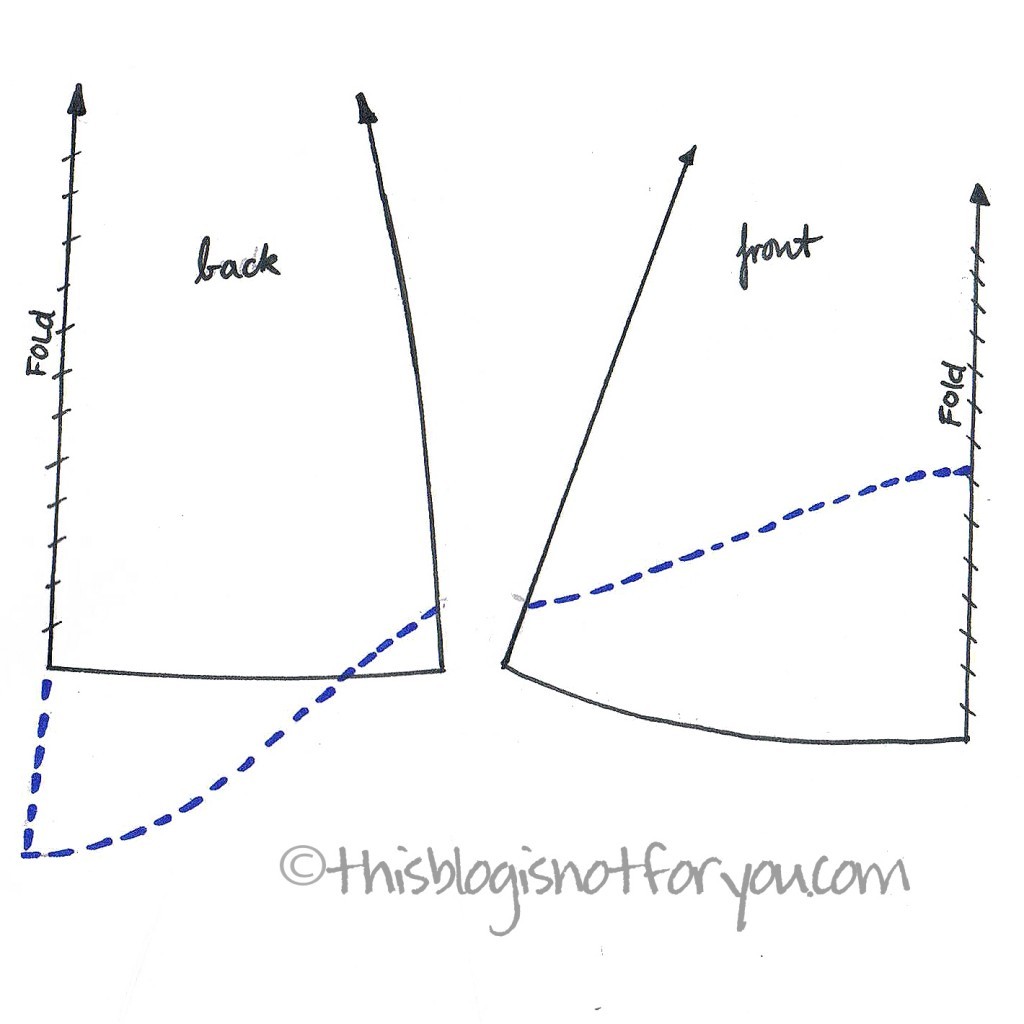
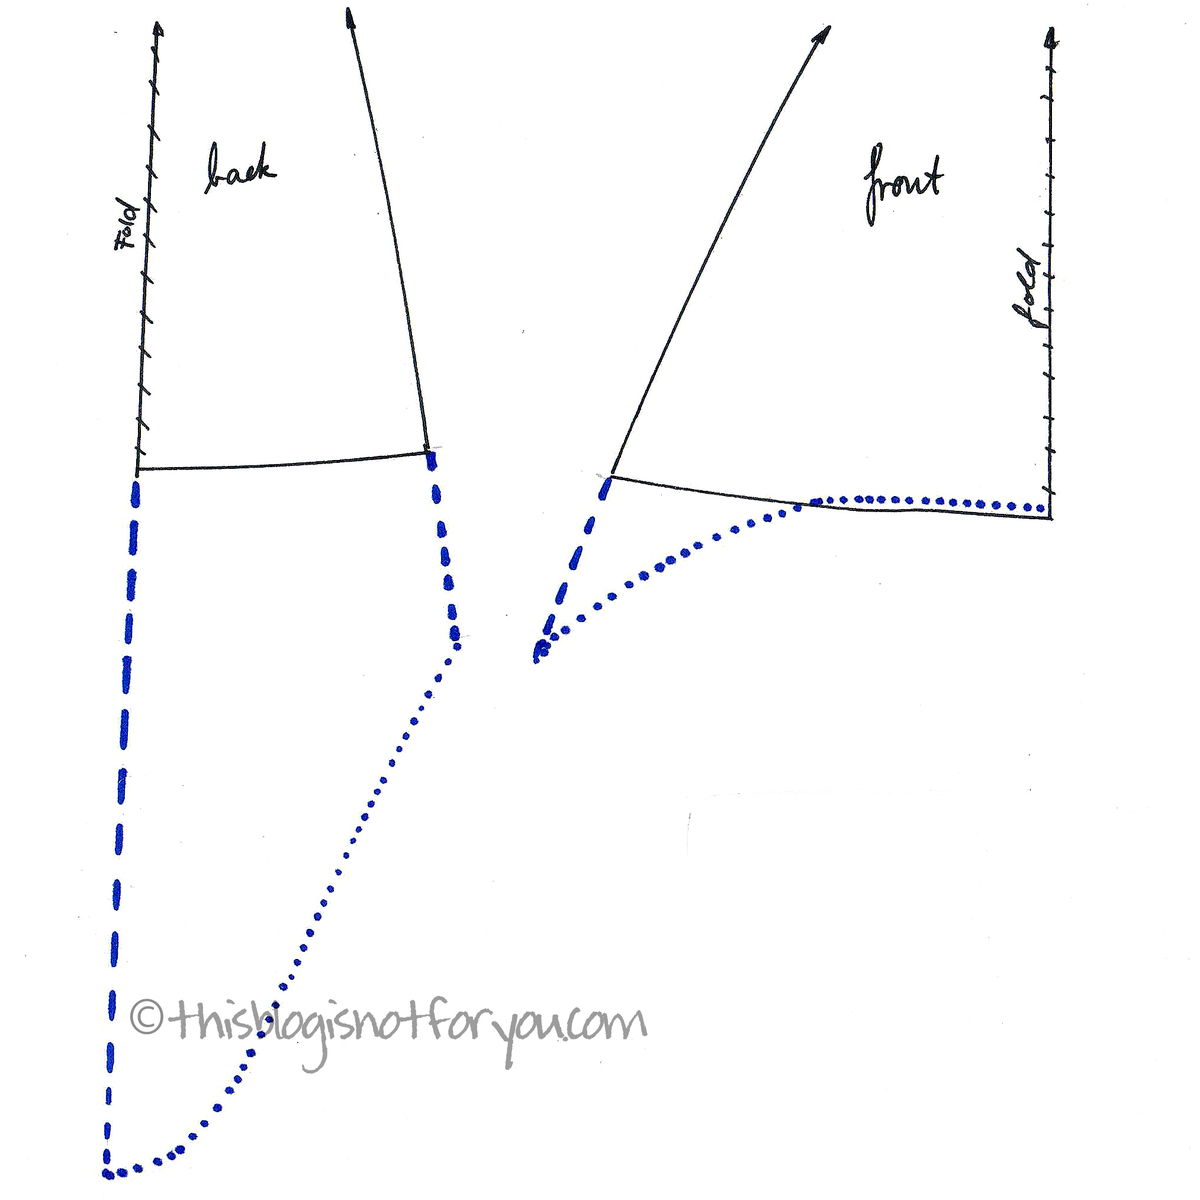
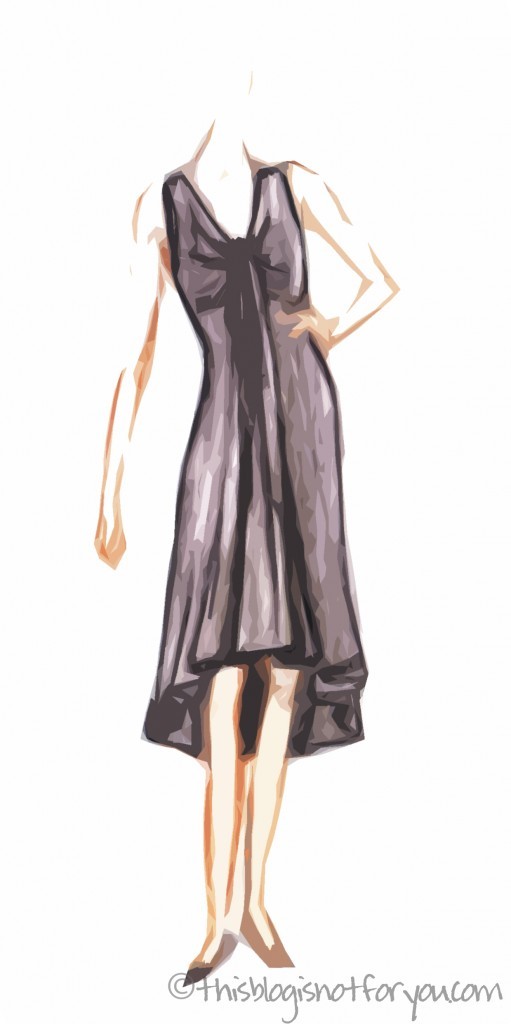 This is a draft of an asymmetrical hem that just about the same as the one of my waterfall dress. As shown in the picture below, the hem is straight in the centre front, sloped down at the sides and is quite straight (although not a 100%) again in the back.
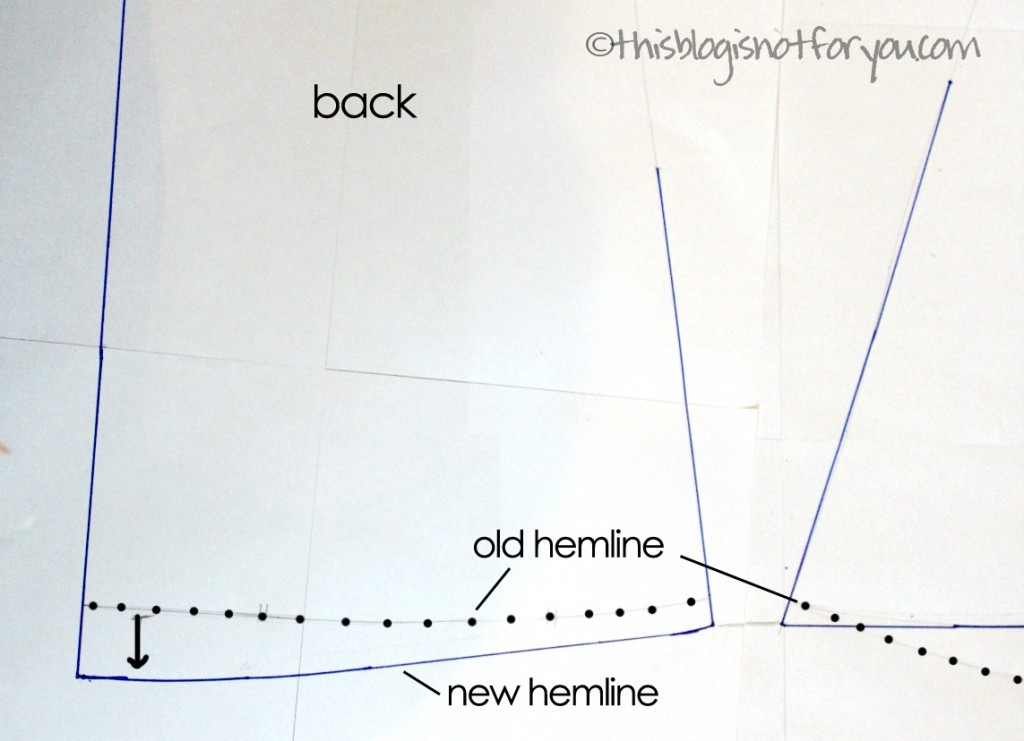
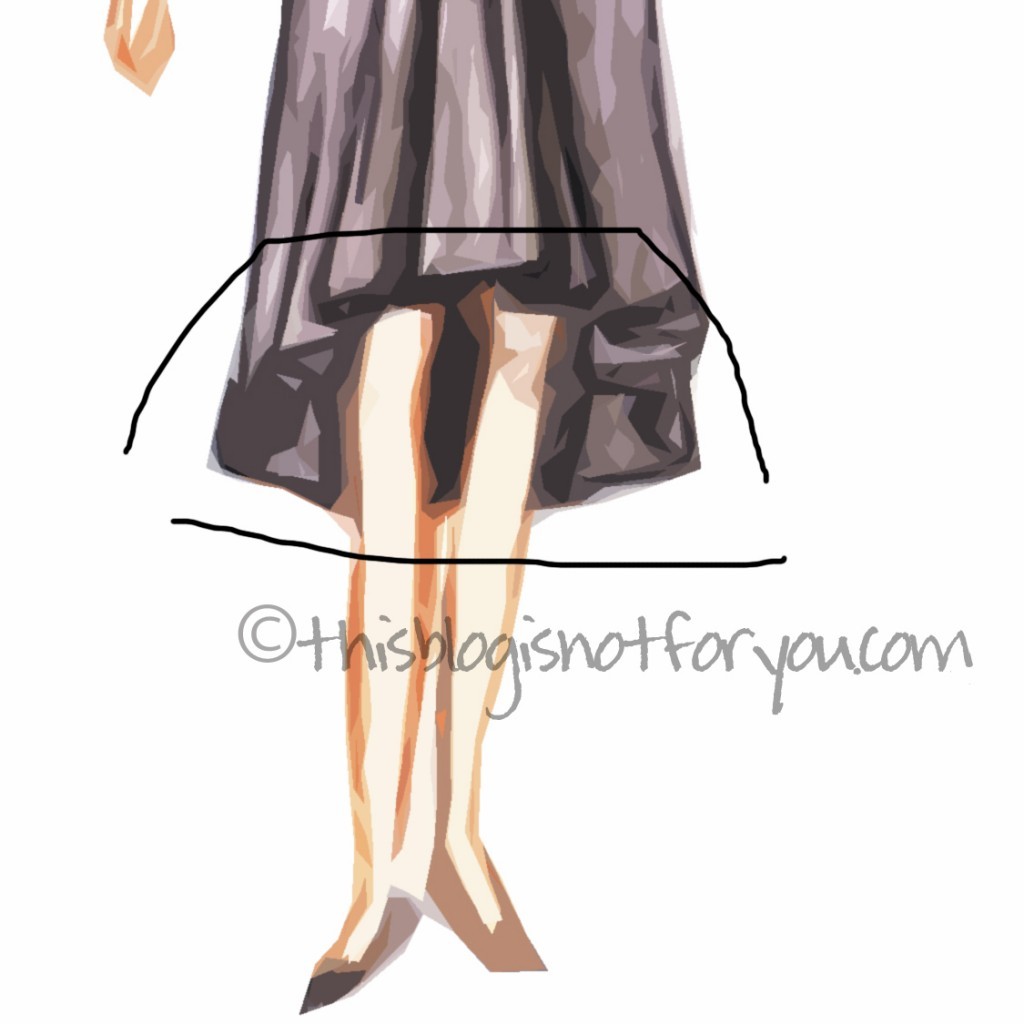 What you need to do is either shorten your pattern in the front or lengthen it in the back. Since I made the hem shorter anyway, I made the changes in the front. To get a more softer edge instead of a very triangular shape, you can’t just draw an asymmetrical staight line. The slightly s-shaped curve creates a smooth transition between front and back. You also see the line sloping down more steeply only after it reaches the middle of the front pattern piece. There are only small changes to the back pattern, to make the changes look less abrupt and to avoid having it look like you combined two different pattern pieces.
It’s also very important to make the pattern pieces the same length at the side seam.
 Here are some pictures from the modified Burdastyle pattern:
THE SECOND LOOK: oval shape in the front, slightly longer v-shape in the back
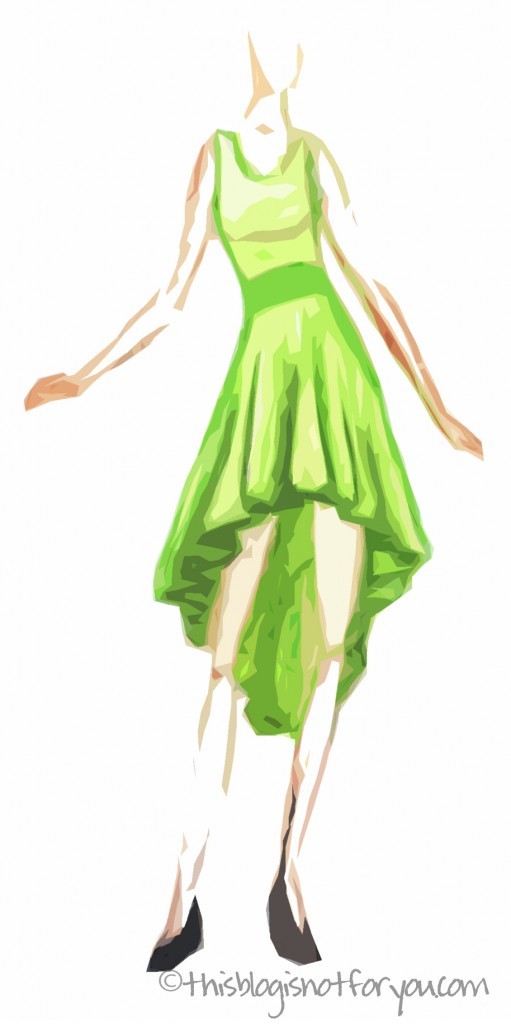 I very much love this look, because it looks quite romantic. Here the shape in the front is almost like the one in the first look, but the back is much longer and the transition from front to back is very smooth and it’s much more asymmetrical.
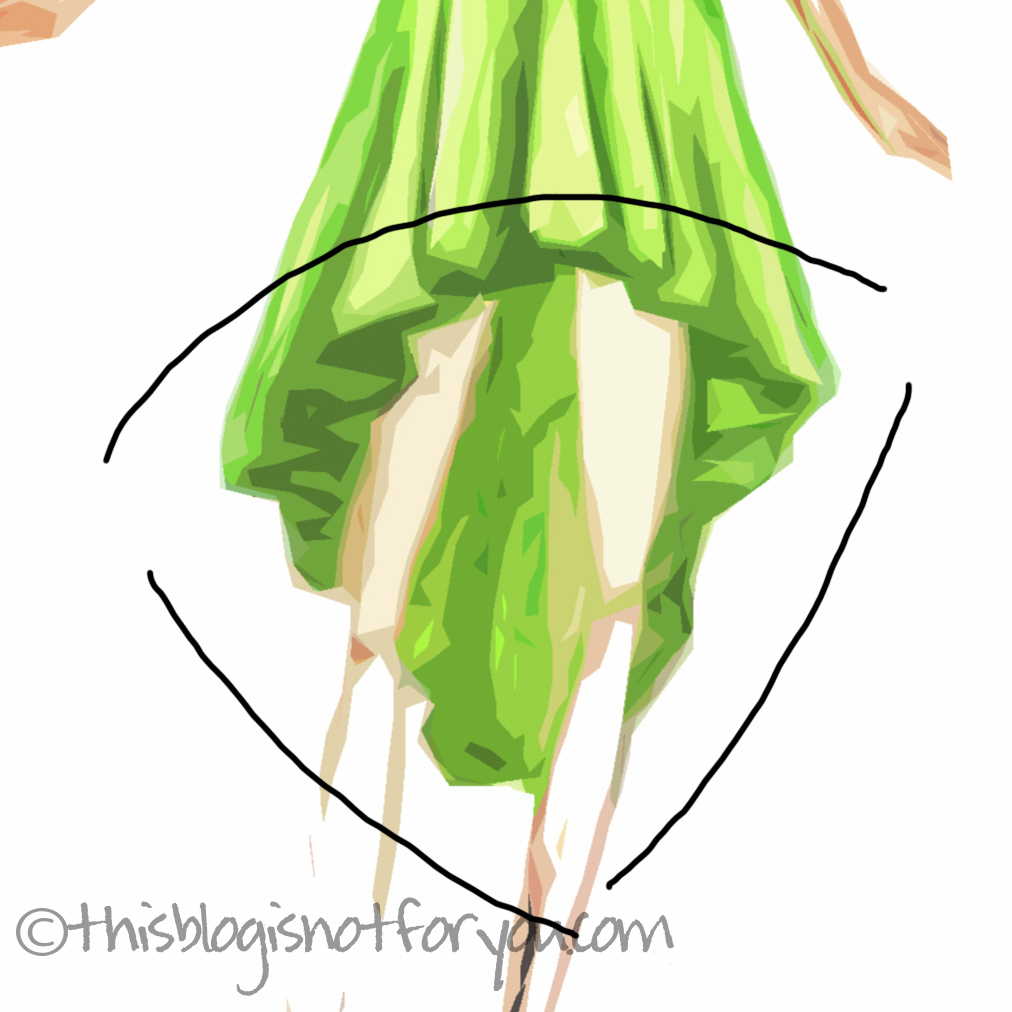 To get this look you have to shorten the front and lenghten the back quite a bit. If it’s a knee-length dress, I’d suggest shortening the front by at least 20cm/8” and lengthing the back by about 20-25cm/8-10” or more. Give the line a smooth curved shape in the centre front and back to avoid awkward triangular edges.
THE THIRD LOOK: straight in the front, maxi v-shape in the back
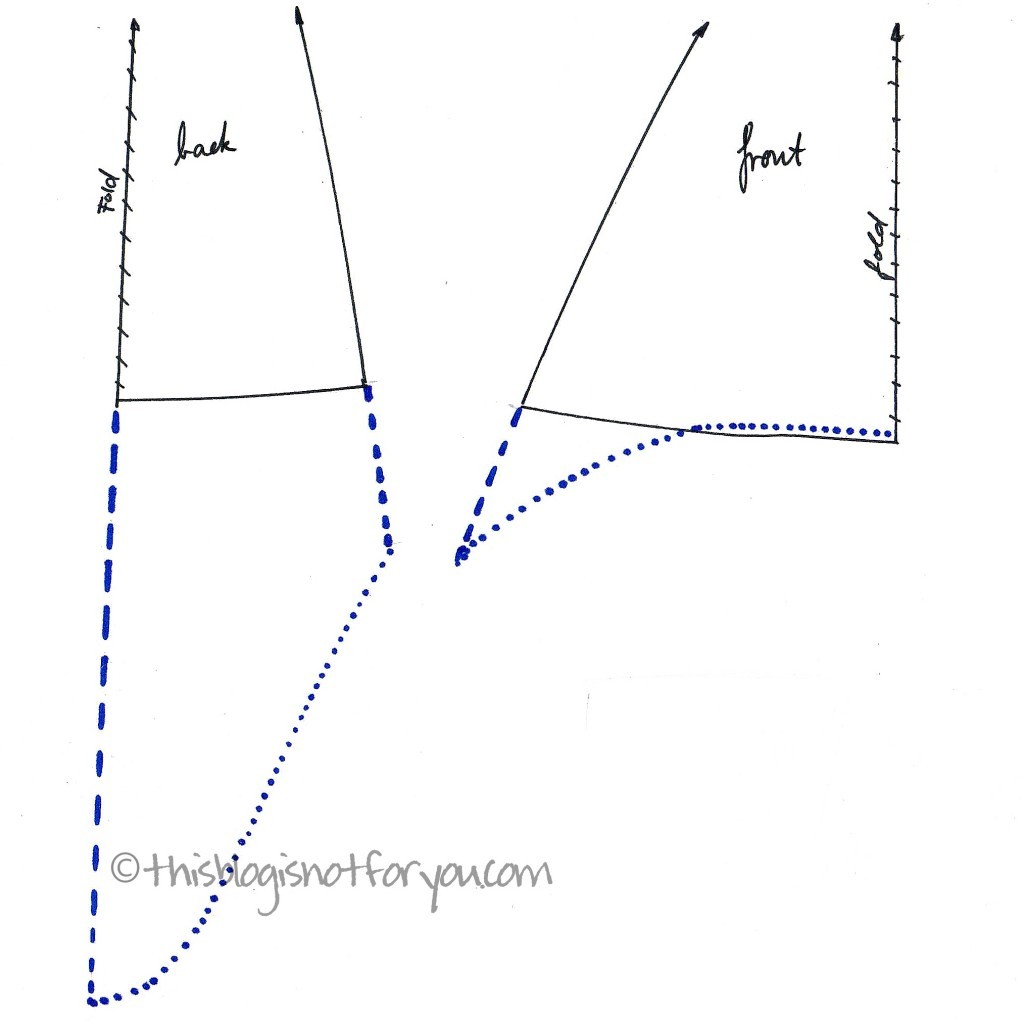
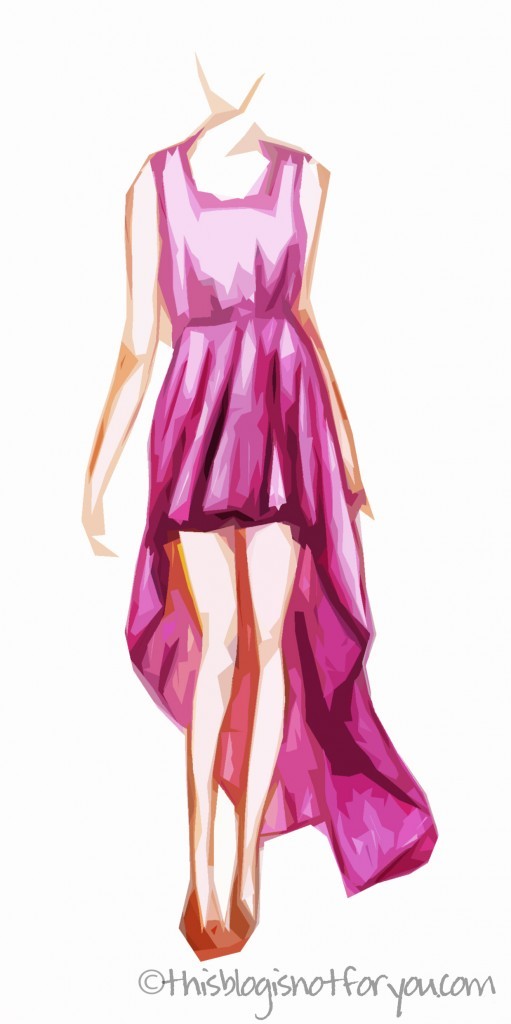 This is my favorite look and I’m de-fi-nite-ly making a dress like this for summer. It’s such an awesome femine look. Here, the front is straight almost until it reaches the side seams and then steeply slopes down to that long flowing train.
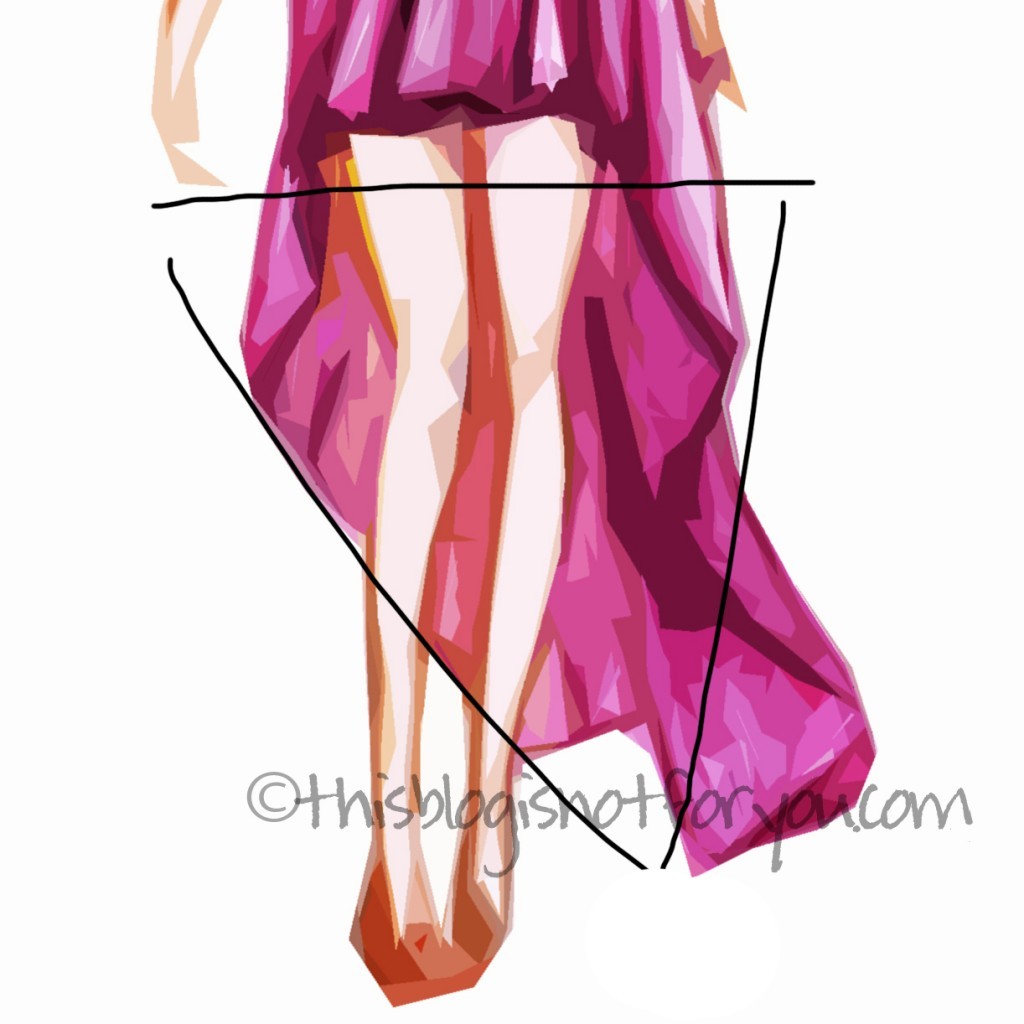 The front will be almost miniskirt-length, the back about ankle-length. (Take your measurements, waistline to ankle, to get the right length)
 What you should always consider is the width of the hemline:
To get a beautifully flowing skirt, you need not only to lengthen but also to widen the pattern. You could also just use a gathered-skirt pattern, if you don’t feel confident enough to make the changes yourself. If you have one that fits you well, use it and simply make the changes described above.
Here’s an example of an asymmetrical dress with a very wide hem (which also means you’ll need loads of fabric!).

If you use a pattern of a slightly flared skirt it will probably look similar to this:
 found at Bershka
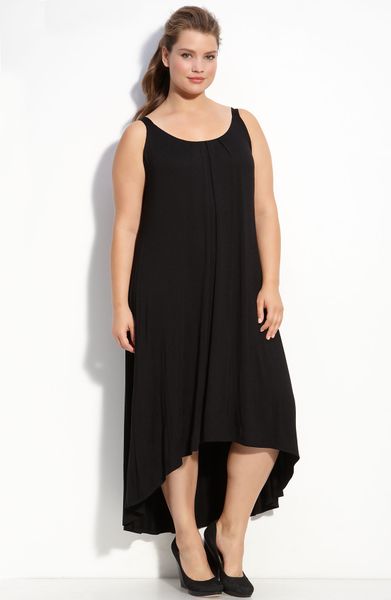 found at Nordstrom
When you do not widen the hem of the pattern, the hem will probably end up looking like the one in the picture below. It’s also nice, but less romantic and flowing and probably more suitable for sporty and casual looks.
 found at Zara
I hope this was somewhat helpful and I’ll see loads of pretty asymmetical dresses in the upcoming months!
In case you decide to hack your pattern to make an asymmetrical dress for the summer, I’d love to see it when it’s done!
Just send me a picture to hello(at)thisblogisnotforyou.com!
One last picture I had to share! 😉

facebook/bloglovin/pinterest
Stay in touch!




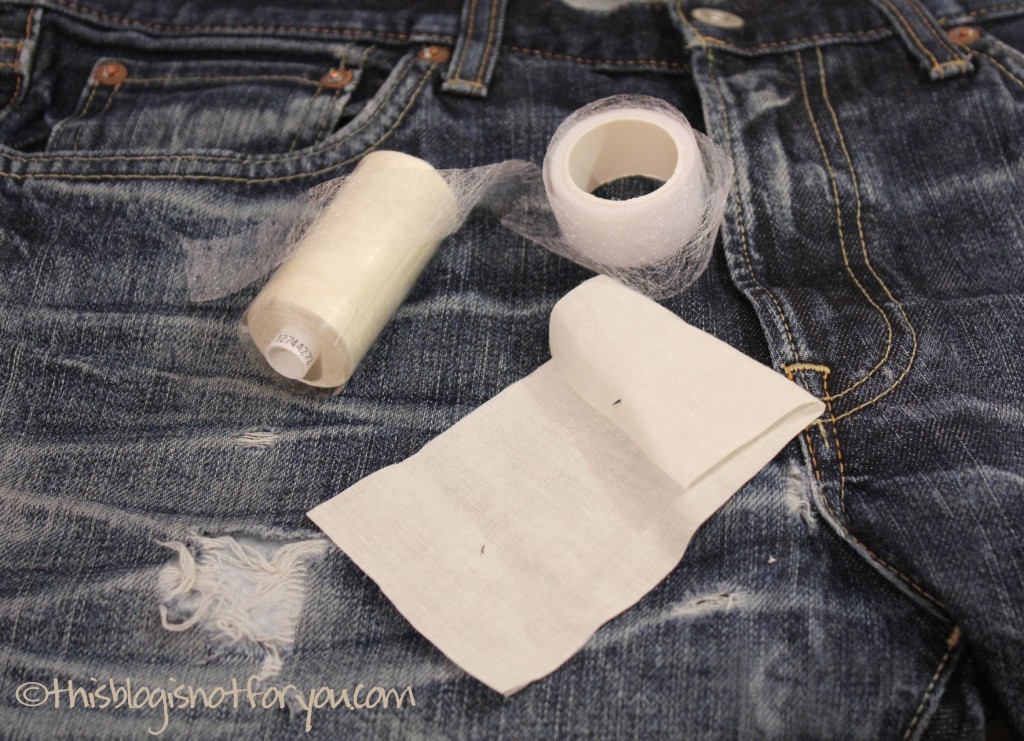
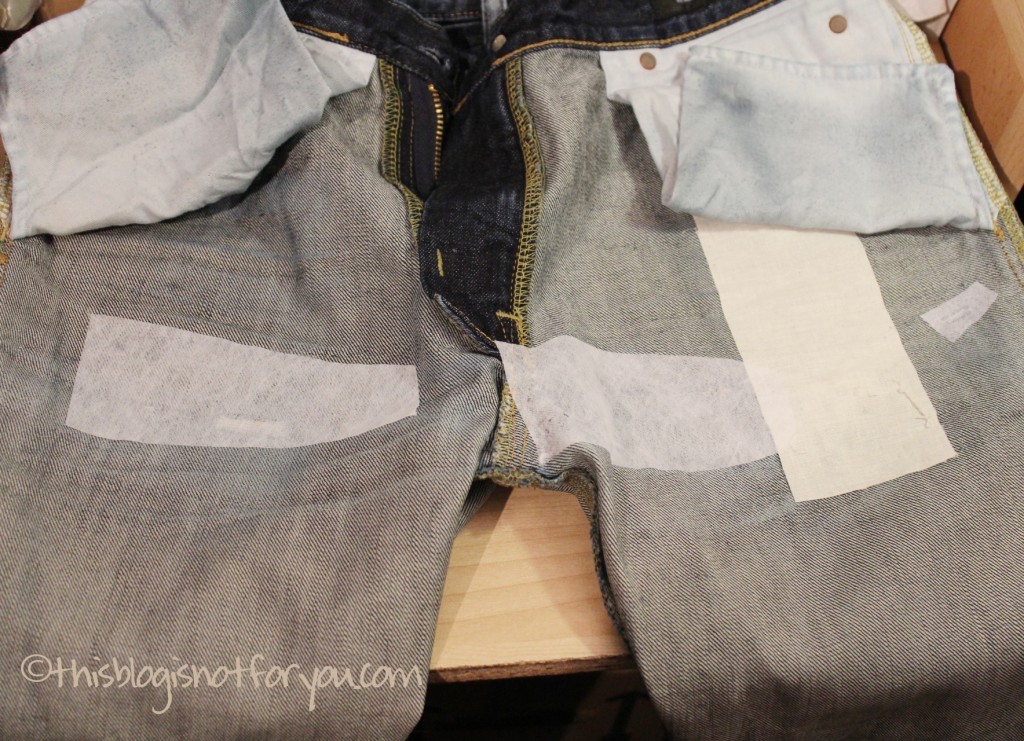
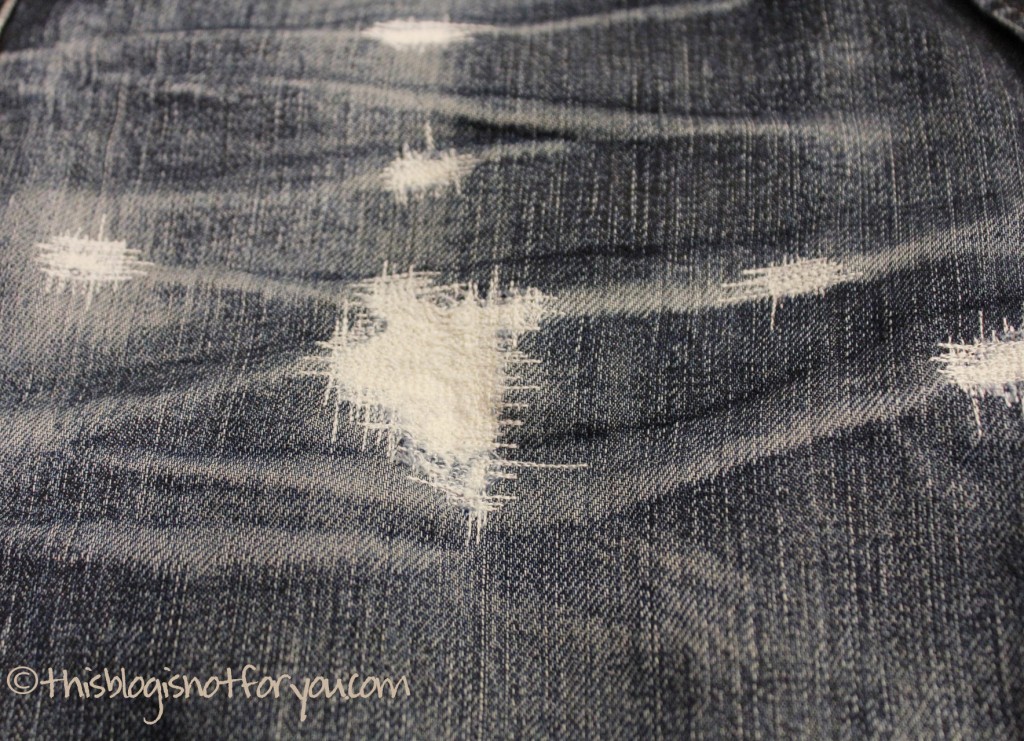
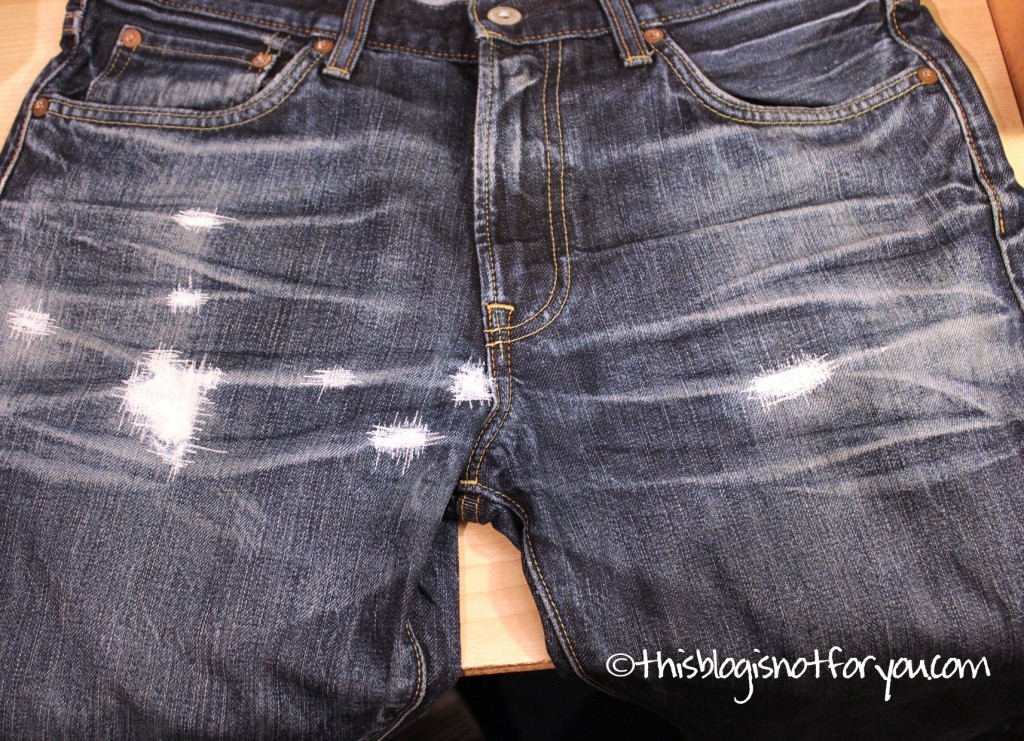
 Jeans-mending day – not my favorite day!
 Whoop, whoop! I can’t believe it – dress #5 of my